1/6
How to tile over a brick fireplace – An inexpensive DIY job with dramatic results
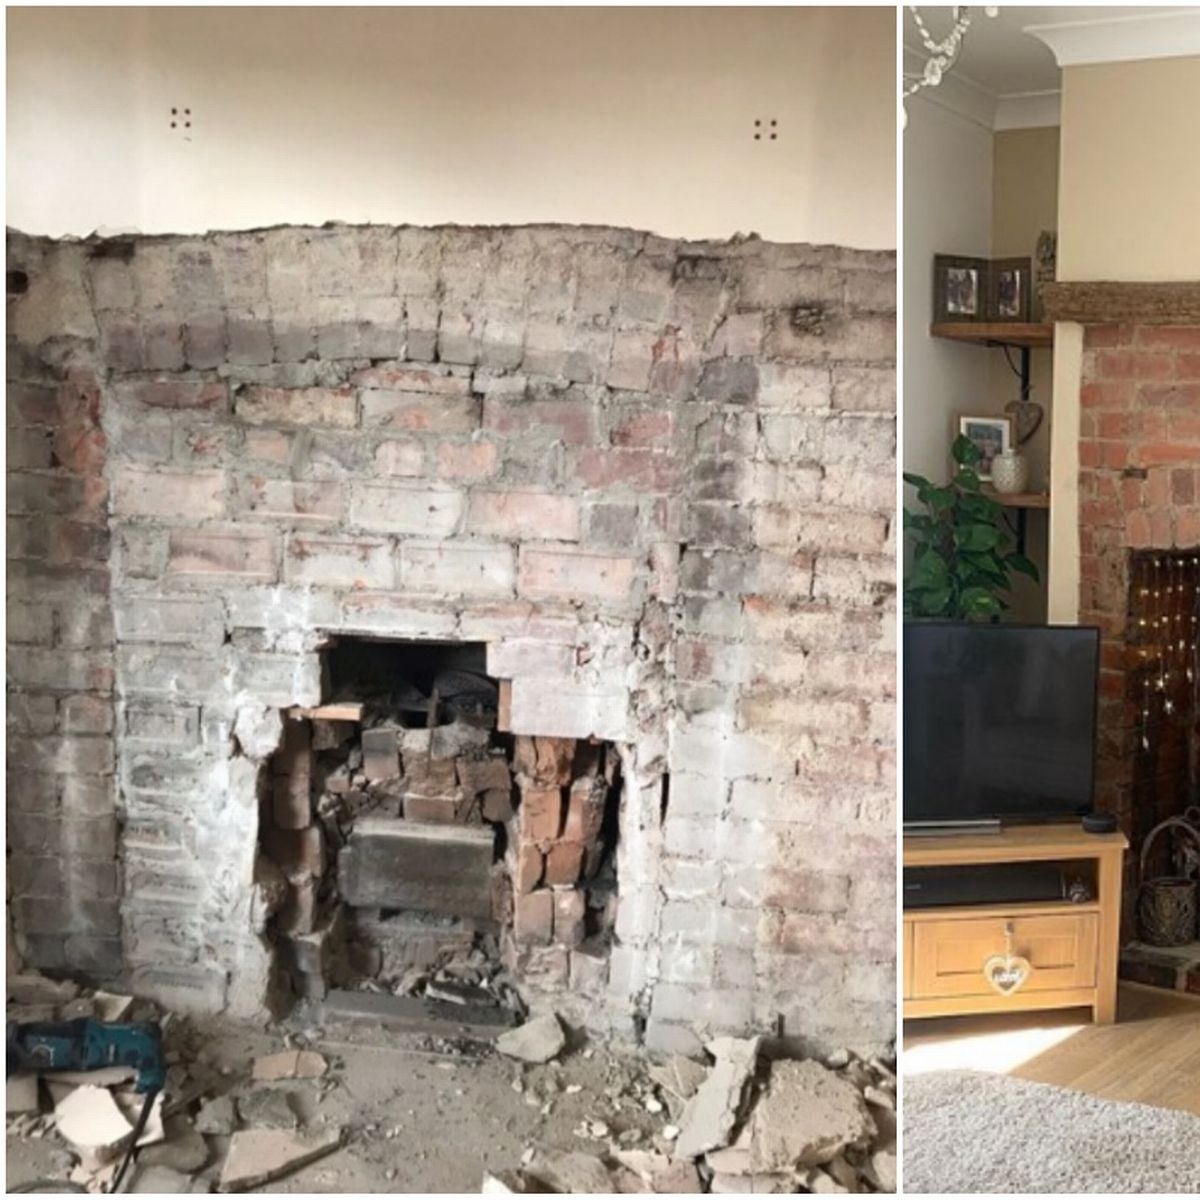
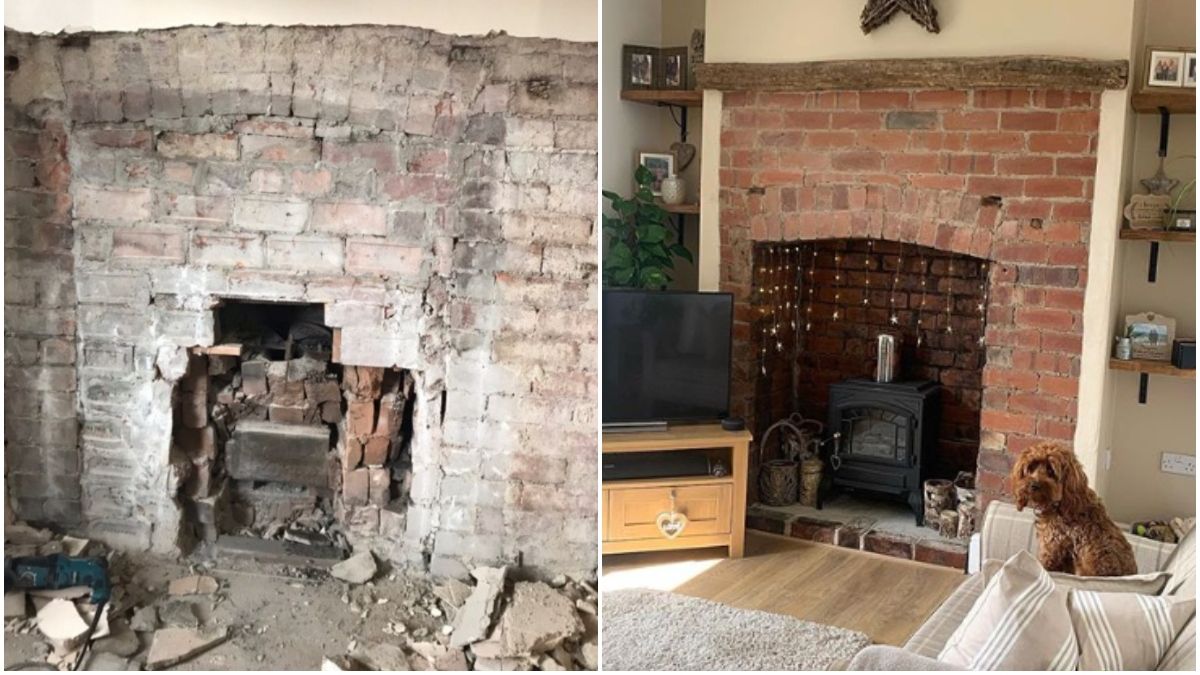
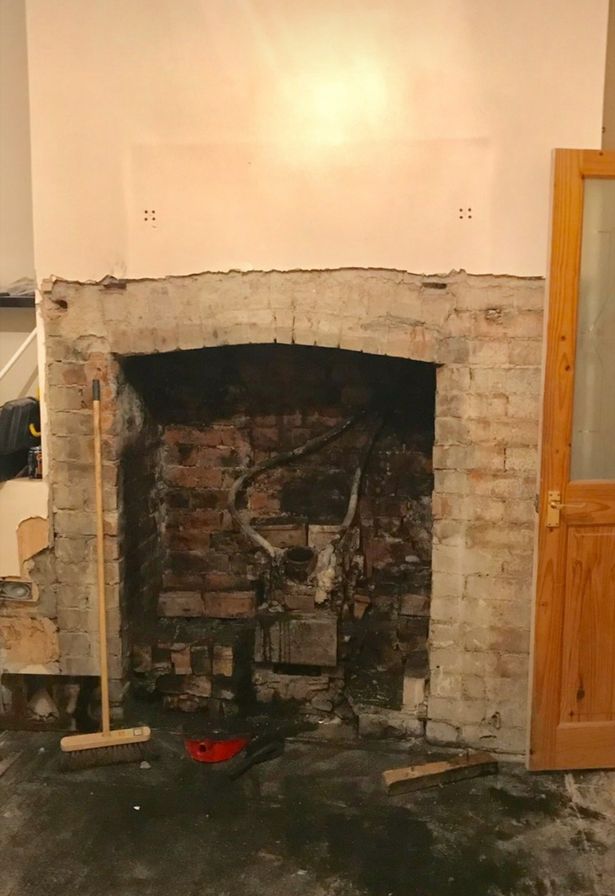
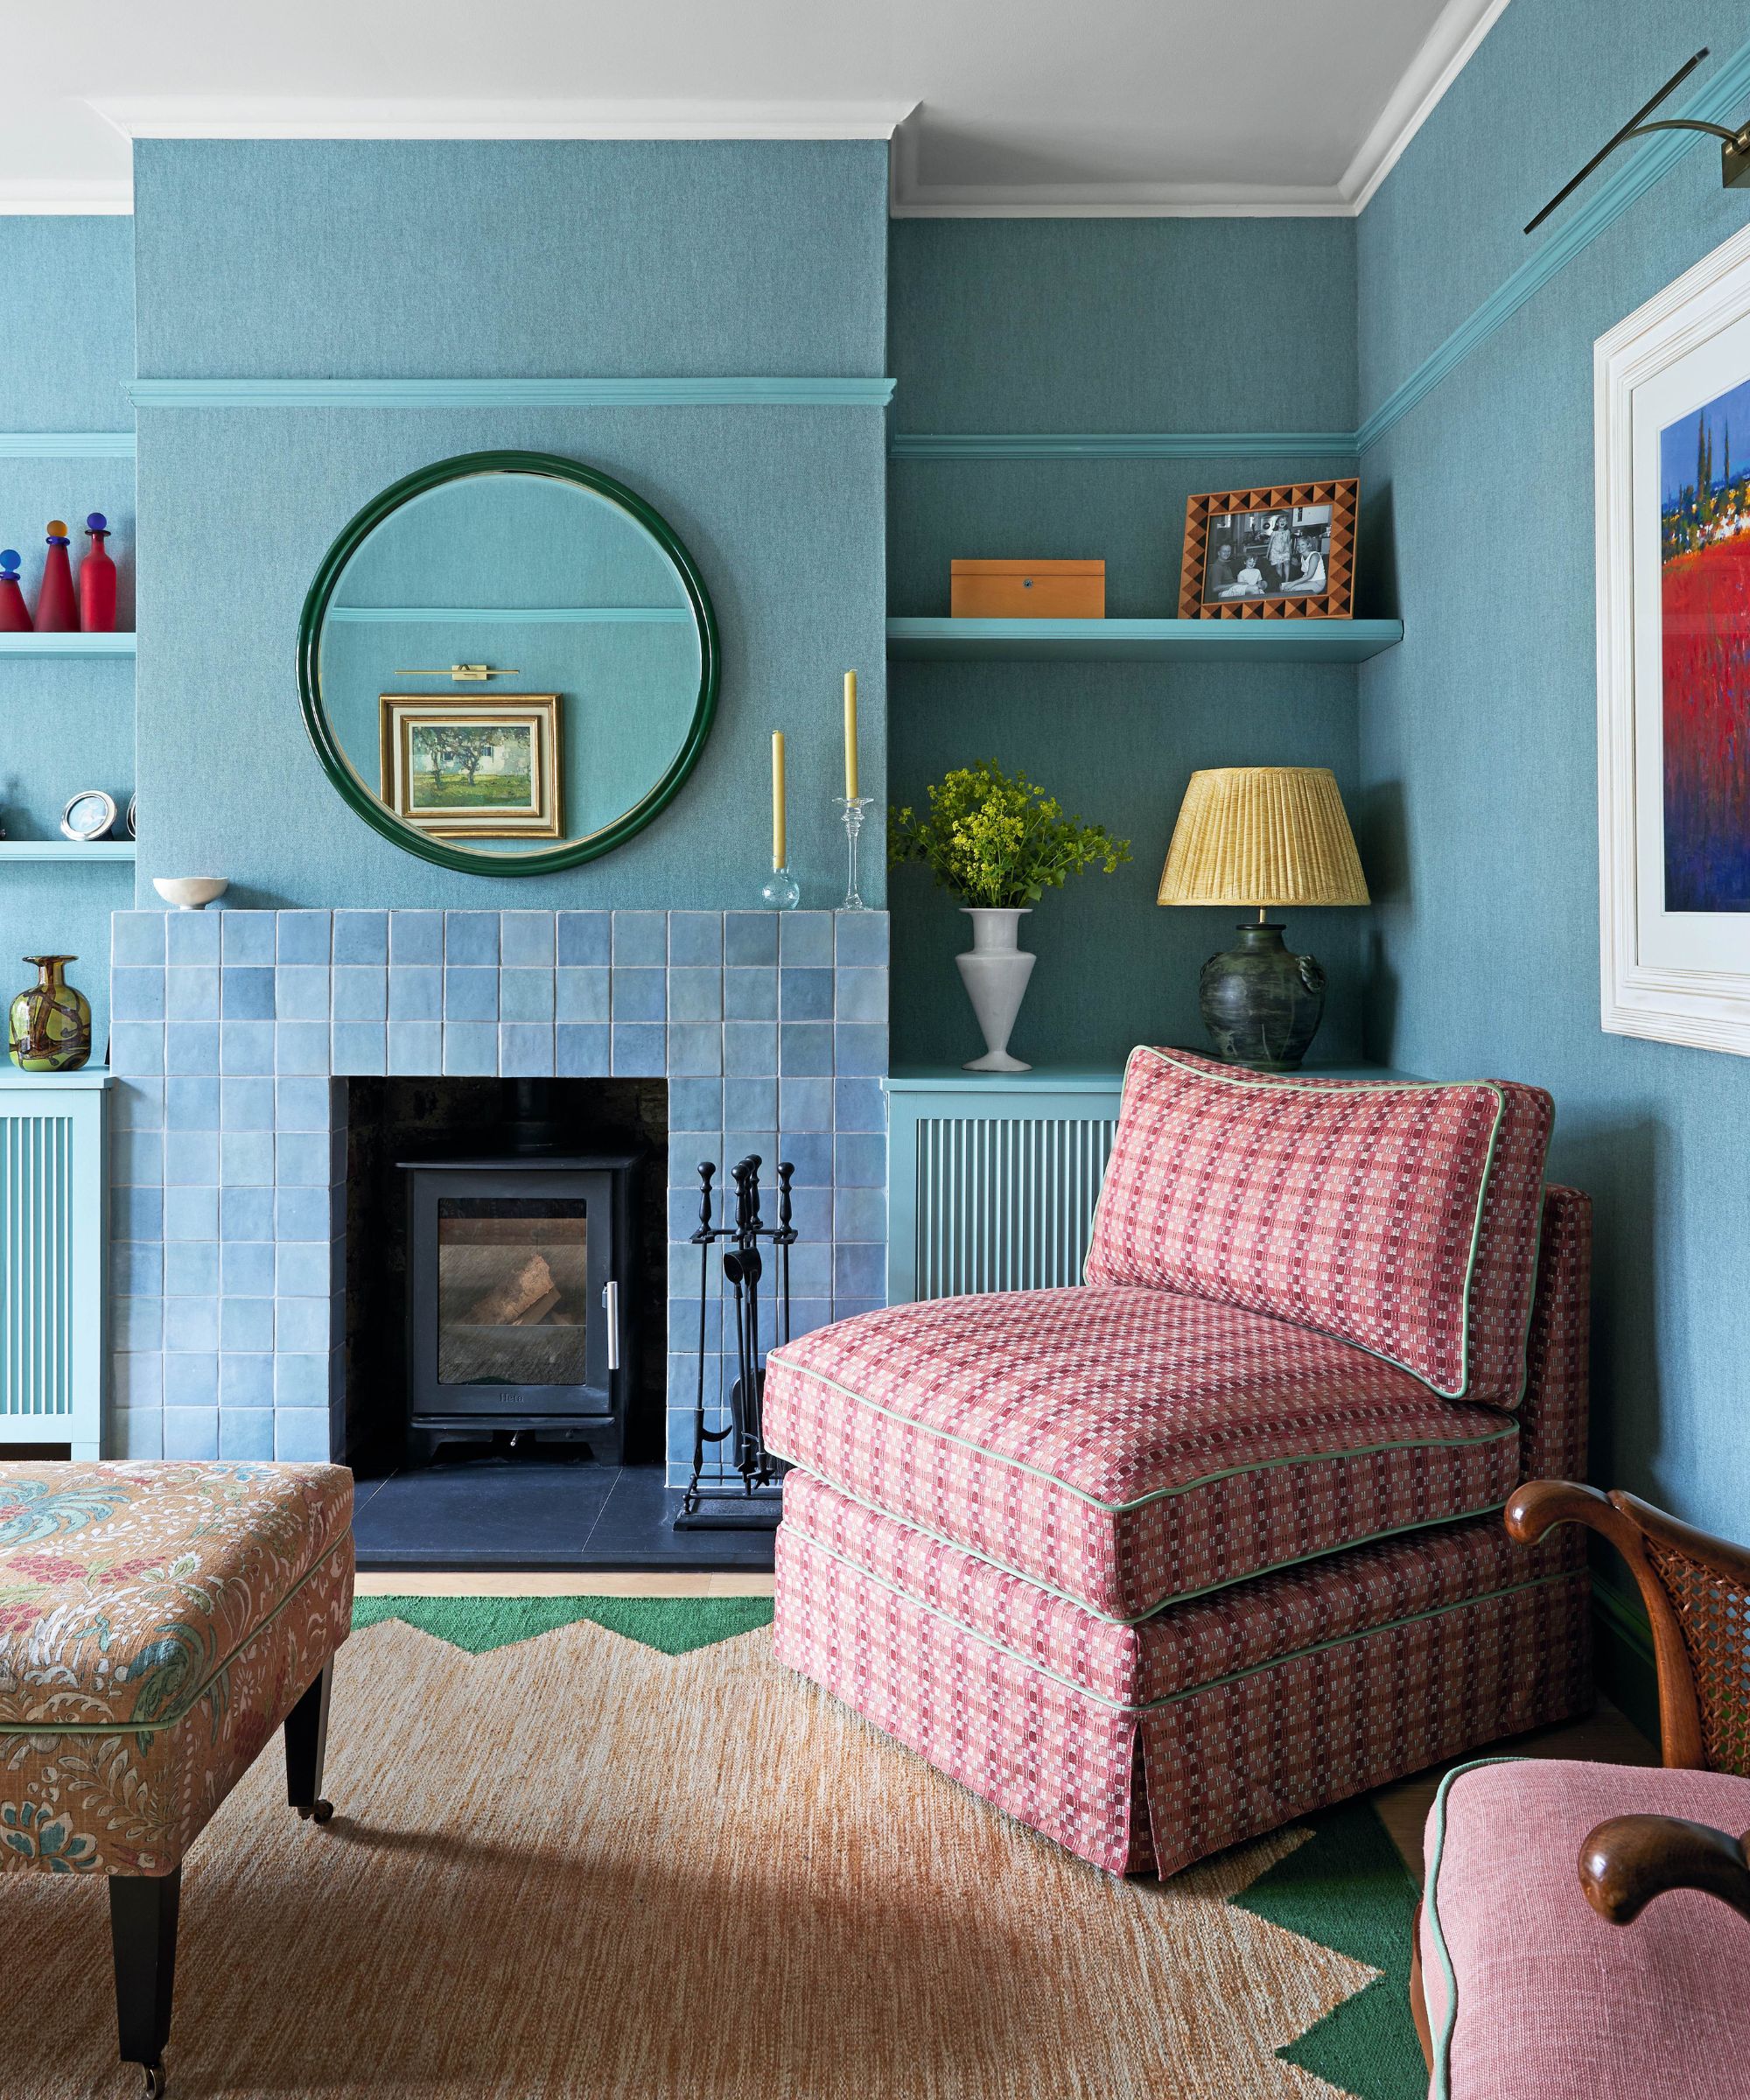
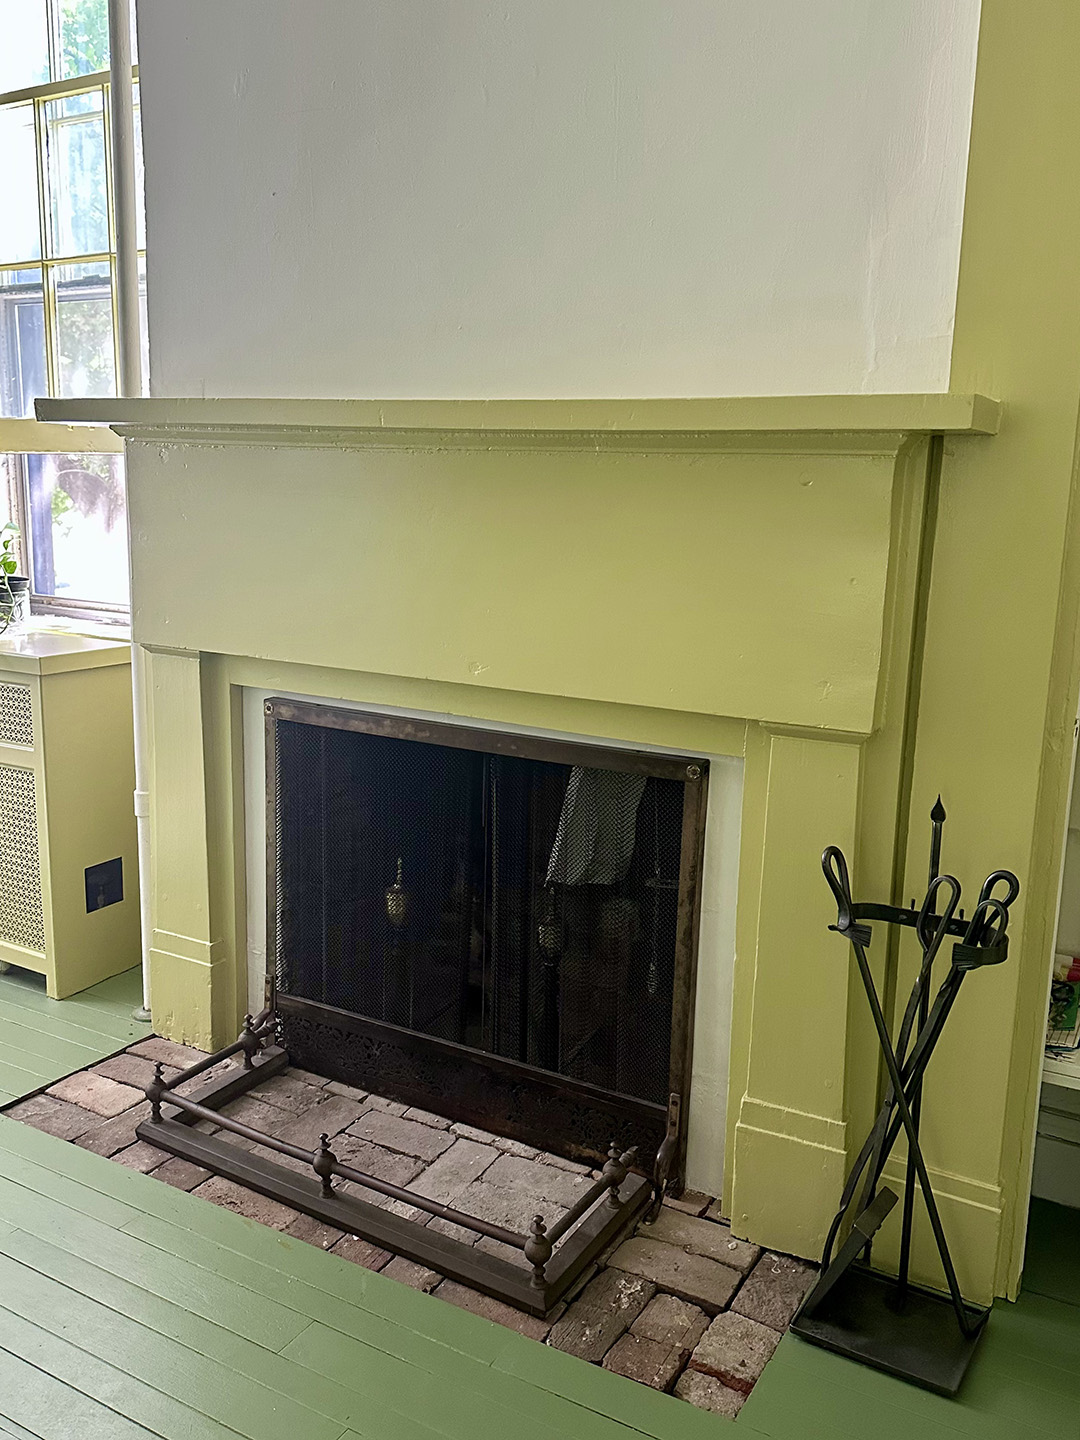
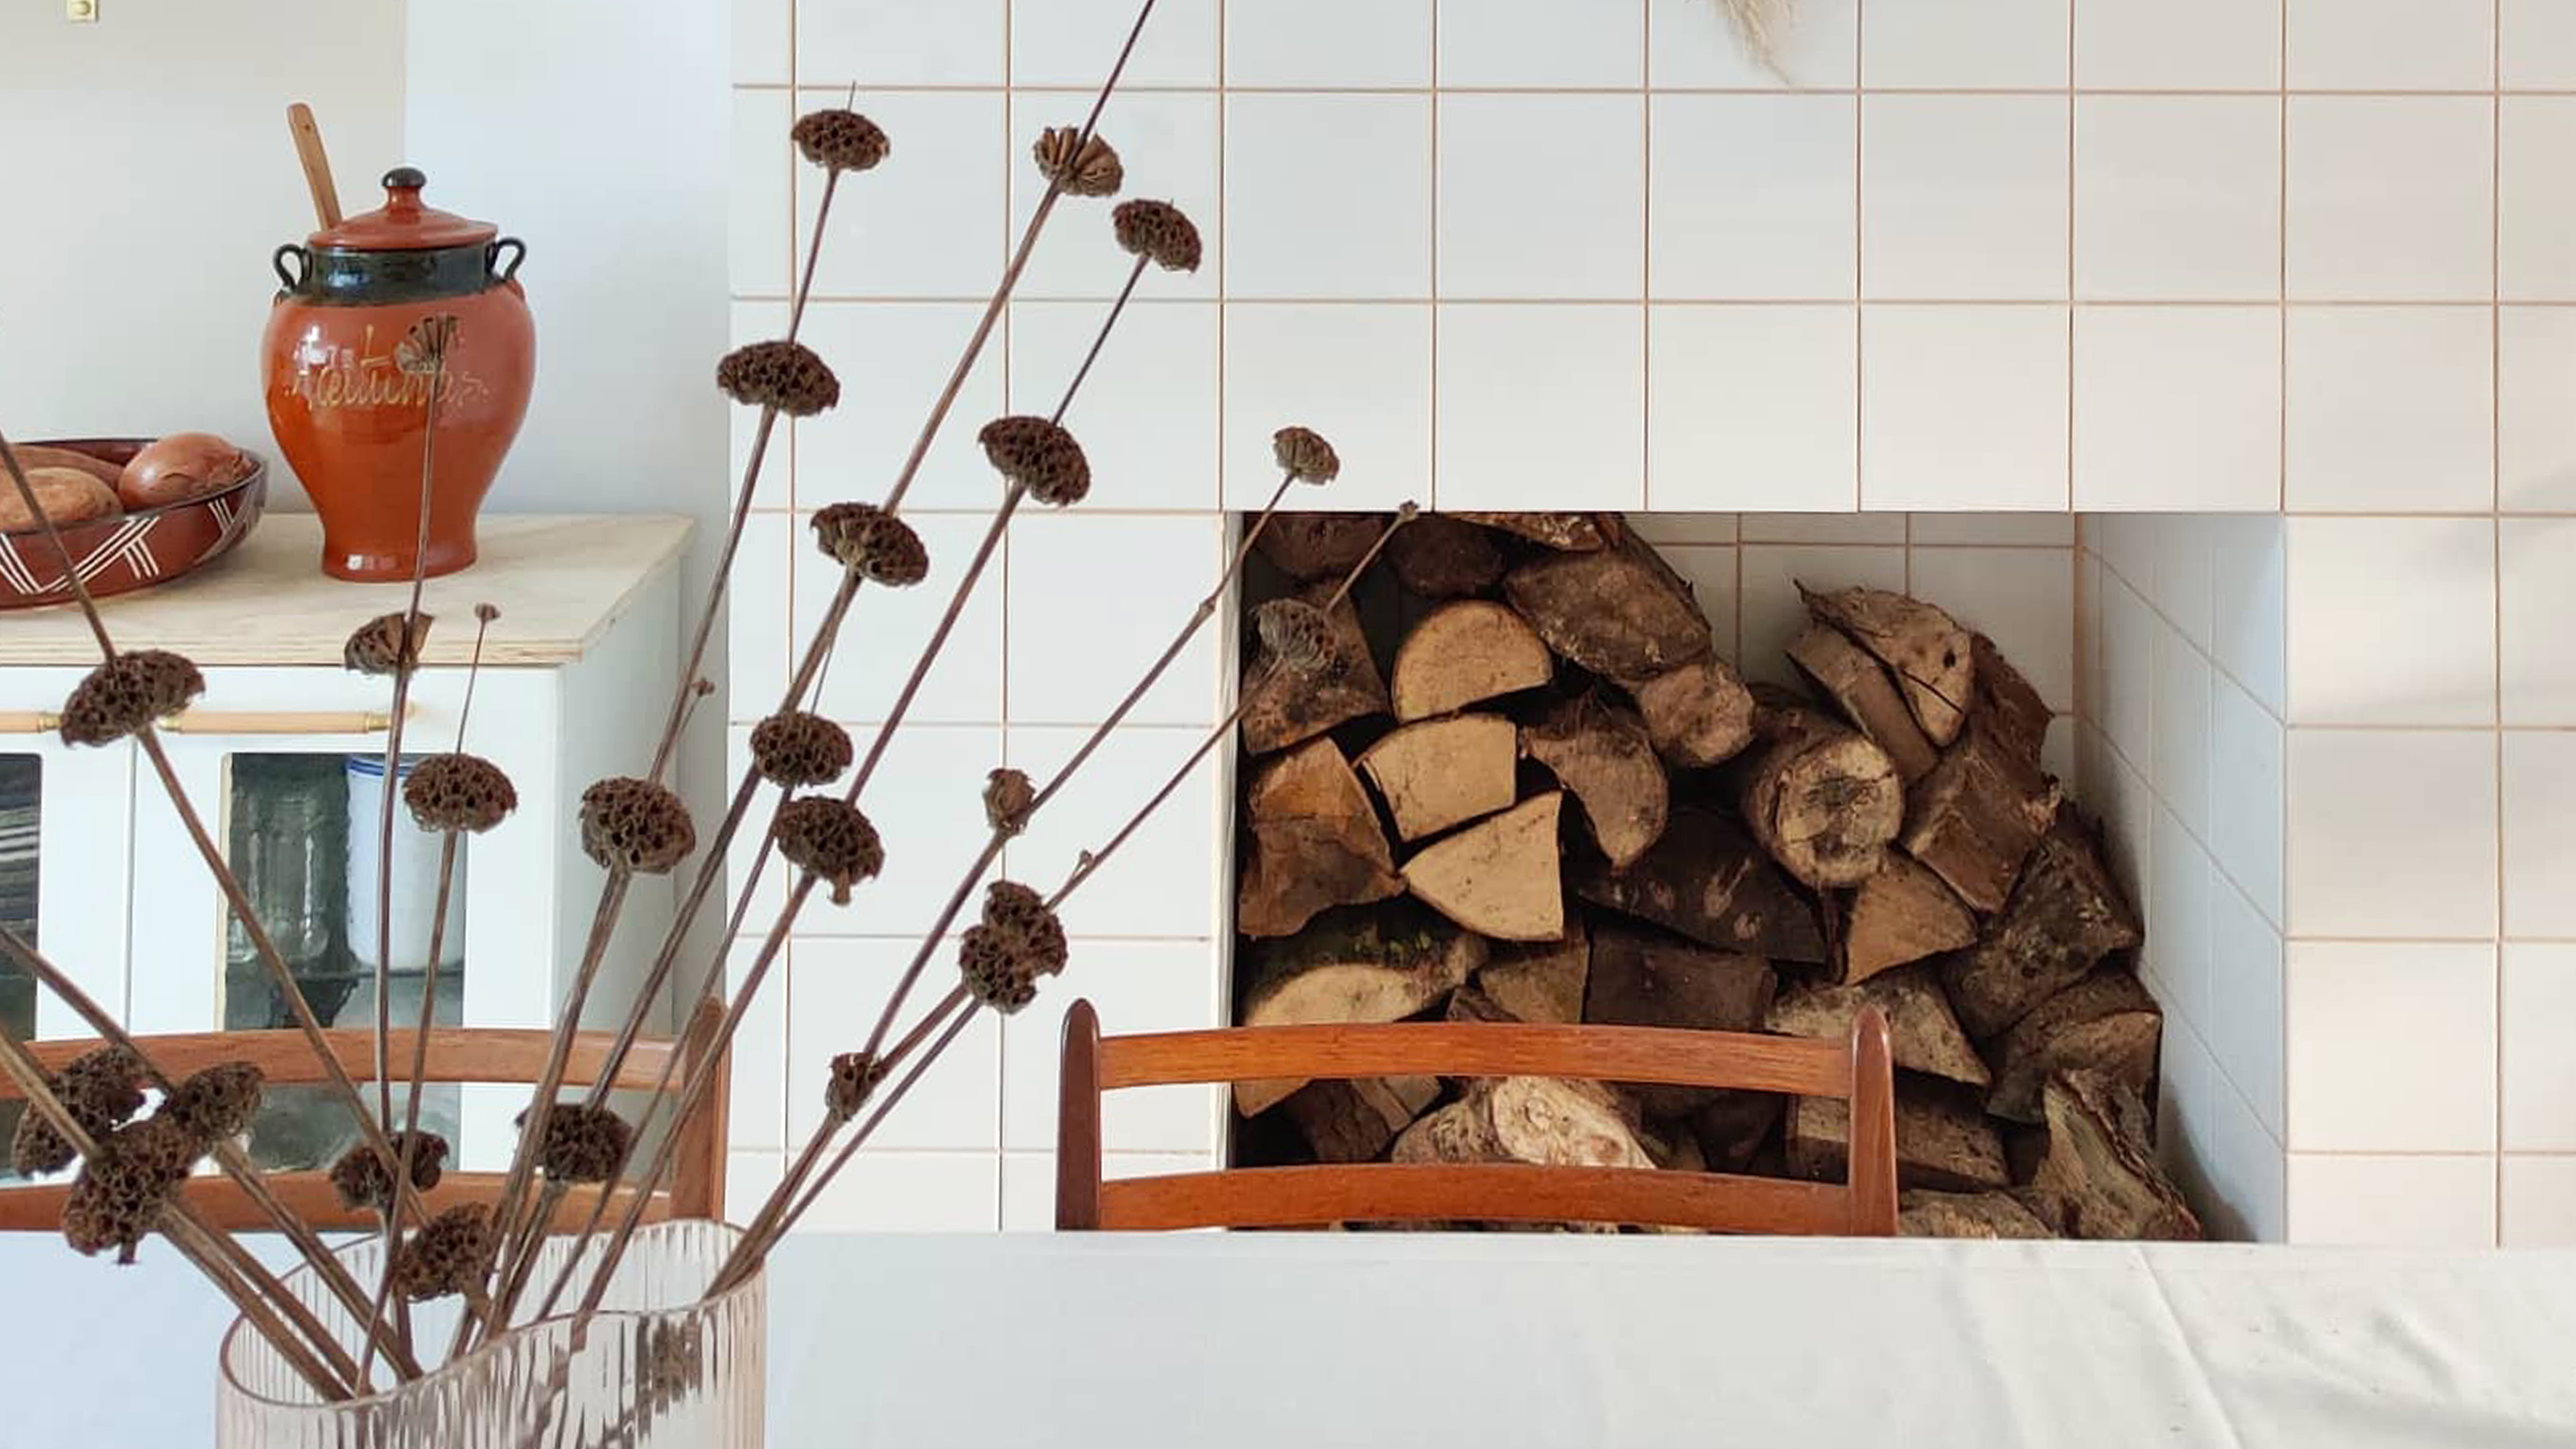
This article details a DIY project to tile over a brick fireplace, offering a cost-effective alternative to demolition or professional renovation. The author, Jo Lemos, describes the process of transforming a poorly conditioned, mismatched brick chimney breast in his 1930s semi-detached house. The project utilizes white square tiles, mirroring the kitchen's backsplash for a cohesive design.
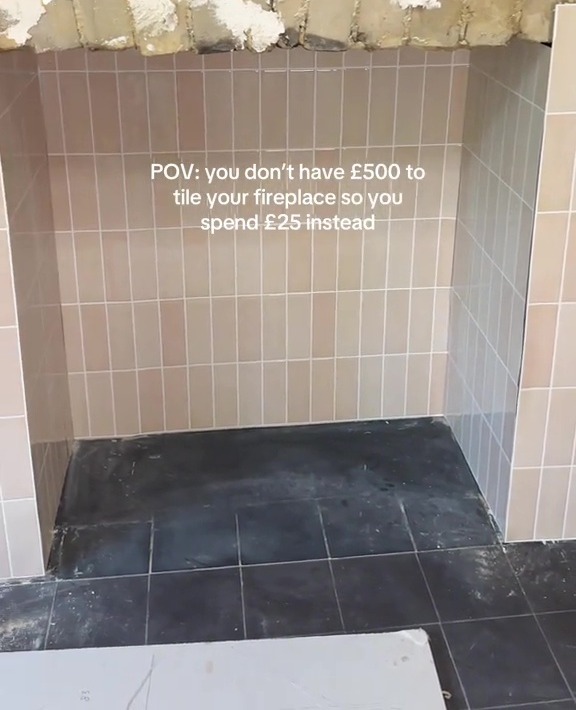
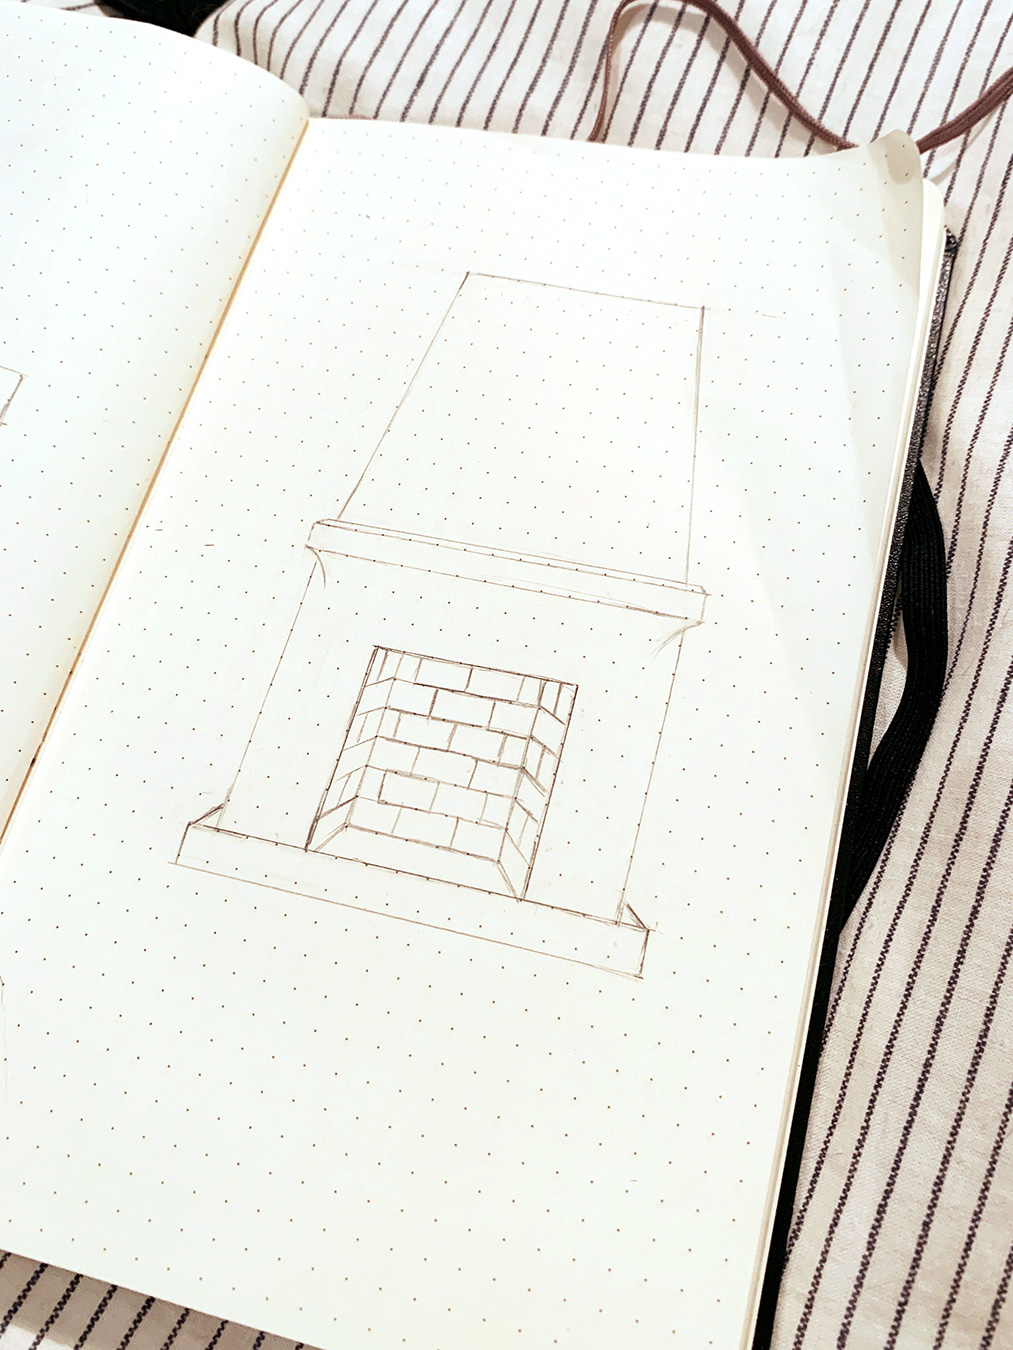
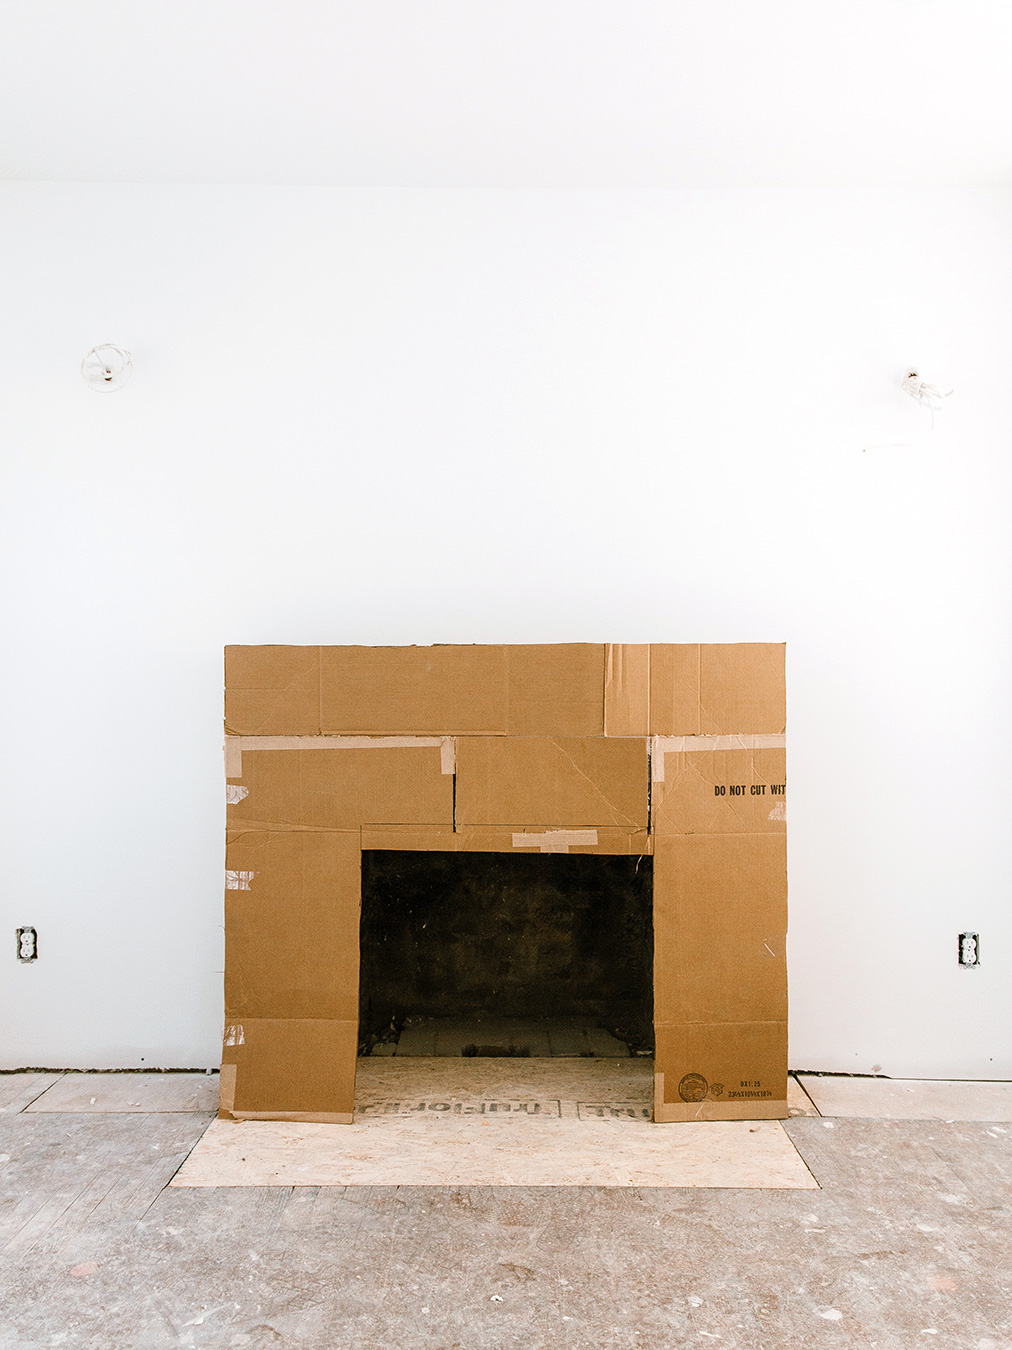
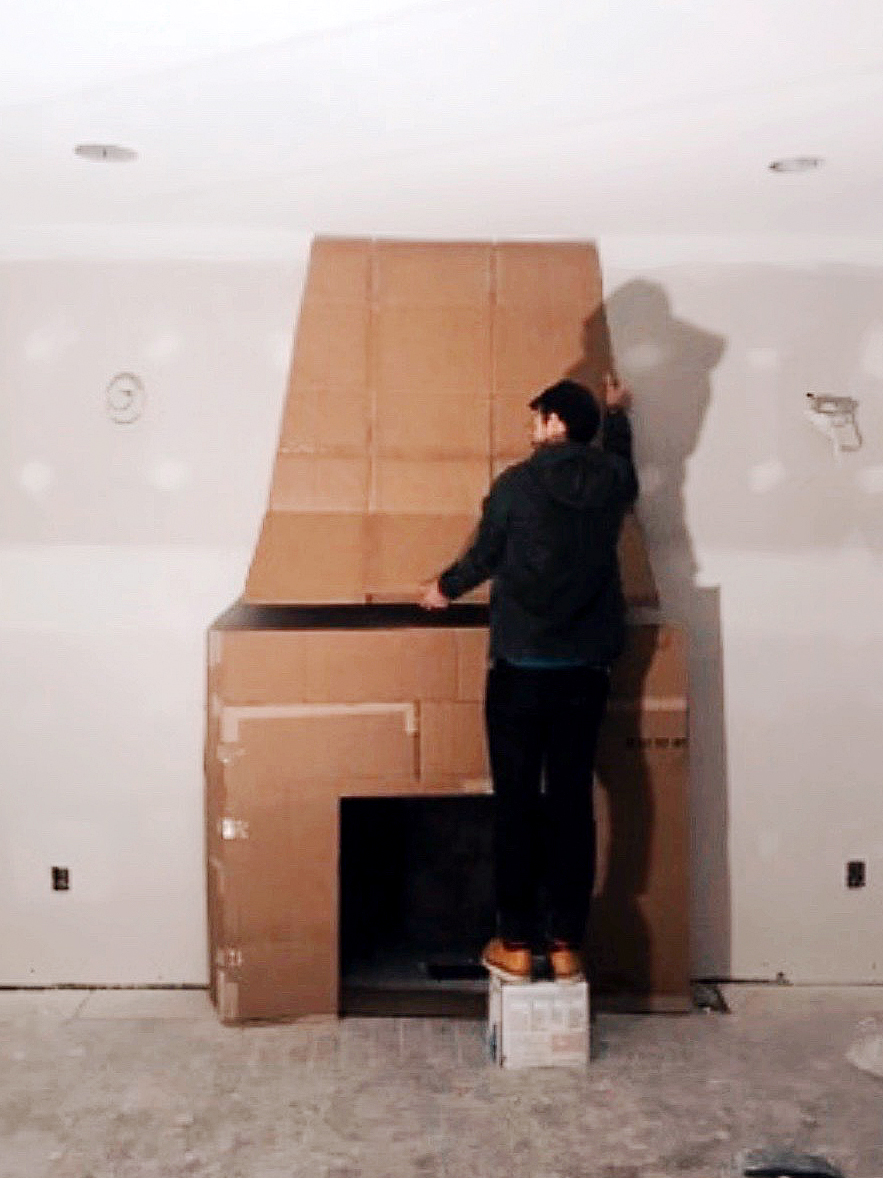
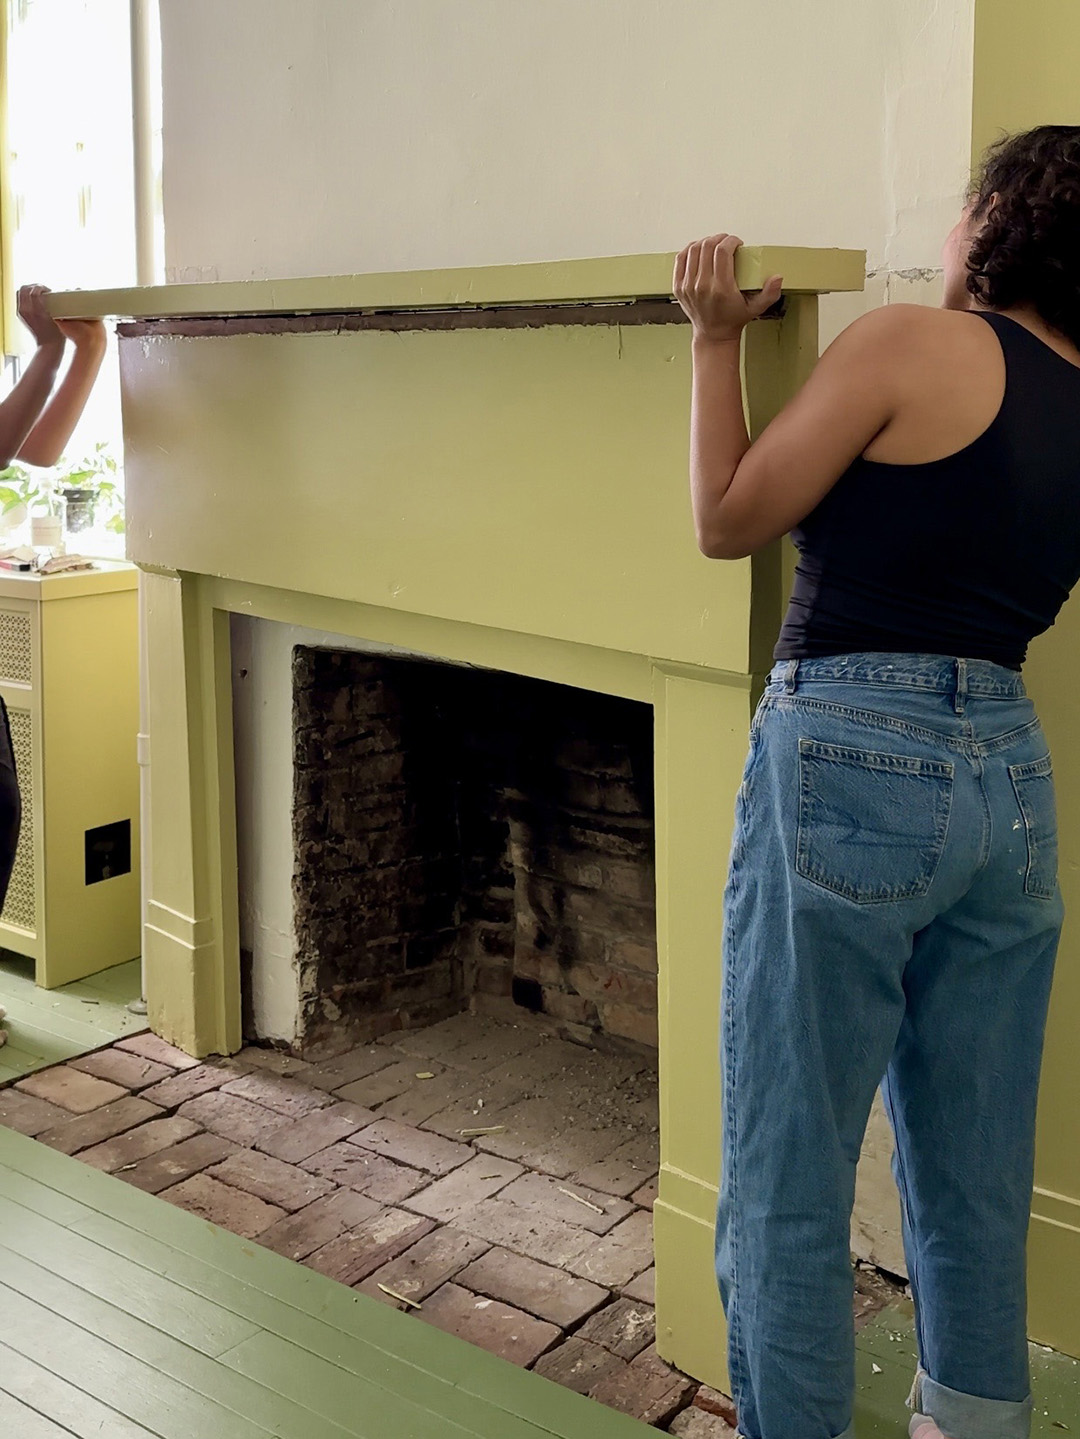
The initial step involves constructing a flat surface over the uneven brickwork of the chimney breast. This is crucial for achieving a smooth tiling base, especially since the original brick pattern was irregular. Lemos advises that this step might be unnecessary if the existing chimney breast is already flat or plastered. A key benefit of building this structure was the ability to size it precisely, allowing for full tiles around the fireplace opening, which enhances visual appeal by eliminating the need for cut tiles along the edges. The structure was designed to accommodate a 5-tile wide and 5-tile tall opening. The construction process includes attaching wooden beams to the bricks using wall plugs and screws, ensuring the structure is appropriately sized to fit full tiles, and accounting for the plasterboard width. Fire-resistant plasterboard was used for the inside of the opening as a safety precaution, even though the gas fireplace was disconnected.
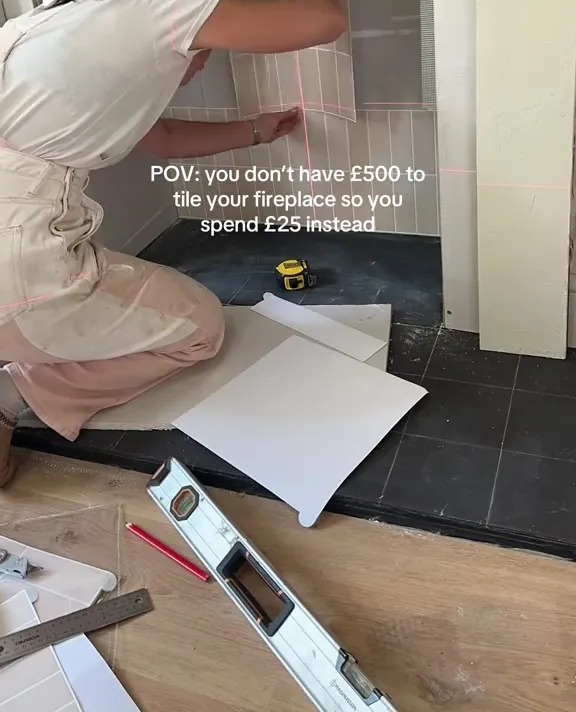
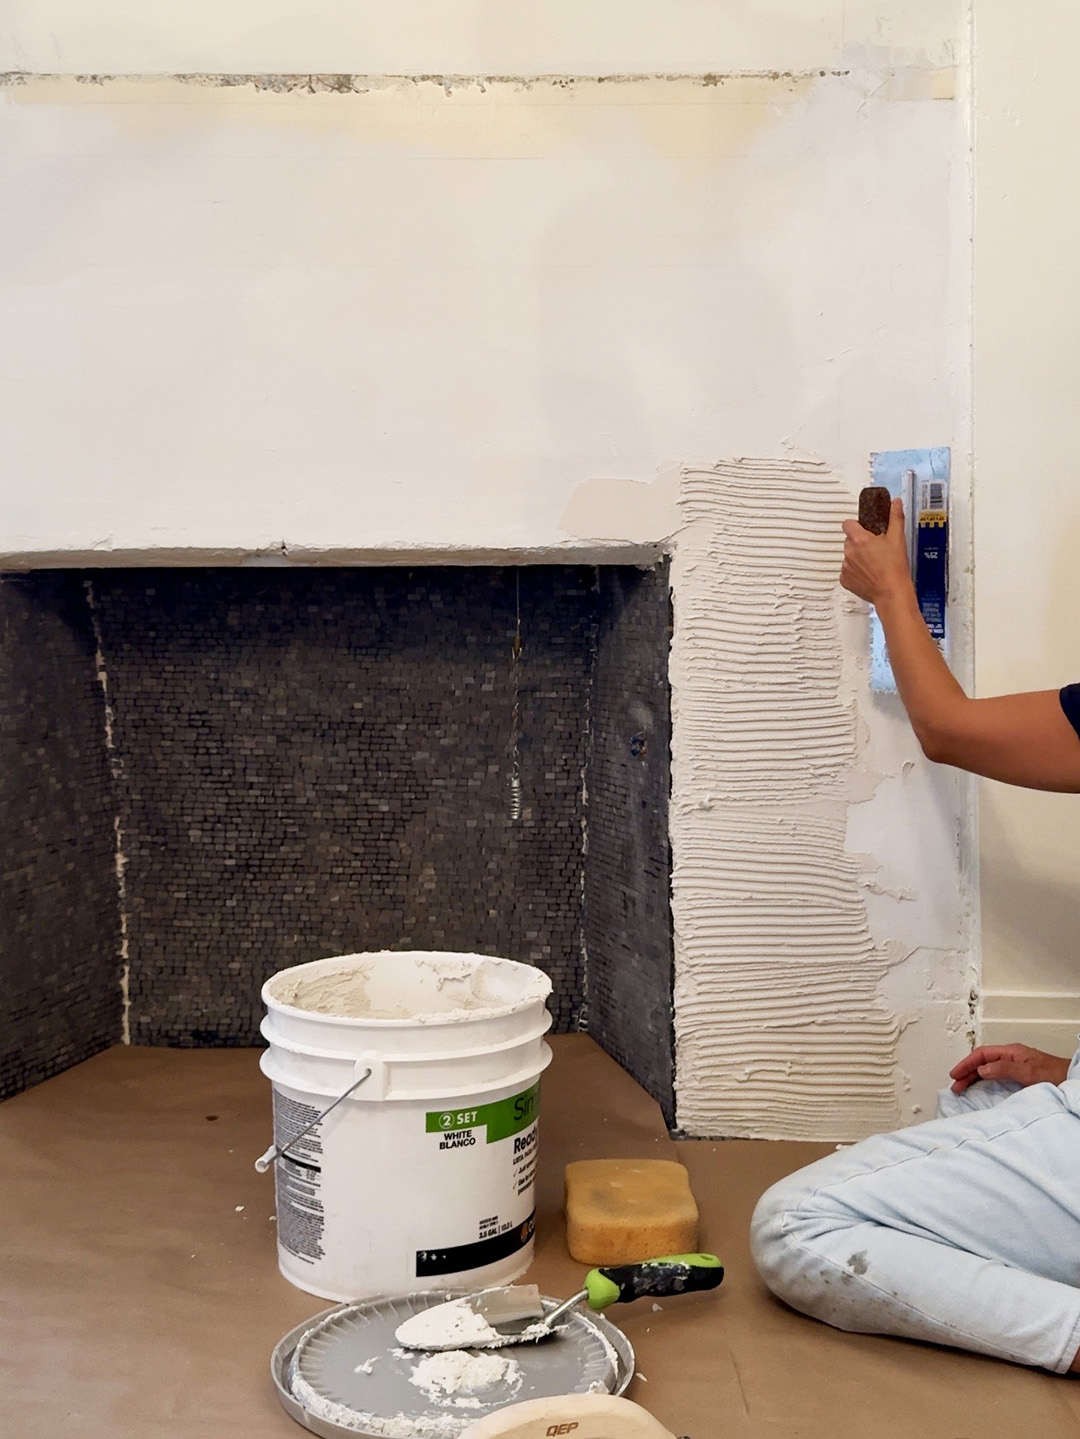
The second step focuses on the tiling process itself. Lemos recommends starting with the opening sections first and emphasizes the importance of carefully leveling the first row of tiles, as any errors here will be magnified in subsequent rows. A premixed adhesive was used, applied directly to the plasterboard. Tiles were spaced using 3mm spacers, which remained in place until the adhesive dried. After completing the opening, the rest of the chimney breast was tiled, with regular checks to ensure straight lines. For the corners, white PVC edging was incorporated for protection and to seamlessly blend with the white tiles. The project was finished with a beige grout from Unibond, chosen for its subtle contrast that makes the grid tiles stand out without being harsh. This grout color was also extended to the kitchen and utility room for design consistency.
From a cost perspective, the project proved to be budget-friendly. The white square tiles were purchased from B&Q for £6 per square meter, totaling £36. Edging strips cost £12. Three plasterboard sheets added £30, and wooden batons cost £25. The overall expenditure for the tiled chimney breast amounted to £103, highlighting the affordability of this DIY home improvement. The article demonstrates that a significant aesthetic upgrade can be achieved with modest financial investment and a hands-on approach.
#DIYHomeImprovement #FireplaceRenovation #TilingProject #HomeDecor #BudgetFriendlyDesign #InteriorDesign #ChimneyBreast #SquareTiles #RenovationTips #DIYHomeImprovement #FireplaceRenovation #TilingProject #HomeDecor #BudgetFriendlyDesign #InteriorDesign #ChimneyBreast #SquareTiles #RenovationTips
0 ความคิดเห็นรวม
 ยังไม่มีความคิดเห็น
คุณอาจจะชอบอีกด้วย
My £22 DIY fireplace makeover everyone is obsessed with

Can you plaster over tiles? The experts issue a surprising warning...
This Designer Saved Her Clients $5K With a Faux Fireplace That Doesn't Look “Slapped On”
How to incorporate a brick wall in your home
How to create an exposed brick feature wall or fireplace - and clean and maintain it like an expert
Fake exposed brick with wallpaper – see this savvy homeowner's trick
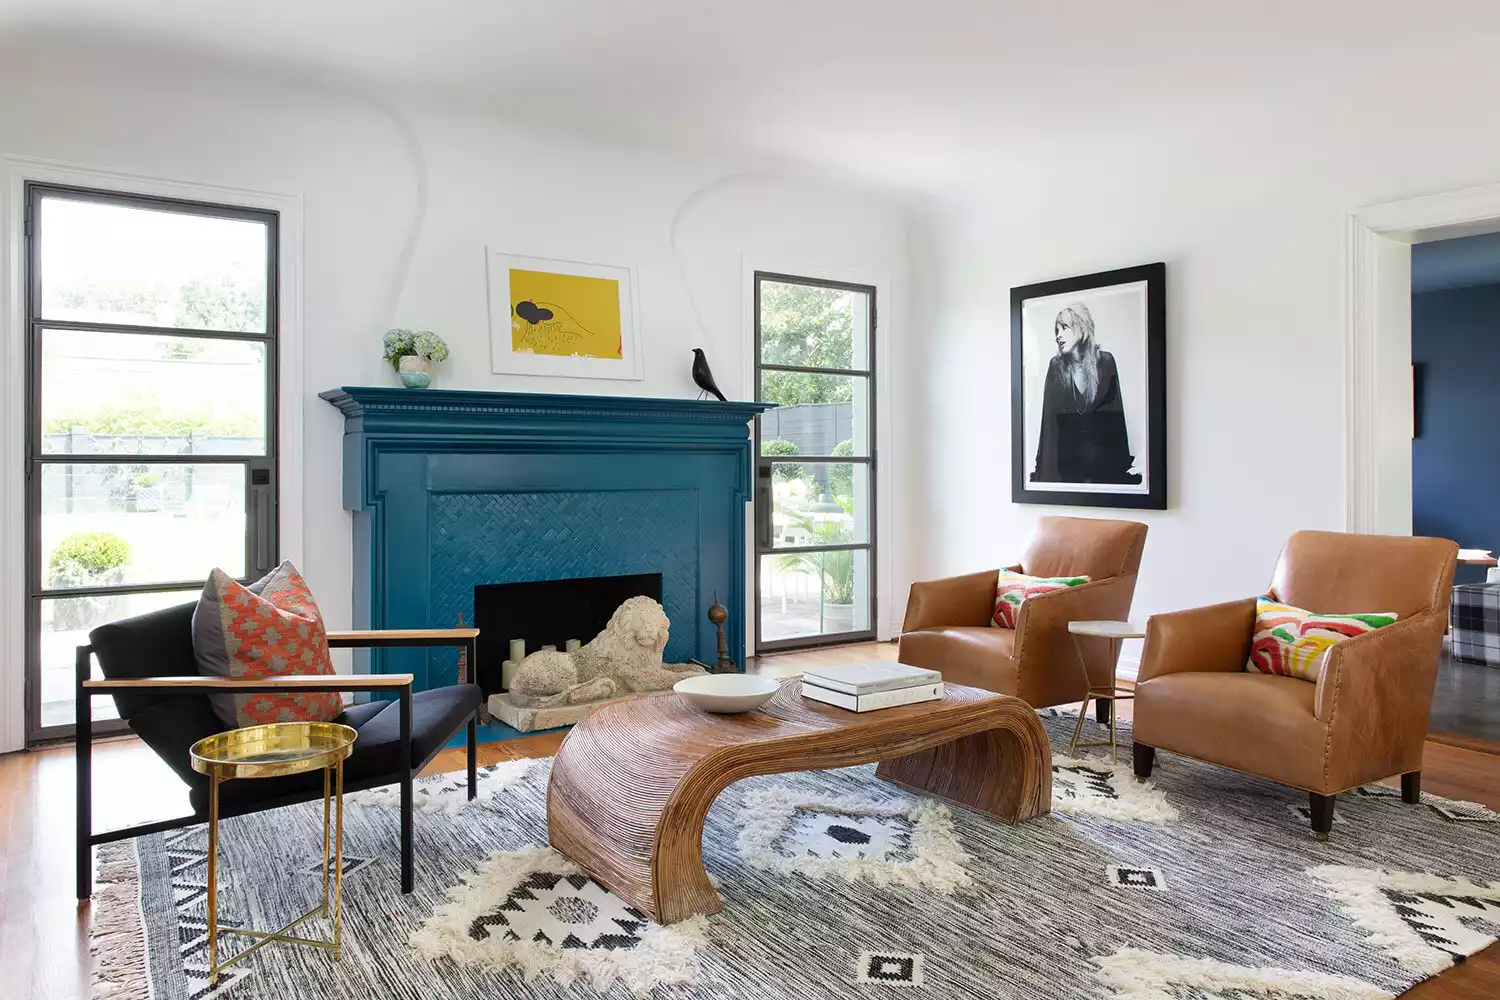
57 Beautiful Tiled Fireplace Ideas for Every Style

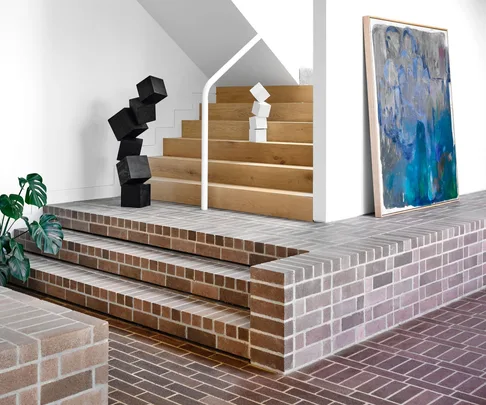
12 brick floors that will take your breath away

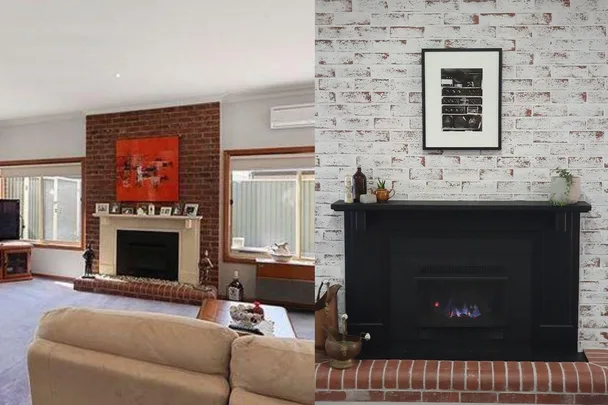
Before and after: A red brick fireplace gets a $250 modern makeover

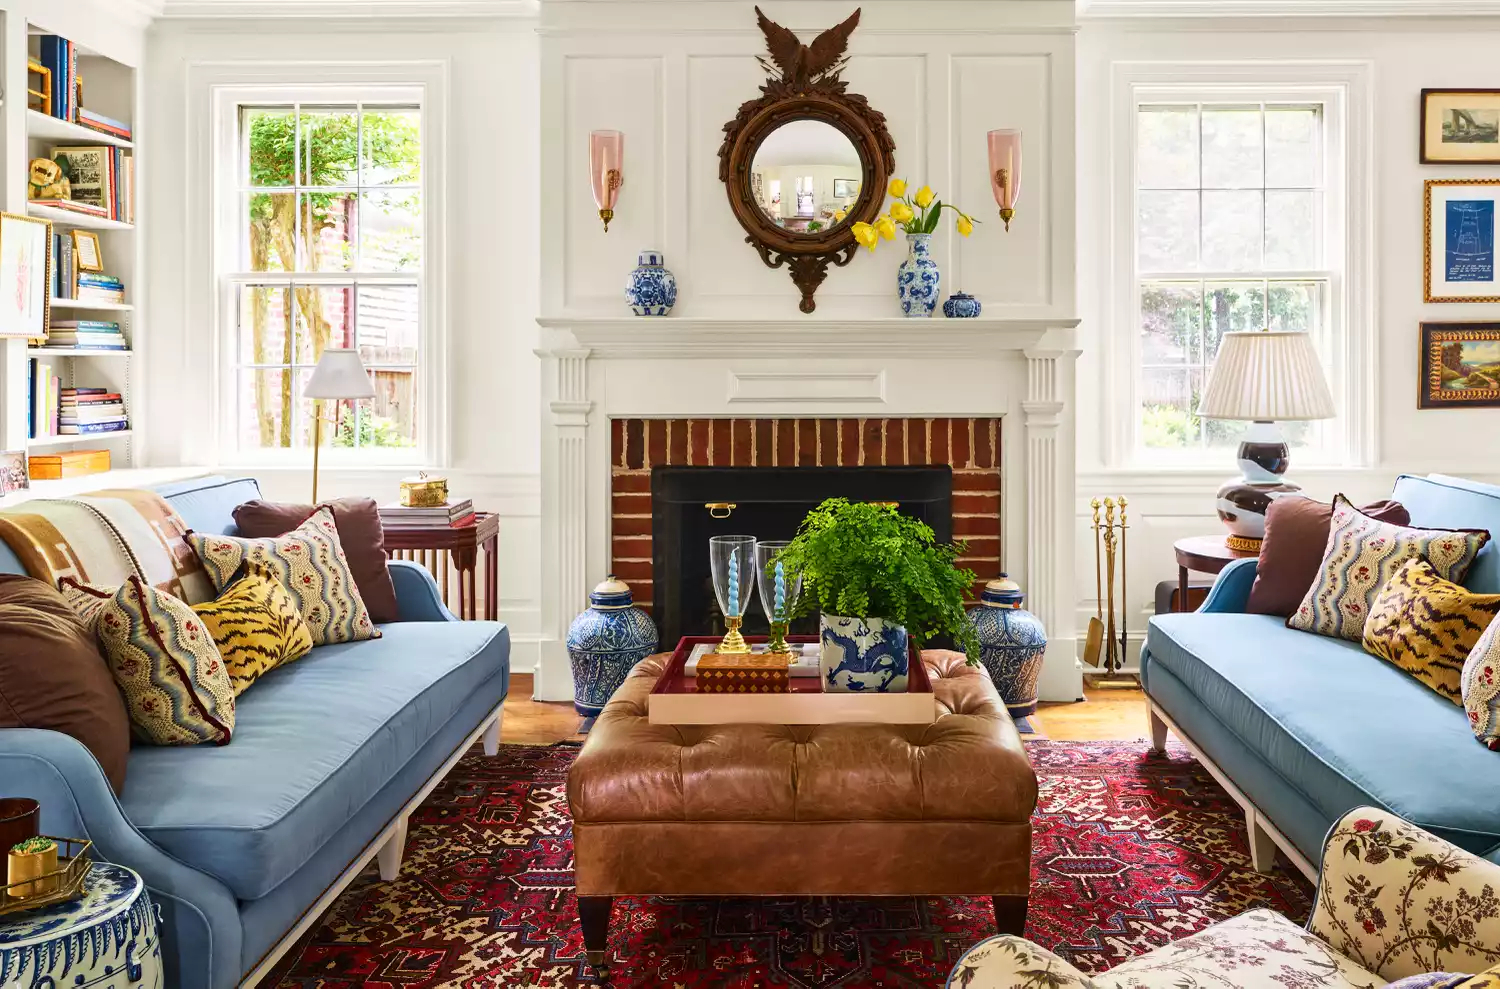
28 Brick Fireplace Ideas To Add Warmth To Any Space
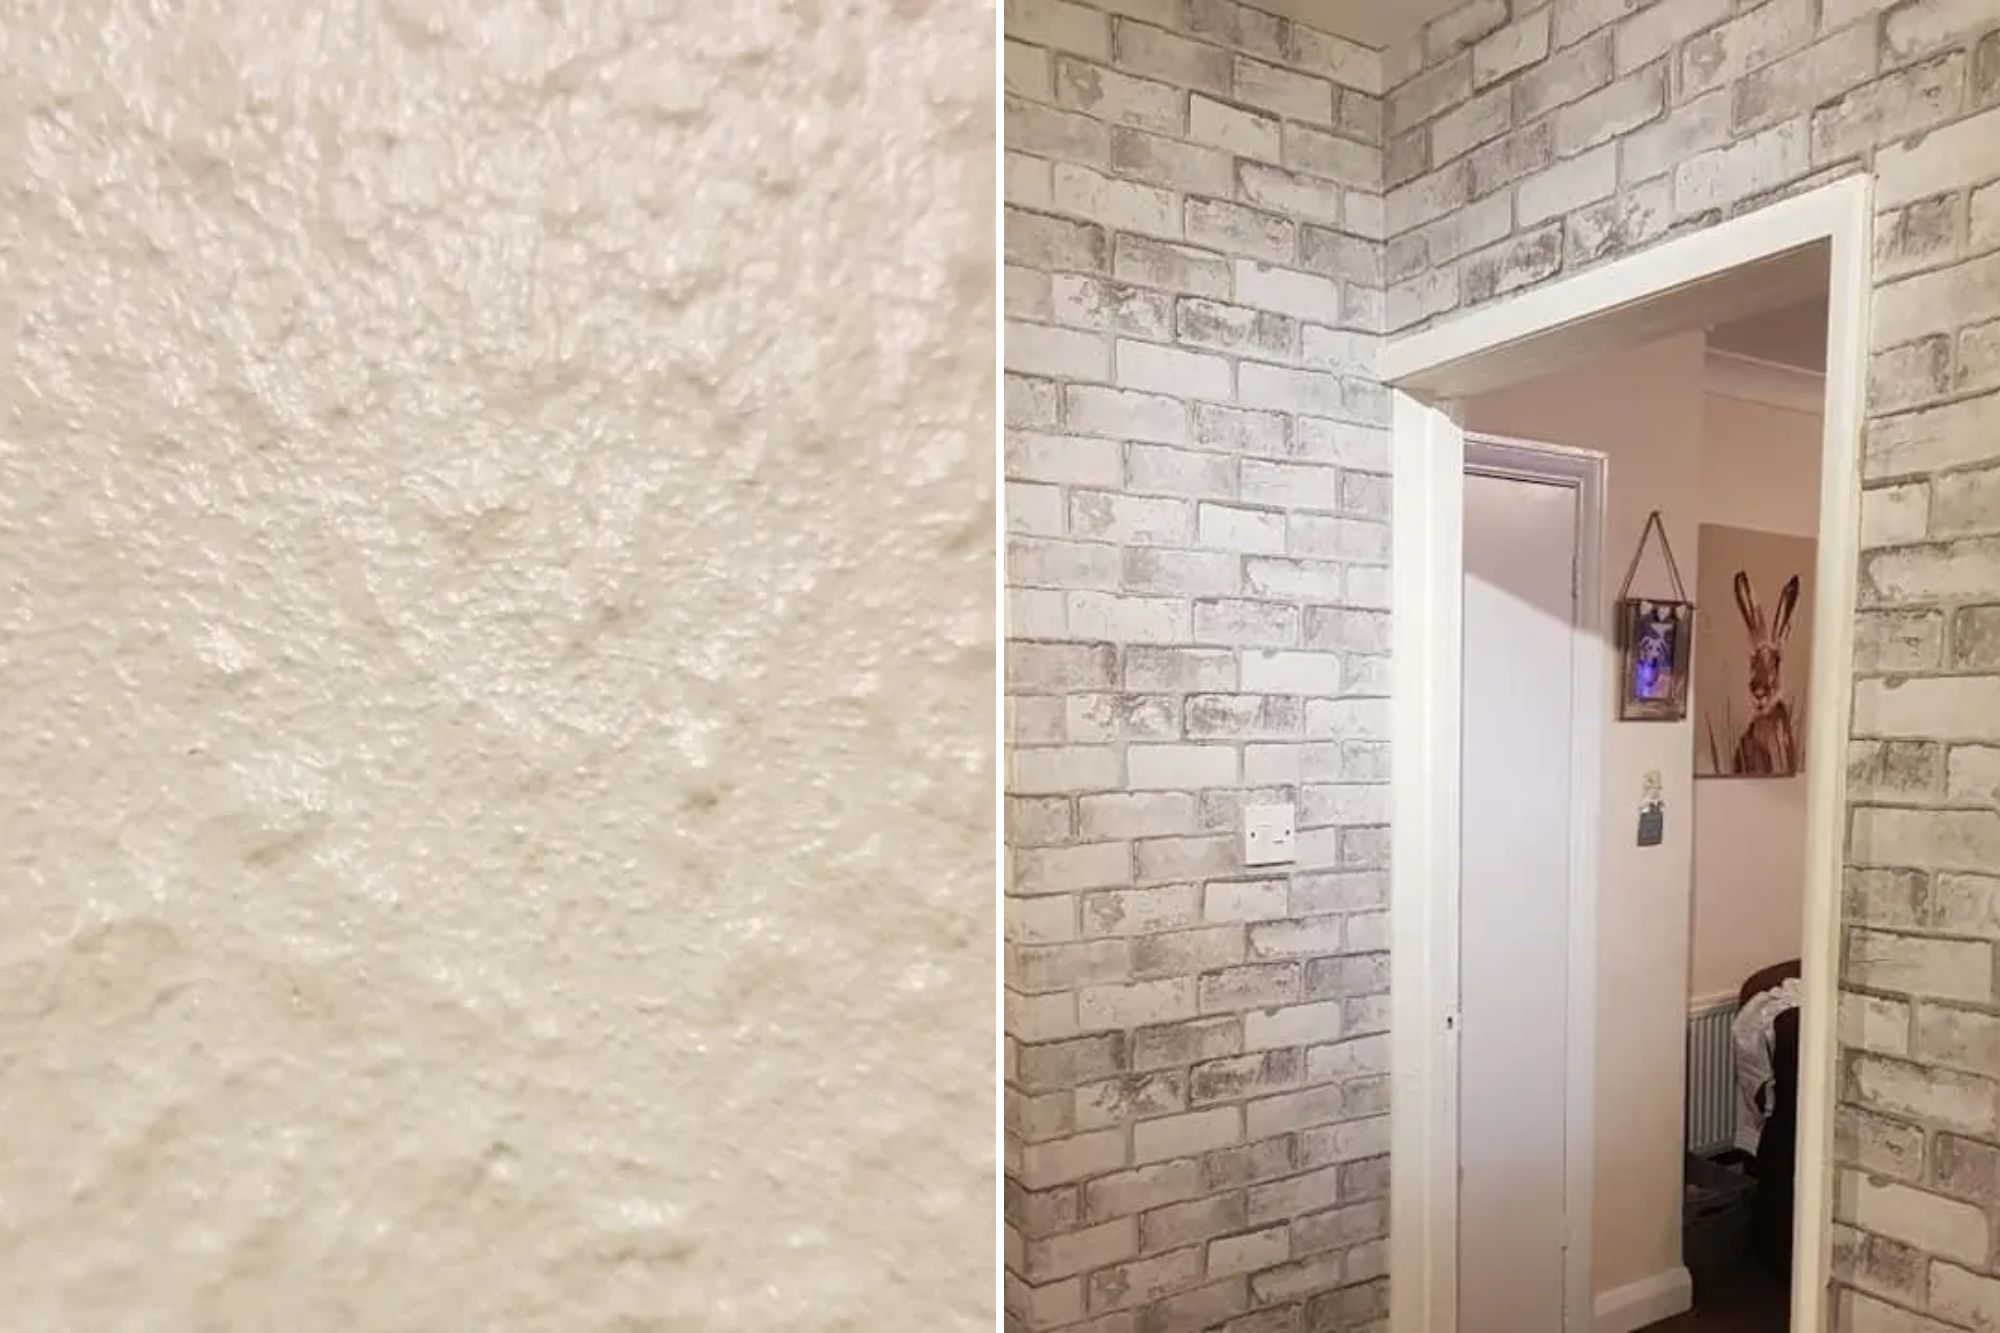
My house had horrible bobbly walls but I couldn’t afford to re-do - a B&Q buy transformed them instantly & looks so good

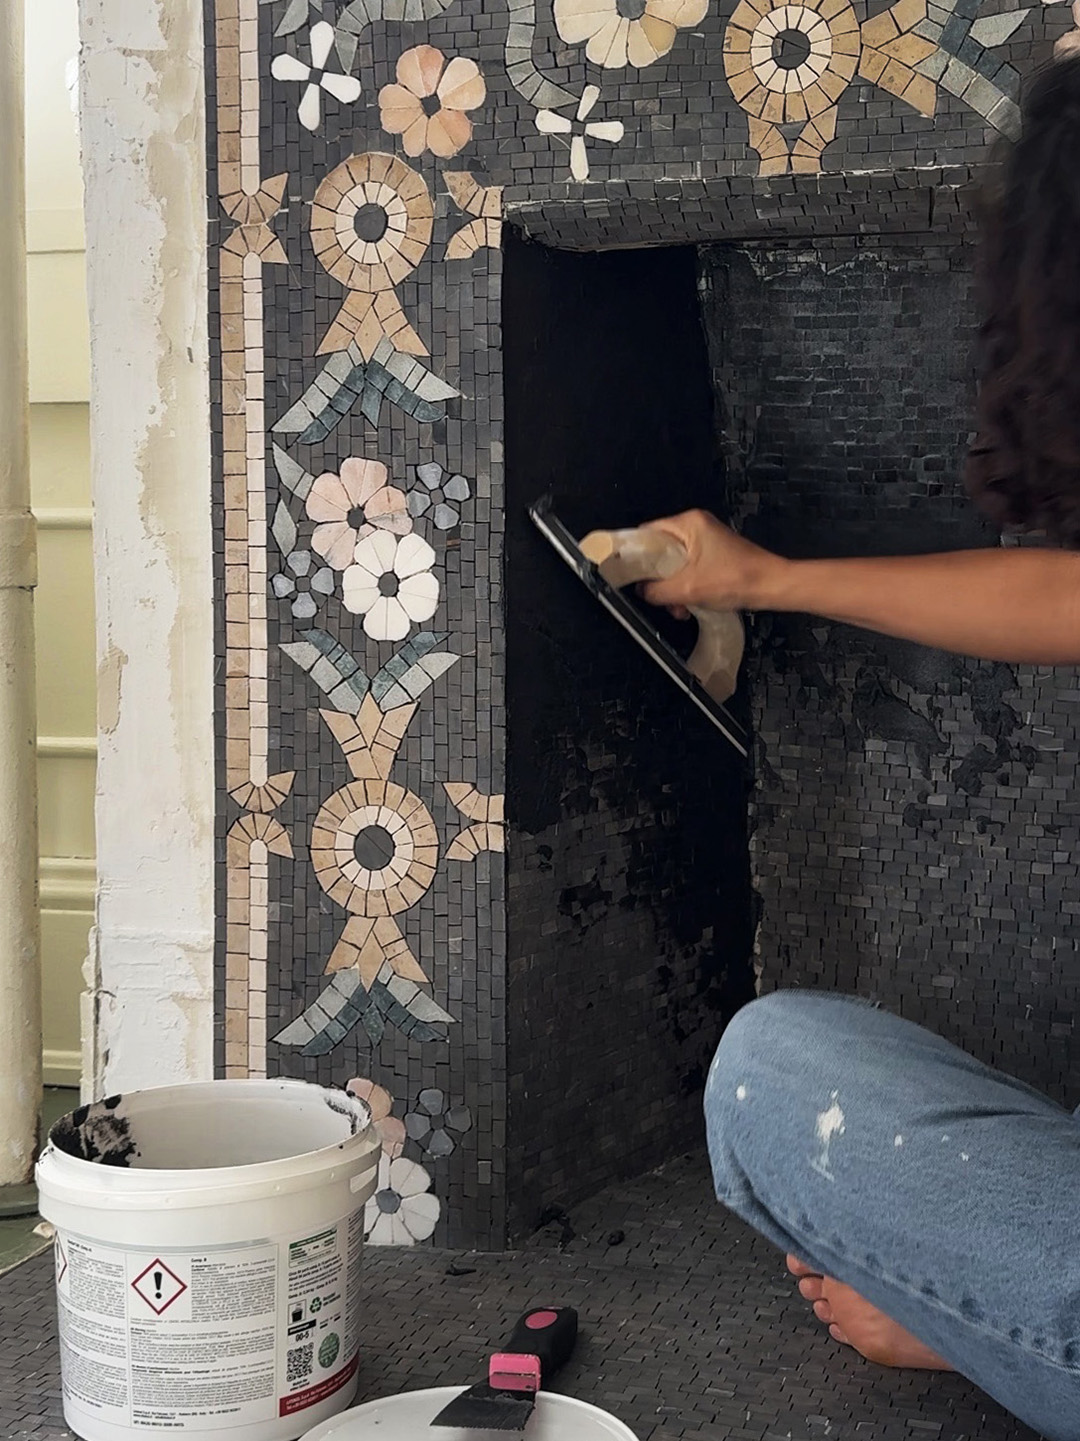
This DIYer Transformed a Nonworking Fireplace Into Her Dining Room’s Romantic Centerpiece

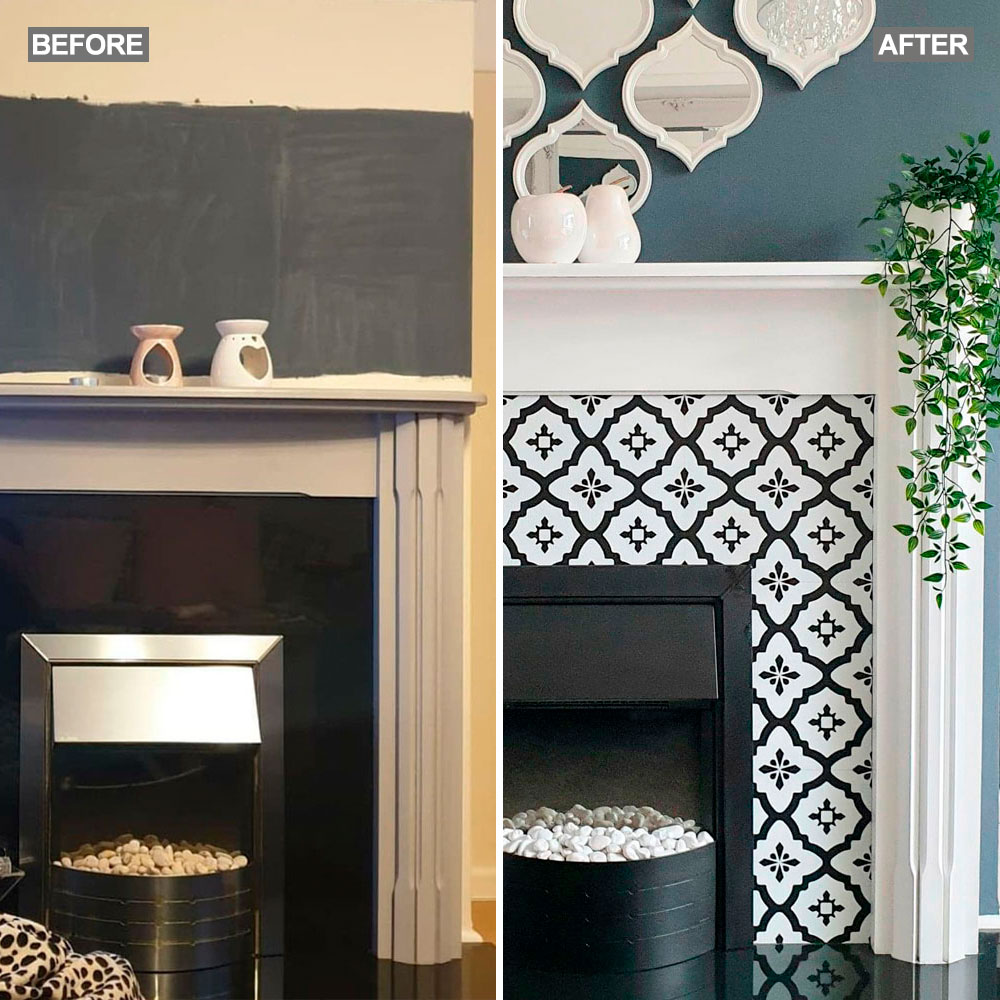
Savvy DIY-er transforms fireplace surround with self adhesive floor tiles and spray paint
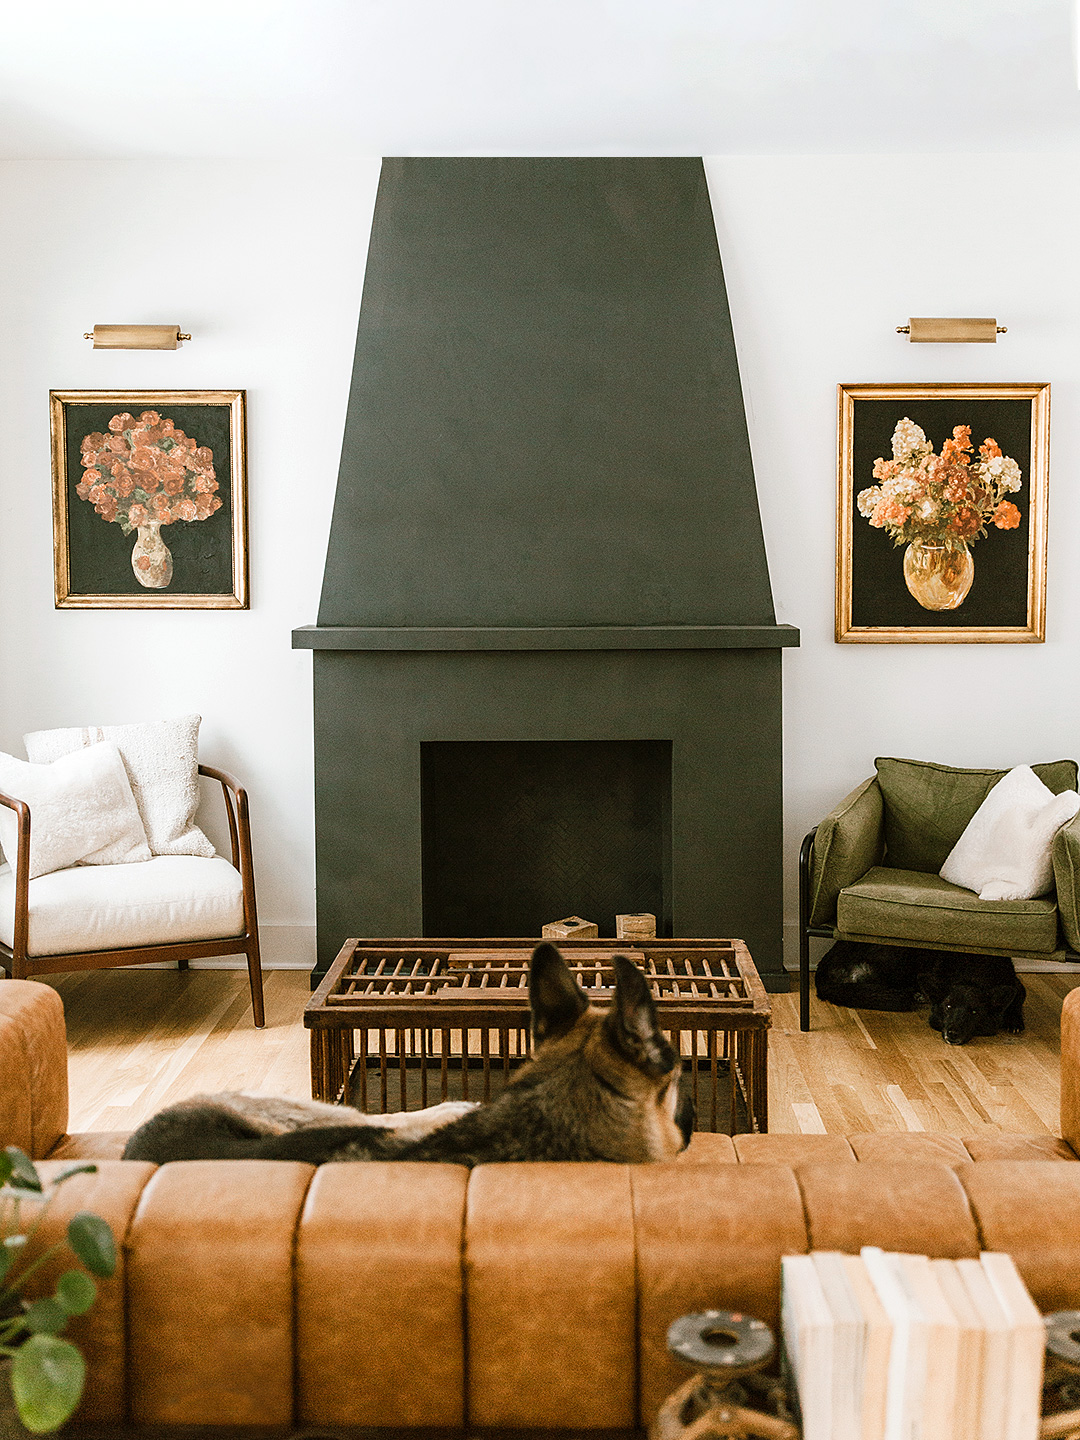
Layer These Paint Colors for the Ultimate "Concrete" Fireplace
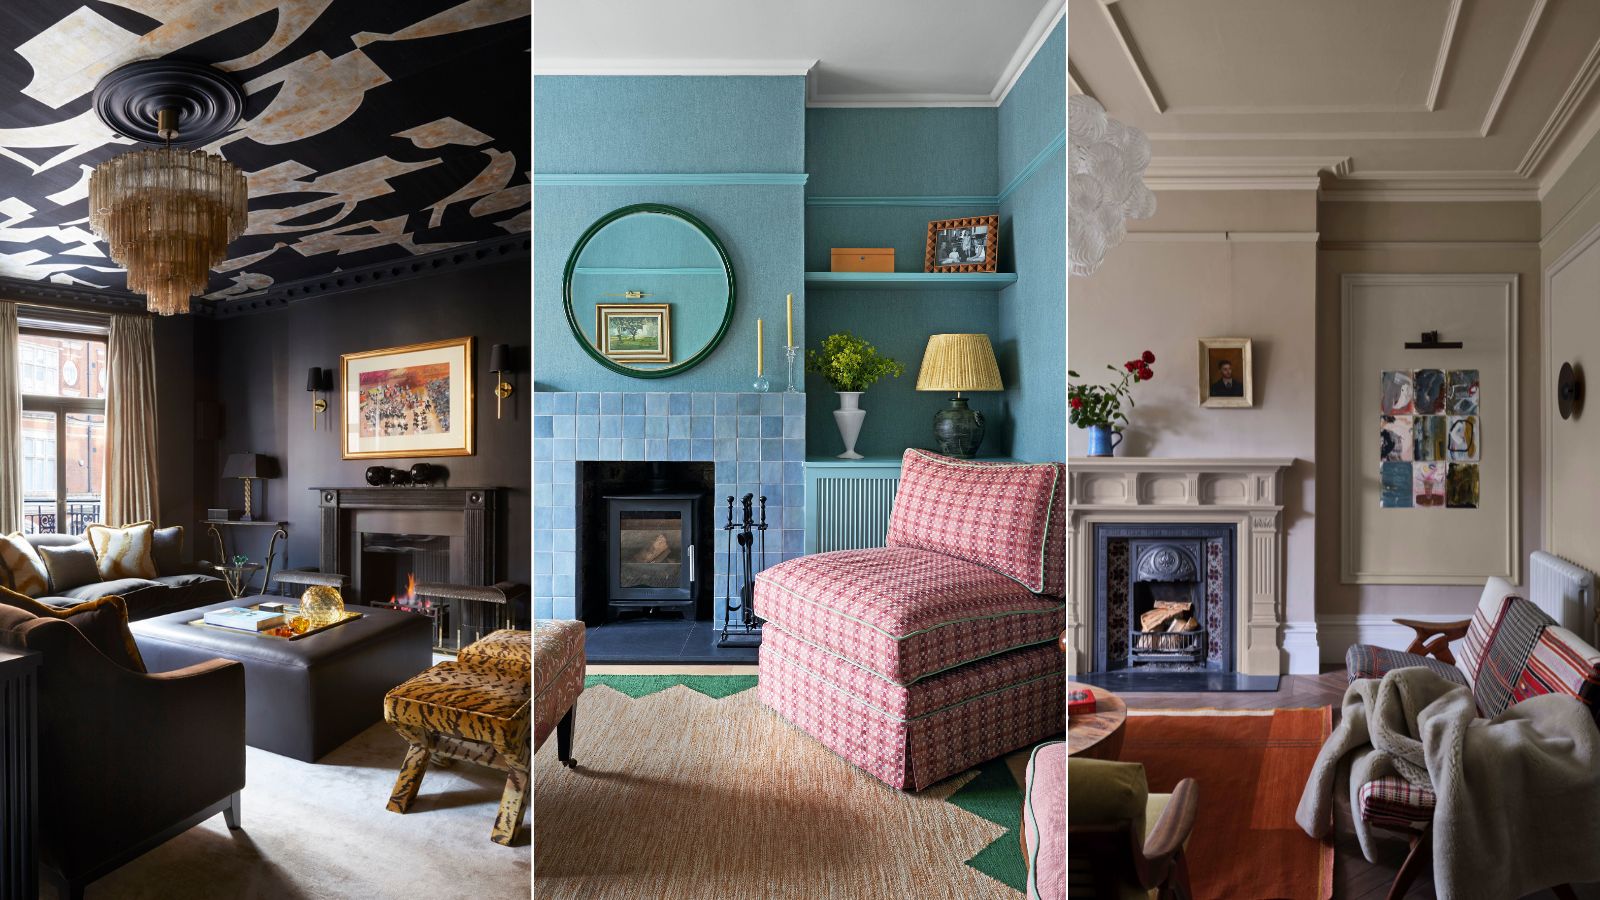
How to update a fireplace – 6 ways to refresh this focal point

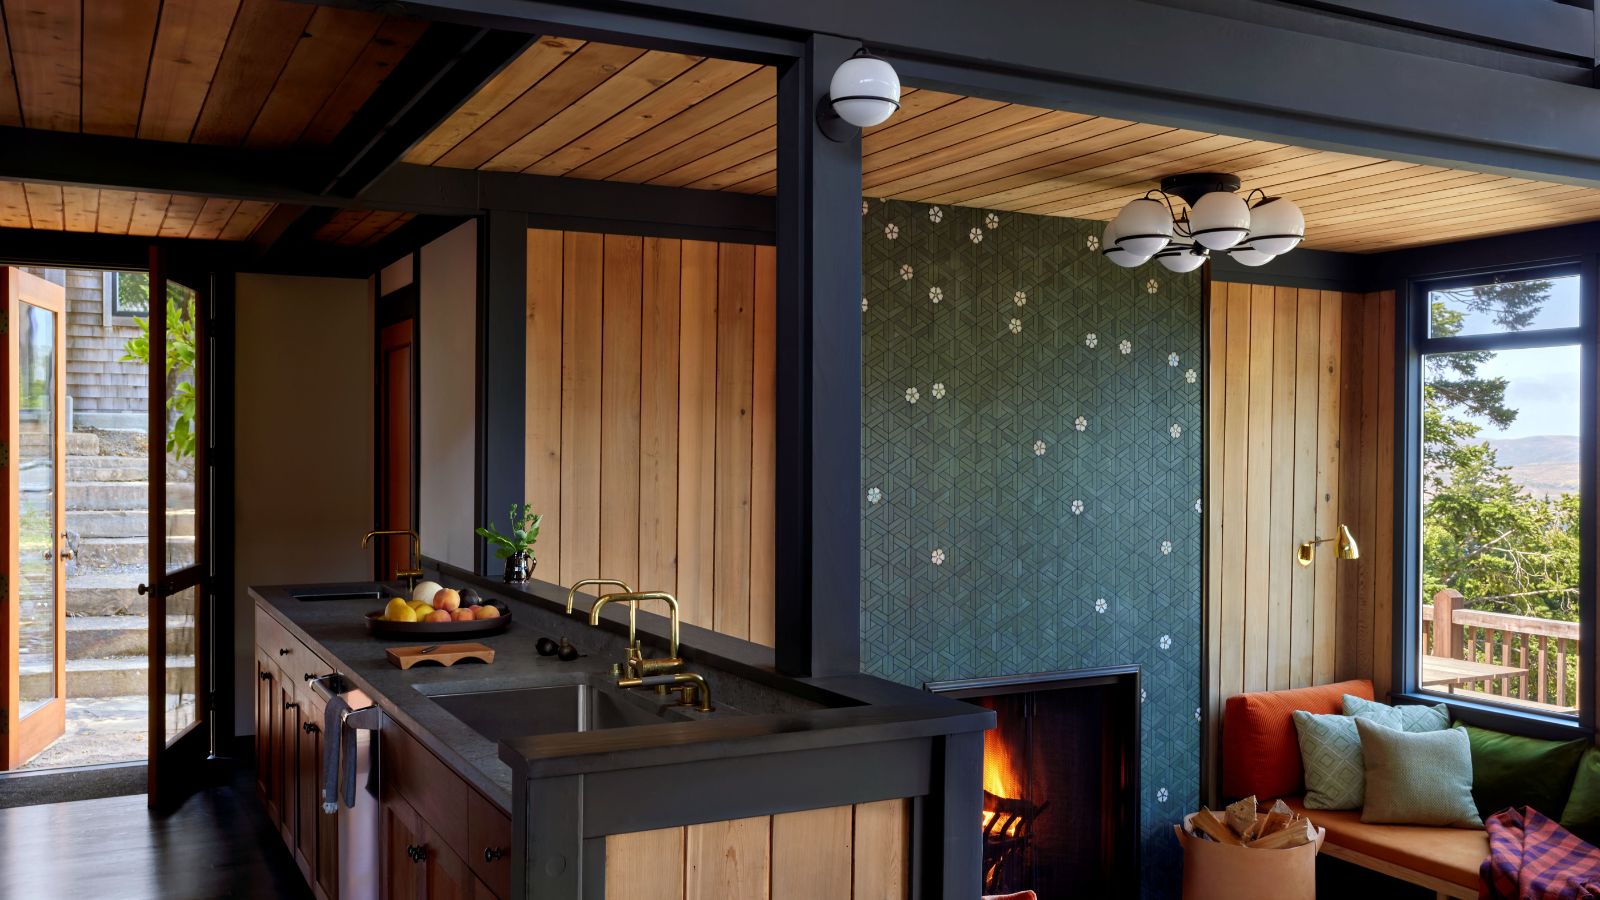
Designers definitely approve of this statement trend that elevates a cozy room
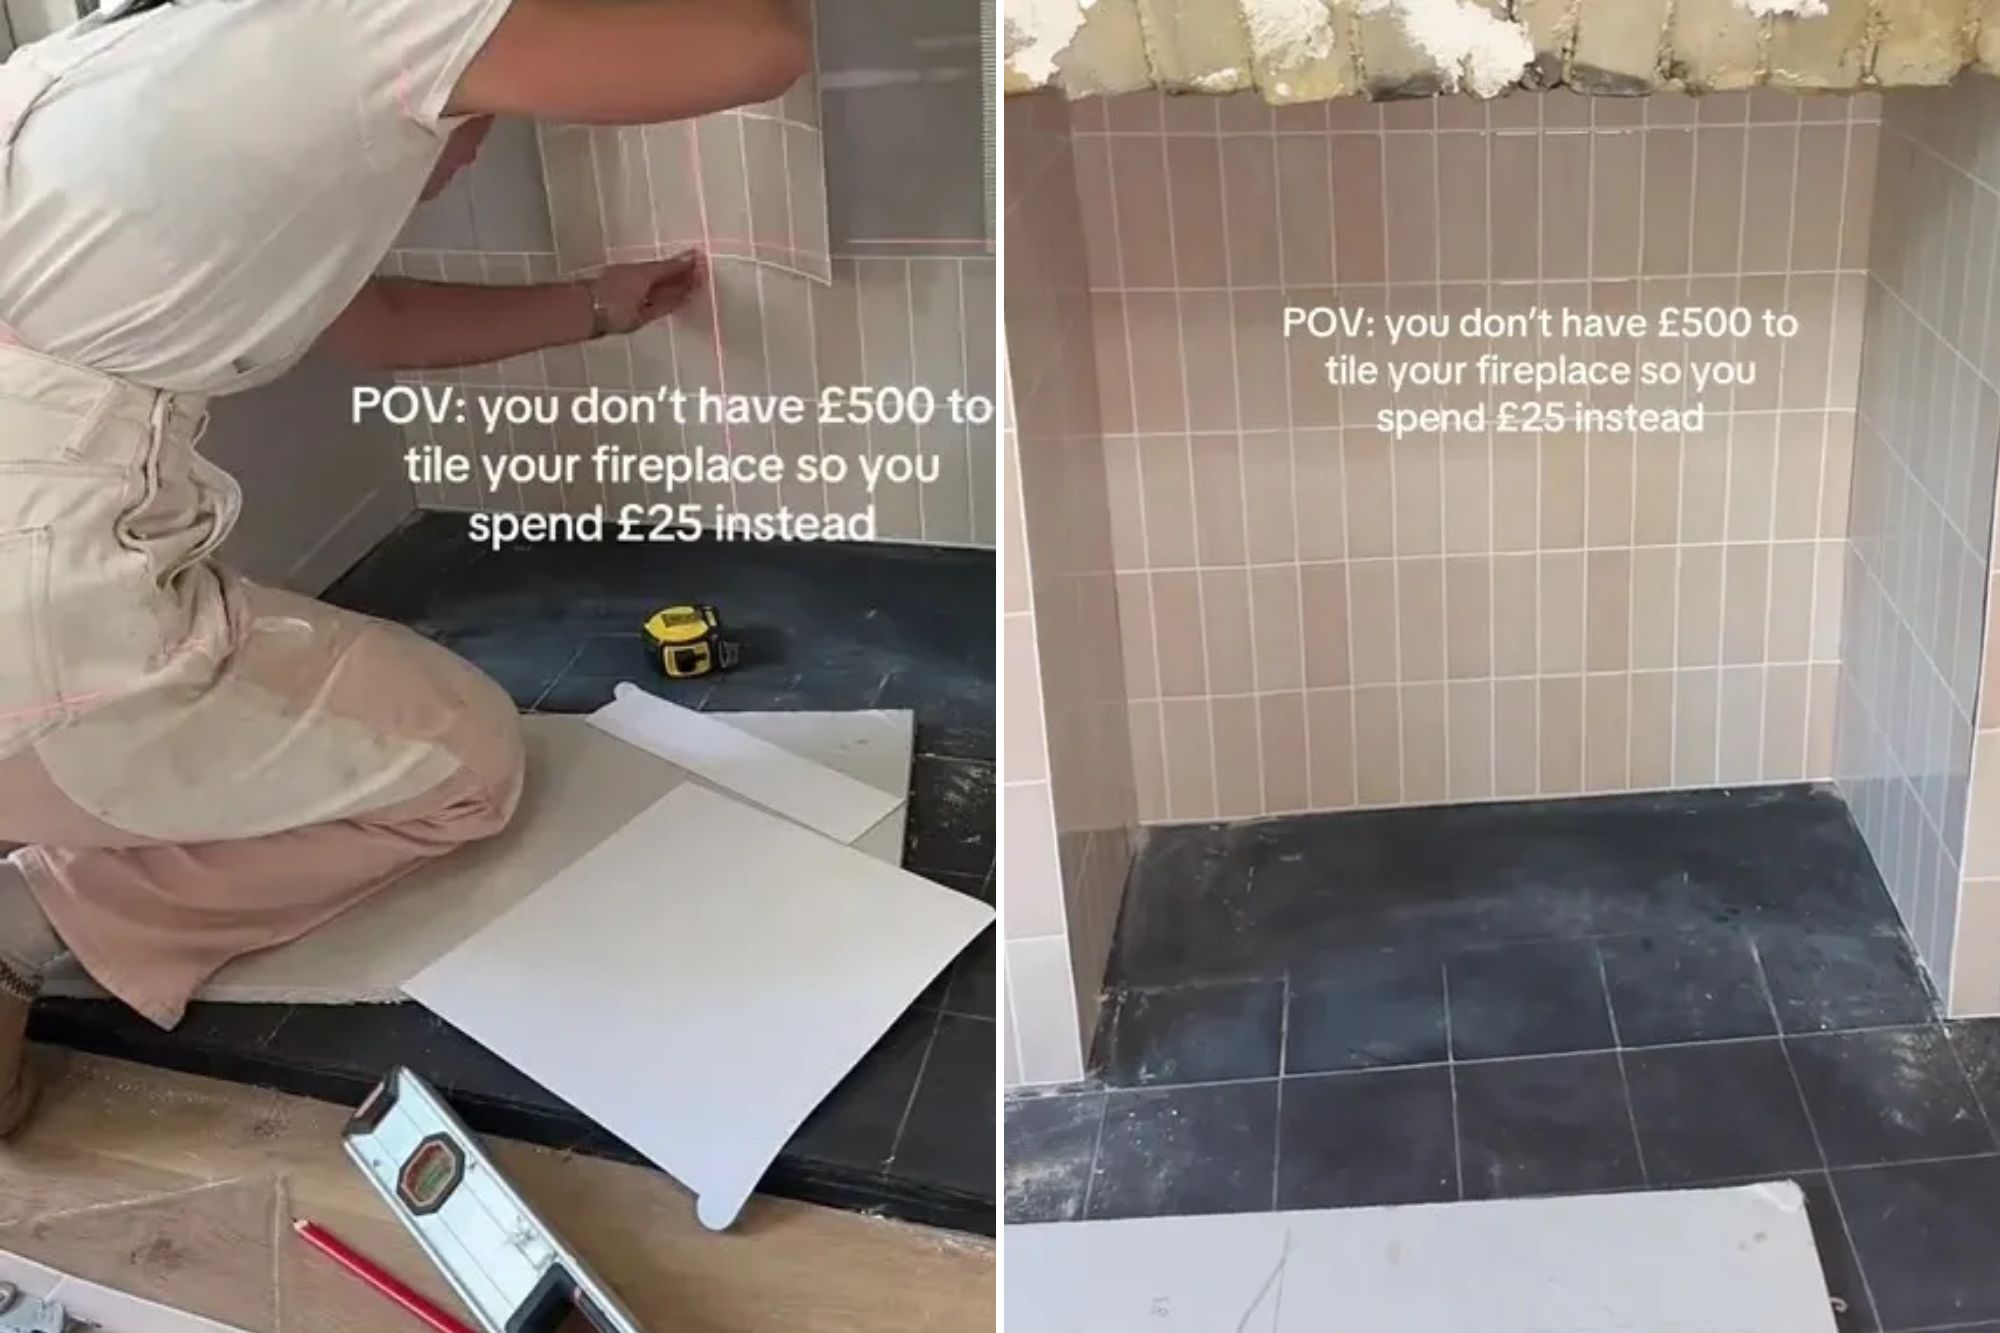
I didn’t have £500 for a new fireplace so transformed it myself for just £25, it took just one hour and no skills

Acme Brick, Tile and Stone – El Paso
Monroe
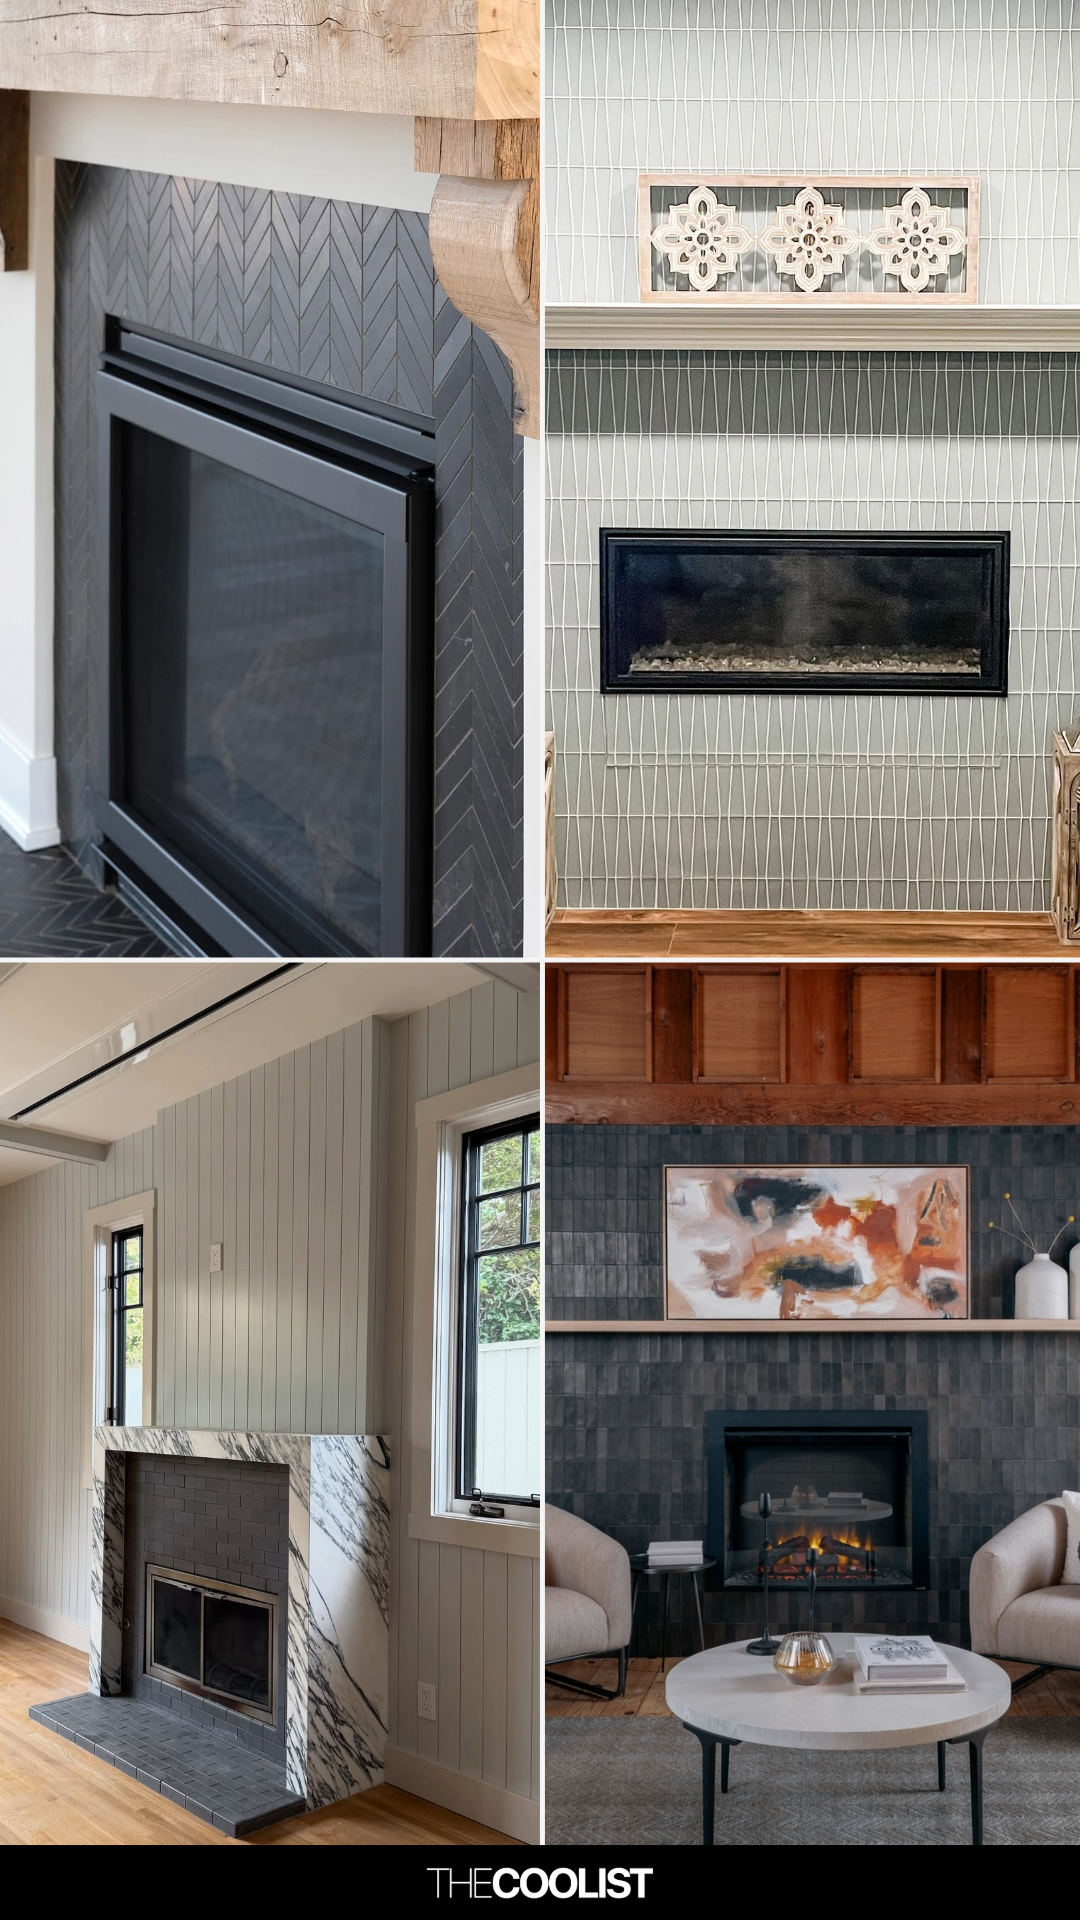
30 Fireplace Tile Ideas That Turn Outdated Fireplaces Into Total Statements