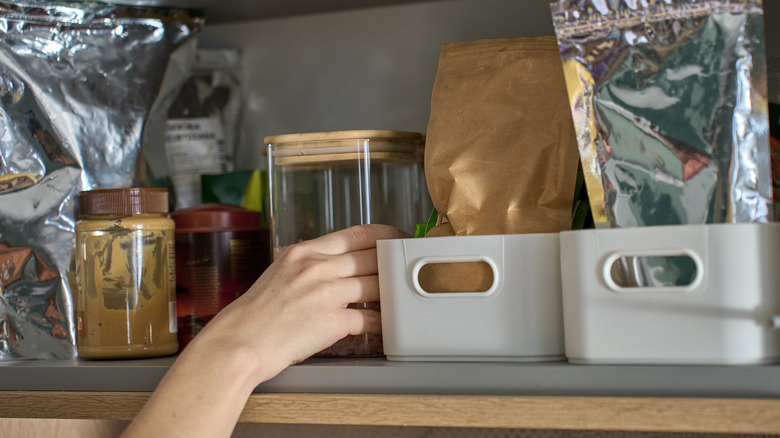
1/2
Unlock Hidden Pantry Storage With This Surprisingly Simple Wall Niche DIY
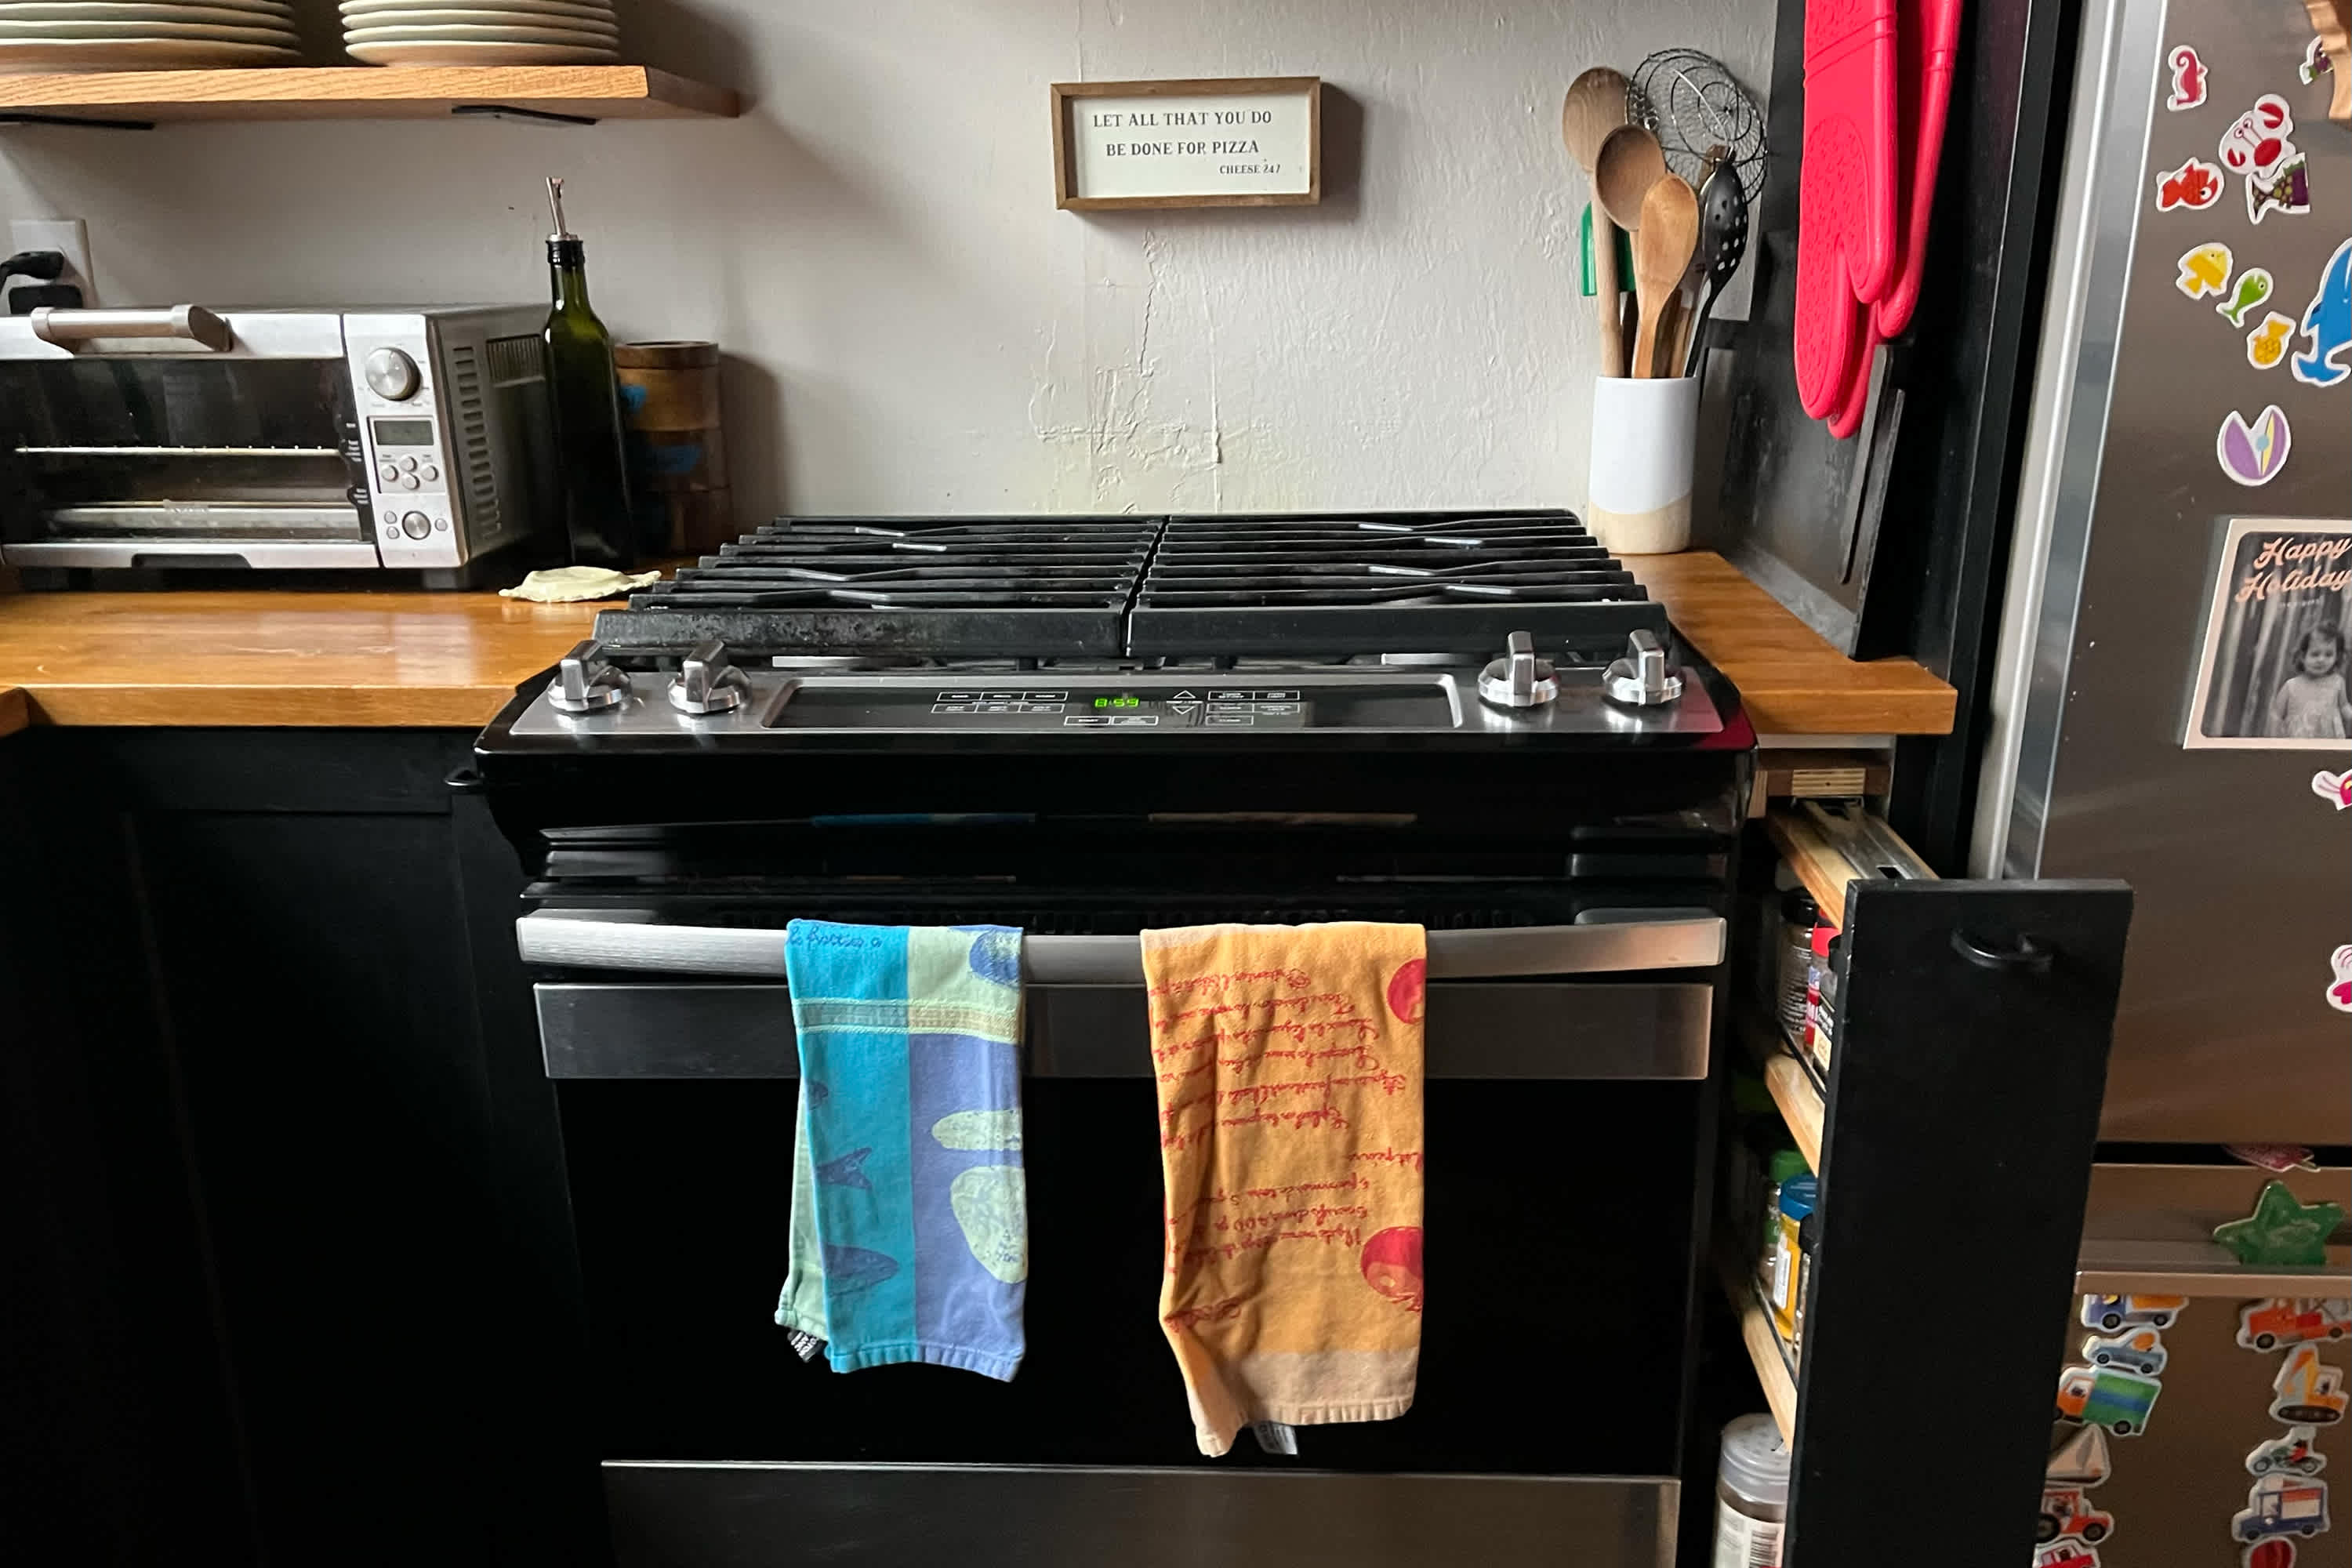
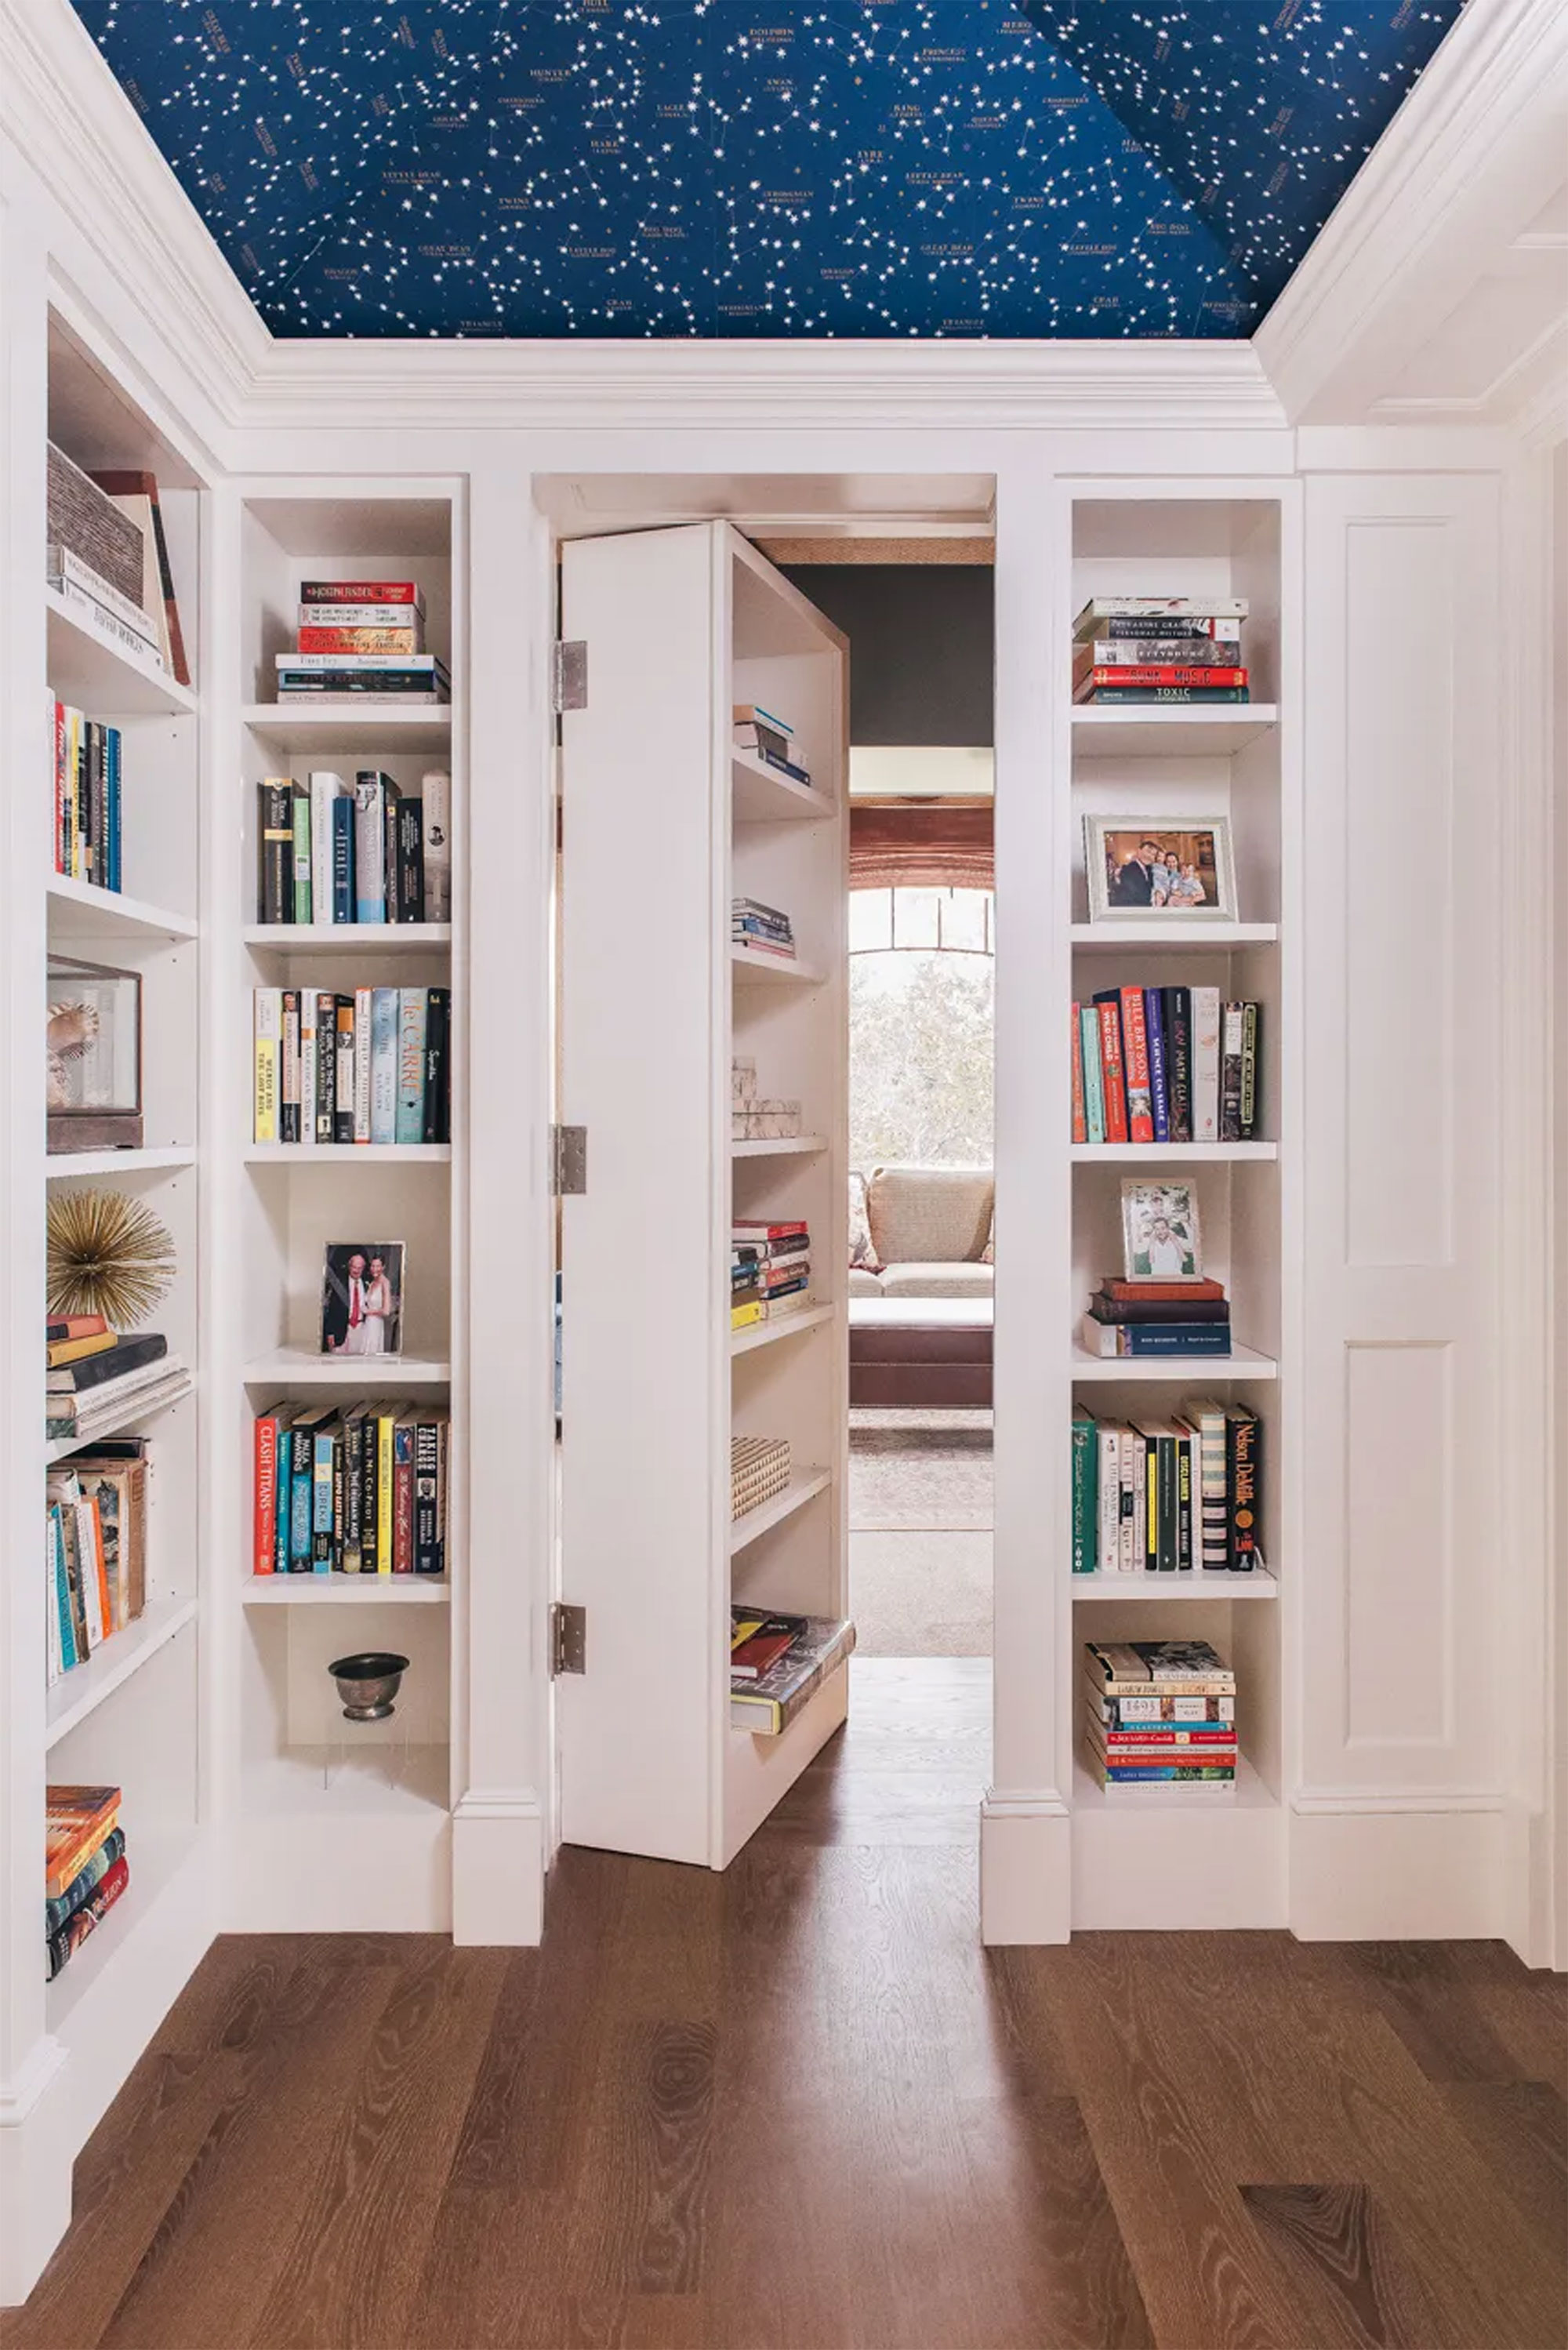
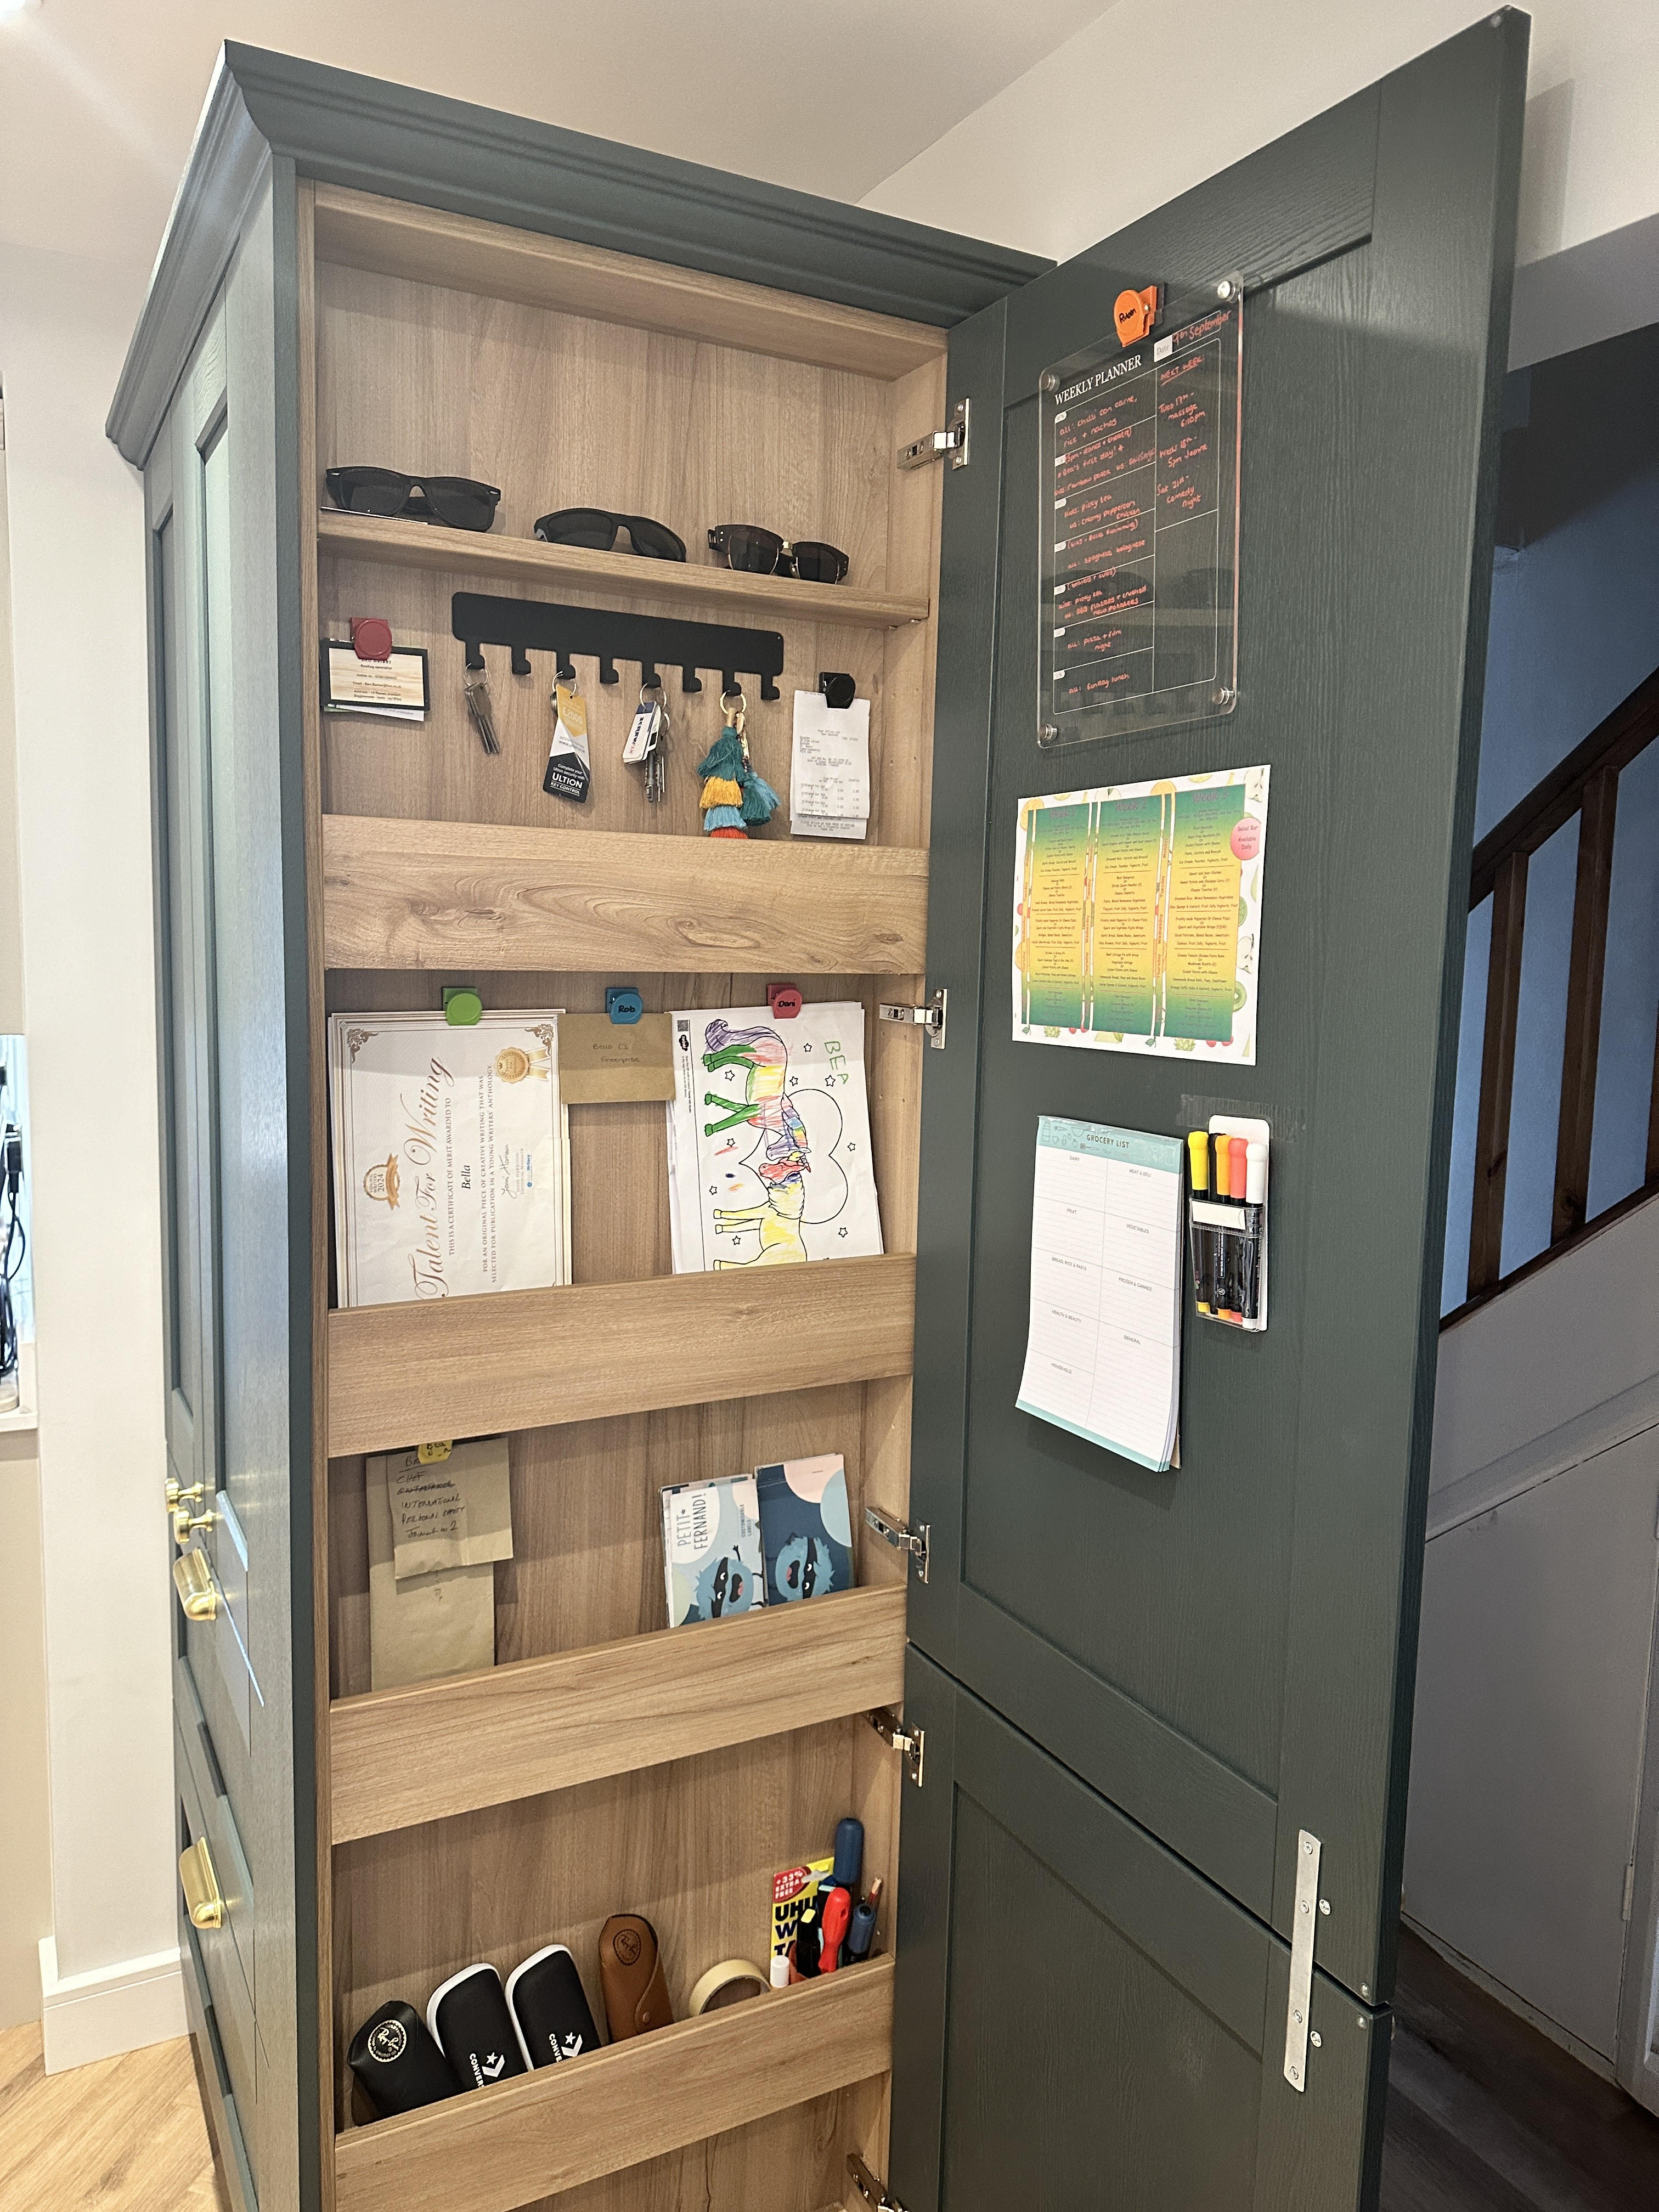
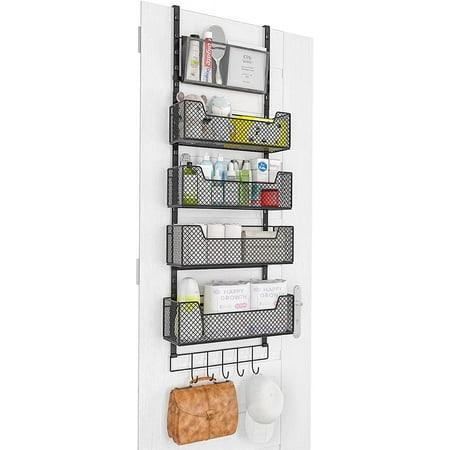
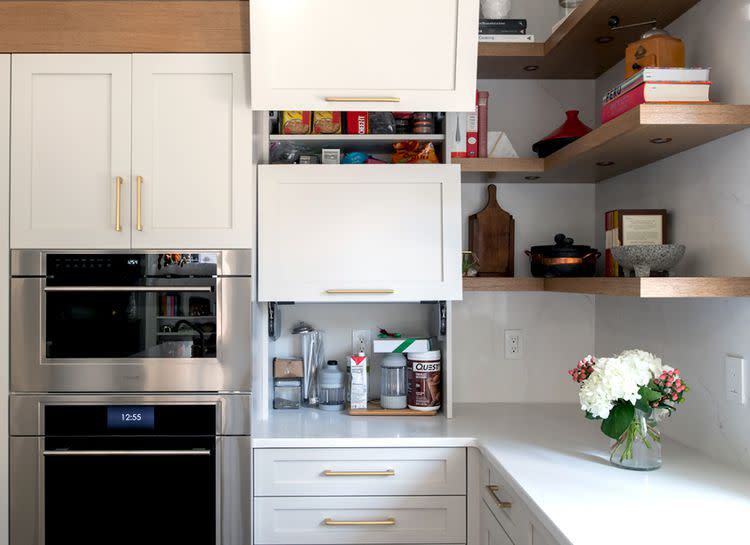
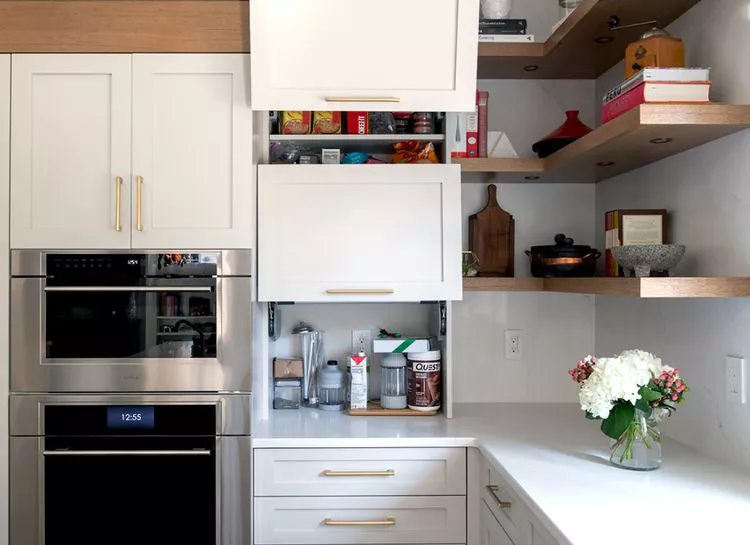
Many homes frequently face a common challenge: a lack of sufficient storage space, particularly in pantries where numerous food items compete for room. A practical and straightforward DIY solution to this problem involves installing a wall niche, or multiple niches, to significantly increase storage capacity without the need for an extensive kitchen pantry renovation. A wall niche is essentially a recessed cubby built directly into the wall, a concept that has gained popularity among designers and homeowners due to its ease of implementation and cost-effectiveness. This DIY project, while requiring several steps, is manageable for individuals with basic tools, some lumber, and a degree of patience.
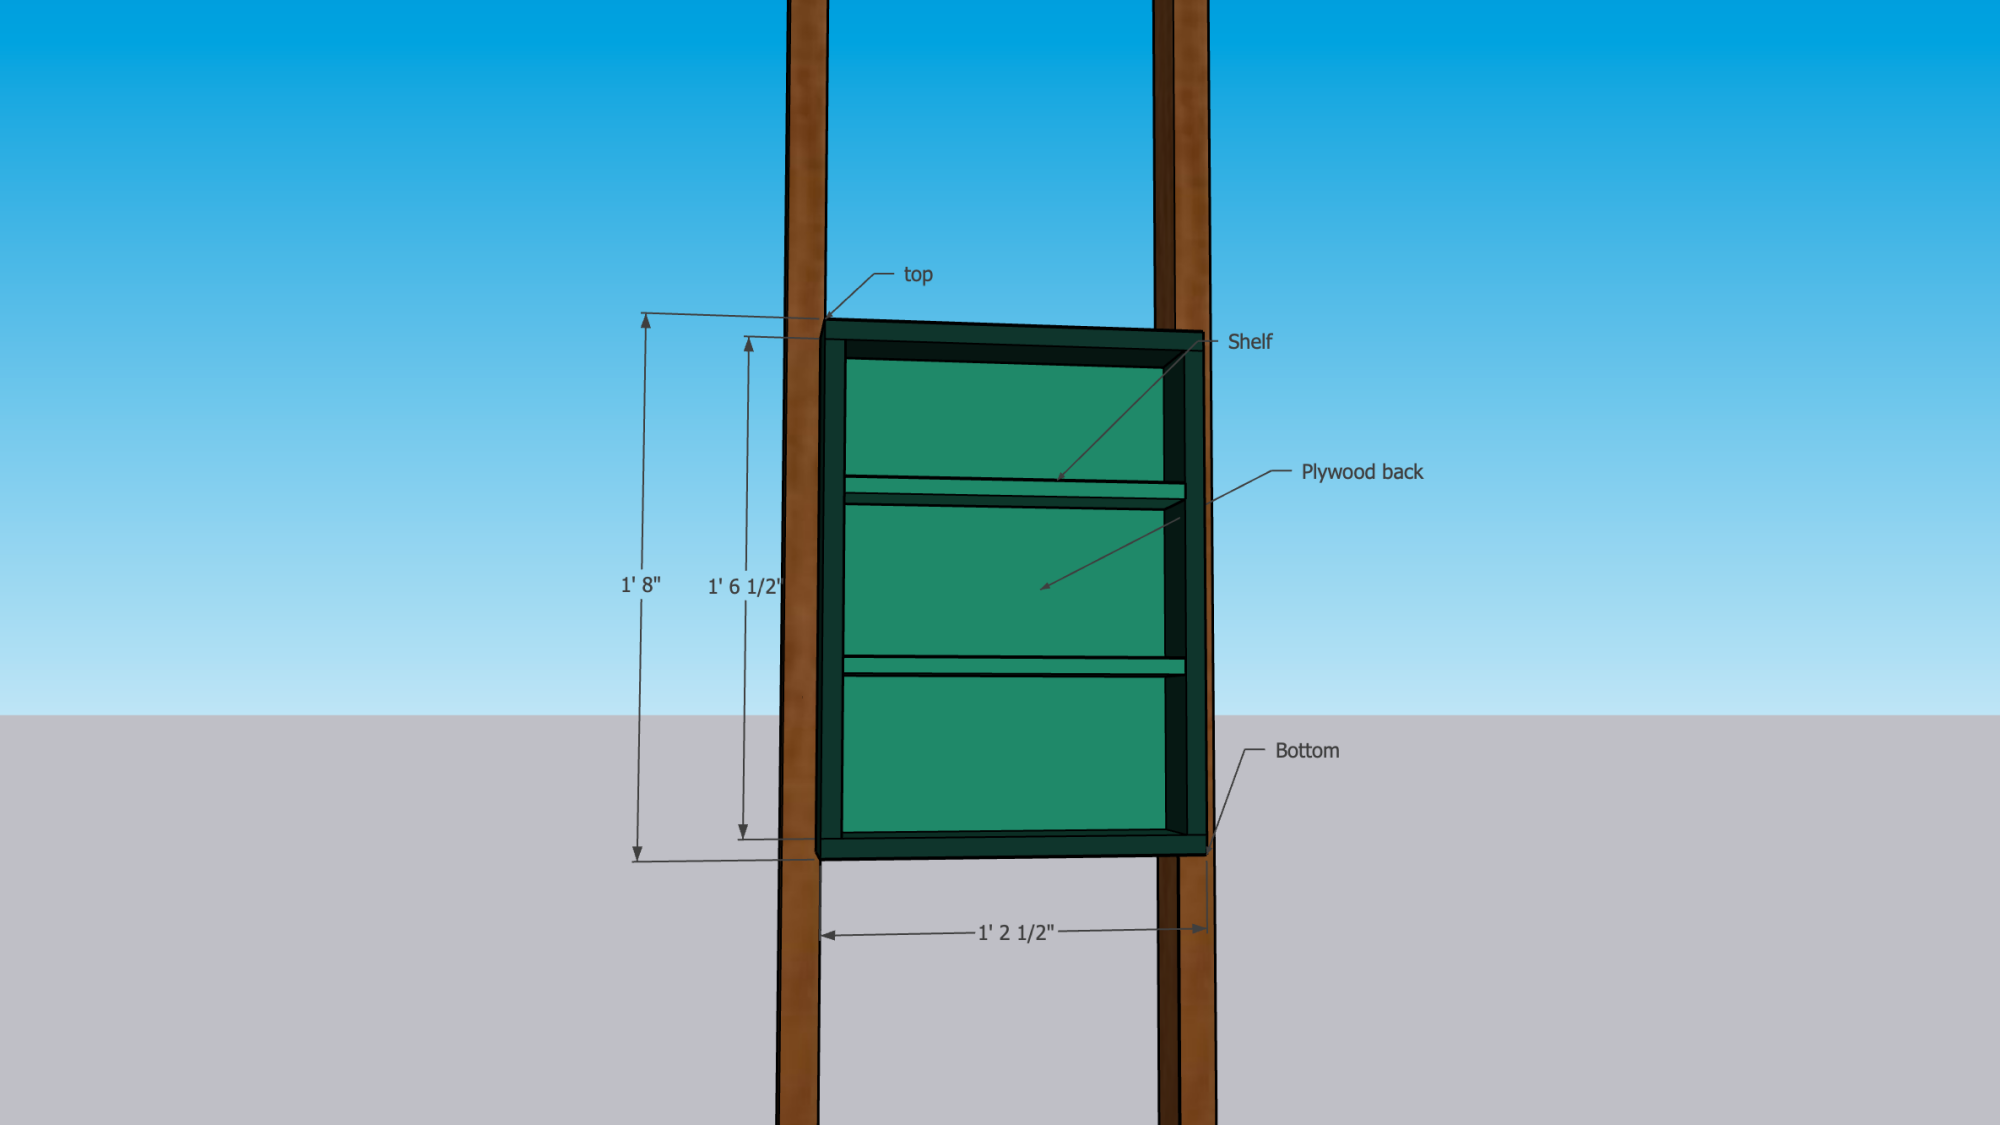
The initial phase of creating a wall niche involves selecting an appropriate location and identifying wall studs. Homeowners must decide whether the shelves will fit between existing studs, which typically provides about 14 inches of space, or if a stud needs to be cut to achieve a wider niche. The process begins by carefully cutting the drywall to the desired dimensions and shape using a drywall saw or an oscillating tool equipped with a drywall blade. If a stud obstructs the planned niche, the section of the stud where the shelves will be placed must be removed. In such instances, it is crucial to use additional beams, such as 2x4s, to frame the inside of the cubby and ensure that the cut stud is adequately supported, maintaining the structural integrity of the wall.
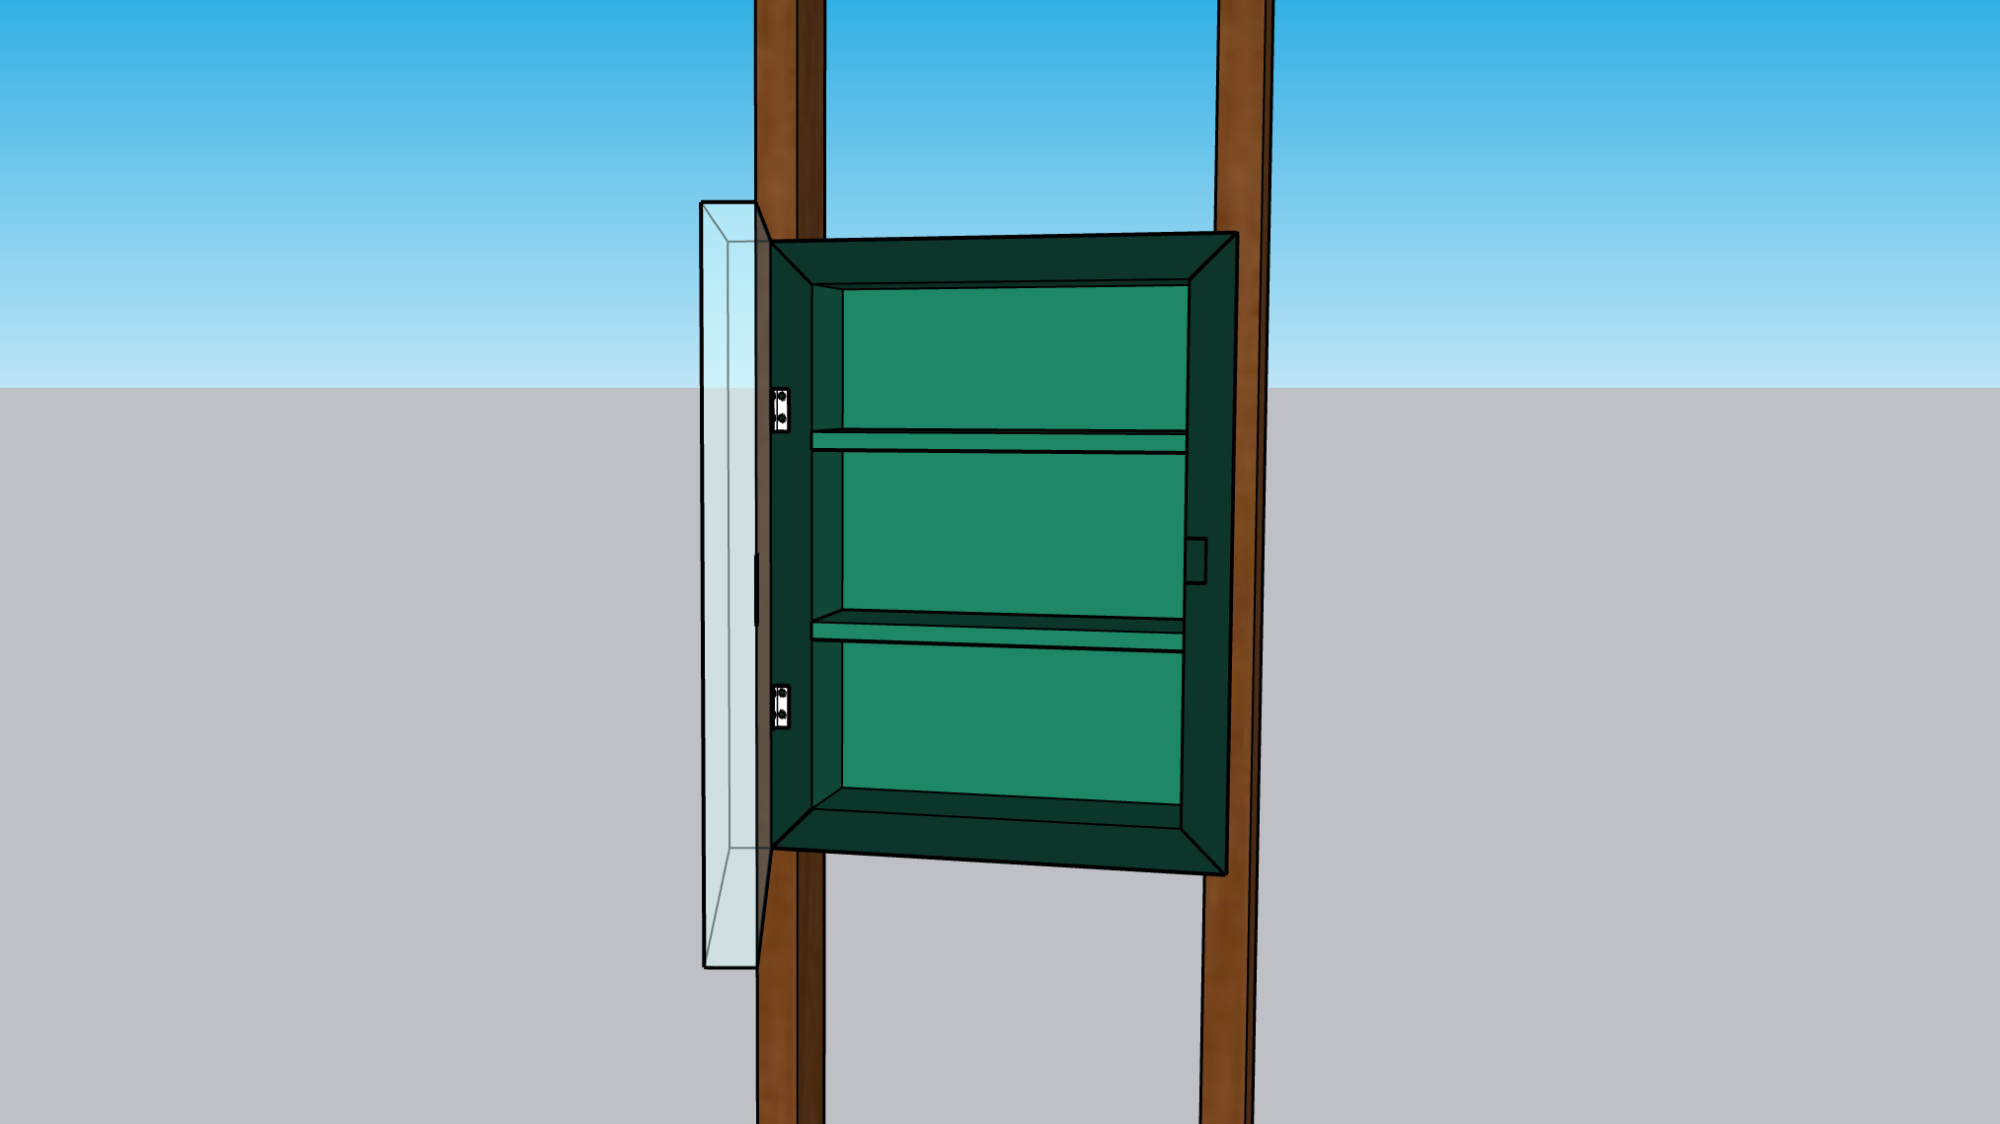
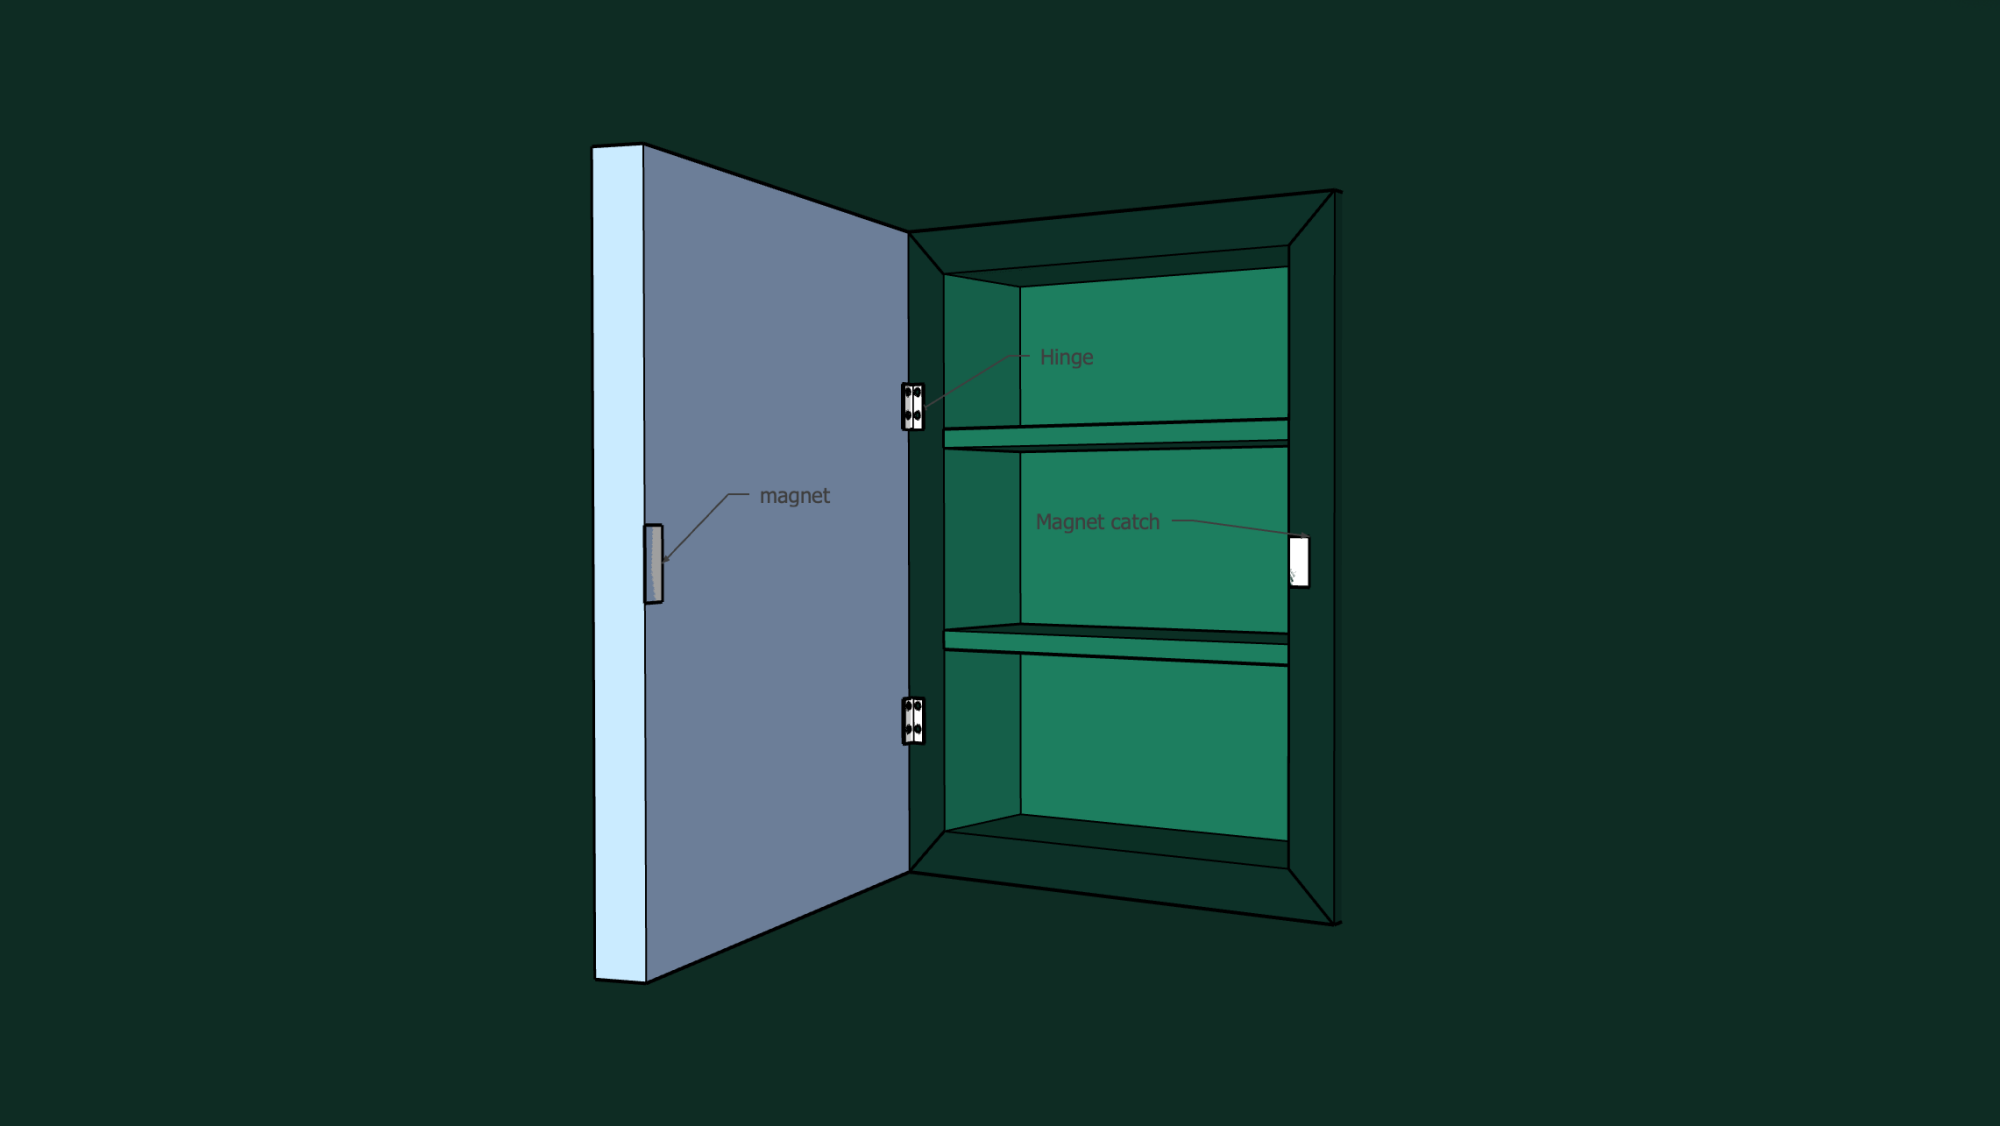
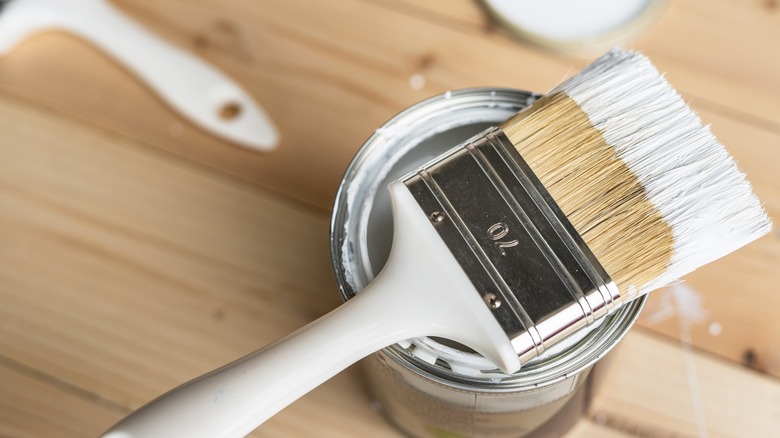
Once the opening is prepared, the next step involves installing the shelves. While pre-made options like recessed medicine cabinets are available, building custom shelves offers the advantage of cost savings and personalized aesthetics. For a DIY approach, plywood pieces can be cut to form a box that precisely fits within the wall opening. This box is then secured using wood glue and nails. To enhance the visual appeal and provide a more finished look, a veneer panel can be added to the back of the shelf frame. The assembled frame is then installed into the wall opening by nailing it into the studs. Subsequently, the individual shelves, cut to the appropriate size, are attached inside the frame. Typically, a depth of 3½ inches is available, though shelves can be extended slightly beyond the frame for additional storage. To conceal any gaps or rough edges around the frame, trim pieces are added to the perimeter. For an elevated design, decorative molding can be incorporated onto the front of the shelves. The final touch involves painting the entire unit and the trim, with a suggestion to use a trim color other than traditional white to make the niche a distinctive feature.
Before initiating any cuts into the drywall, it is imperative to verify that there are no hidden pipes or electrical wires within the wall. Encountering such obstacles would necessitate selecting an alternative location or engaging a professional to reroute these lines, which could incur additional hassle and expense. If these potential issues can be avoided, constructing a pantry niche stands as a straightforward and economical project capable of significantly enhancing pantry storage and organization.
#PantryStorage #DIYHomeImprovement #WallNiche #KitchenOrganization #HomeStorageSolutions #InteriorRemodel #CustomShelves #HomeDesignHacks #PantryStorage #DIYHomeImprovement #WallNiche #KitchenOrganization #HomeStorageSolutions #InteriorRemodel #CustomShelves #HomeDesignHacks
合計0件のコメント
 まだコメントはありません
あなたも好きかもしれません
You Can Build a Hidden Cupboard Into a Wall

This Custom Wall of Closets Has a Storage Surprise Hidden in the Center

Mum transforms cupboard under the stairs into a handy pantry for £50

No pantry? No problem! This viral hack shows you how to make one using a display cabinet

This “Hidden” Storage Trick Makes the Most Out of My Kitchen’s Awkward Dead Space (It’s So Smart!)
37 Cute Home Decor Items That Add Secret Storage

The Murphy Door Is the Hidden Storage Solution We’ve Been Waiting For

These floating wall shelves for books transformed by bedroom

16 Hidden Door Ideas — Make Your Home Super Streamlined by Concealing Passages and Storage
10 Hidden Pantry Ideas That Beautifully Conceal Snacks, Seasonings, and More

10 Clever Ways to Sneak Storage Into Your Renovation

10 creative ways to hide clutter before company arrives

Organize Your Home By Using This Dead Space As Hidden Storage
You've Got to See This Hidden Storage Unit for a Mudroom
10 Decorating Ideas For Your Wall Niche

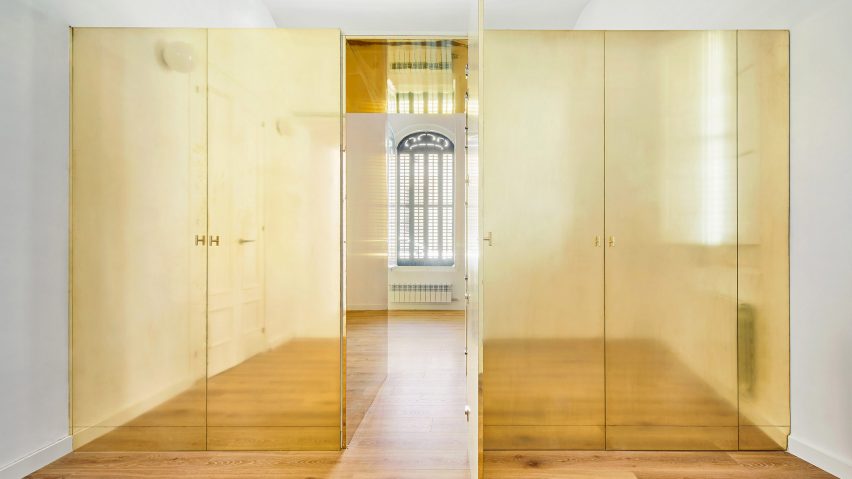
Seven interiors where doors and panels hide secret rooms
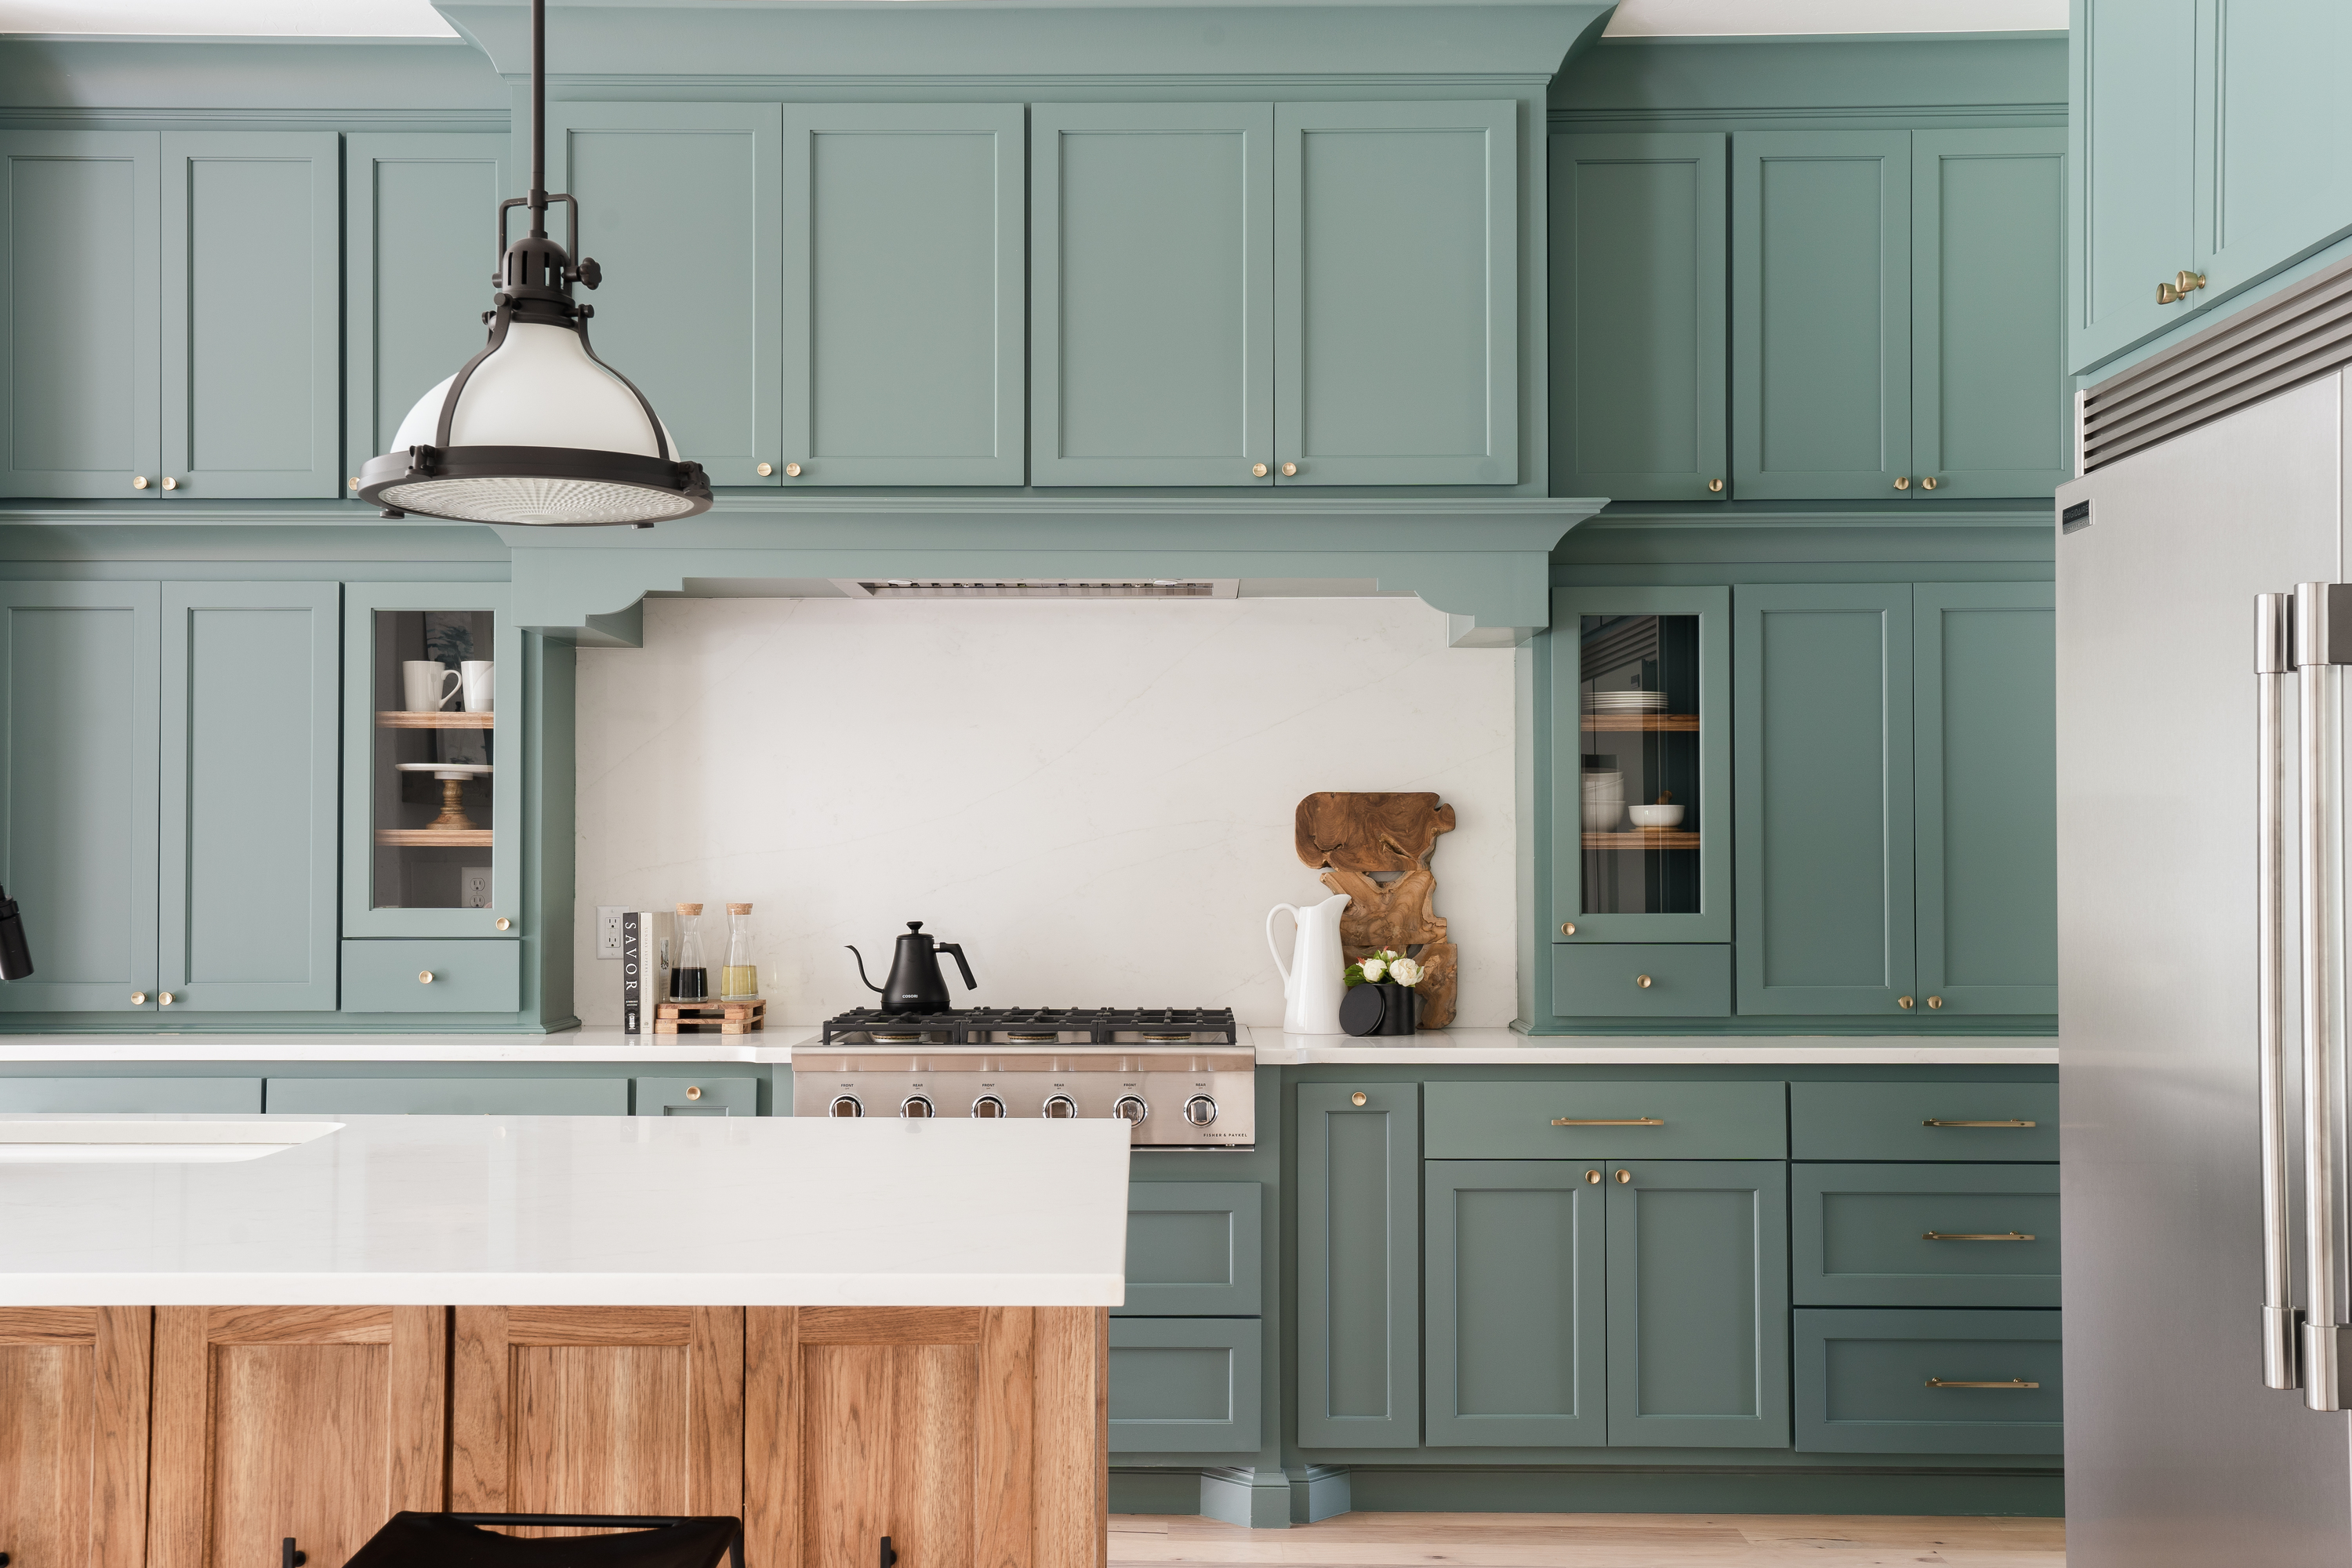
This Genius "Hidden" Kitchen Storage Is the Perfect Swap for Your Unorganized Junk Drawer
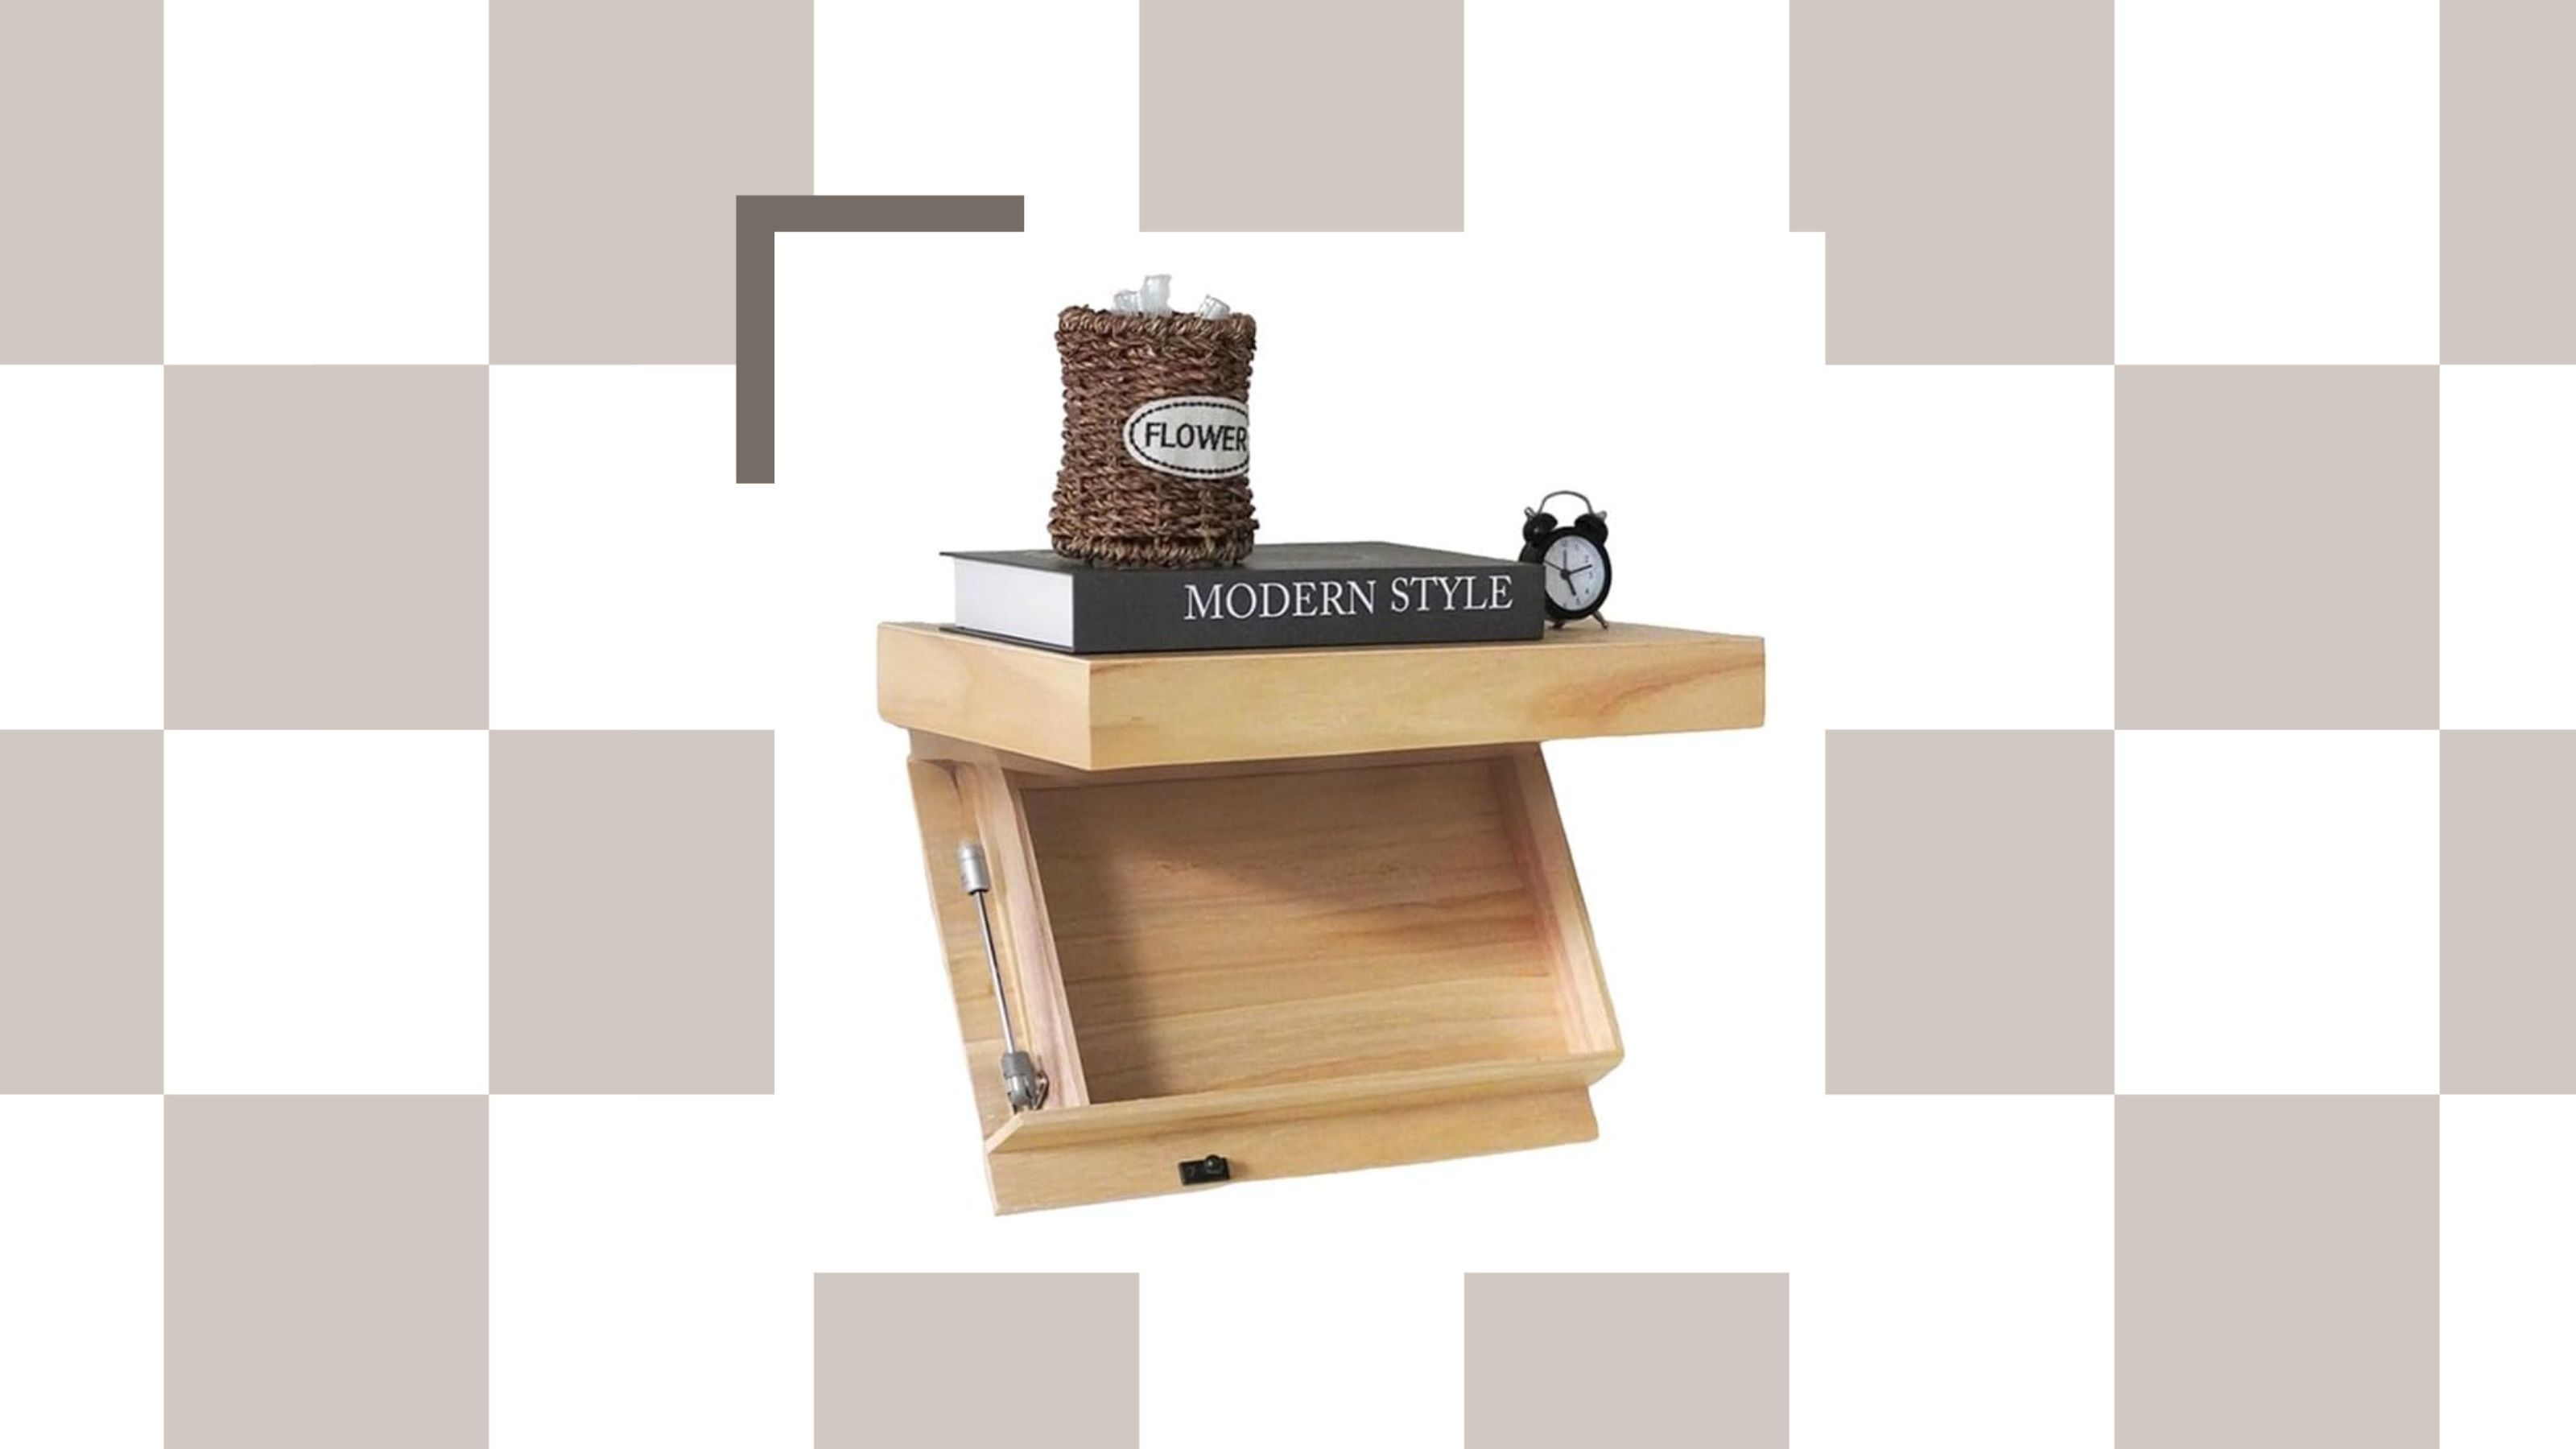
I Found This Floating Shelf With a Hidden Compartment That Is Such a Clever Way to Add Extra Storage to Your Home
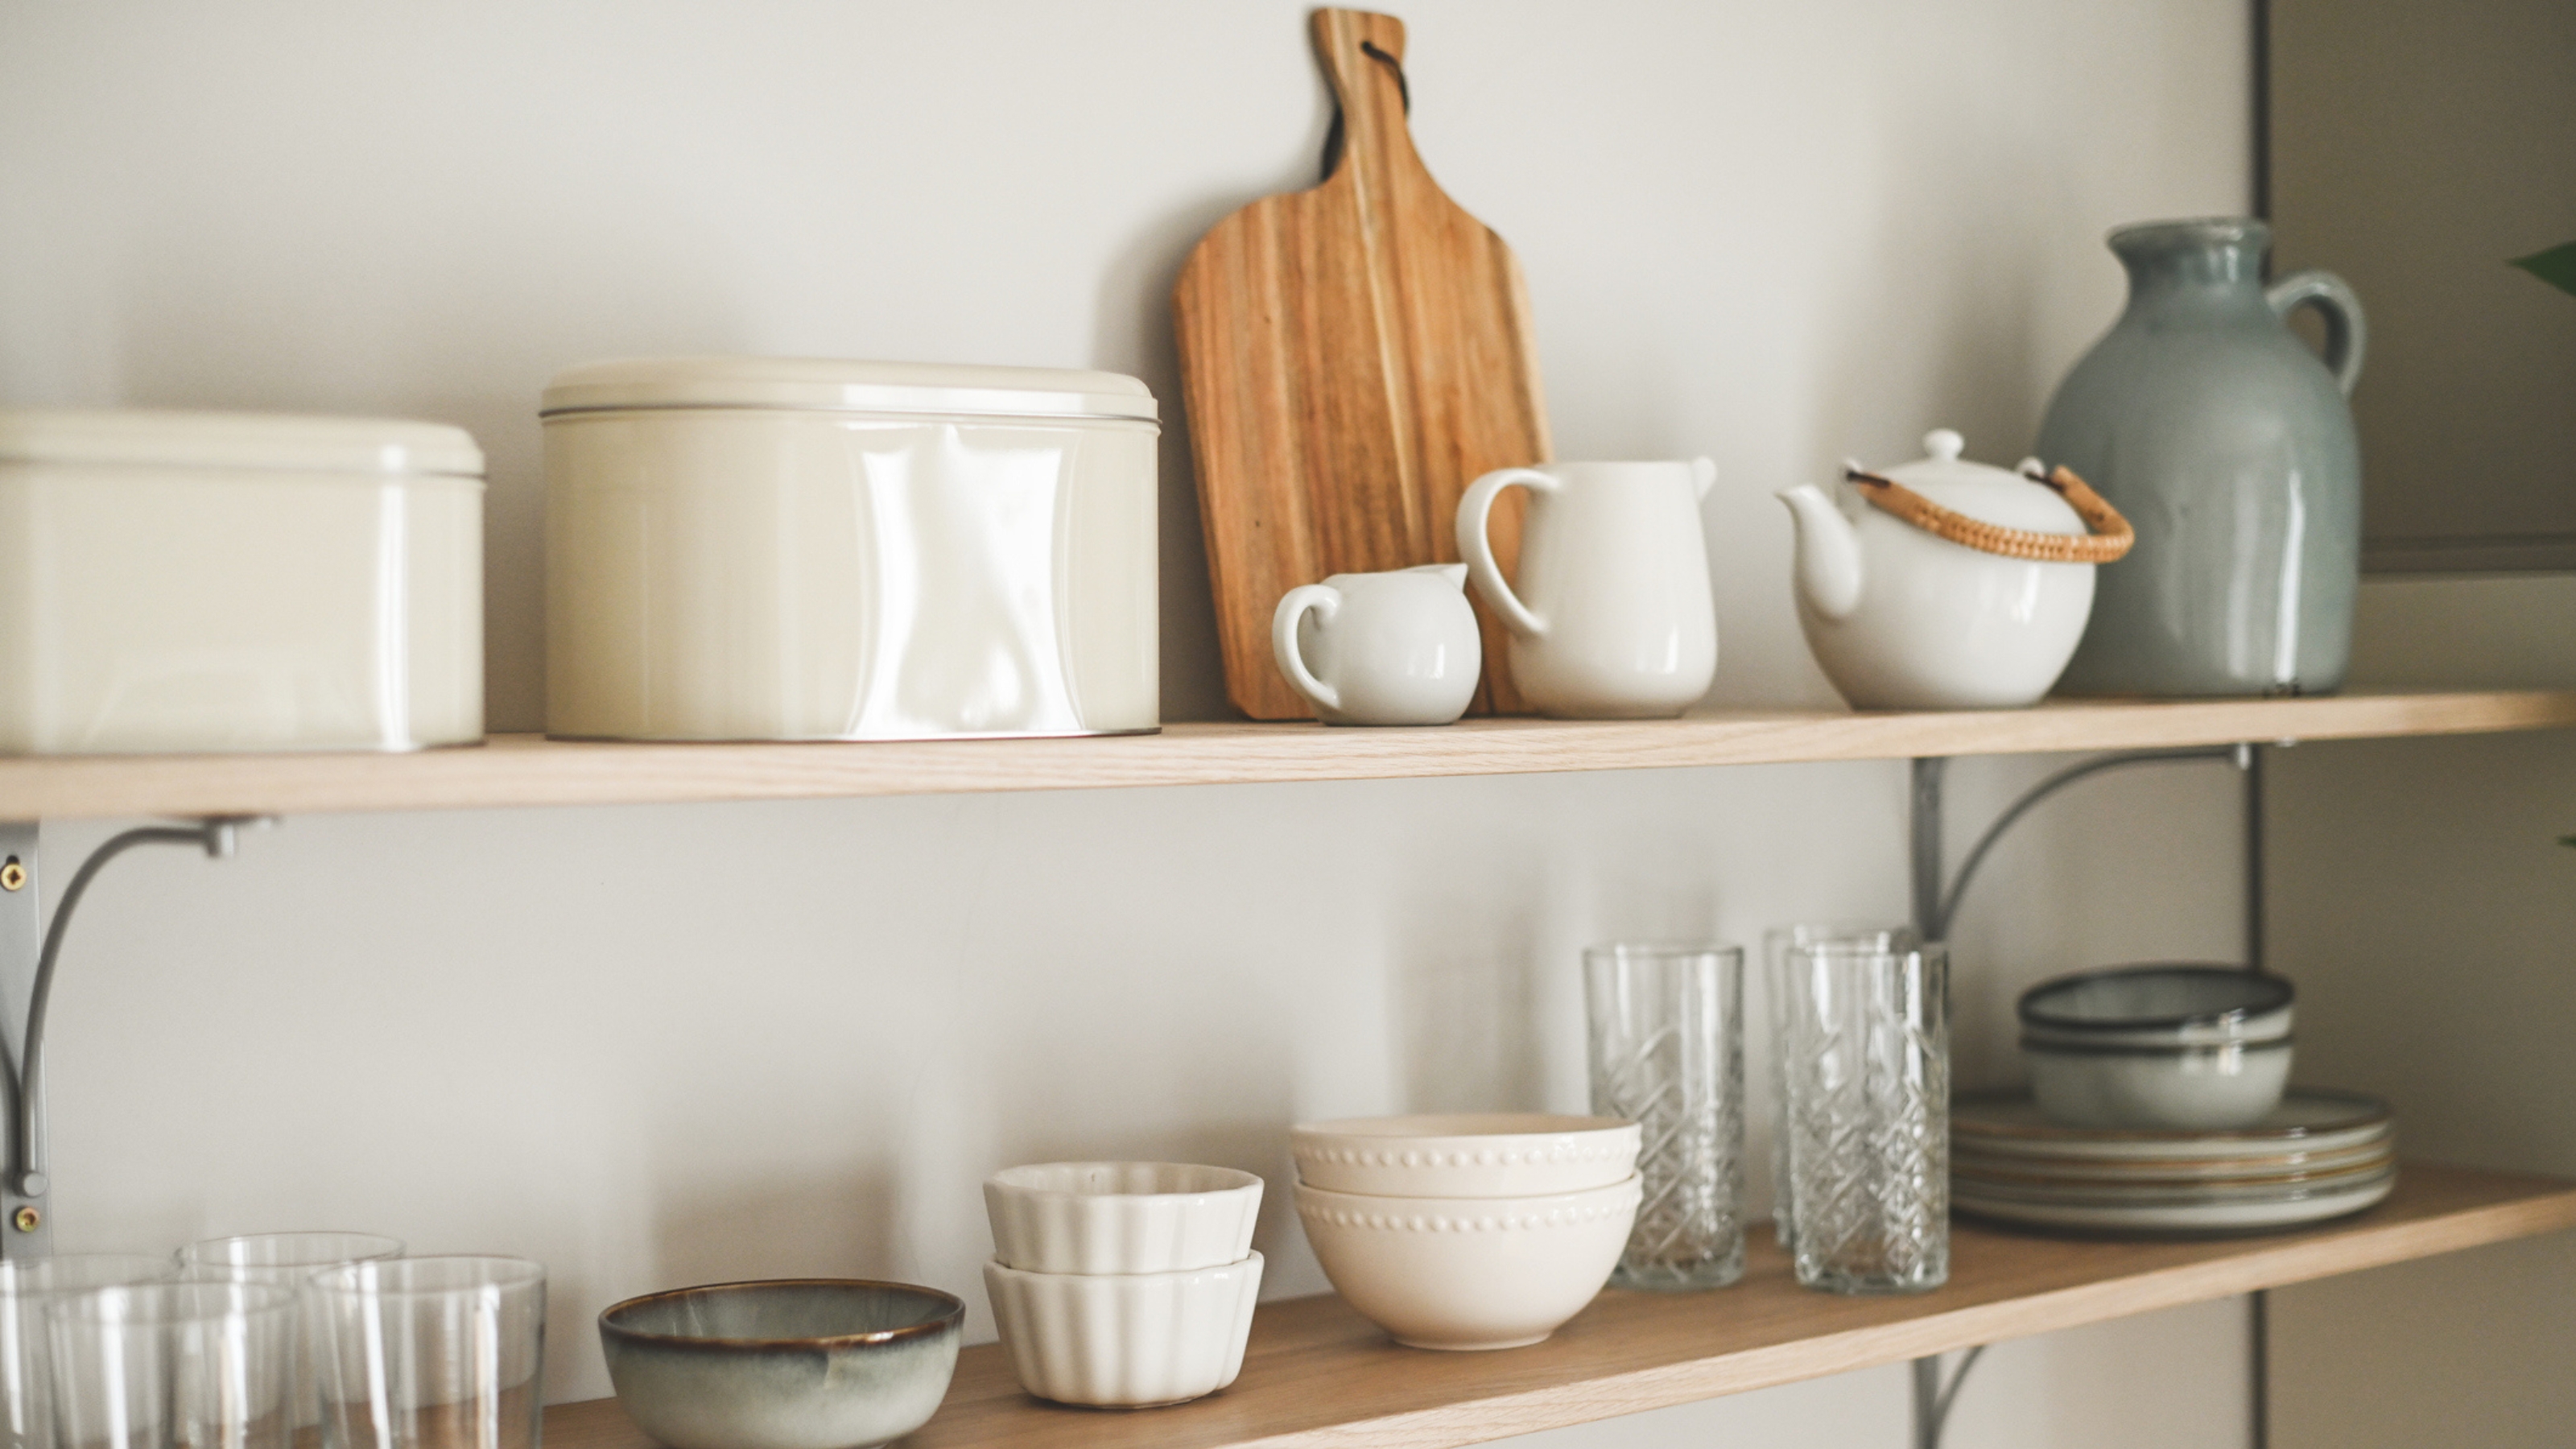
How to create wall storage ideas — 5 easy tips from the experts

10 Hidden Pantry Ideas That Beautifully Conceal Snacks, Seasonings, and More