1/5
You Can Build a Hidden Cupboard Into a Wall
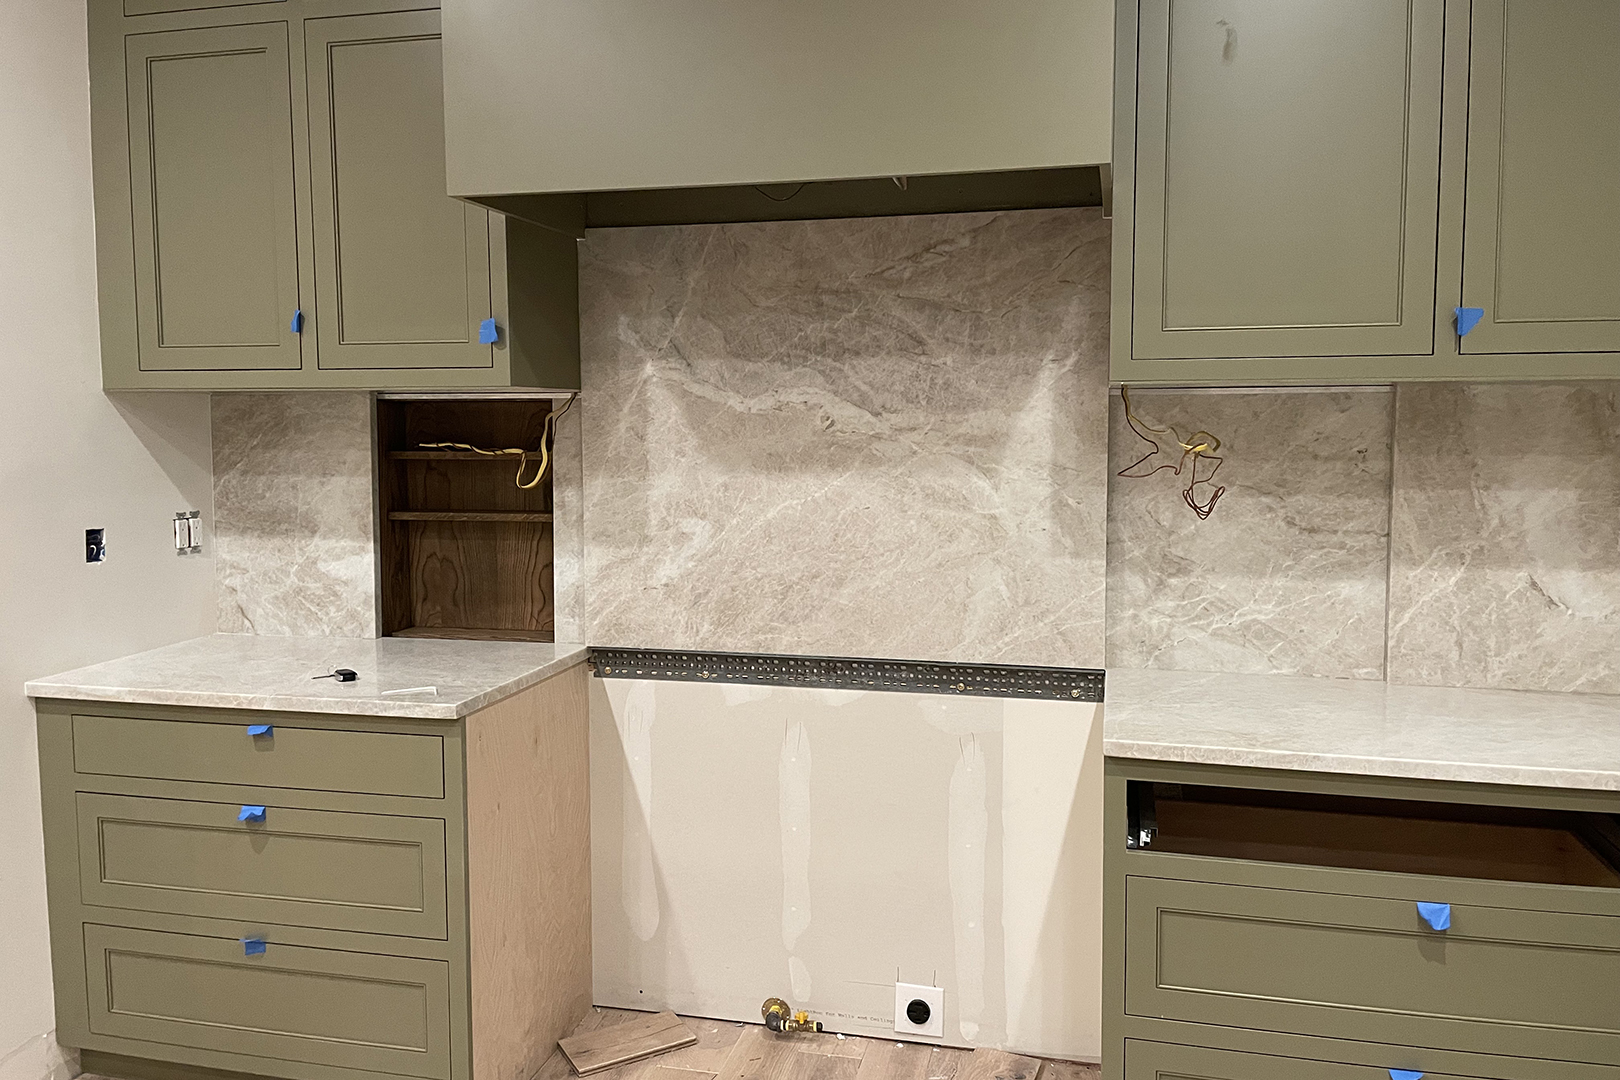
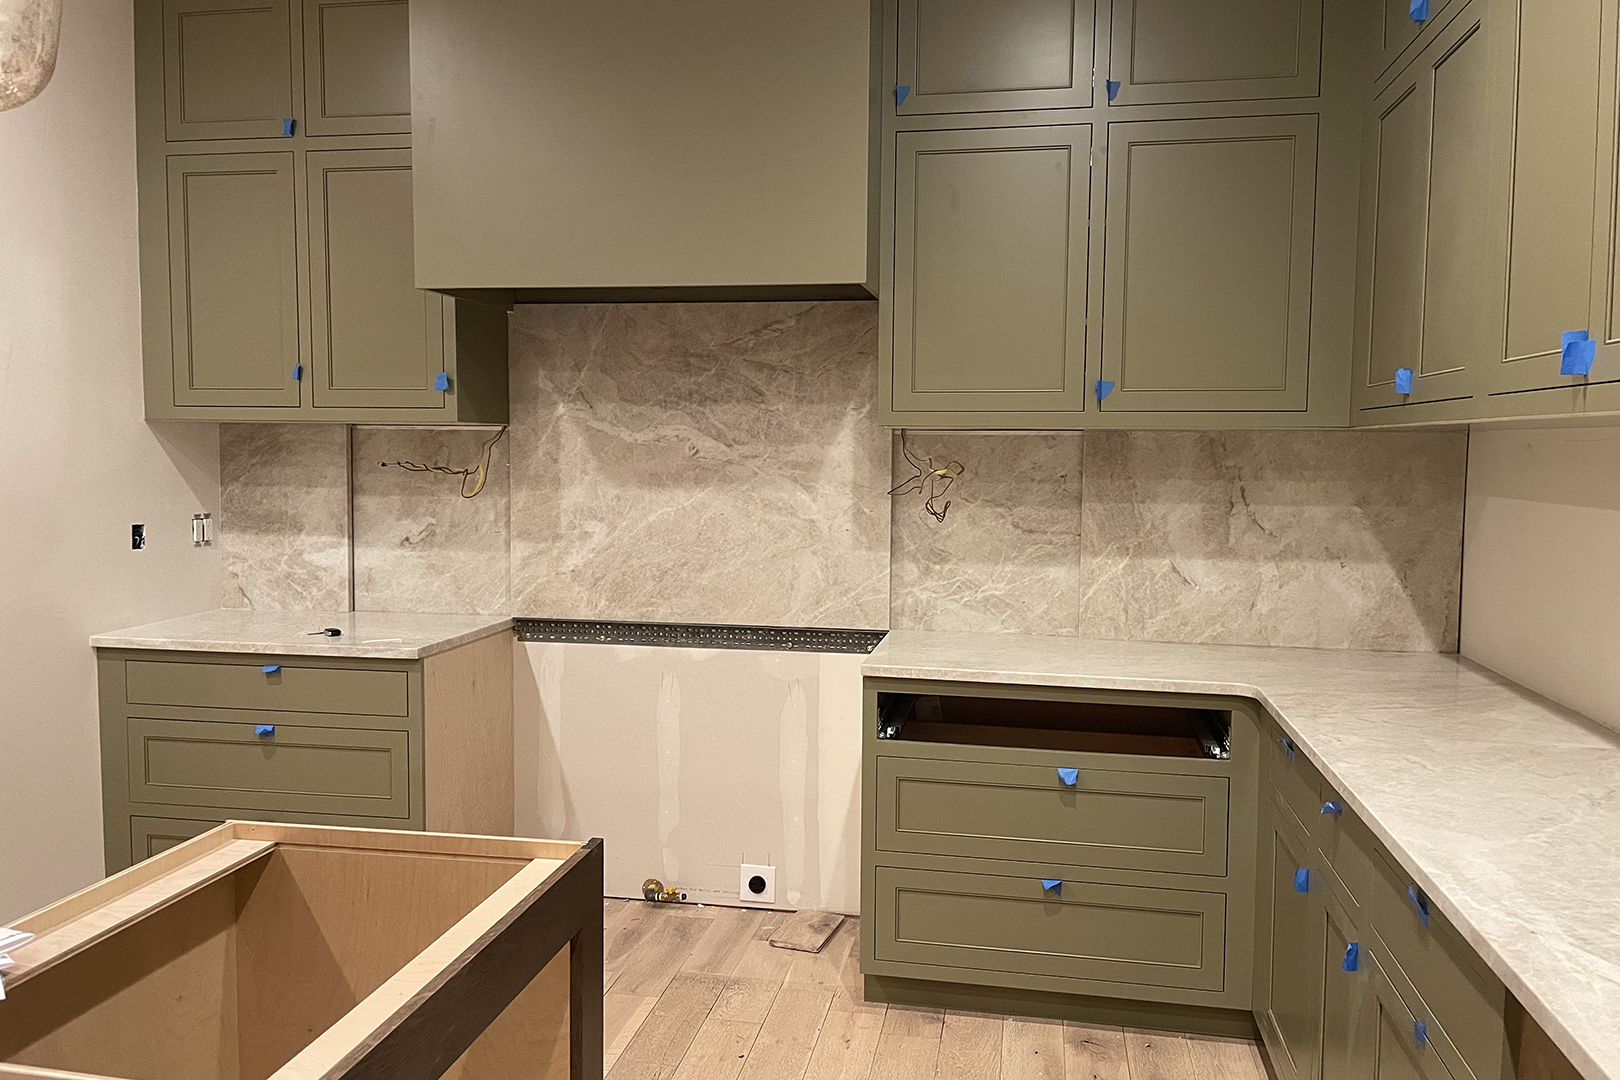
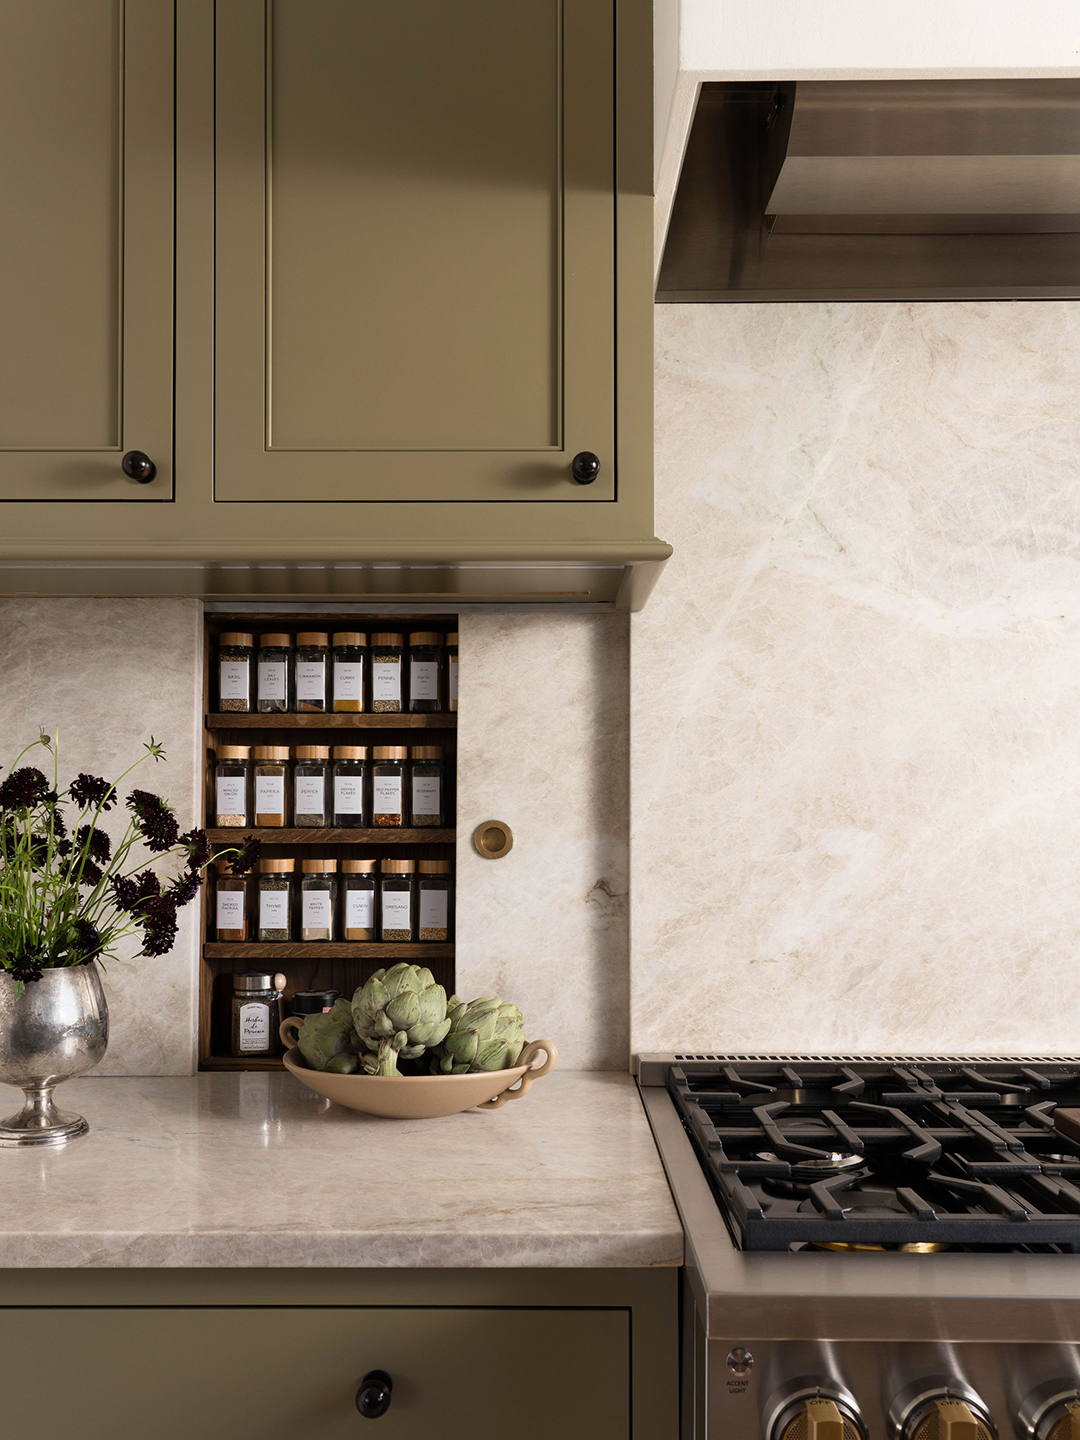
This guide details the process of constructing a hidden cupboard within an interior wall, offering a practical storage solution for homes of any size, from tiny homes to larger residences. The project is suitable for enthusiastic DIYers and focuses on wood-frame houses with drywall or lath and plaster walls. It is not recommended for steel-frame or concrete walls due to limitations in space and attachment methods, which could compromise structural integrity.
Before commencing, a crucial step involves identifying a suitable location between wall studs using a stud finder. It is imperative to select a spot free from electrical wiring or plumbing to prevent hazards. For verification, especially if unsure about the presence of wiring, it's advised to turn off power and use a snake camera to inspect the wall's interior. Safety is paramount, and no cutting should occur until the area is confirmed to be free of wiring.
Once a safe location is identified, the dimensions of the cabinet are marked on the wall, defining its top, bottom, and width based on the spacing between studs. The wallboard is then carefully cut out using an oscillating saw, starting with a rough cut a quarter to a half-inch inside the marked lines, followed by a final, precise cut along the marks. This two-step cutting process helps prevent accidental damage to the studs.
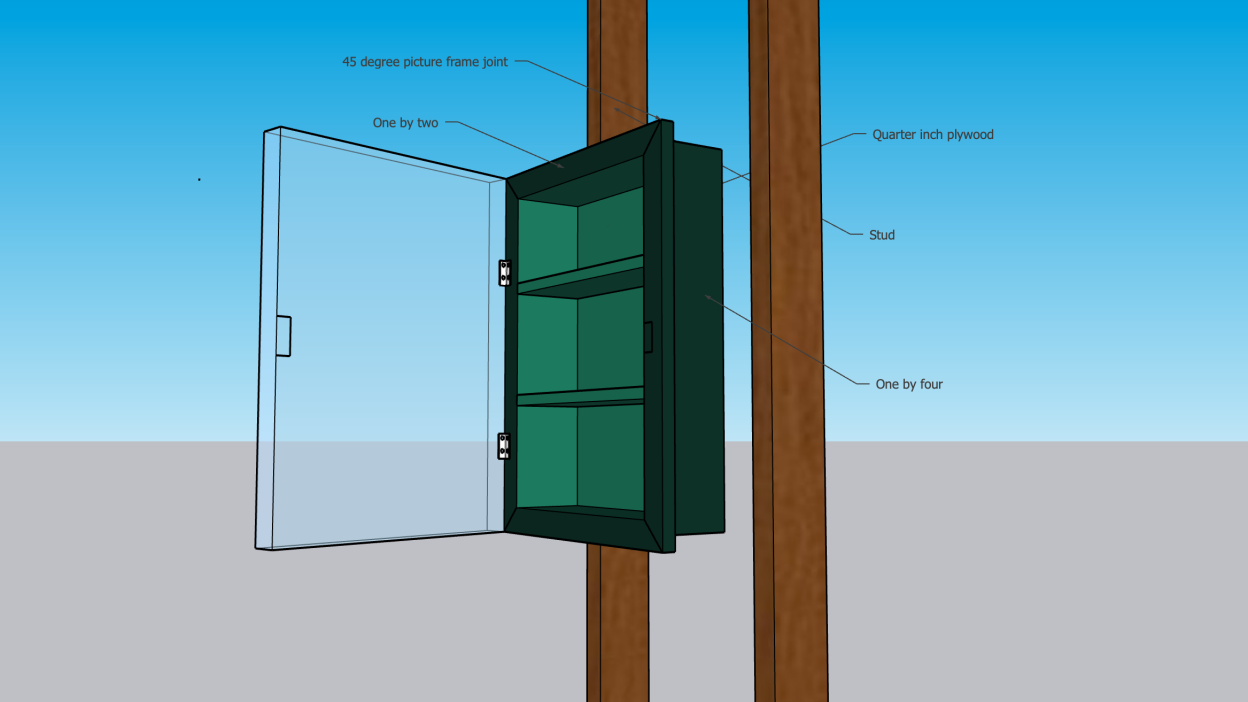
The construction of the cabinet box begins with cutting a sheet of ¼ inch plywood to serve as the back of the cabinet, matching the size of the hole cut in the wall. Additional pieces of wood (one-by-four-inch boards and one-by-two-inch boards) are then cut to form the top, bottom, and side panels of the cabinet box. The top and bottom boards are nailed to the sides, creating a rectangular frame that fits snugly into the wall opening.
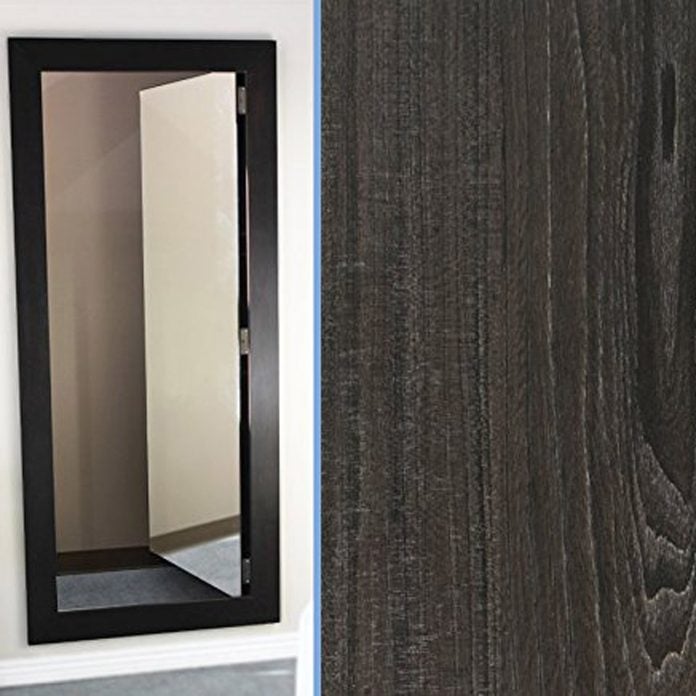
After the basic box is assembled, the plywood back is attached to the sides and top. Shelves can then be added to the interior of the cabinet, cut from the remaining one-by-four boards to fit the internal dimensions. The final stage involves creating a hidden door. A front edge resembling a picture frame is constructed using one-by-two boards cut at 45-degree angles. This frame is then attached to the cabinet. Small hinges are installed on one side of the cabinet, and a magnetic catch on the opposite side. A piece of art or a mirror with a wood frame is attached to the hinges, and the magnetic catch is affixed to the back of the art piece, allowing it to close securely.
Finally, the completed cabinet is inserted into the wall opening and secured to the studs with nails. The installation is finished by filling any nail holes with putty and painting the cabinet to match the surrounding wall color, ensuring it blends seamlessly and maintains its hidden appearance. This project offers a functional and discreet storage solution, maximizing underutilized wall space.
#DIYHomeImprovement #HiddenStorage #WallCabinet #HomeHacks #SpaceSaving #InteriorDesign #Woodworking #DIYProject #HomeRenovation #DIYHomeImprovement #HiddenStorage #WallCabinet #HomeHacks #SpaceSaving #InteriorDesign #Woodworking #DIYProject #HomeRenovation
0 comment in total
 No comments yet
You may also like
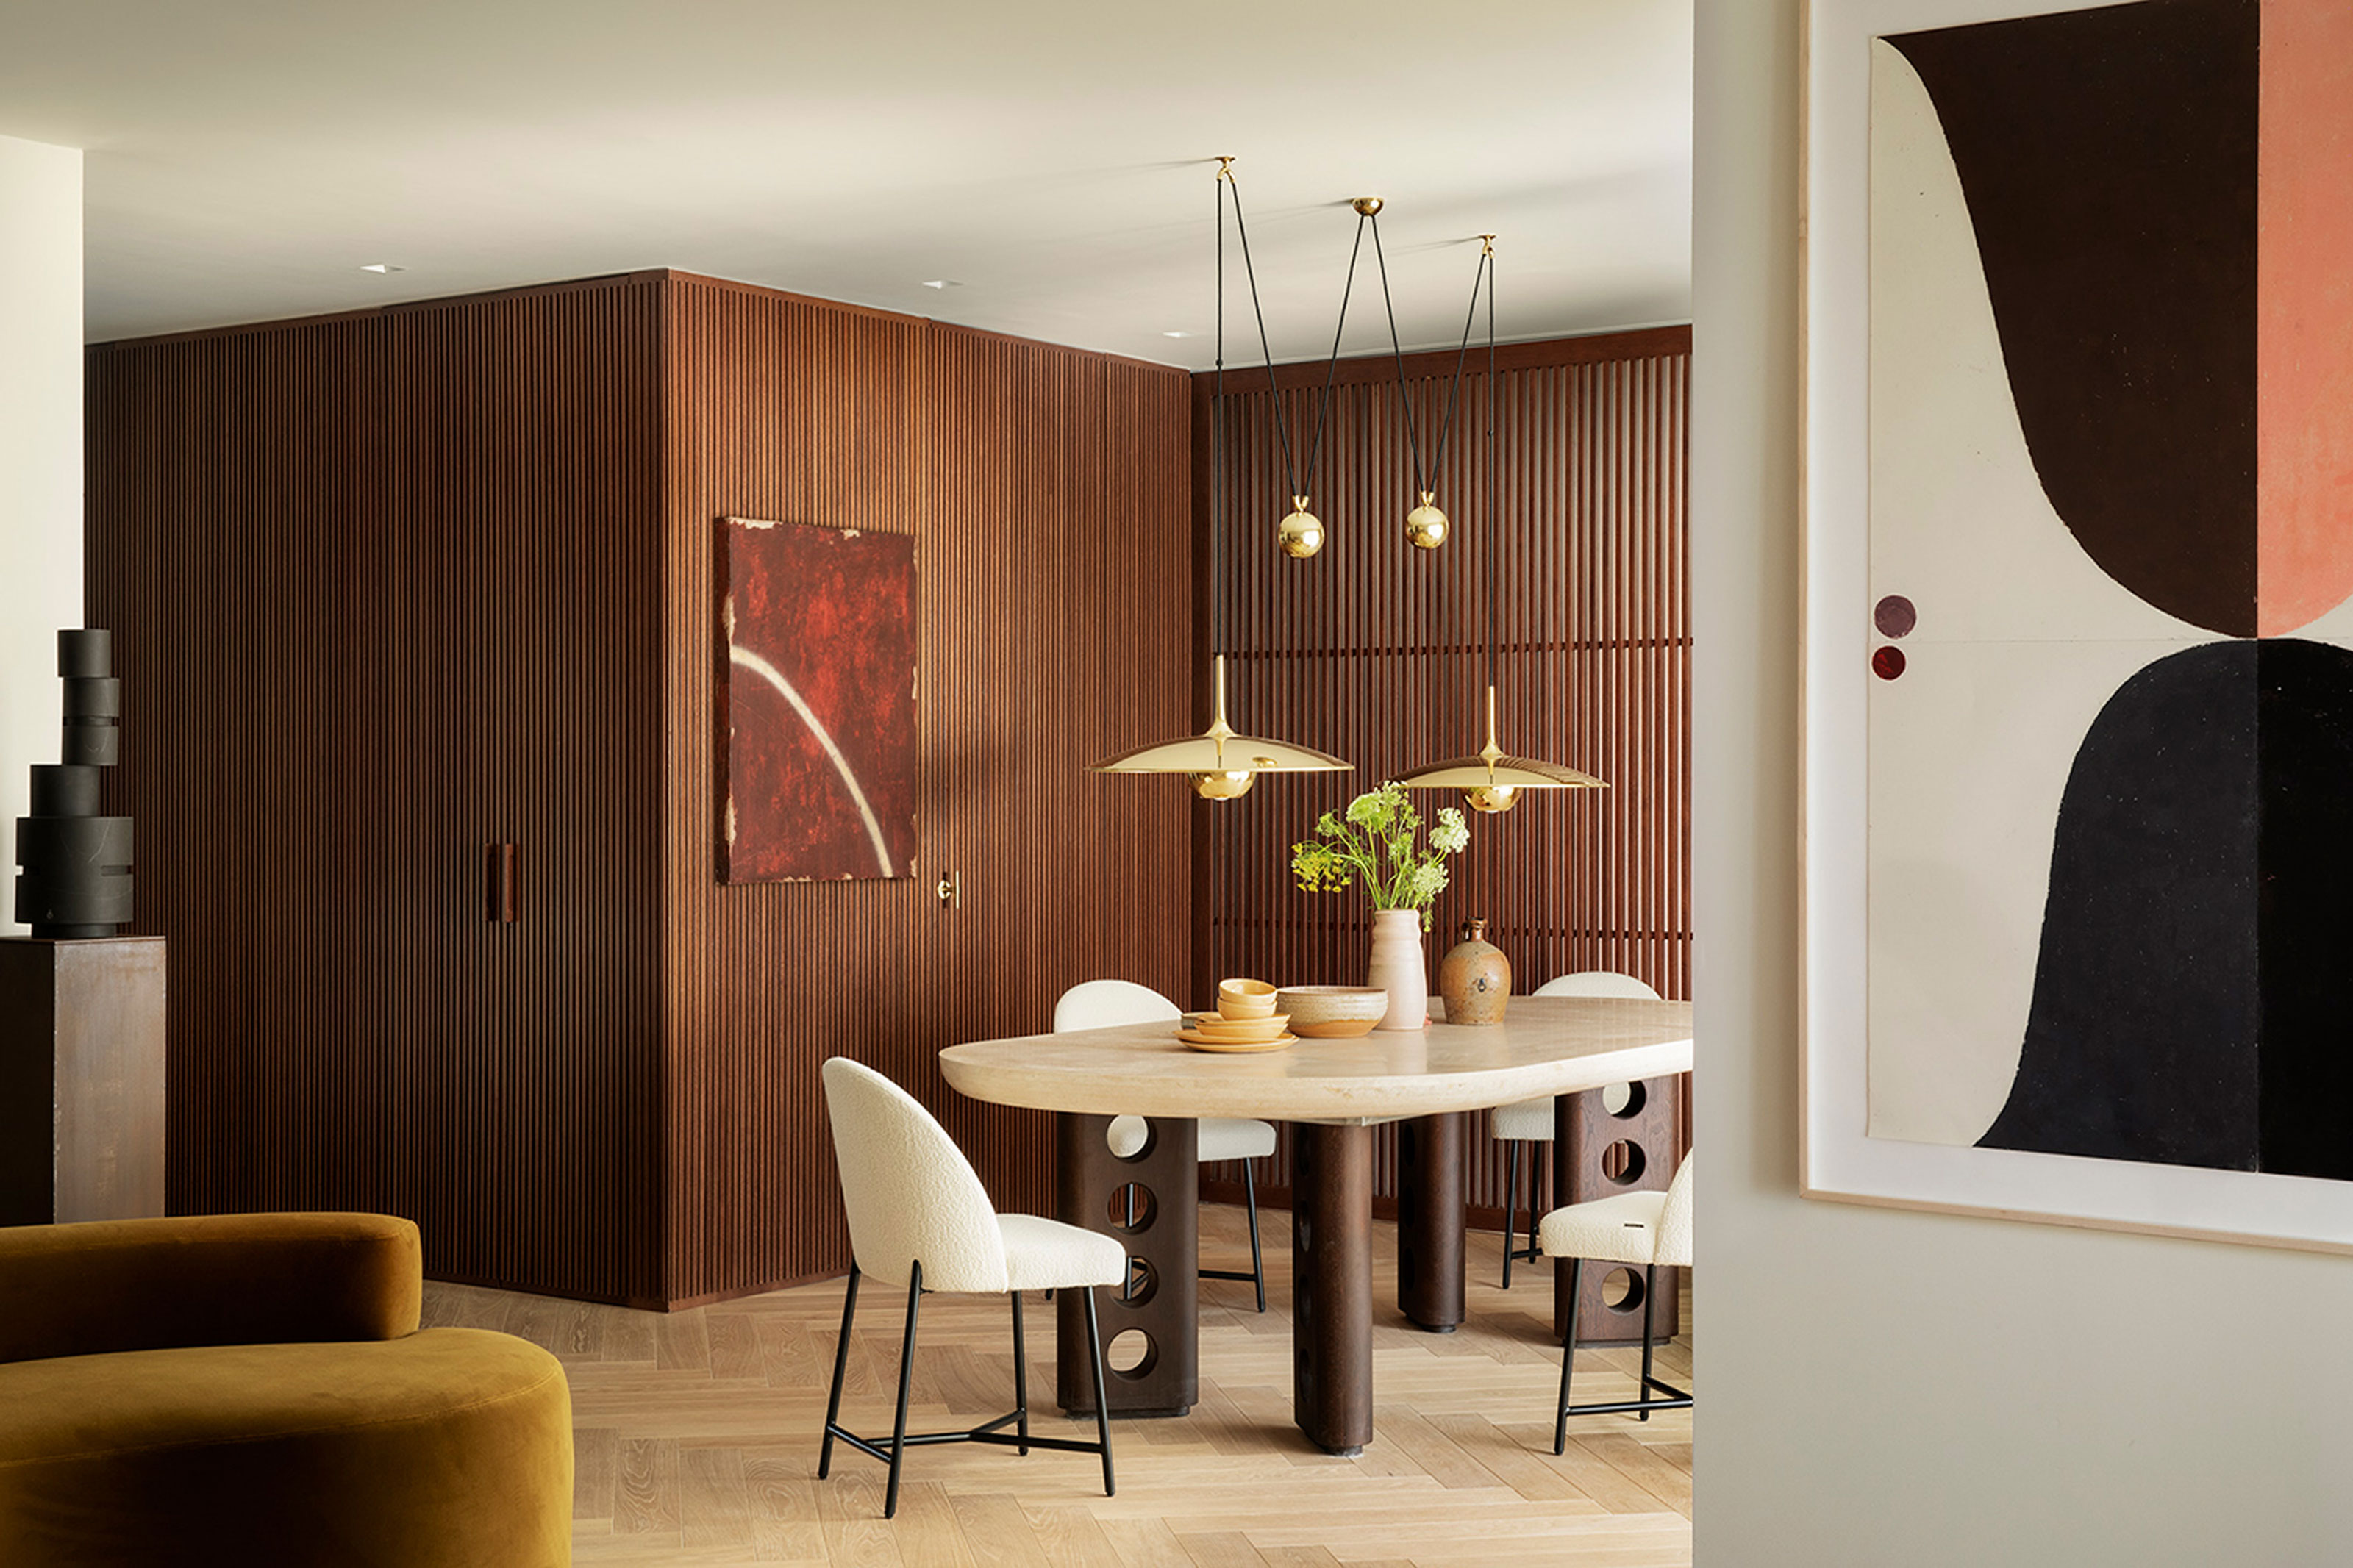
16 Hidden Door Ideas — Make Your Home Super Streamlined by Concealing Passages and Storage

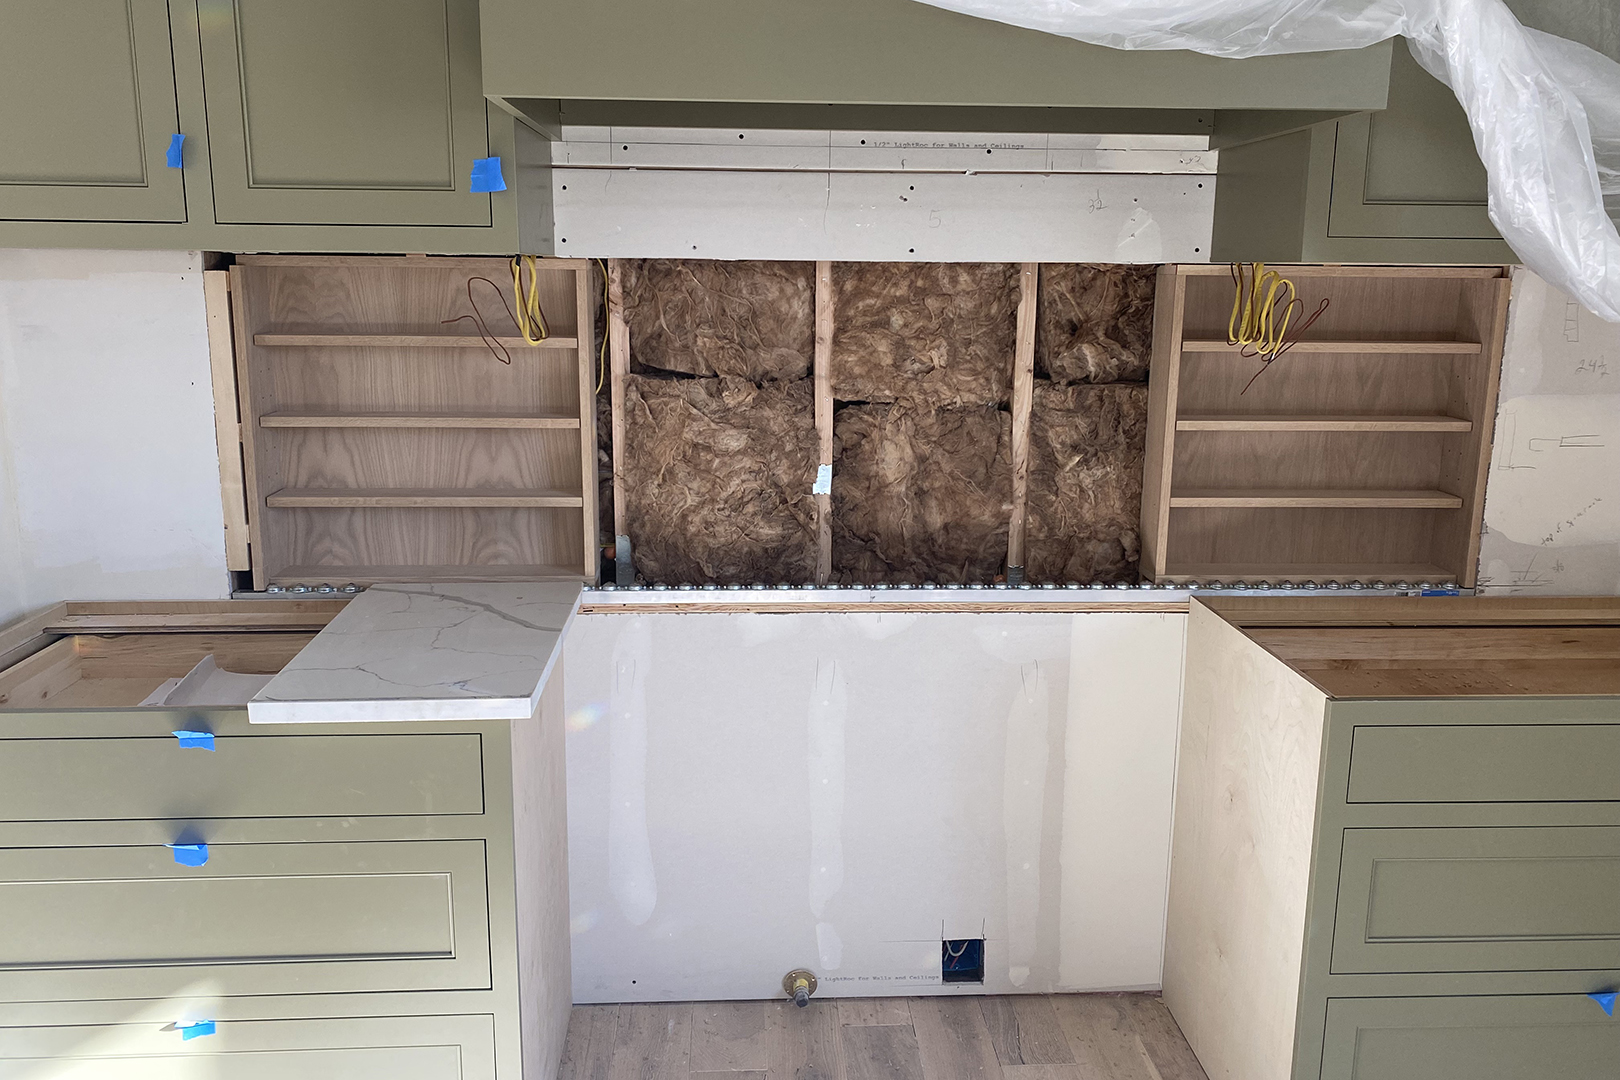
We Thought We’d Seen It All With Hidden Kitchen Storage, Then We Spotted This Sneaky Backsplash

10 Clever Ways to Sneak Storage Into Your Renovation

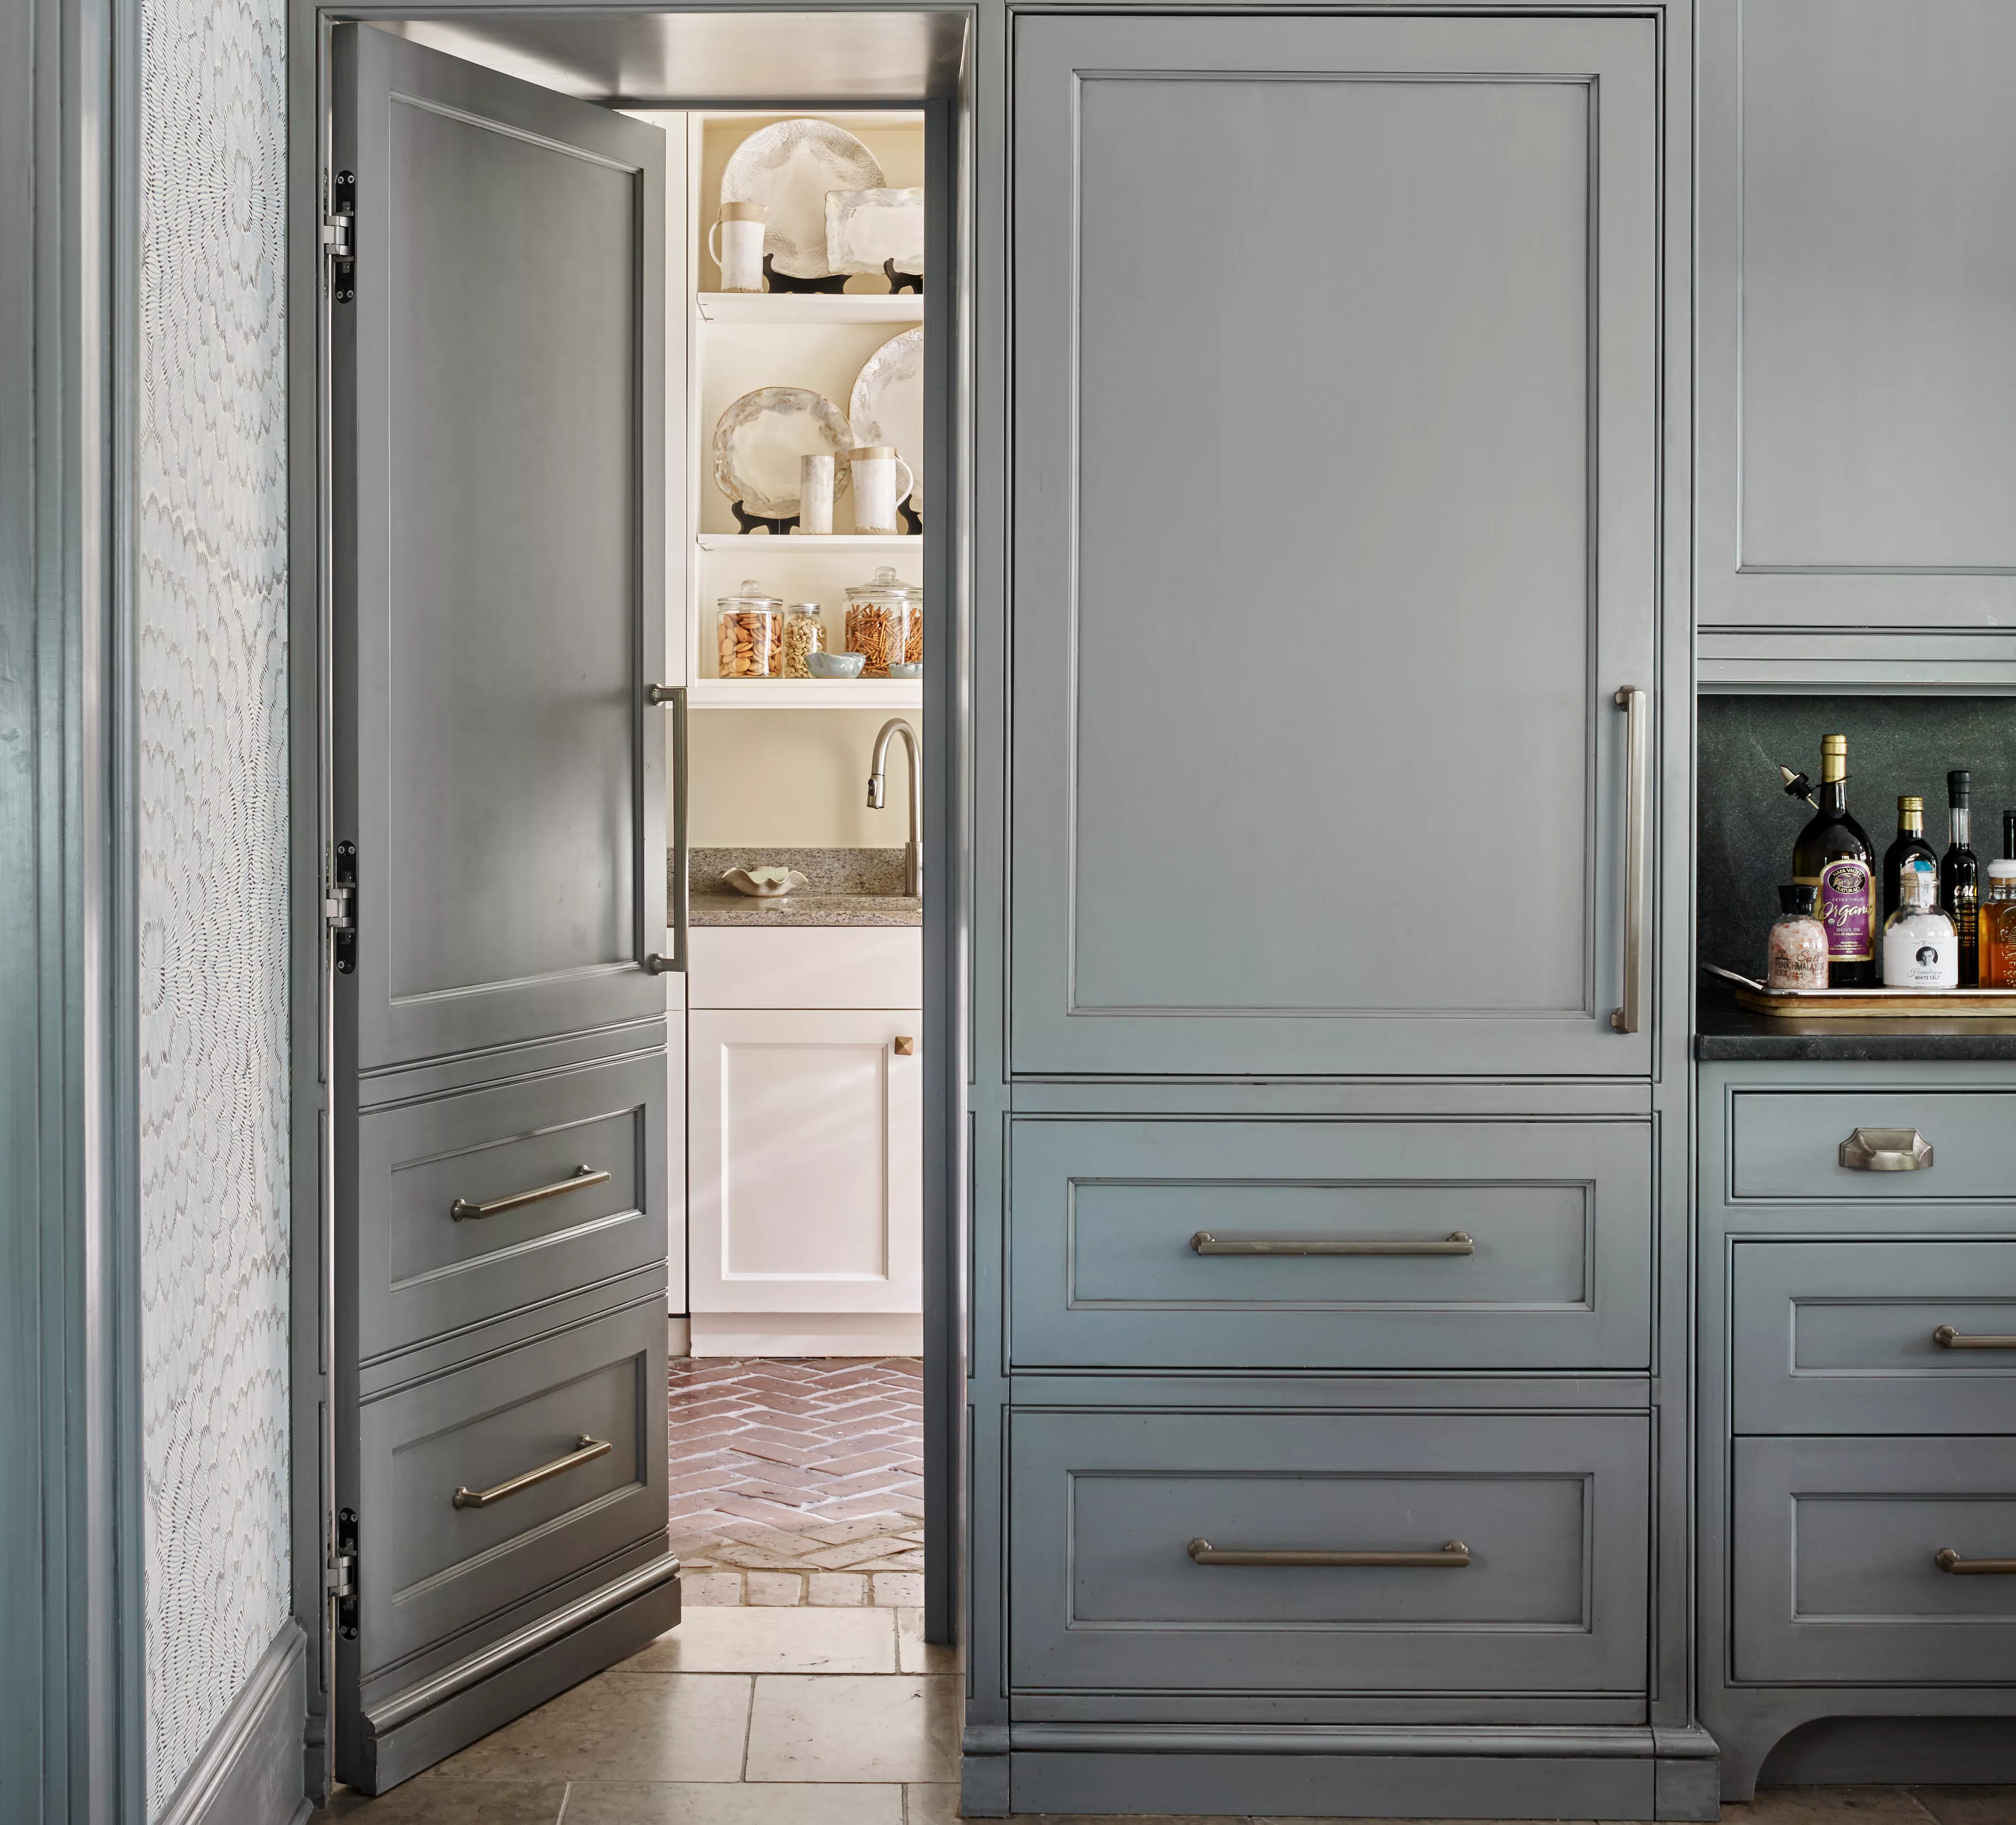
The Murphy Door Is the Hidden Storage Solution We’ve Been Waiting For

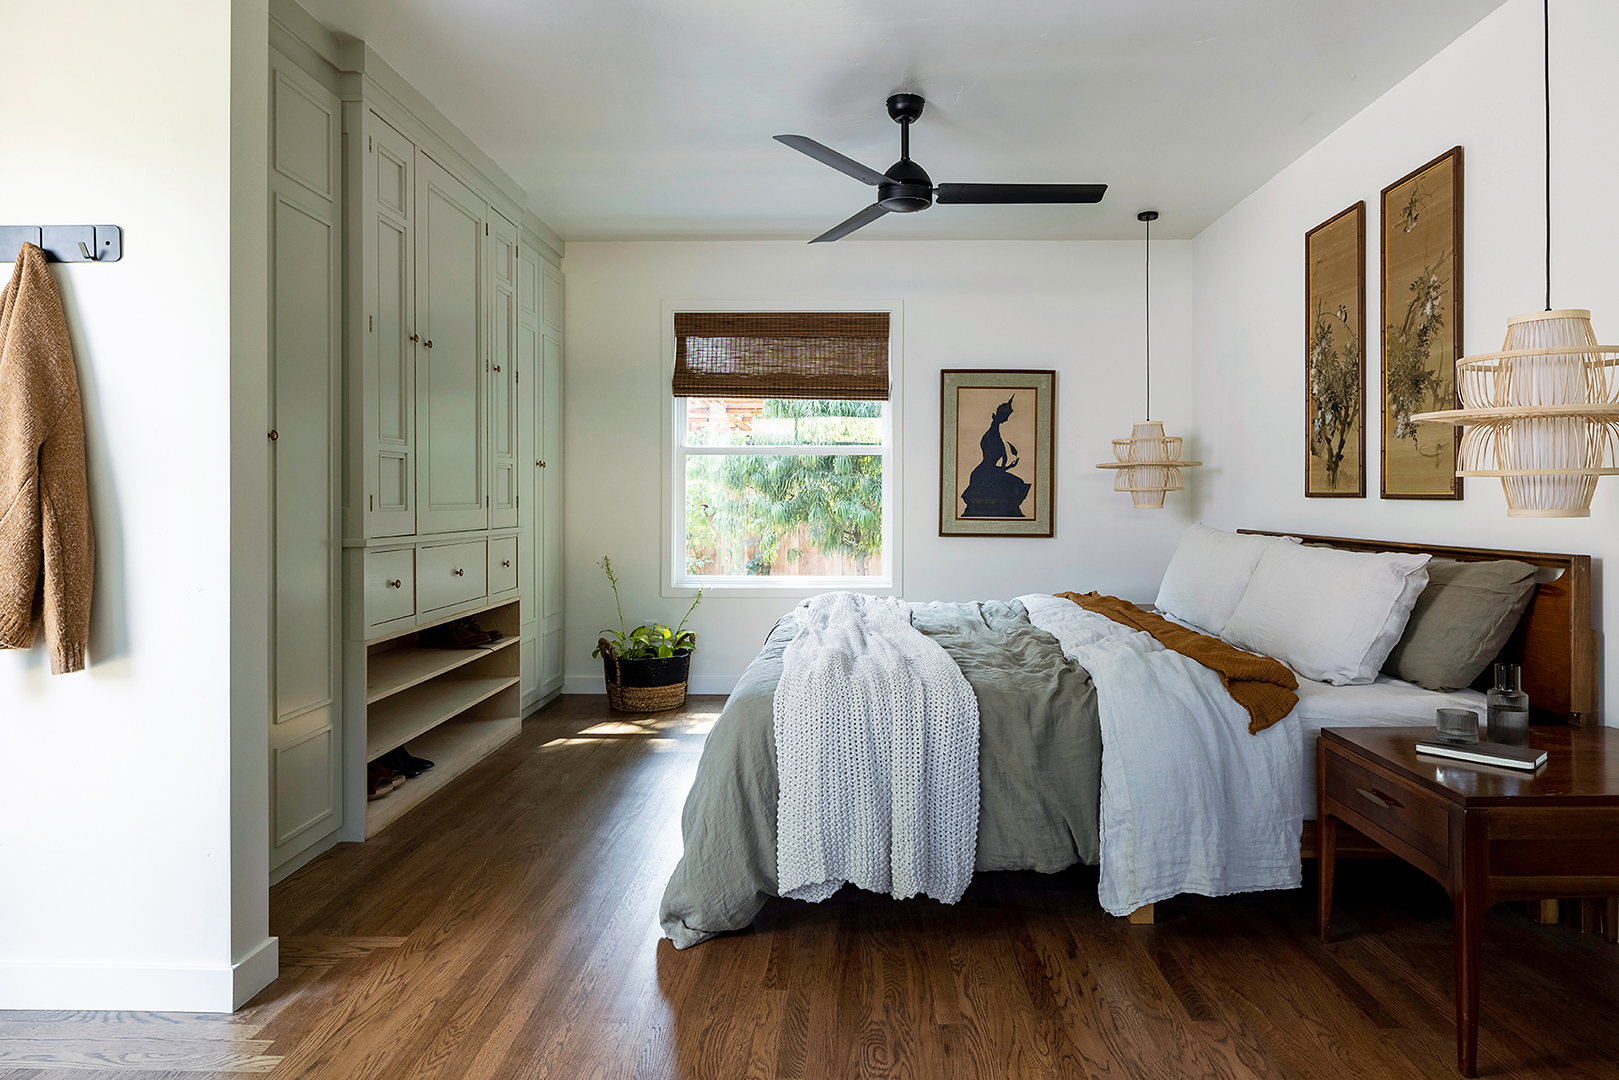
This Custom Wall of Closets Has a Storage Surprise Hidden in the Center

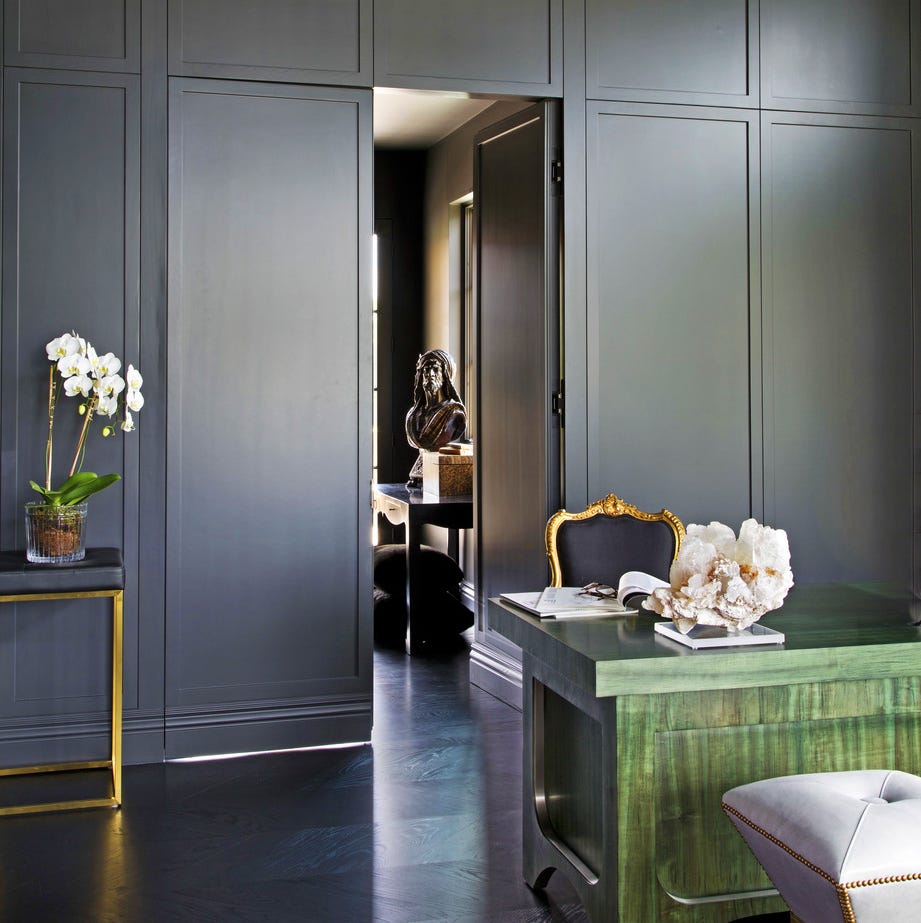
15 Clever Hidden Door Ideas for the Ultimate Secret Hideaway

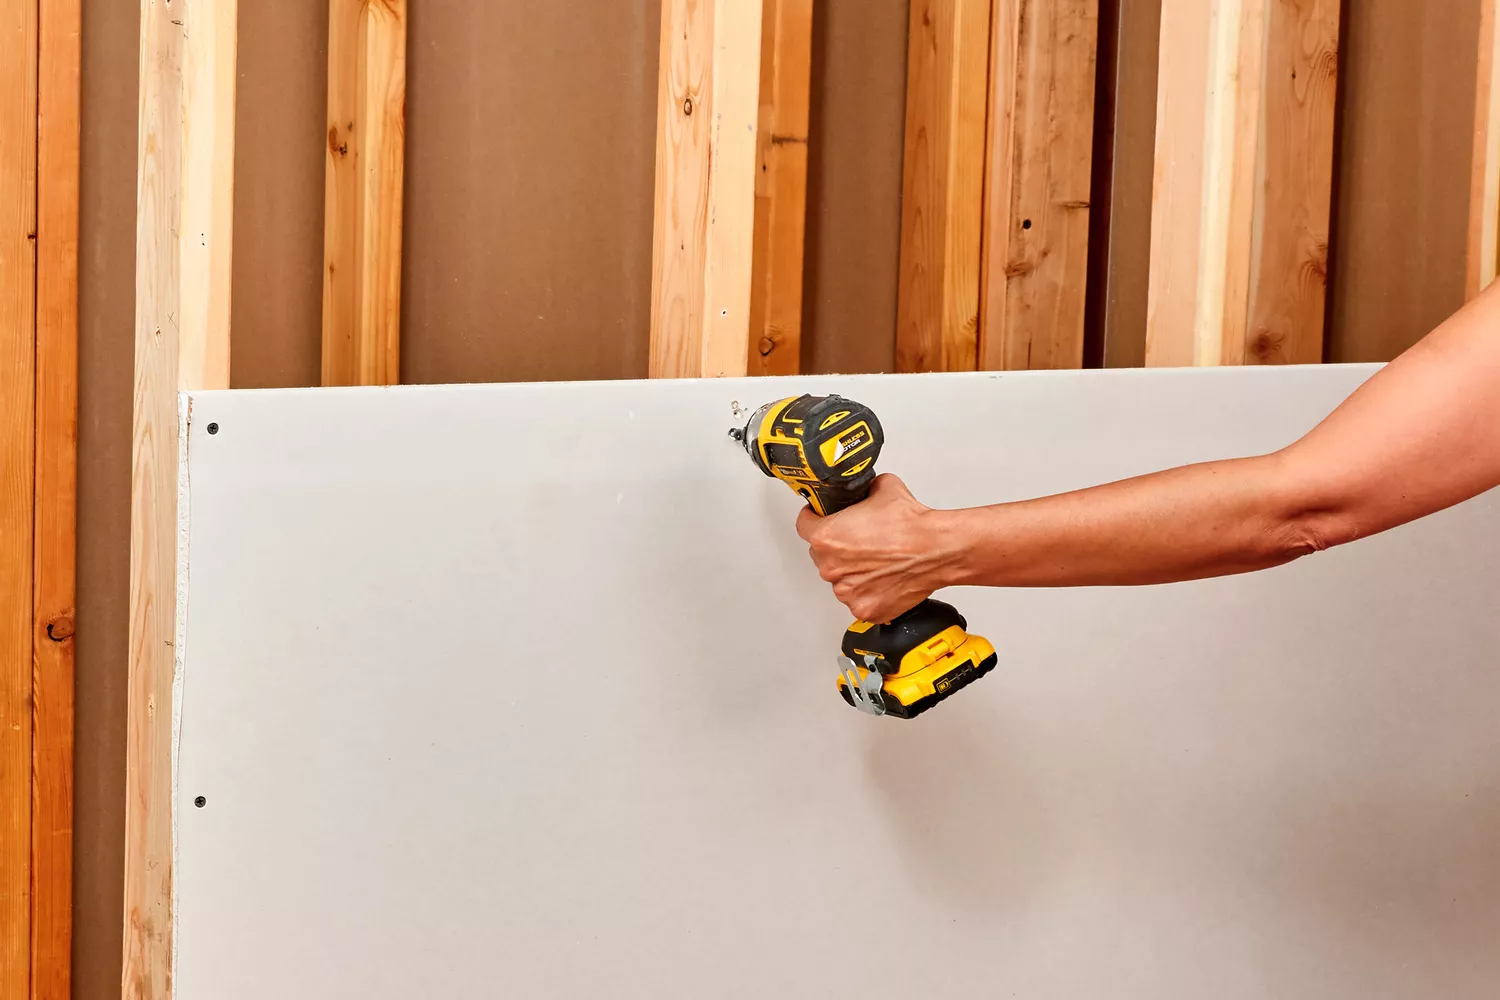
Add Privacy and Expand Your Home's Use With This DIY Interior Wall Project

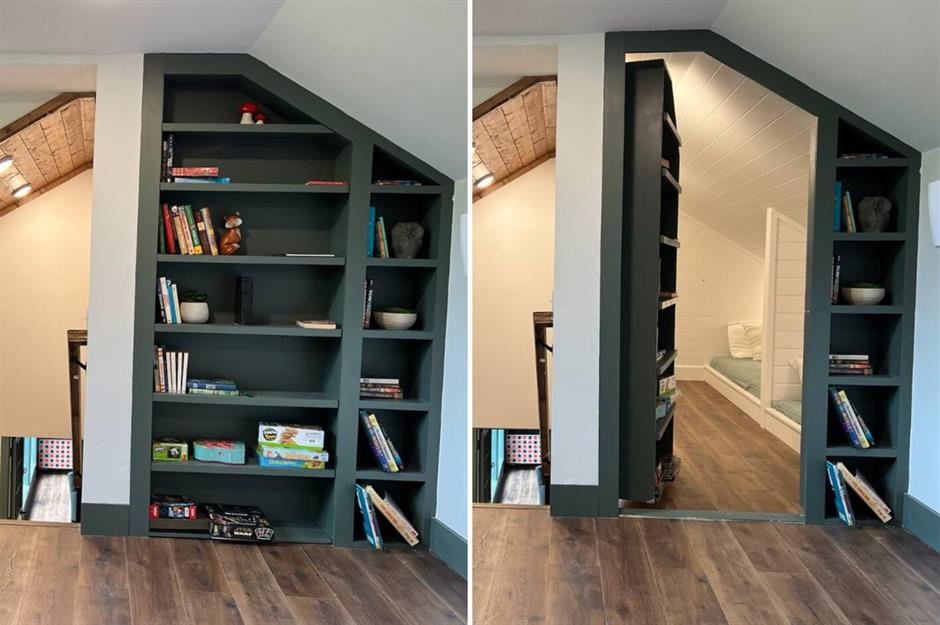
13 curious homes with secret rooms hidden inside | loveexploring.com

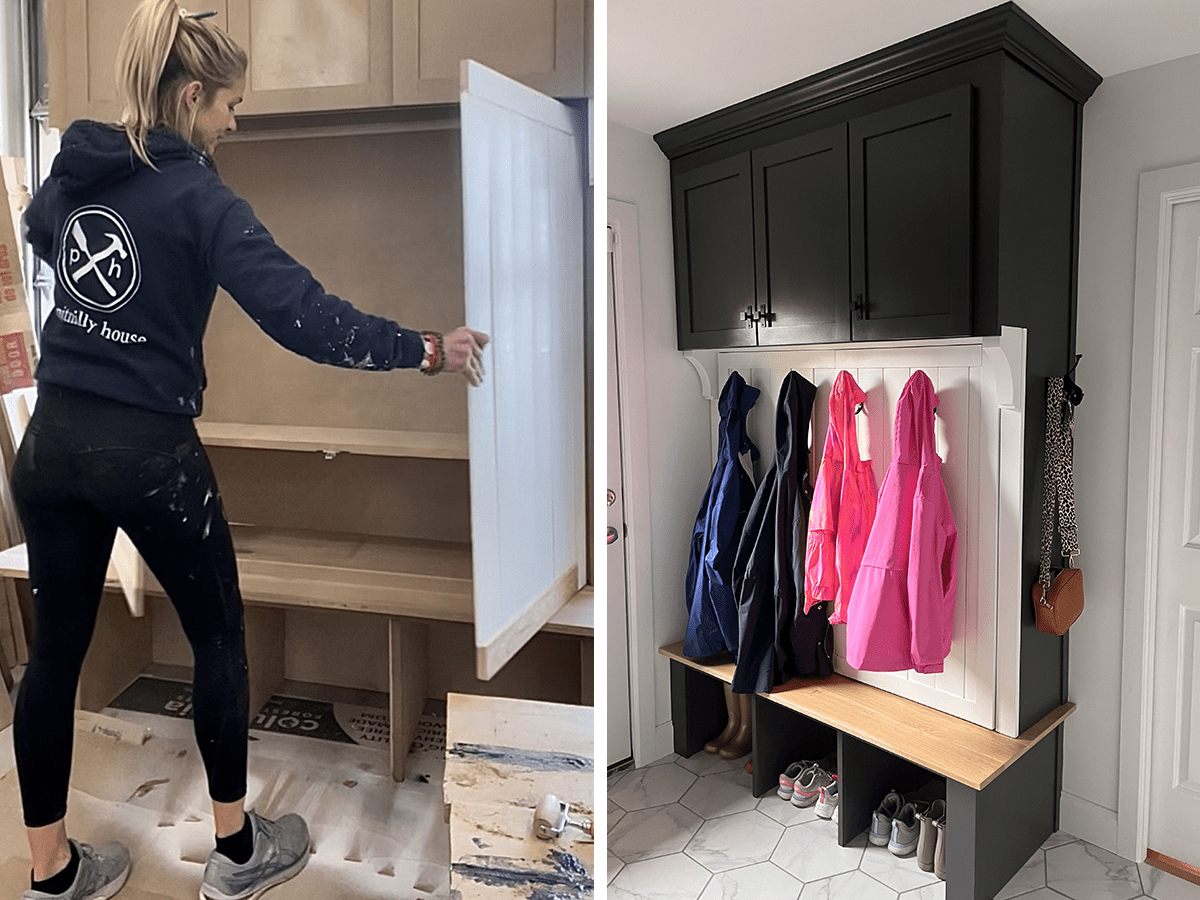
You've Got to See This Hidden Storage Unit for a Mudroom
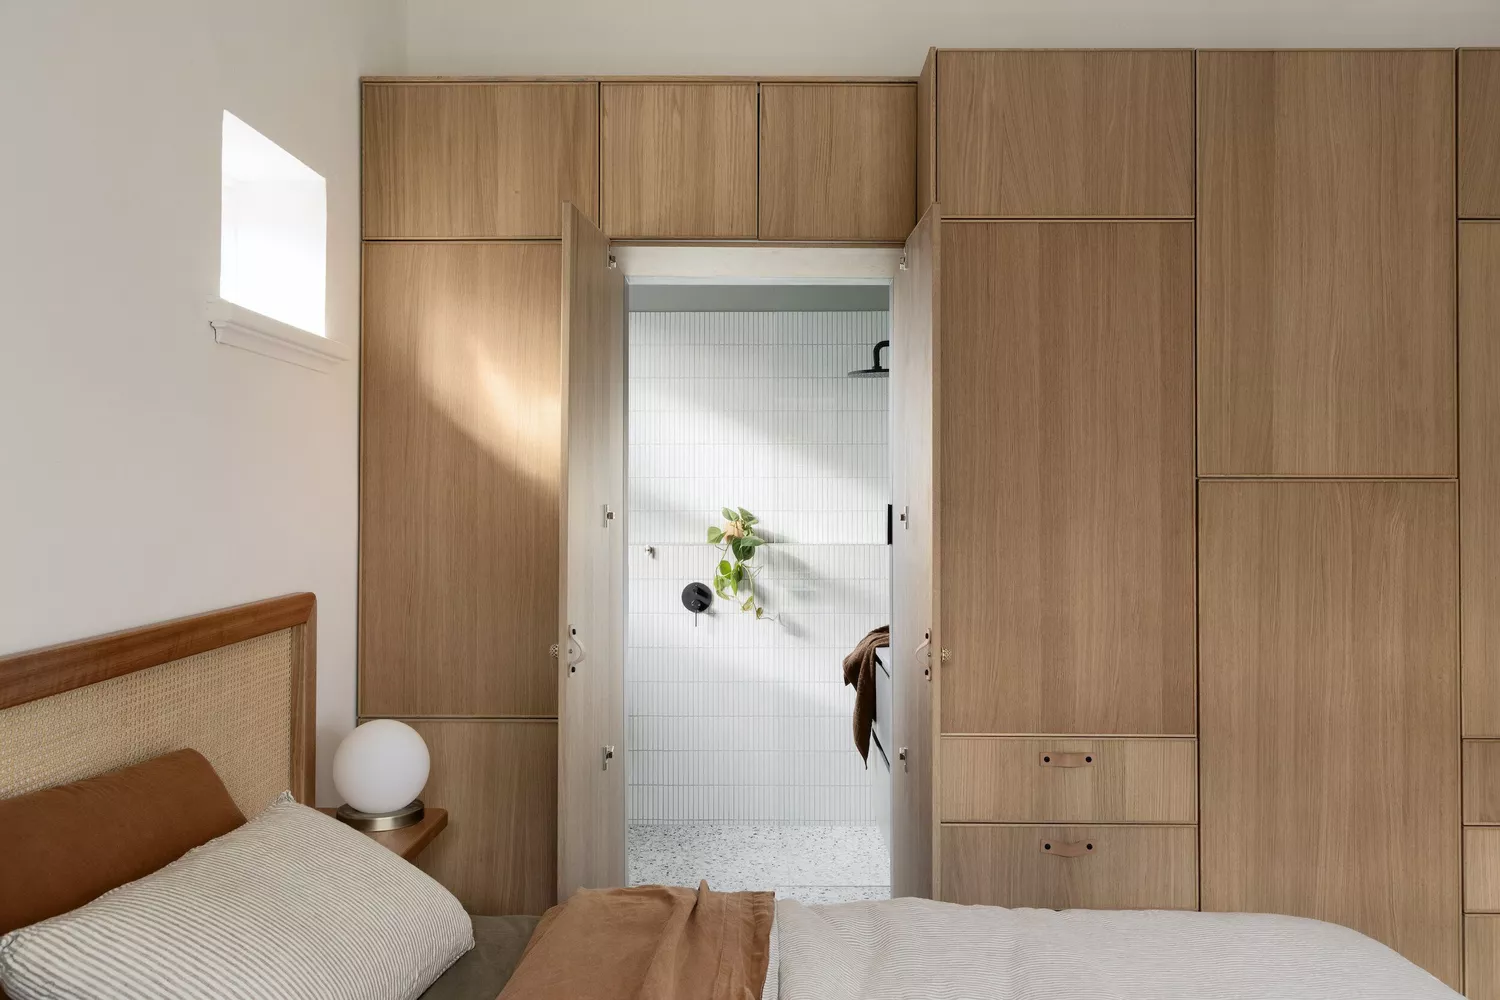
25 Hidden Door Ideas For That Secret Room You've Always Dreamed About

How They Pulled It Off: A Secret Stair Hatch That Seals Off the Living Space
Okay, These TV Wall Ideas Might Be the Best Inspiration to Stop Your Screen Becoming an Imposing Black Box
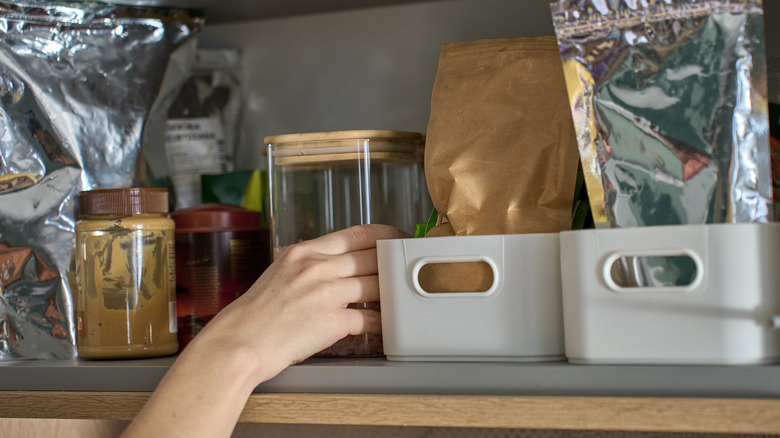
Unlock Hidden Pantry Storage With This Surprisingly Simple Wall Niche DIY

37 Cute Home Decor Items That Add Secret Storage

The Best Garage Wall Cabinets for Storage and Organization

Wall storage ideas – 12 stylish solutions to suit every room

Seven interiors where doors and panels hide secret rooms
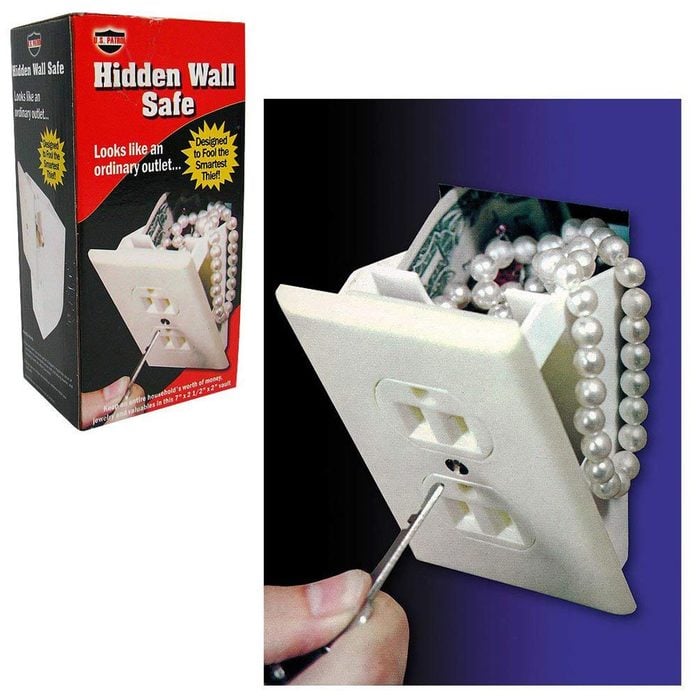
10 Secret Hiding Place Products for Your Home

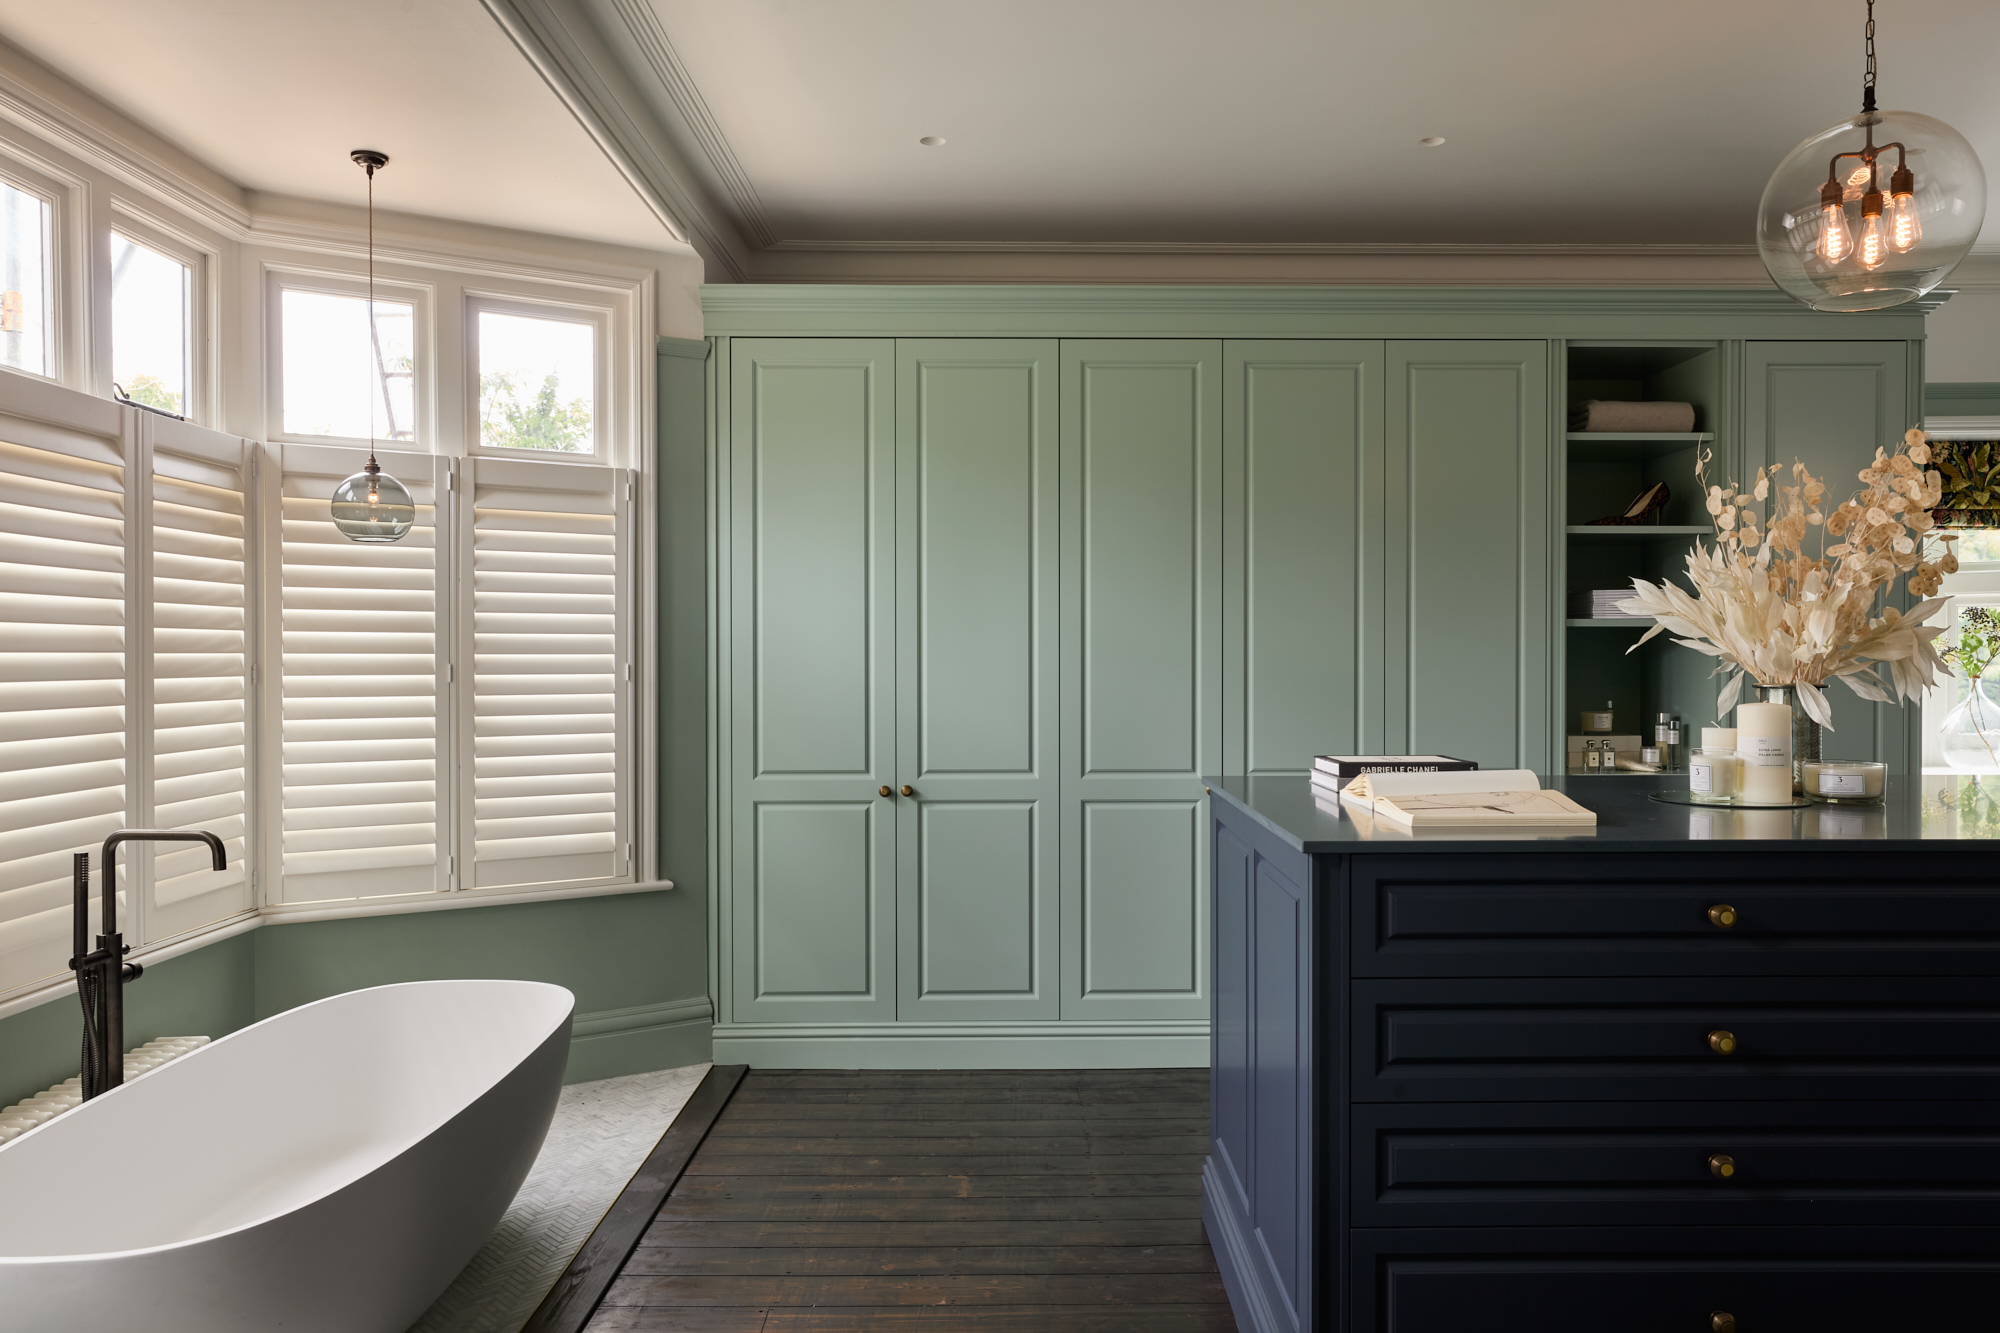
Built-in Closet Ideas — 14 Superb Storage Designs That Fit Your Home Like a Glove
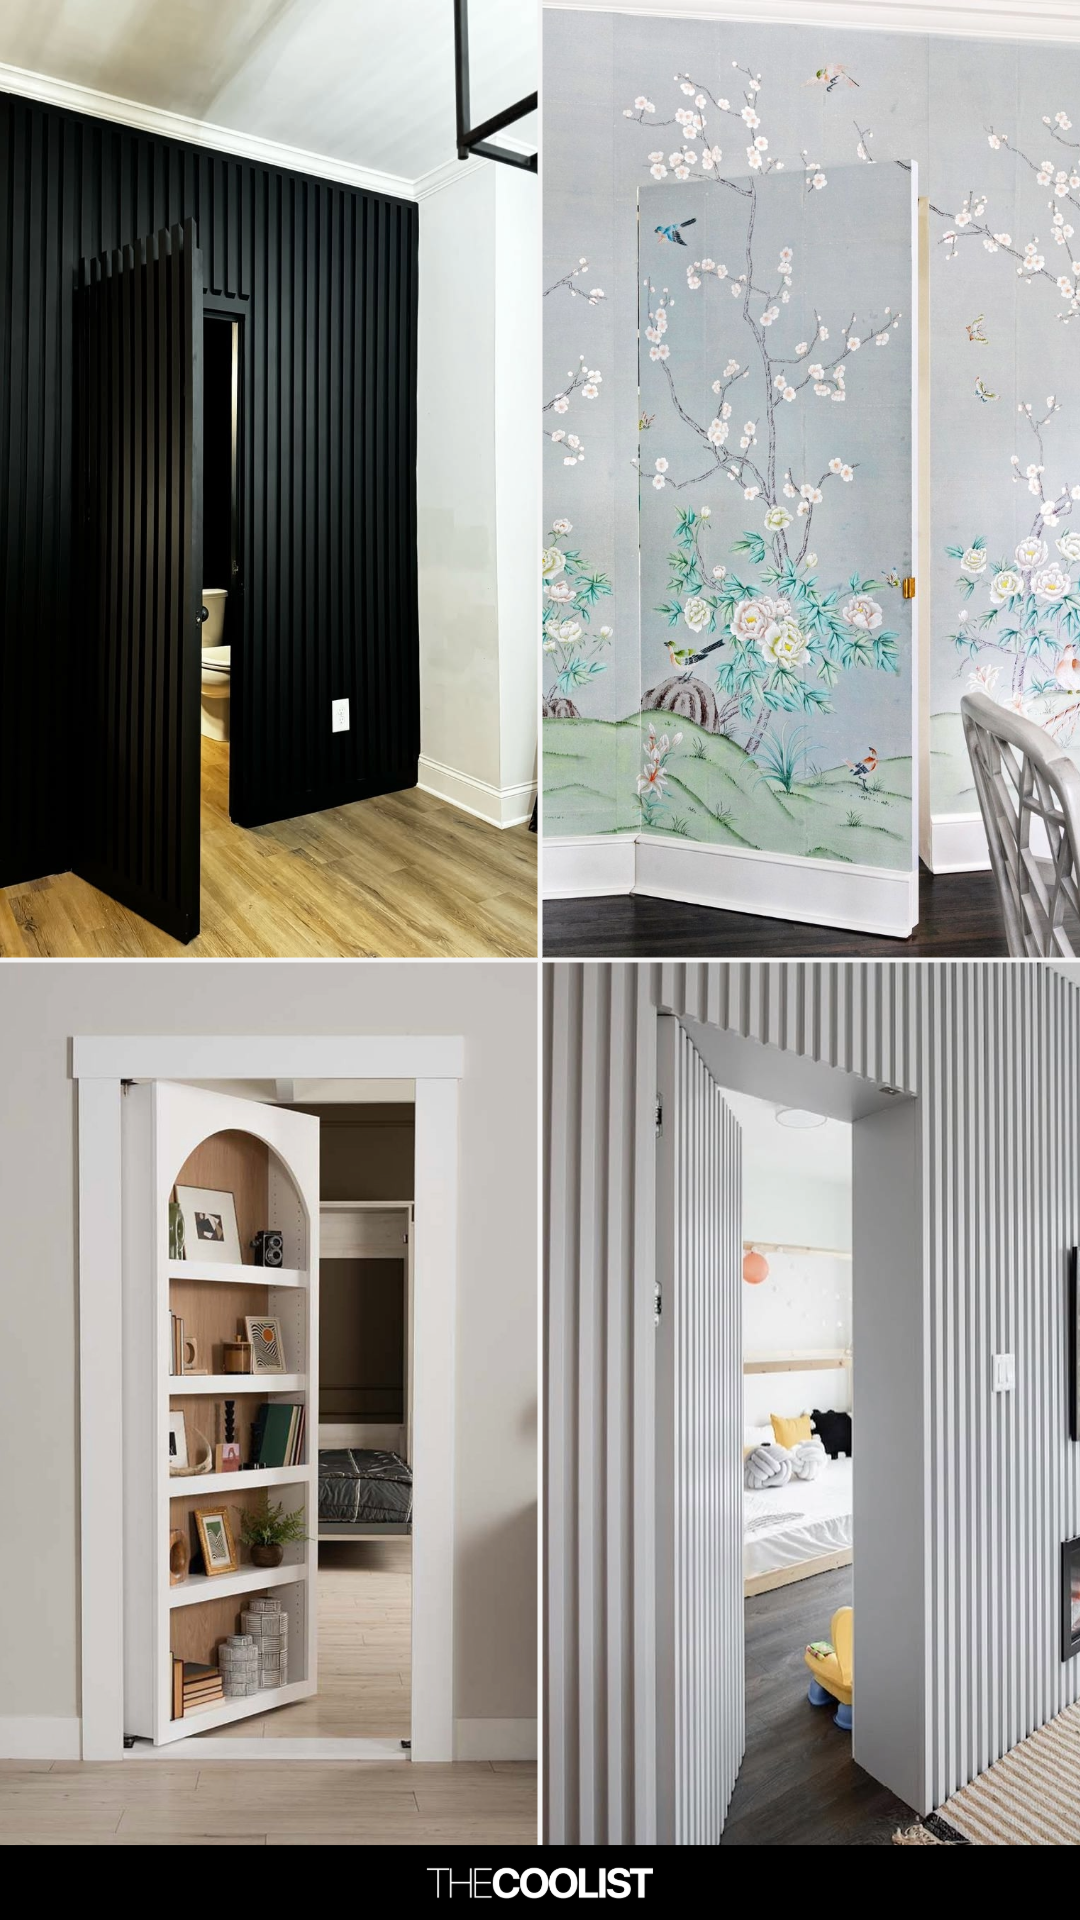
32 Hidden Door Ideas Stylish Homeowners Are Quietly Installing First