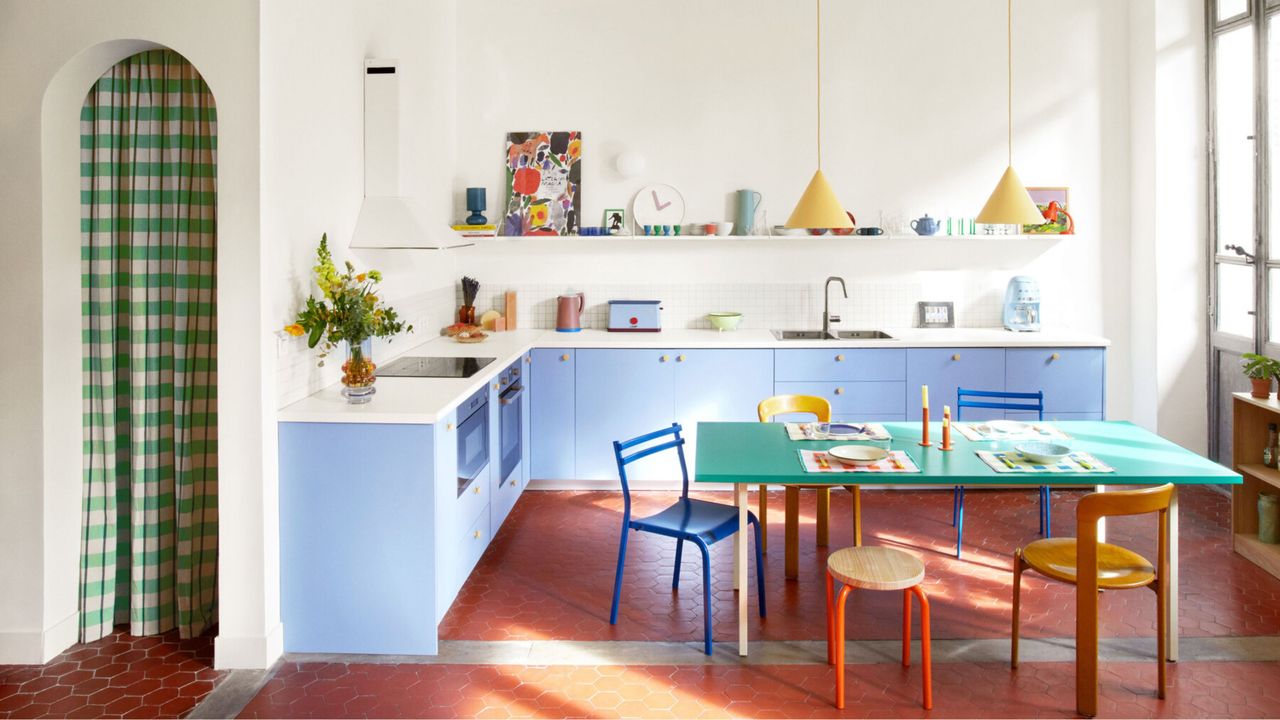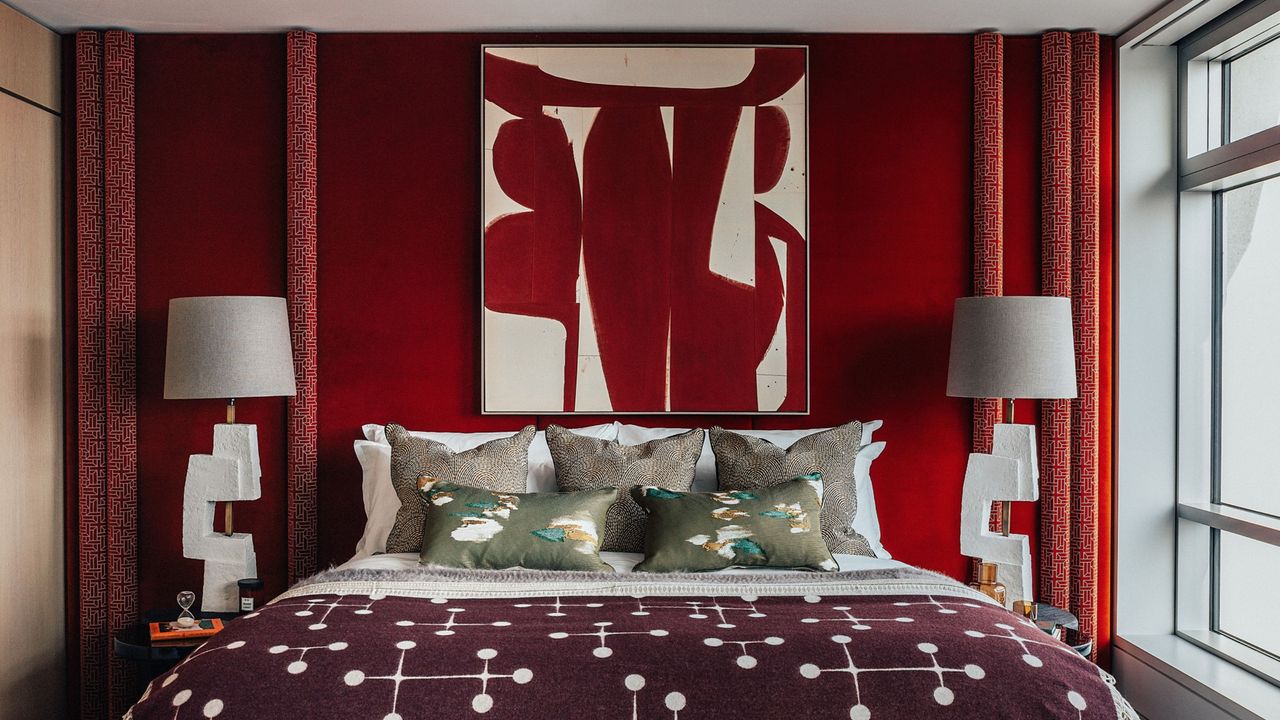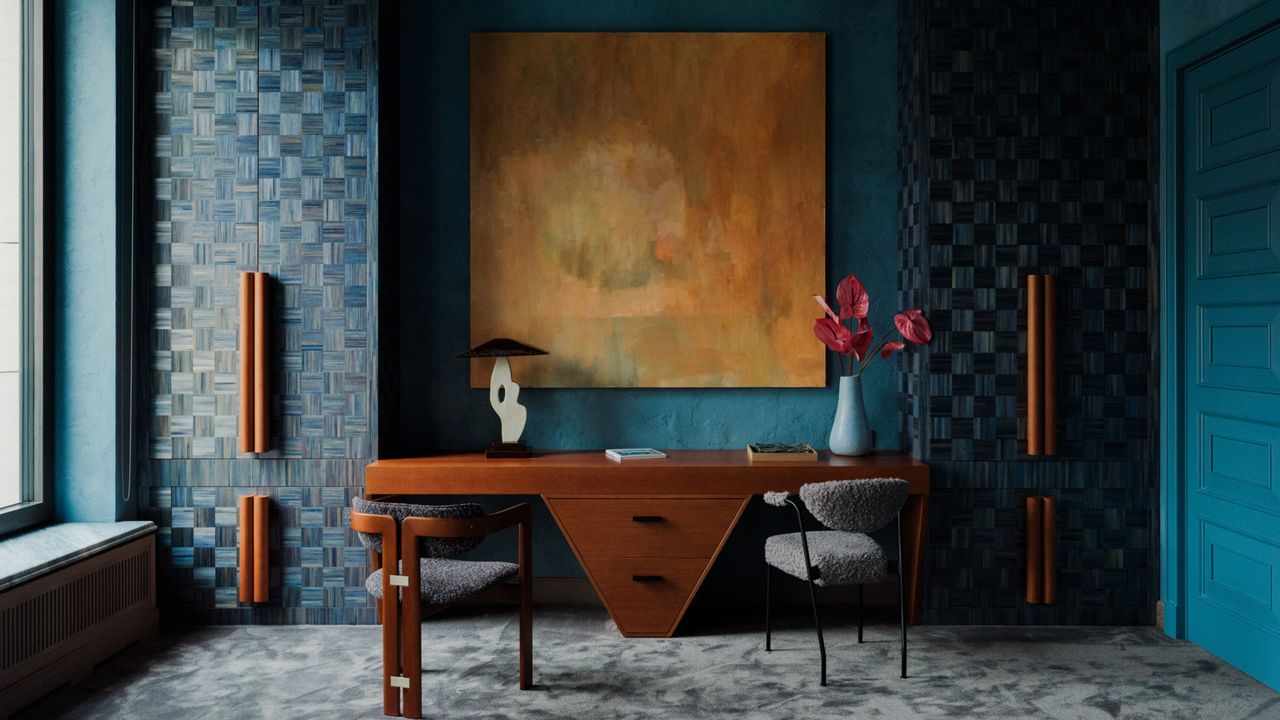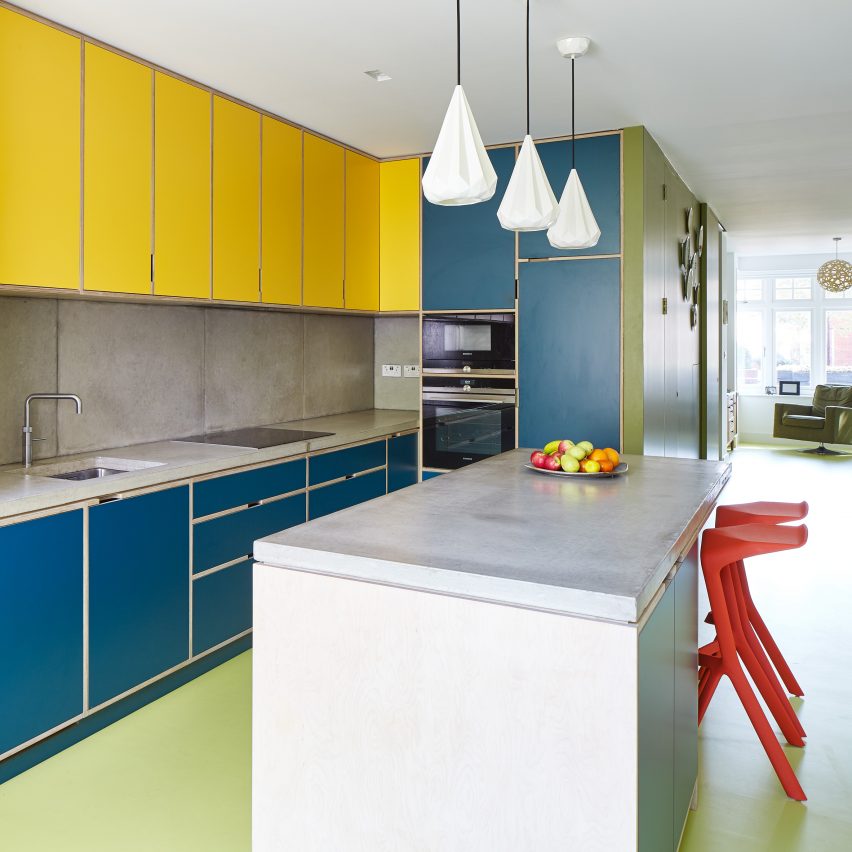
1/18
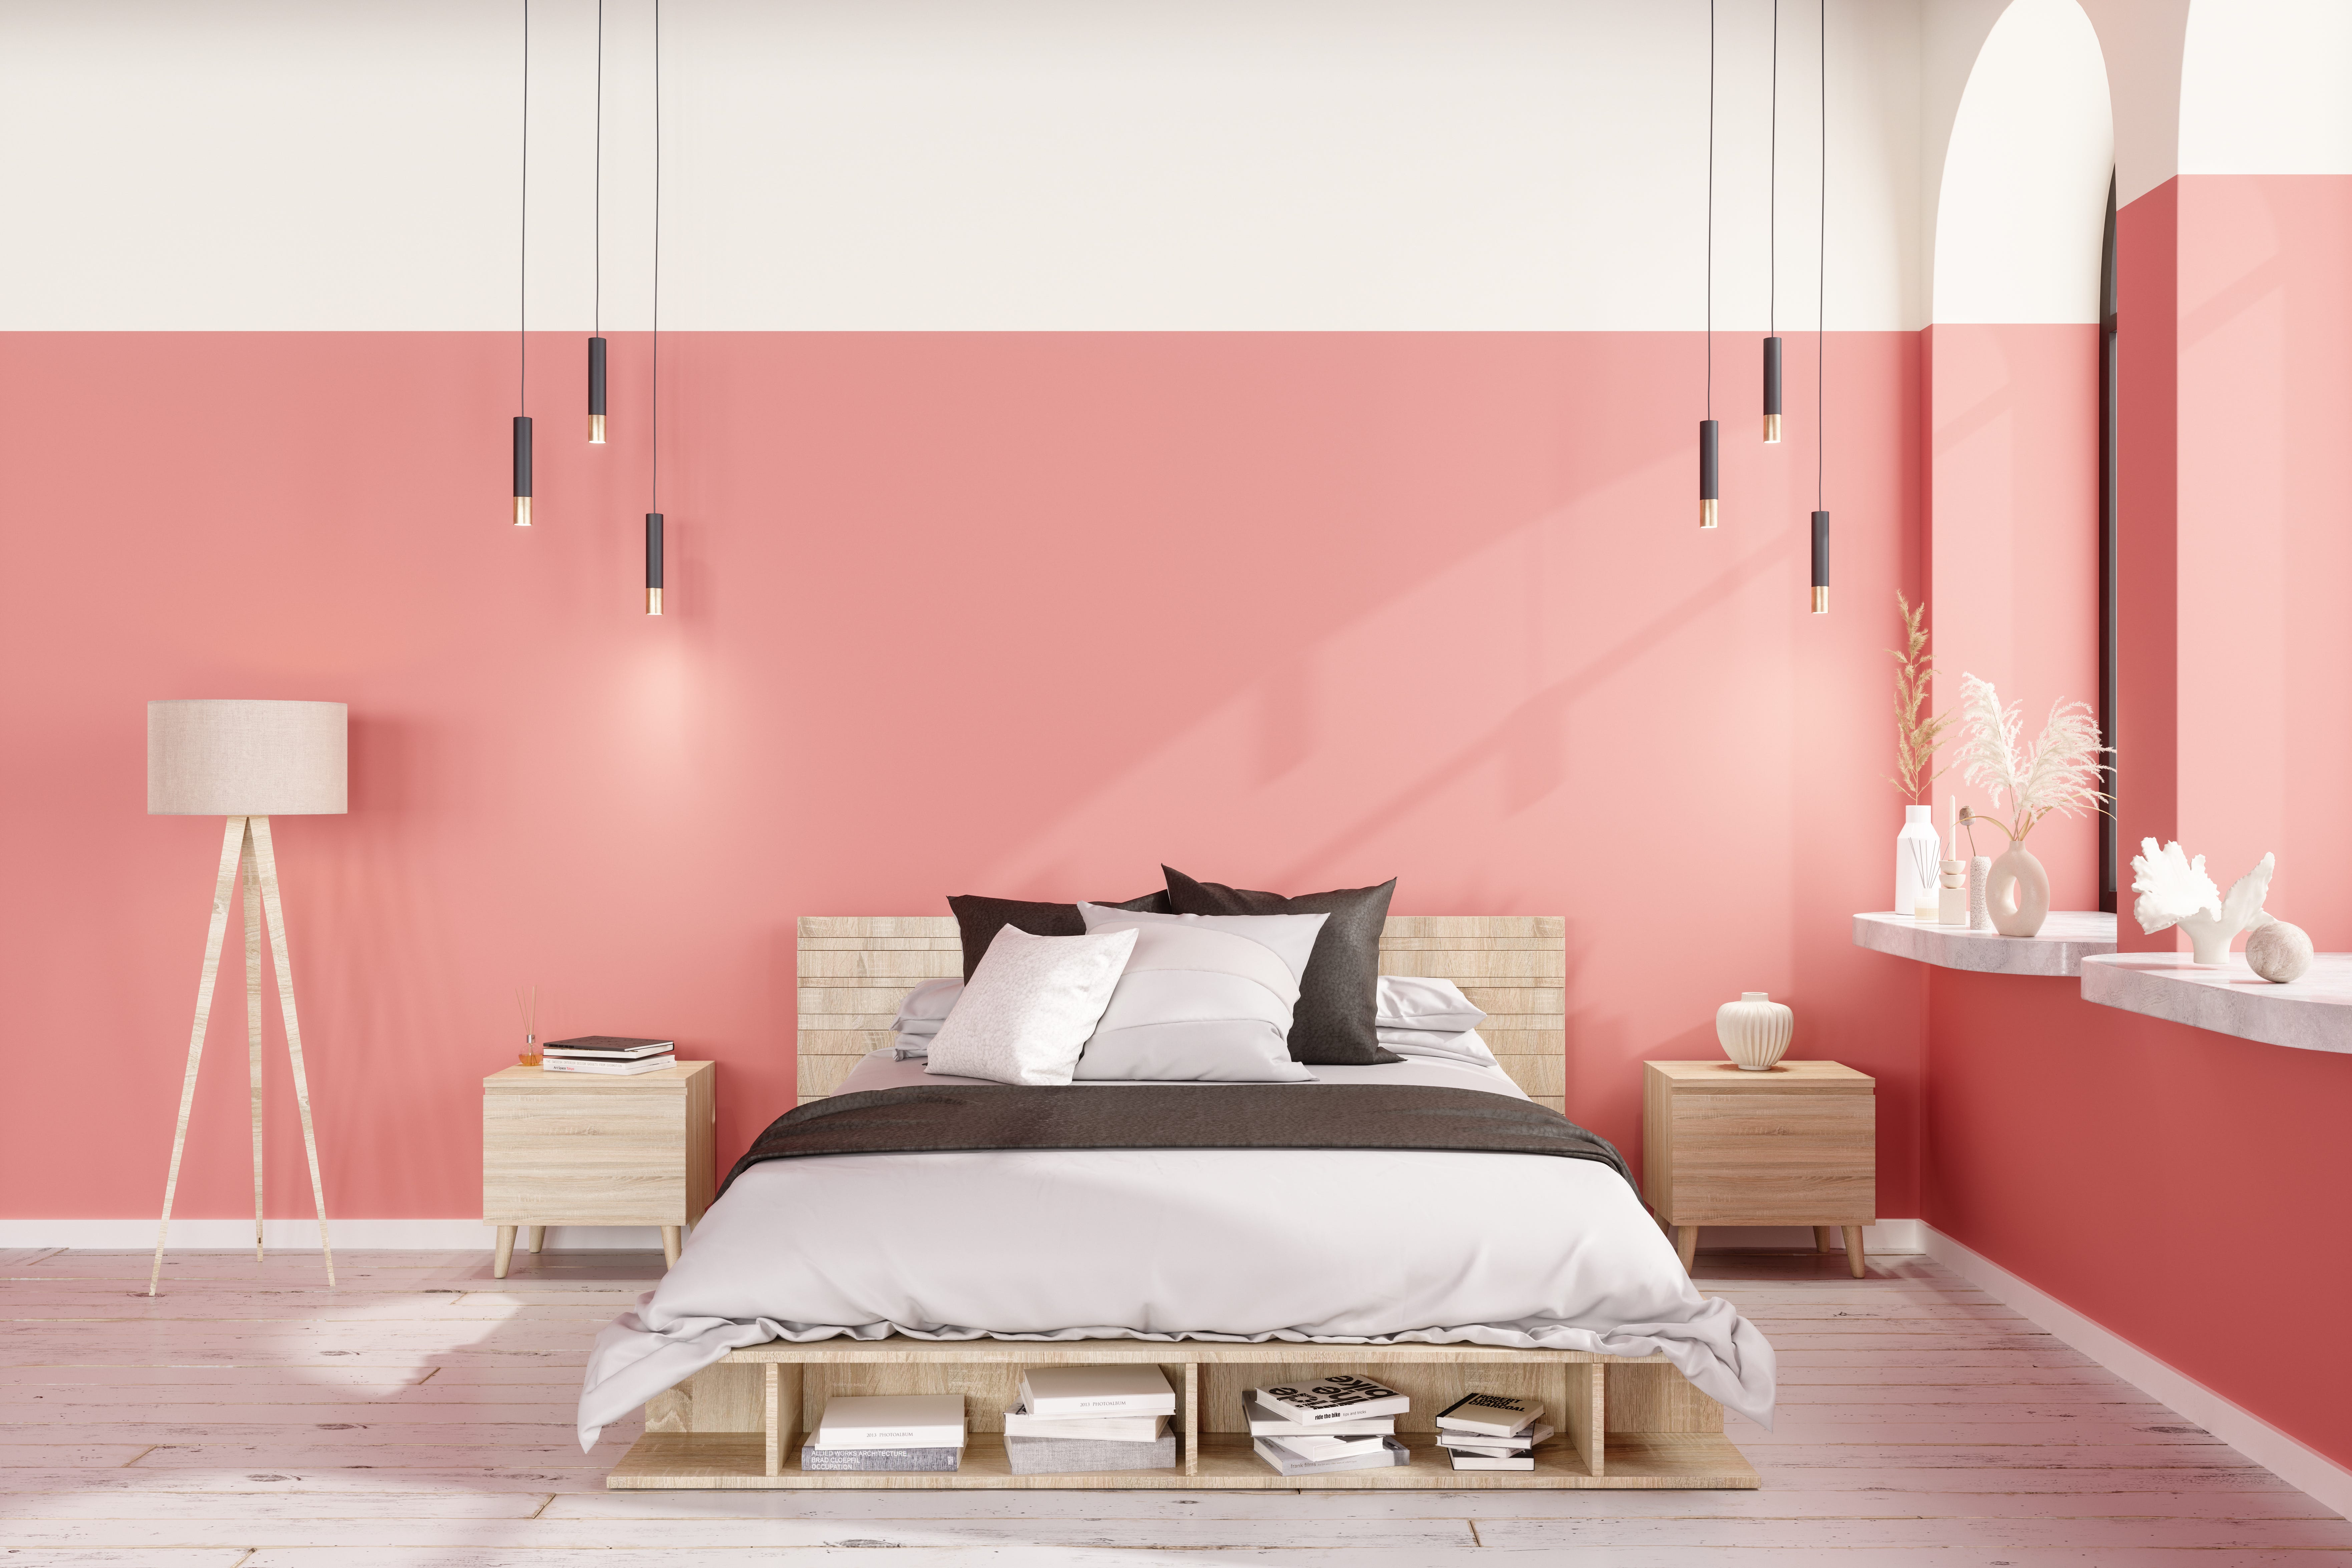
Understanding colour blocking
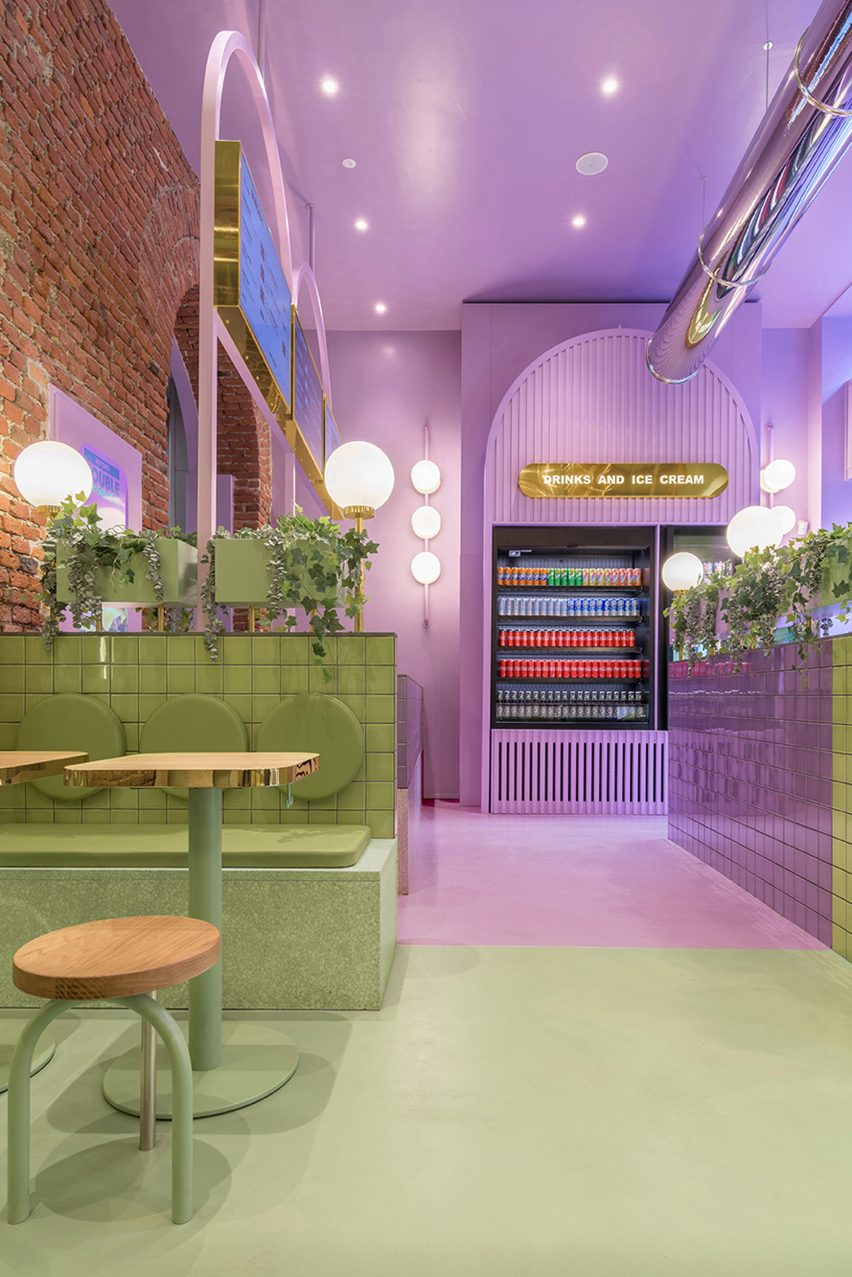
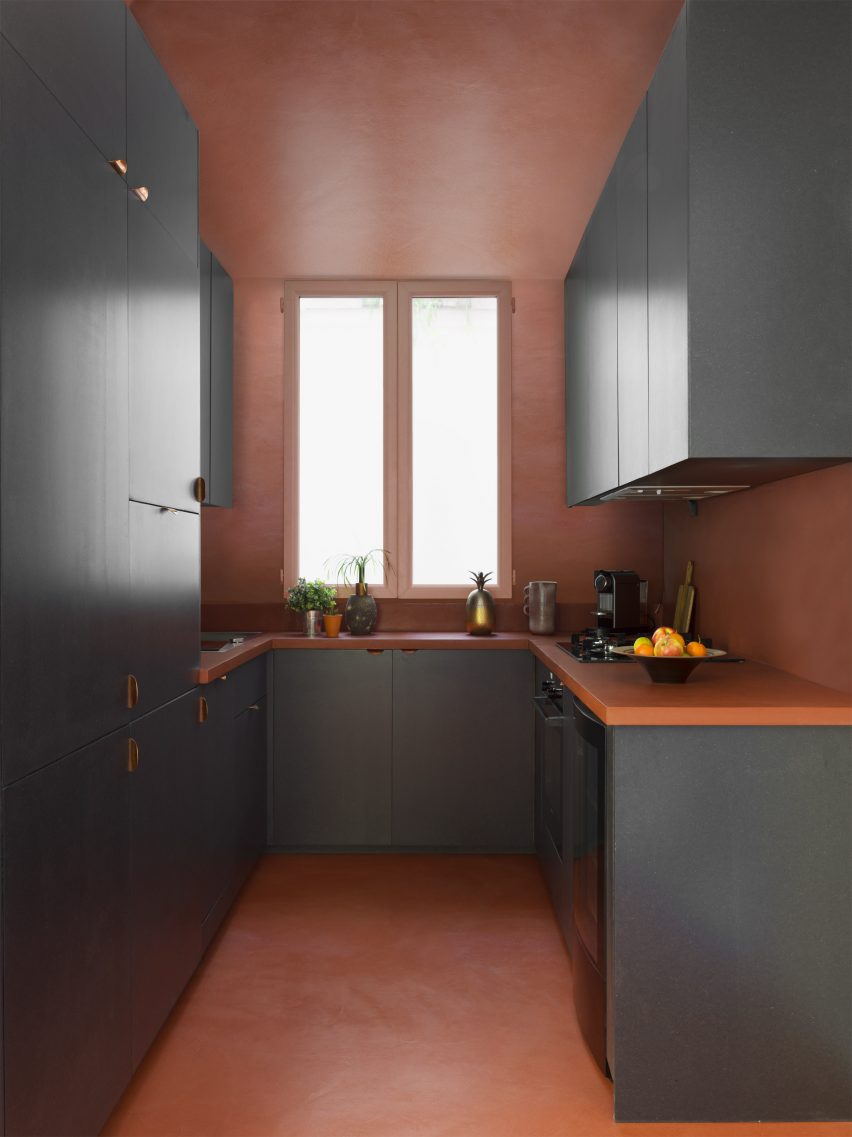
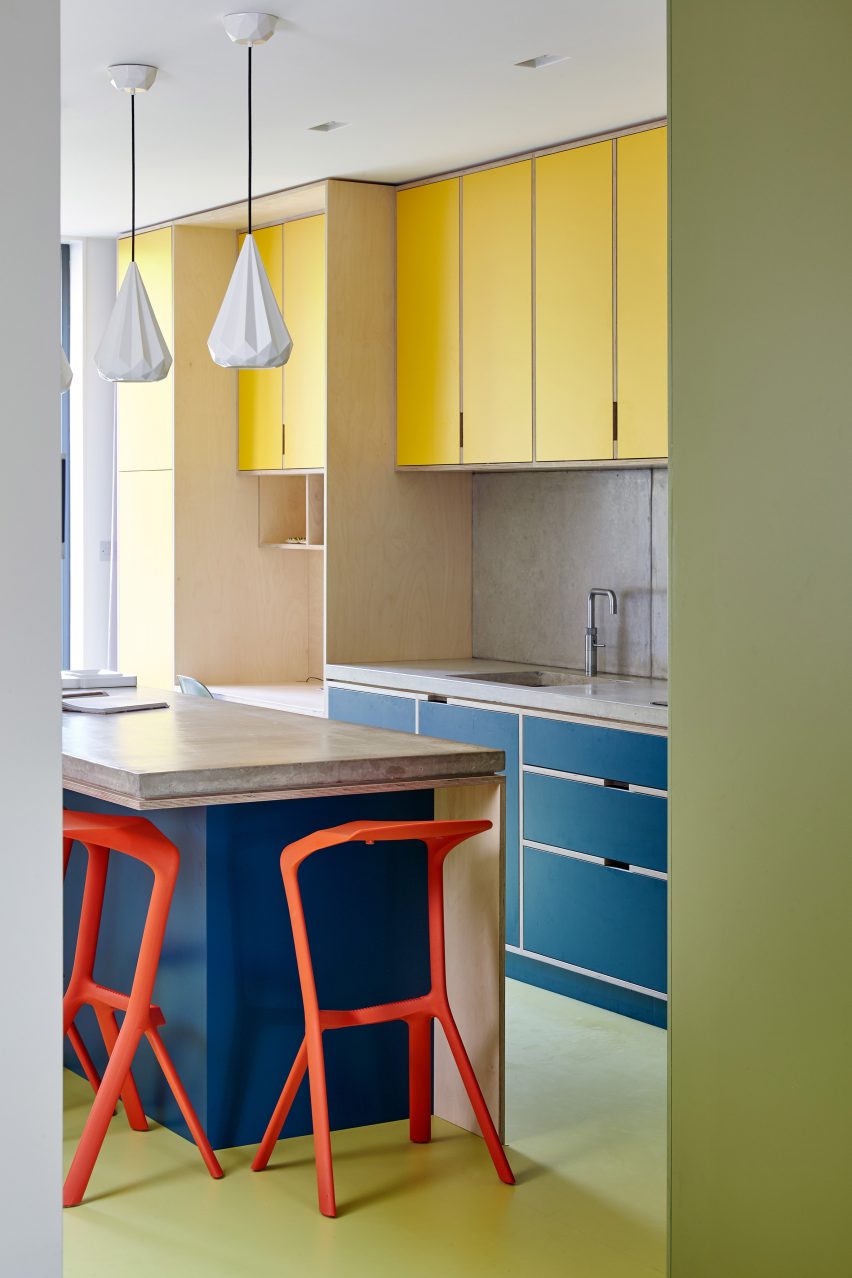
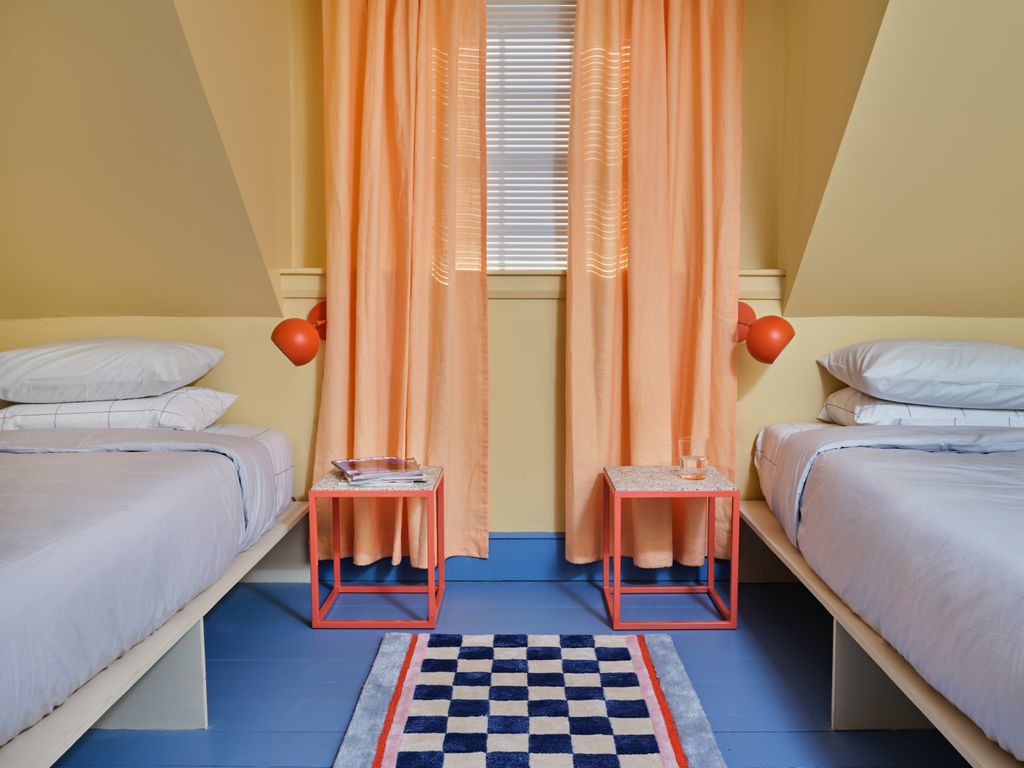
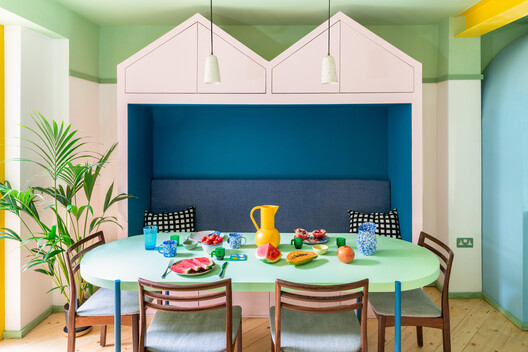
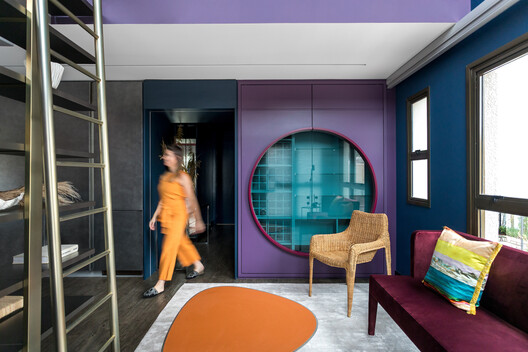
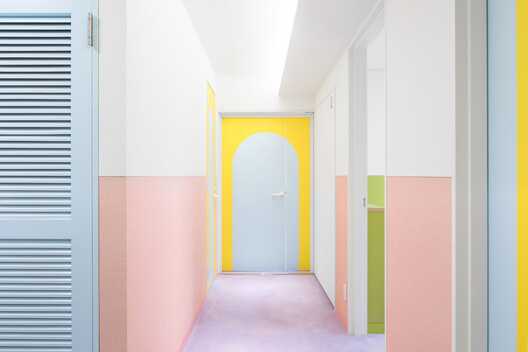
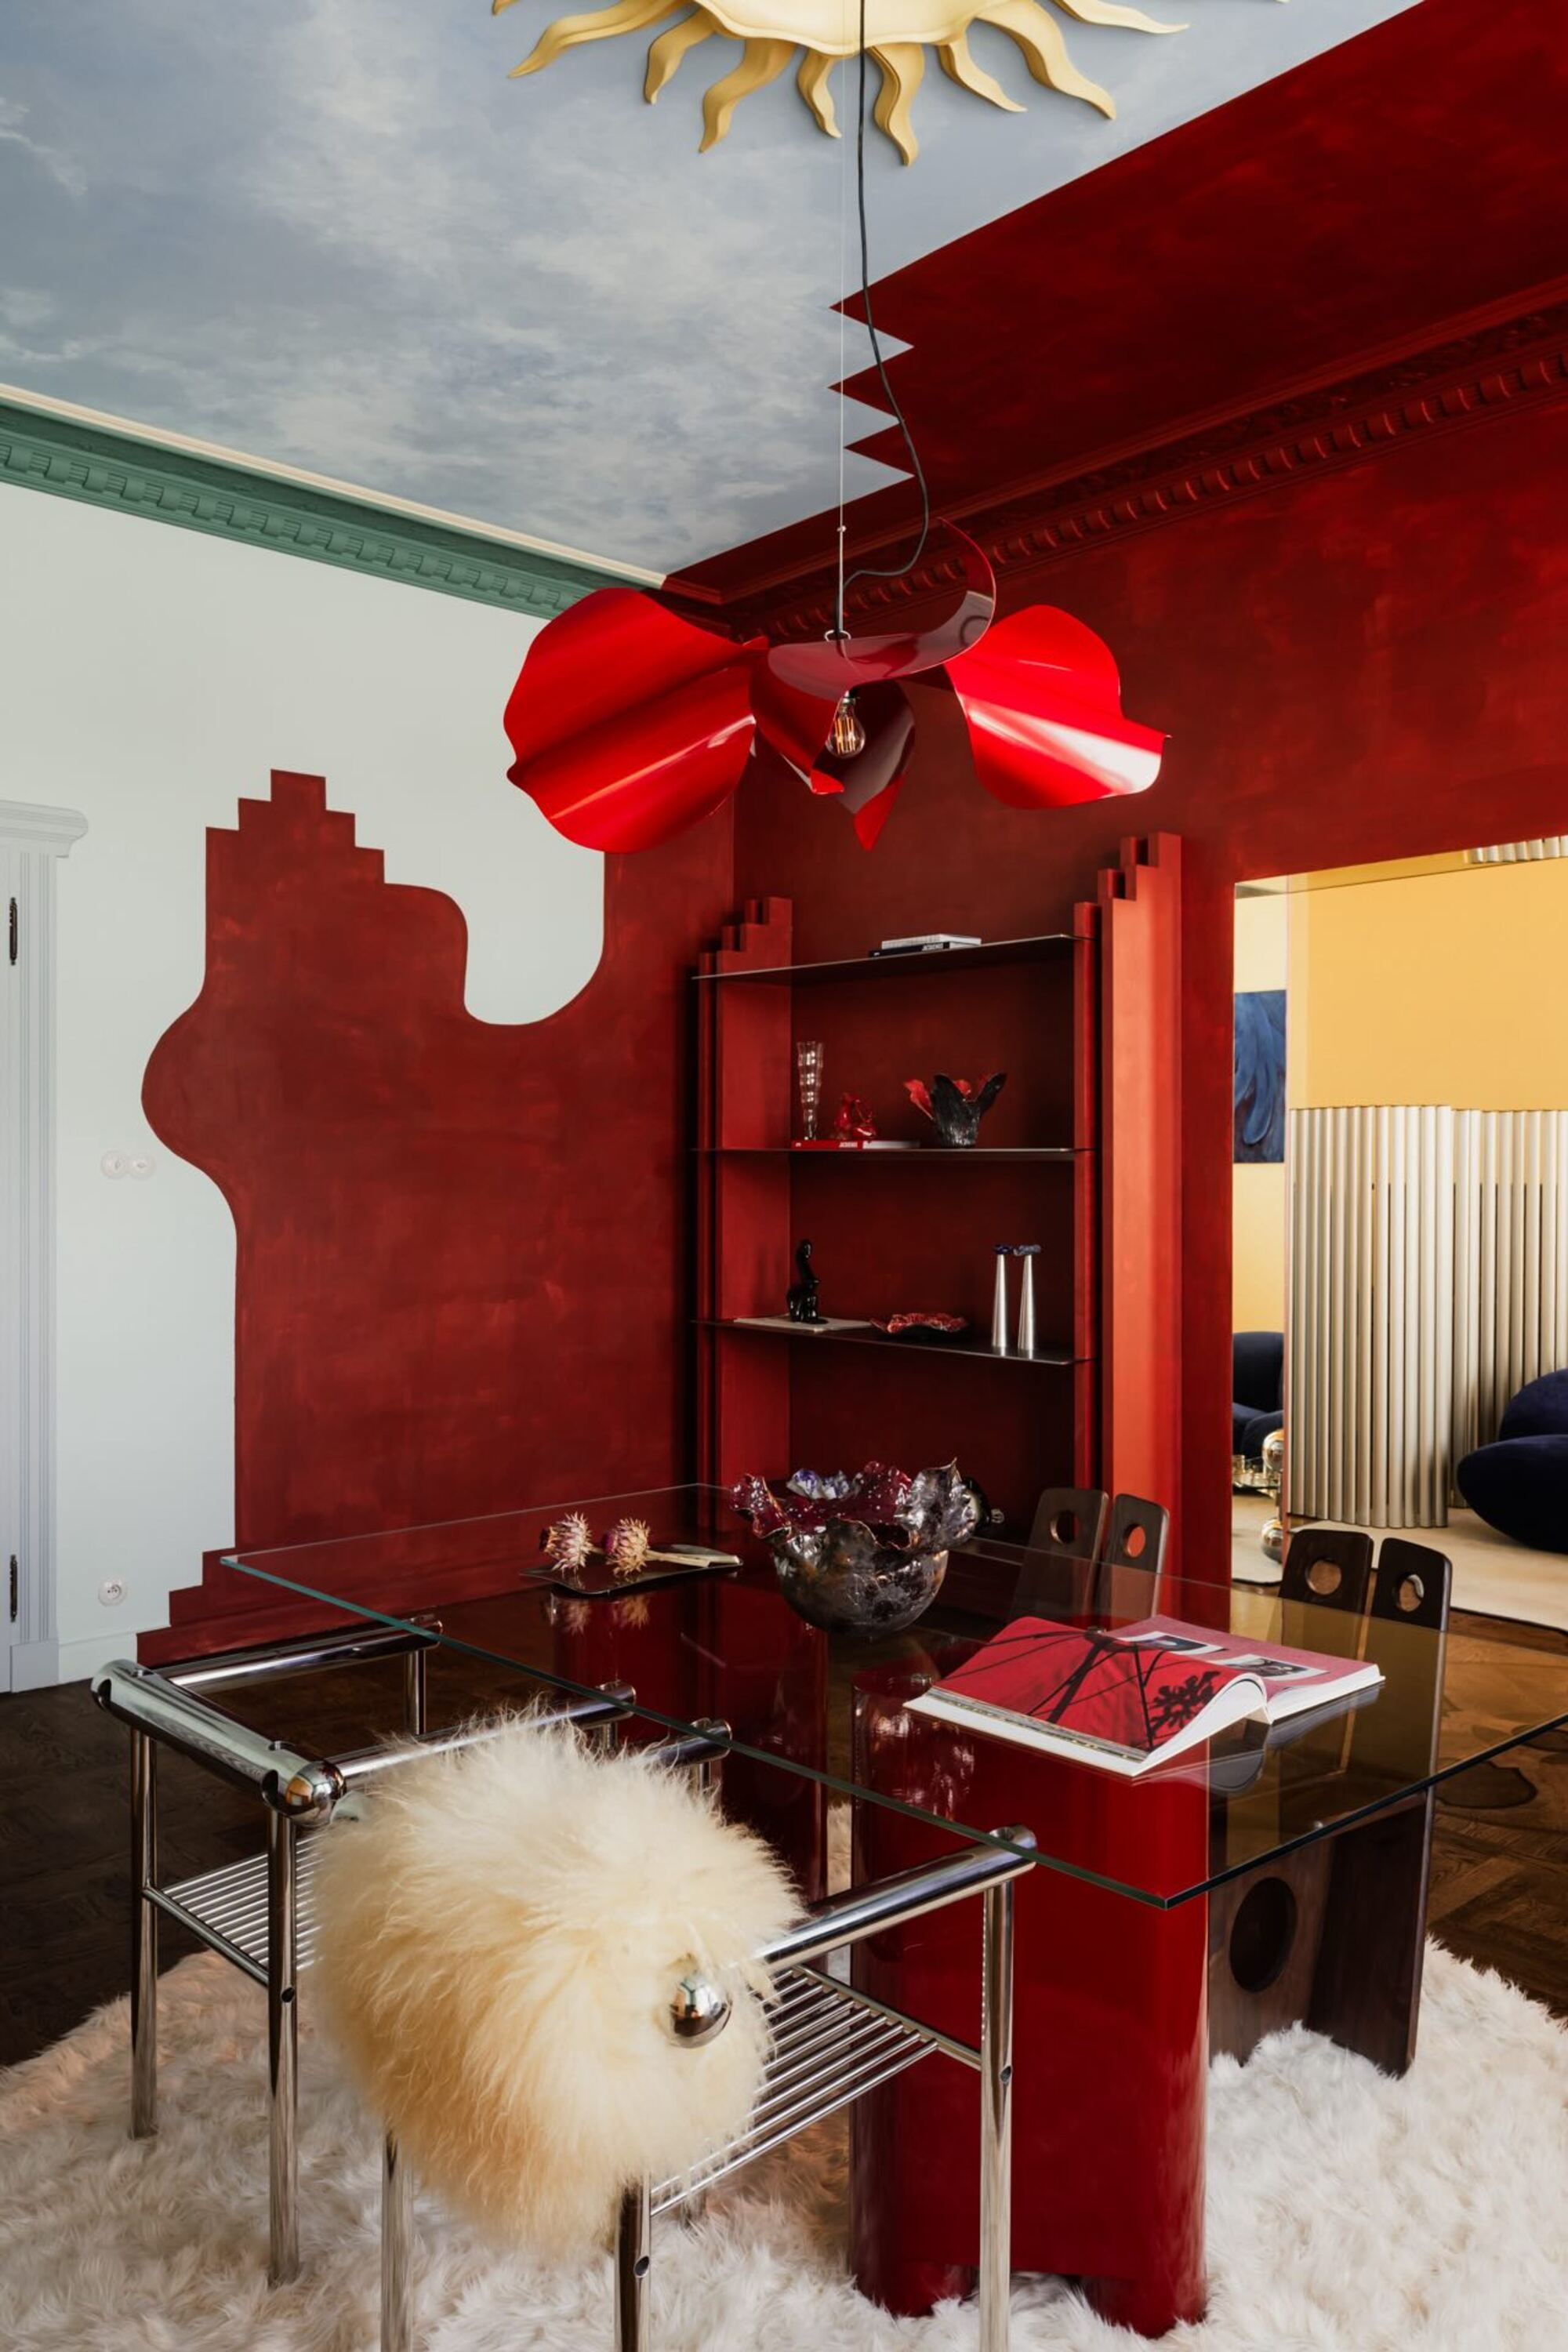
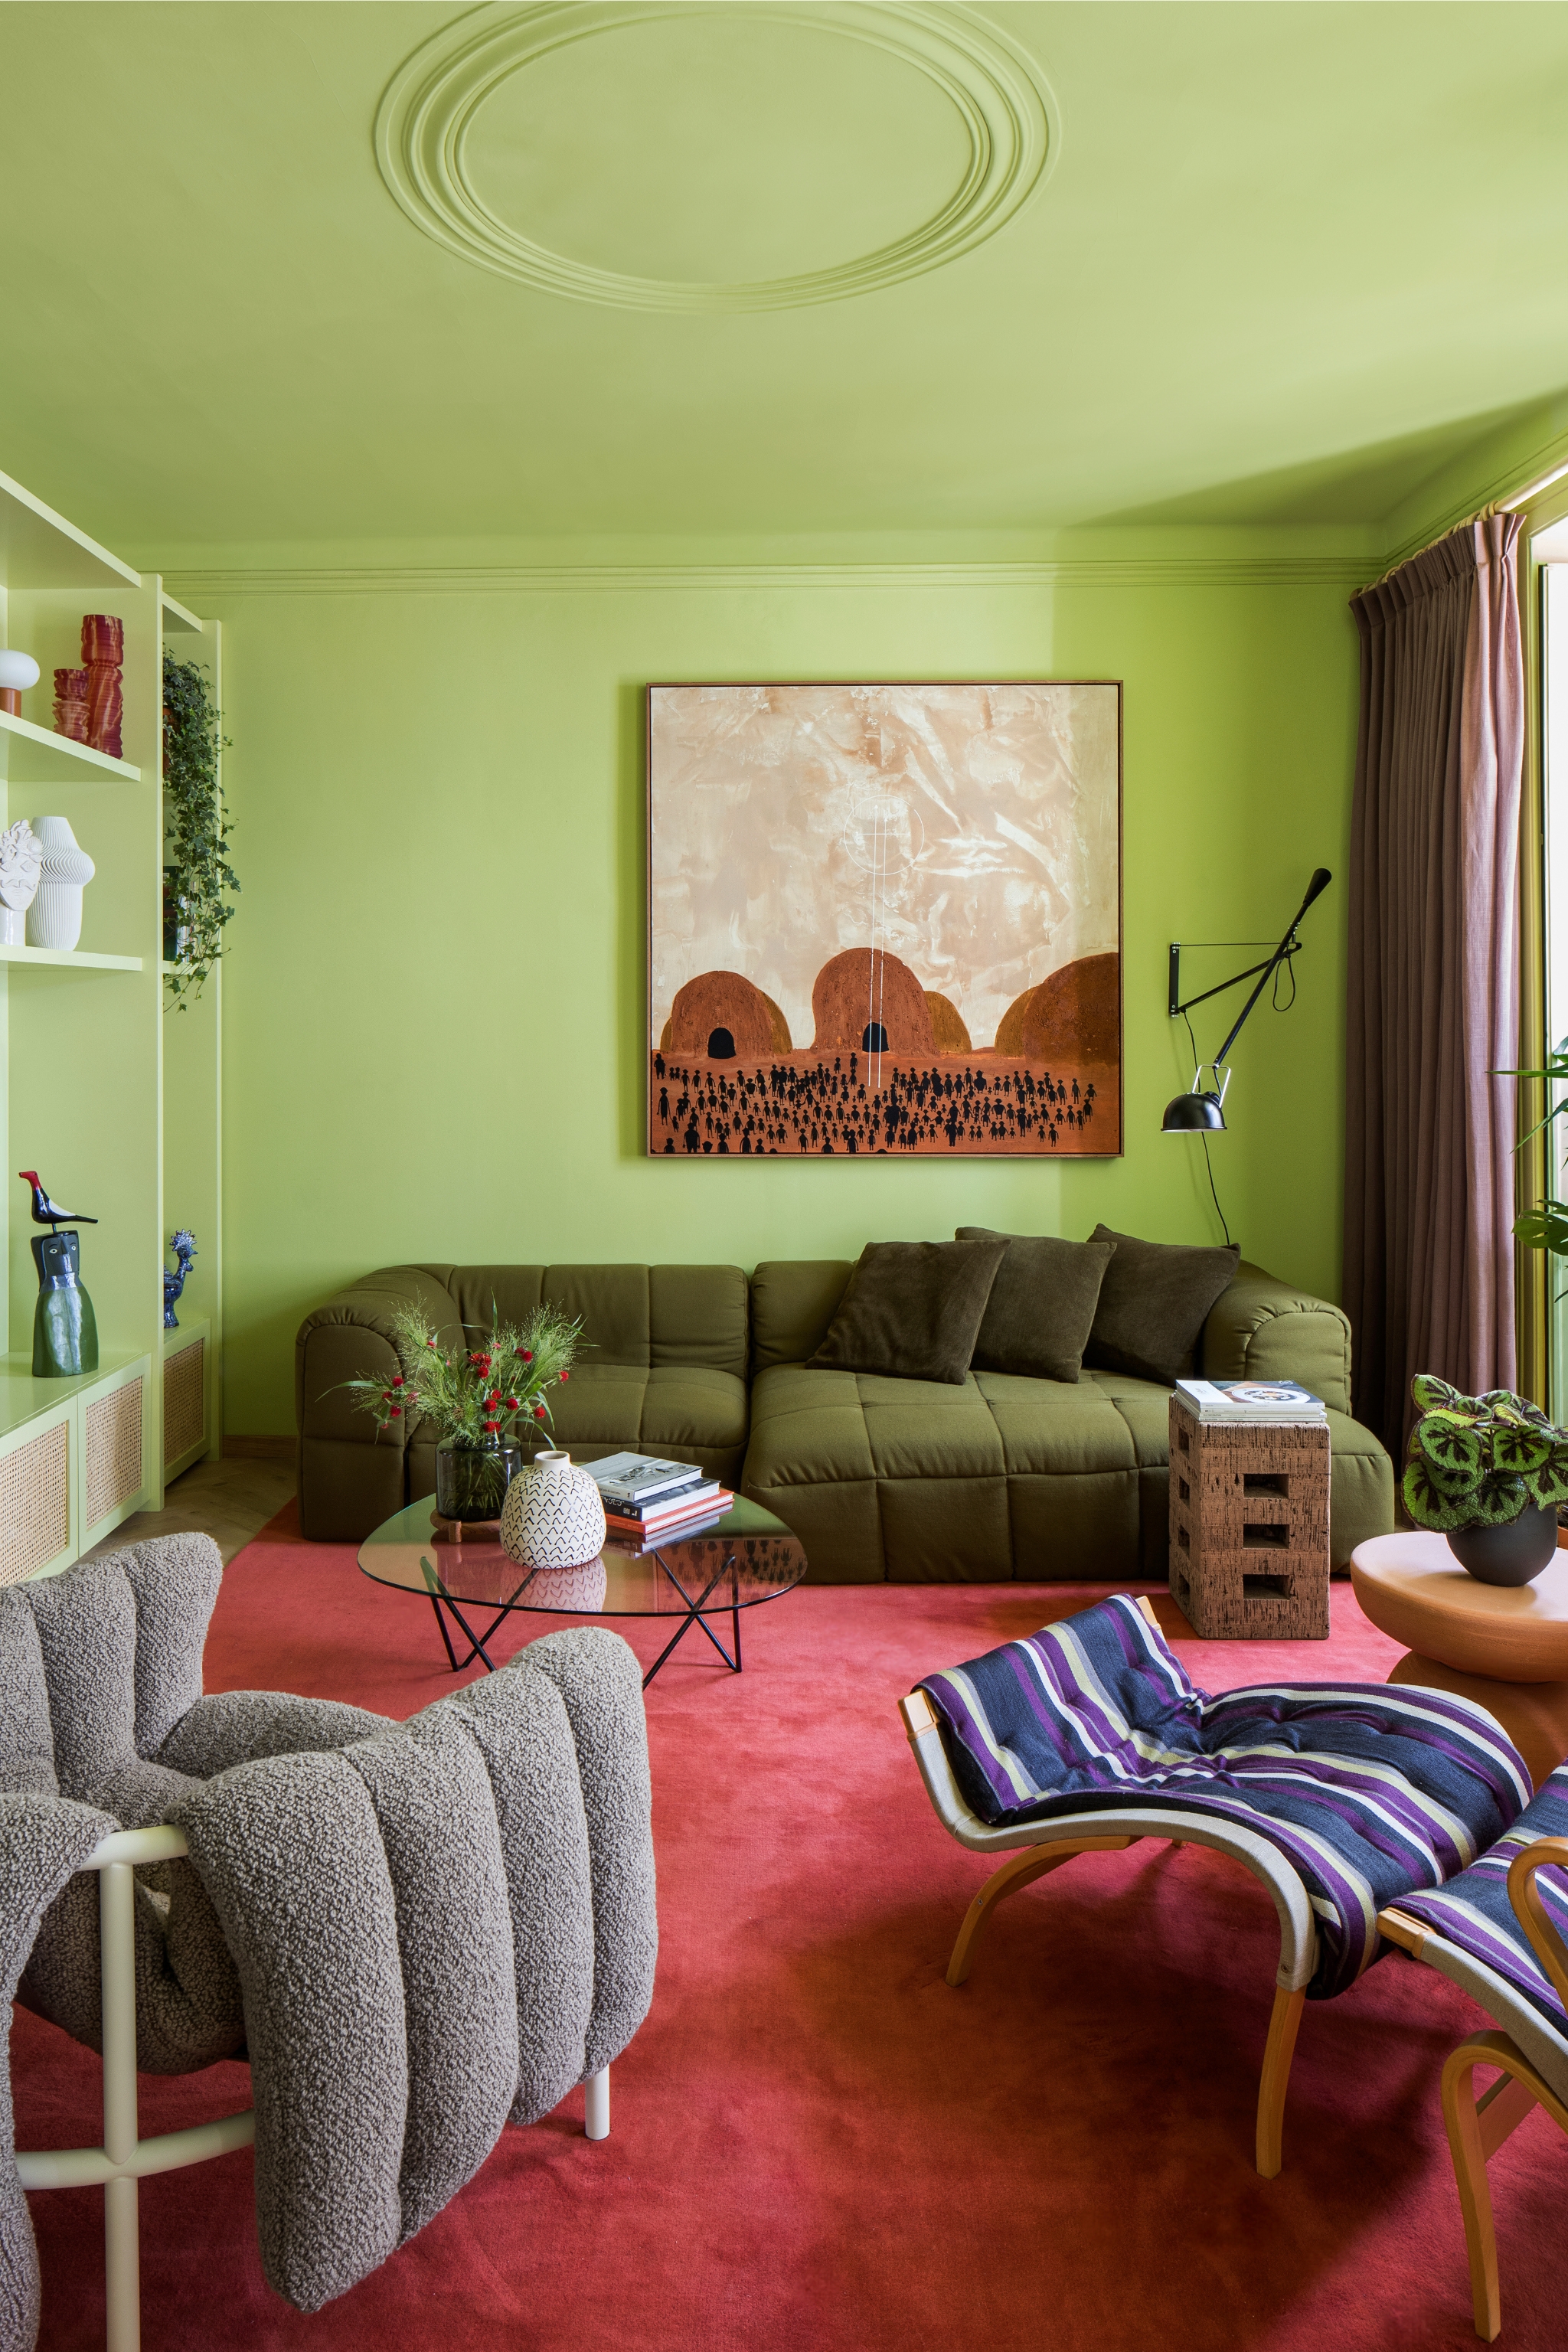
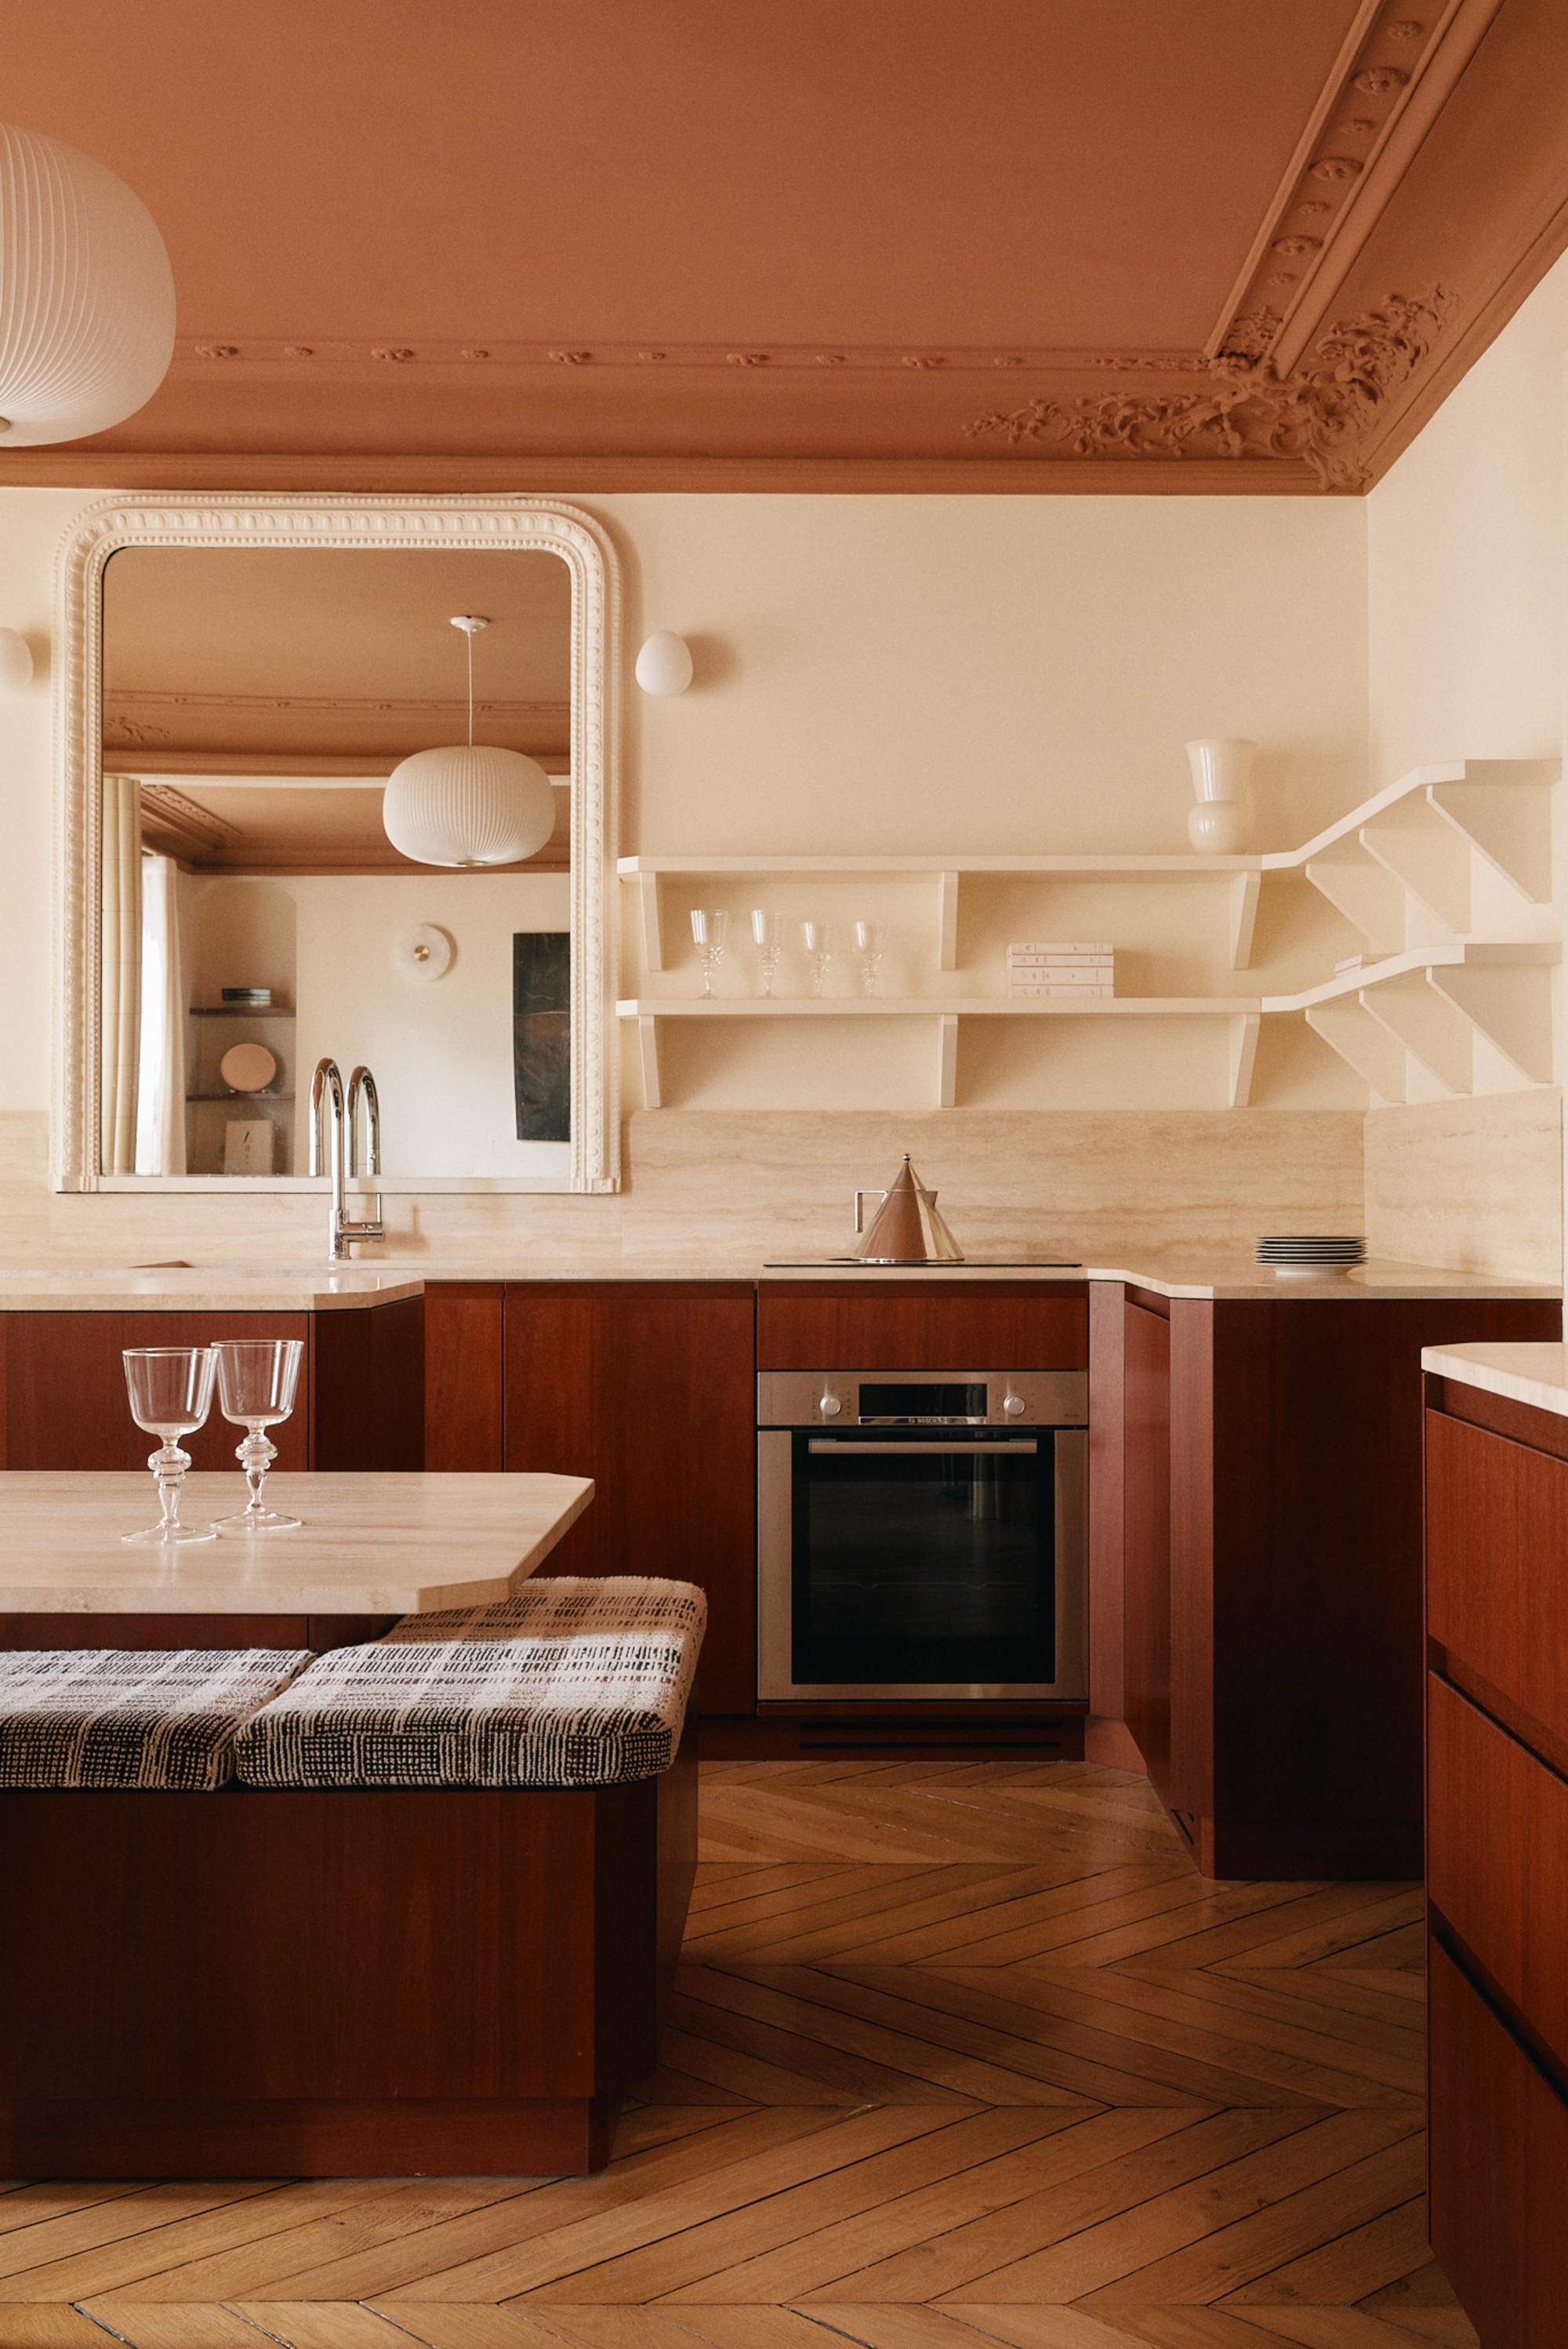
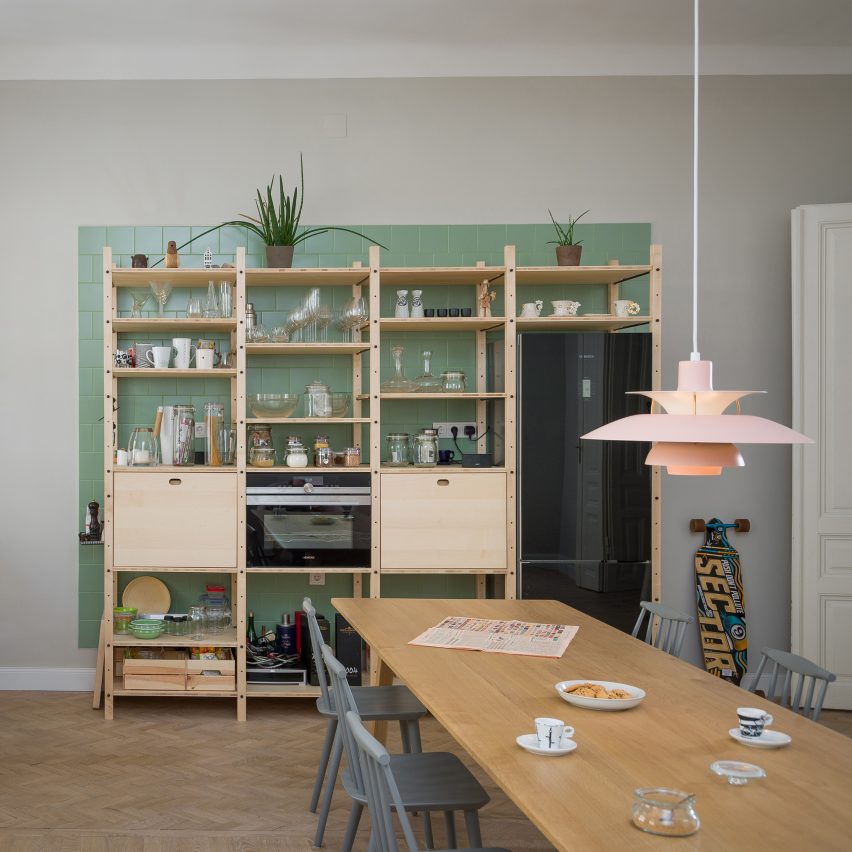
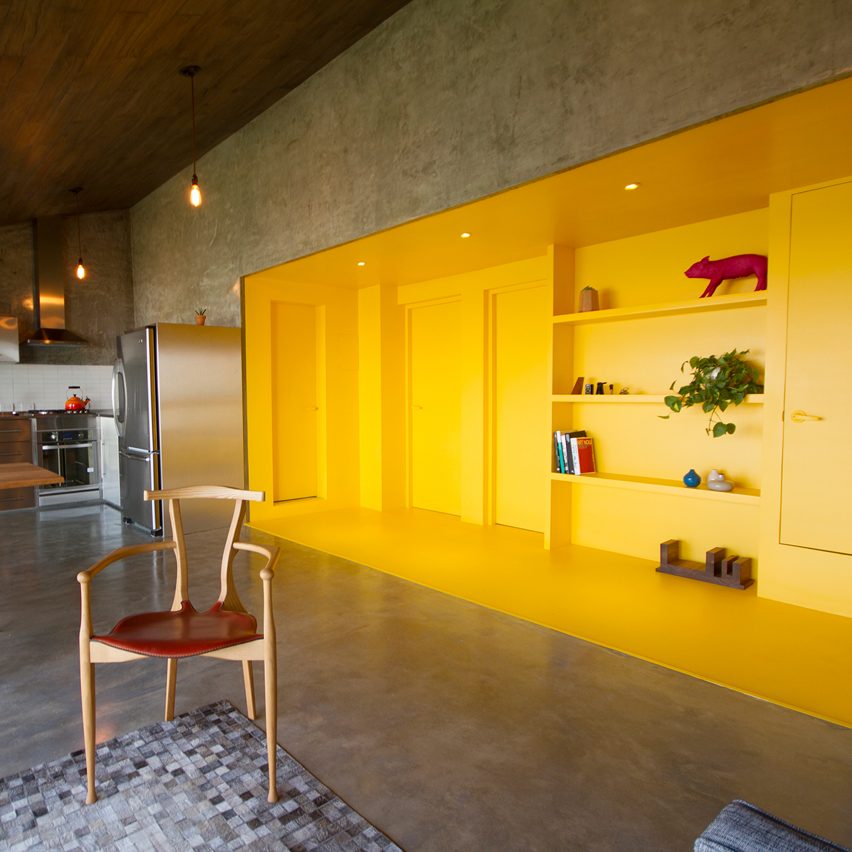
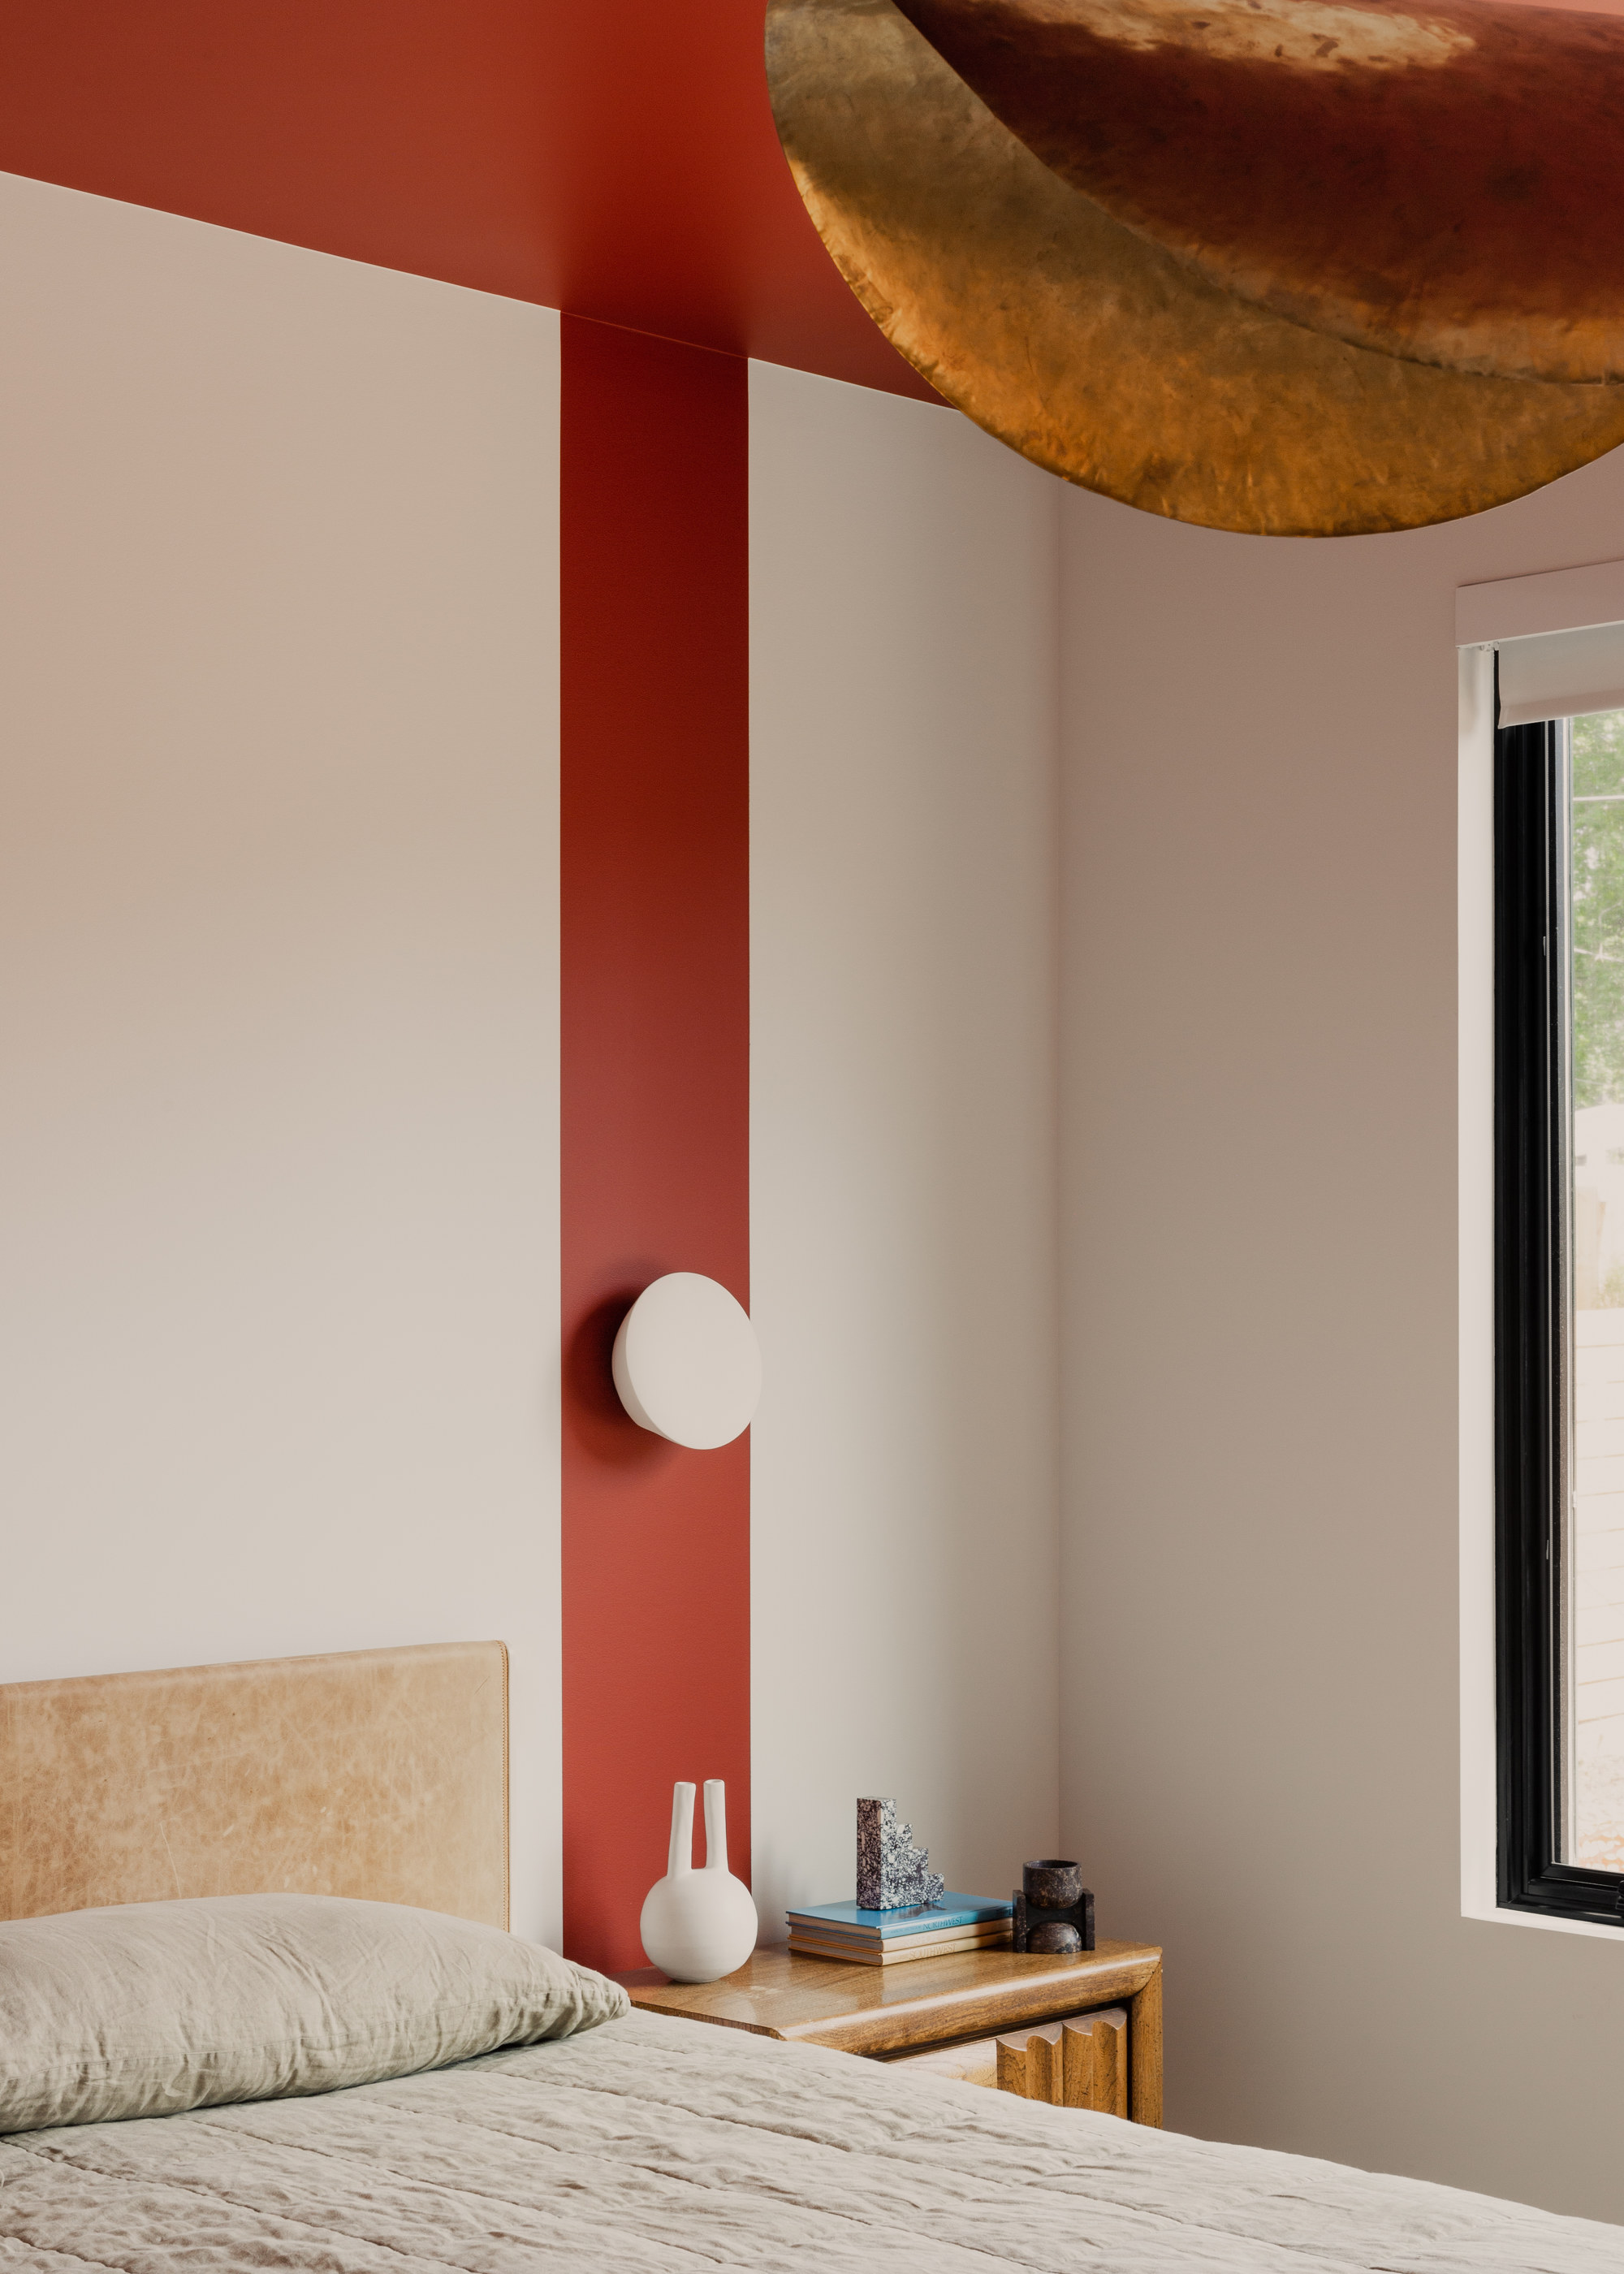
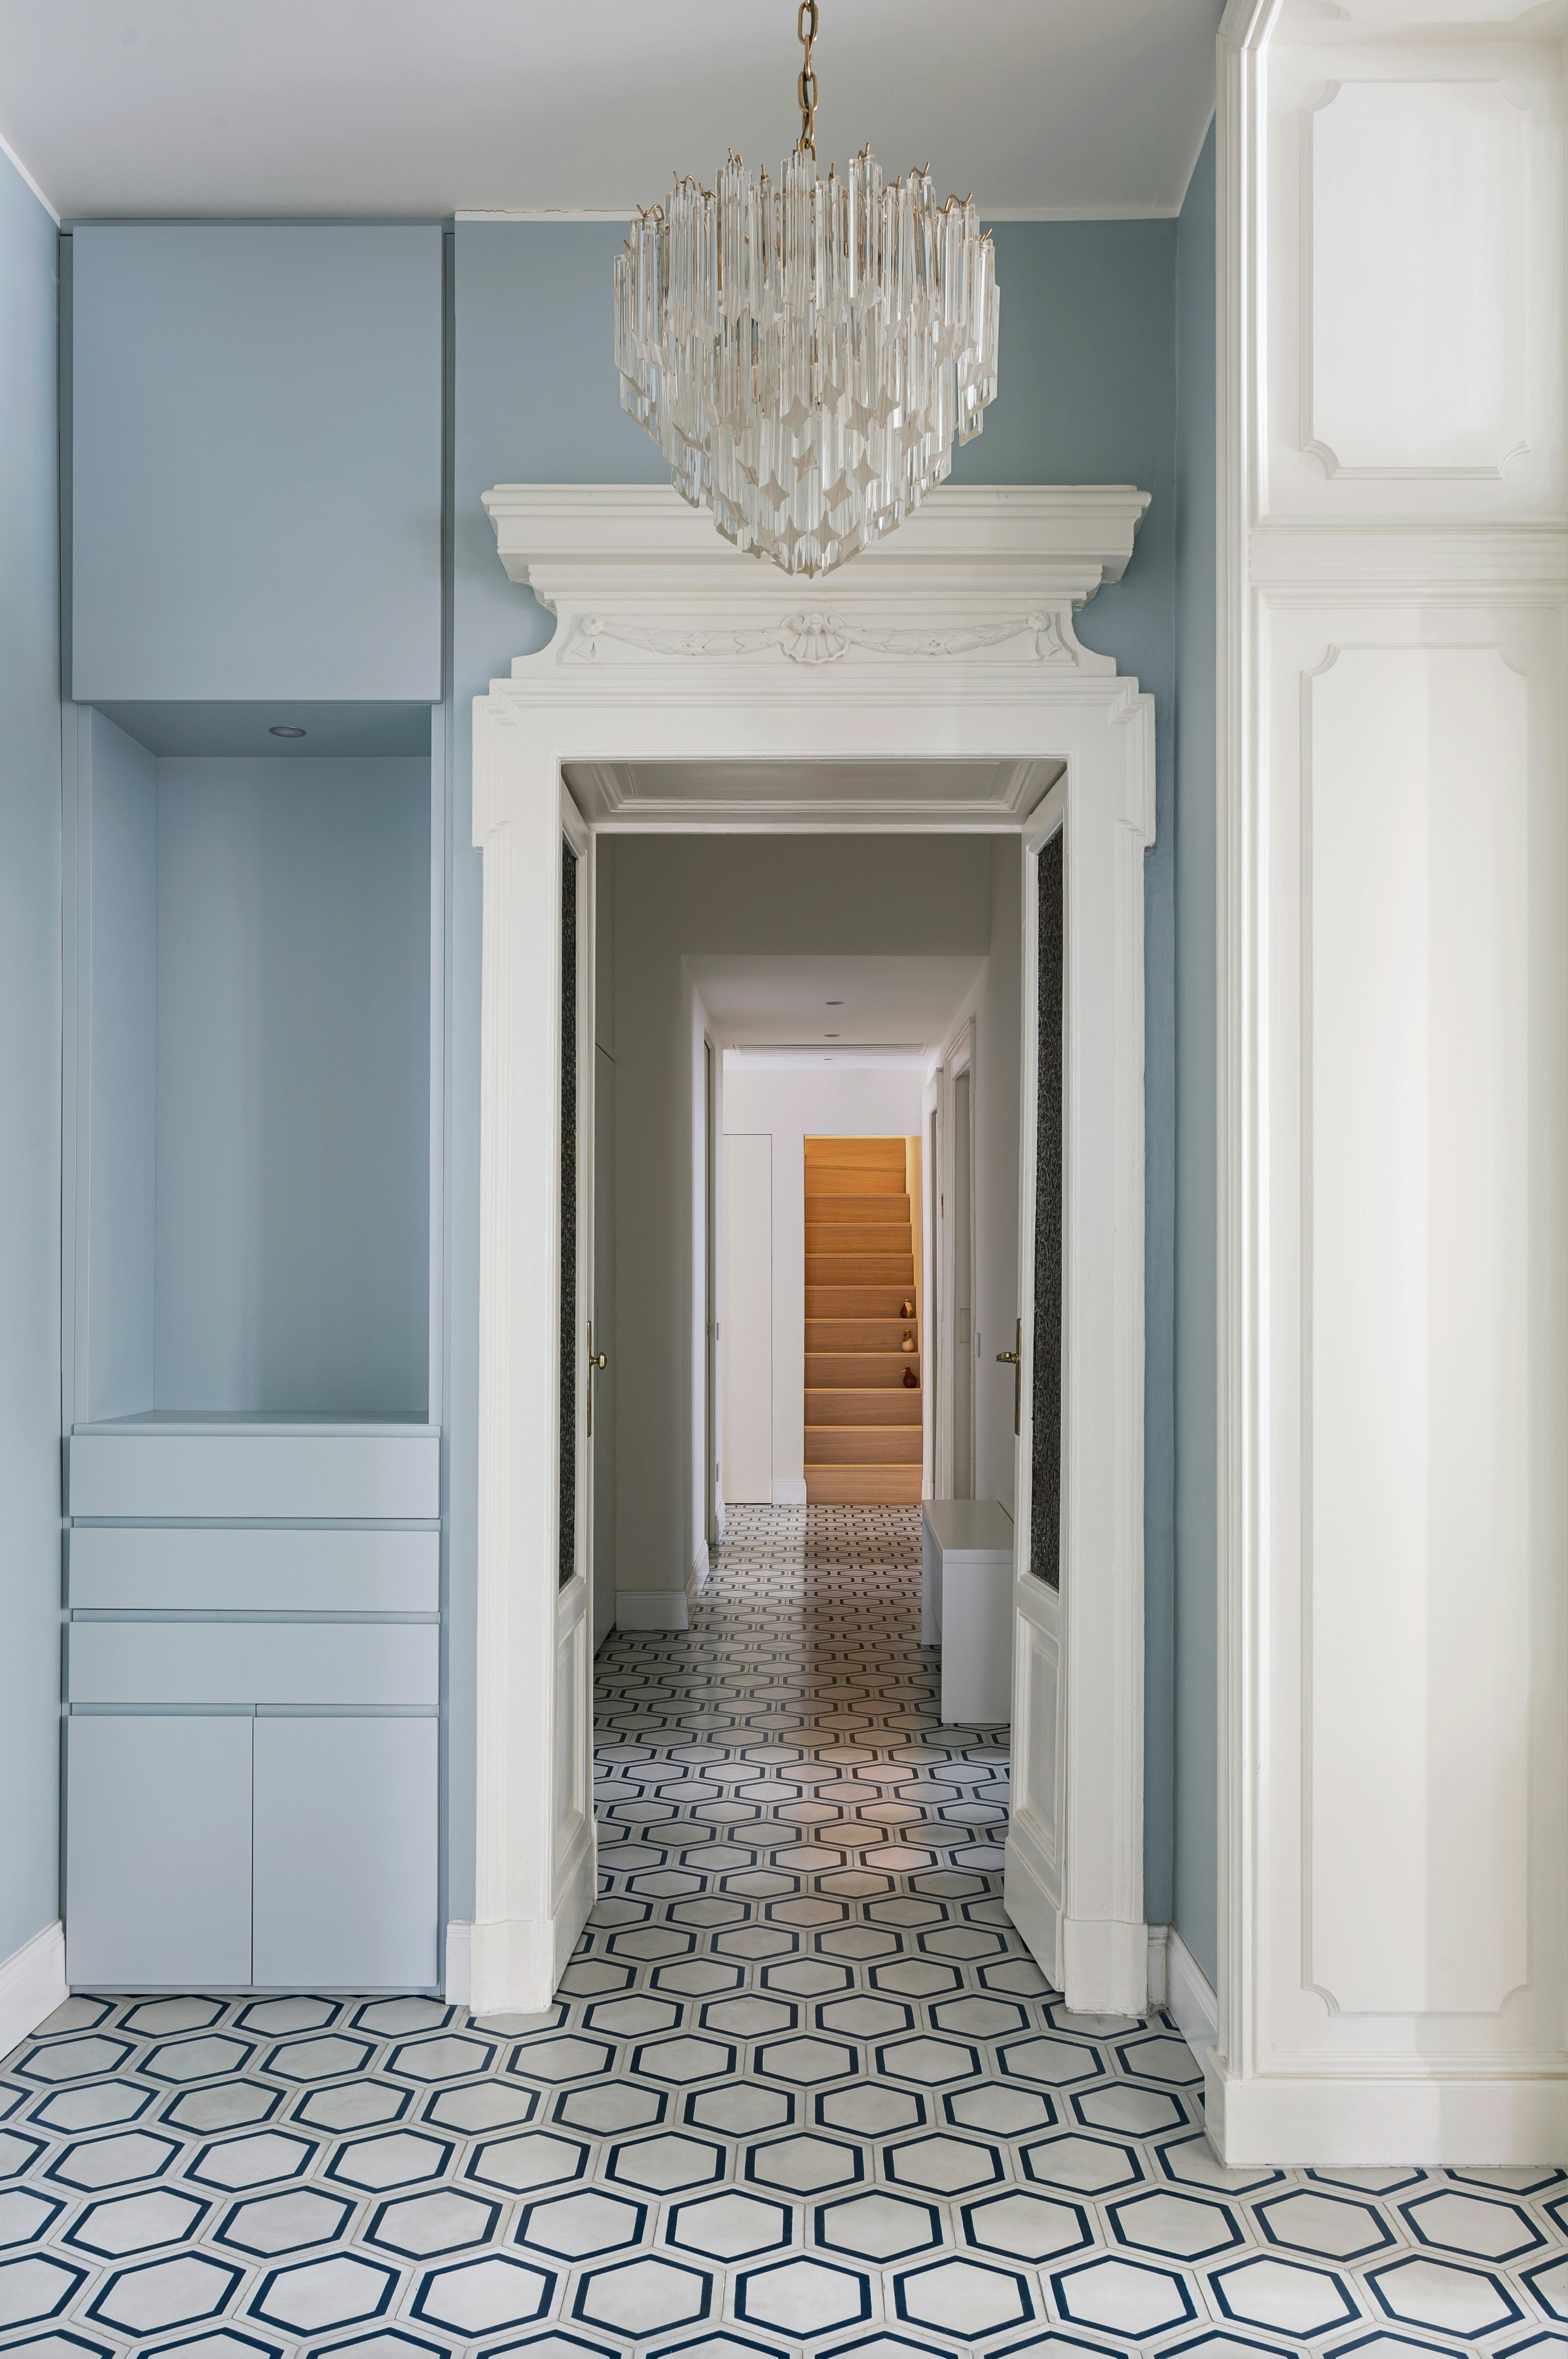
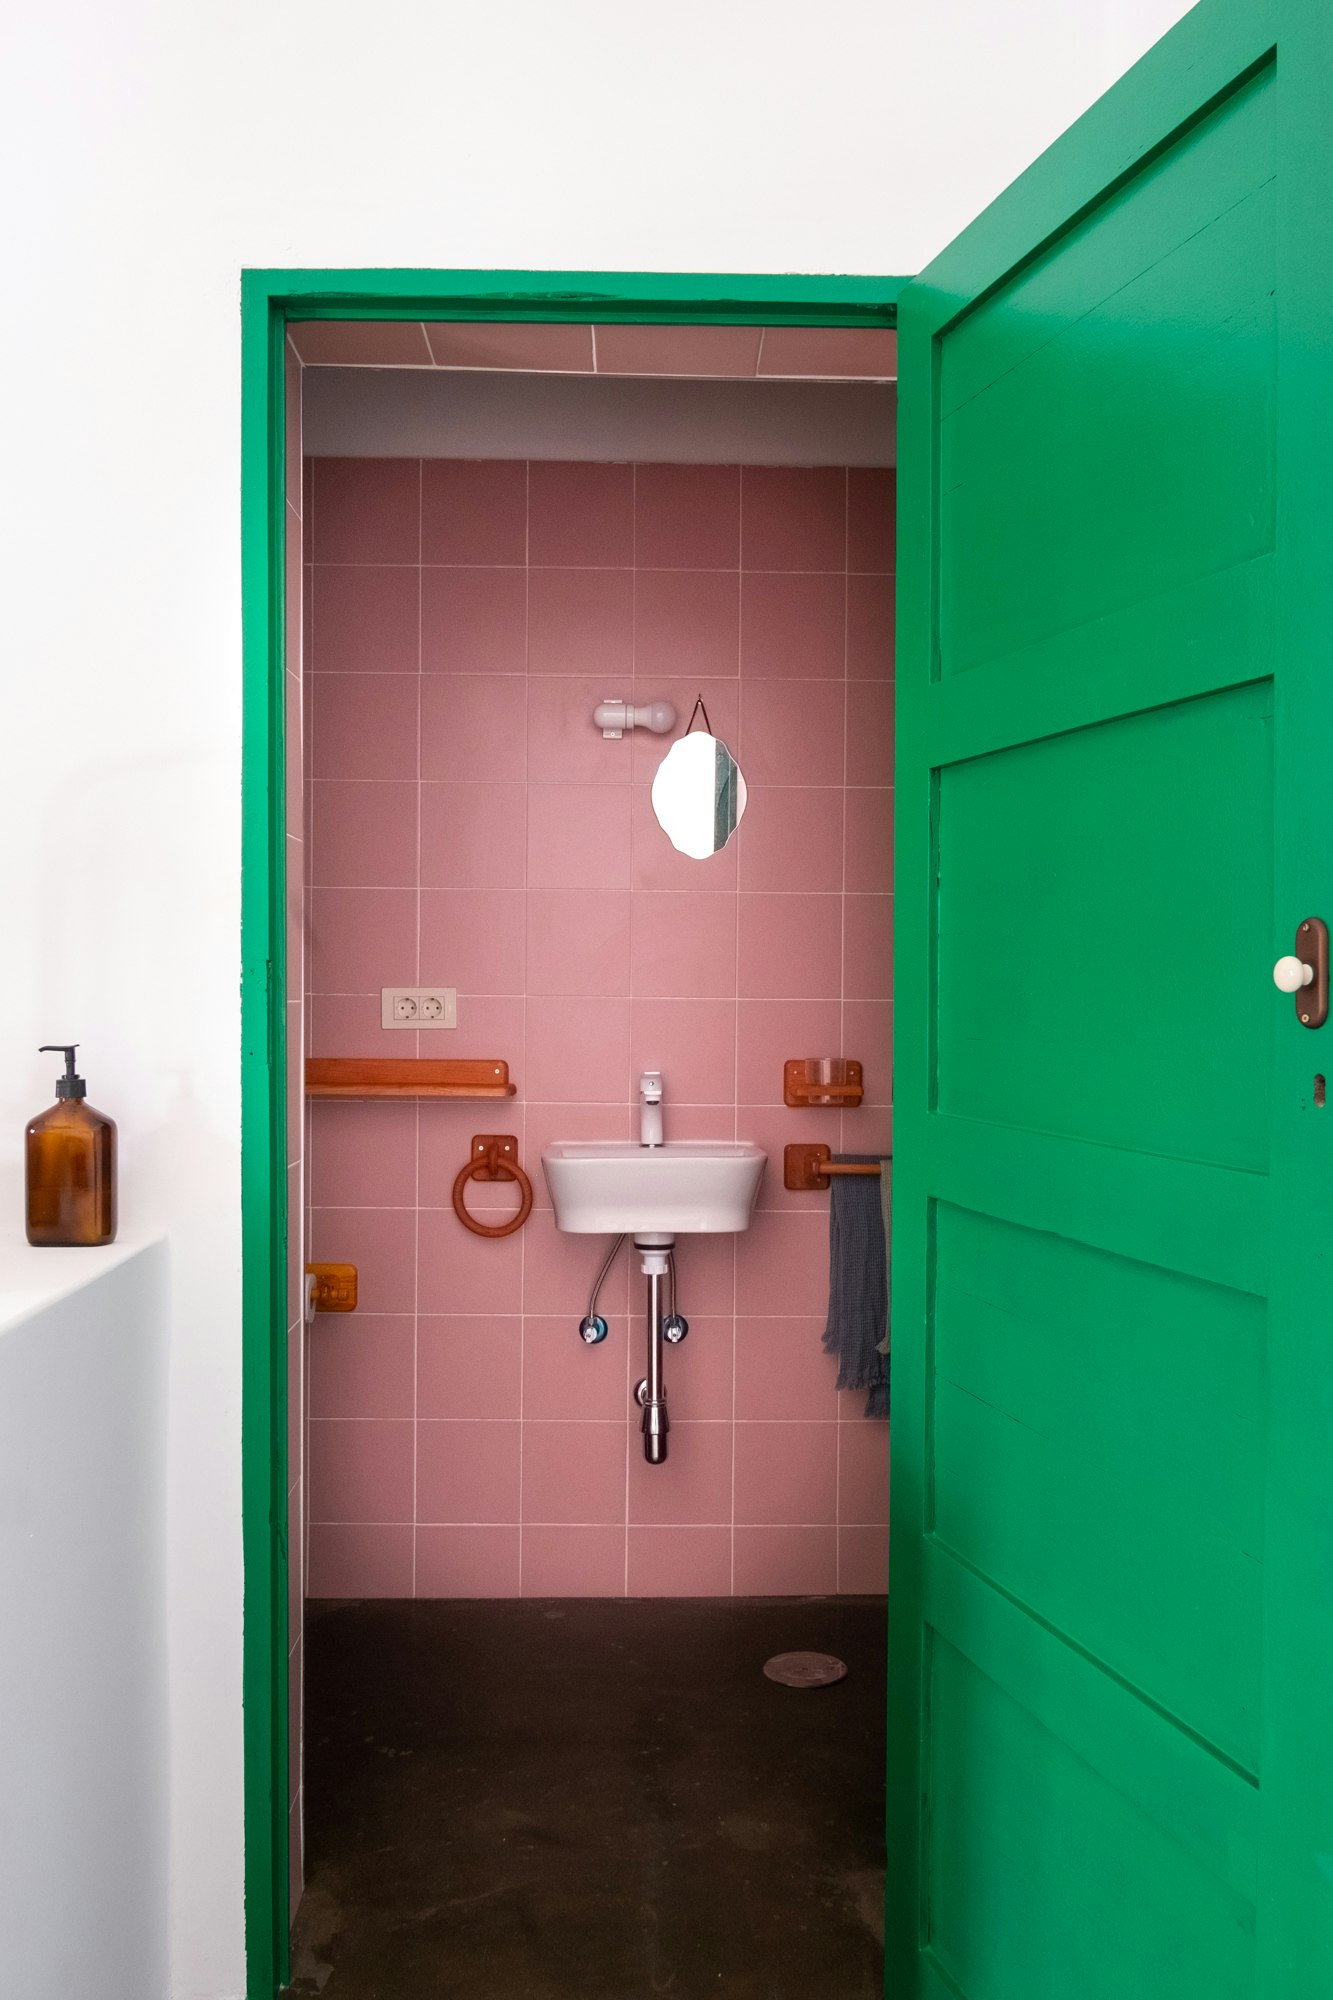
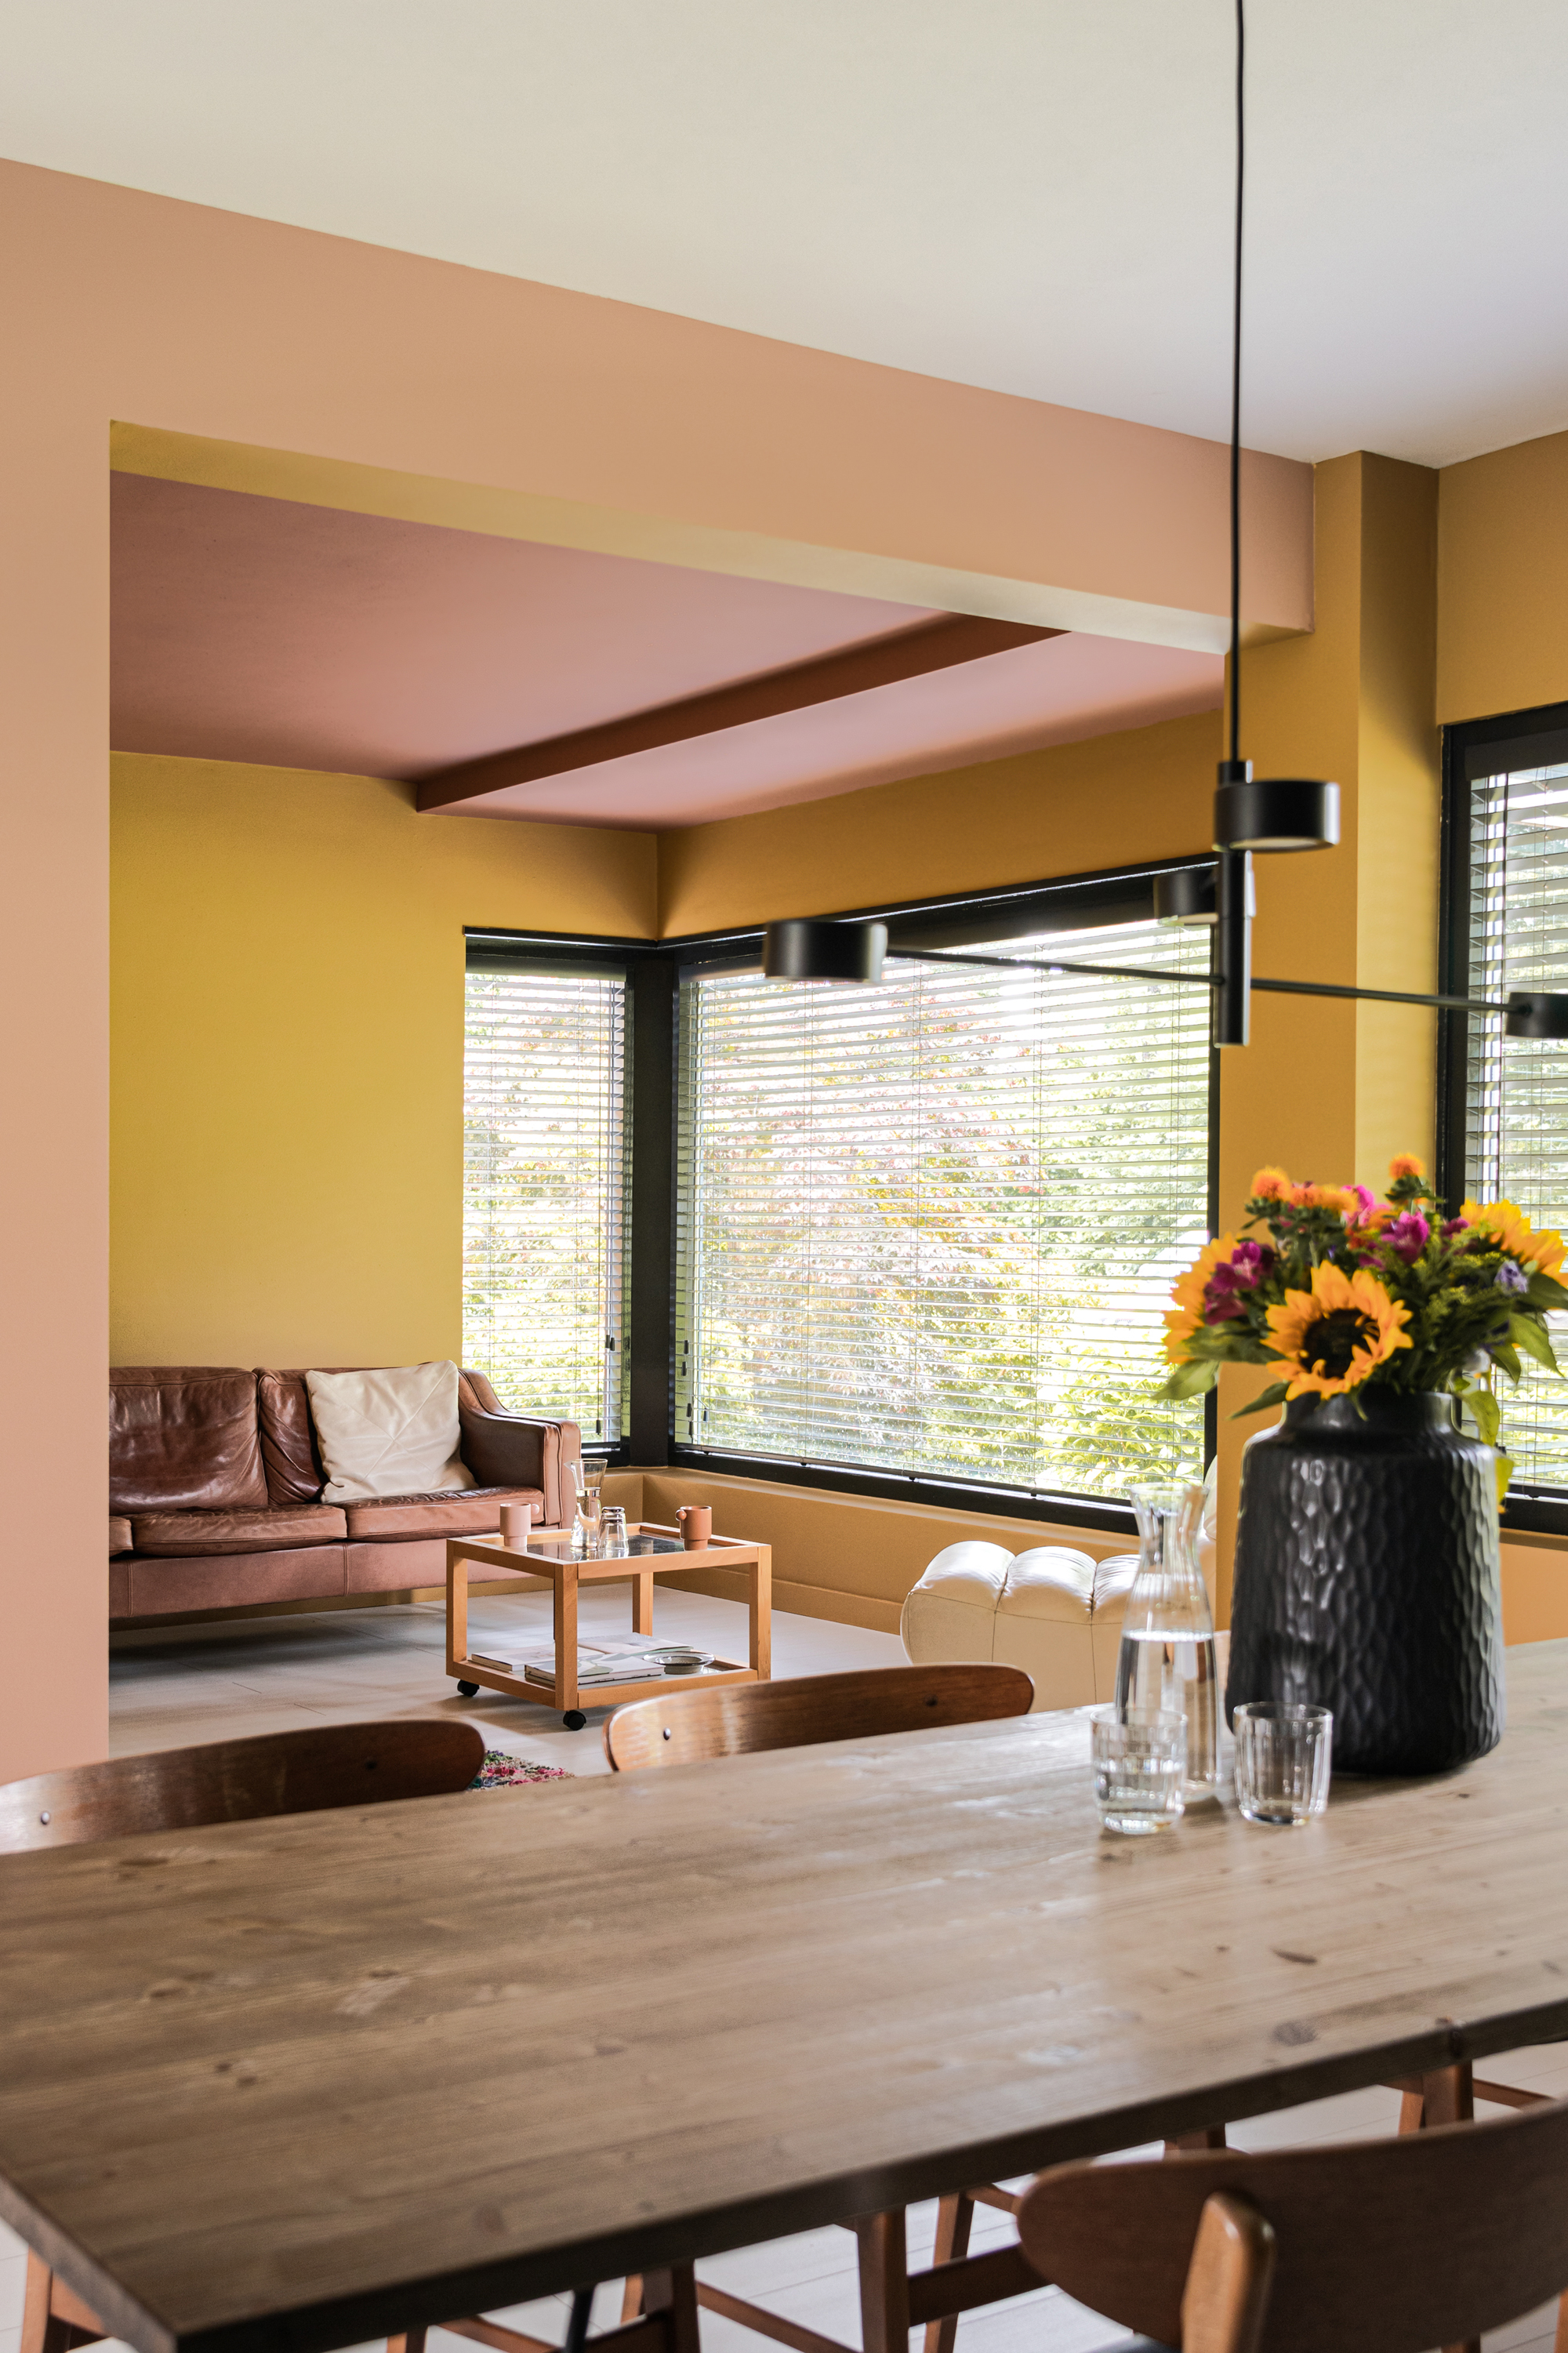
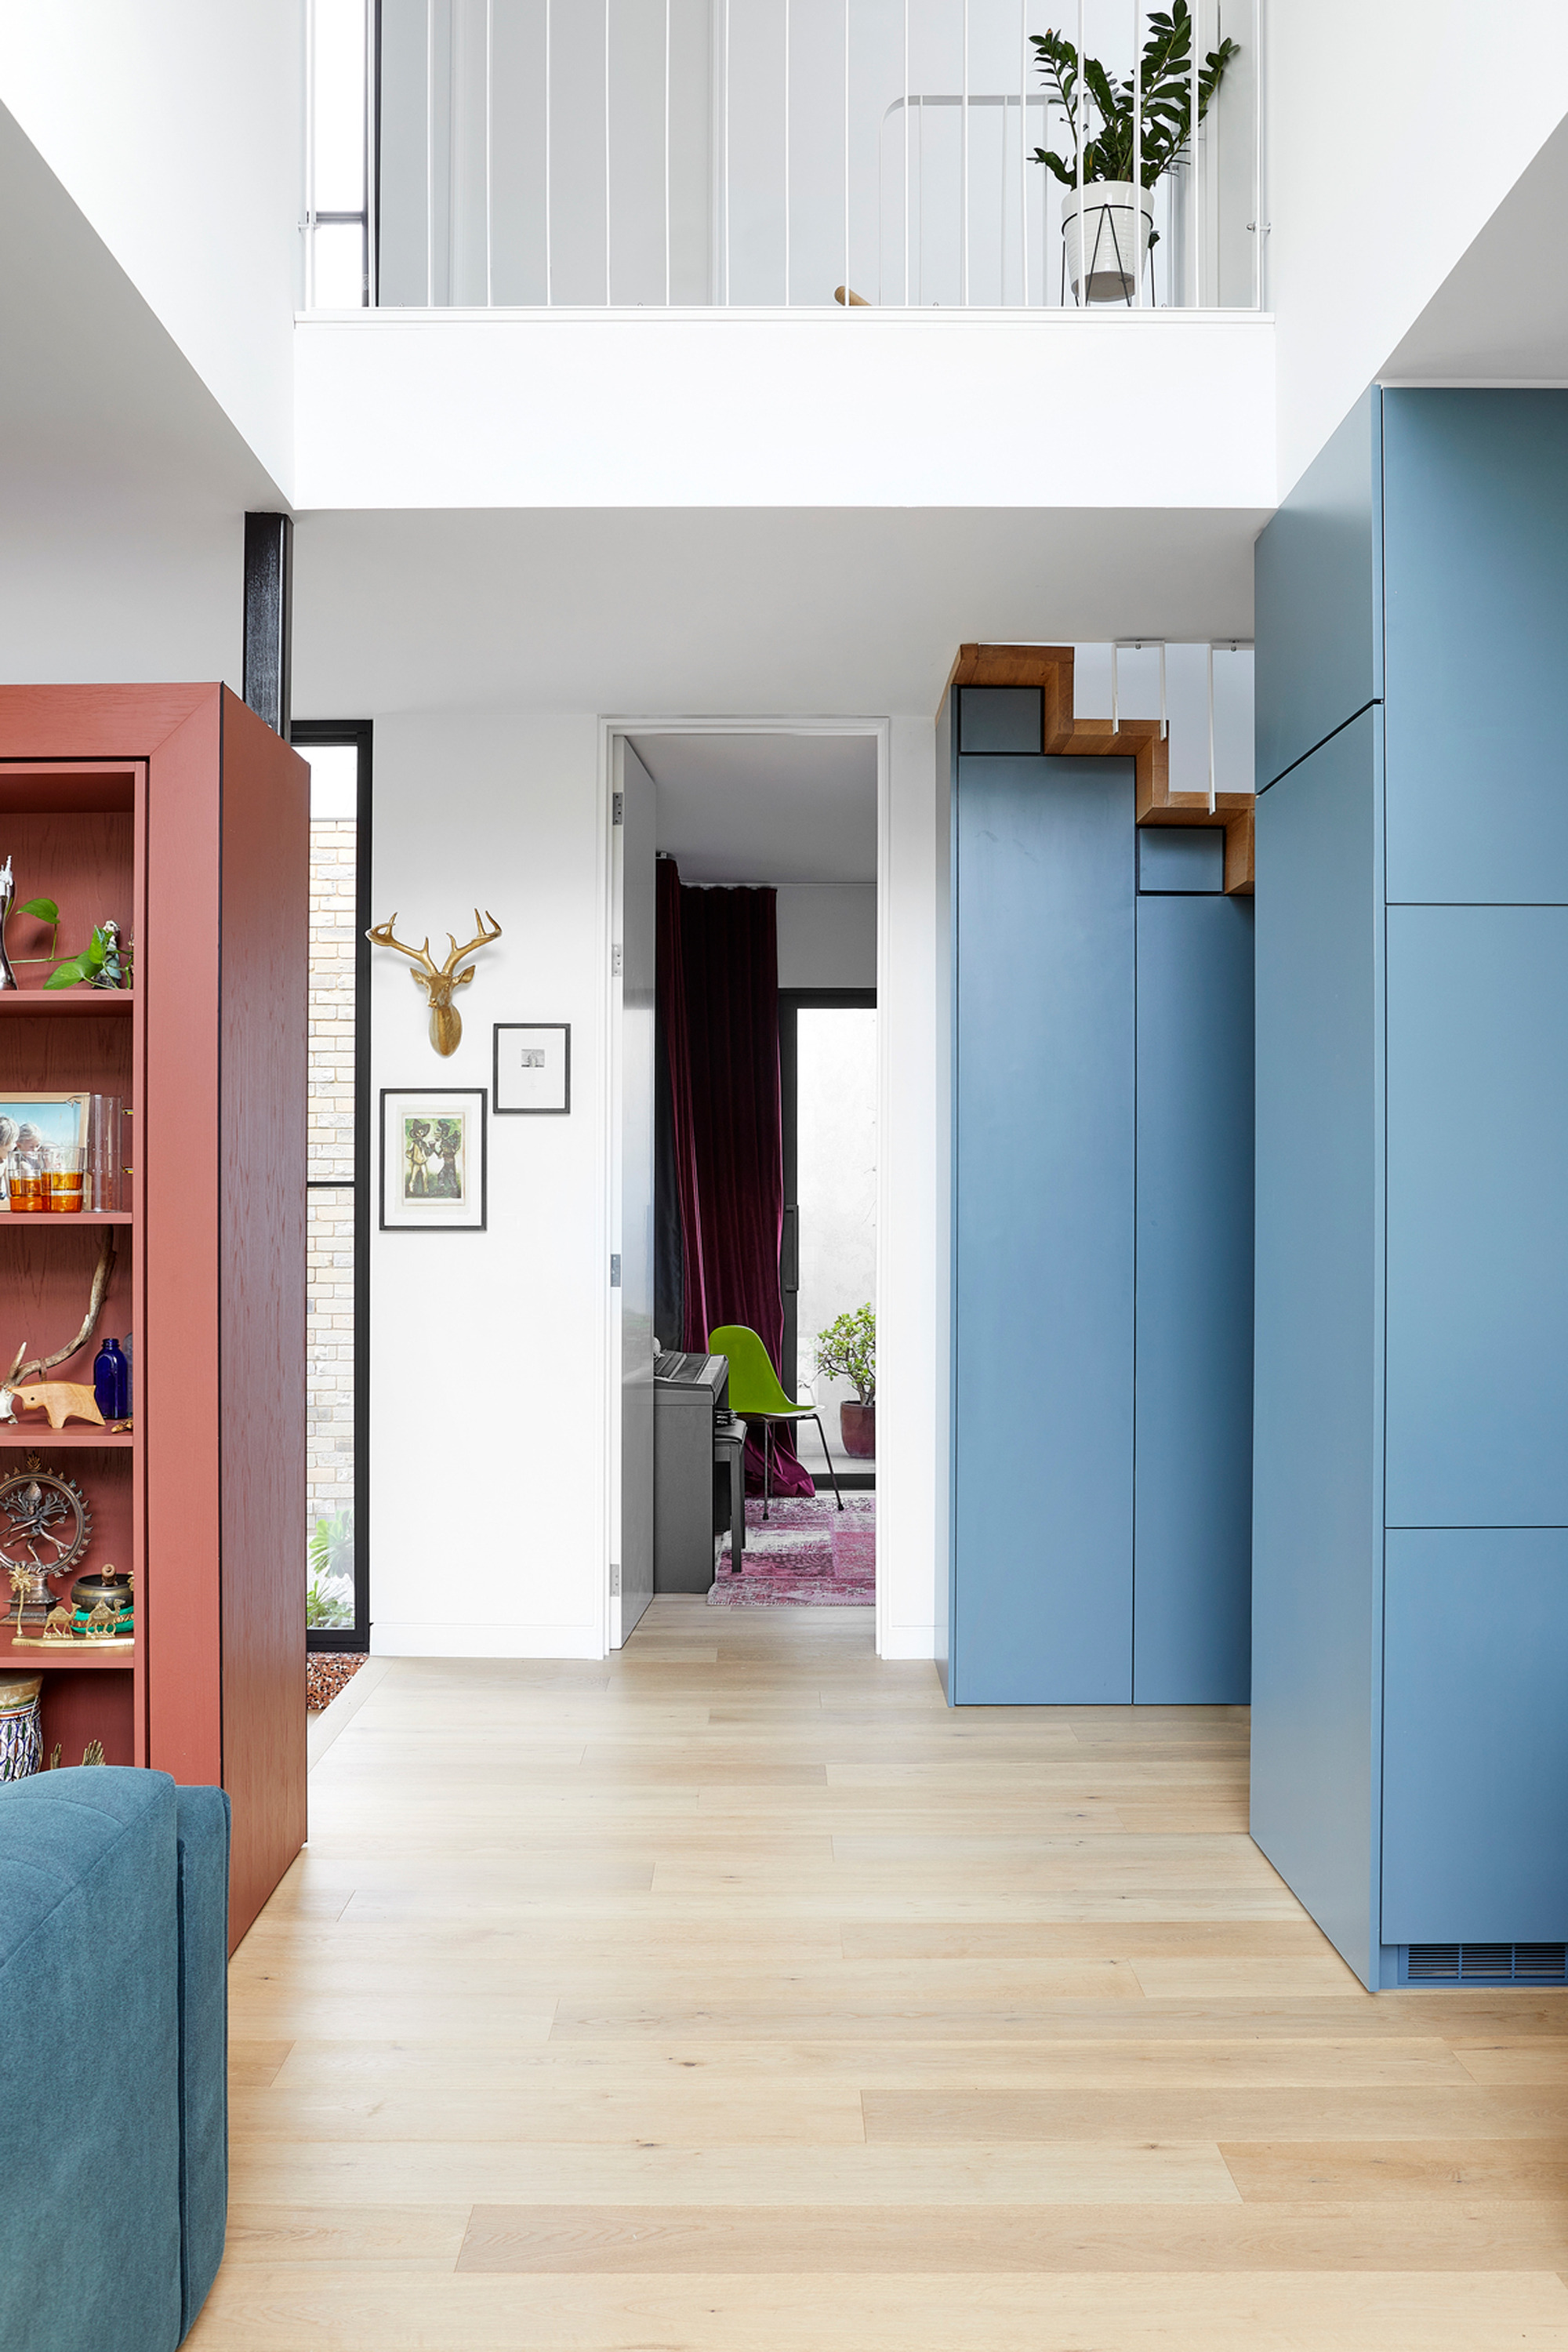
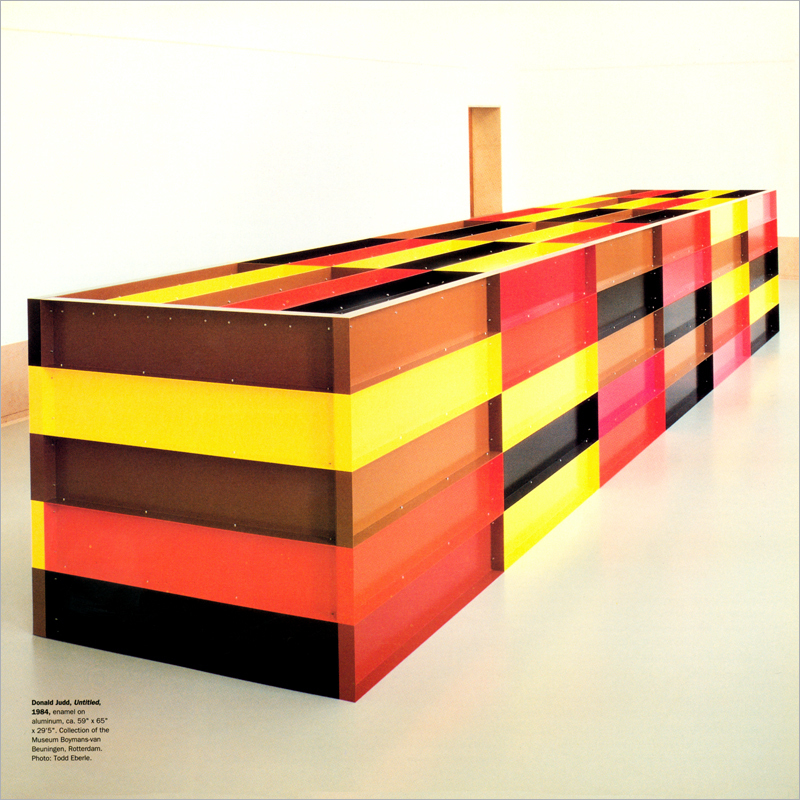
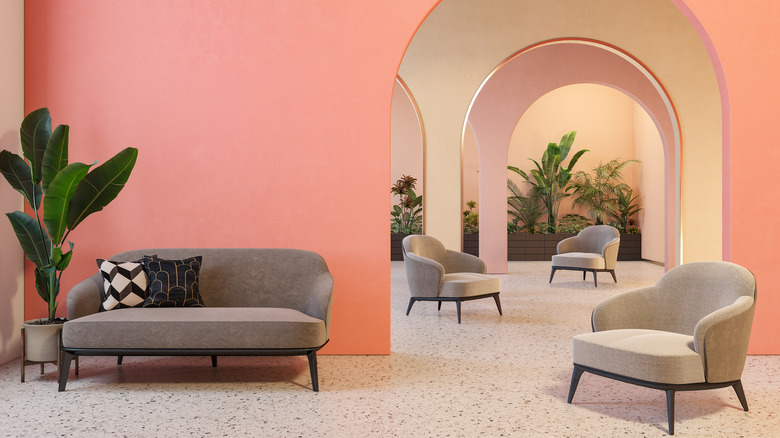
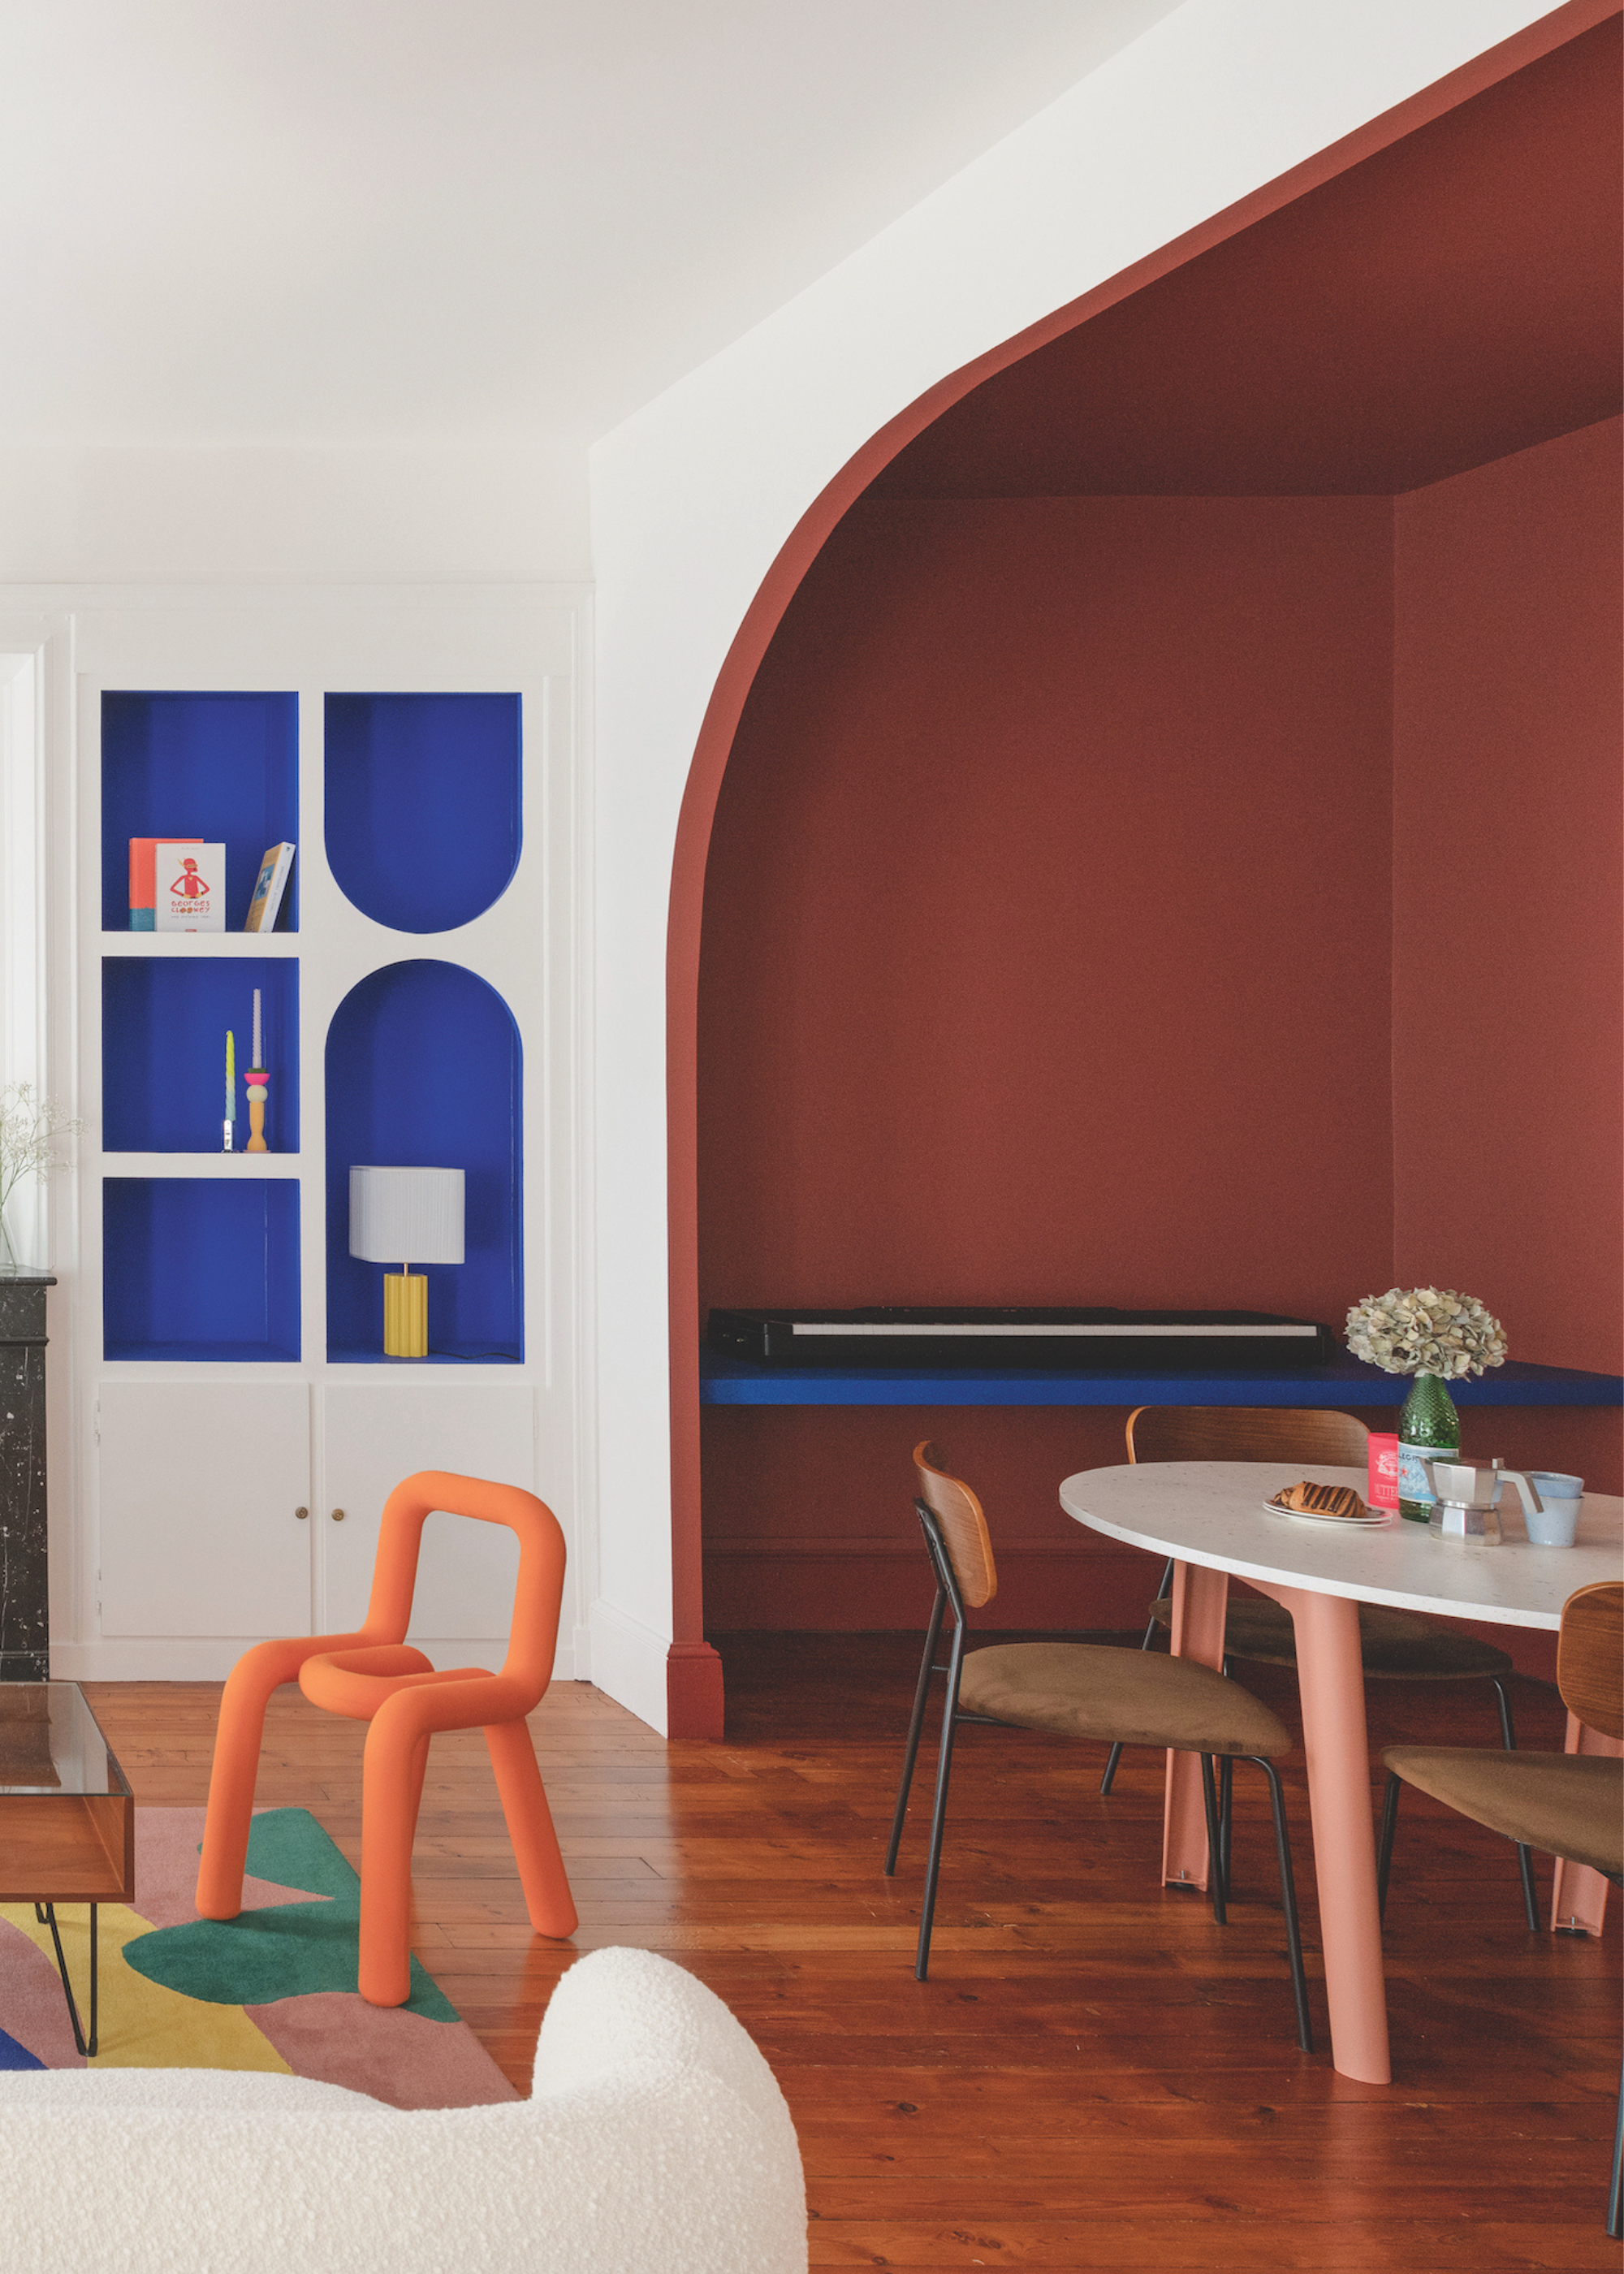
This guide details the process of applying colour blocking techniques to interior walls, offering a step-by-step approach to transform a room with painted designs. It emphasizes careful planning and preparation to ensure a successful outcome. The article begins by advising readers to sketch their desired colour blocking design beforehand, considering how different colours will interact. It suggests painting on a neutral base colour to avoid complications with new paint shades and encourages creativity in the size, shape, and colour choices of the blocks. Safety considerations are also highlighted, particularly the importance of using a stepladder on flat ground when working on higher areas.
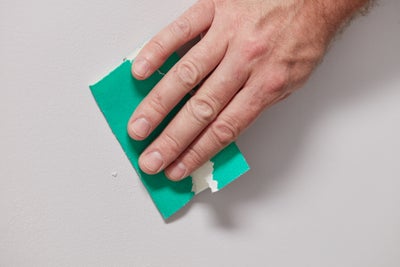
The preparation phase for painting is thoroughly outlined, starting with the smoothing of the wall surface using sandpaper. This is followed by wiping the wall with a damp sponge to remove any dust. Skirting boards should be brushed clean of dust and then protected with masking tape to prevent accidental paint drips or splashes. Before marking the design, the article instructs users to measure the wall area designated for painting. Once the measurements are taken, the chosen blocking design is marked onto the wall using a spirit level and pencil. The guide recommends selecting blocks that are not directly connected for the initial painting phase. These marked lines are then covered with masking tape.
The next section focuses on painting the first set of blocks. It advises covering the floor with a dust sheet to protect it from paint. For blocks touching the ceiling, precision is key, with a paintbrush used to carefully cut in along the top edge. The edges of the blocks are painted first, and the middle areas are then filled in with a roller. After the first coat dries, a second coat is applied. Once the second coat is dry, any masking tape that is no longer needed is removed.
For subsequent blocks, masking tape is reapplied to the edges of the already-painted blocks, ensuring a slight overhang of the new colour. This overhang helps the colours to meet seamlessly, fully covering the base coat and creating crisp lines. The process of cutting in by hand around the edges and then filling with a roller is repeated for these blocks. After drying, the masking tape is carefully removed, leaving any tape necessary for the final block in place.
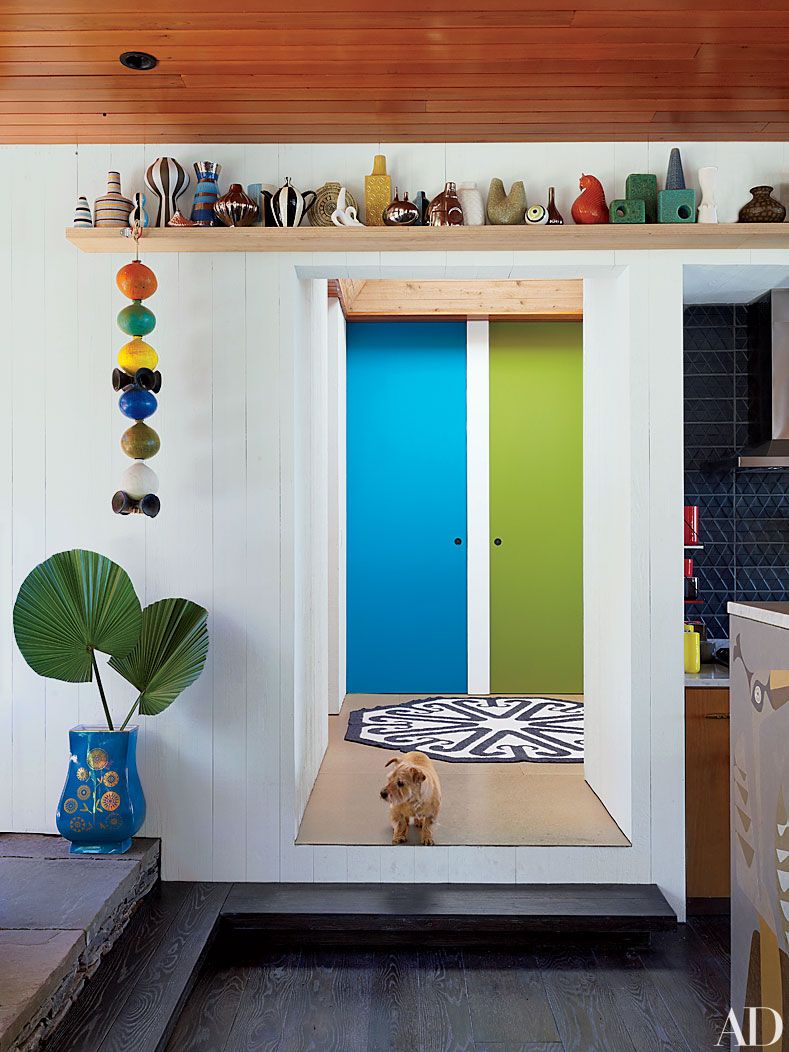
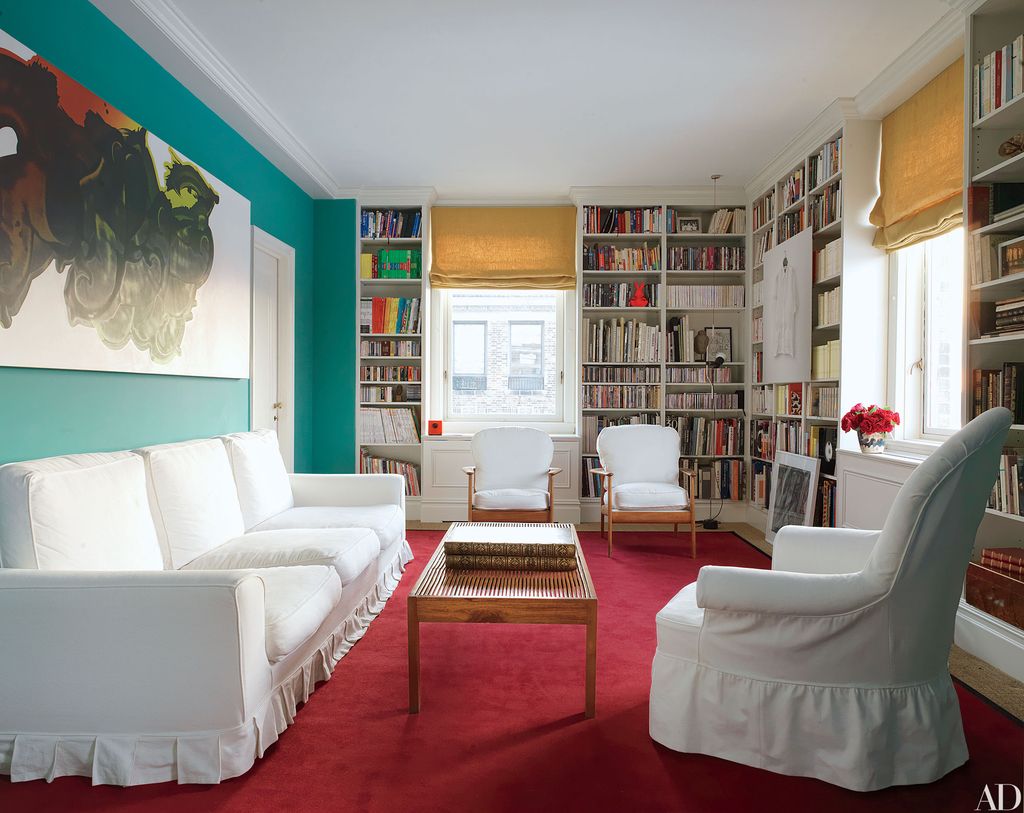
The final block is marked and painted using the same method, with an emphasis on preventing drips if painting above previously completed blocks. Once dry, all remaining masking tape is removed. The guide concludes by encouraging readers to use the provided method as a foundation for their creativity, allowing them to personalize their spaces with colour blocking. It suggests using vibrant colours for playrooms and lounges or soothing tones for bedrooms, demonstrating the versatility of the technique. Complementary resources, such as guides on paint finishes, trends, and expanding space with paint, are also referenced to assist with colour selection and application.
#ColourBlocking #InteriorDesign #HomeDecoration #PaintingGuide #DIYHomeImprovement #WallDecor #PaintTrends #RoomTransformation #ColourBlocking #InteriorDesign #HomeDecoration #PaintingGuide #DIYHomeImprovement #WallDecor #PaintTrends #RoomTransformation
0 commentaire au total
 Aucun commentaire pour le moment
Vous aimerez aussi
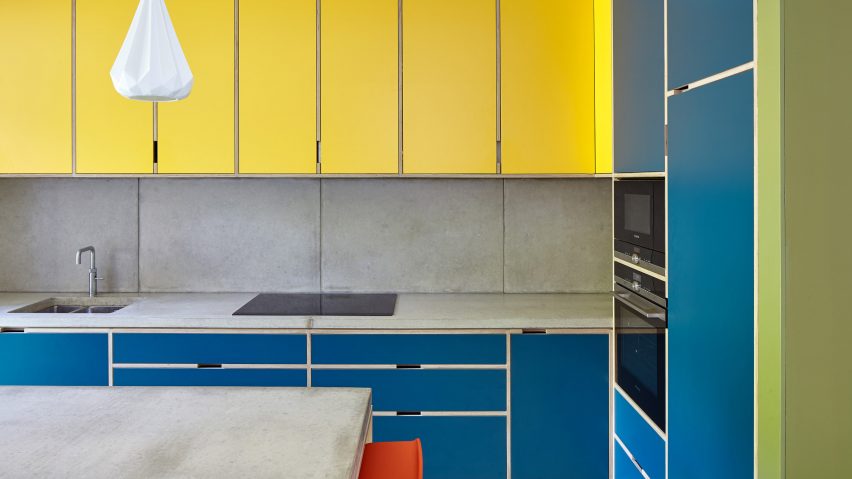
Ten bright and bold interiors that make use of colour theory
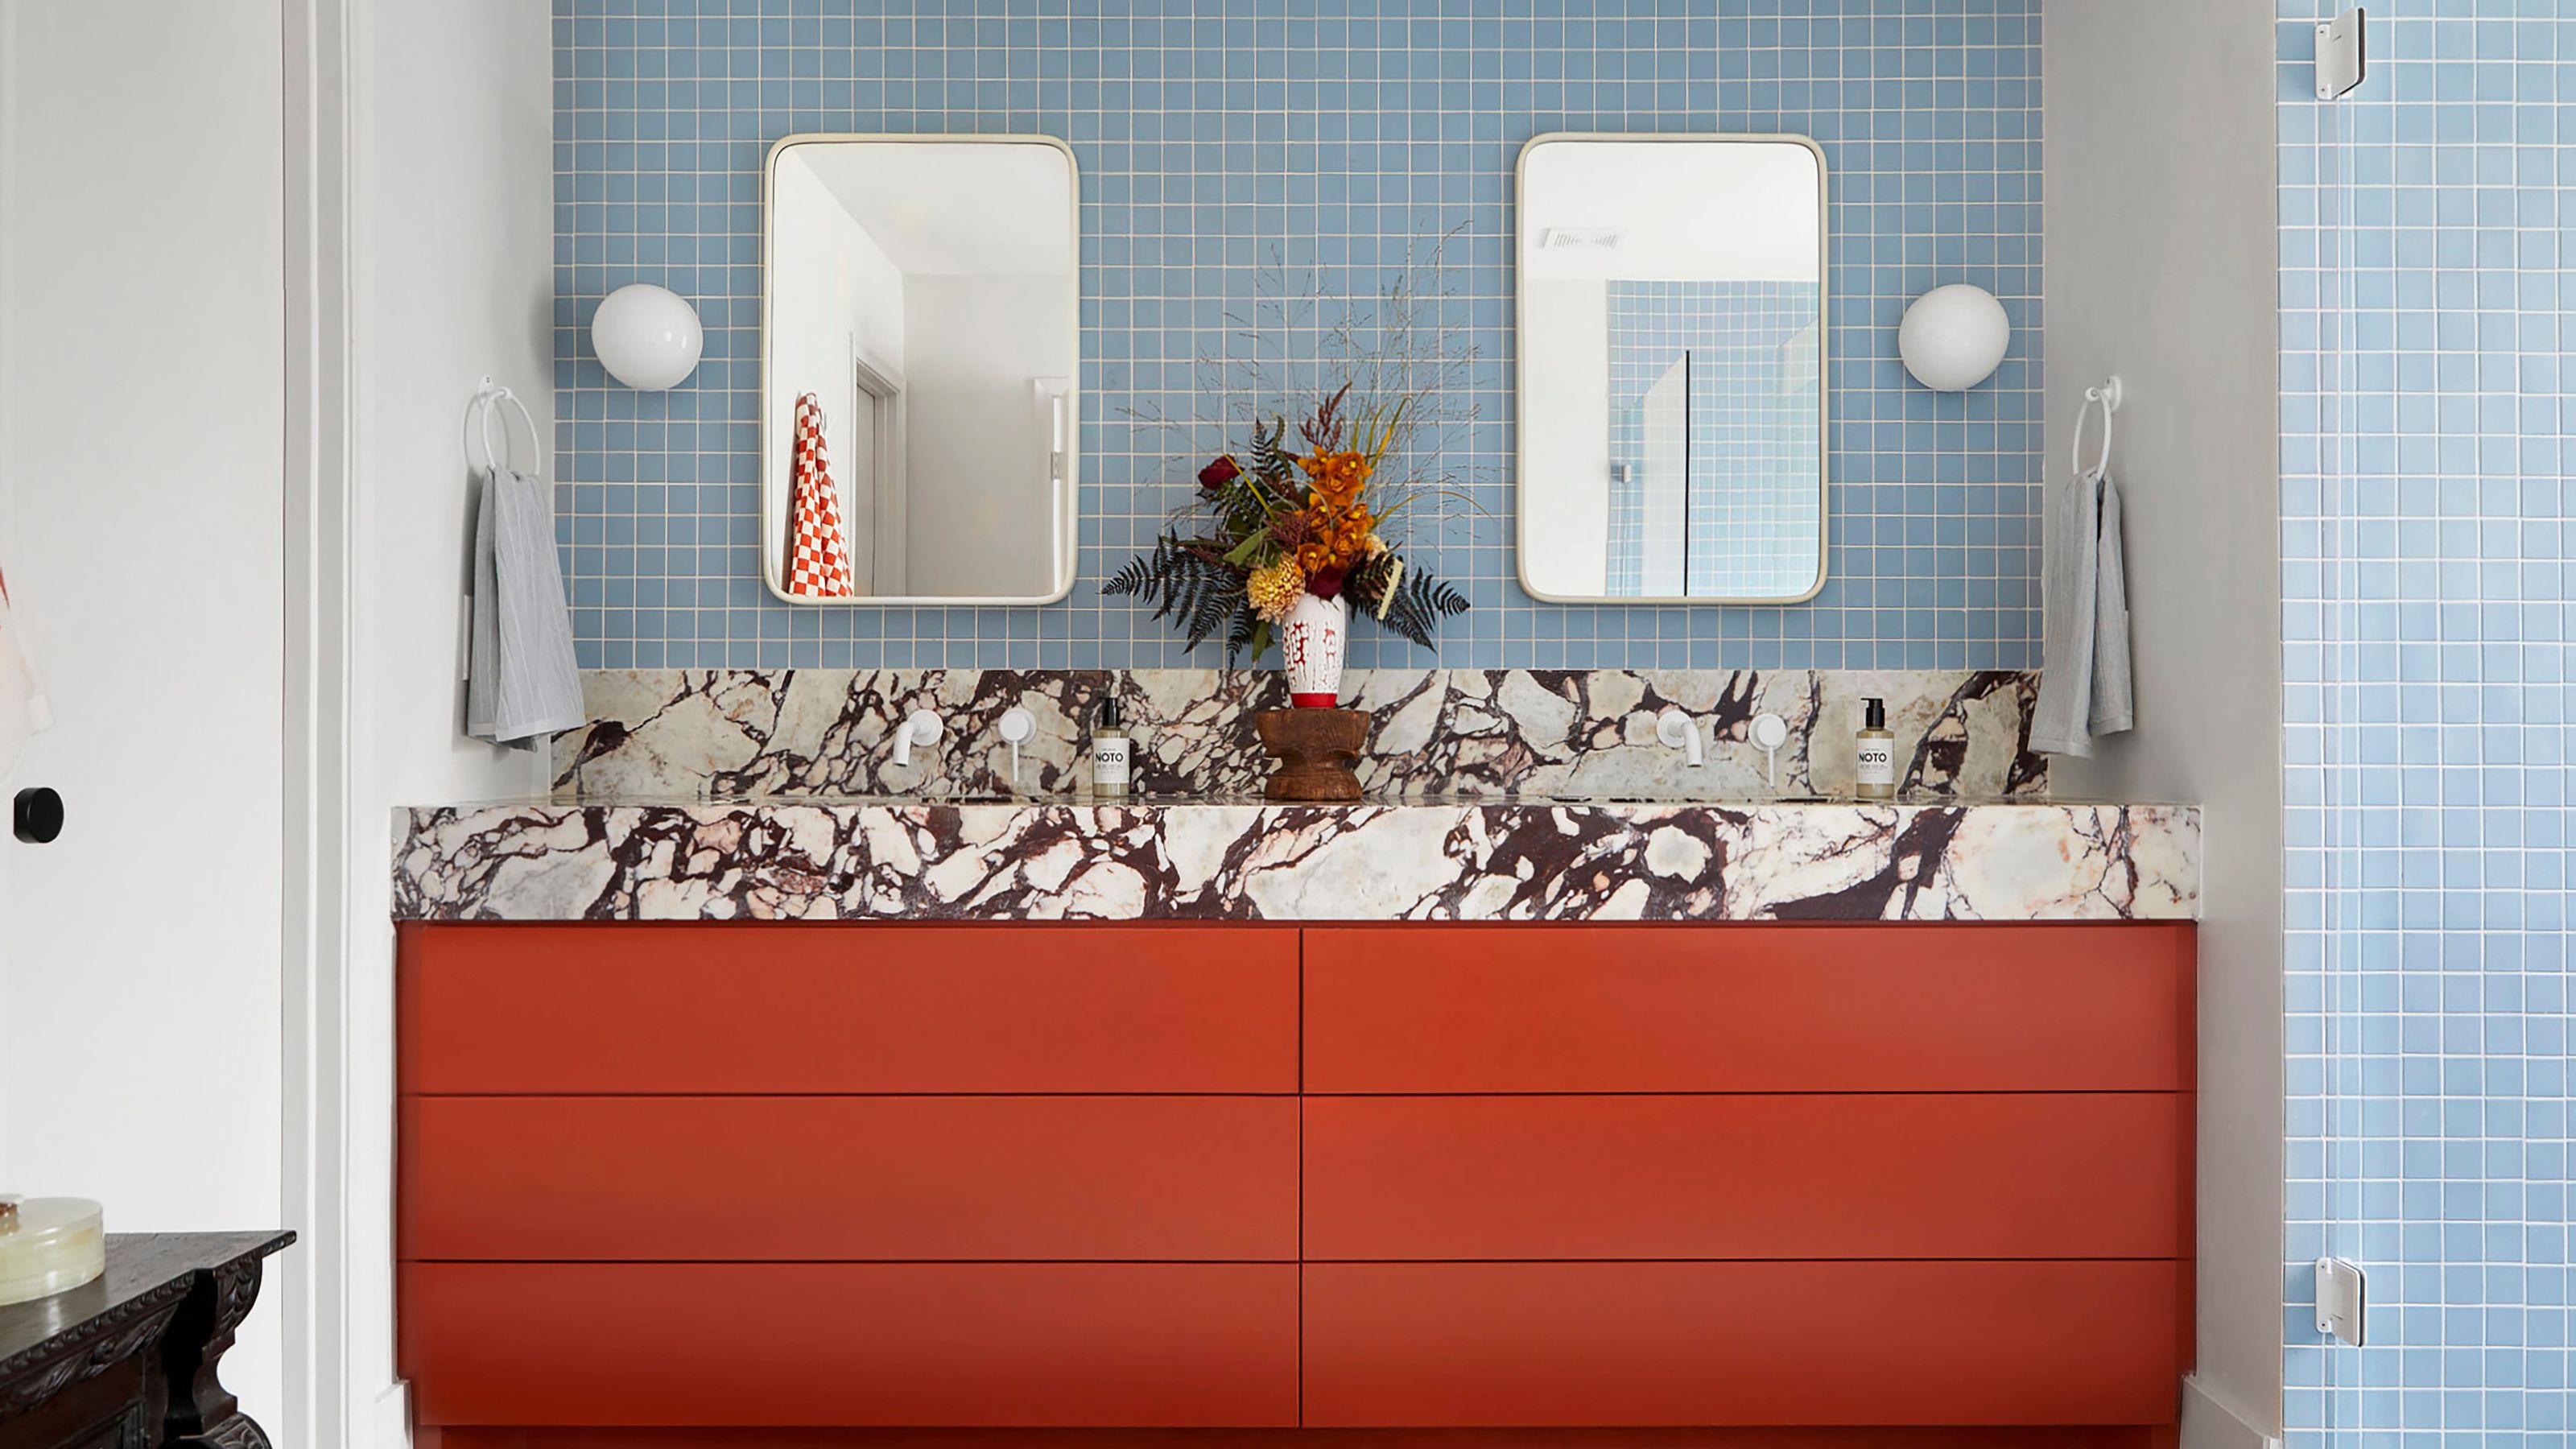
You Should Be Using Red and Blue Together More in Your Home — This Is the Secret to Making This Pairing Work

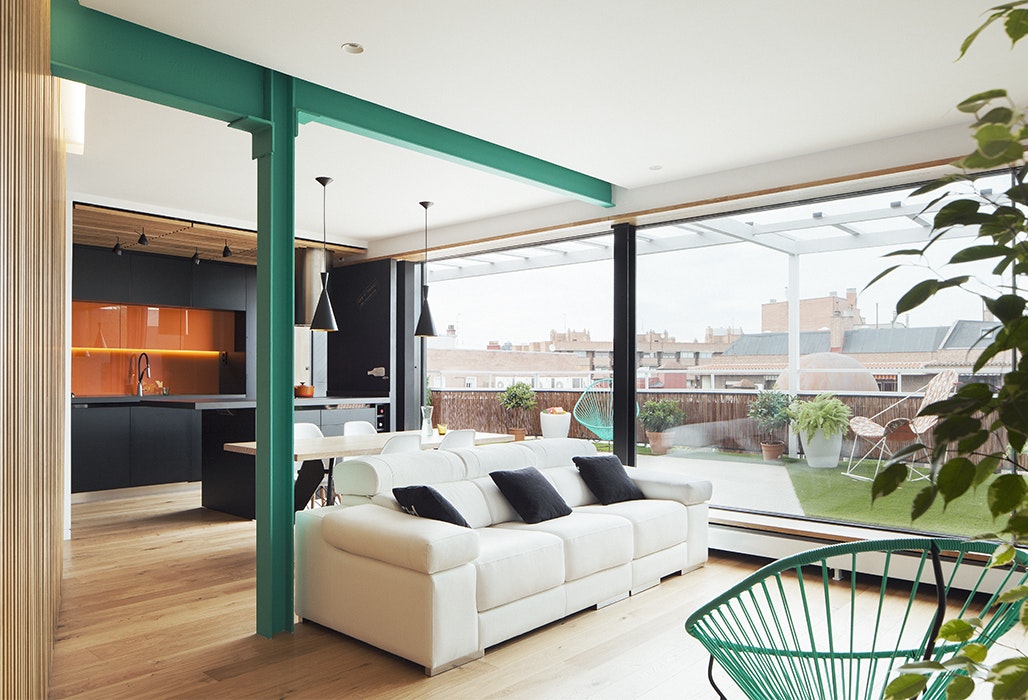
Dress Up Your Space With Contrasting Colors


If You Think Teal And Turquoise Are The Same Color, You Might Not Do Well On This Color Trivia

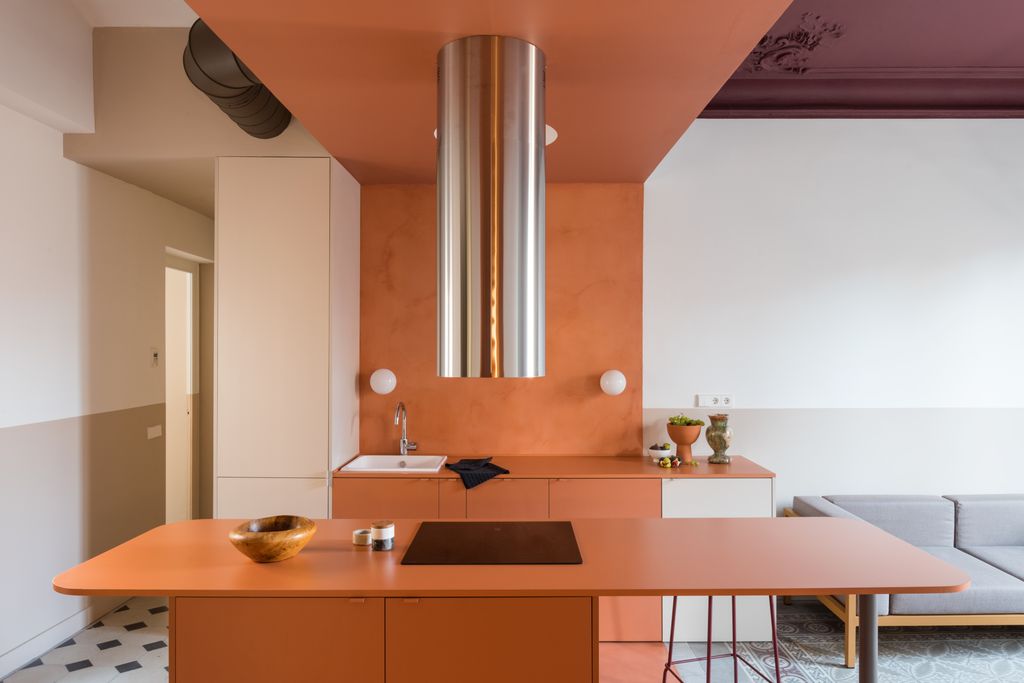
9 Color Blocking Ideas for a Bright, Cheery Home

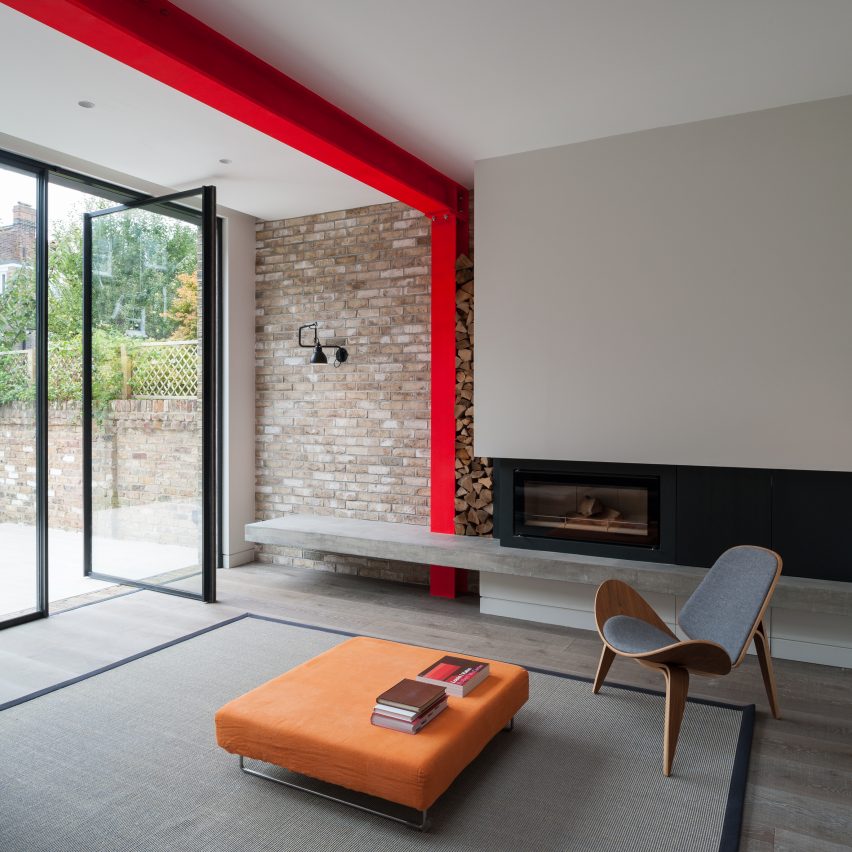
10 homes that feature colour blocking
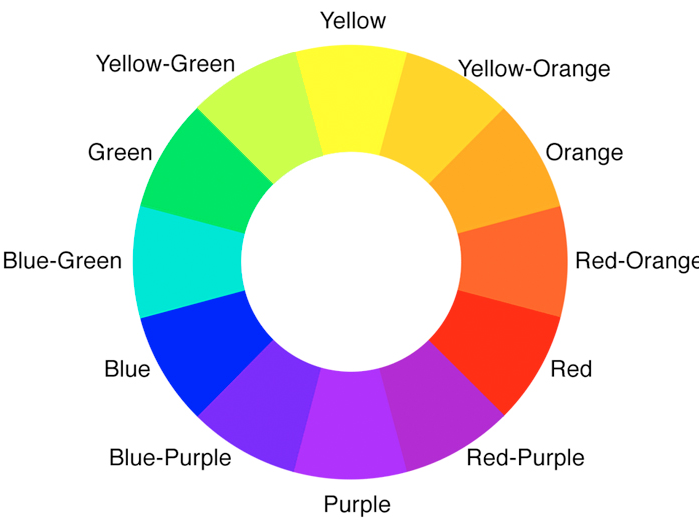
3 color coordination tips any beginner can master
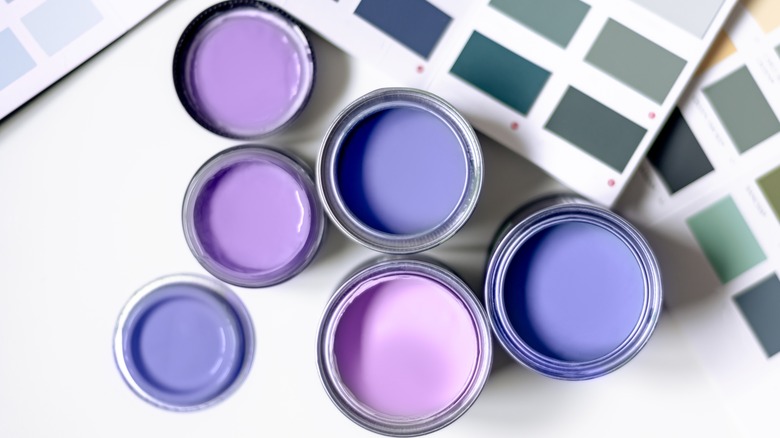
3 Things To Consider When Painting With Bold Colors
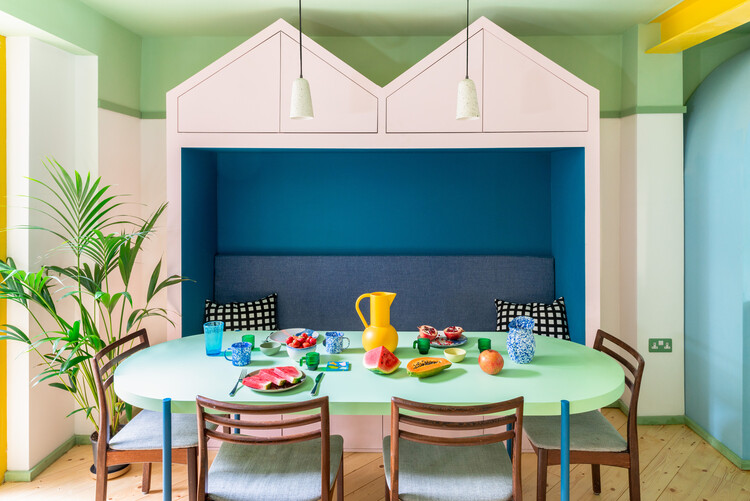
Making it Pop: 24 Residential Interiors that Embrace Color Blocking

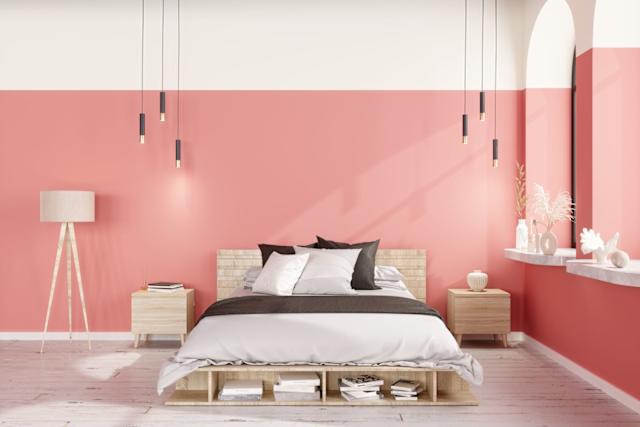
Design Pros All Agree: The Color-Blocking Trend Is One to Try

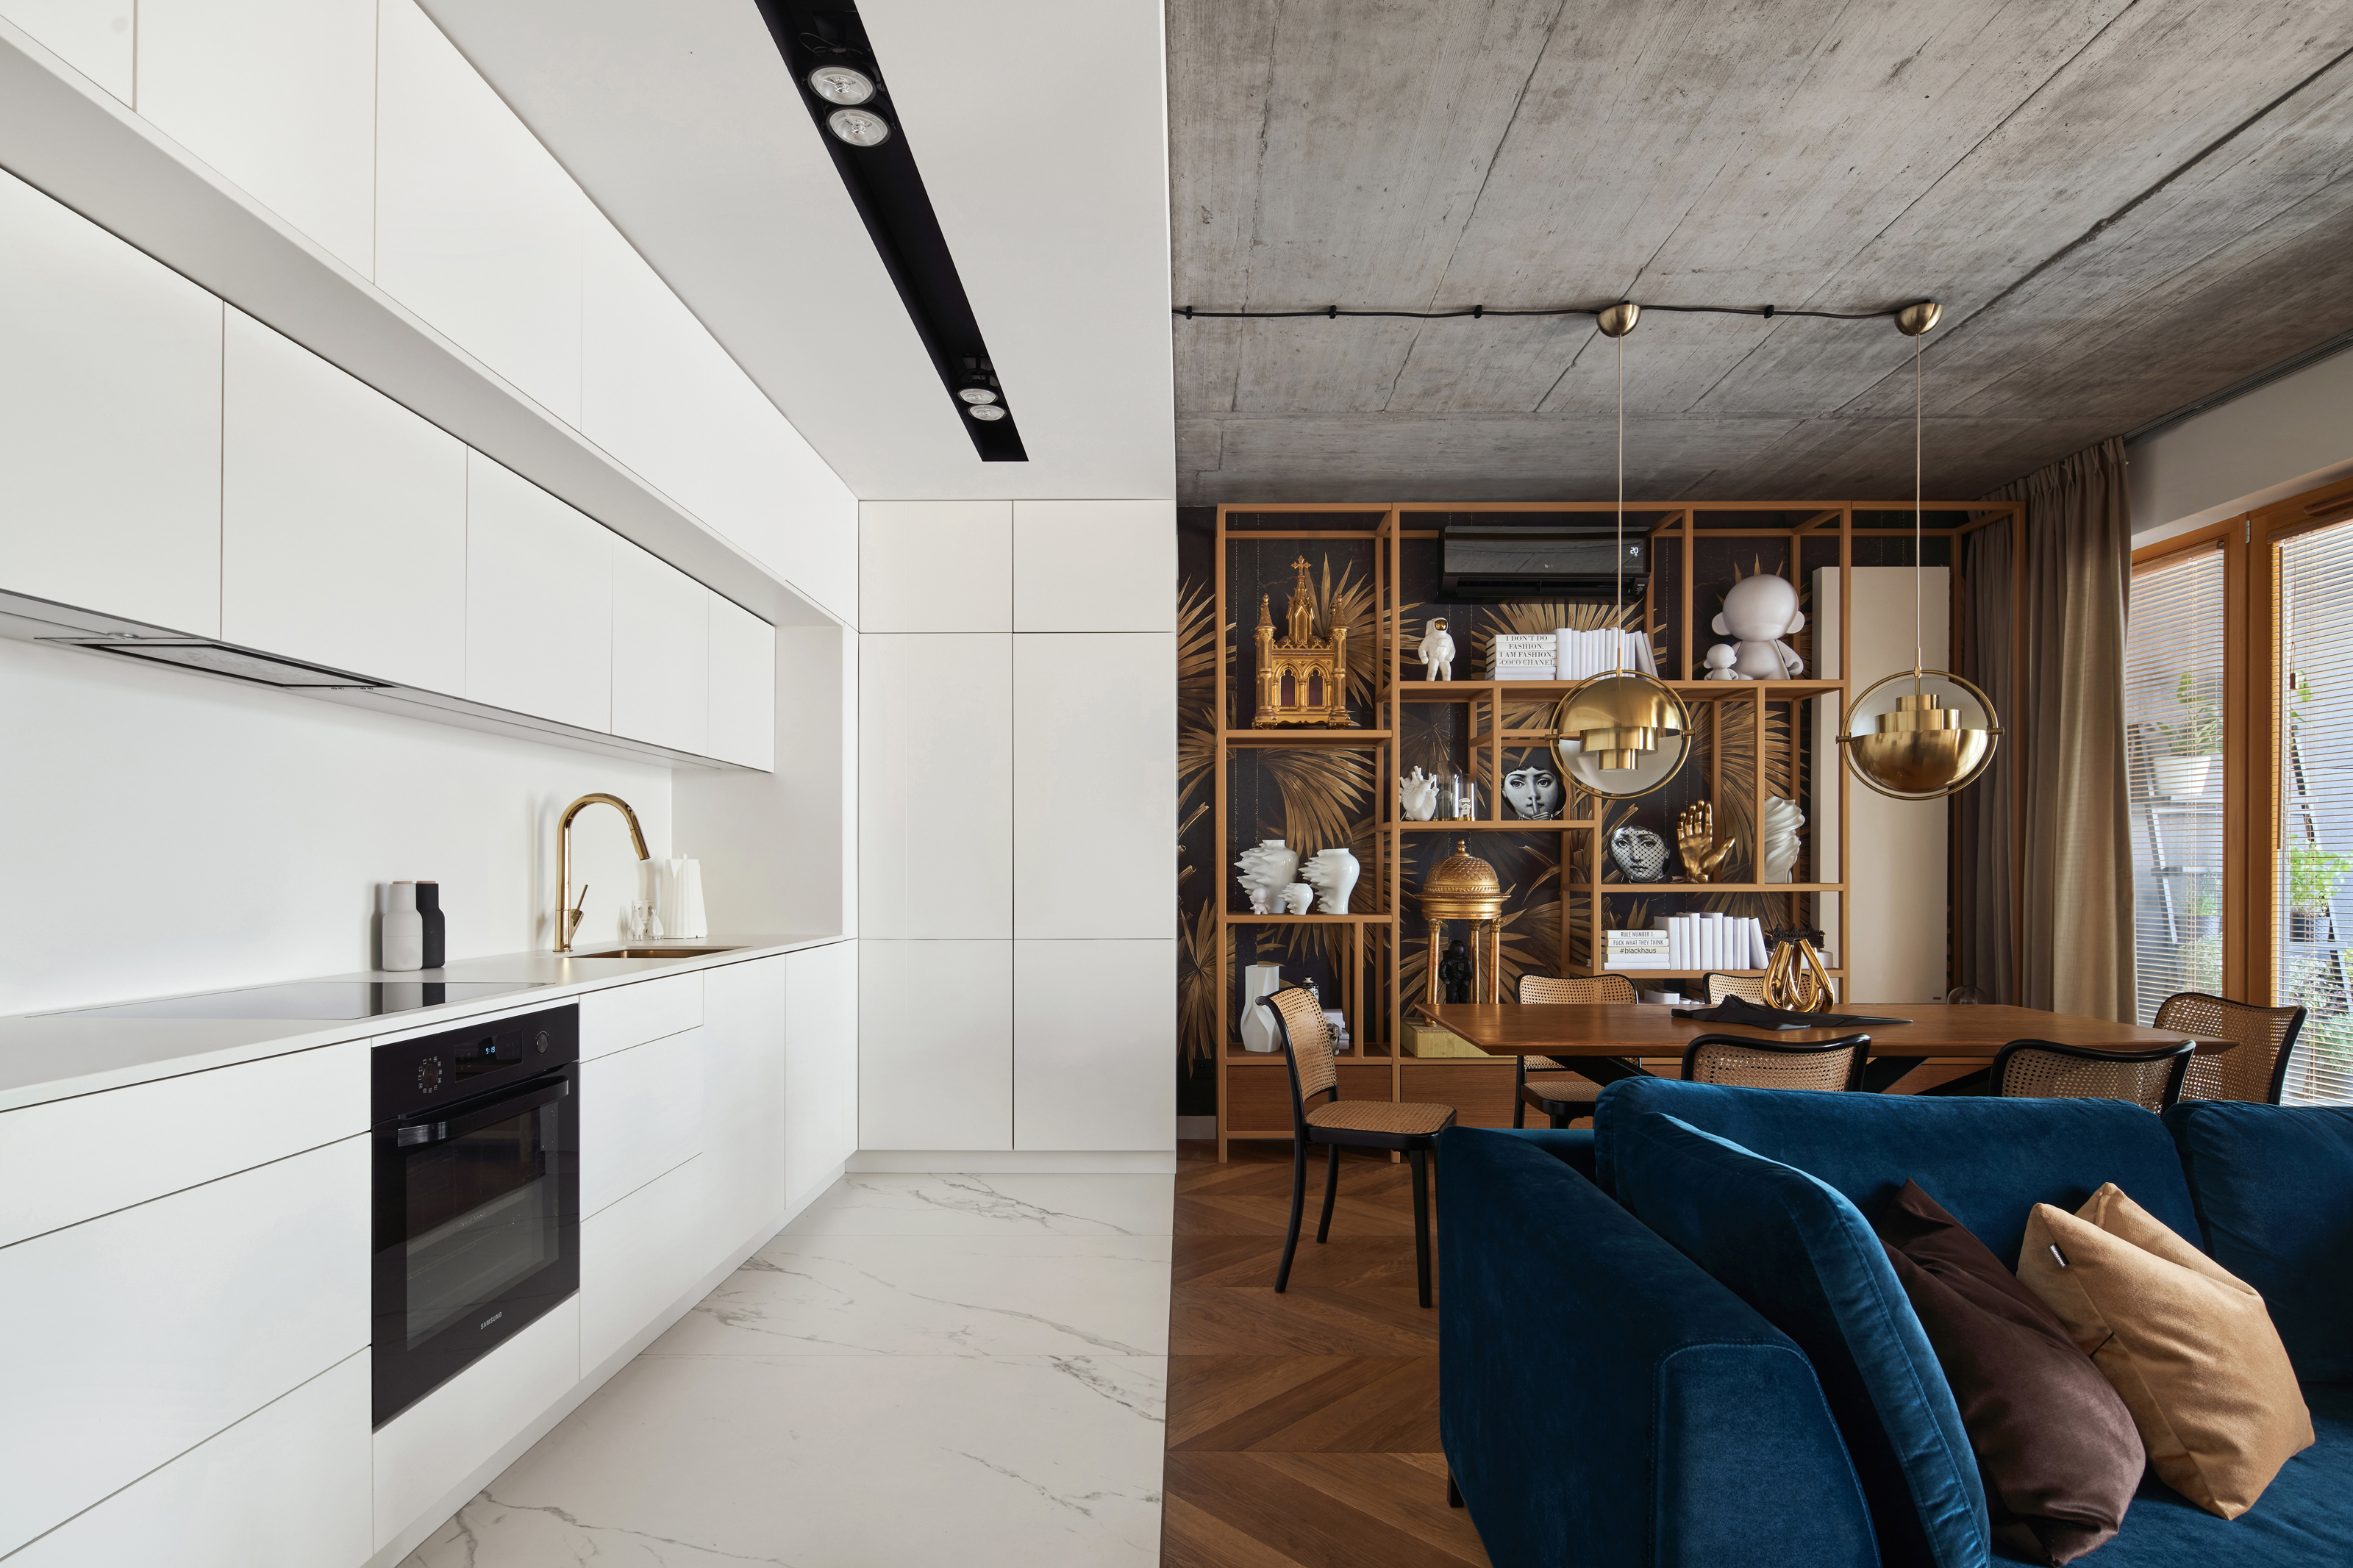
How do you zone a room with color? 10 genius ideas that will make open concept feel cozier
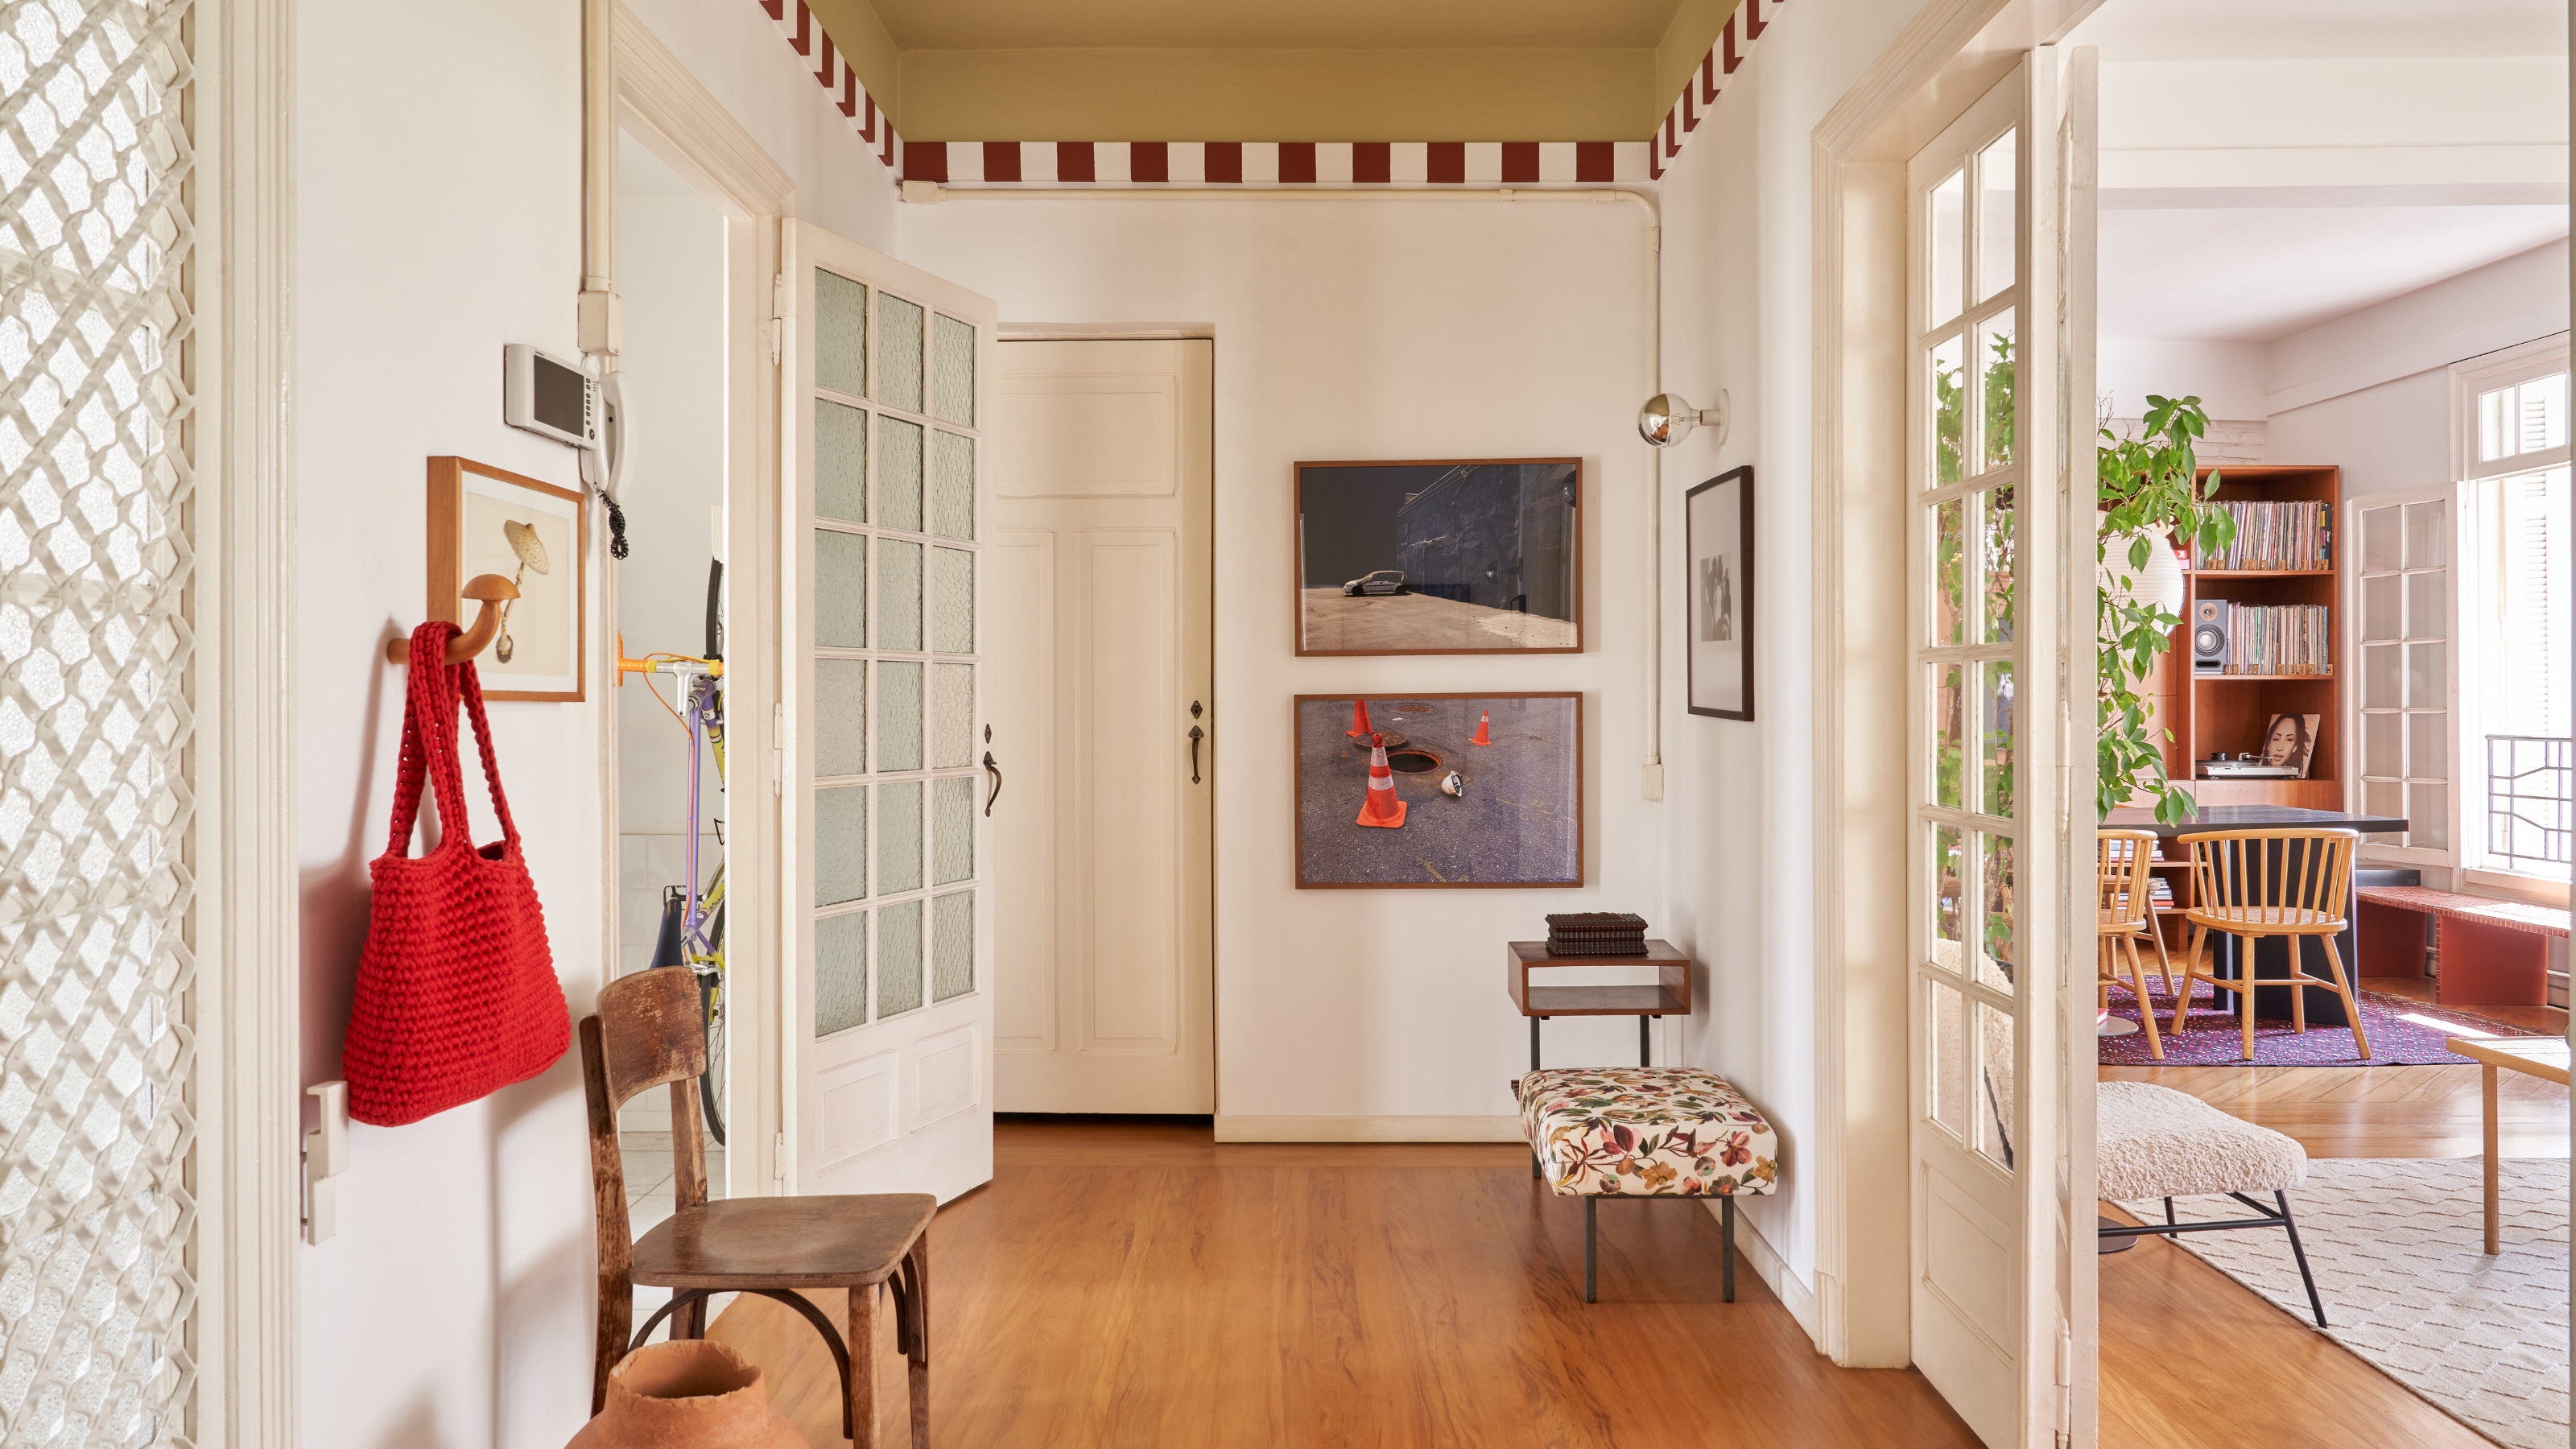
Here's How to Coordinate Paint Colors Throughout Your Home, so That It Looks Cohesive, Curated, but Still Creative
Design Pros All Agree: The Color-Blocking Trend Is One to Try

'The World of Color is Rife With Danger' — 5 Color Combinations That Don't Go Together and What to Use Instead
How to transform your rooms with colour drenching
The Color Combo You’re About to See Everywhere
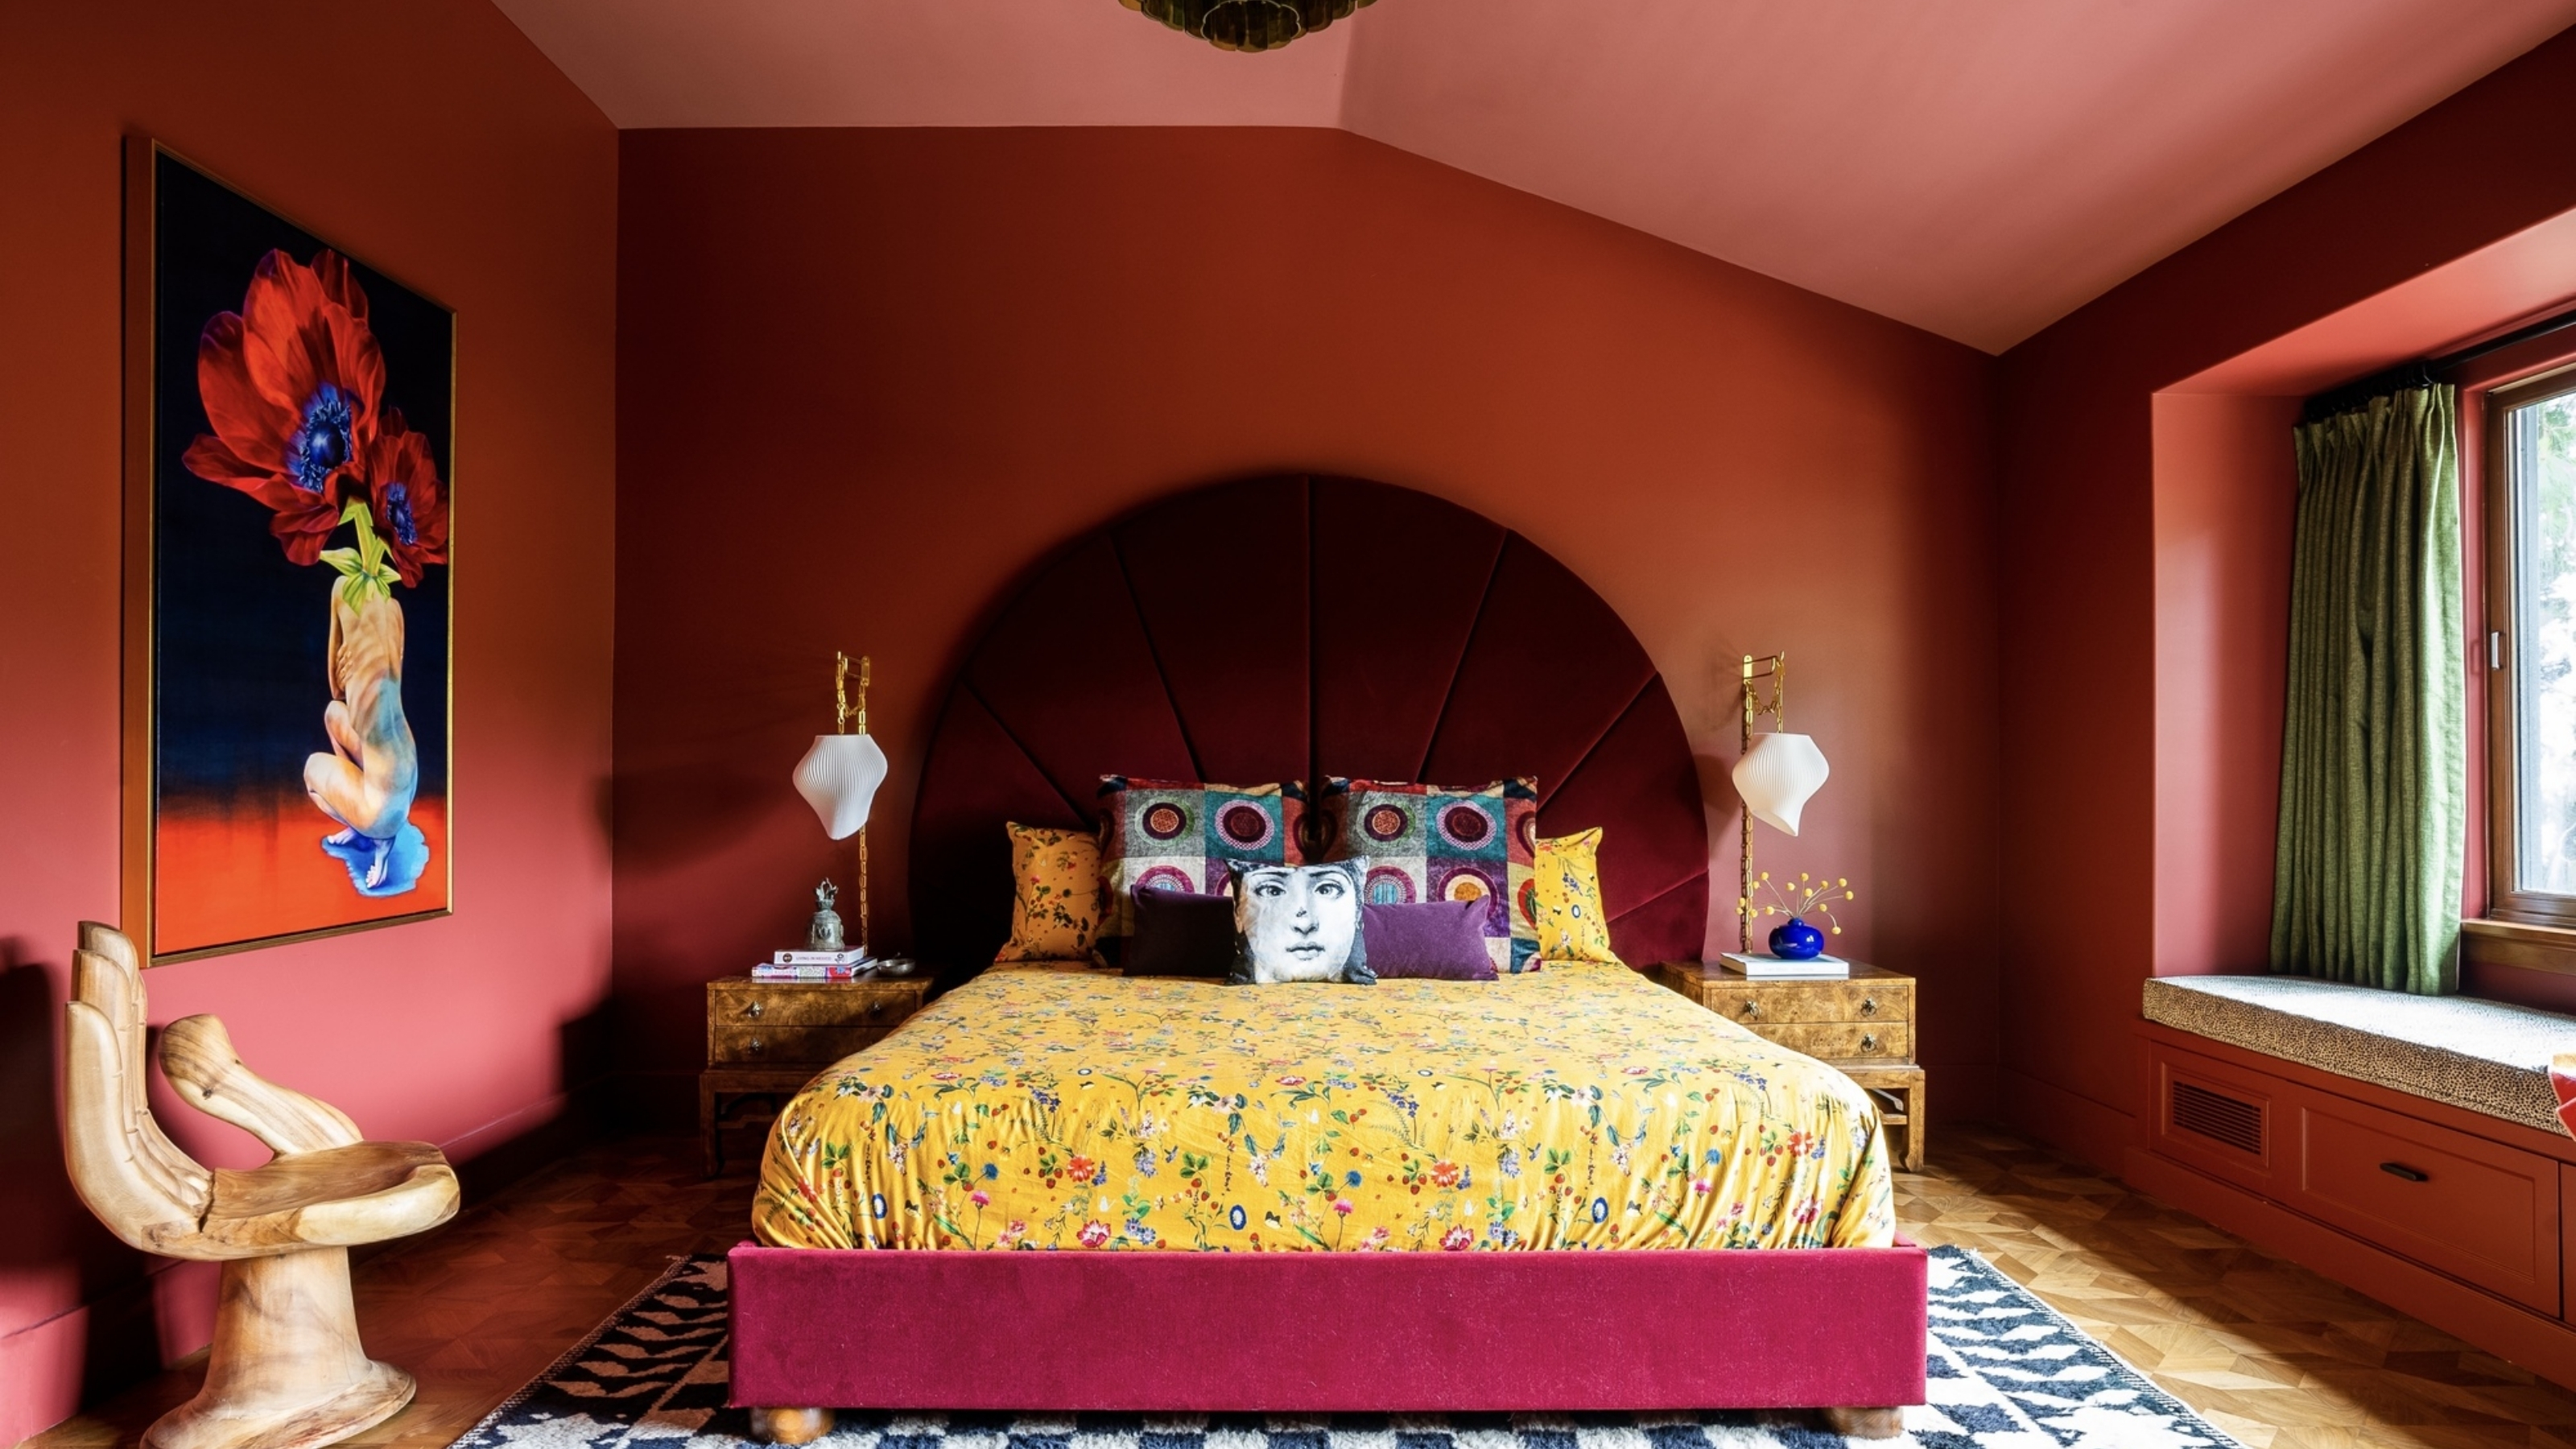
OMG — Is Color Blocking Actually Cool Again?
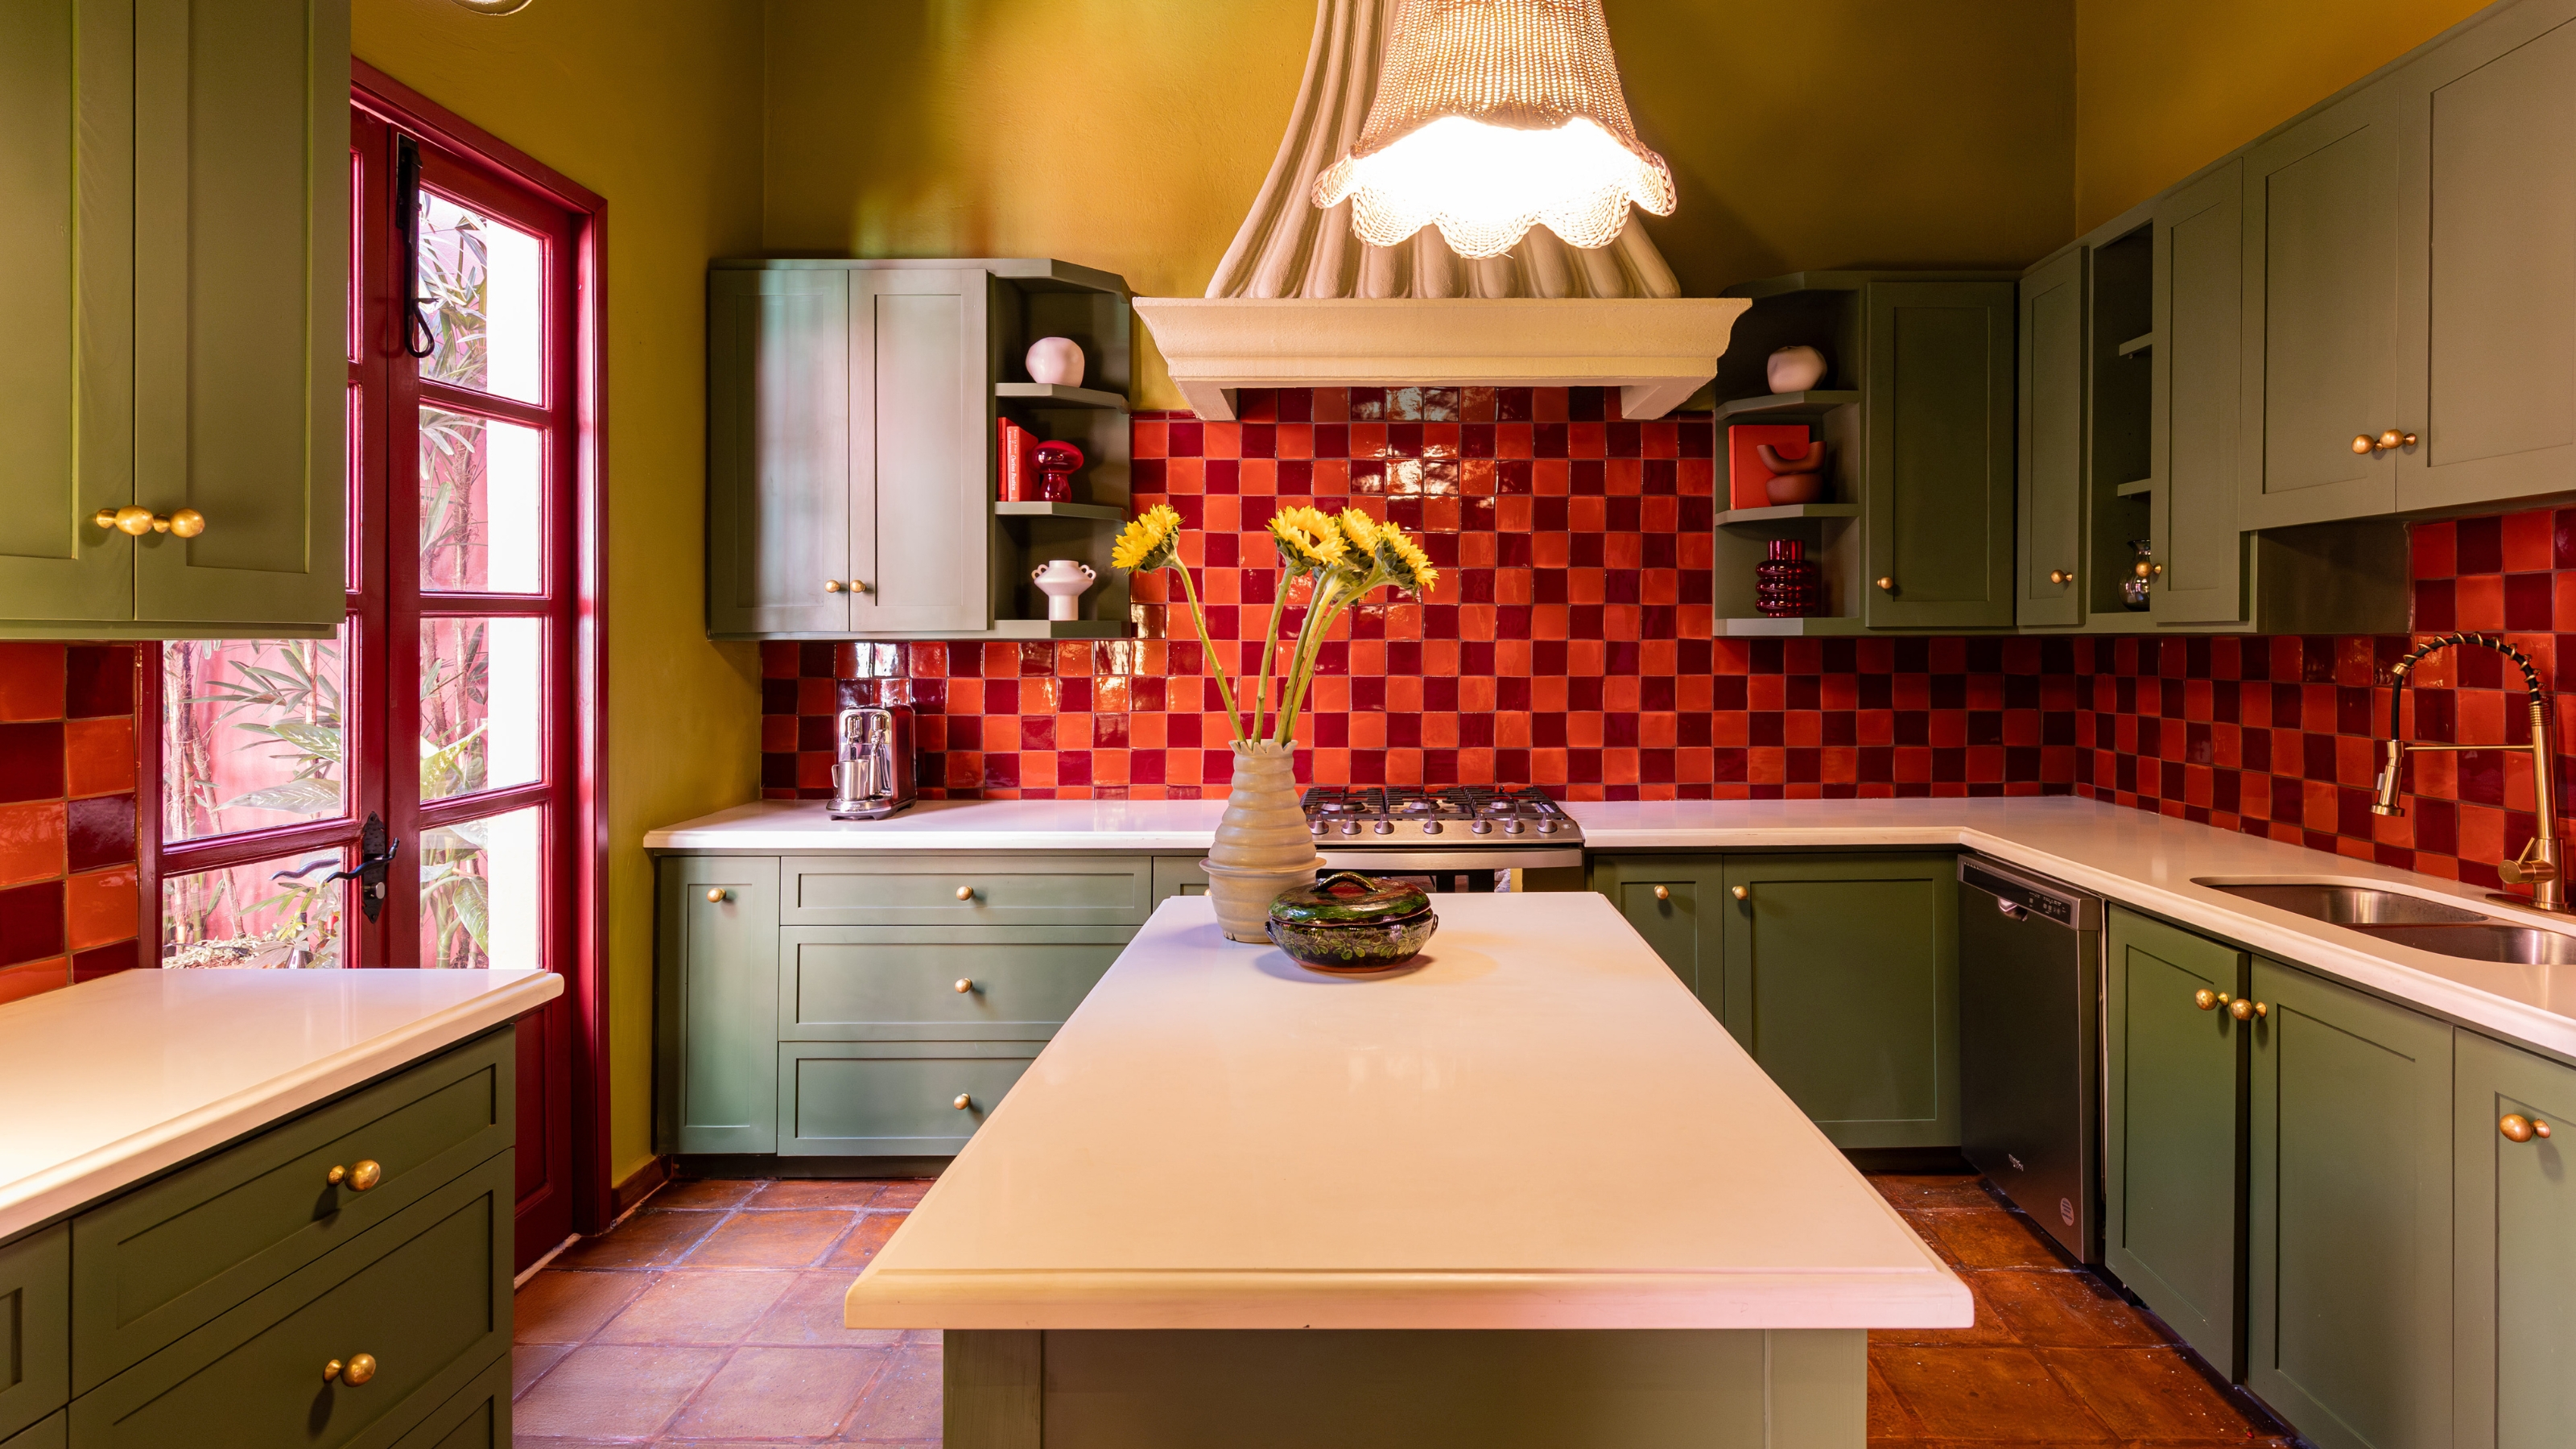
Ever Heard of a Split Complementary Color Palette? It's the Secret to Perfecting More Unexpected Pairings
SOME ASPECTS OF COLOR IN GENERAL AND RED AND BLACK IN PARTICULAR

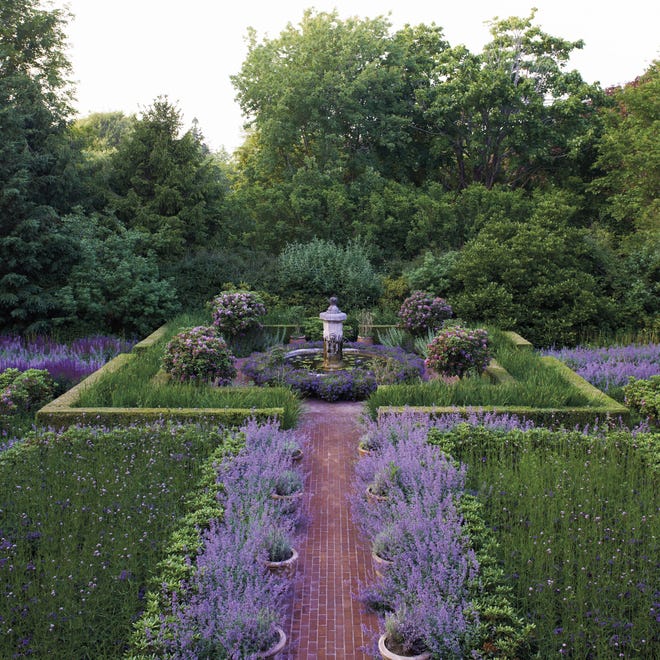
Color block gardens