1/4
How to achieve an antique finish with paint– 4 crafting tips to fake a well-loved piece
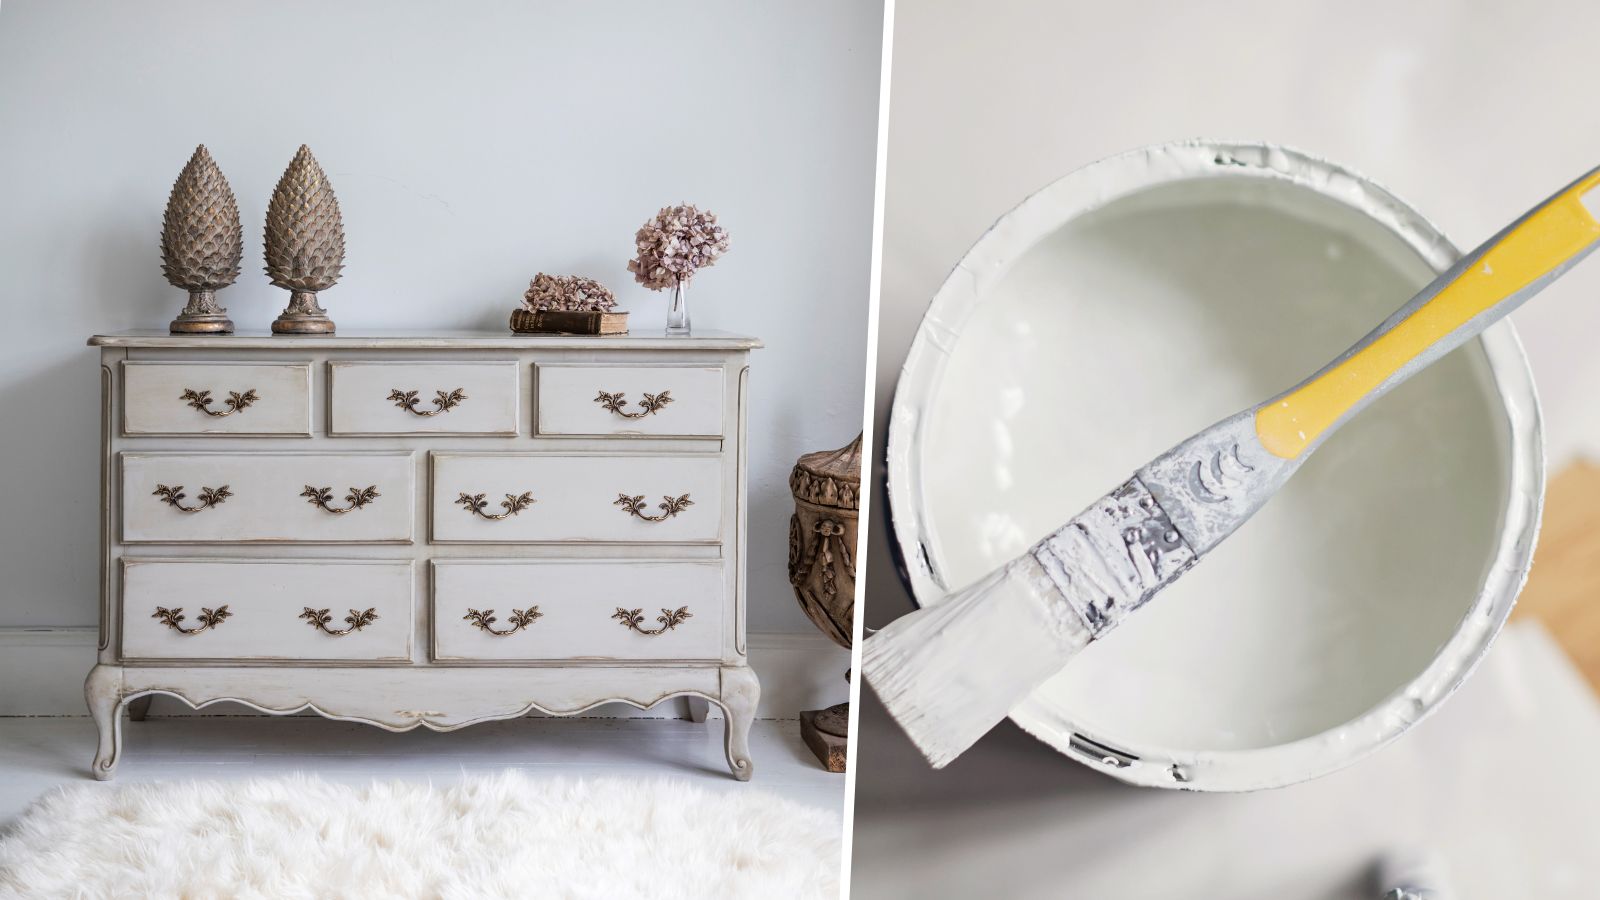
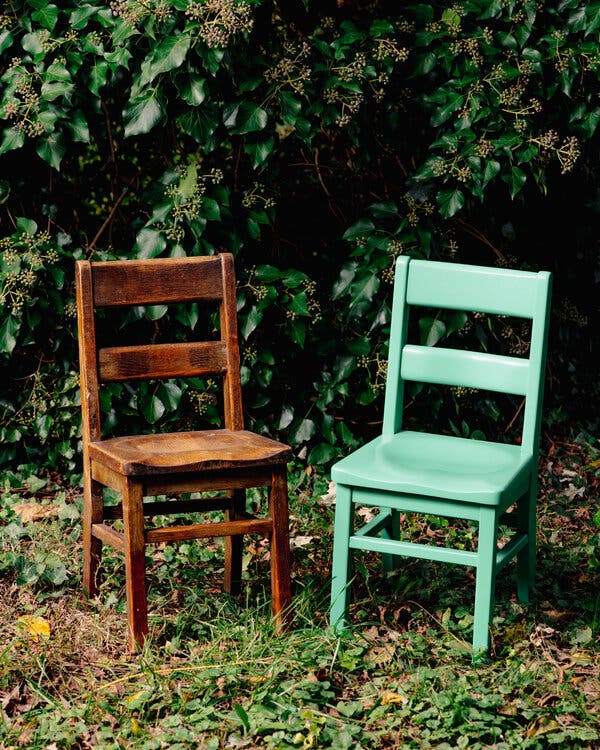
Upcycling furniture often focuses on making old items appear new, but an alternative approach involves creating a faux antique finish to add character and a sense of history. This technique offers a way to achieve the aesthetic of well-loved, vintage pieces without the significant costs associated with authentic antiques or the challenges of maintaining genuinely old furniture. The process involves several key steps that ensure a durable and convincing aged appearance.
The initial and crucial step for any furniture painting project, including creating an antique finish, is thorough preparation. This involves cleaning, sanding, and dusting the surface of the furniture. Even for a rustic, lived-in look, a properly prepared surface is essential for paint adhesion and longevity. The process begins with washing the piece with sugar soap and warm water to eliminate grease and grime. Following this, a fine-grit sandpaper is used to abrade any existing varnish or paint. Complete removal of previous finishes is often unnecessary; a roughened surface is generally sufficient for the new paint layers to adhere. After sanding, all dust and sawdust must be meticulously removed using a lint-free cloth or vacuum cleaner to ensure a clean base.
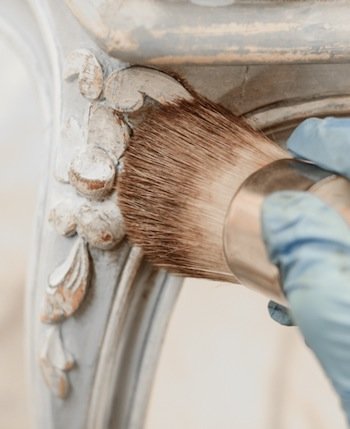
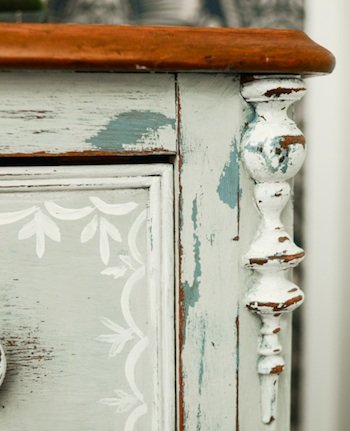
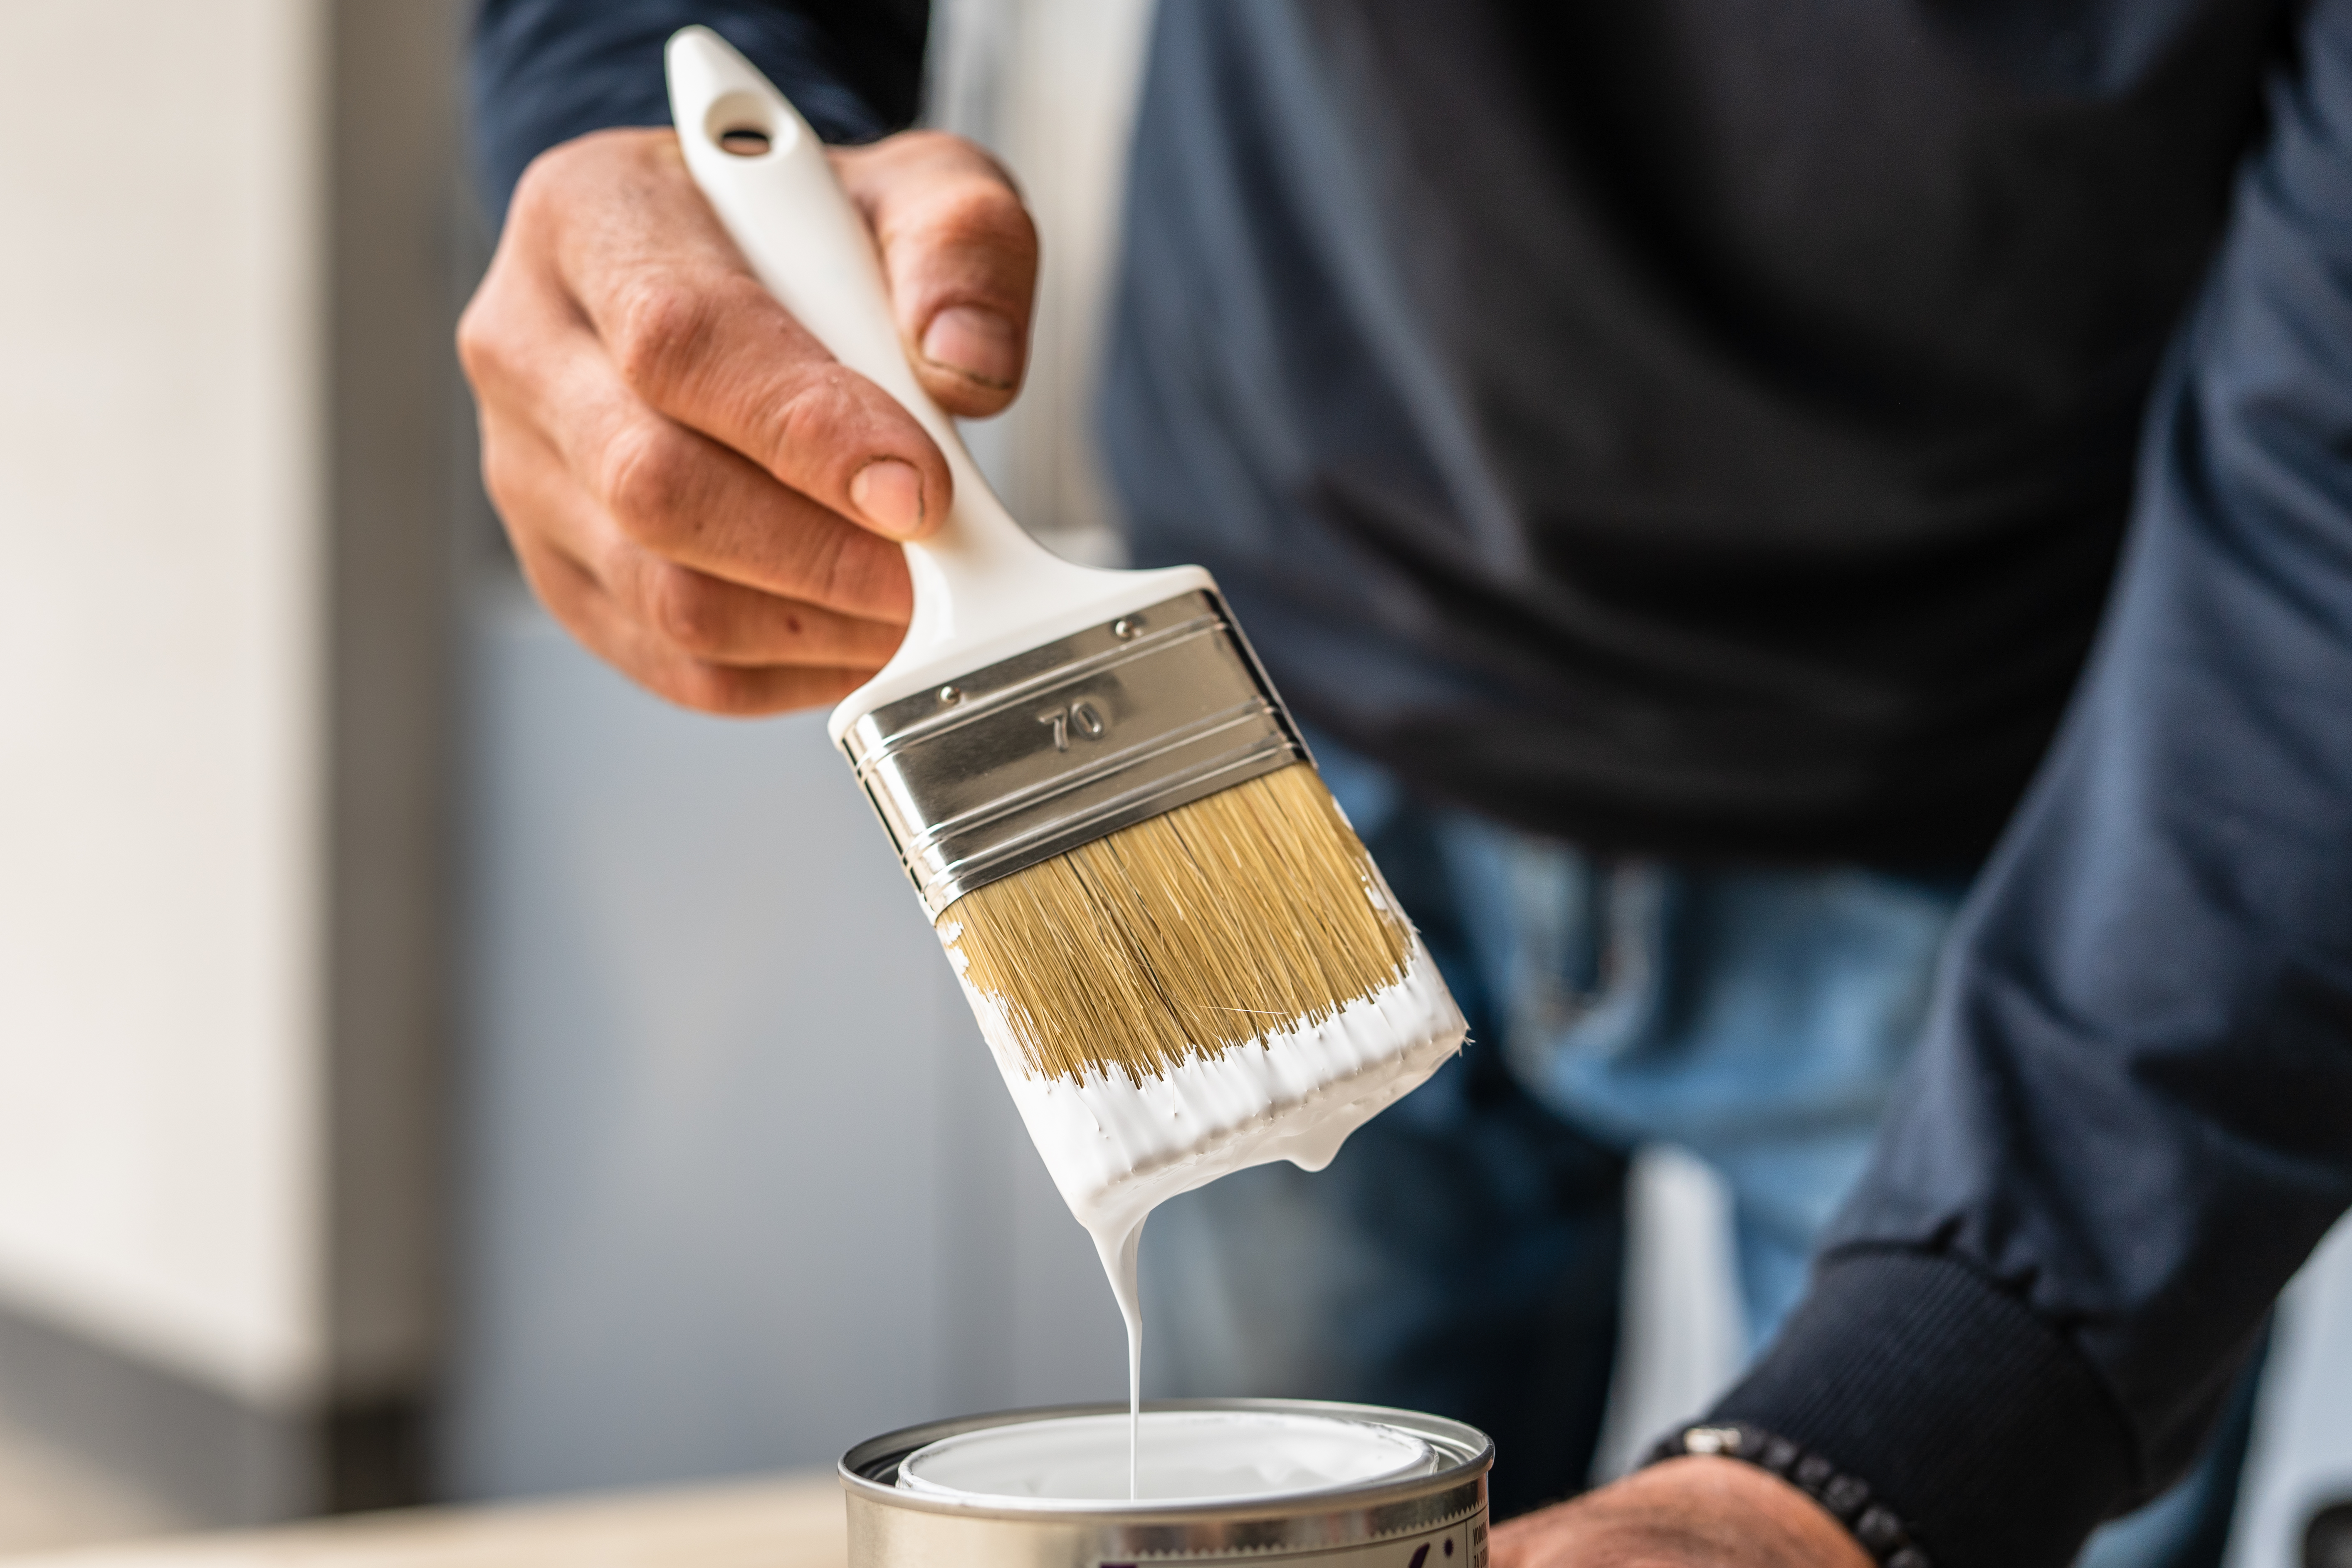
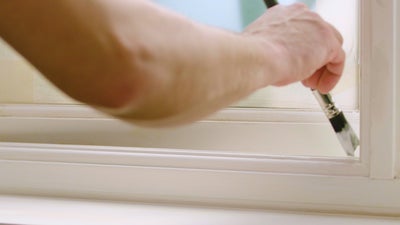
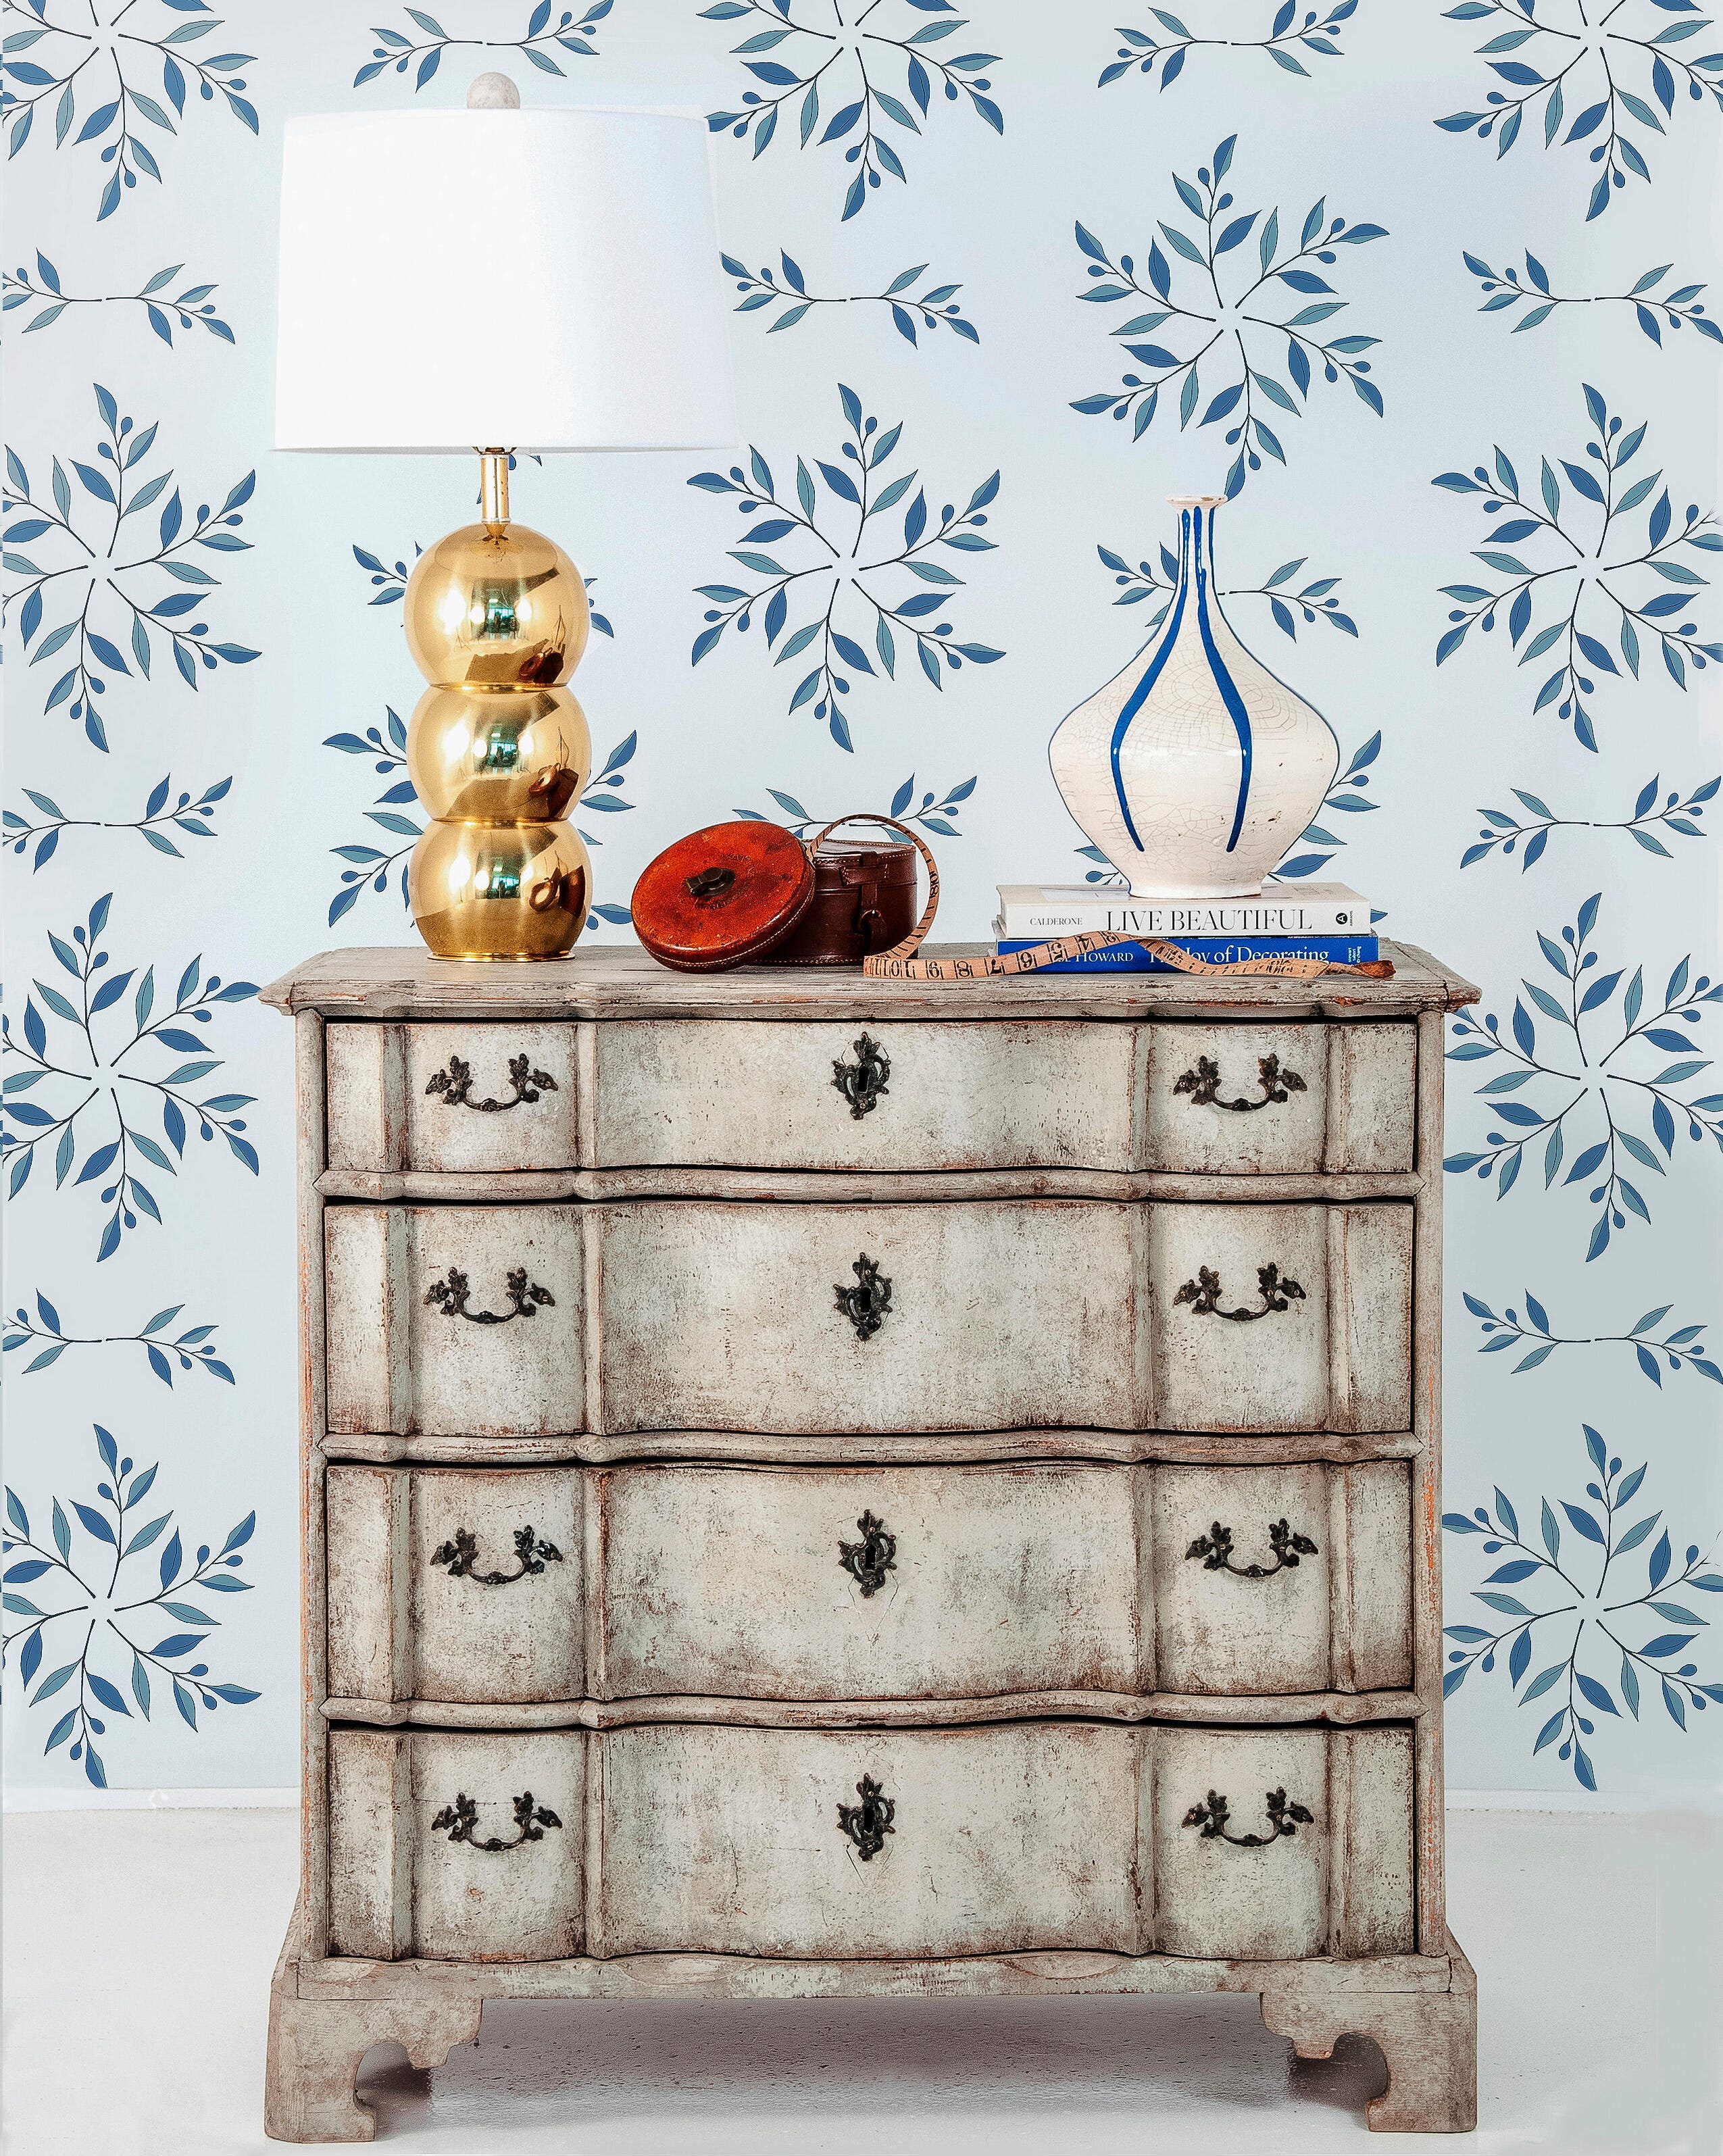
The second step involves layering paint coats with a crackle medium to achieve the distinctive aged look. This technique relies on applying paint in thin layers, allowing for subtle imperfections in brush strokes to contribute to the worn aesthetic. A base coat, typically a chalk paint, is applied with a brush (rather than a roller) to achieve a rougher, more authentic coverage. One or two coats of the base paint are usually sufficient. Once the base coat is dry, a crackle medium is applied and allowed to dry. Finally, a top coat of contrasting paint is applied. As this top coat dries, it cracks, revealing the base coat beneath and creating the desired antique effect. For an even more authentic finish, gently sanding the edges and corners of the furniture can further expose the base coat, simulating natural wear and tear over time.
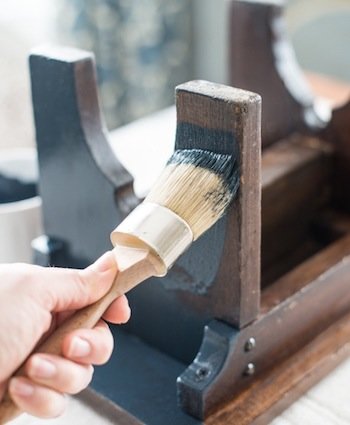
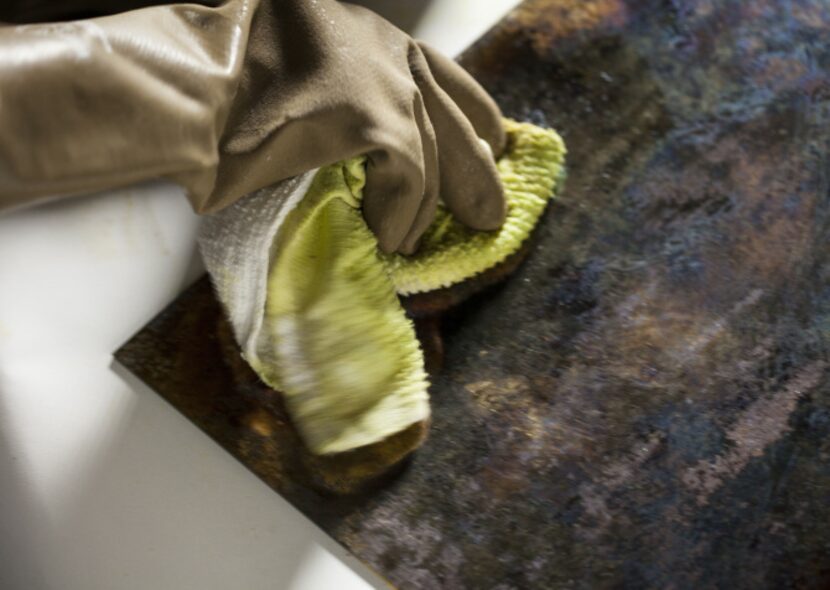
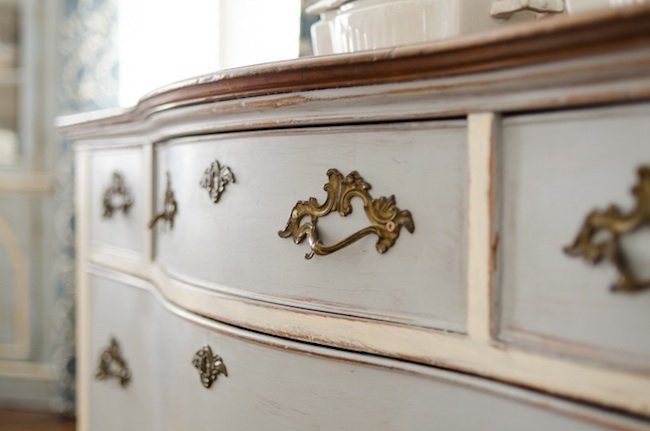
The third aspect focuses on integrating metal accents, such as hinges and handles, into the overall antique aesthetic. These components must be removed and treated to complement the distressed furniture. Home decor crafters often use black spray paint as a base coat for metal, glass, ceramic, or plastic elements, followed by thin layers of gold or bronze Rub 'n' Buff applied with a dry paintbrush. This method allows some of the black base to show through, creating a worn, aged metallic finish. After treatment, the accents are left to dry before being reattached to the furniture.
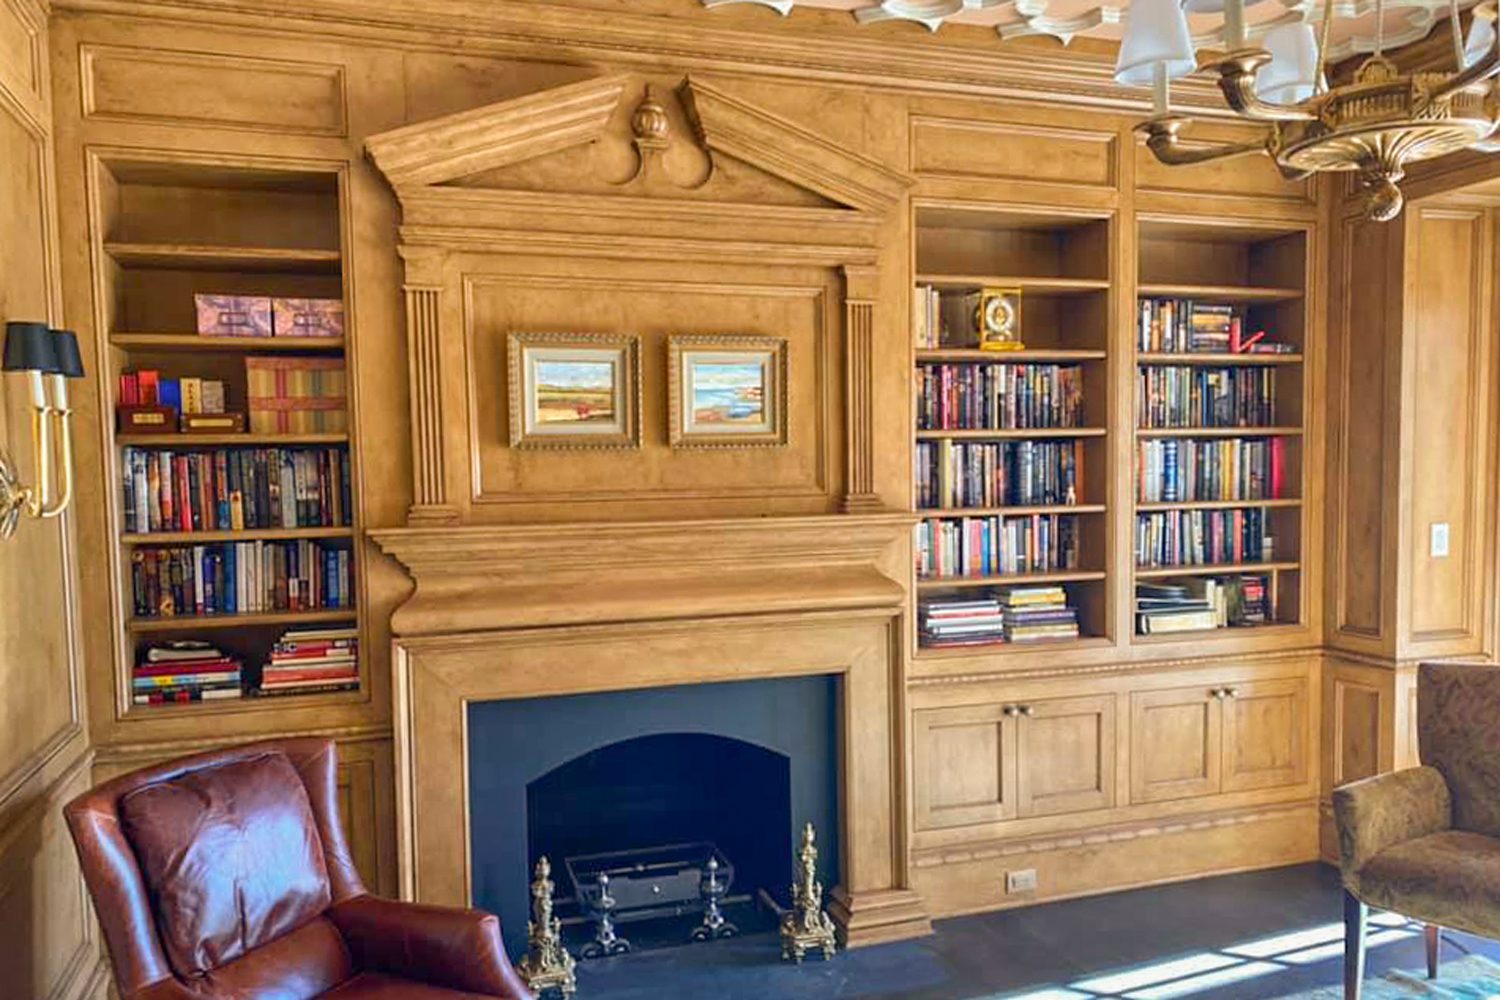
The final step involves applying a finishing wax to protect the piece and enhance its aged appearance. The choice of finishing coat significantly influences whether the furniture achieves a truly vintage or a merely "shabby chic" look. A clear or tinted wax is recommended to seal the paint layers and deepen the antique effect. This protective layer also helps prevent the paint from flaking or chipping over time, ensuring the longevity of the faux antique finish. When aiming for an antique finish, imperfections are embraced as they contribute to the authenticity of the vintage appearance, allowing brush strokes and minor color variations to complete the look. An antiquing glaze can also be used as a top coat to simulate age and provide a protective sealant. For walls, similar vintage effects can be achieved through wallpapers, paneling, or color washing to add texture and an old-world appeal.
#AntiqueFinish #FurnitureUpcycling #DIYFurniture #CrackleMedium #ChalkPaint #HomeDecor #VintageLook #PaintingTechniques #MetalAccents #AntiqueFinish #FurnitureUpcycling #DIYFurniture #CrackleMedium #ChalkPaint #HomeDecor #VintageLook #PaintingTechniques #MetalAccents
Hay 0 comentarios en total
 Aún no hay comentarios
También te puede gustar
Antiquing vs. Distressing: 8 Tips on Creating the Look and Patina of a Genuine Antique

This Trick for Faking Wood Grain Using Paint is Next Level Faux Bois

How to prolong the life of your paint job, according to painters and decorators
A Primer on Chalk Paint: Everything You Need to Know About the Versatile Paint, According to Pros

Understanding paint finishes

5 Ways To Pull Off The Matte Paint Trend

Is There a Way To Paint Something So It Looks Like Wood?

How to achieve beautiful paint finishes according to interior designer, Nicola Harding
Decorating with antiques – 8 designer tips to channel the past in the chicest way
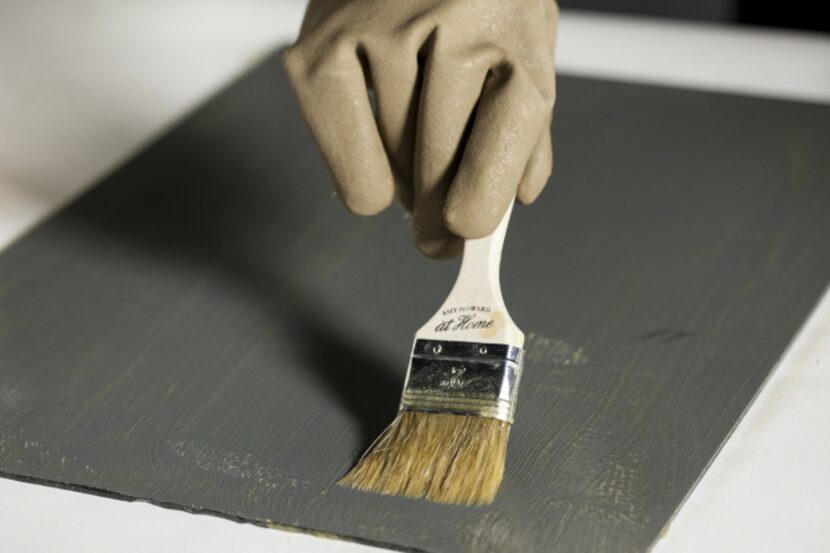
How to mimic that antique-mirror look
How to paint interior woodwork
Update your home with these paint tips!


5 different paint finishes, from flat to high-gloss, and when to use them
Hand-Painted Borders and Trims Are the Antidote to Dated Accent Walls — Here's How to Make it Look Good
Stop! Step Away From the Paintbrush — Here's 4 Things Interior Designers Would Never, Ever Paint Around the Home
Is It a Crime to Paint Antique Furniture?
Paint finishes – a guide for every room
I’m a paint expert - the £1.25 buy pros swear by for a flawless finish on walls

Paint finishes explained – an expert guide to choosing the perfect type of paint for your projects
Let’s Learn How to Paint Furniture