1/13
DIY Removable Wallpaper
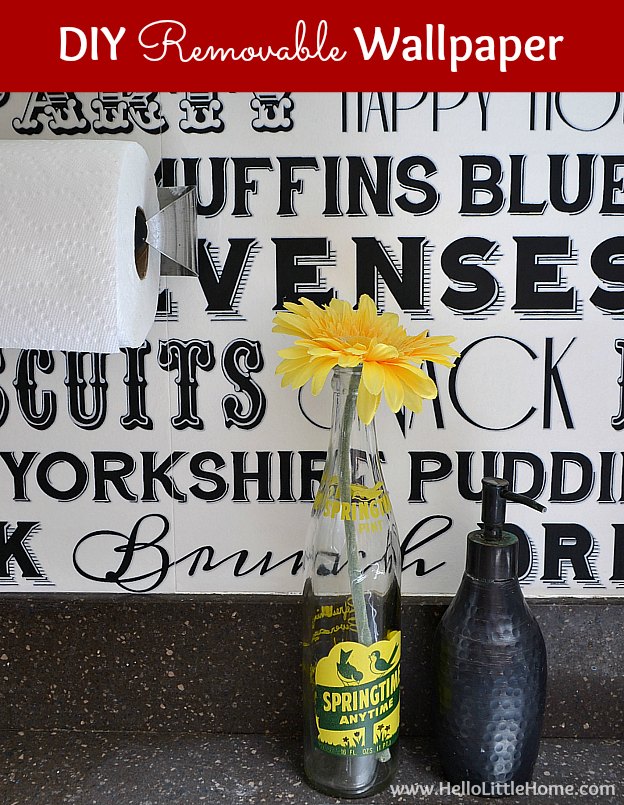
This blog post details a DIY project for creating removable wallpaper, ideal for renters or individuals seeking a temporary home decor update. The author, a Brand Ambassador for Graham & Brown, uses their "On the Menu" wallpaper to create a "Eureka" moment in her kitchen, aligning with Graham & Brown's monthly interior design trend. The specific challenge was to apply wallpaper in a rental apartment without causing damage or requiring extensive re-painting upon moving out. The solution involved using removable contact paper as an intermediary layer between the wall and the wallpaper.
The project begins by emphasizing the benefits of wallpaper for adding visual impact to small spaces. The chosen wallpaper pattern, "On the Menu," is a paste-the-wall type, which simplifies application and removal compared to traditional wallpapers. However, to ensure no residue is left on the wall, the contact paper method was devised. The author highlights the successful application of this technique in her kitchen, transforming a plain backsplash area into a focal point with a bold, British-inspired text pattern.
In addition to the wallpaper, the author incorporated a Graham & Brown Lit Star marquee light on the opposite wall to further enhance the "Eureka" theme. This battery-operated, rustic gold star adds a unique and quirky touch, complementing other decorative elements like a printable art piece. The combination of the wallpaper and the star light significantly reinvigorated the kitchen space, demonstrating how minor changes can achieve substantial decorative impact.
Detailed instructions are provided for the DIY removable wallpaper process. The necessary materials include contact paper, a Sharpie, a ruler (yardstick recommended), a utility knife or scissors, a pencil, the chosen wallpaper, painter's tape, and spray adhesive. The first step involves cleaning and measuring the wall, then creating a drawing to map out outlets and other necessary openings. Contact paper is cut to size, and openings are marked and cut out, with a crucial tip to reverse the markings due to the contact paper's sticky side orientation.
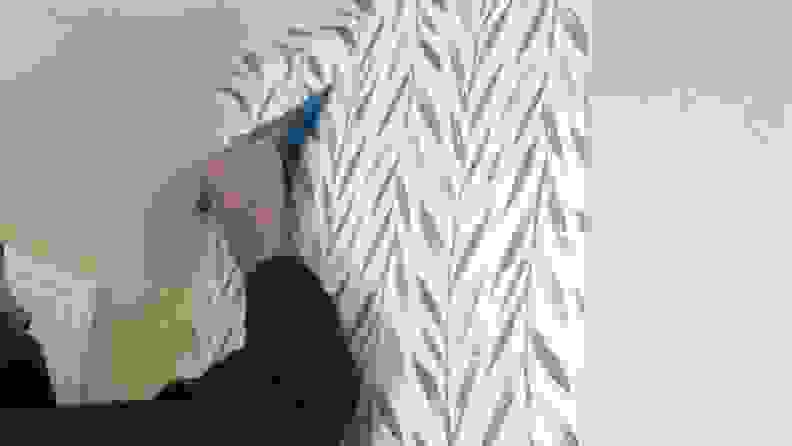
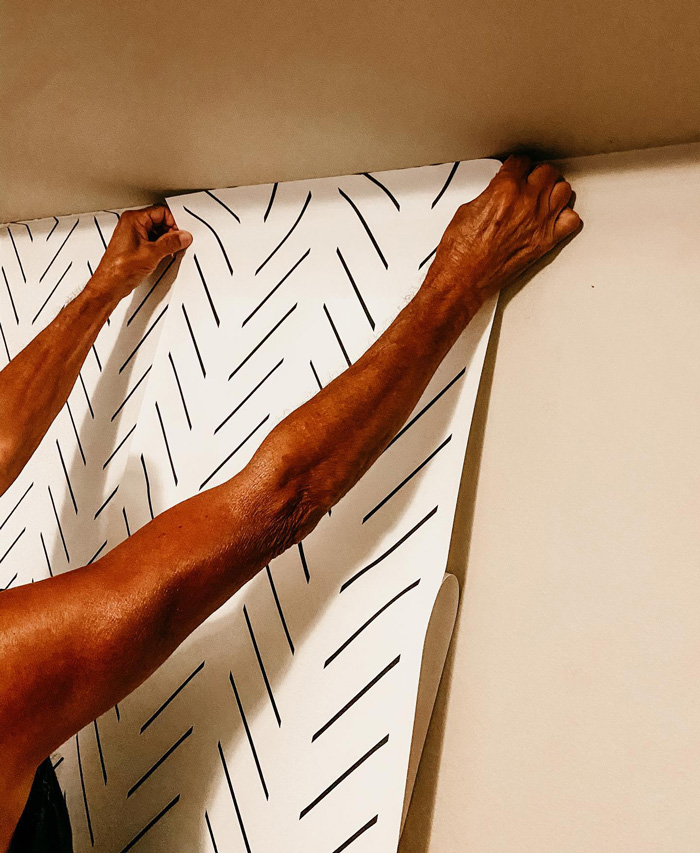
The contact paper is then applied to the wall, starting by peeling off one side of the backing, adhering it, and smoothing out bubbles before removing the rest of the backing. The process is repeated for any additional sheets of contact paper required to cover the area. Subsequently, the contact paper backing serves as a template for cutting the wallpaper, with openings transferred and cut. Painter's tape is suggested for holding wallpaper pieces in place before cutting, although caution is advised to prevent damage.
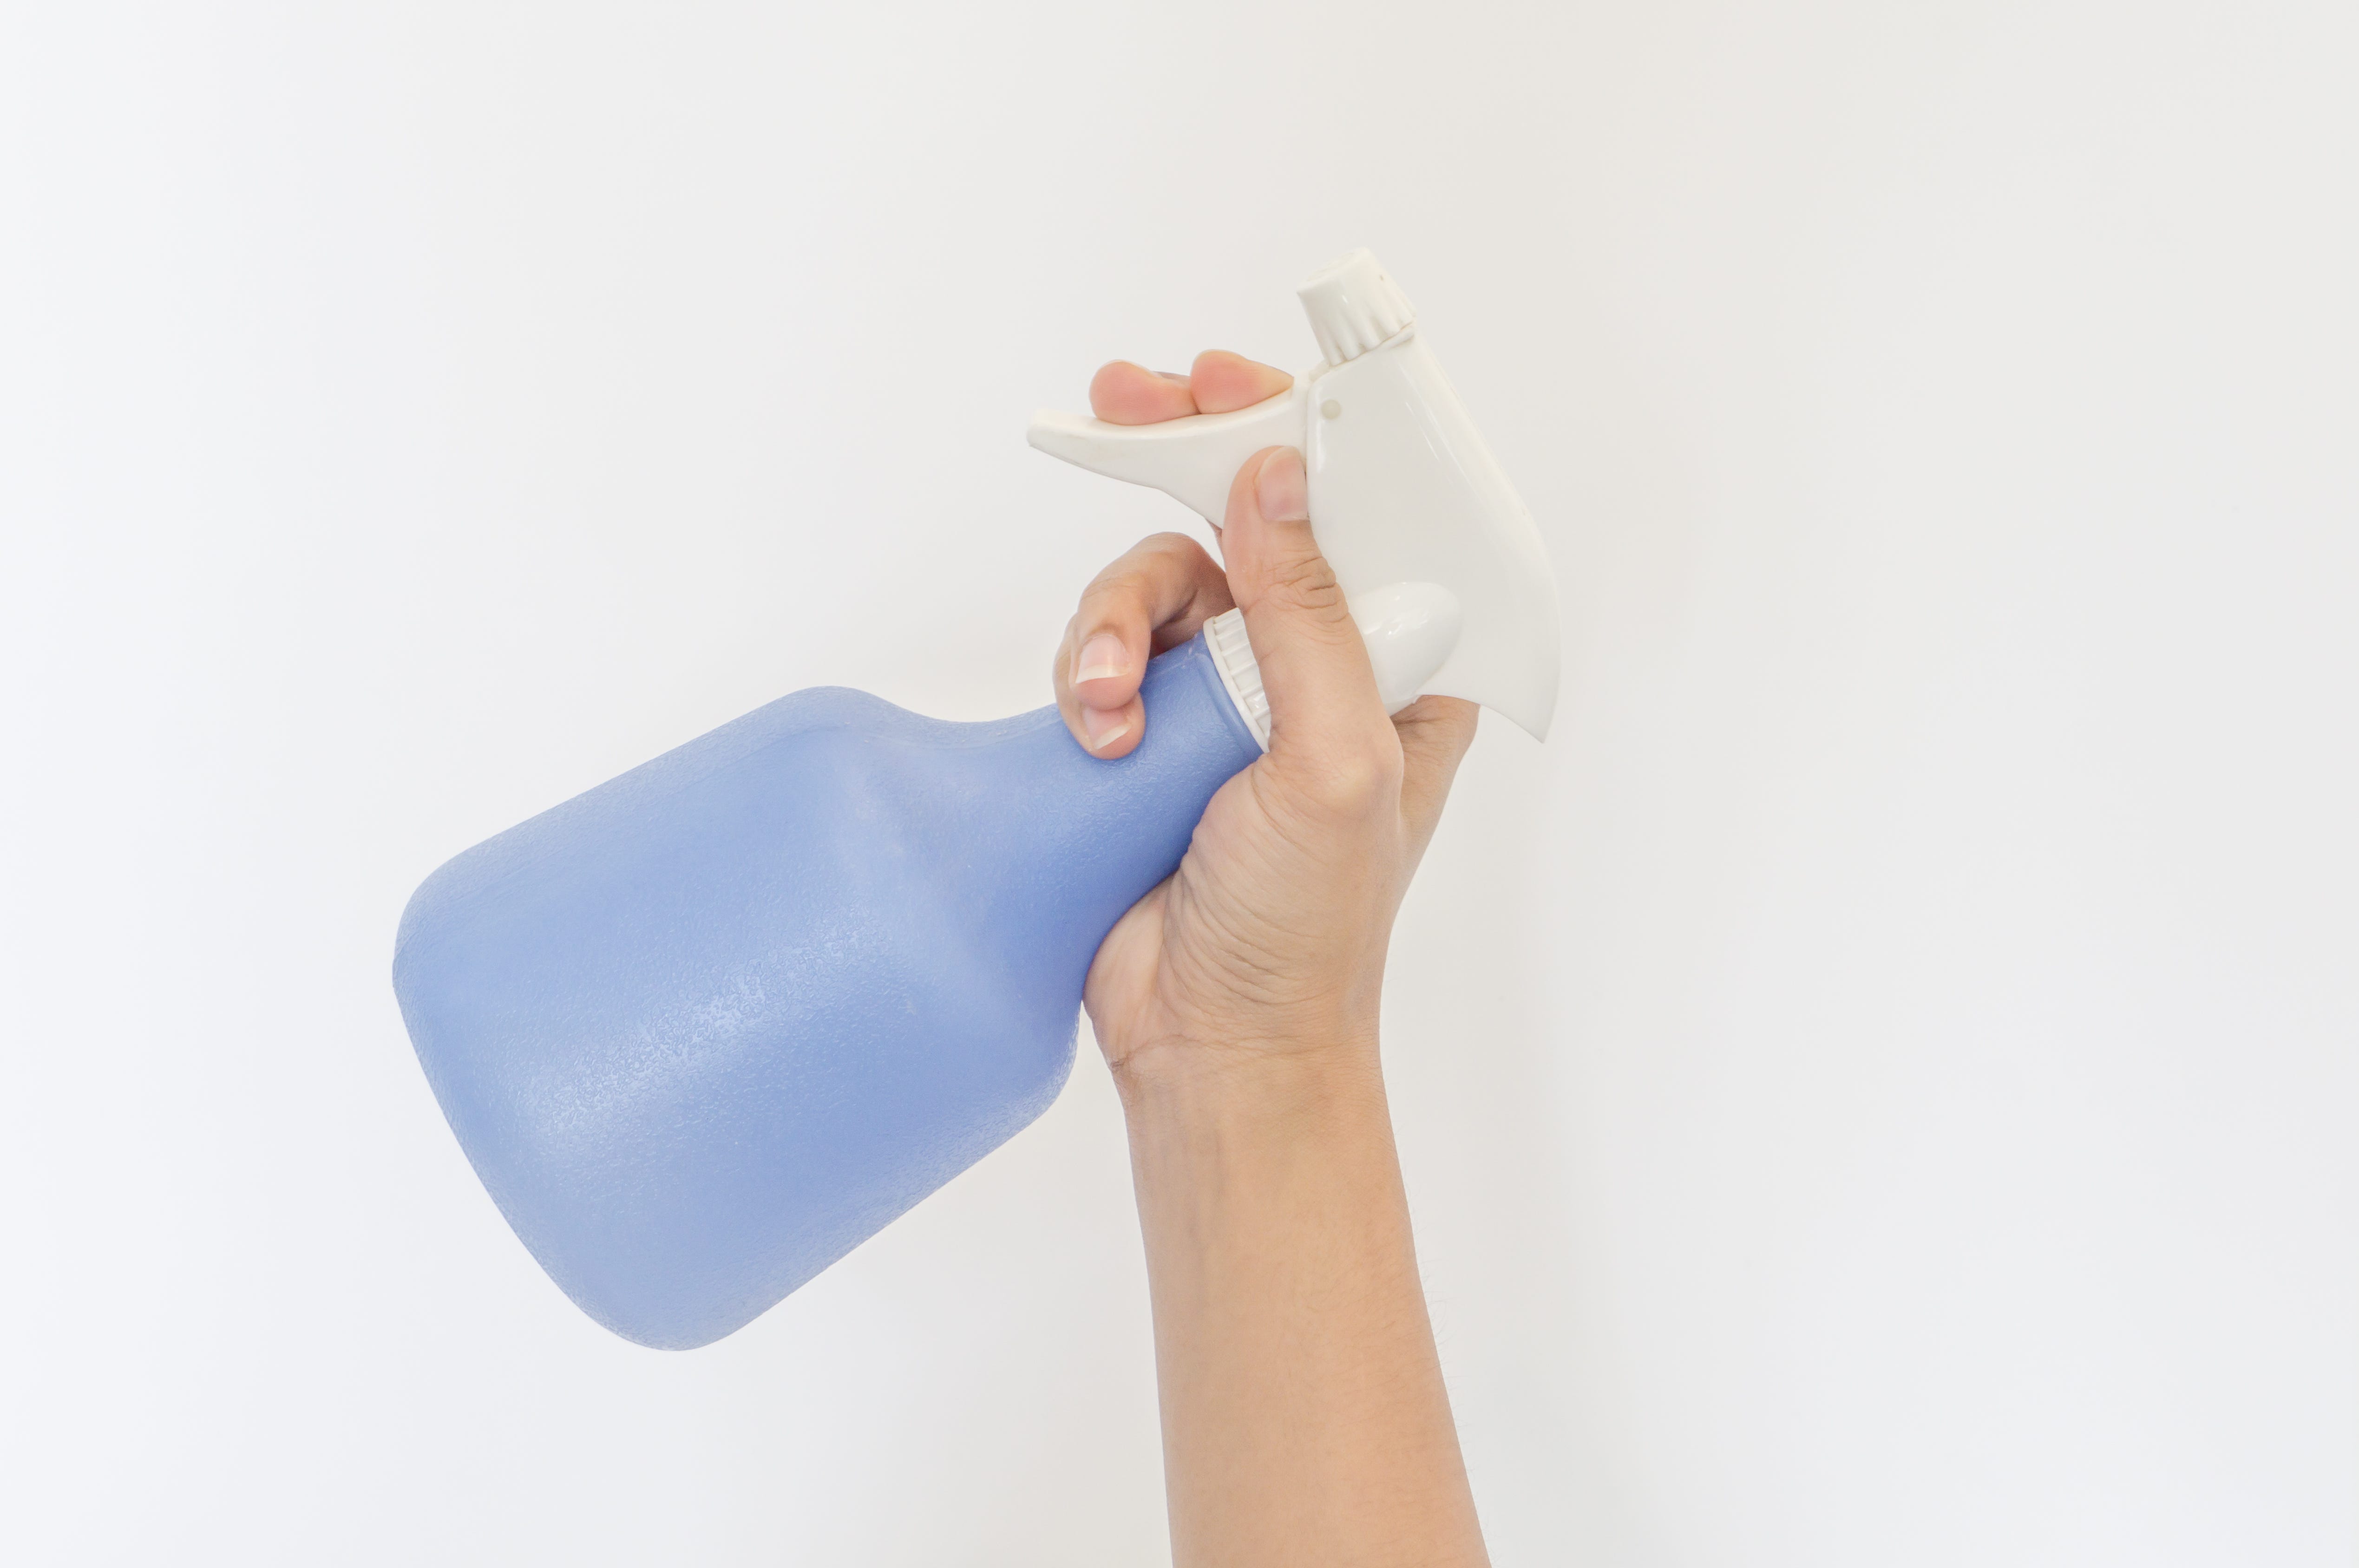
The wallpaper is then prepared by laying it face down on a protected surface and evenly coating it with spray adhesive, ensuring generous application without oversaturation, especially at the edges. Immediately after spraying, the wallpaper is applied to the wall, starting from one side and working across, pressing firmly to eliminate air bubbles and wrinkles. For larger areas, assistance is recommended due to the quick-drying nature of spray adhesive. After the adhesive dries, typically overnight, outlet covers are reattached. A practical tip is to leave a small, inconspicuous strip of contact paper exposed to facilitate easy removal of the entire wallpaper when desired. The author confirms the method's effectiveness, reporting no damage upon removal seven months later. The post concludes by inviting readers to share their own "Eureka" moments in home decoration.
#DIYHomeDecor #RemovableWallpaper #RentalFriendlyDecor #KitchenDecor #HomeImprovement #InteriorDesignTrends #GrahamAndBrown #AccentWall #SmallSpaceSolutions #DIYHomeDecor #RemovableWallpaper #RentalFriendlyDecor #KitchenDecor #HomeImprovement #InteriorDesignTrends #GrahamAndBrown #AccentWall #SmallSpaceSolutions
Hay 0 comentarios en total
 Aún no hay comentarios
También te puede gustar
The 6 best removable wallpapers, according to an expert
Removable wallpaper apartment DIY: I transformed my living room in an afternoon
I tried Joanna Gaines’ removable wallpaper—and it's a home decor game-changer

Tempaper Removable Wallpaper Product Review
We Tested 28 Removable Wallpapers and Narrowed Them Down to the 6 Best for Your Walls

Backdrop Just Released This Award-Winning Wallpaper in a Removable Version

Transform Your Space: 7 Top Renter-Friendly Wallpaper Brands
A Stress-Free Way to Remove Wallpaper

This Removable Wallpaper Lets You Update Your Home Without Commitment
The 5 Best Removable Wallpaper Brands for a Hassle-Free Room Makeover


You’d Never Know That These Stylish Wallpapers Are Totally Removable
Our Editors Love This Brand's Removable Wallpaper

We're Not Worried About Damaged Walls With These 6 Removable Wallpapers

Everything you need to know about removable wallpaper
These Removable Wallpapers Will Completely Transform Your Space (Without Damaging Your Walls)

Everything you need to know about removable wallpaper

26 removable wallpapers to jazz up your boring rented walls
The Top 6 Places to Buy Standout Removable Wallpaper

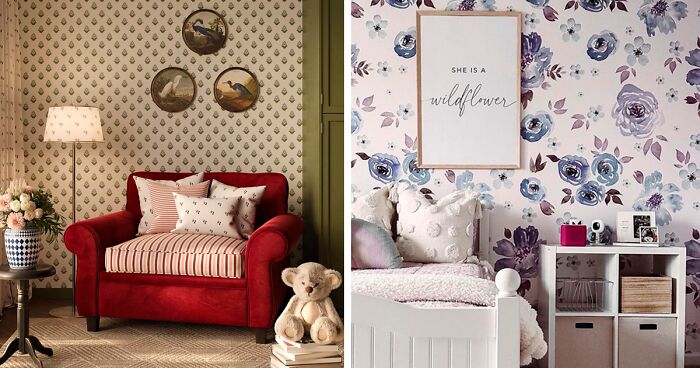
10 Stylish Removable Wallpaper Decor Ideas to Transform Your Space
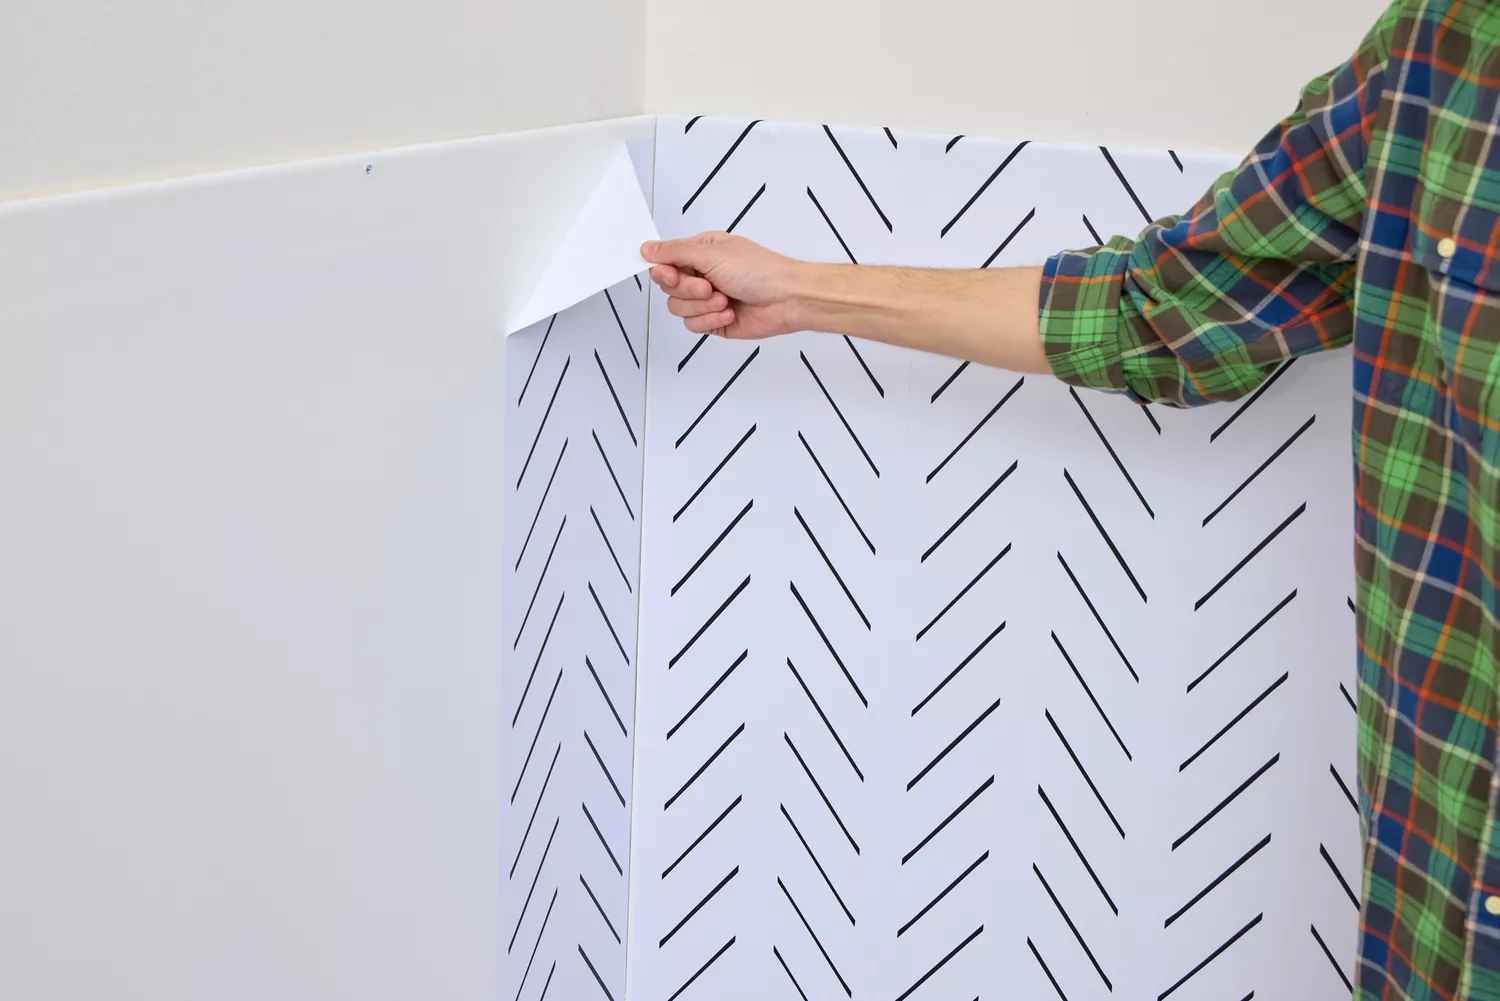
Say Goodbye to Damaged Walls—These 6 Removable Wallpapers Come Off Clean