1/8
Can you plaster over tiles? The experts issue a surprising warning...
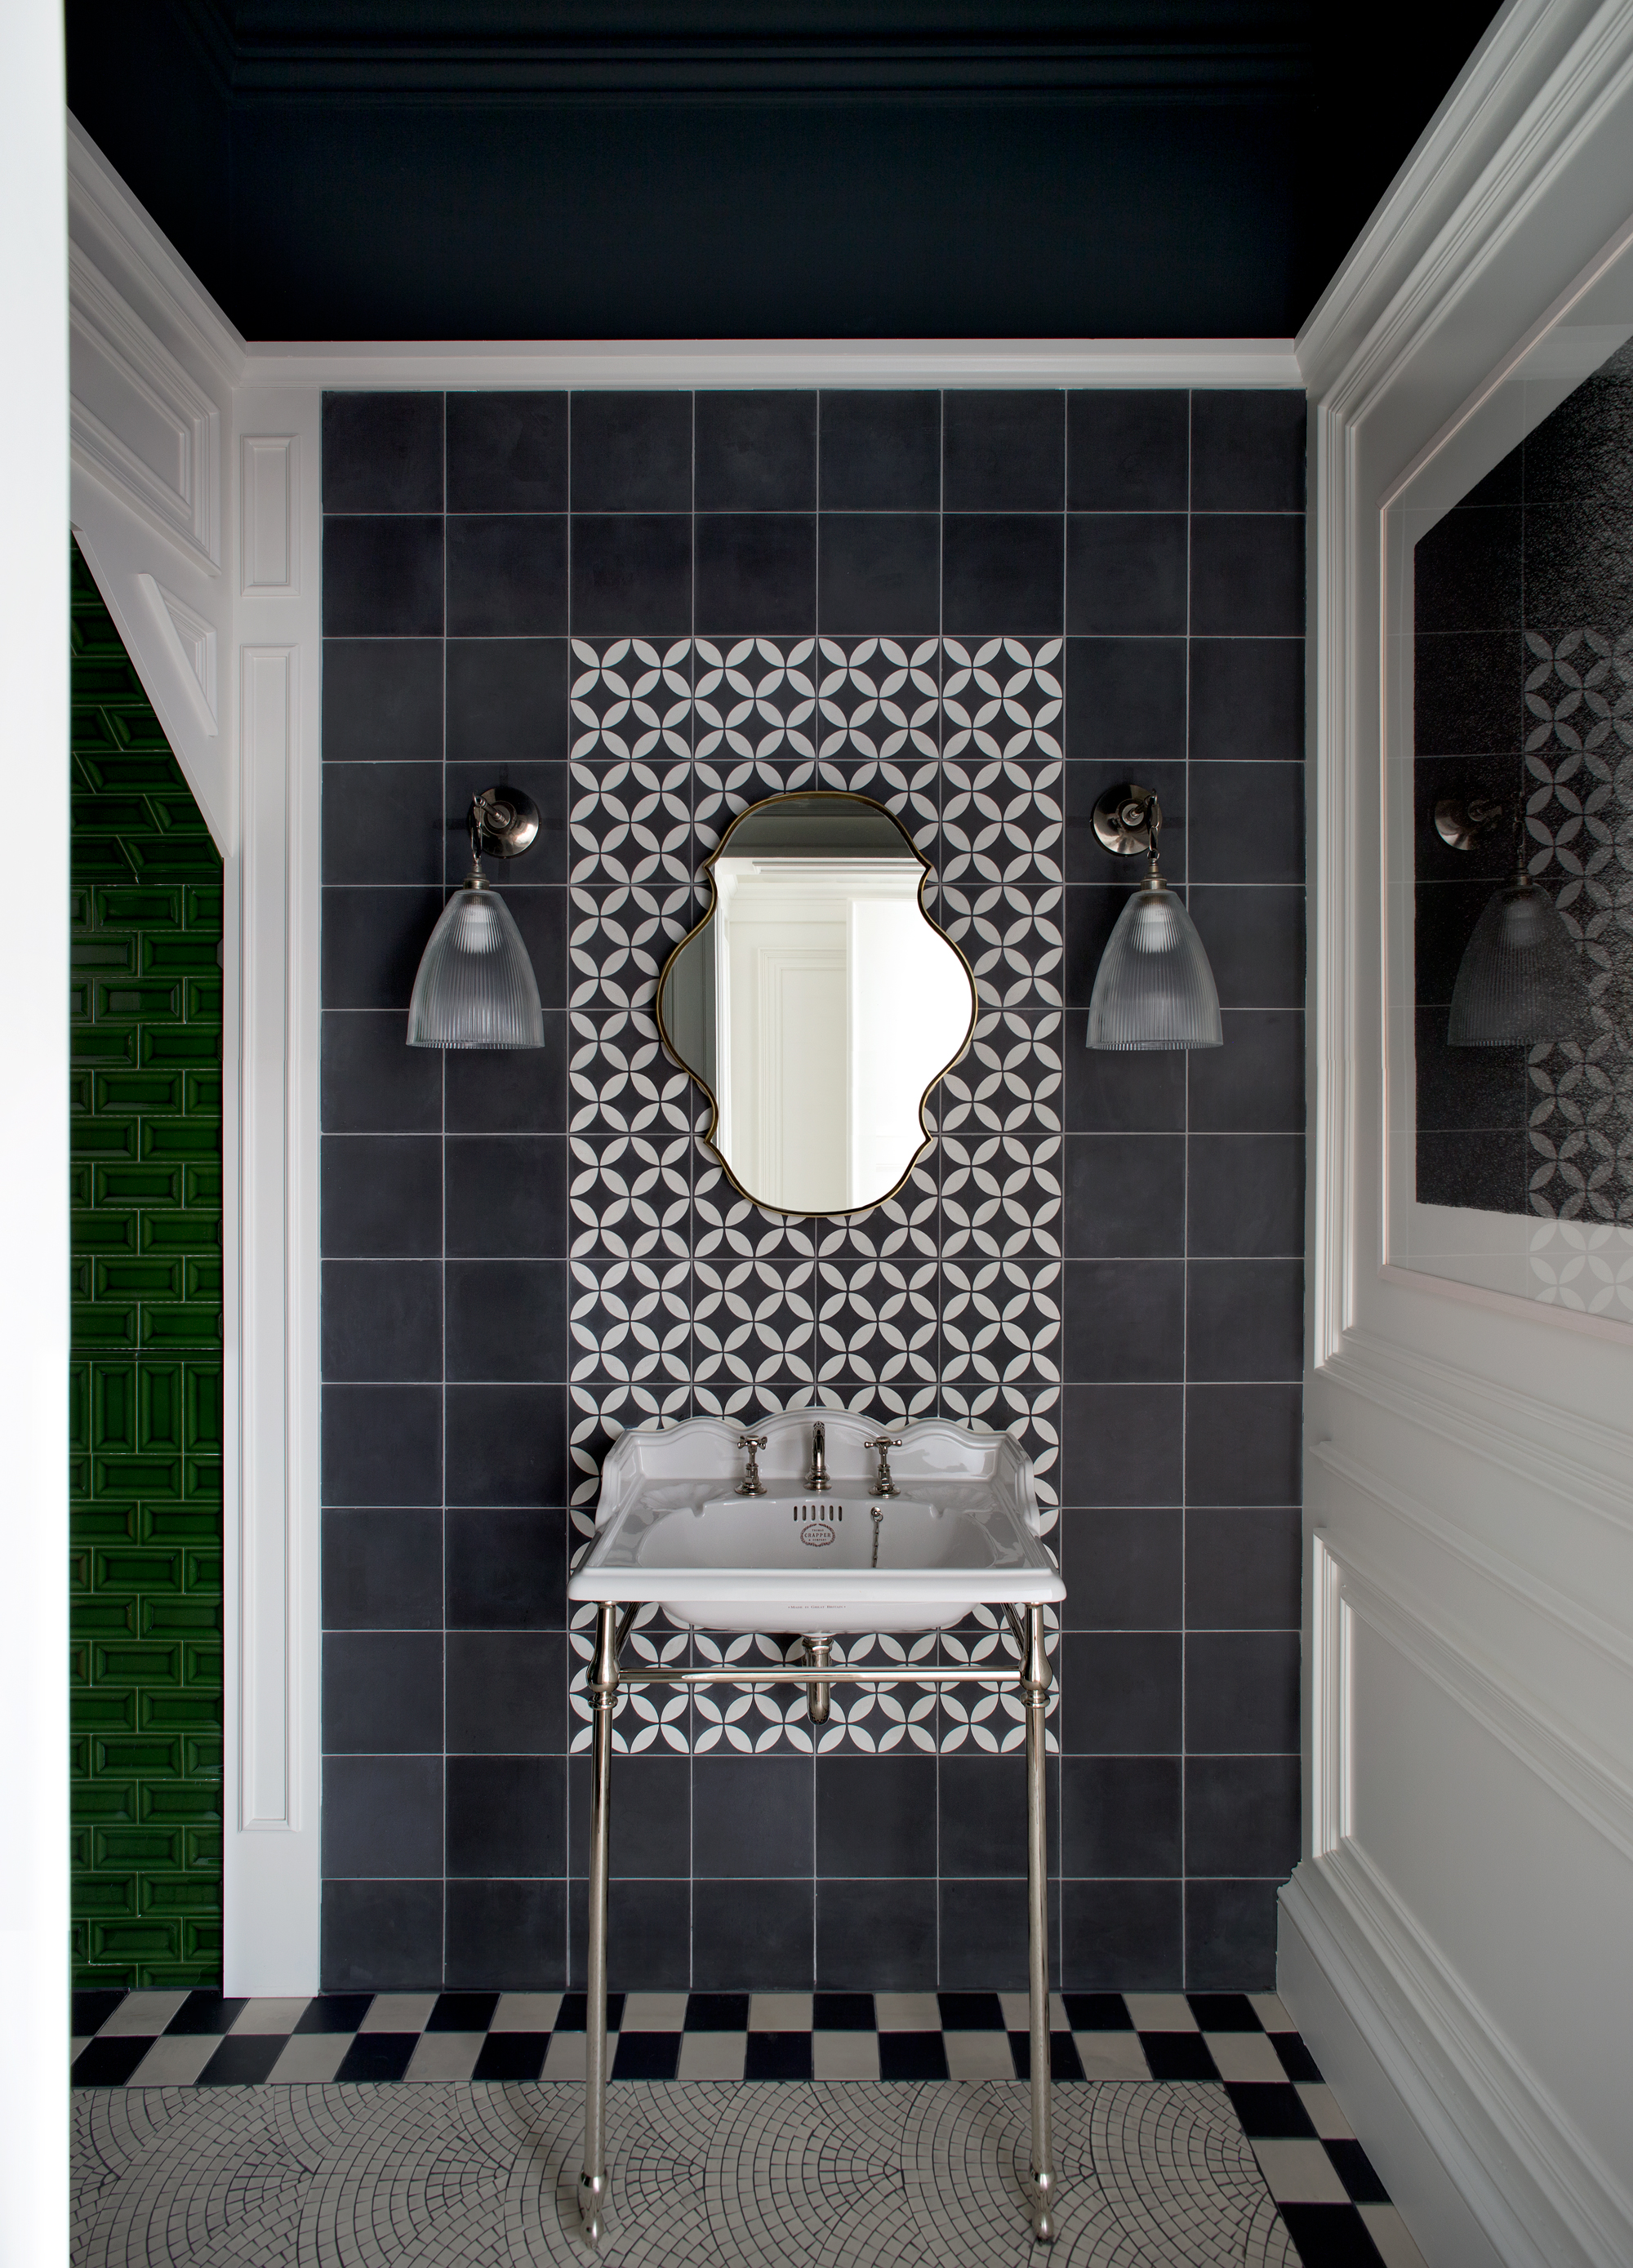
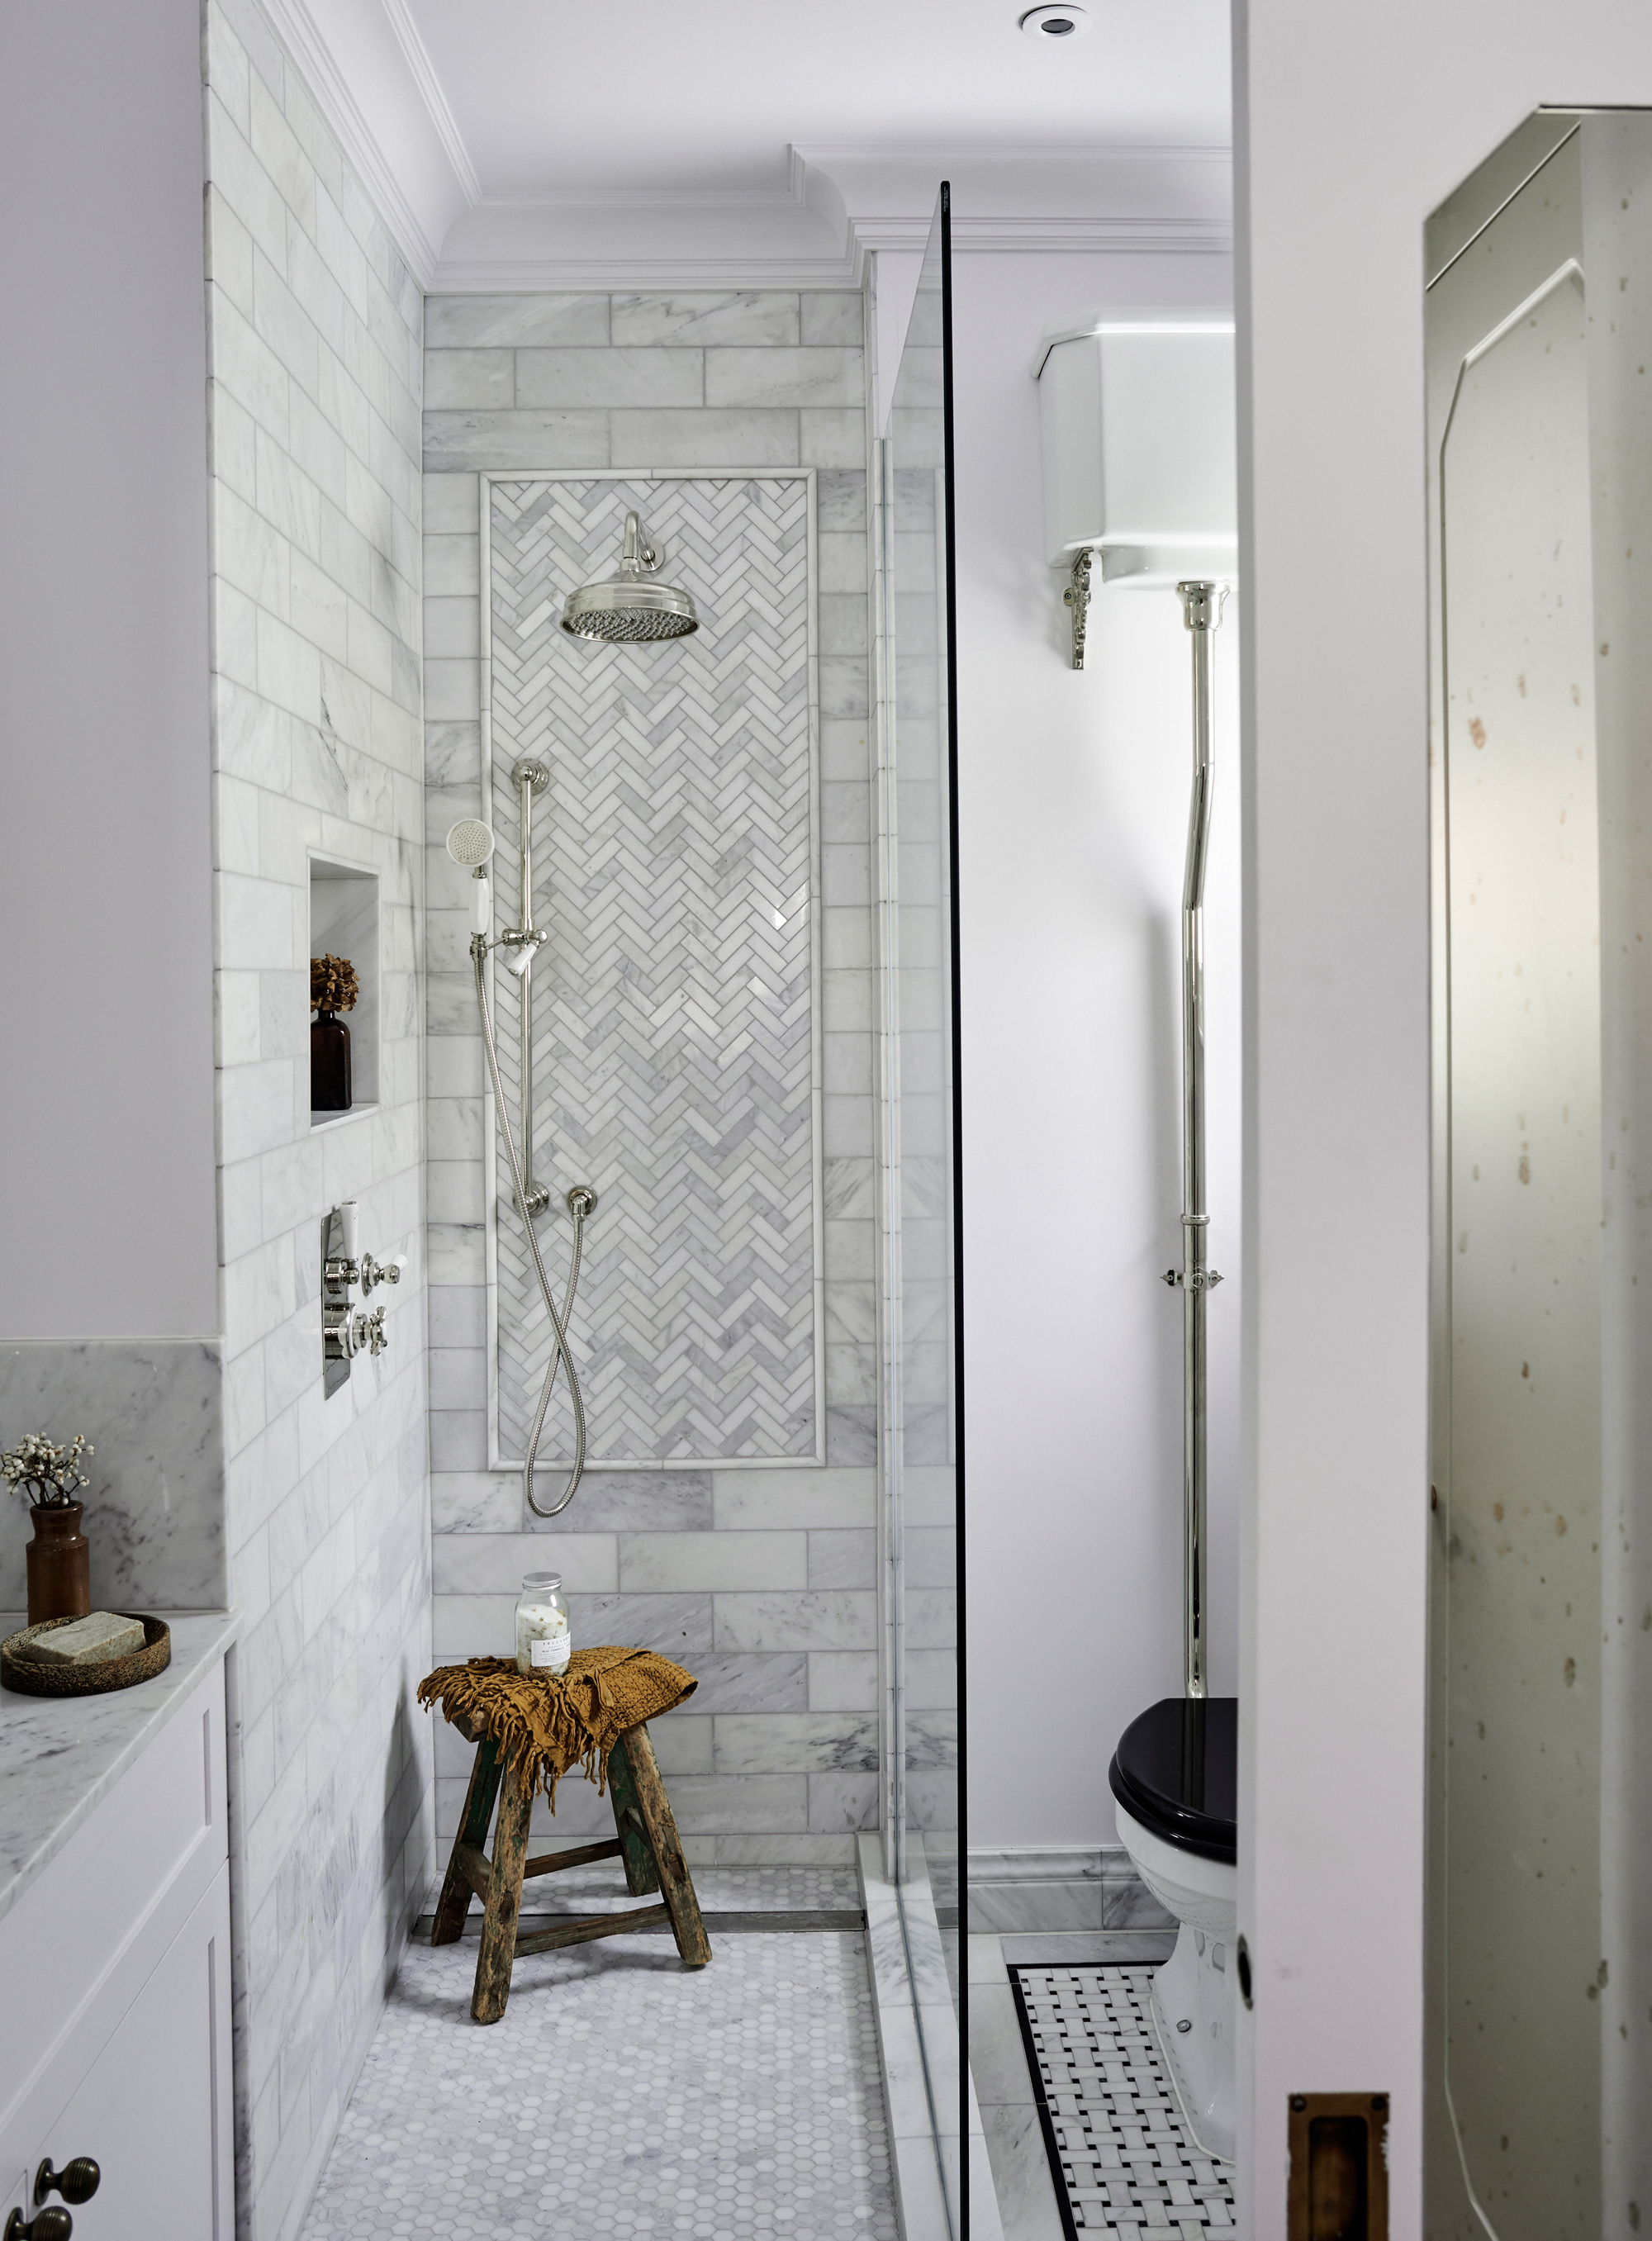
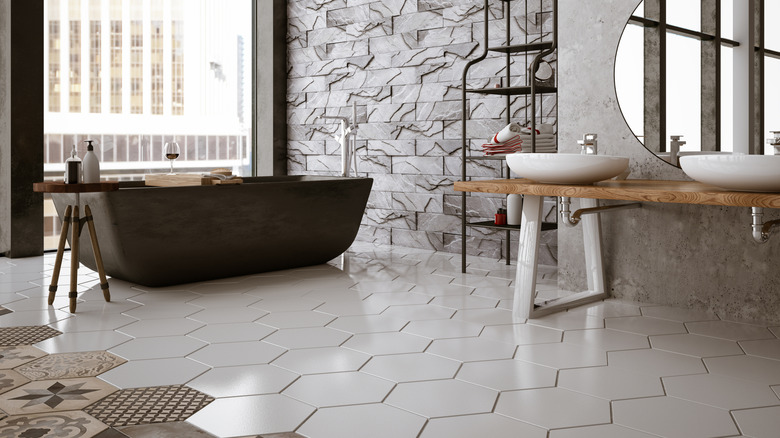
The idea of plastering over existing tiles has gained popularity as a cost-effective and time-saving alternative to traditional tile removal and replacement, especially in a climate where homeowners are looking to economize on renovations. This method appeals to individuals seeking to refresh spaces like kitchens and bathrooms without incurring the expenses associated with labor and new materials for tiling. Advocates suggest that a fresh coat of plaster and paint can dramatically alter the aesthetic of a room, offering an instant update to cold or outdated tiled surfaces.
However, experts caution that while possible, plastering over tiles is a tricky process that, if not executed correctly, could lead to more significant costs and issues down the line. Brenna Ryan, a design expert at Victorian Plumbing, highlights the potential for savings in both time and money but emphasizes the critical importance of careful preparation, appropriate materials, and proper technique. William Byrne, a DIY expert at ADA Fastfix, further elaborates that this method might not be suitable for all situations, and in some cases, removing the old tiles and preparing a fresh surface could be a more robust and lasting solution. The decision to plaster over tiles is therefore a personal one, contingent on the specific conditions of the existing tiles and the homeowner's willingness to meticulously follow the necessary steps.
The process begins with thorough surface preparation. This involves a detailed inspection of the tiles for any imperfections such as chips, loose grout, or holes, which must be rectified before plastering. The tiles also need to be scrupulously cleaned with sugar soap to ensure proper adhesion. For gloss tiles, an additional step of sanding them down to dull the surface is required to prevent the plaster from peeling. Following preparation, a bonding agent, such as Febond Blue Grit, should be applied. This agent acts as an adhesive layer between the tiles and the plaster, preventing crumbling or loosening once dry. It's crucial to allow ample drying time for the bonding agent, which can extend up to a day.
Once the bonding agent is dry, plaster can be applied in thin layers. DIY expert Jasmine Gurney recommends using a combination of bonding plaster and multi-finish plaster. An initial coat of bonding plaster is applied, followed by two thinner coats of multi-finish plaster, with 20-30 minutes of drying time between each coat. Meticulous attention to smoothing edges and corners is advised. After the plaster is completely dry, indicated by a pale pink color, the surface is ready for a mist coat and subsequent painting.
Despite the potential benefits, experts like interior designer Nicole Sage from Sleek-Chic advise against plastering over tiles due to the labor-intensive nature and high risk of errors without the correct primer and technique. Instead, several alternatives are suggested for covering wall tiles without removal. These include painting the tiles for a quick refresh or a bold design, covering them with wall panels for an affordable and easy-to-install solution, or applying tile stickers, which are budget-friendly and removable, making them ideal for renters or those who frequently change their decor. The article concludes by reinforcing that while plastering over tiles is technically possible, other methods might offer simpler and less risky ways to update a tiled space.
#HomeRenovation #DIYProjects #TileTransformation #InteriorDesign #BudgetDecor #PlasteringTechniques #HomeImprovement #SurfacePreparation #HomeRenovation #DIYProjects #TileTransformation #InteriorDesign #BudgetDecor #PlasteringTechniques #HomeImprovement #SurfacePreparation
0 Kommentare insgesamt
 Noch keine Kommentare
Das könnte Ihnen auch gefallen
Tile Adhesives

Can you put lino over tiles? You can, but experts urge you to proceed with caution if you want a flawless finish
Can I use mosaic tiles on the floor? Expert advice you need to know before making your decision

5 Places You Should Never Use Peel and Stick Tile—And Where to Put It Instead
We've spoken to the experts – this is everything you need to know before trying peel and stick tiles

Designers flip over tile, go for the bold

This Controversial Tile Trend Is Dividing Homeowners on Reddit. Designers Weigh In
Showstopping Tile


Tile Grout
This Genius Tile Hack Could Transform Your Bathroom—But Pros Say There's a Catch

10 common tiling mistakes that can be costly – and how to avoid them
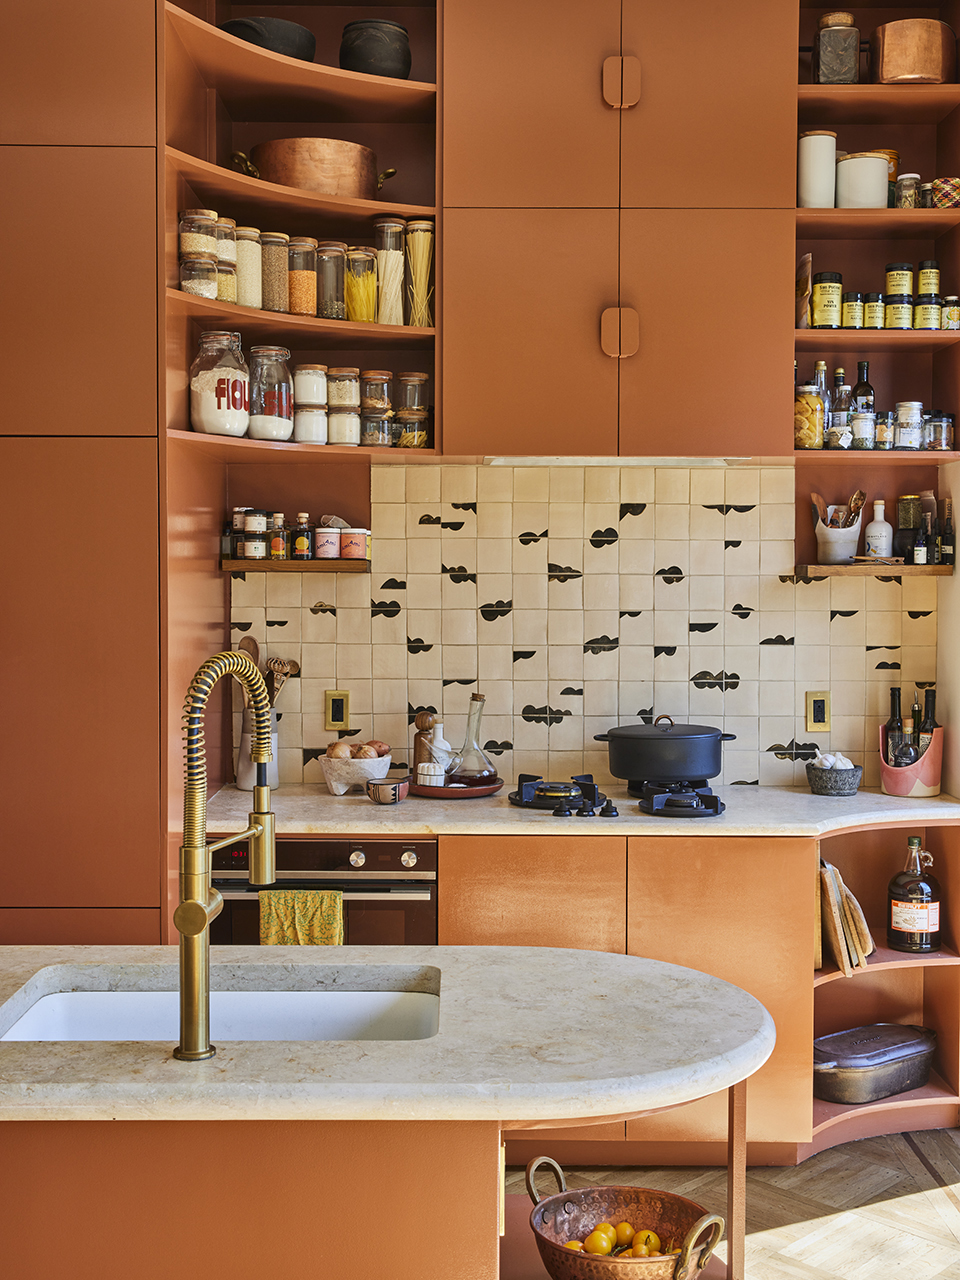
The Tile Designers Can’t Wait to Use in 2025

Thinking About Painting Tile Floors? Here's Why Experts Warn Against It


Fit to be tiled

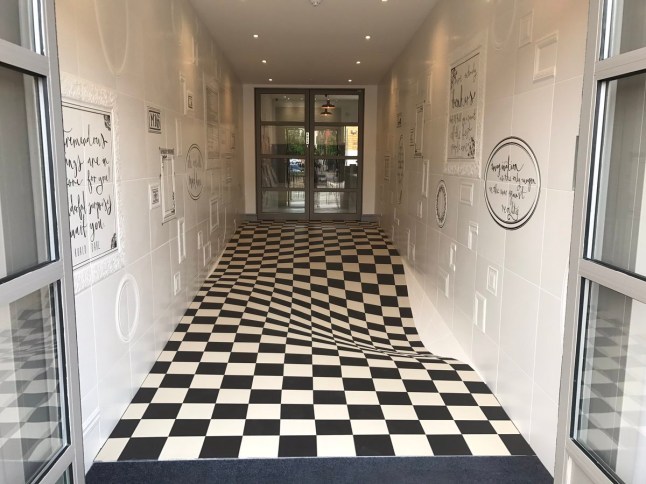
Tile company installs confusing optical illusion floor

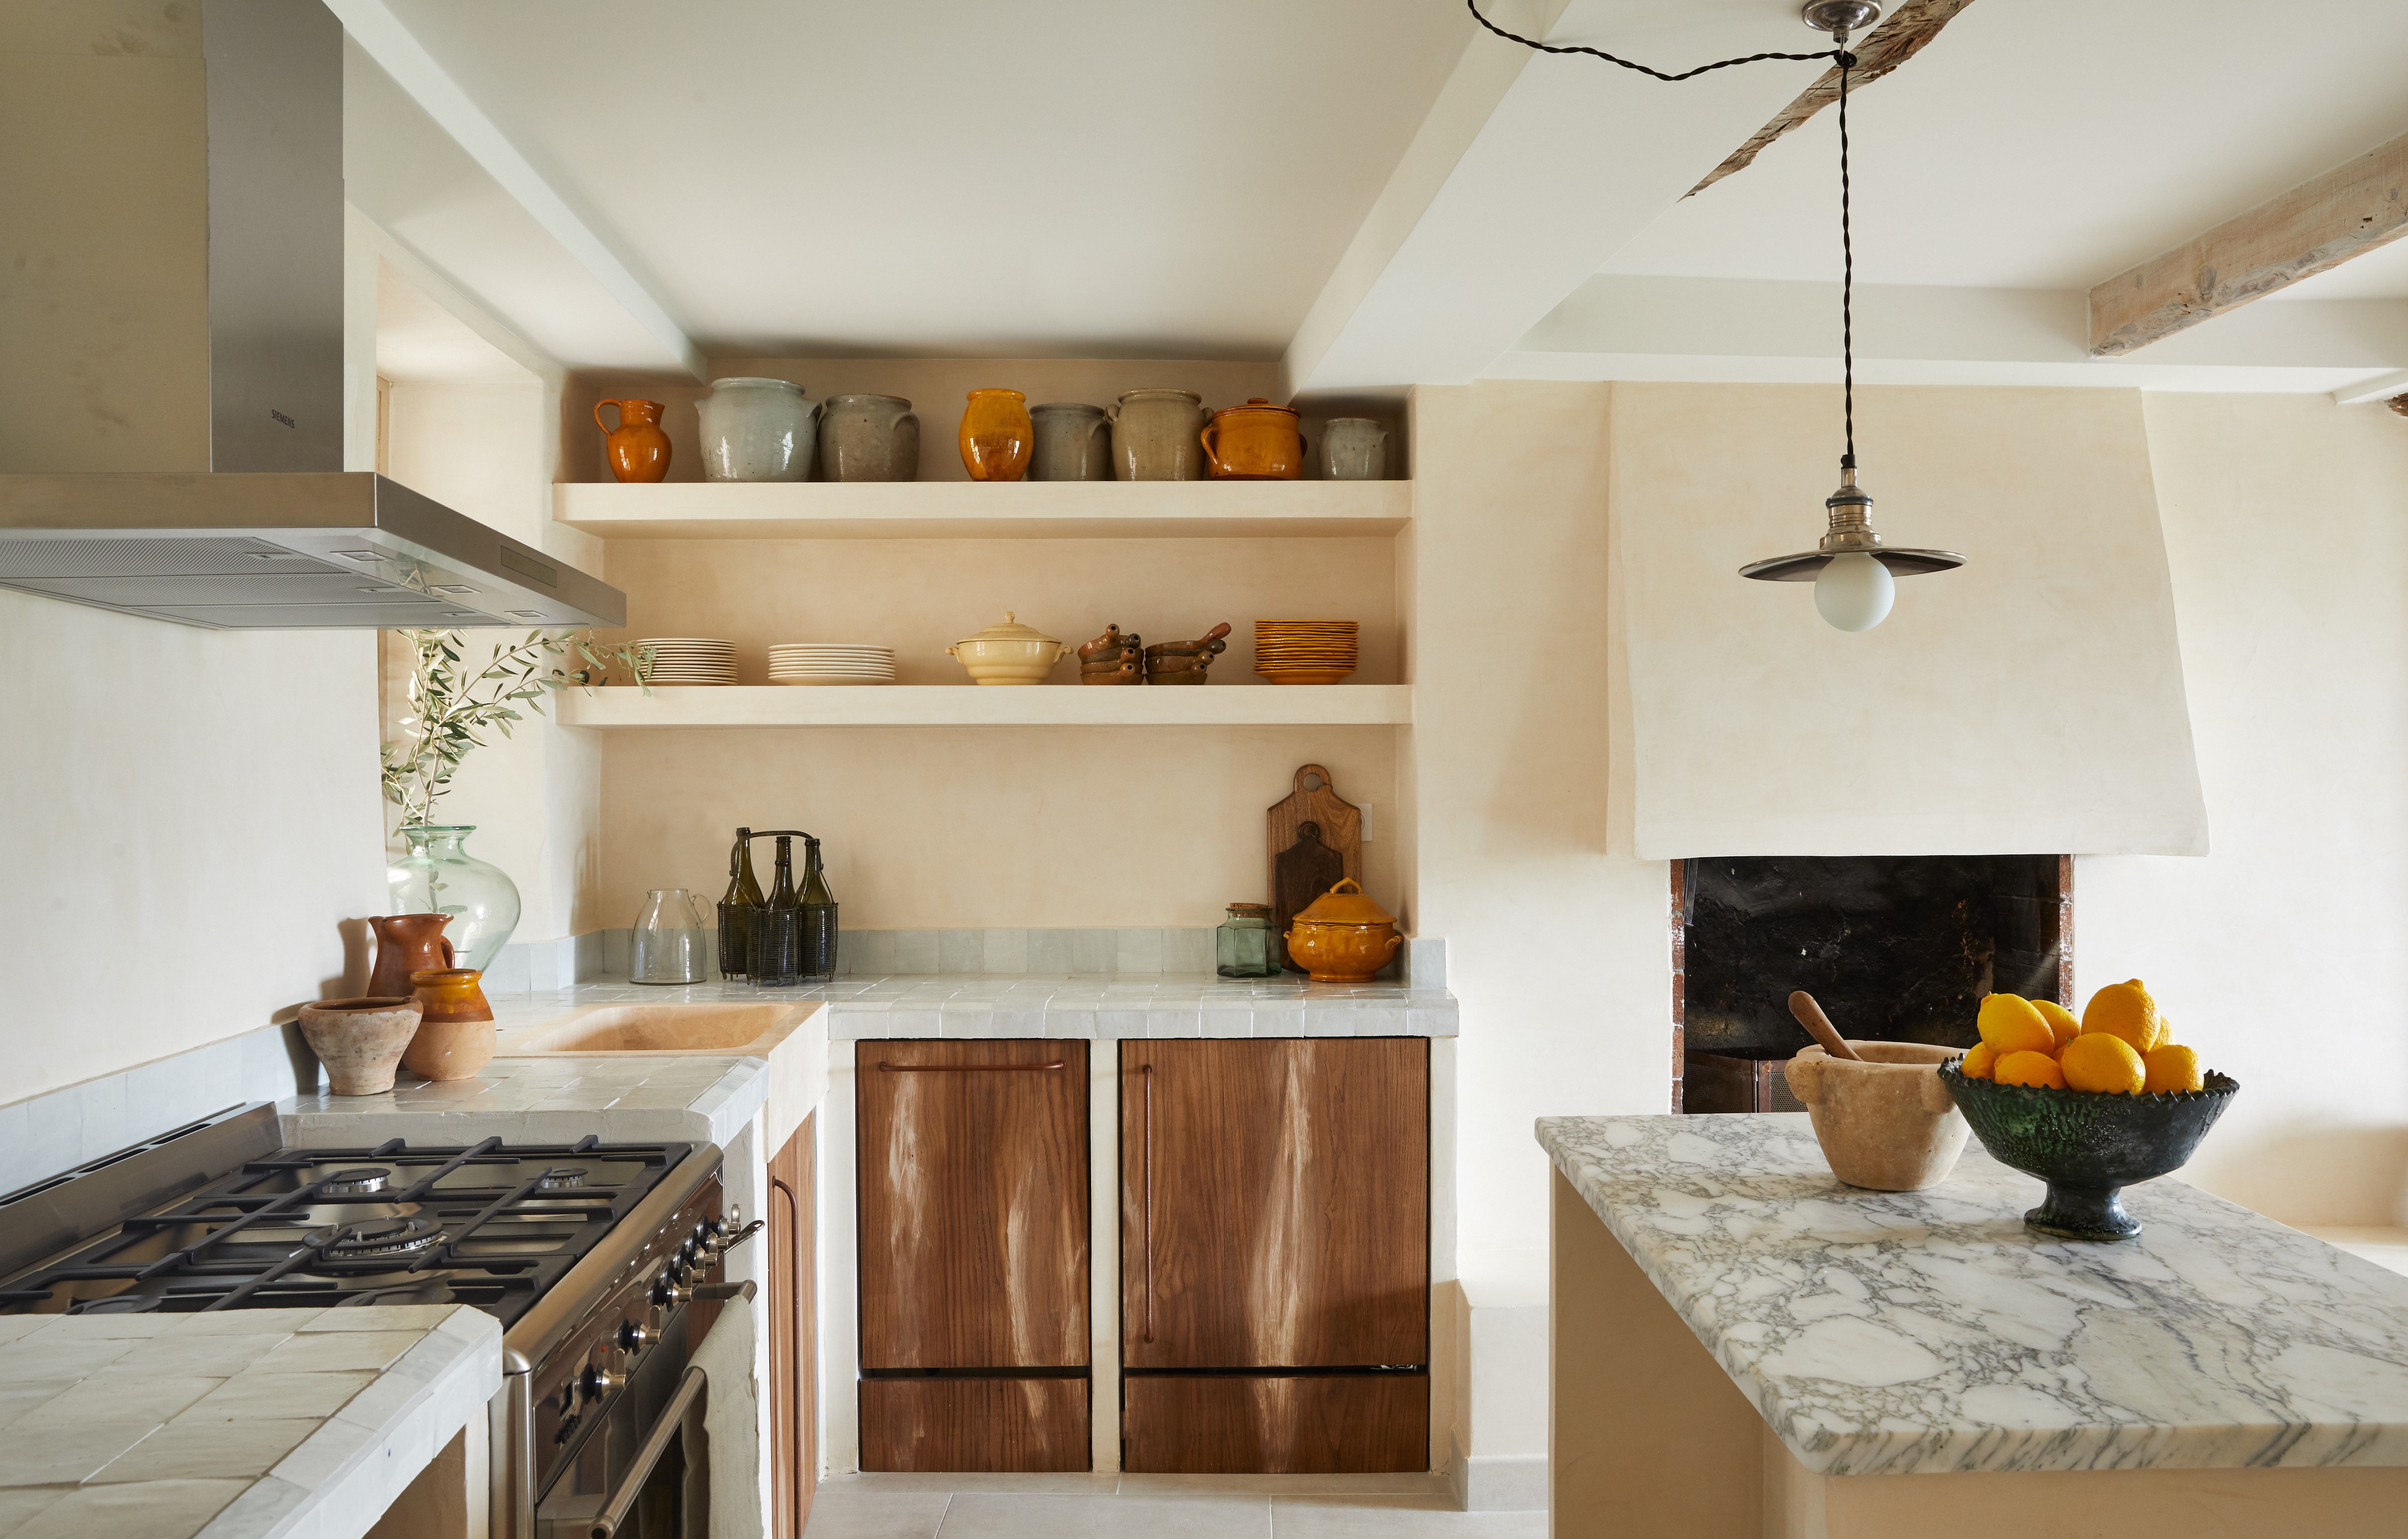
The tile countertop trend is back – but is it a mistake you'll come to regret?

What is Mastik? Why it's the biggest culprit of the major drama on The Block 2025 right now

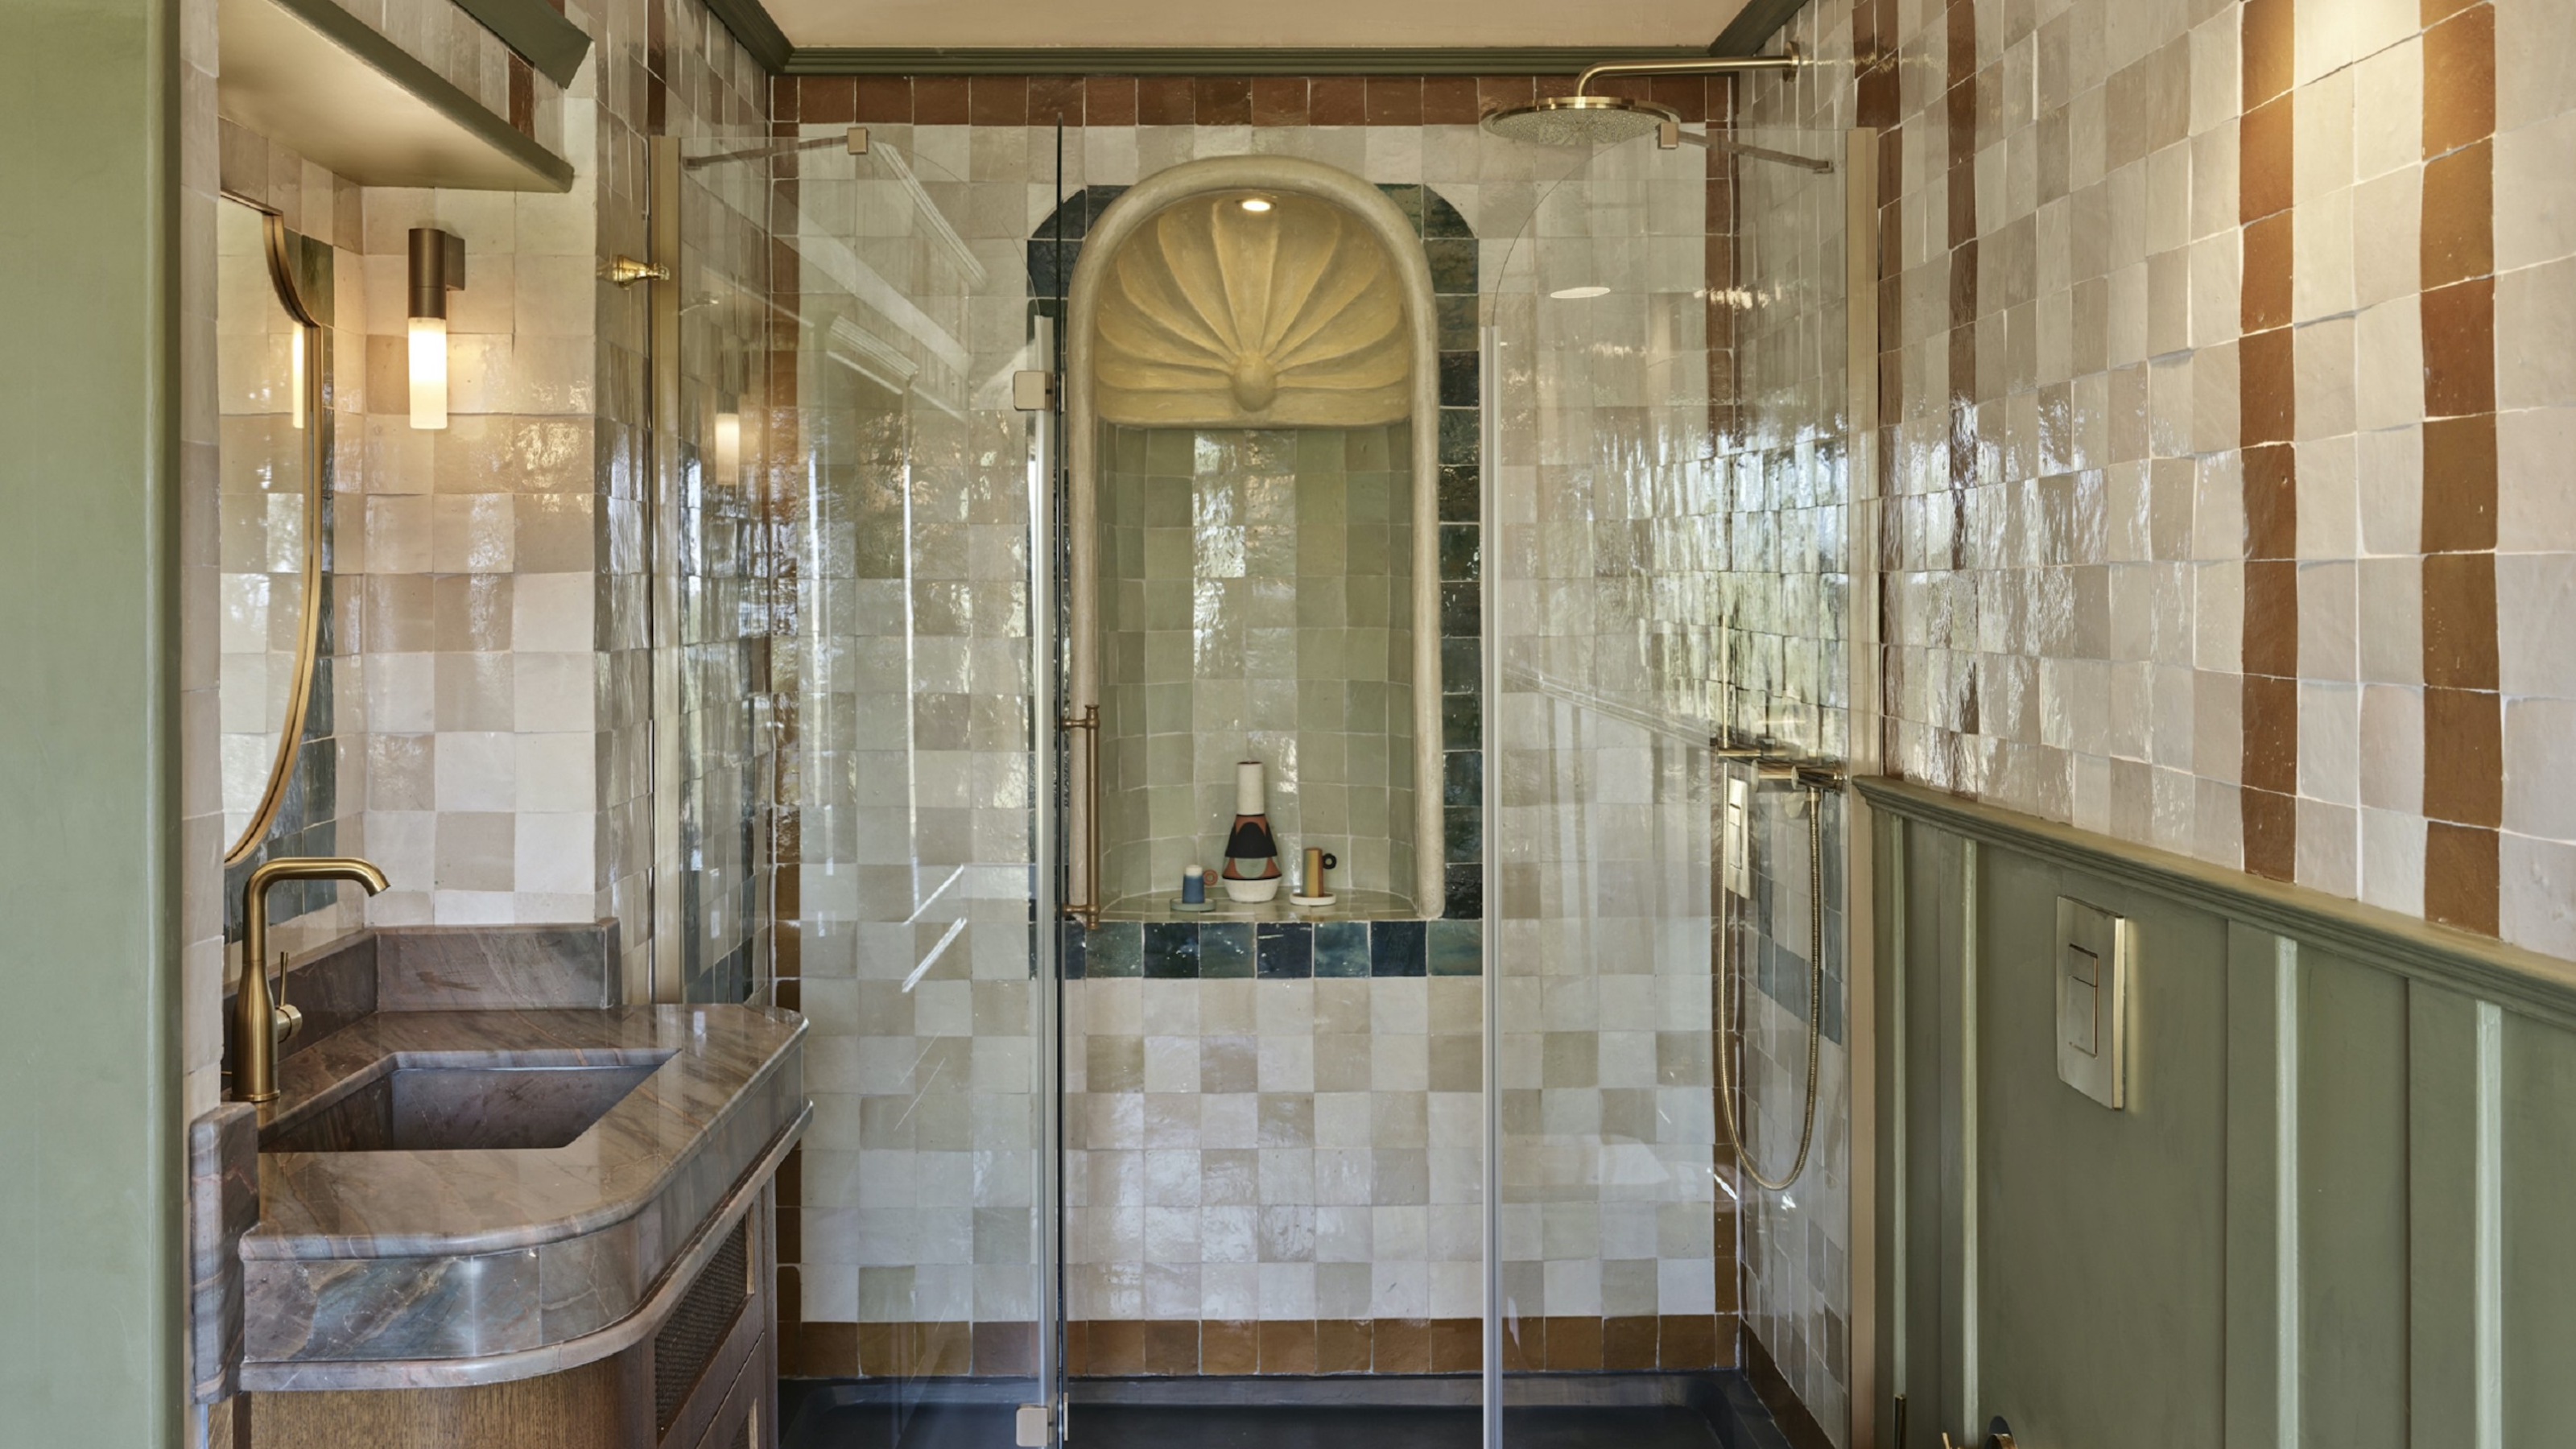
"Your Eye Doesn't Know Where to Land" — Yes, You Can Have Too Much Tile in Your Bathroom, Here's the Rule to Get the Balance Right
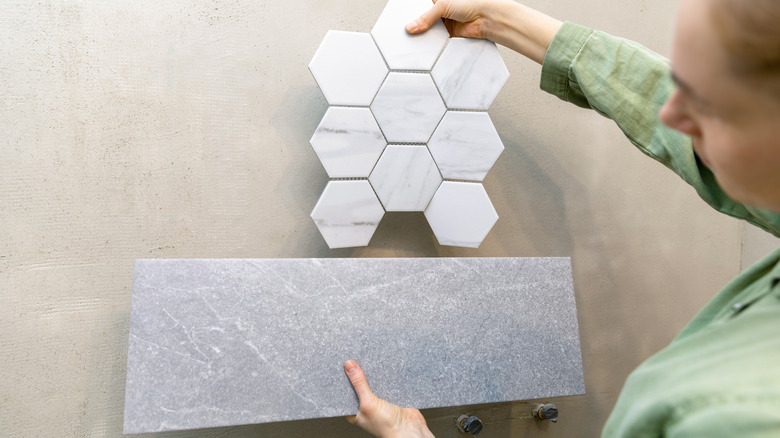
The Popular Tile Choice In 2025 That You Might End Up Regretting Sooner Than You Think