How To Upgrade Light Switch Covers
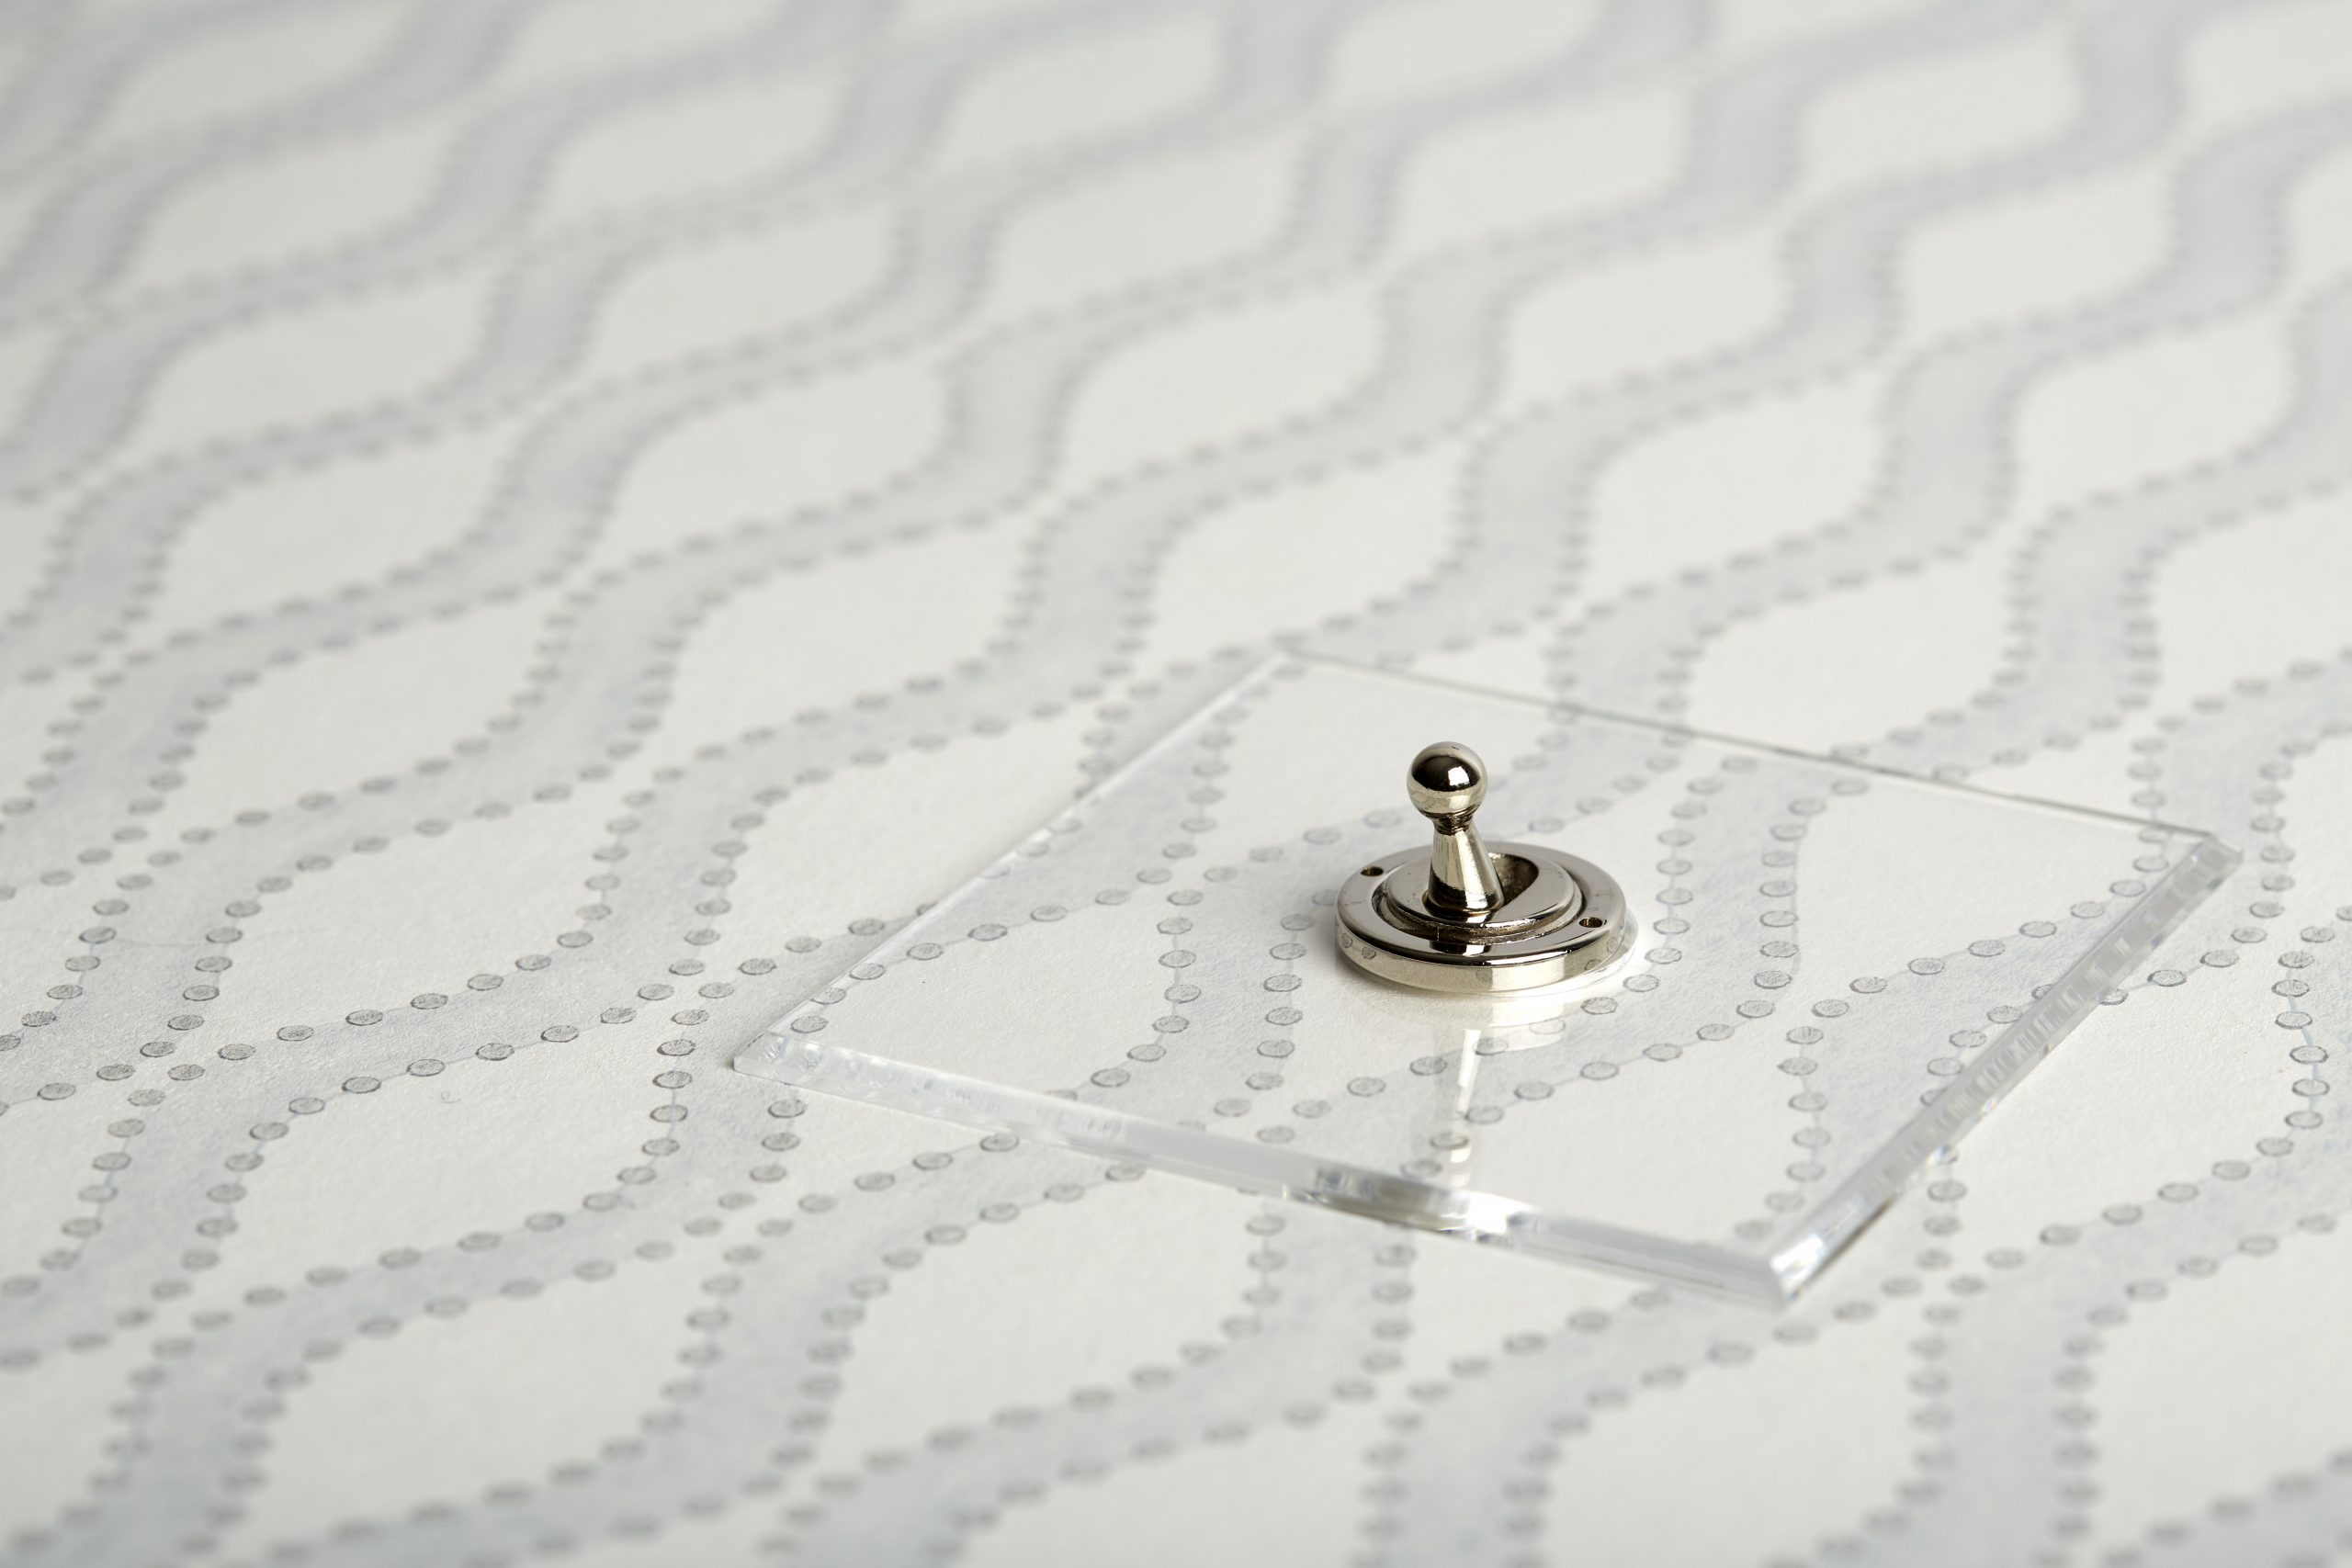
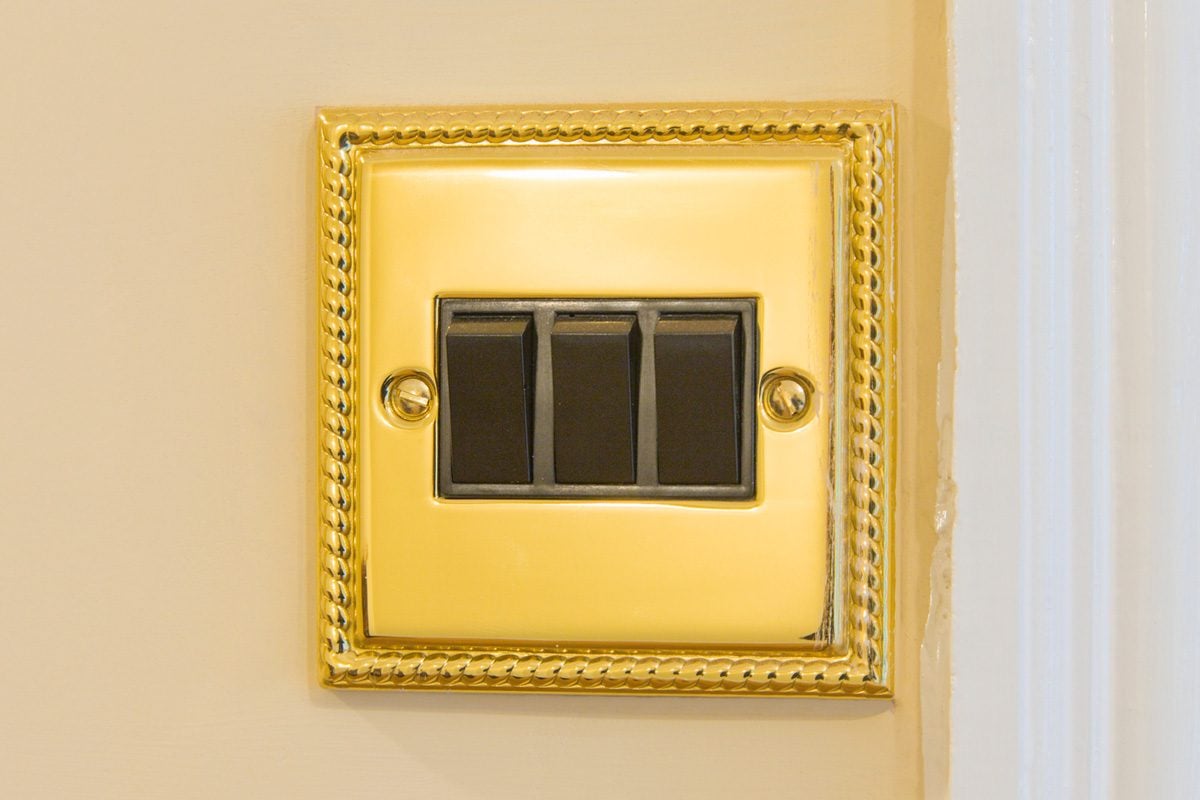
Light switch covers, often overlooked as purely functional elements, can be transformed into significant design features within a home, according to Audrey Scheck, founder and principal designer of Audrey Scheck Design. Upgrading these covers is presented as an easy and affordable method to enhance living spaces, contributing to a room's aesthetic much like jewelry. This simple change allows homeowners to infuse uniqueness and personality into their functional home components.
Beyond aesthetic improvements, replacing switch covers is crucial for safety, especially if existing plates are cracked or damaged. Such damage can expose electrical connections, posing a potential electrical hazard. Therefore, upgrading serves both decorative and safety purposes.
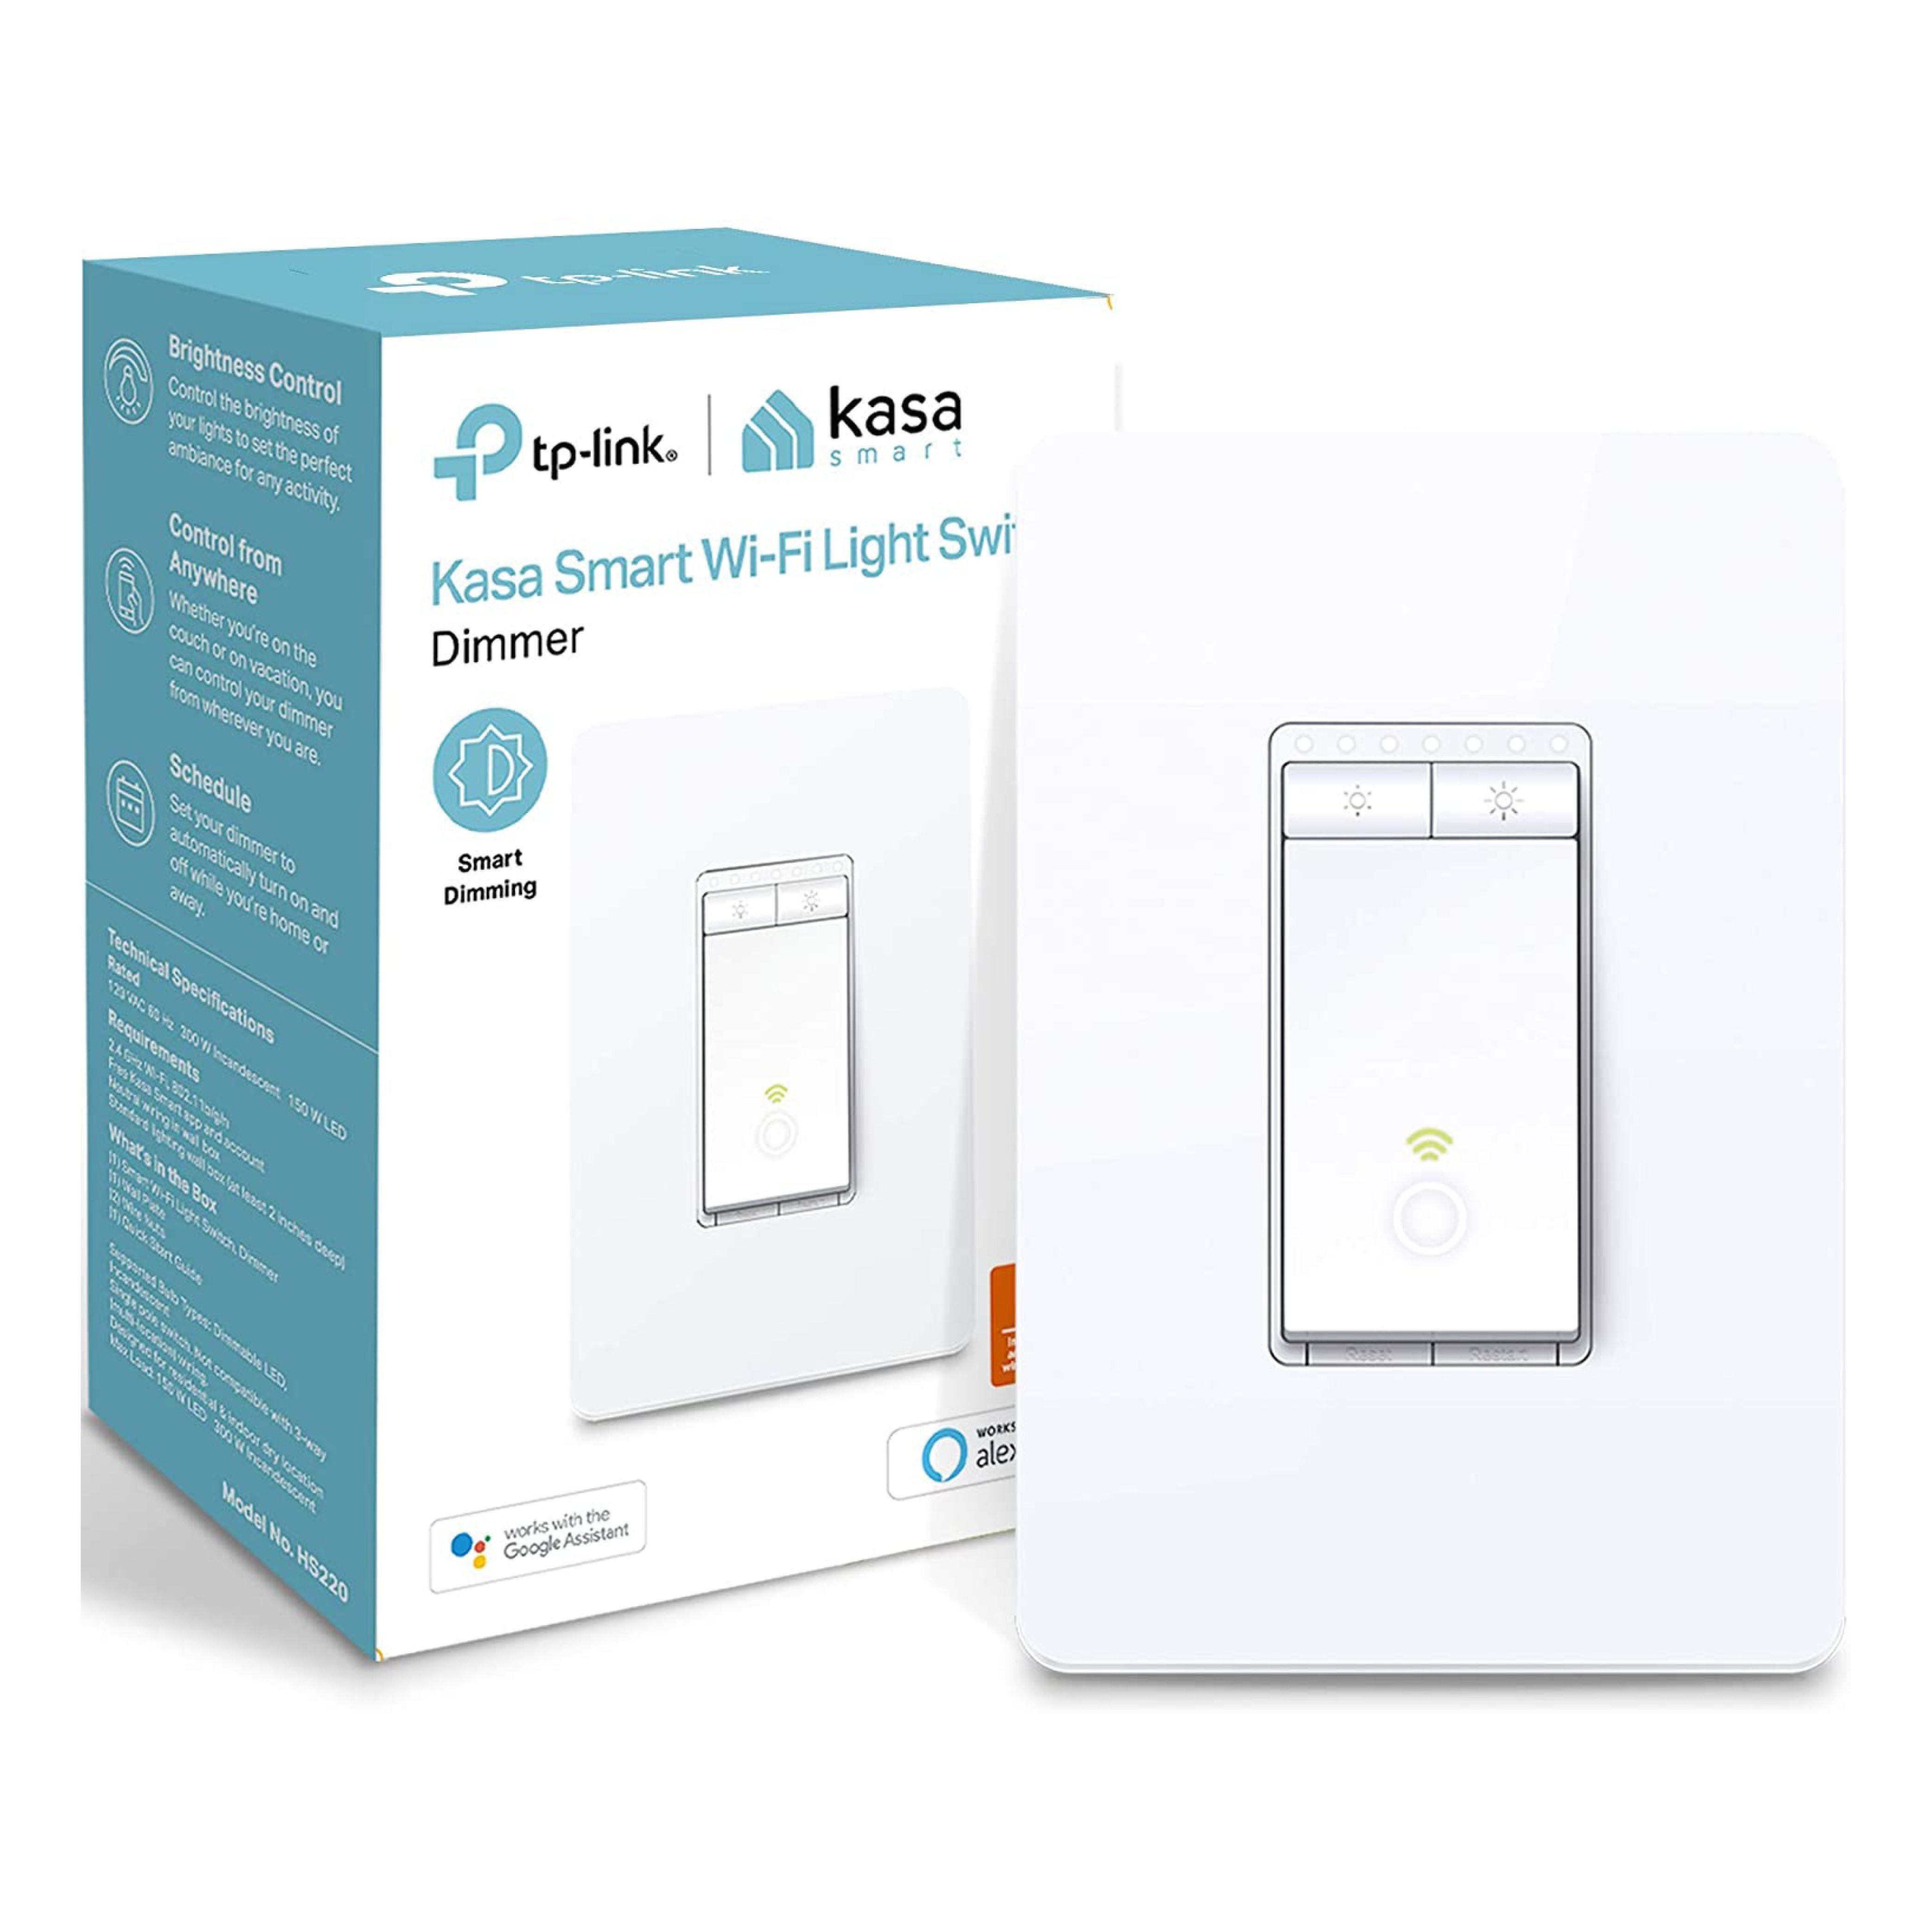
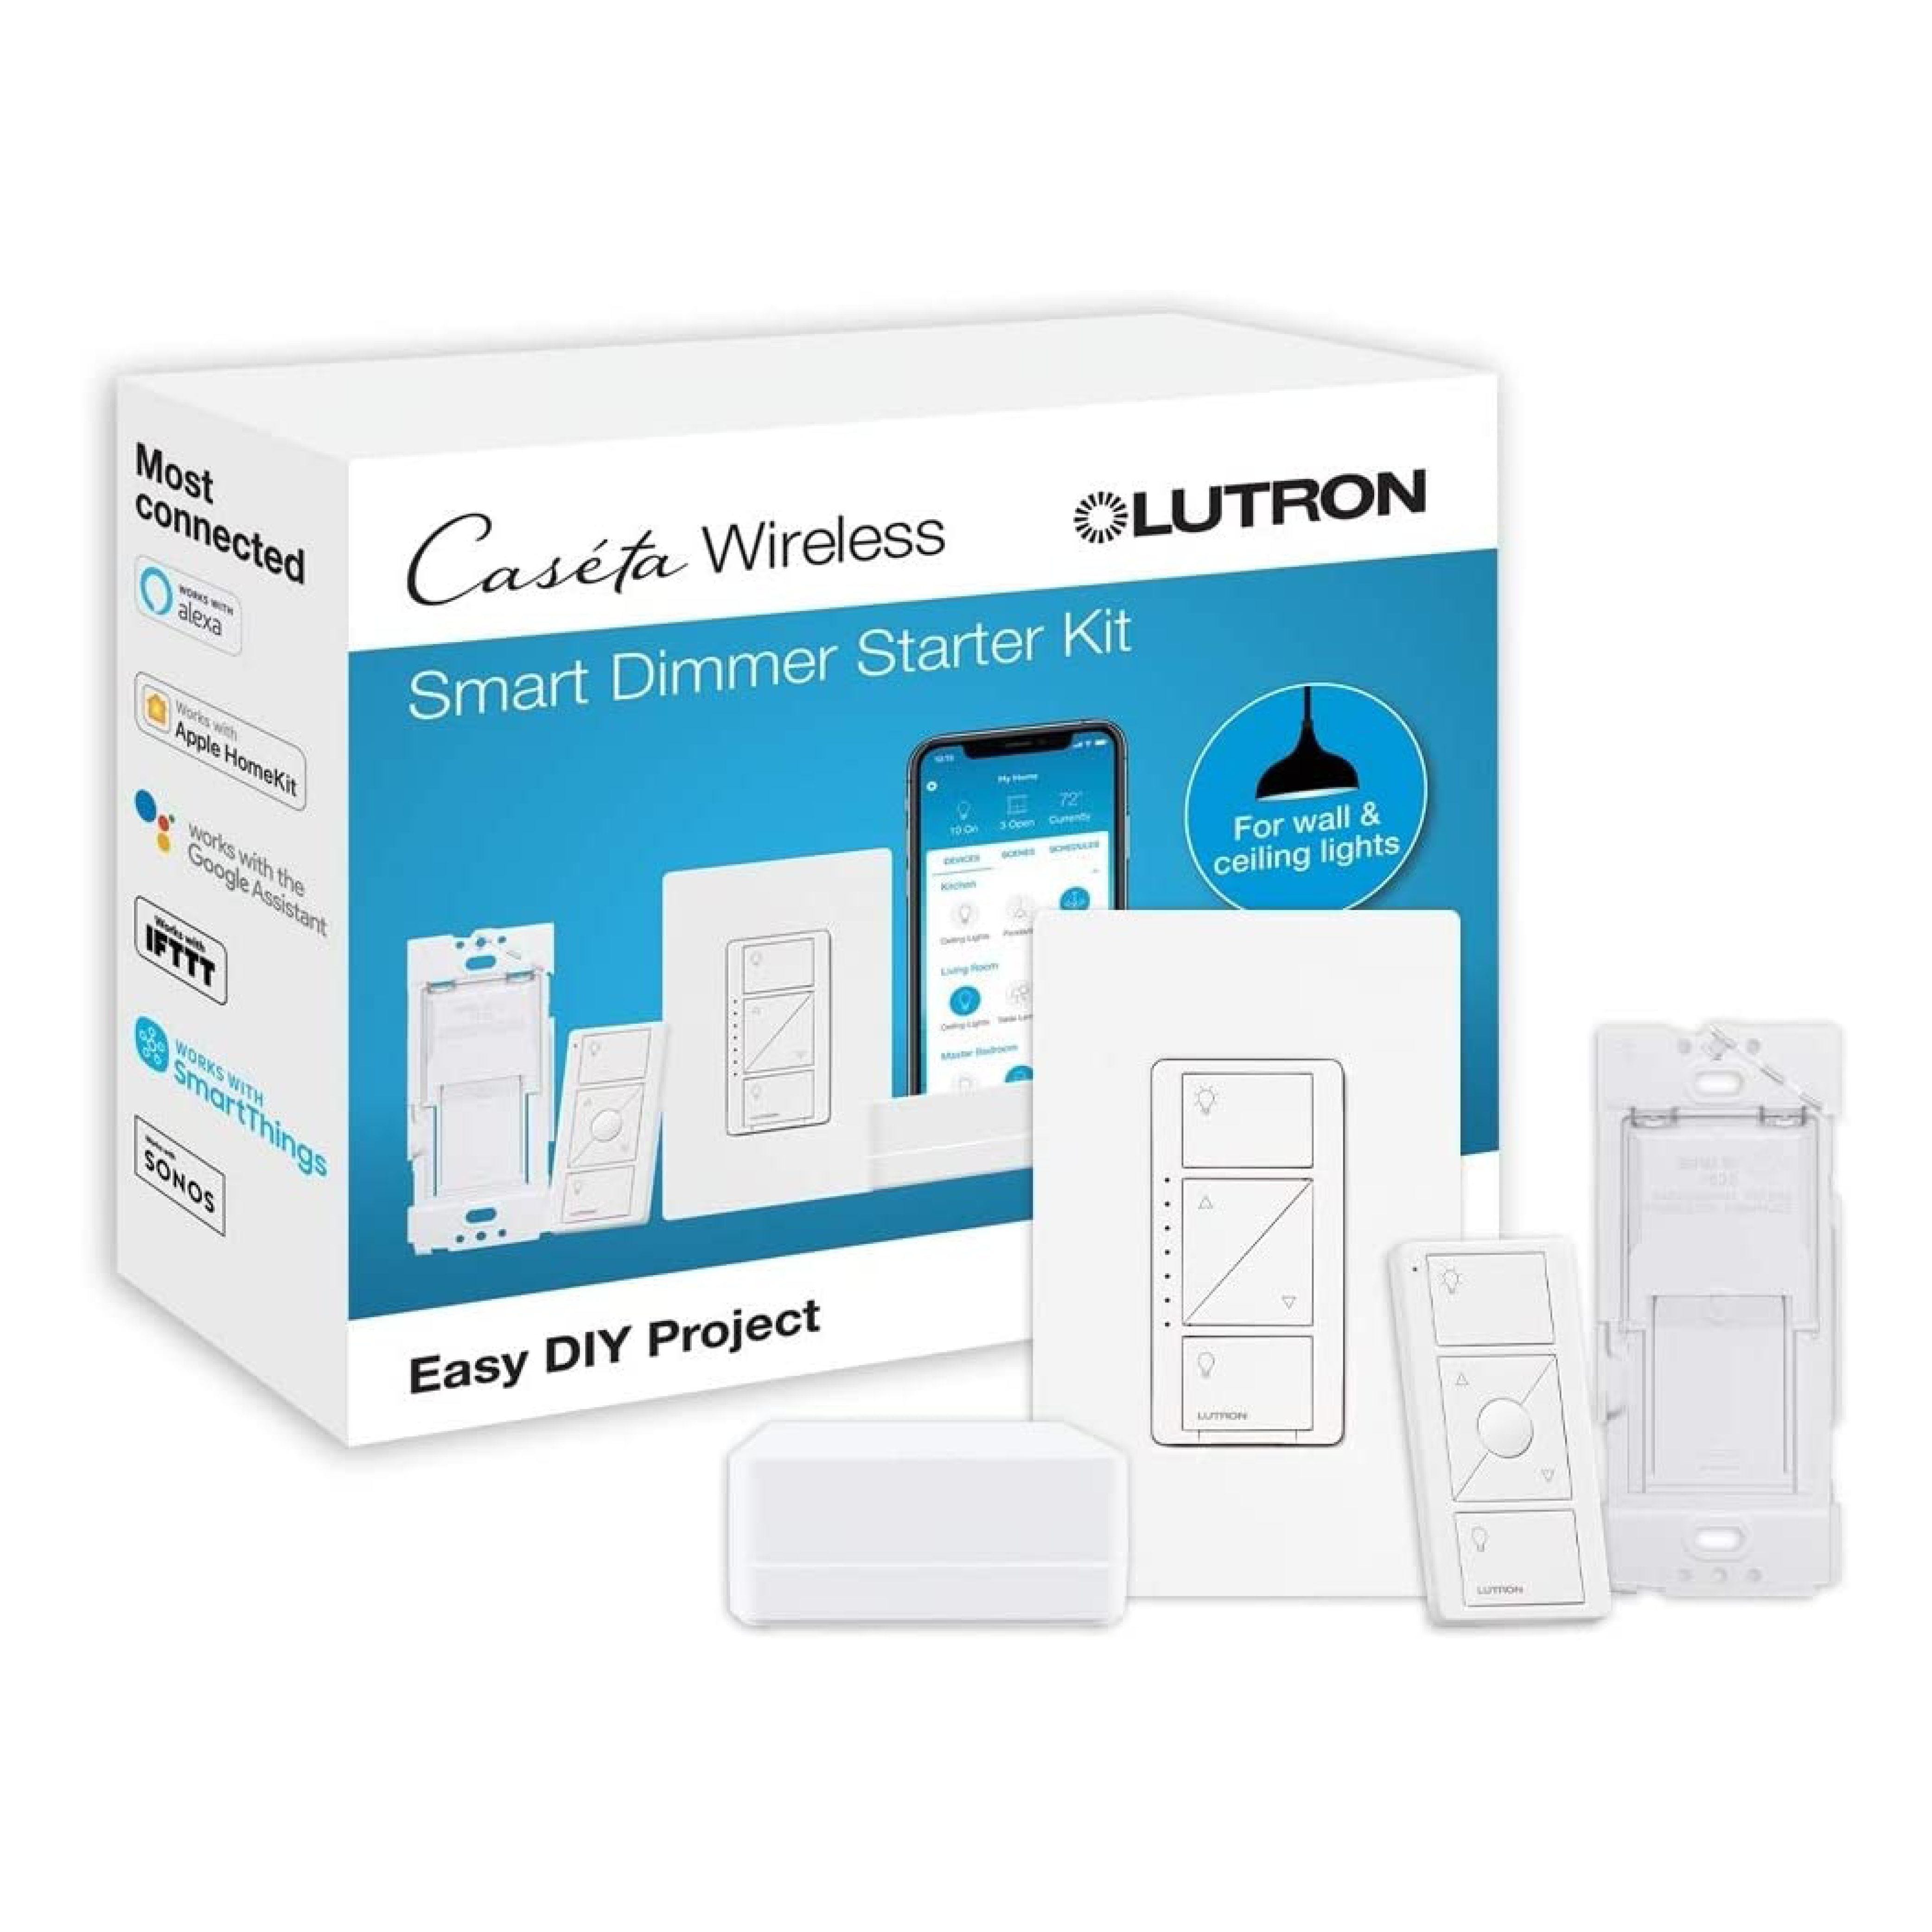
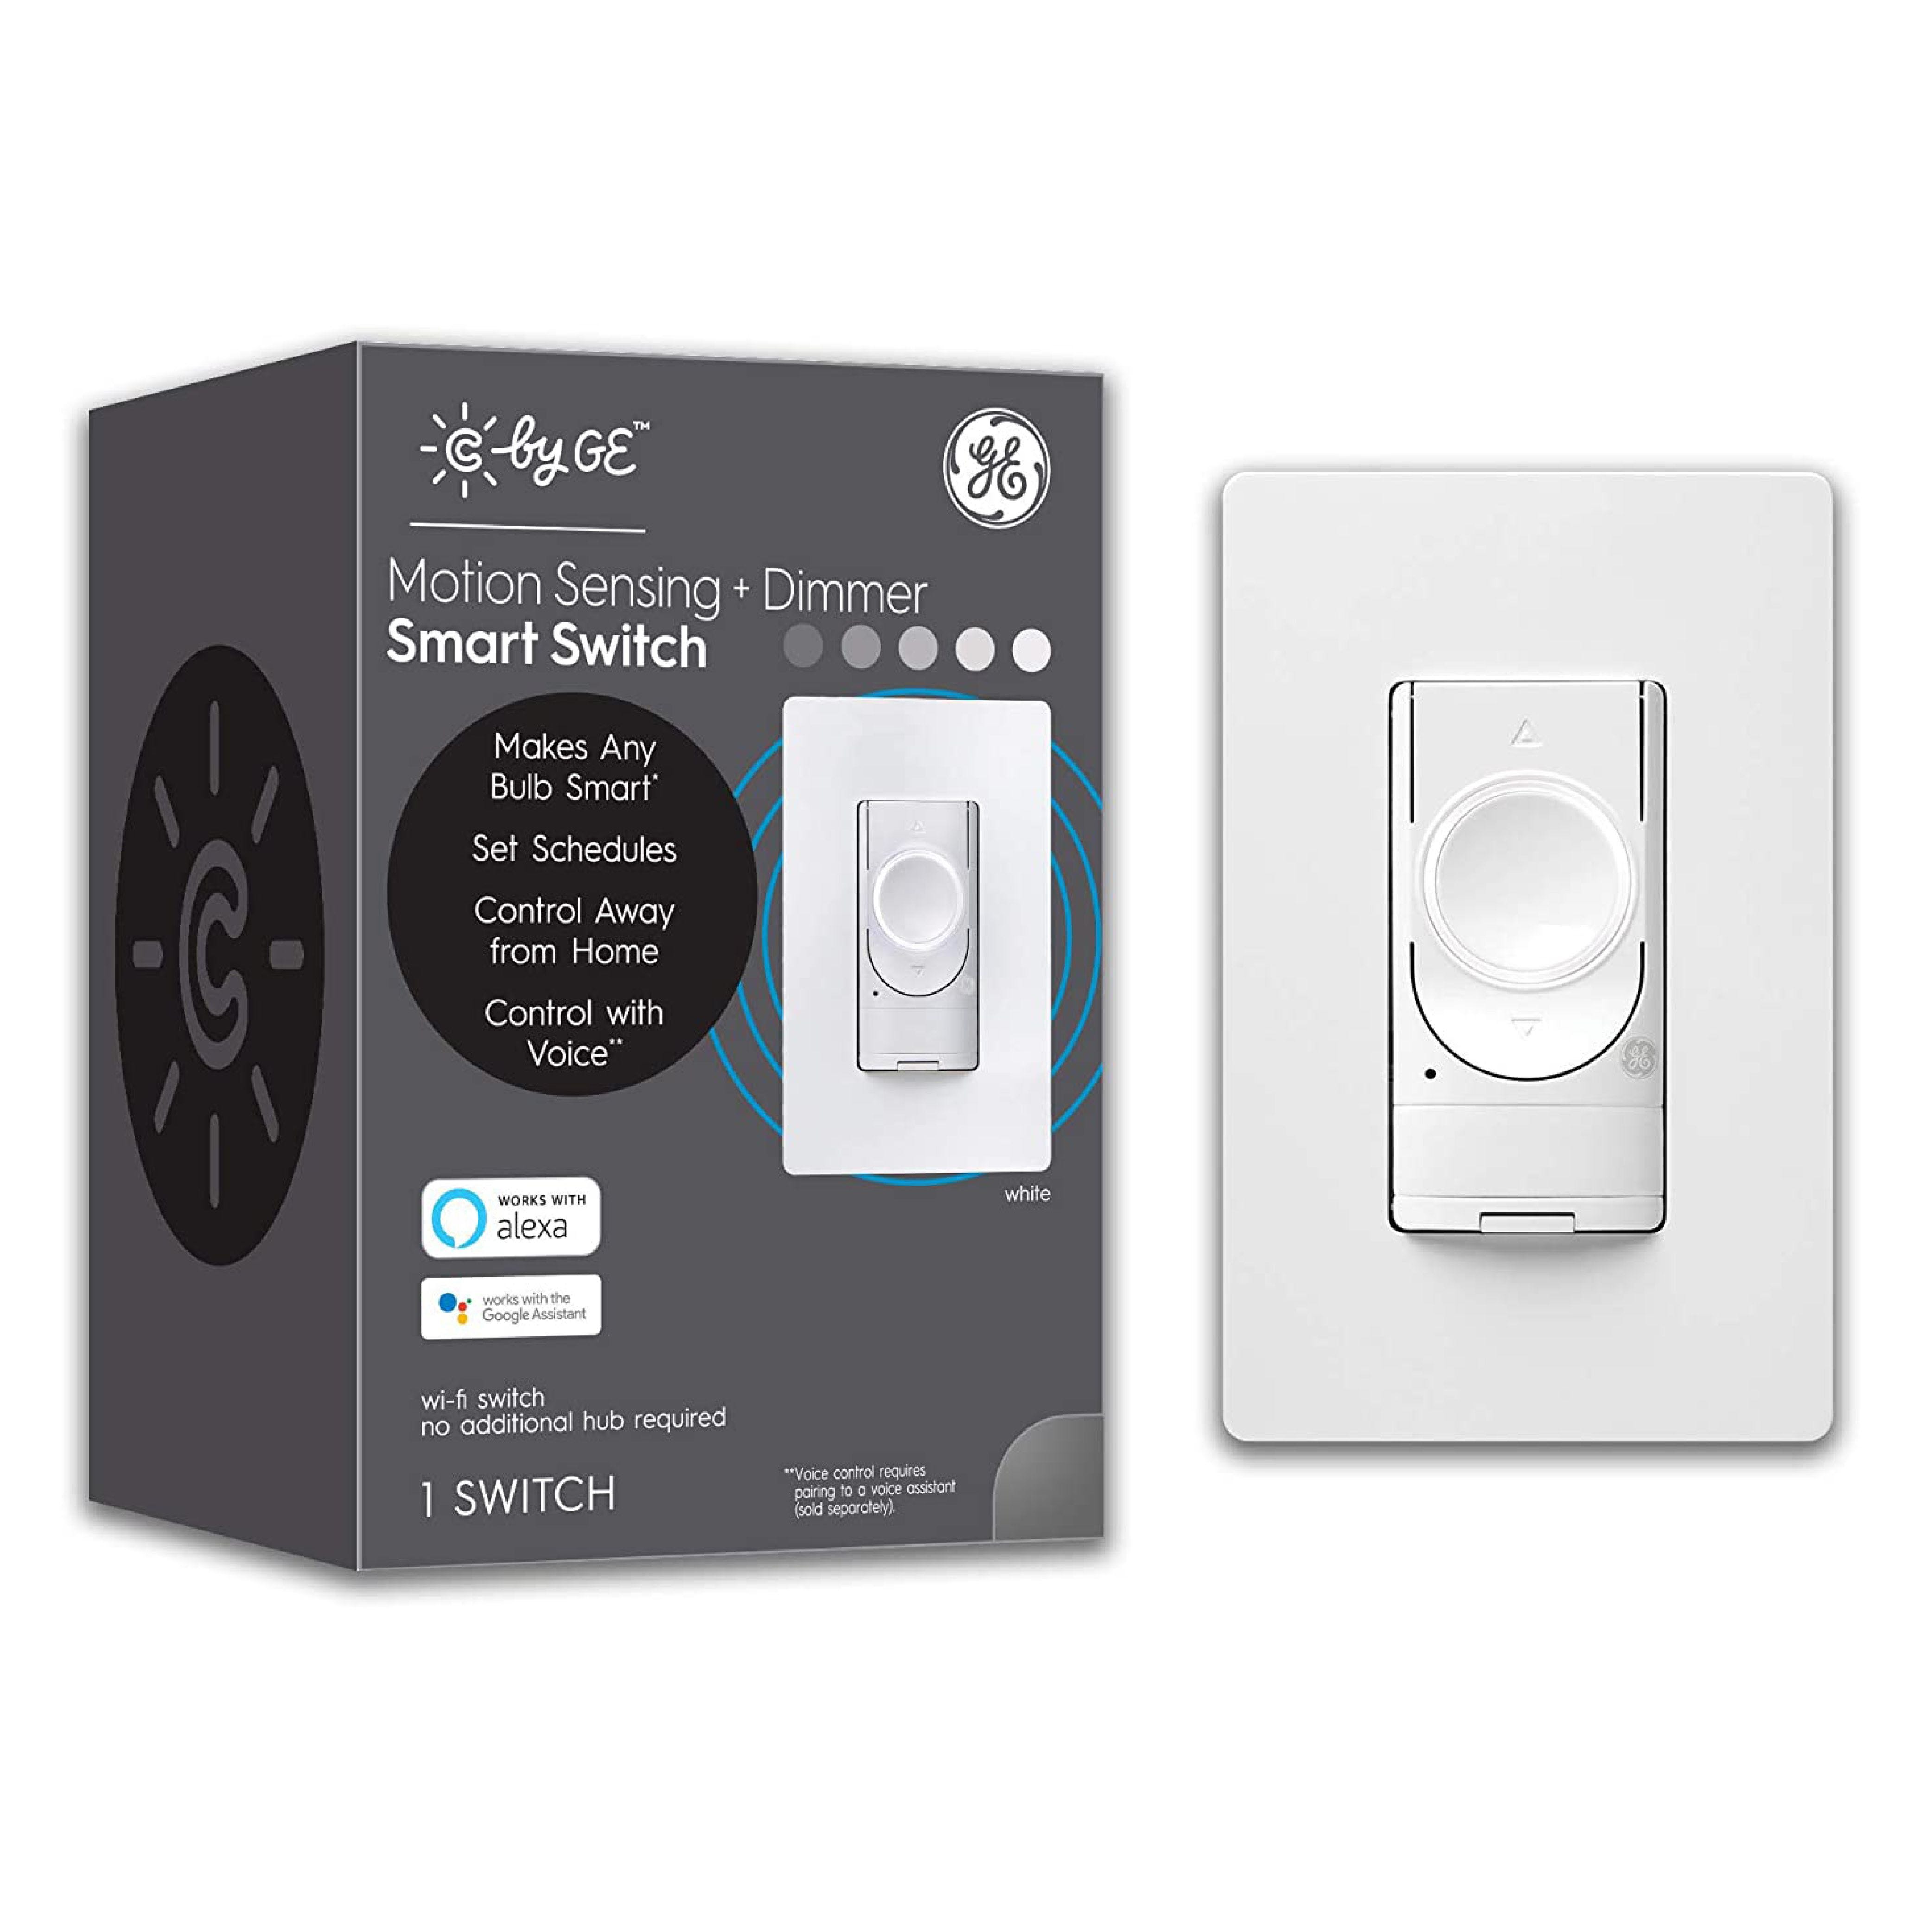
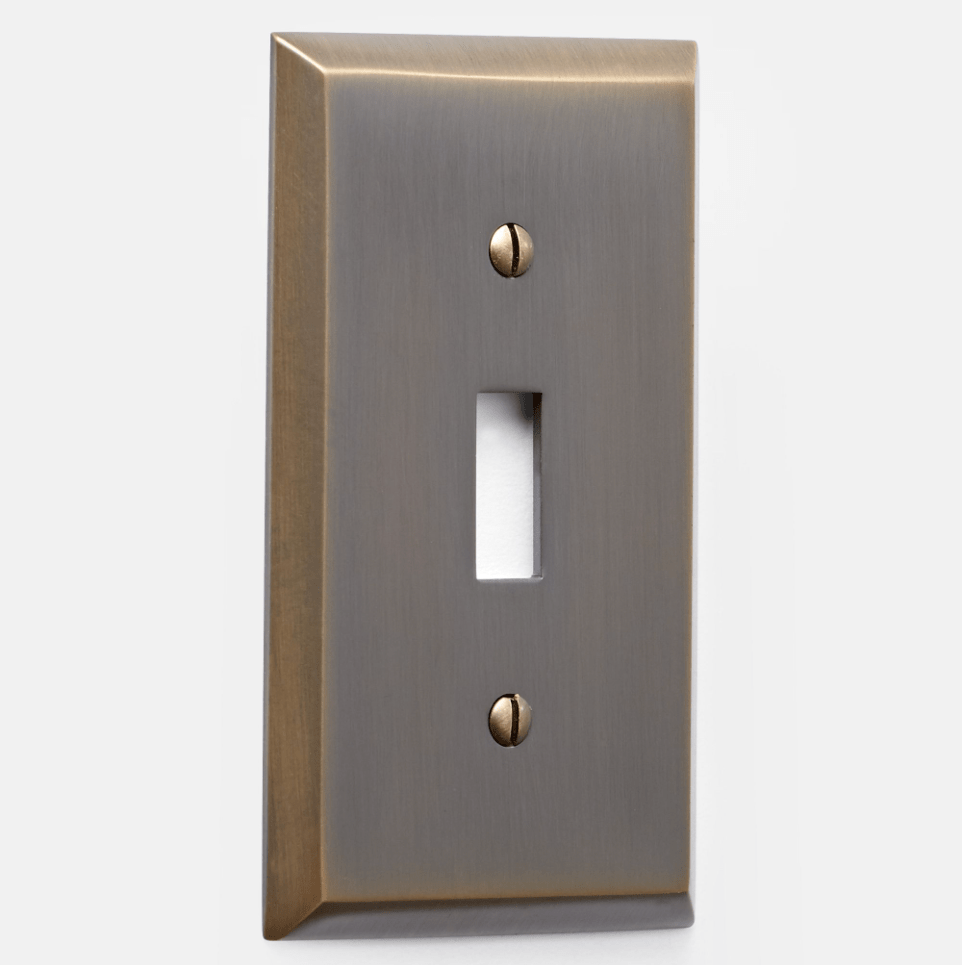
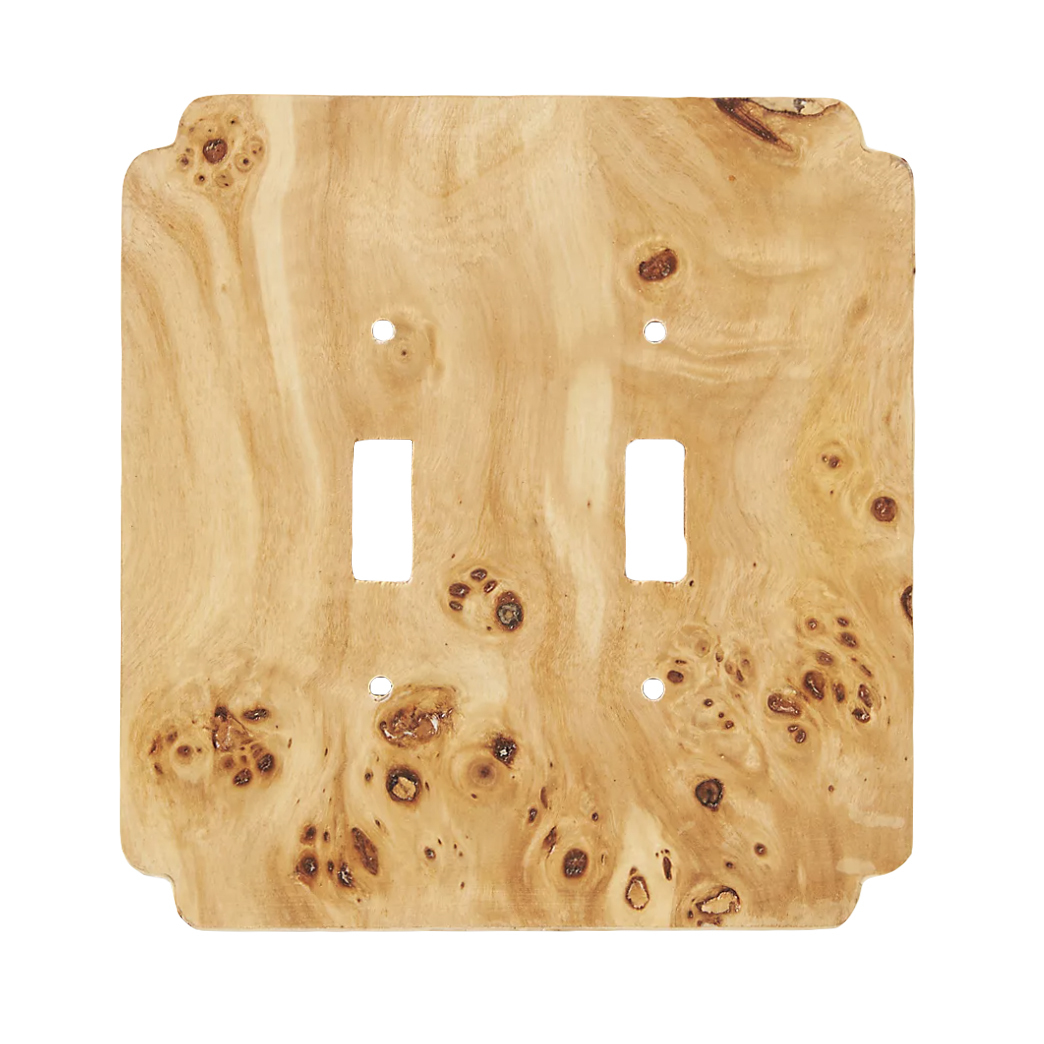
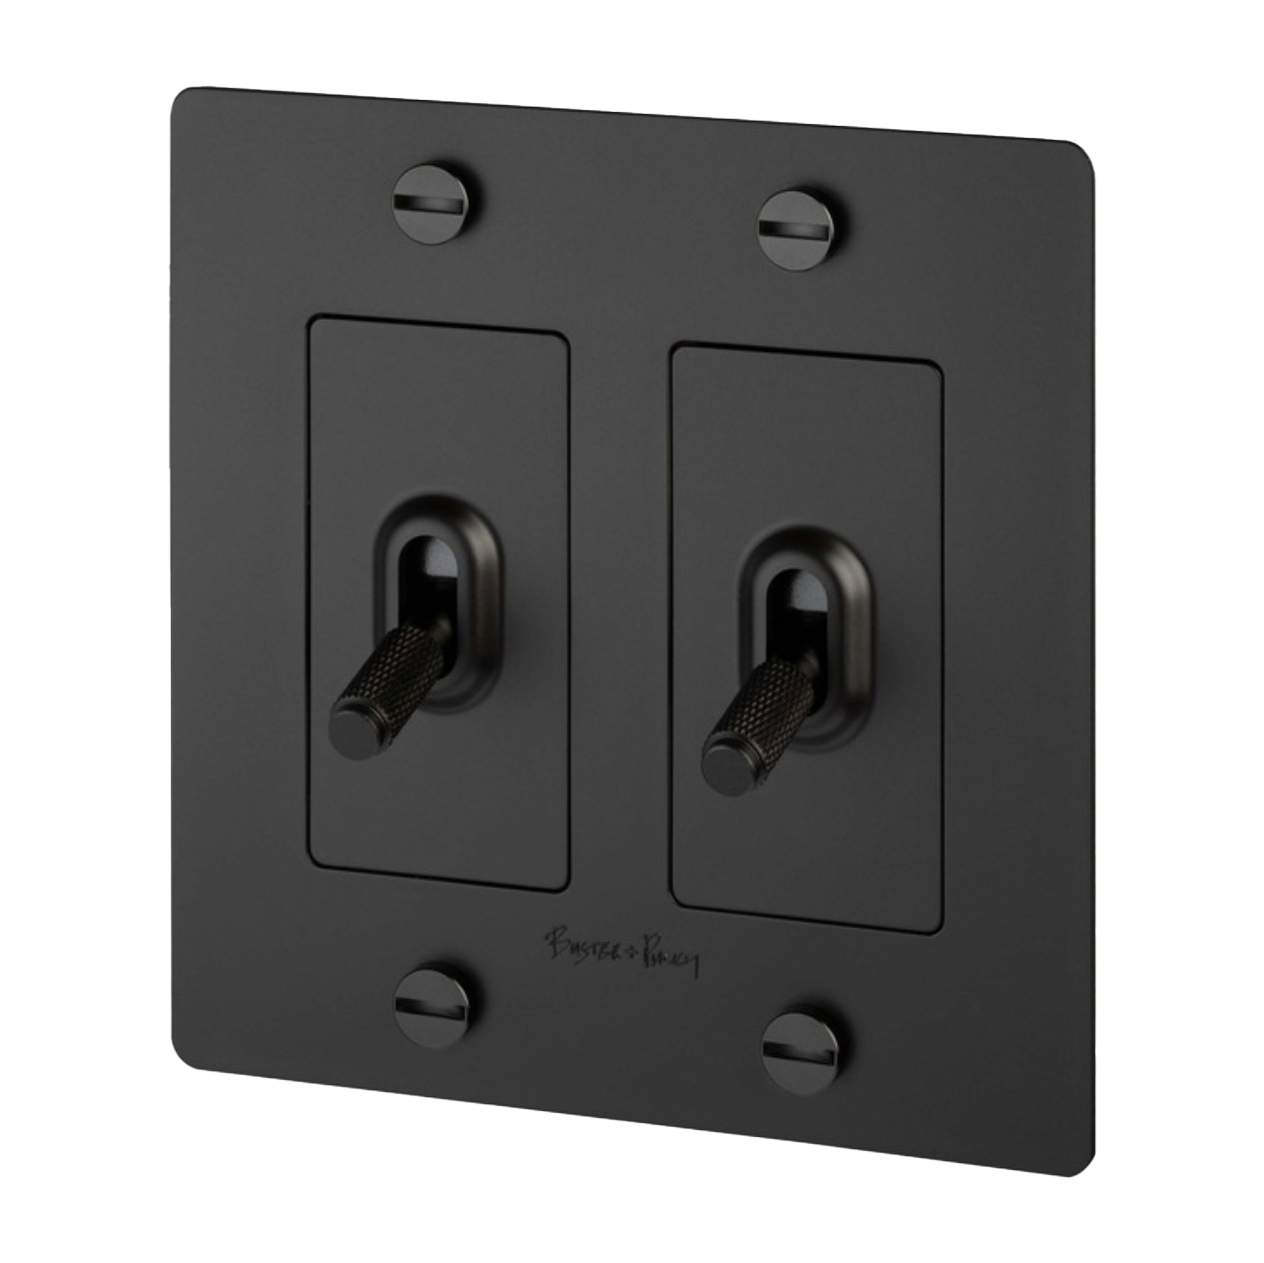
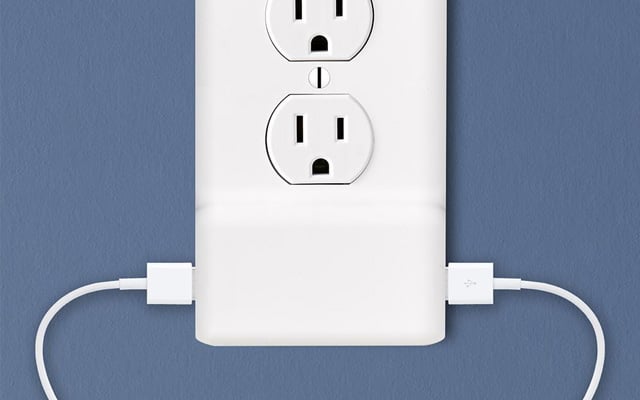
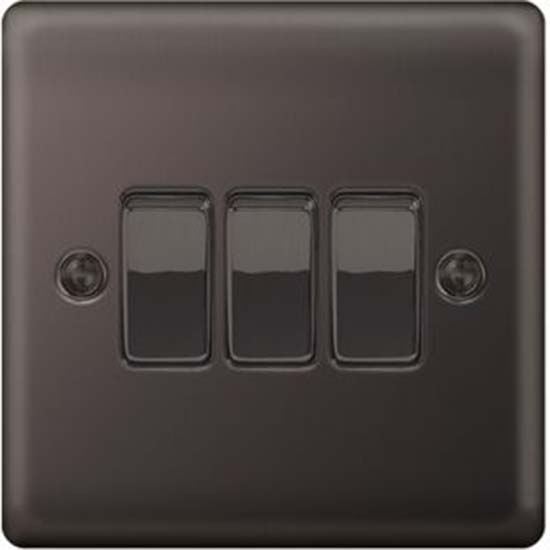
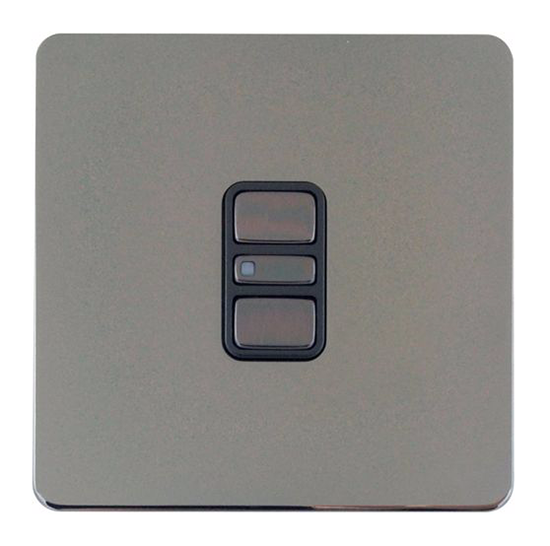
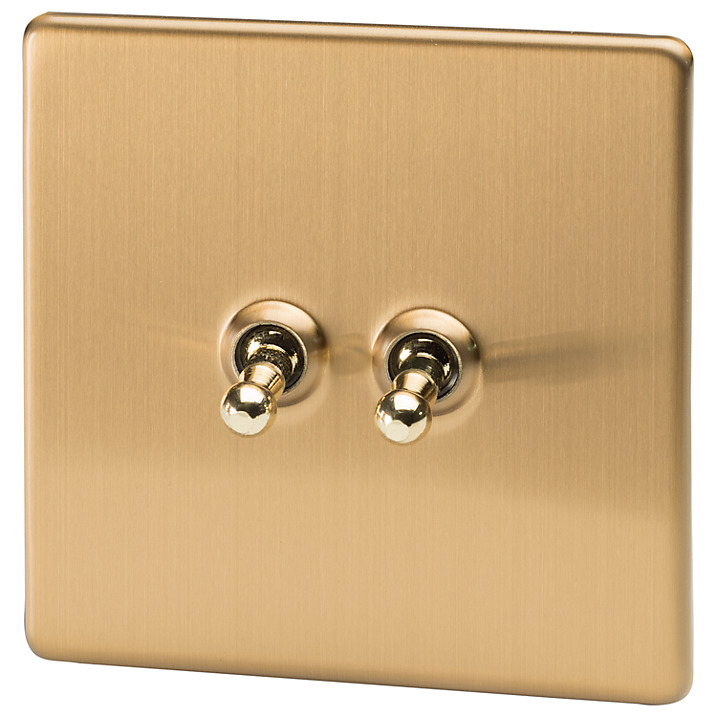
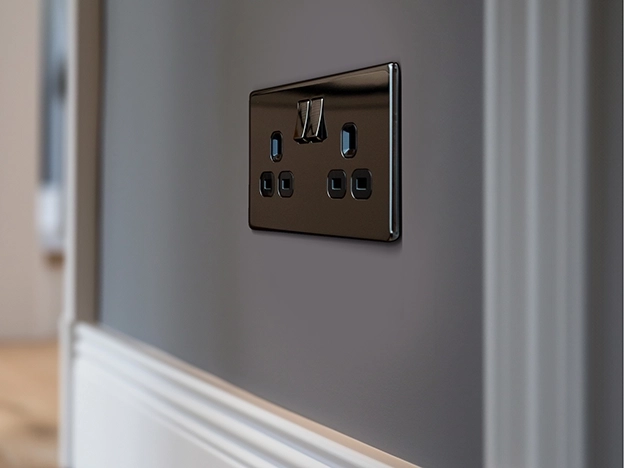
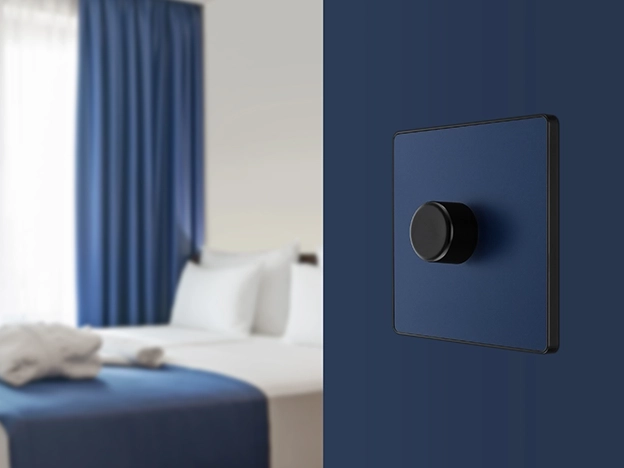
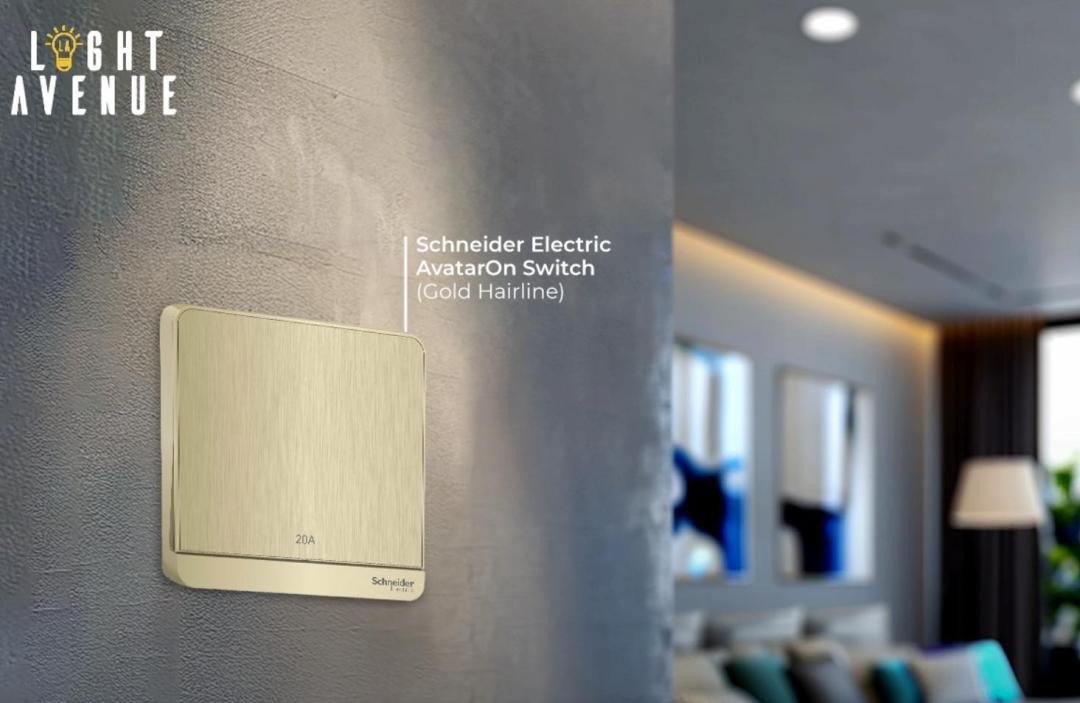
The article highlights that the market for switch plate options extends far beyond traditional plastic covers found in typical home improvement stores. A wide variety of manufacturers now offer beautiful switch plate designs that can complement almost any interior design aesthetic. When choosing new covers, homeowners are advised to consider their wall colors and overall design plan to ensure the new covers act as a charming addition rather than a distraction. Examples include brass or matte black finishes, which can personalize spaces effectively. Additionally, custom options are available, incorporating various functionalities like dimmers, toggles, and other controls to suit specific room needs.
The process of swapping out light switch covers is straightforward and can be completed in minutes. The initial step involves prioritizing the practicality of the switch for the room's function. Following this, the user is instructed to always read the provided instructions and, most critically, to turn off the power at the circuit breaker controlling the light switch to ensure safety. This step is emphasized as crucial, as merely turning off the light does not de-energize the switch itself. A small, flat screwdriver is used to carefully remove the existing switch plate and collect any tiny screws. For screwless-style plates, the external cover is popped off before unscrewing the base plate.
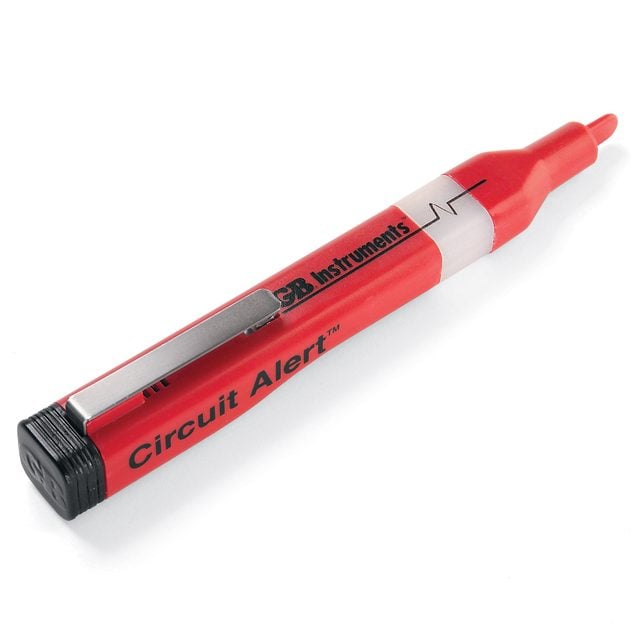
Before proceeding, it is vital to verify that the power is off using a non-contact voltage tester. While direct contact with the circuit might not be necessary if only replacing the cover, this safety check is important in case of accidental slips with tools. The new cover plate is then aligned with the switch, and its screws are inserted. When tightening the screws, a torpedo level can be used for precise placement, or the alignment can be eyeballed, ensuring not to overtighten to prevent cracking the plate. If using a metal level on painted walls, wrapping it with electrical tape is recommended to avoid marks. Finally, any snap-on finish plates are attached, and visible screw slots are aligned neatly, typically vertically, for a polished appearance.
Audrey Scheck, the expert featured in the article, is an interior designer based in Austin, Texas, known for her diverse residential and commercial projects across the country. Her insights underscore the impact of seemingly small details, such as switch covers, on a home's overall design and functionality.
#HomeImprovement #InteriorDesign #LightSwitchCovers #DIYHomeProjects #ElectricalSafety #HomeDecor #SmartHome #HomeImprovement #InteriorDesign #LightSwitchCovers #DIYHomeProjects #ElectricalSafety #HomeDecor #SmartHome
0 comment in total
 No comments yet
You may also like
Upgrade Your Lighting With These Smart Light Switches

How to Change a Light Fixture

Fall into smarter lighting
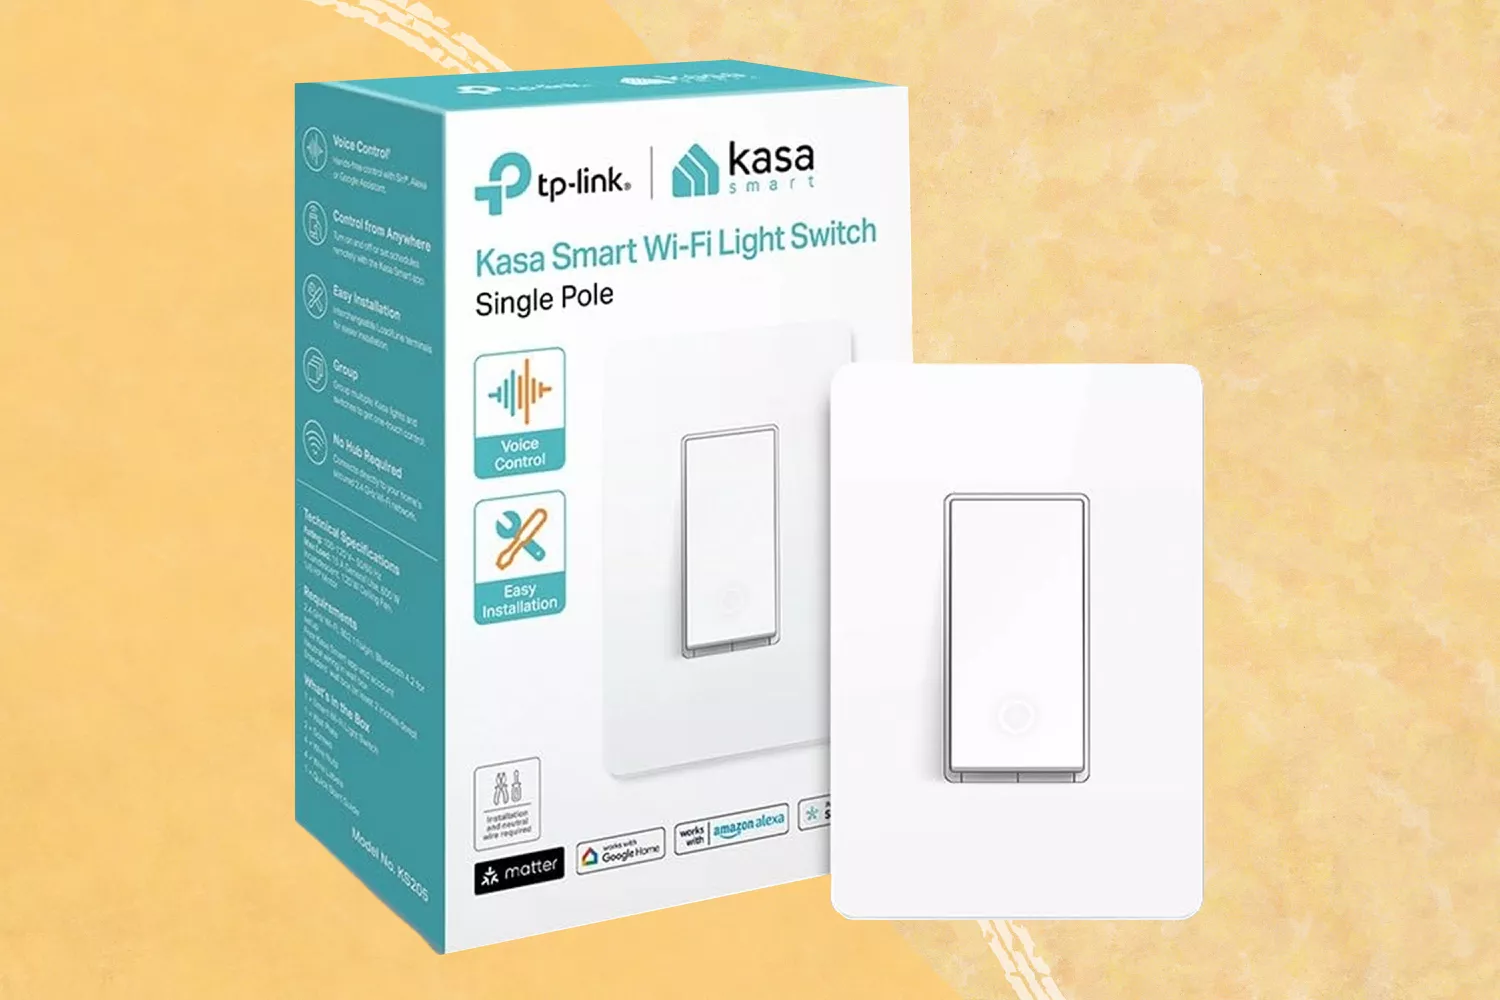
Our Favorite Smart Switches Add Convenient Hands-Free Controls to Any Light

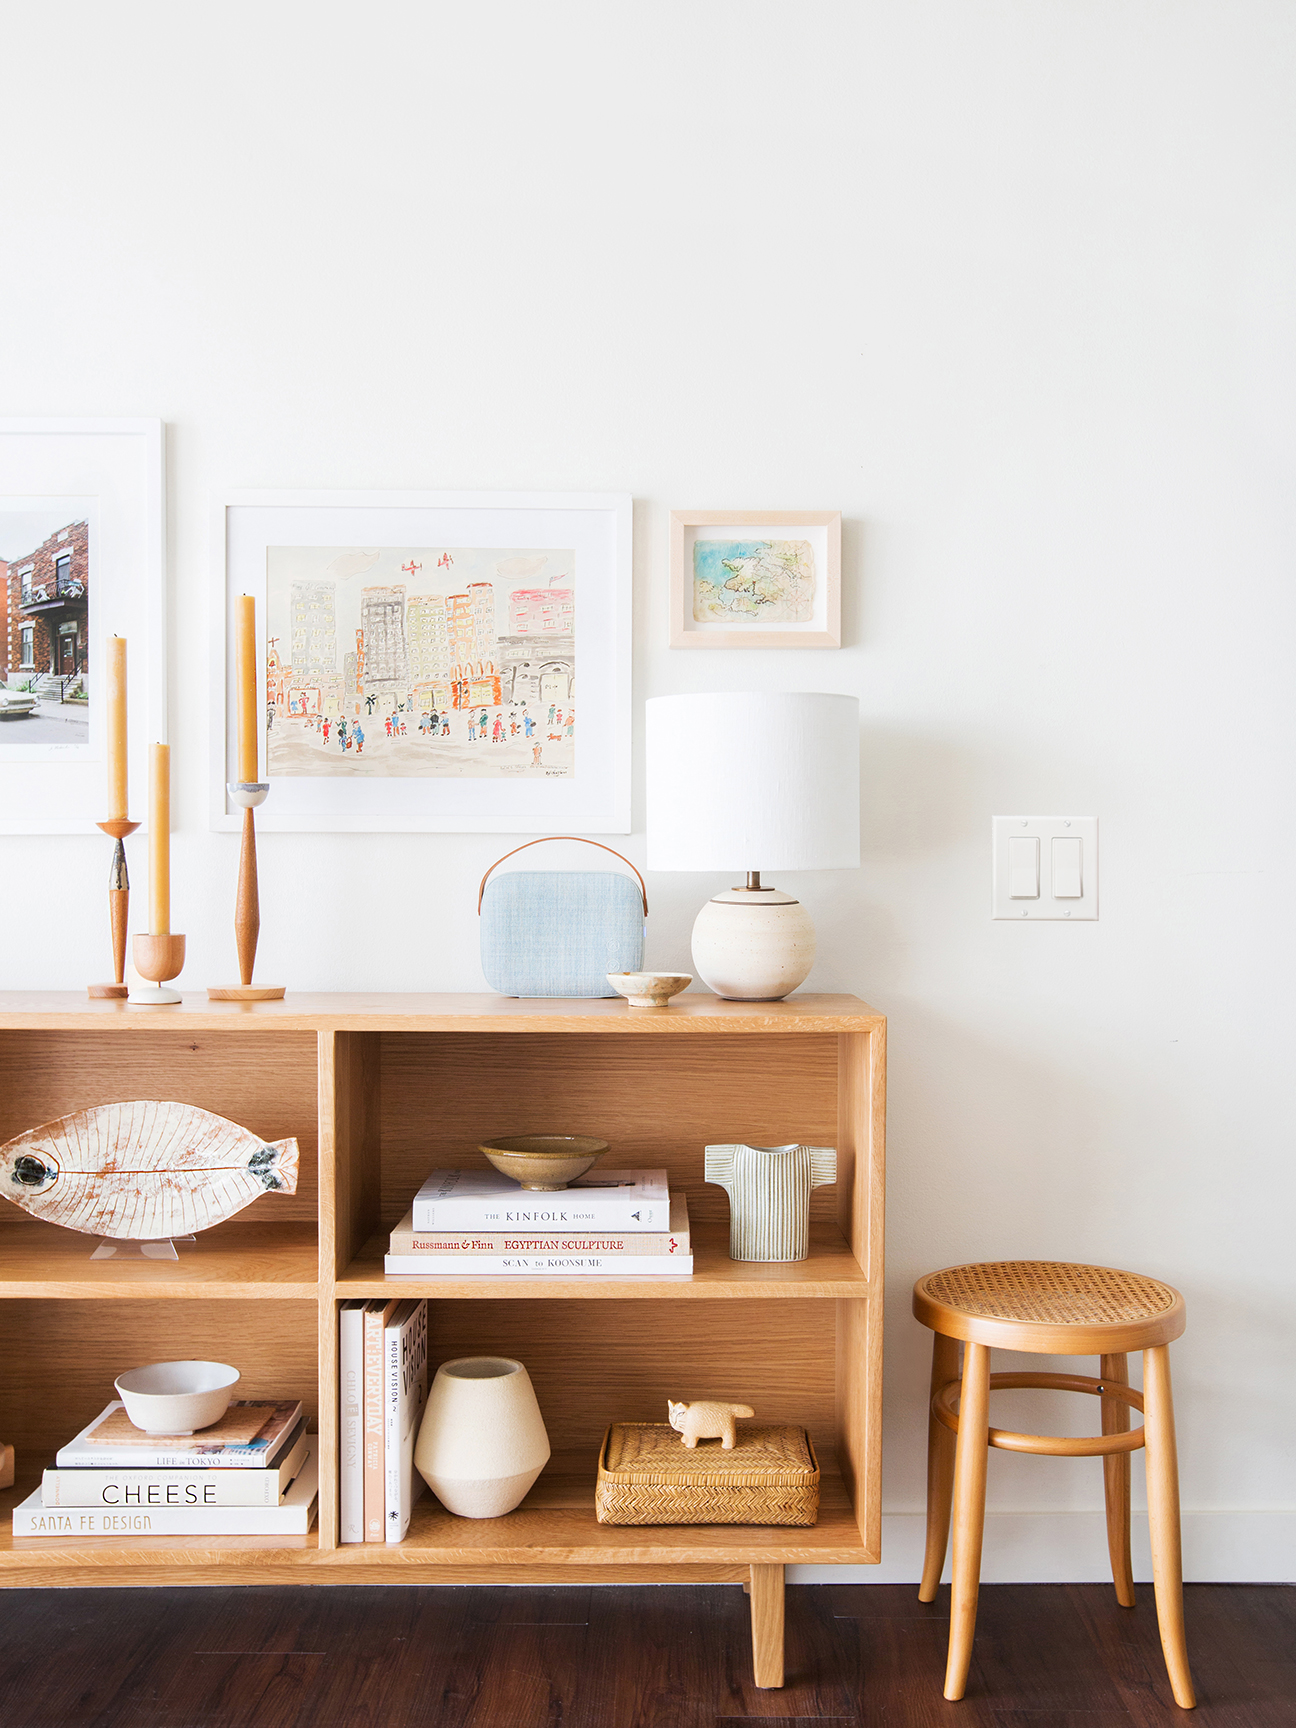
The 5-Minute Rental Upgrade You’re Probably Overlooking

New lighting? Designers offer tips for upgrades that shine.

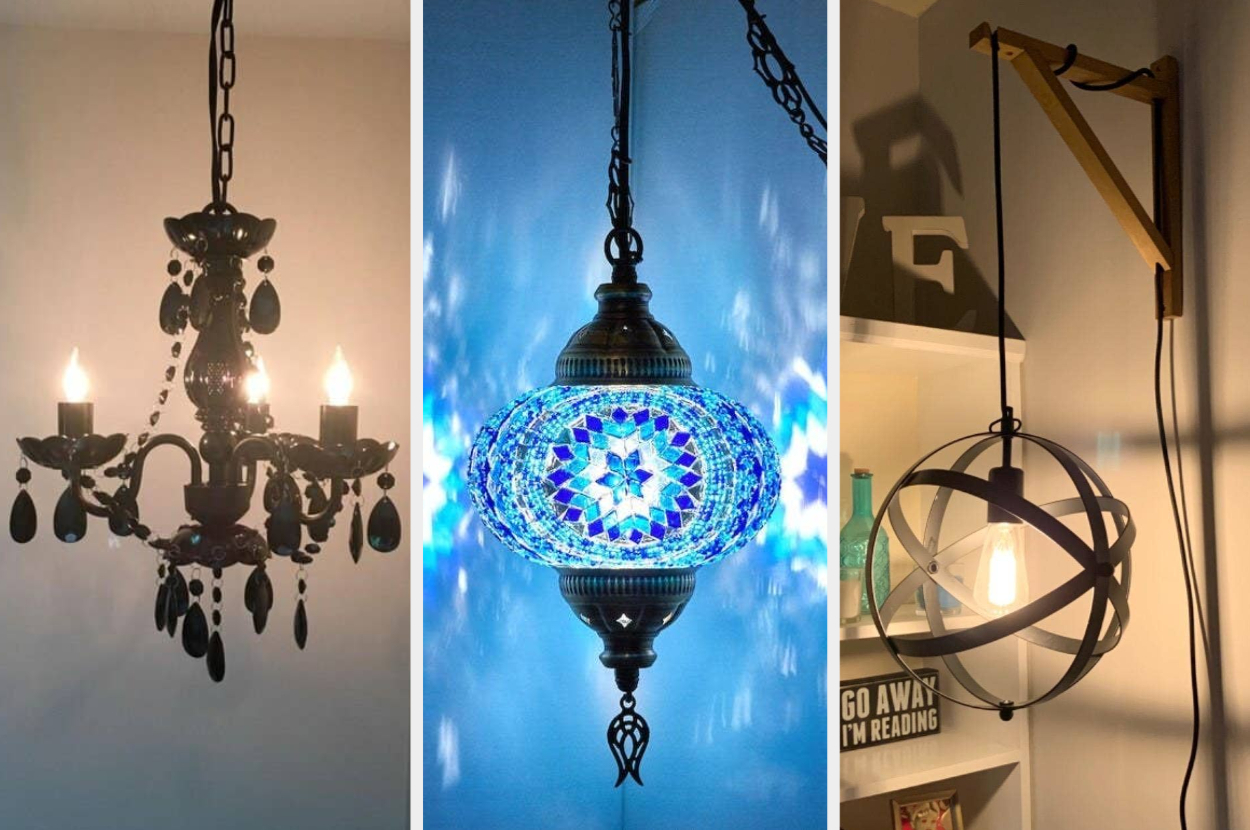
26 Easy Lighting Upgrades That Don’t Require Calling An Electrician

Does Your Kitchen Still Have a ‘Boob Light’? Let’s Change That
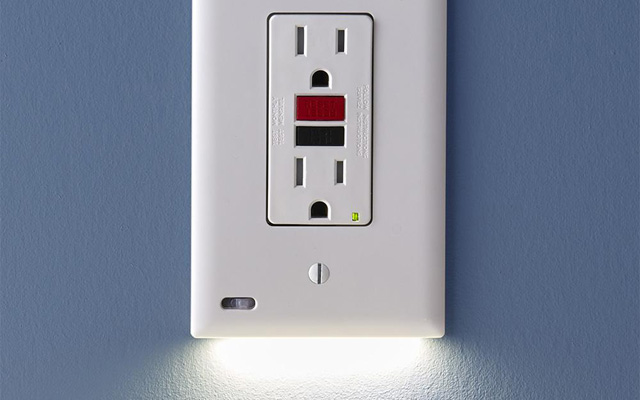
These Outlet Covers and Switches Double as Night Lights

Pulling the plug on dated light fixtures is a great home update. Here's how to choose new ones
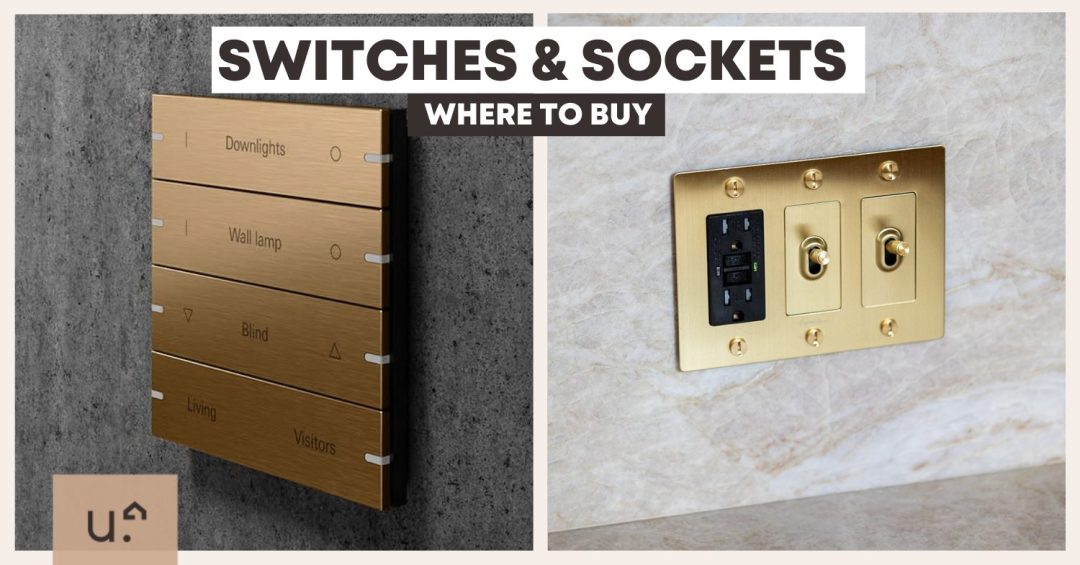
9 Budget-Friendly Places To Buy Light Switches & Sockets In Singapore
Banish the “Big Light” Completely With Some Snazzy Lamps


What to Know About Upgrading Your Light Fixtures
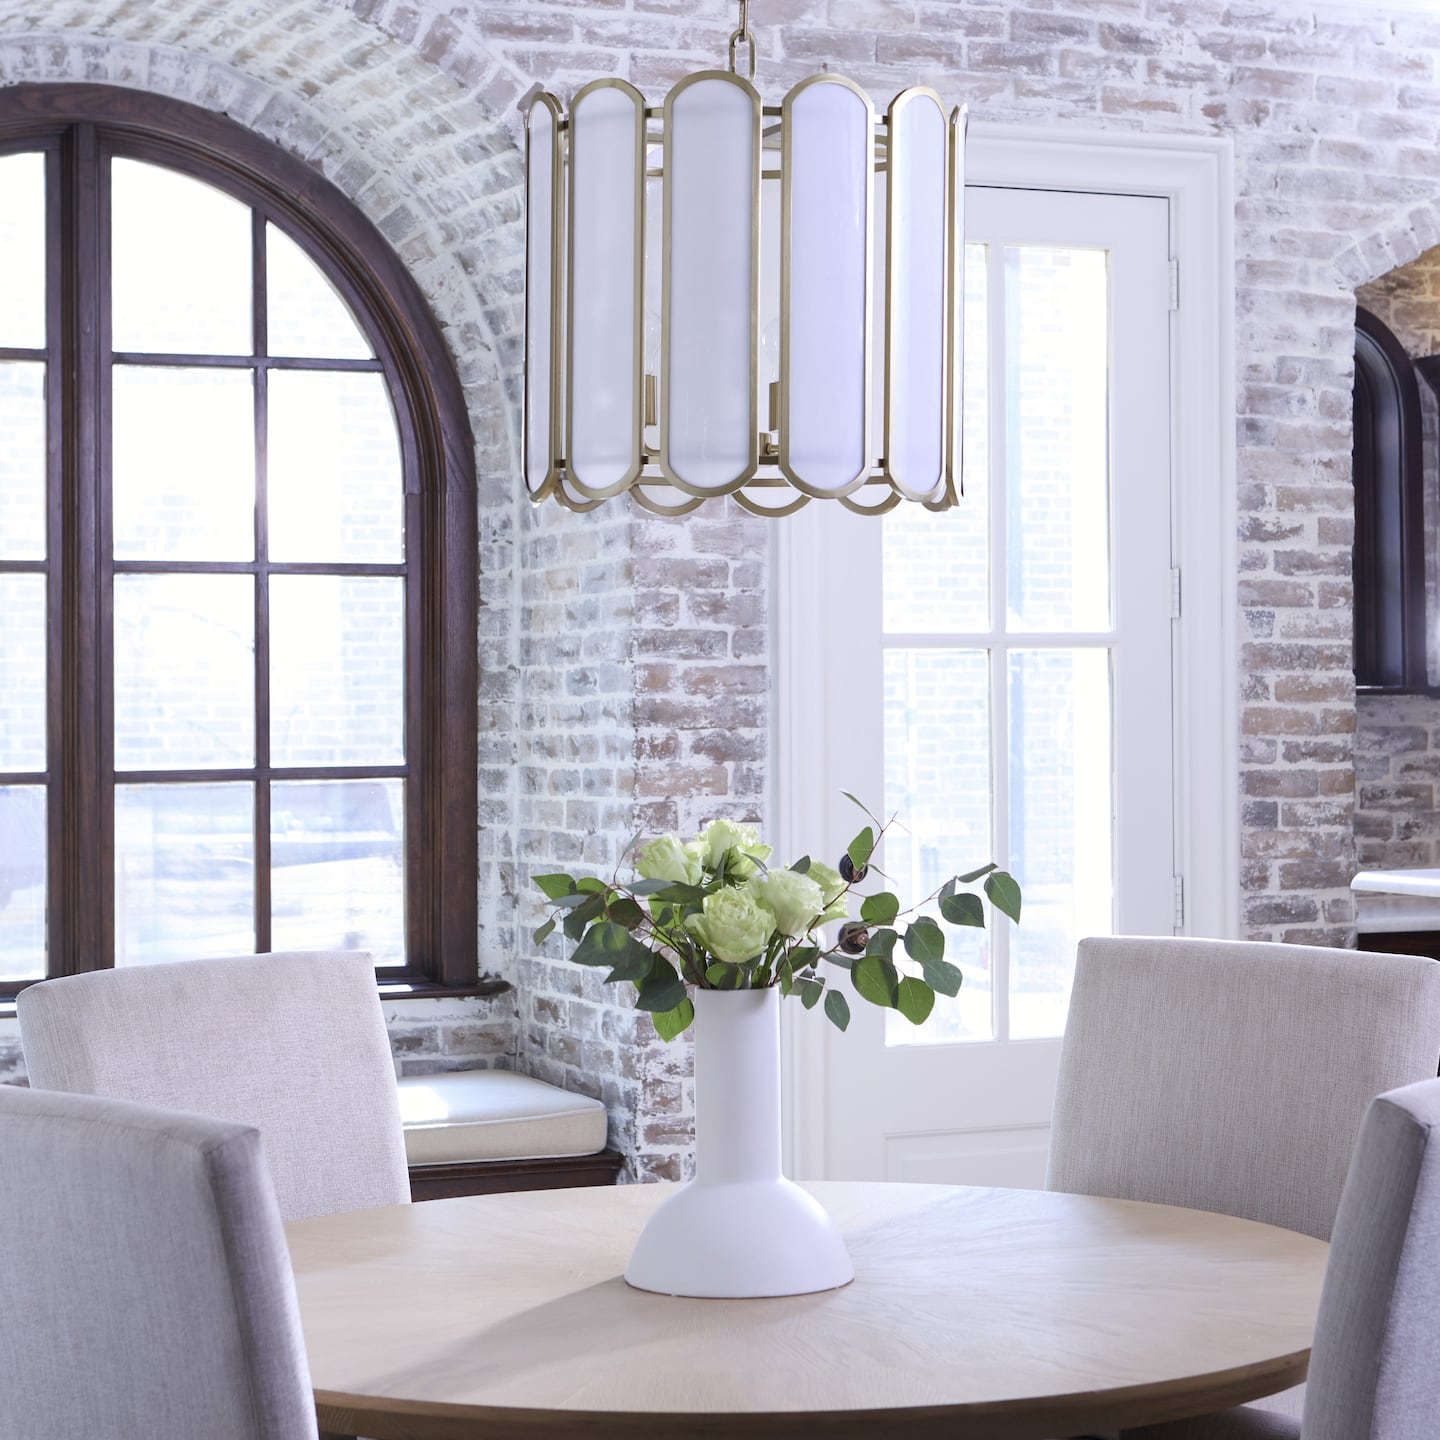
Design experts offer lighting tips for upgrades that shine


The Lighting Golden Rule for Switch Circuits

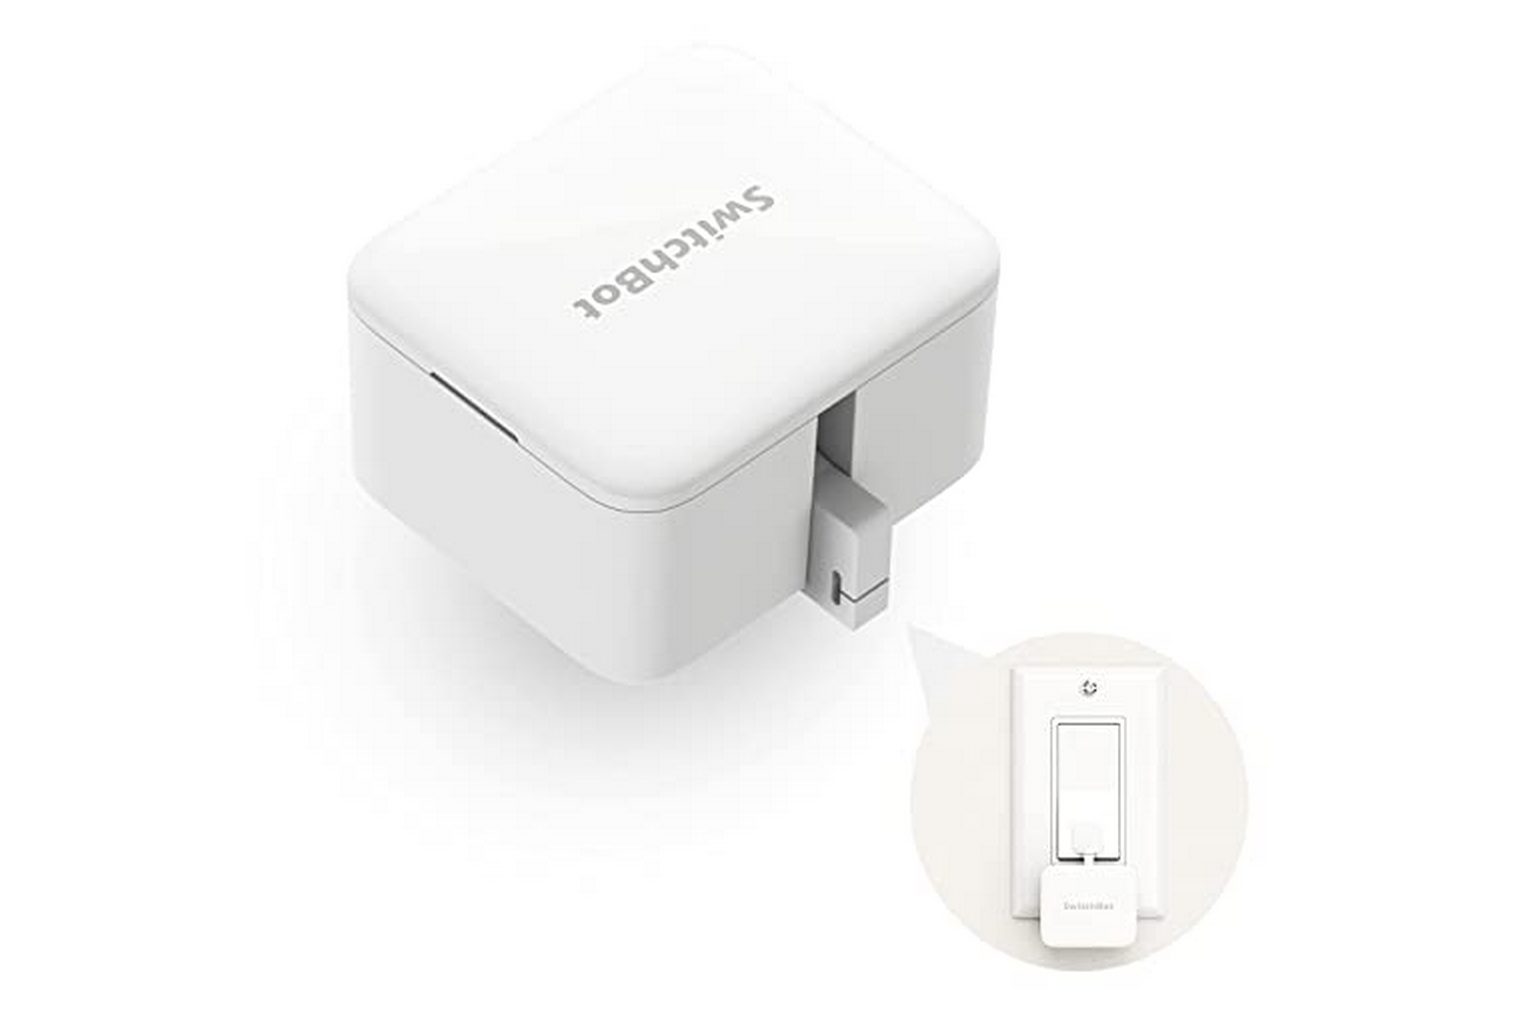
SwitchBot Bot review: Convert your dumb light switches into smart ones the easy way

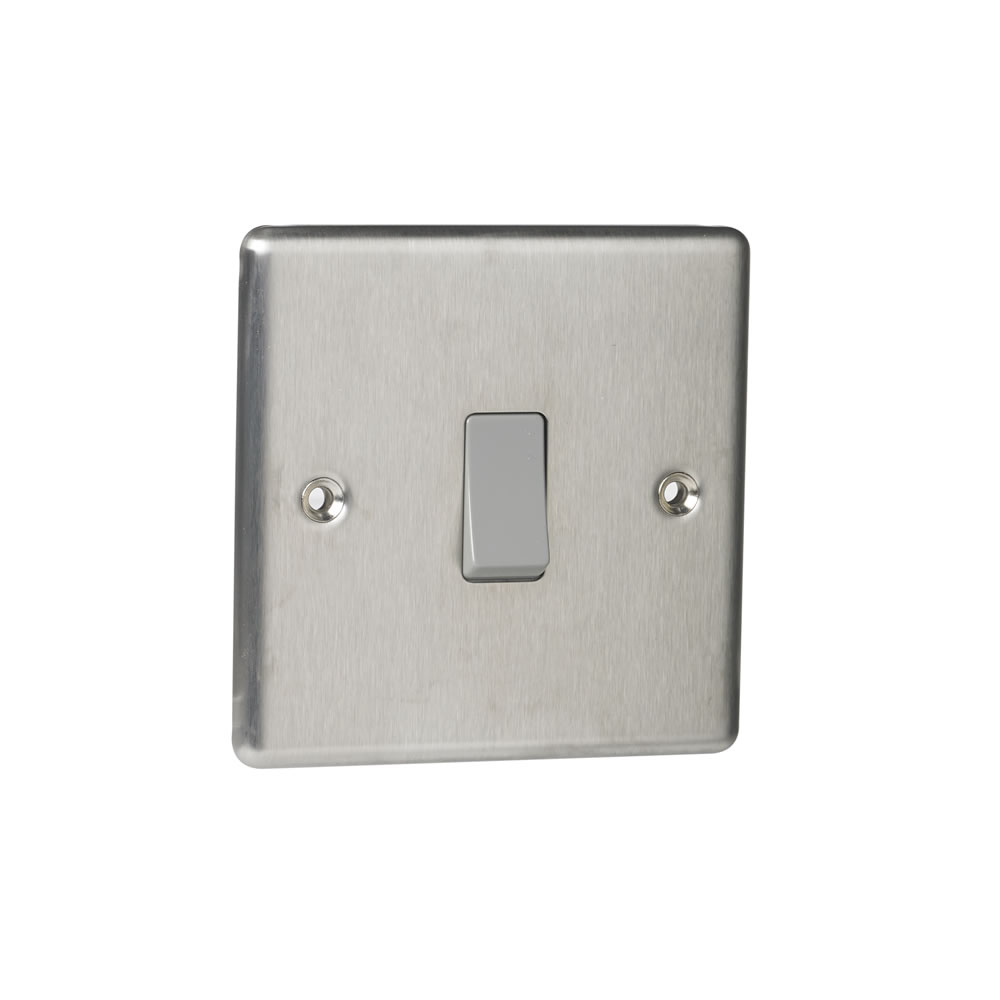
Light Switches - Our Pick of the Best
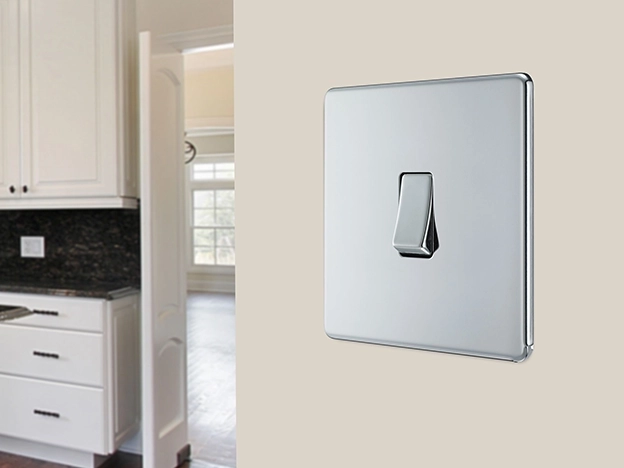
Switches & Sockets | Electrical indoor Lighting

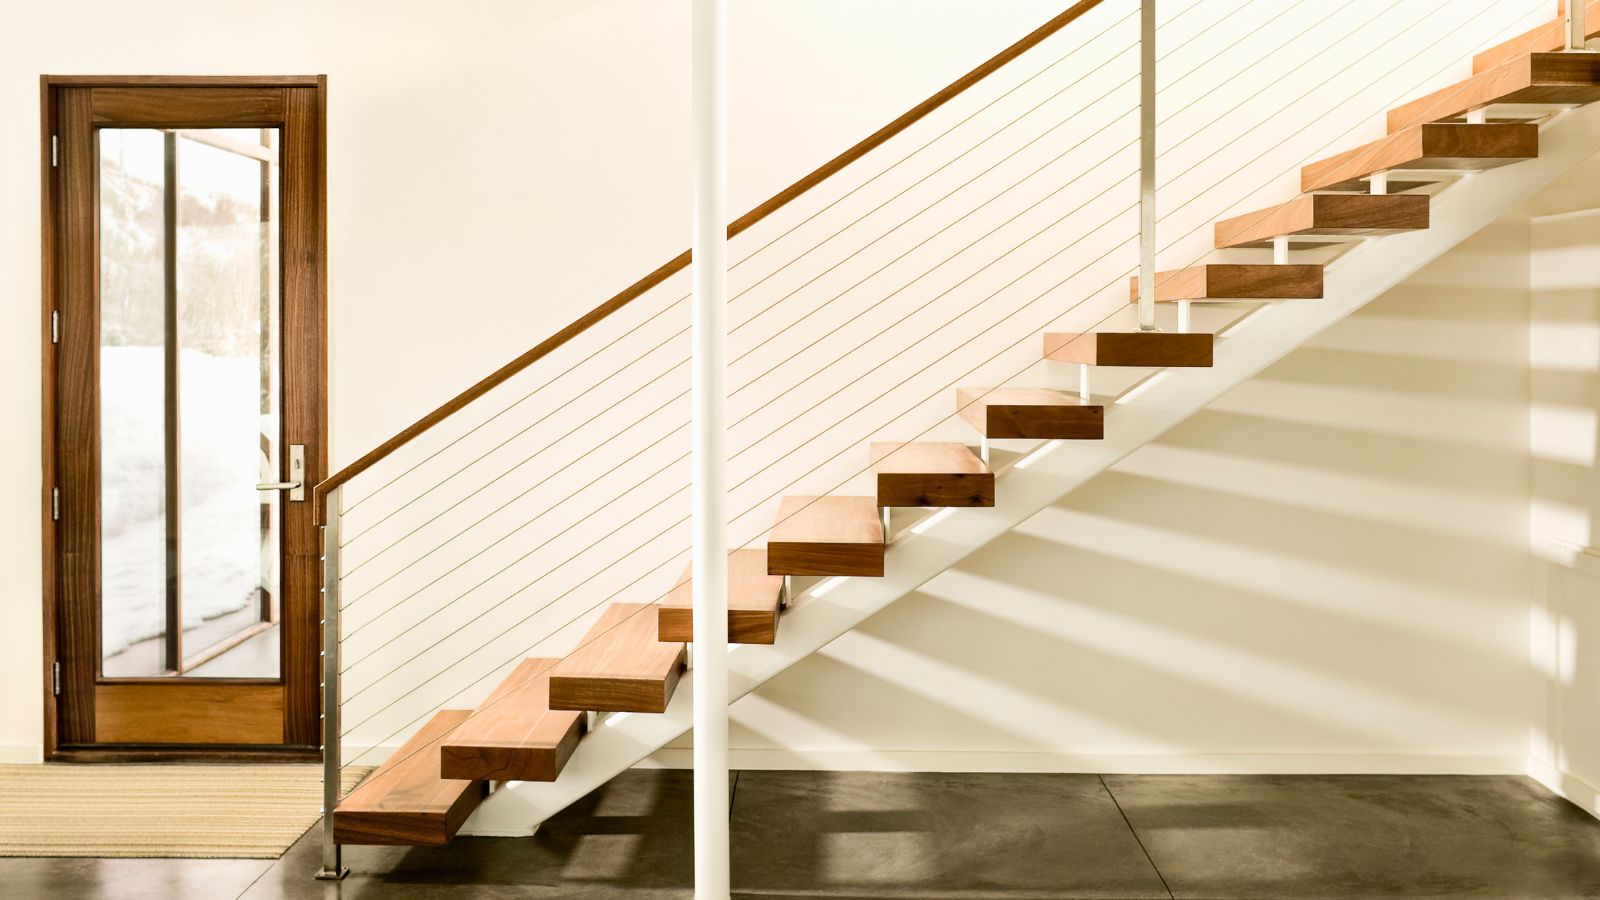
How to change a lightbulb above the stairs – 4 safe steps to switch out bulbs

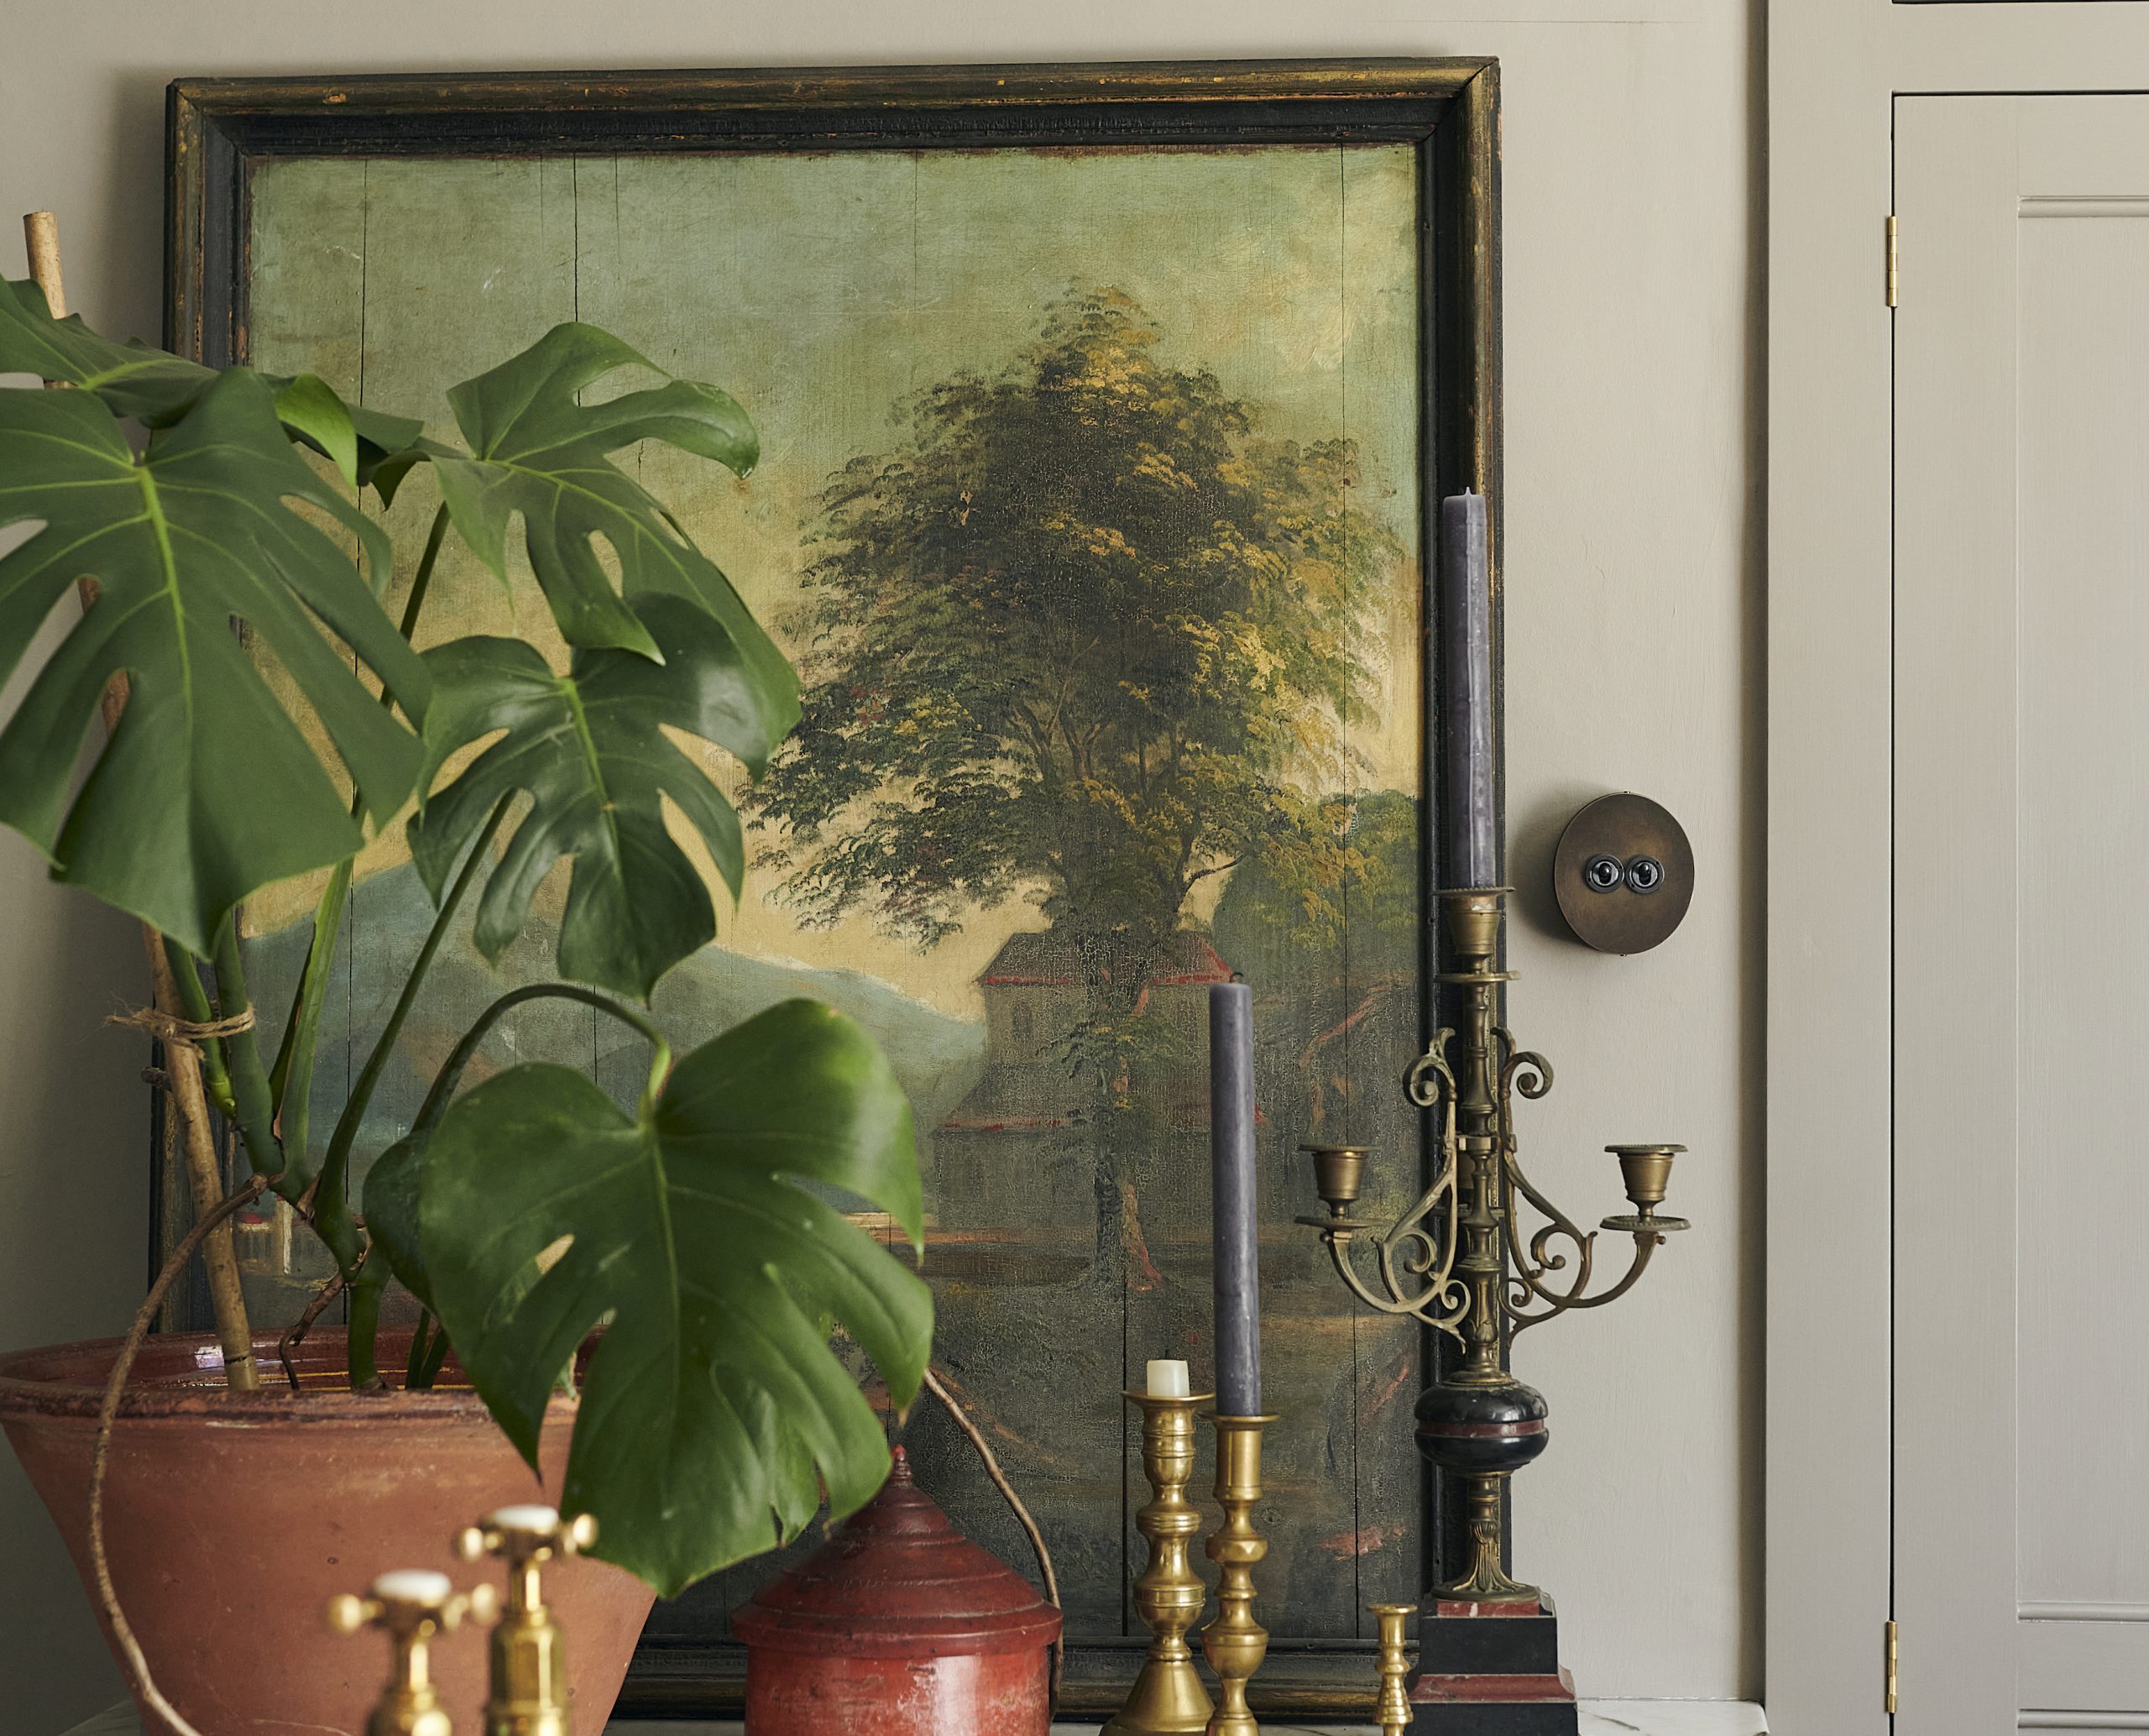
Light switch alternatives: Why it's time to ditch plastic