1/6
How to paint behind a radiator - expert tips for a pro-worthy finish
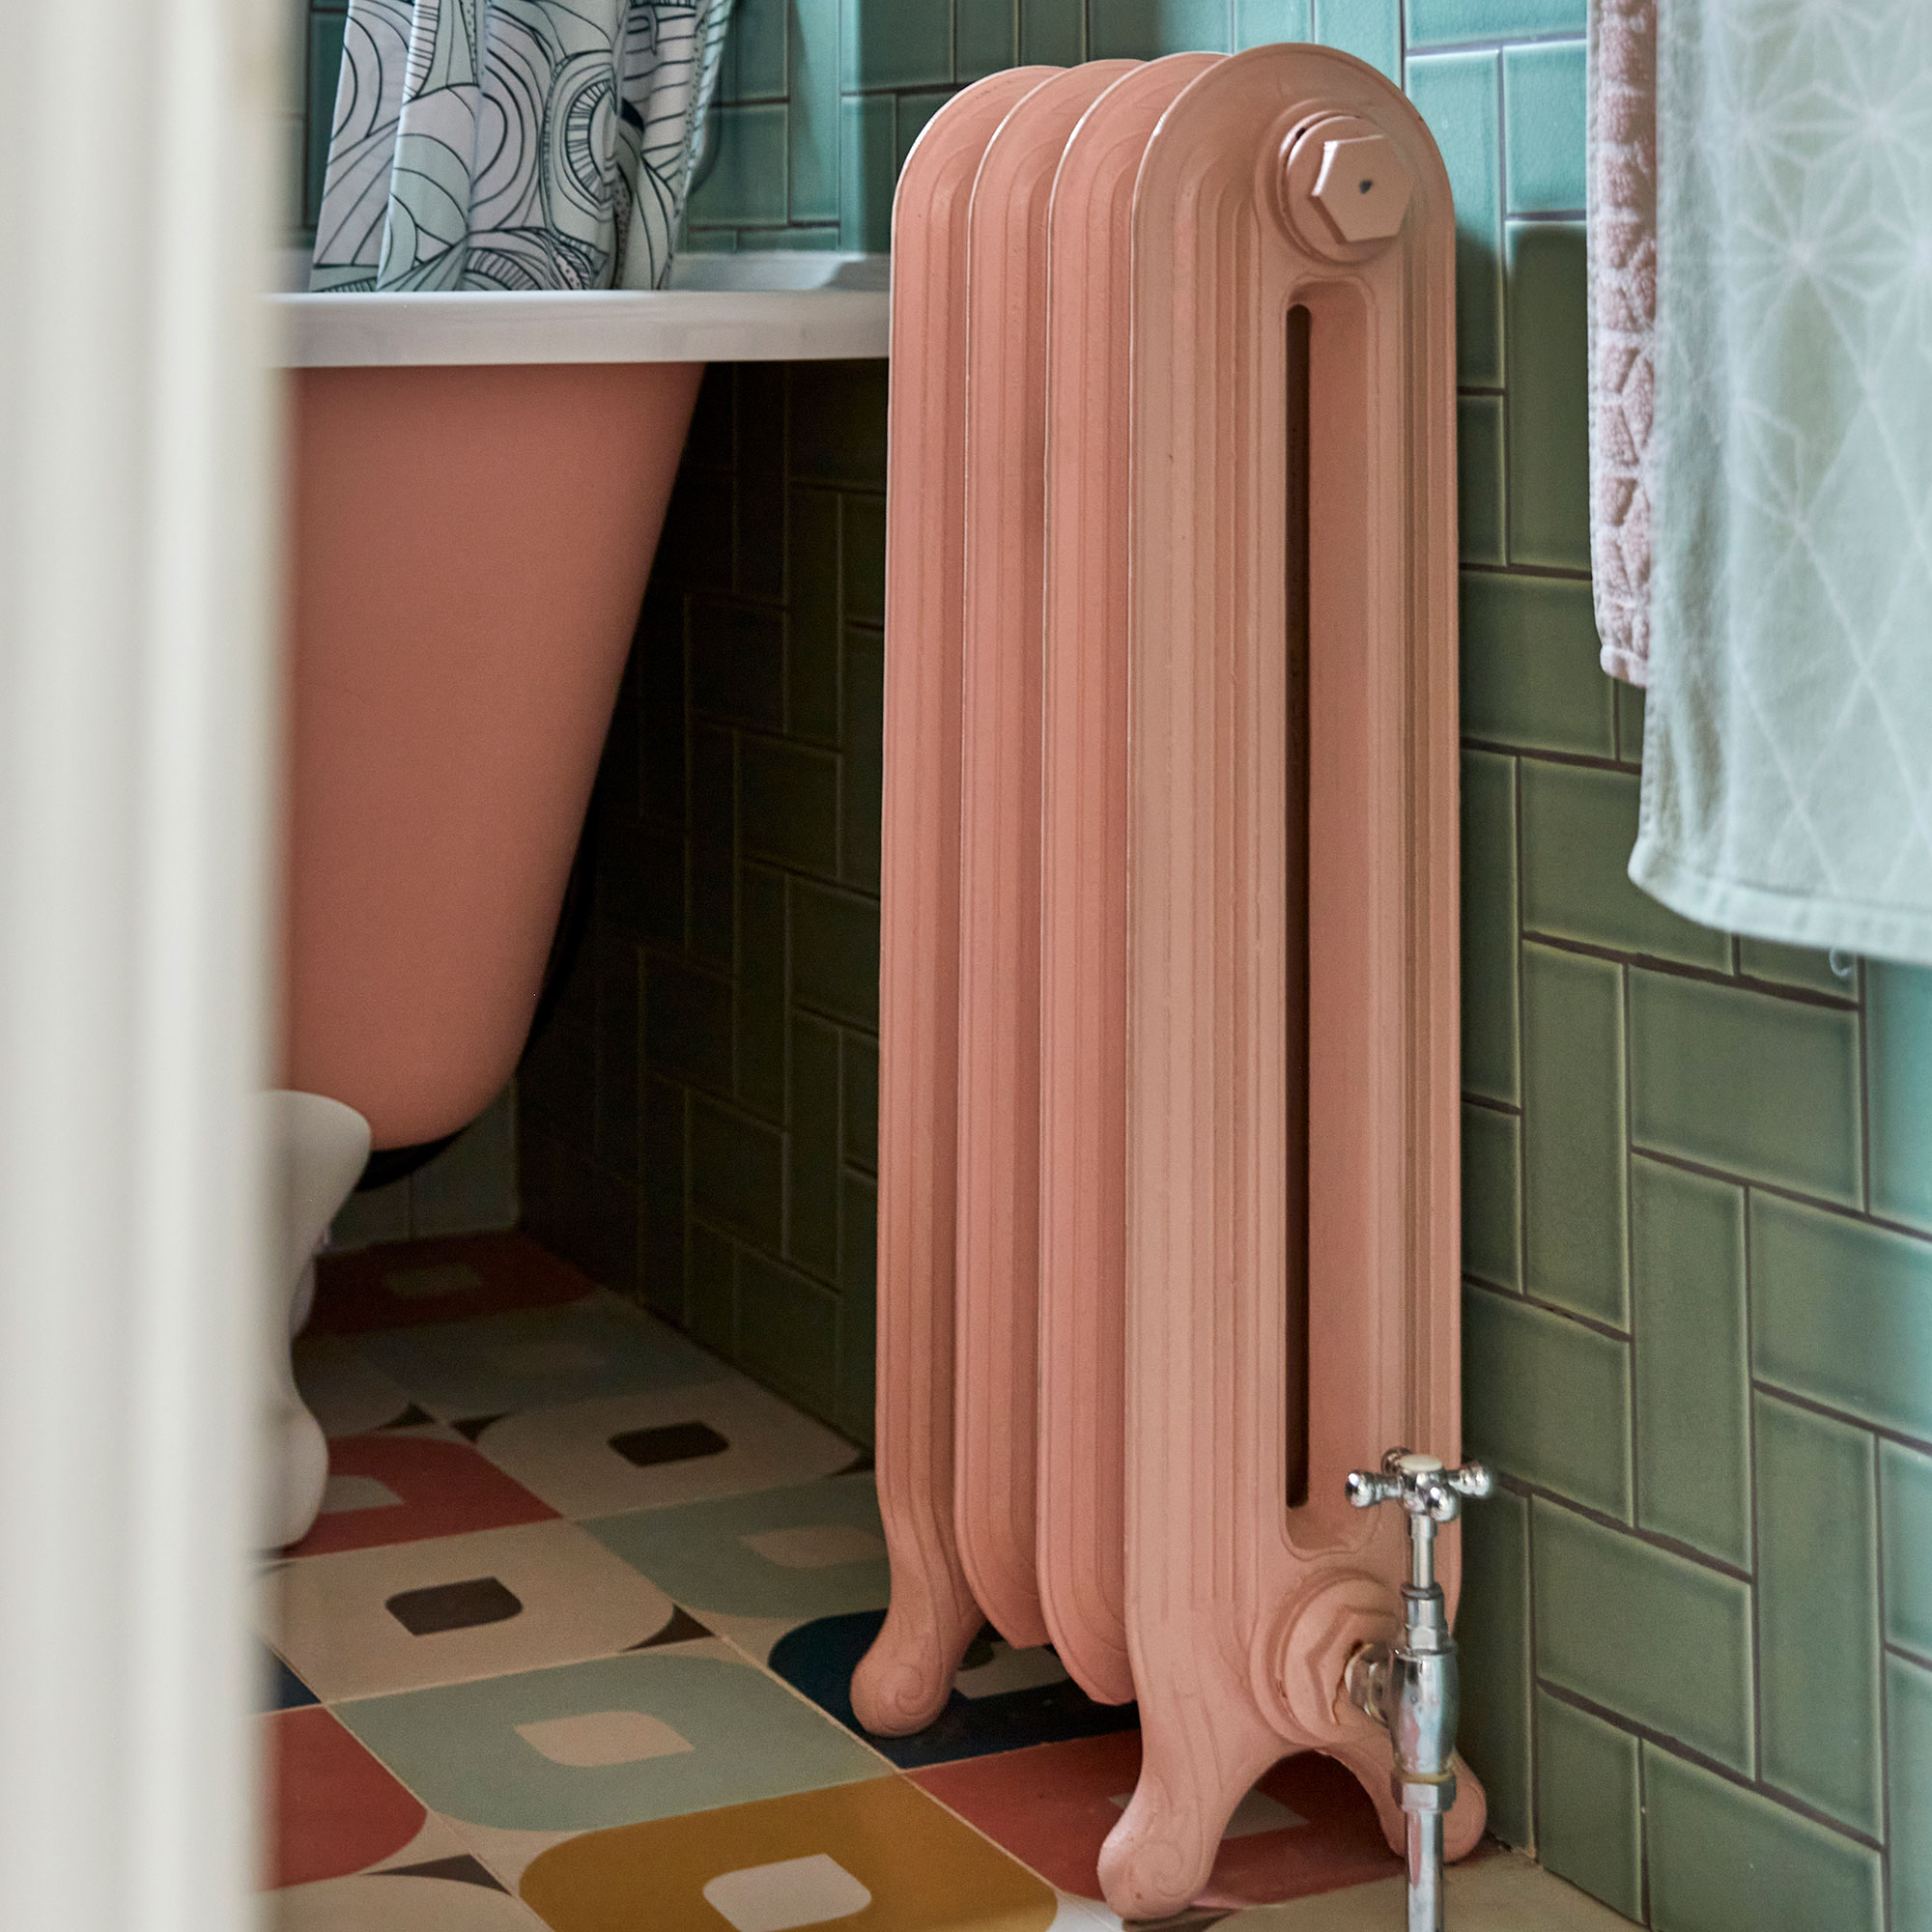
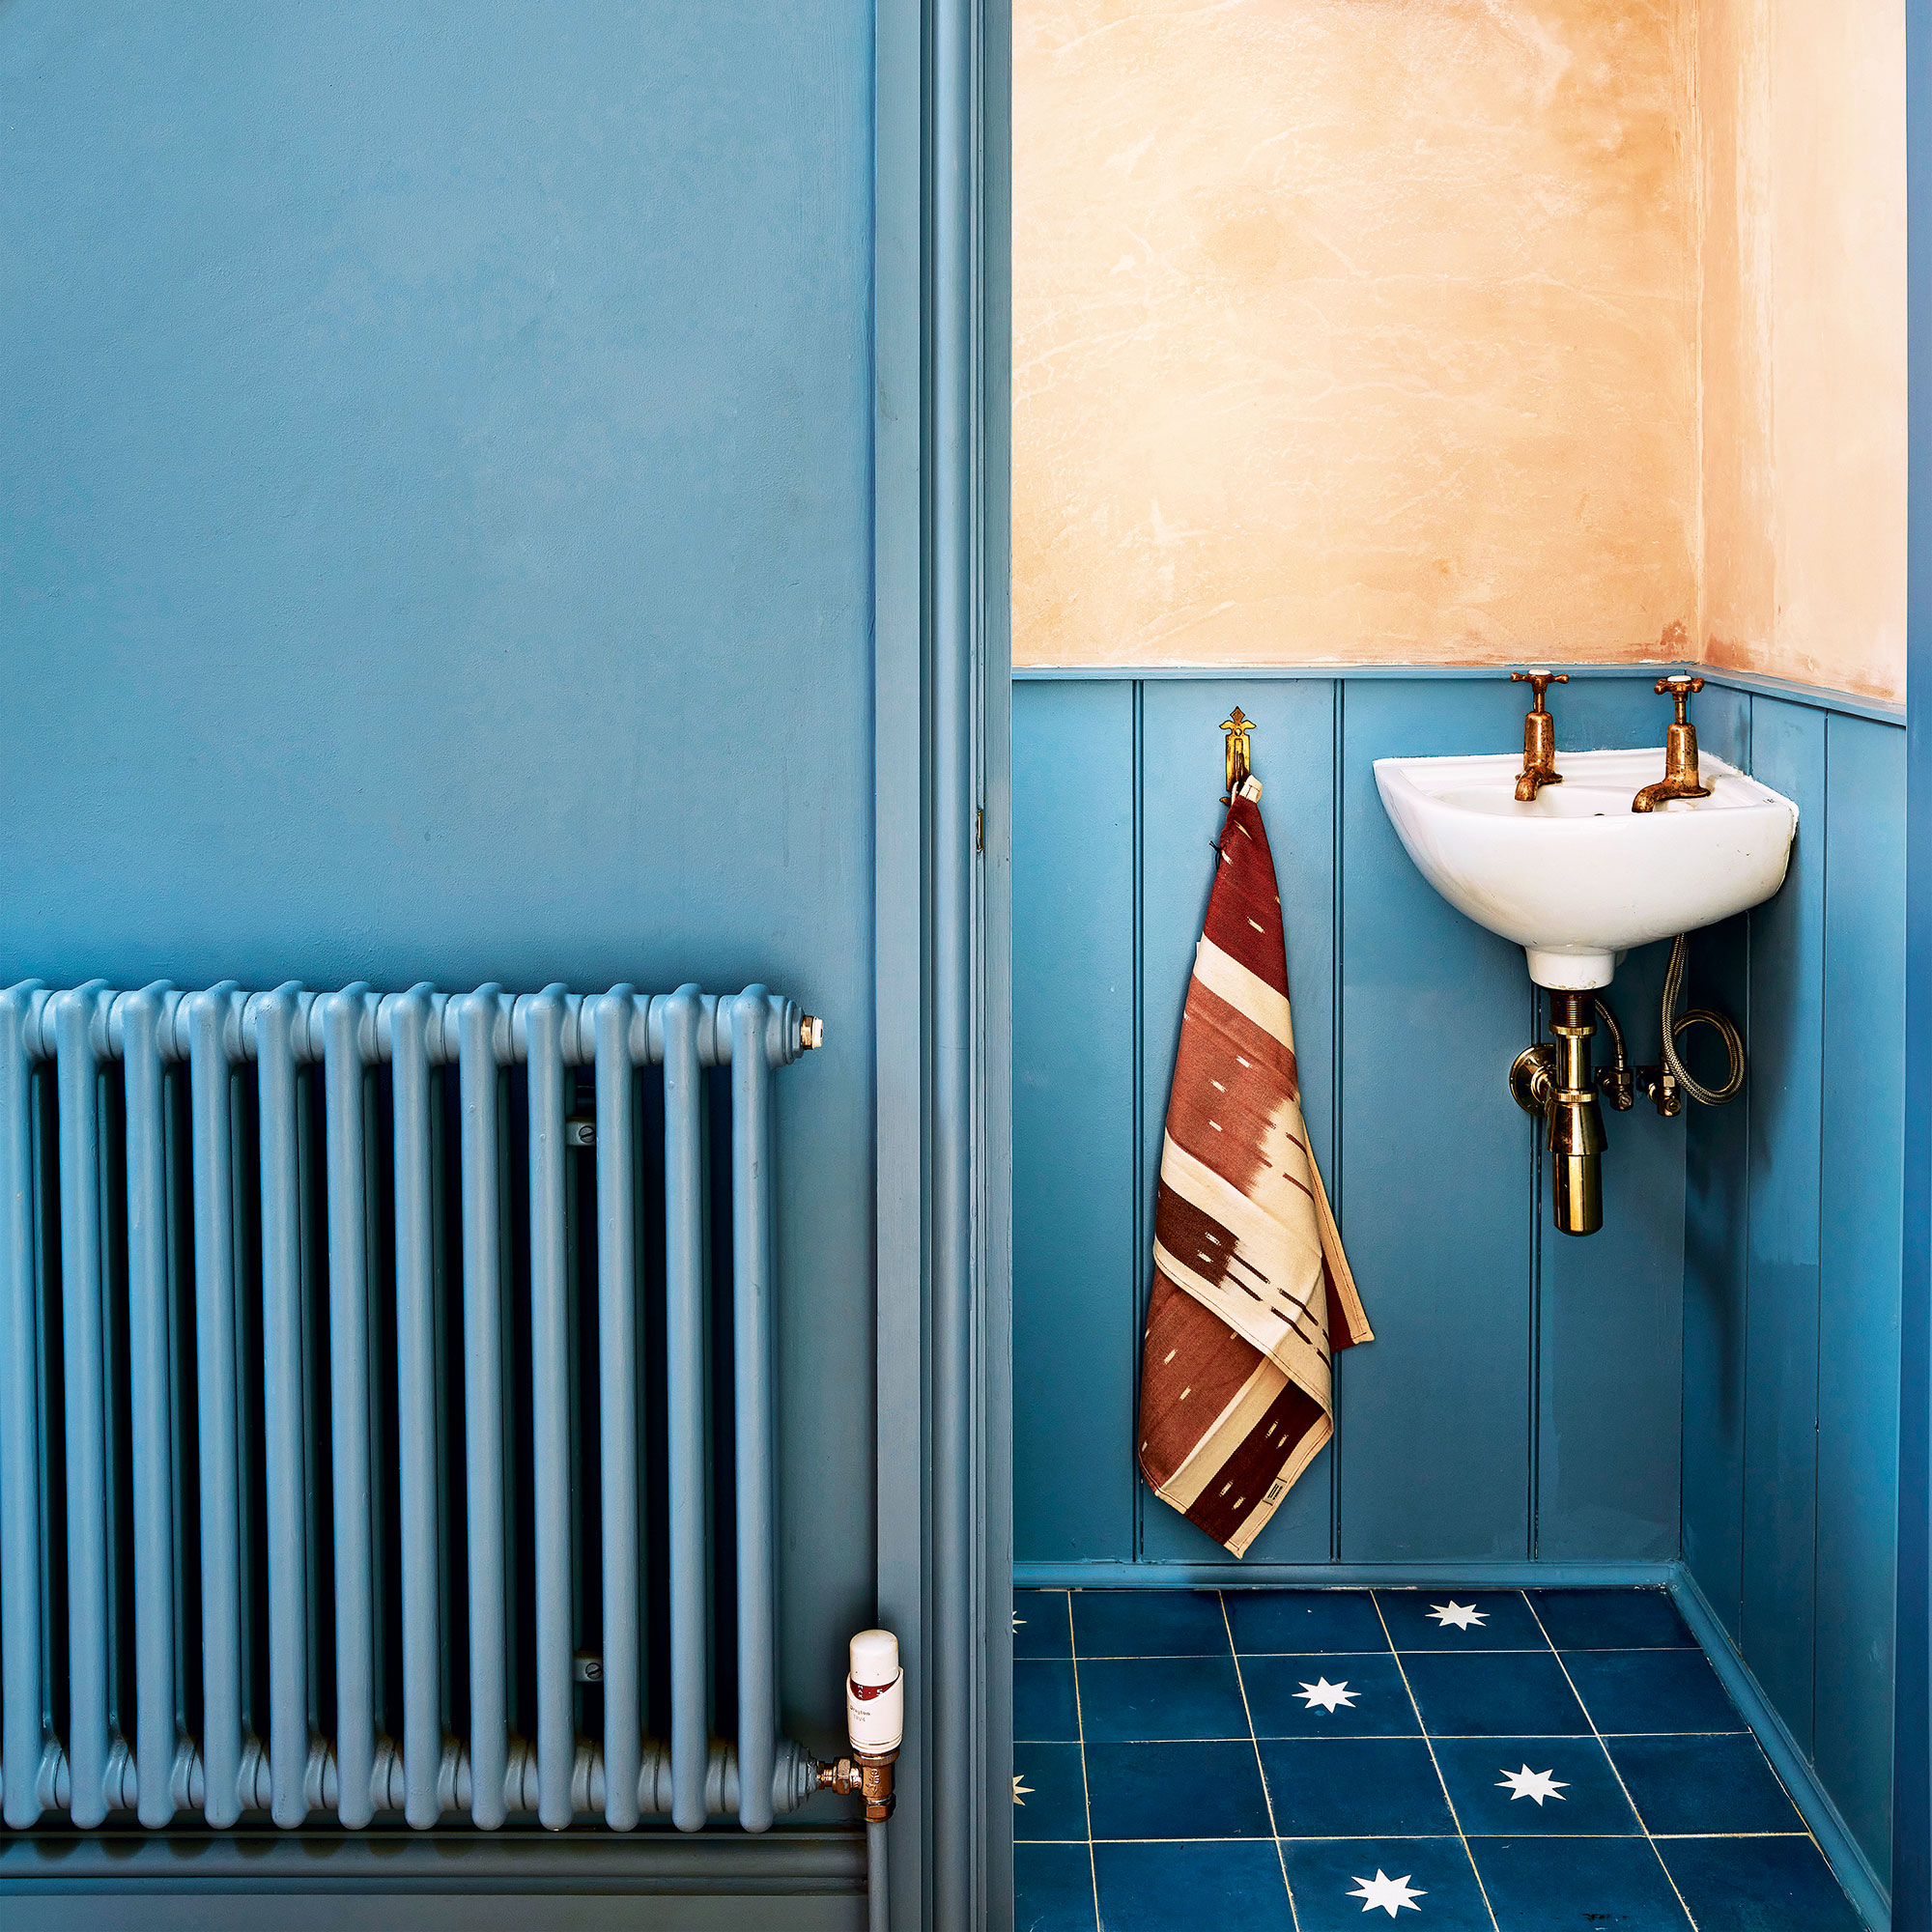
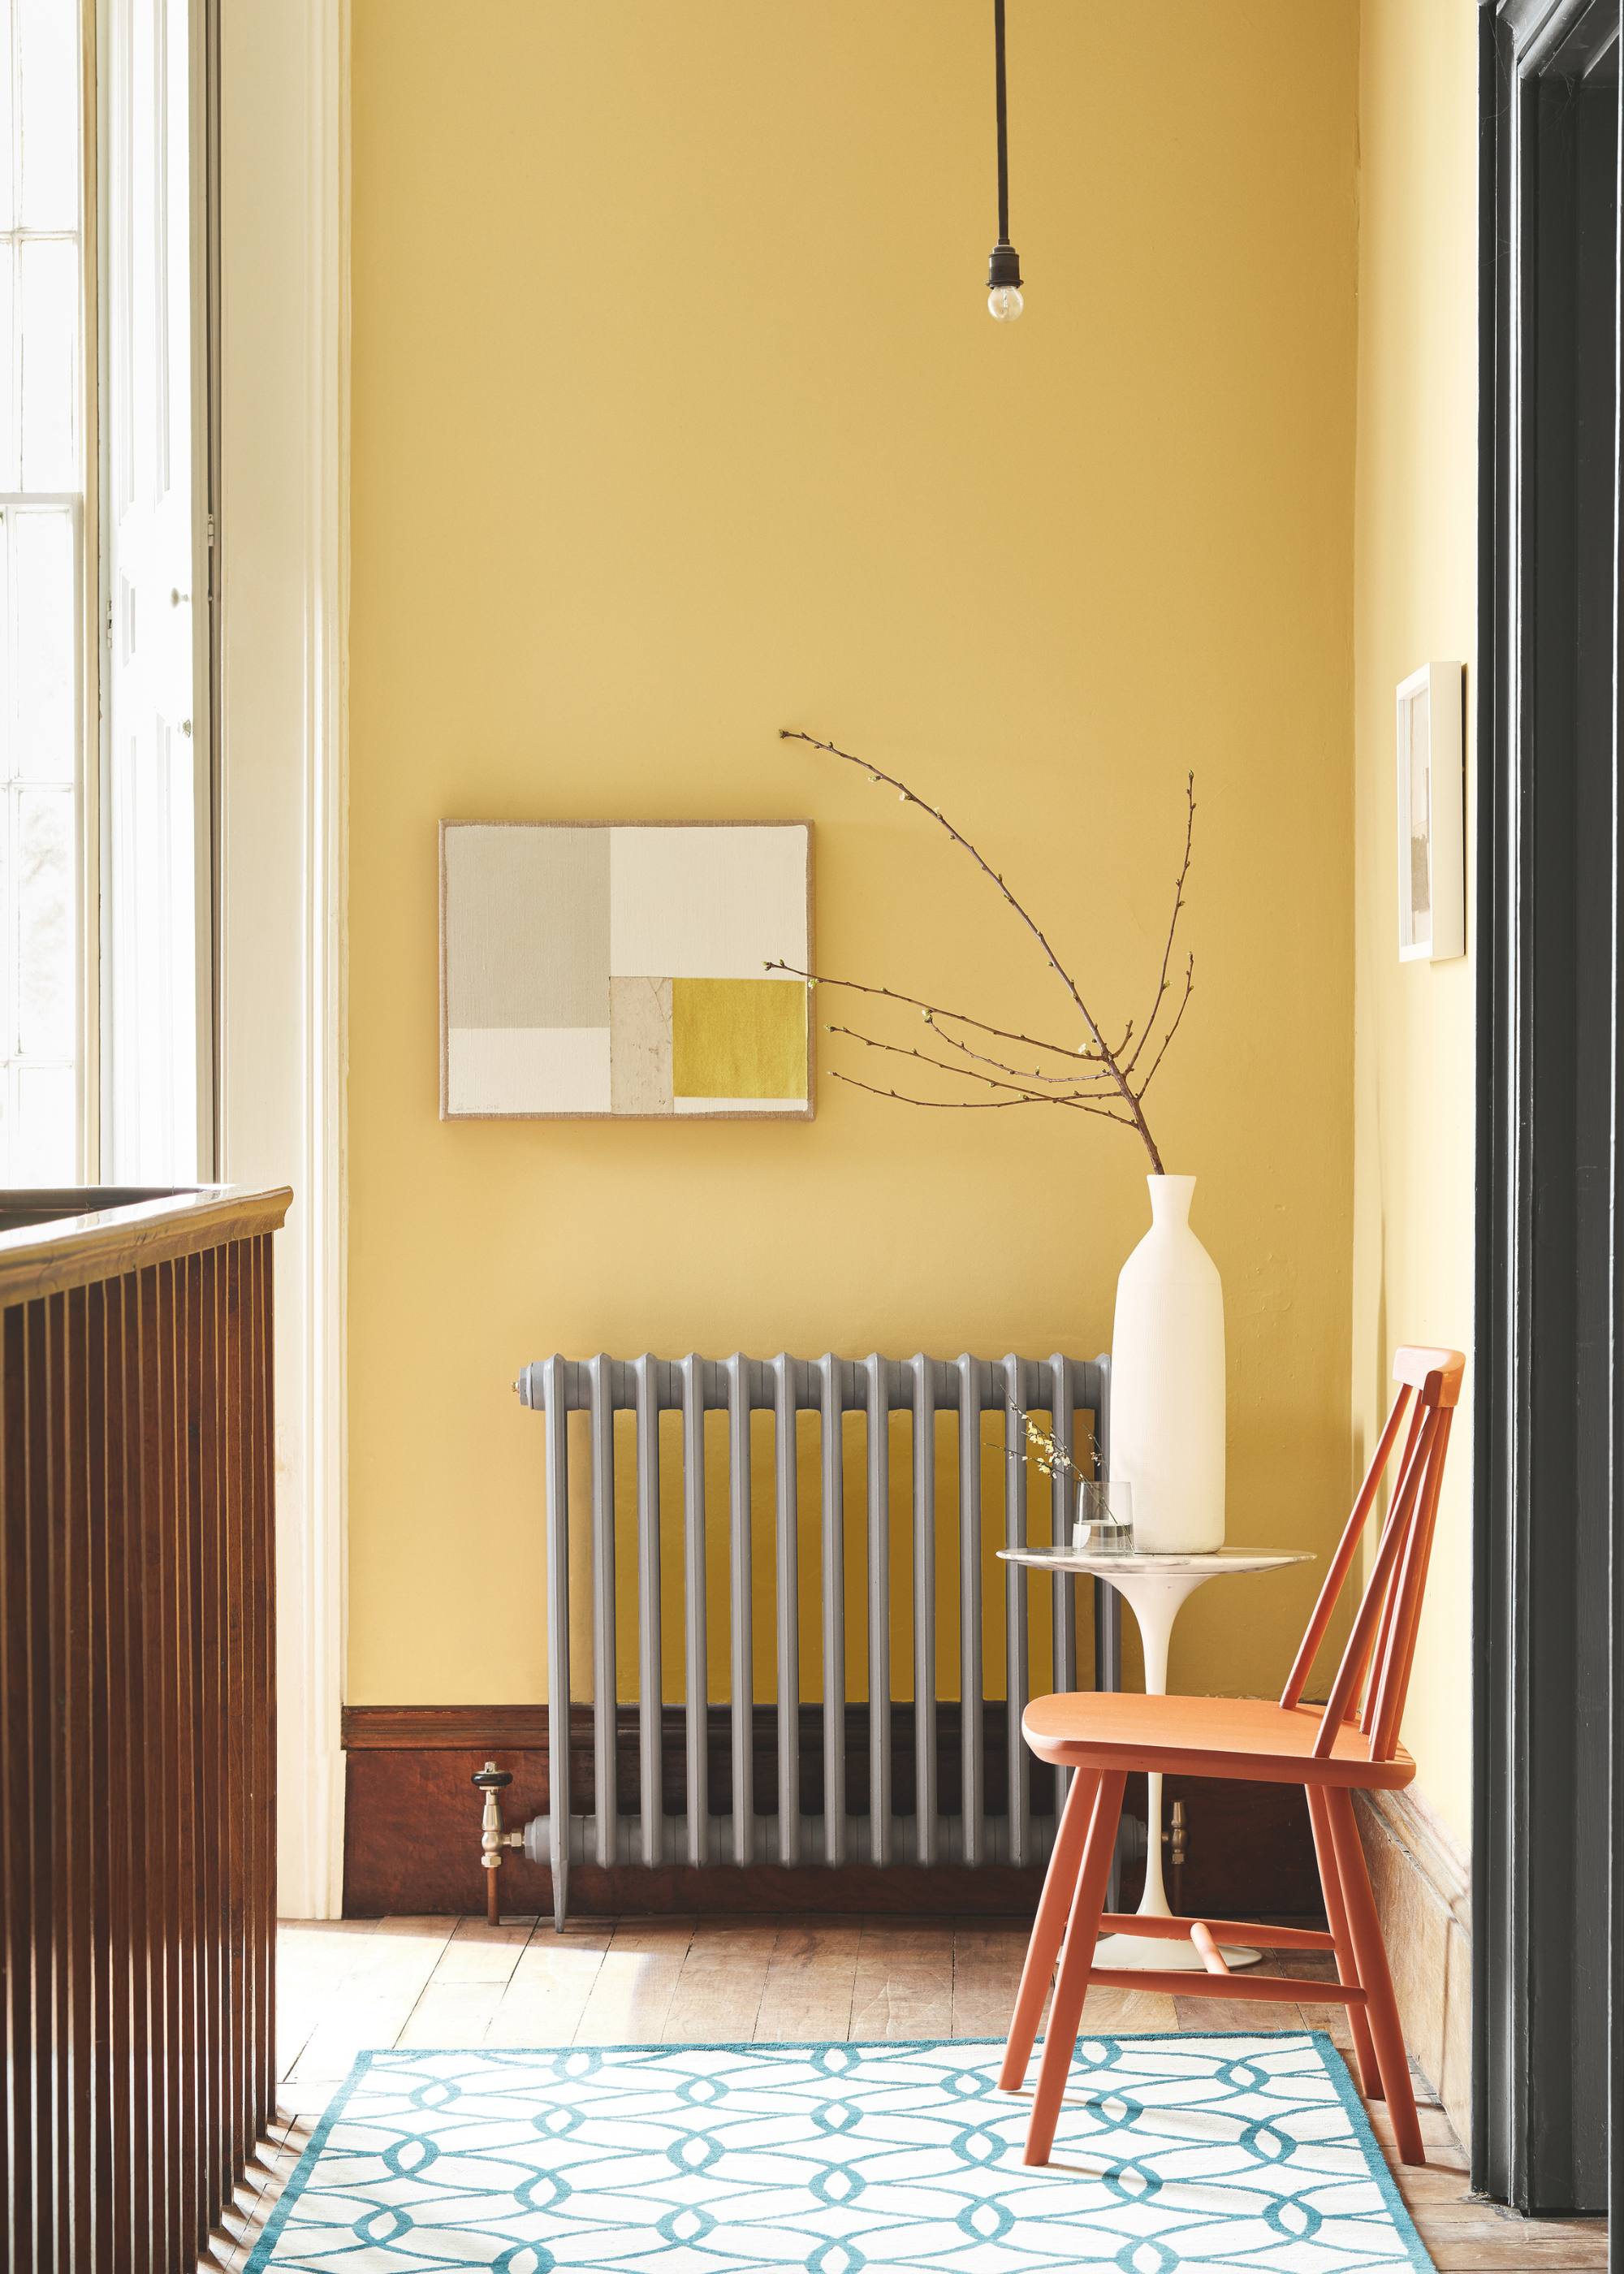
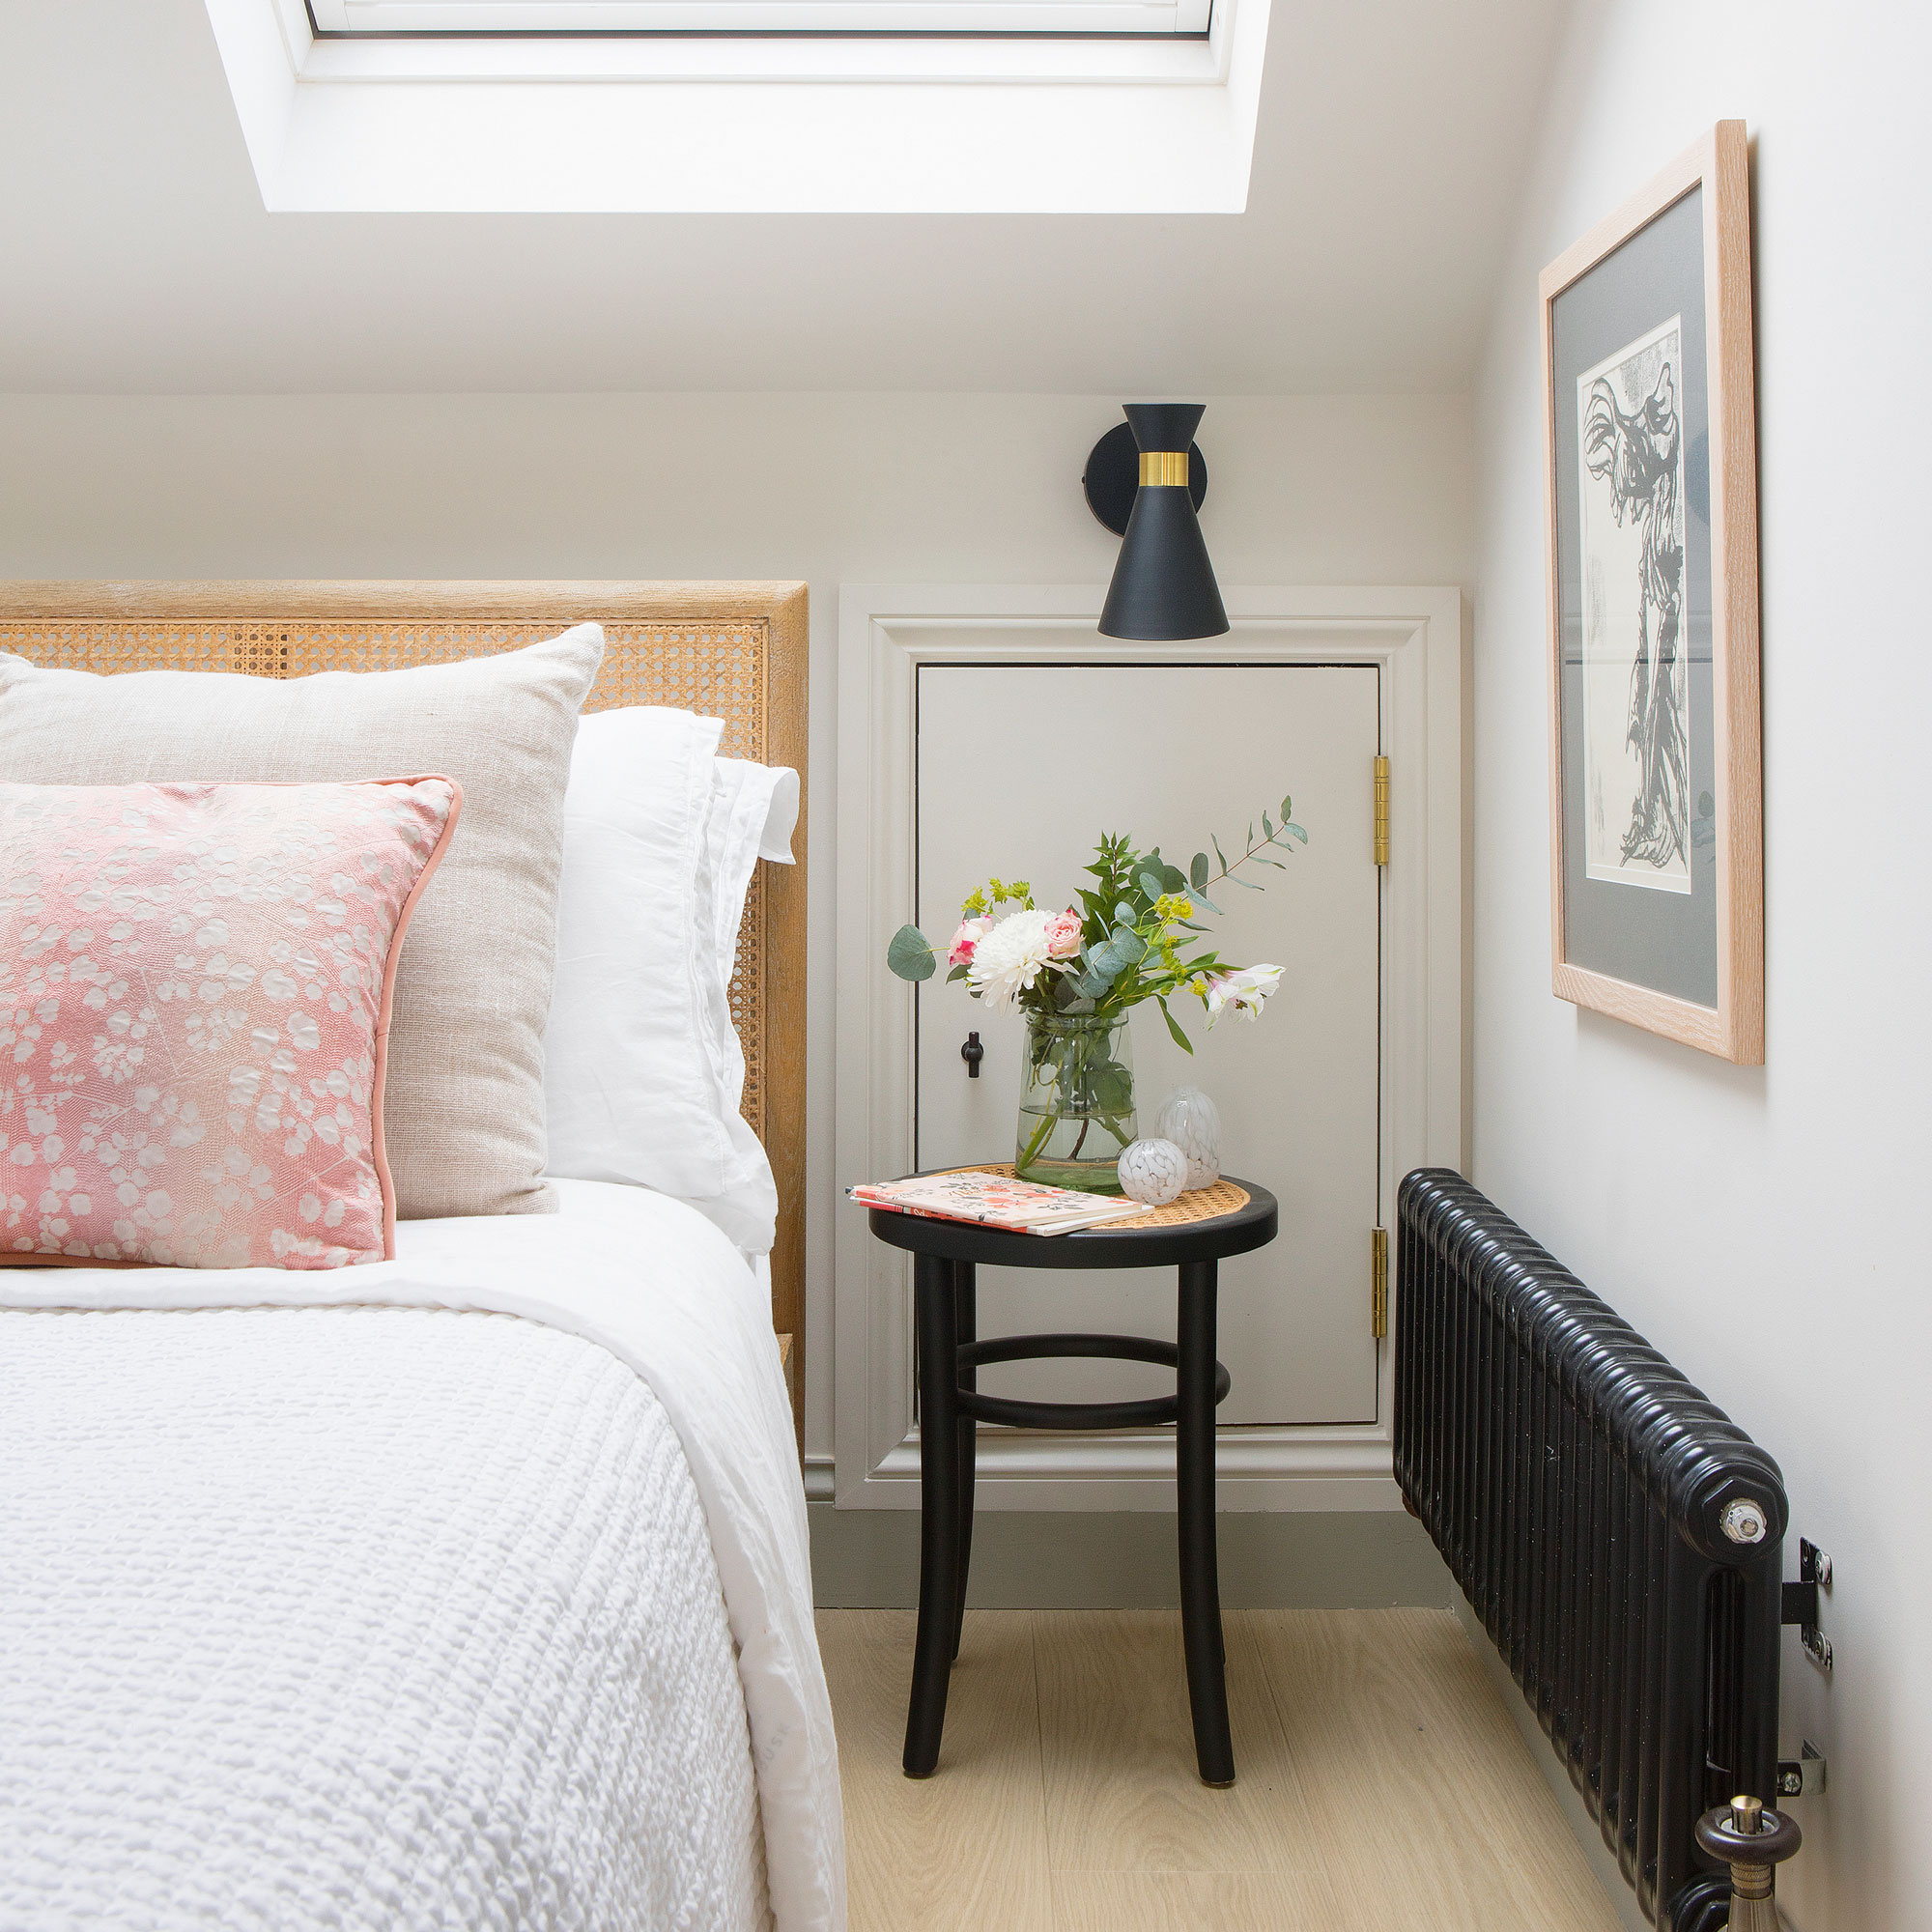
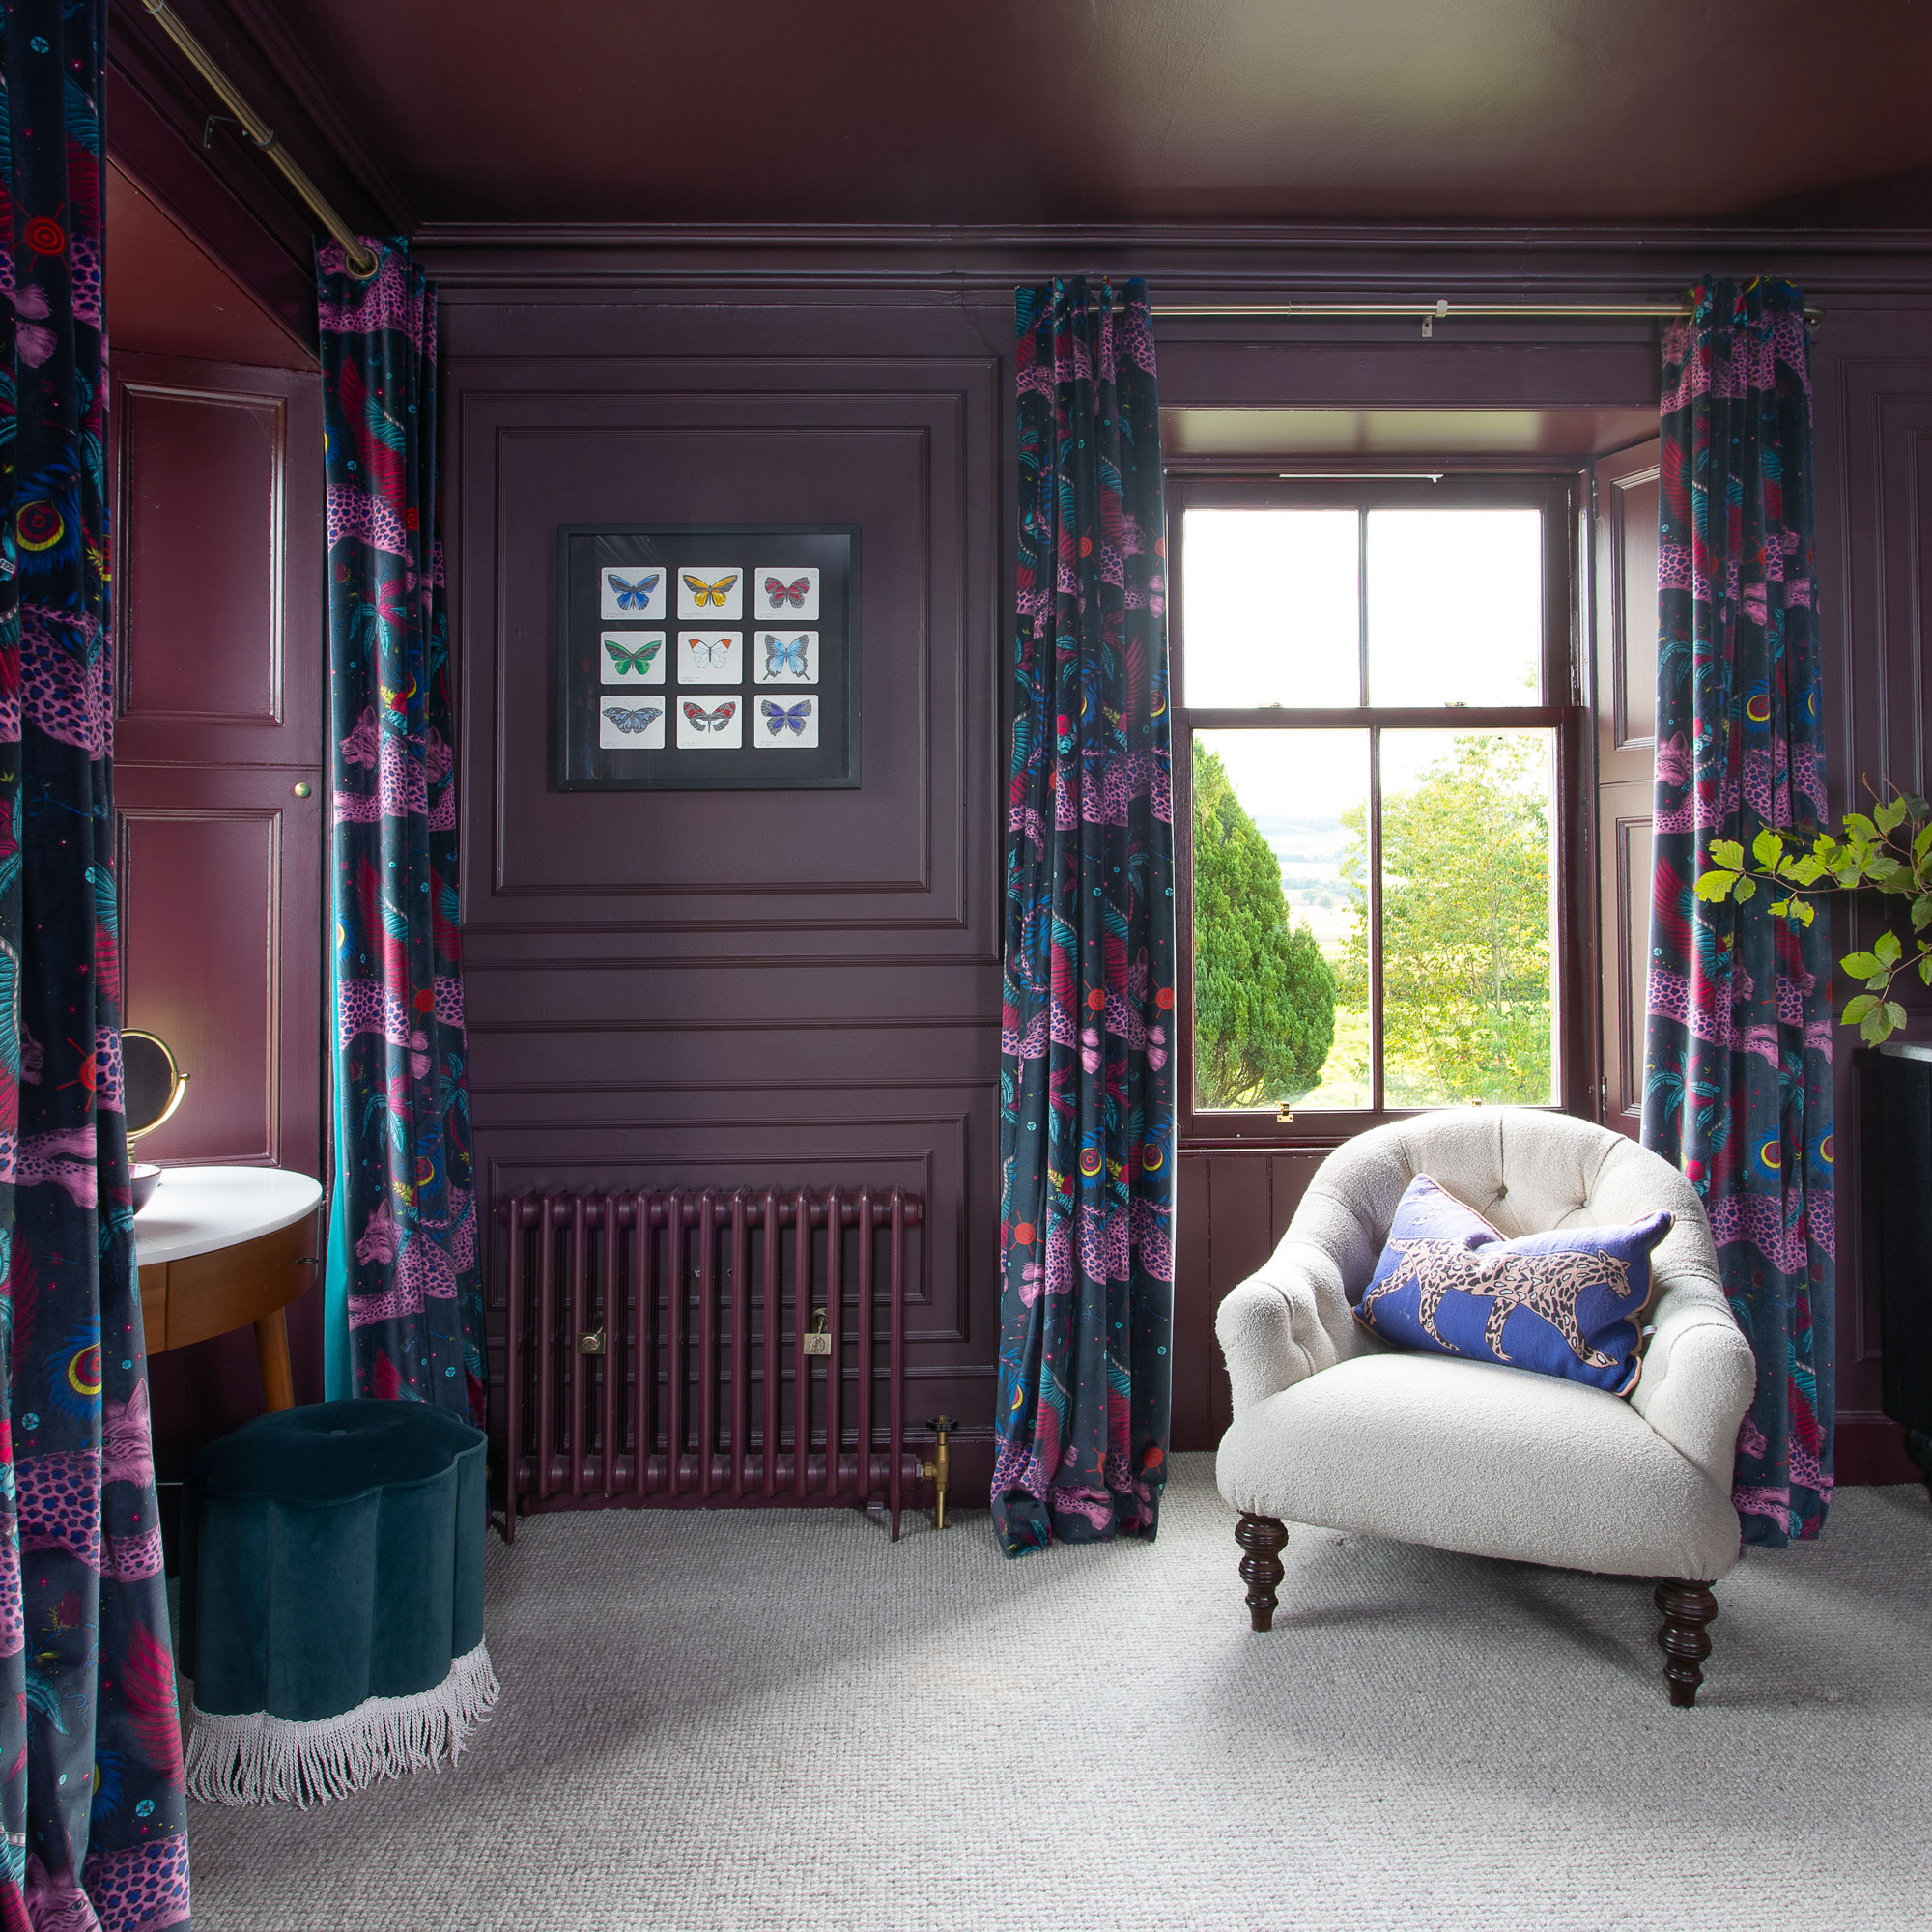
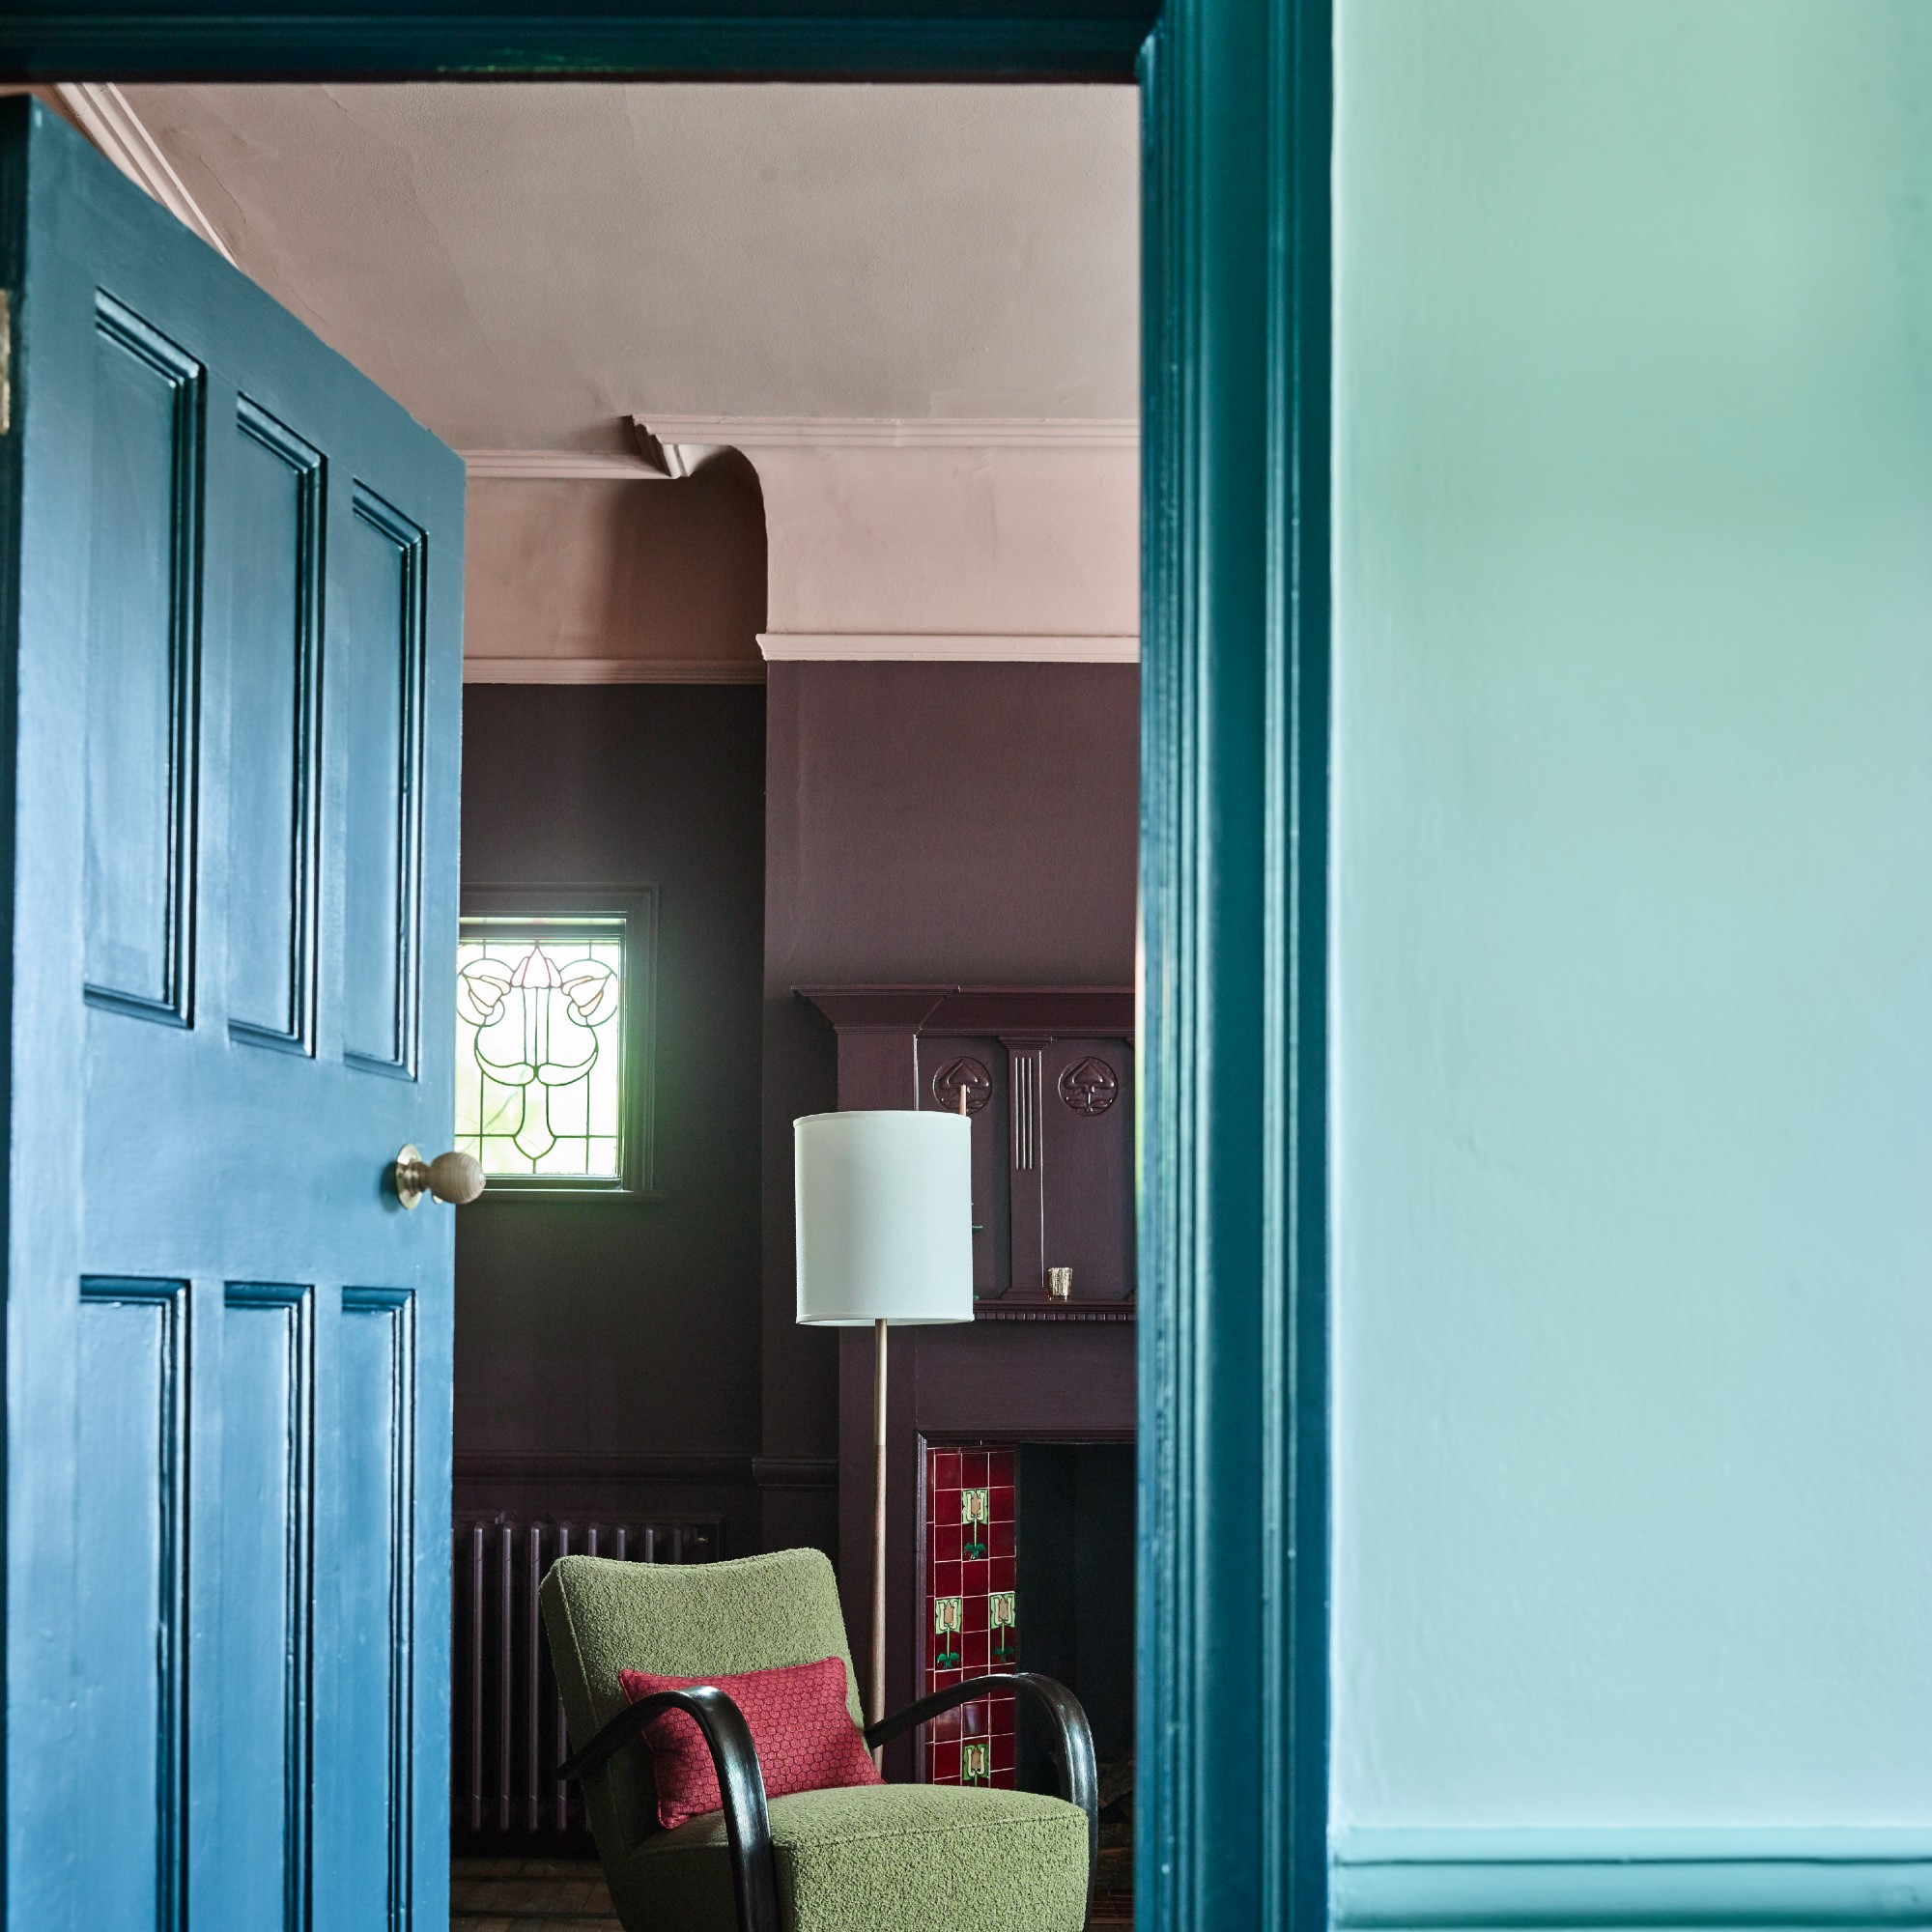
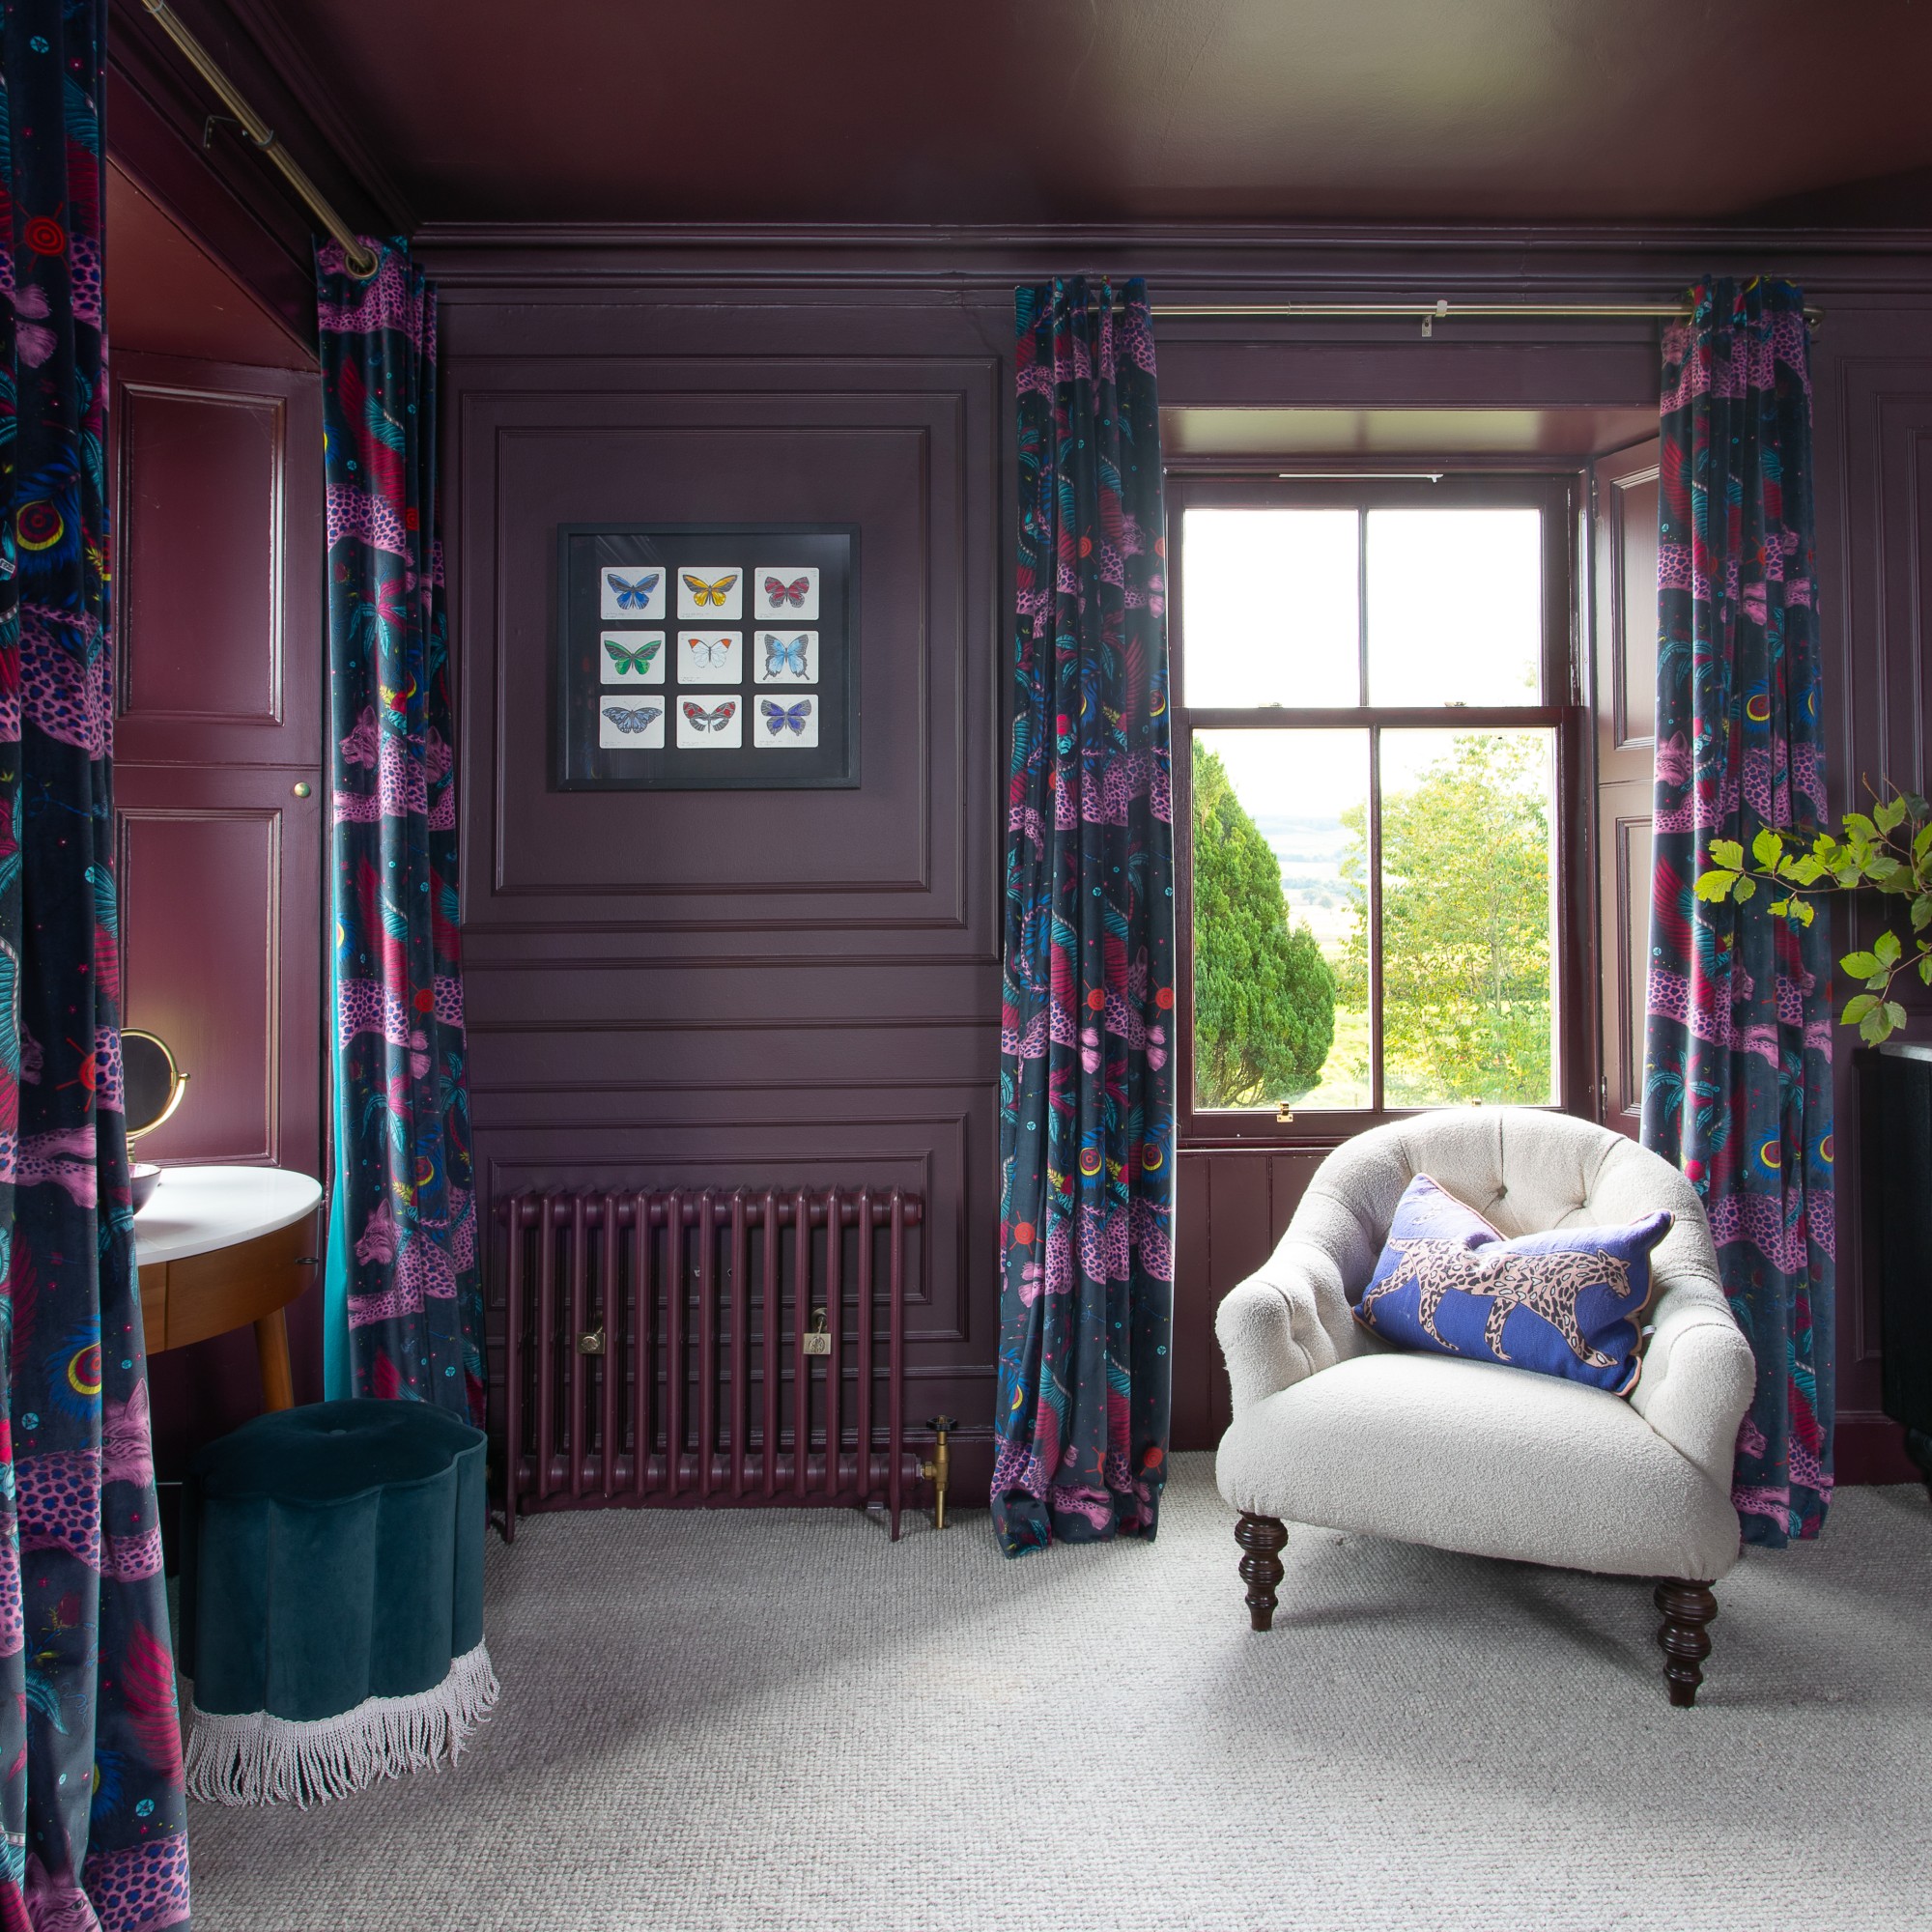
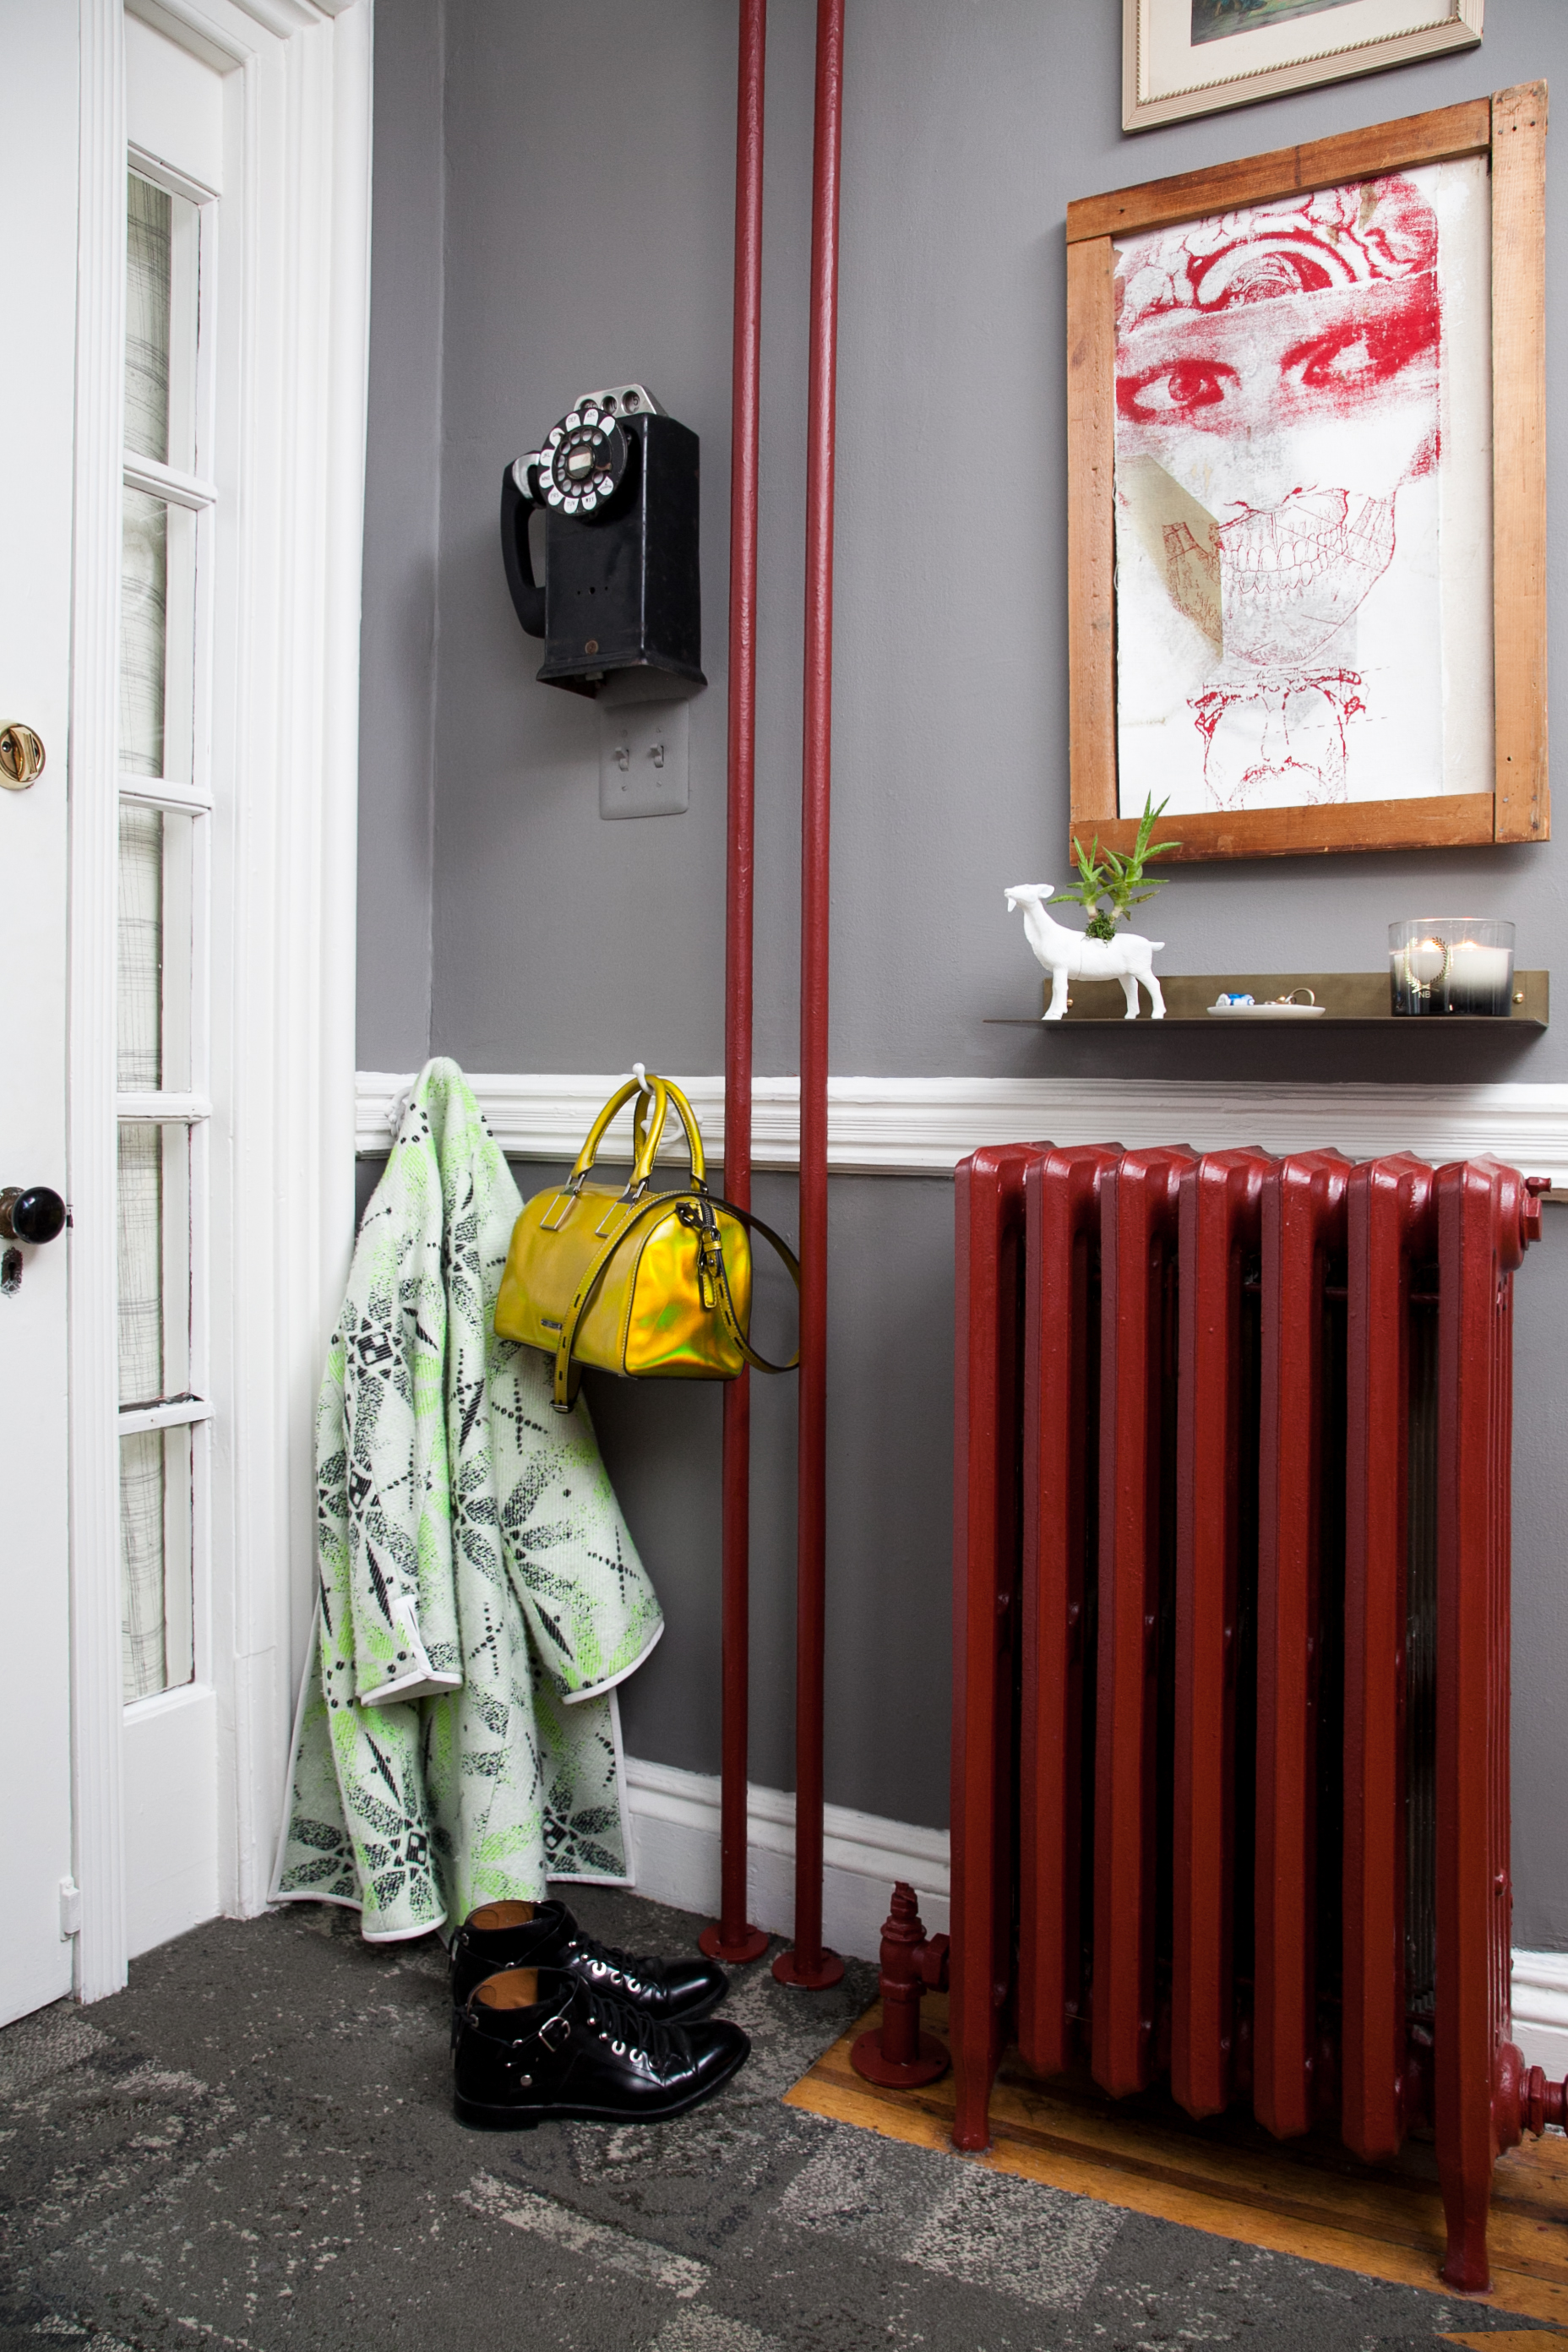
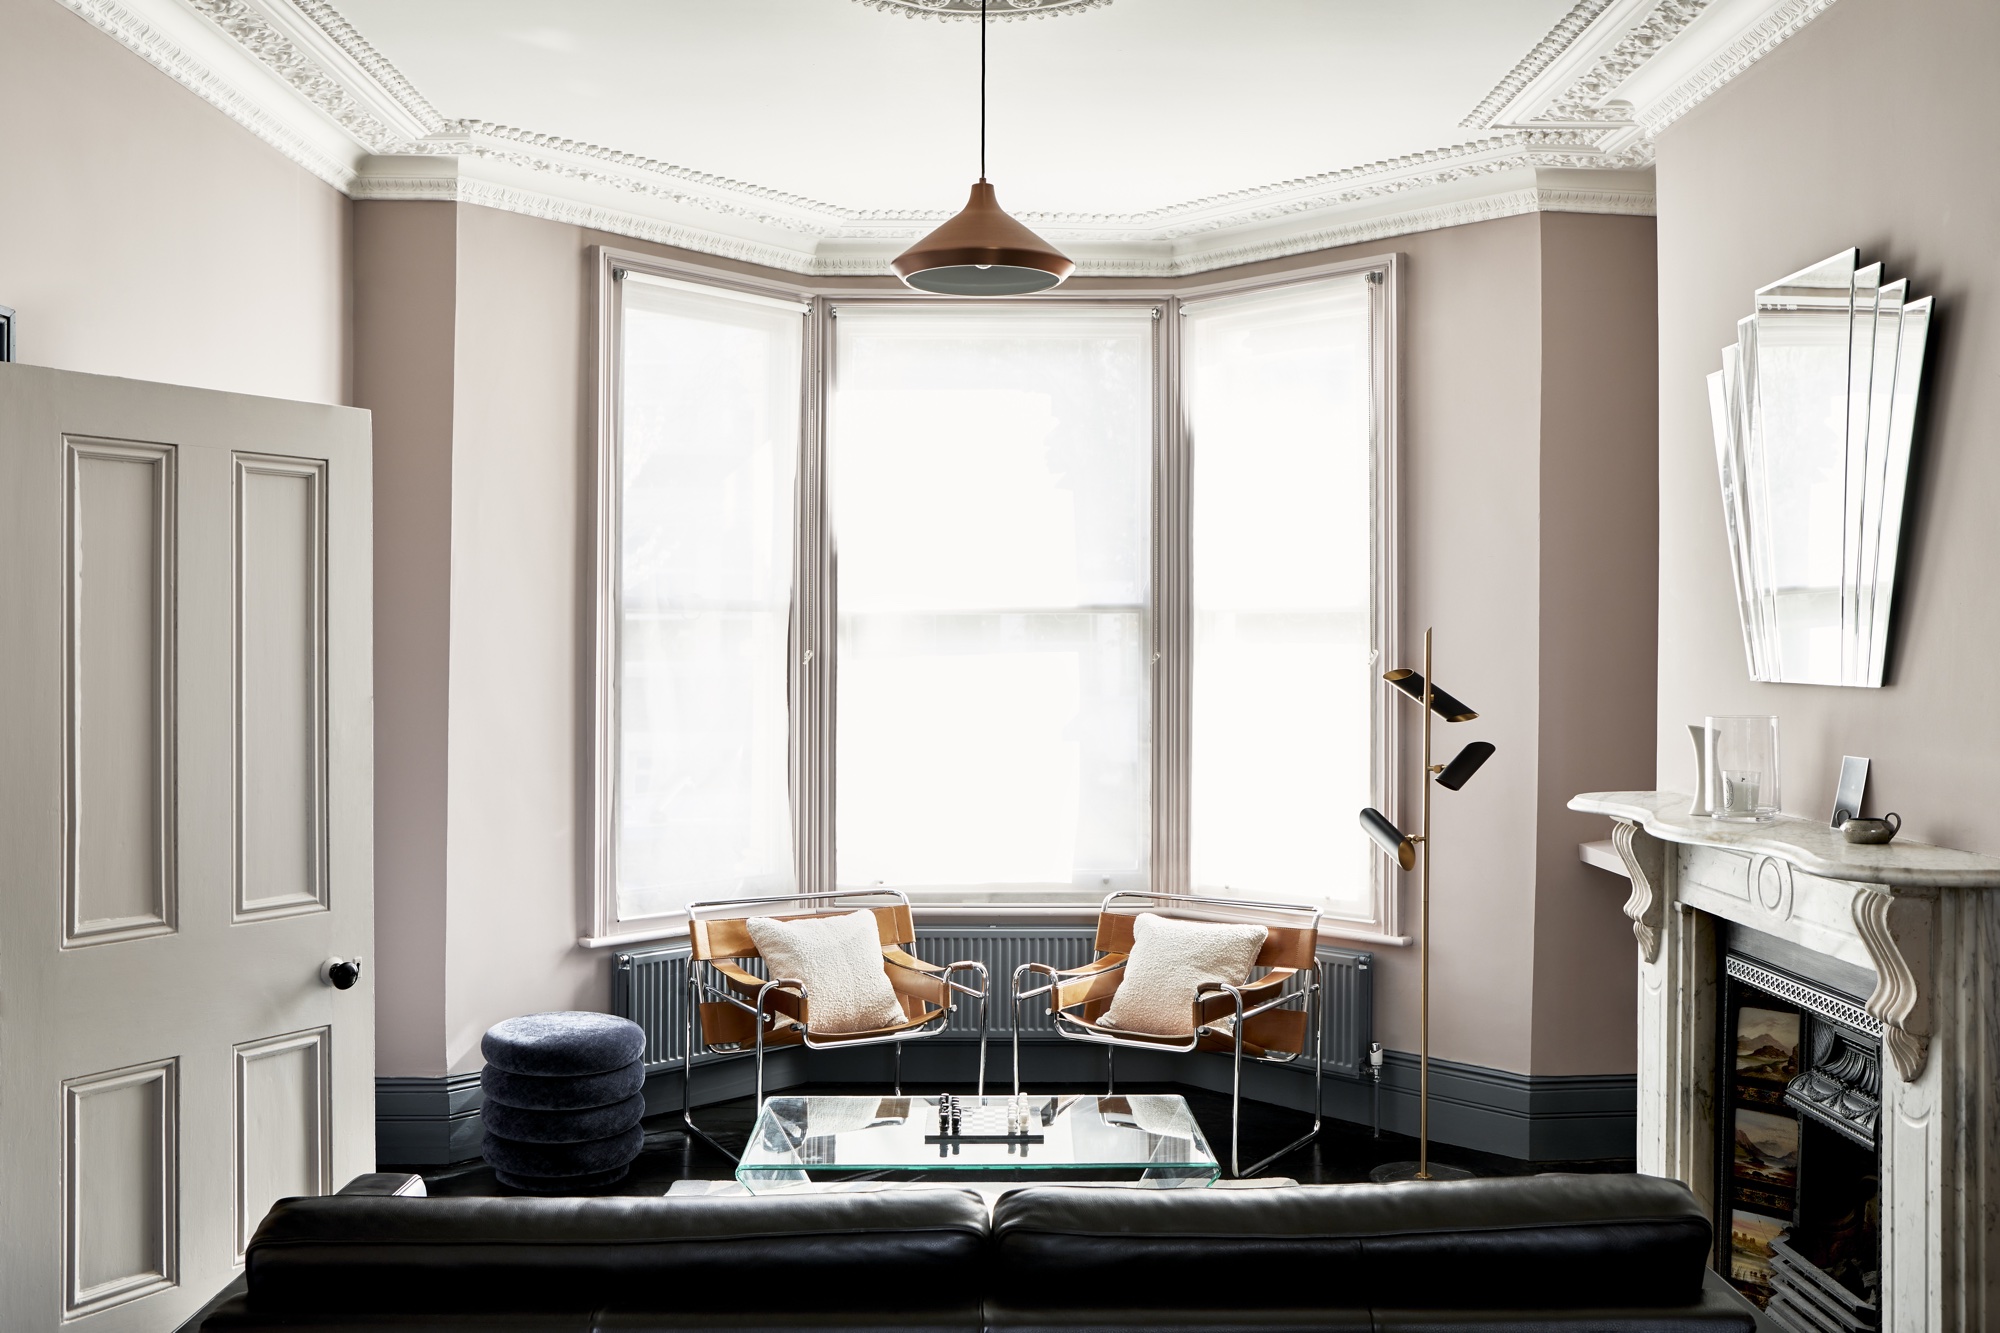
Painting behind a radiator, a task often perceived as challenging, can be simplified with the correct approach and tools, ensuring a seamless and aesthetically pleasing finish in any room. This process is crucial for achieving a complete look, especially with modern paint trends like color-drenching, where matching woodwork and radiators to walls creates a cohesive and expansive feel, particularly beneficial in smaller or unusually shaped spaces. However, a contrasting color can also be employed to make a bold design statement.
Before commencing the painting process, several preparatory steps are essential. Firstly, the radiator must be switched off and allowed to cool completely to prevent burns and paint blistering. Next, assessing the space between the radiator and the wall is critical. A mini roller with a long handle is often sufficient for gaps of approximately 1.5 inches or more. If the space is too narrow for a roller, professional plumbing assistance may be required to temporarily remove the radiator. Protecting the surrounding areas is also vital; this involves covering the floor with a dust sheet and applying plastic sheeting or masking tape to the radiator itself to shield it from paint splatters.
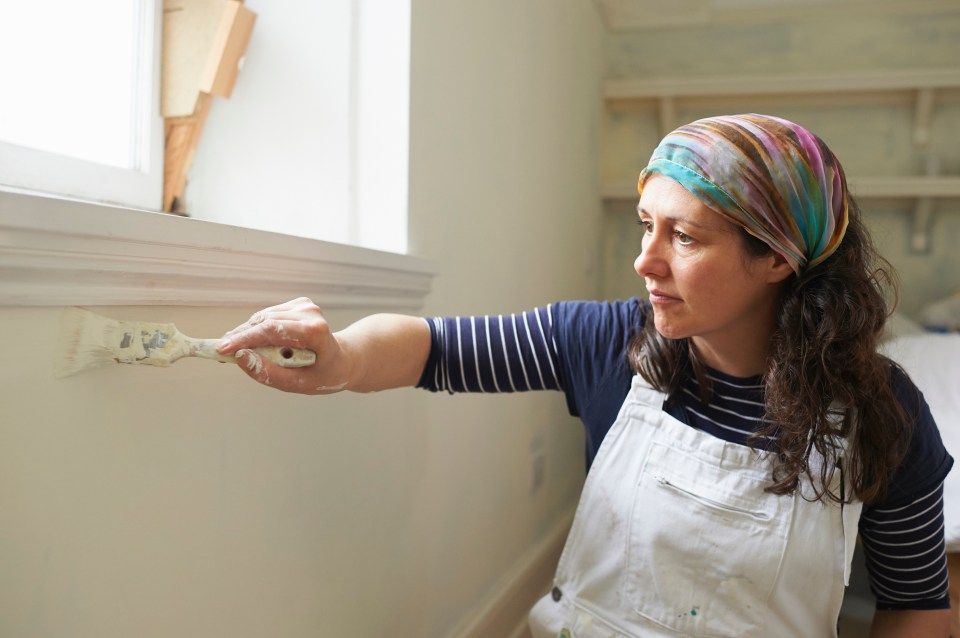
Wall preparation is an indispensable step to ensure a smooth and durable paint application. This involves light sanding of the wall surface to create a suitable texture for paint adhesion, followed by vacuuming to remove any dust or debris. Once the surface is clean and prepped, the actual painting can begin. Experts recommend starting from the top of the wall behind the radiator and working downwards, then around the sides. It is advised to load the mini roller sparingly with paint to prevent drips and accidental paint transfer onto the radiator itself.
For radiators that are exceptionally close to the wall, a small brush might be the only viable option to reach as far as possible. Some radiators have flexible pipes that allow them to be unhooked temporarily for easier access, though this is uncommon. If satisfactory access cannot be achieved with conventional tools, consulting a plumber to temporarily detach the radiator is a recommended course of action. This ensures the entire wall can be painted without compromise. A plumber can efficiently empty the radiator without draining the entire system, remove it, and then rehang and refill it once the wall is dry. This professional intervention guarantees a thorough and clean finish without the risk of property damage.
The essential tools for this task include a long-handled roller, a dust sheet, masking tape, sandpaper, a vacuum cleaner, and the chosen paint. By following these expert tips, the seemingly daunting task of painting behind a radiator transforms into a manageable project, contributing significantly to the overall aesthetic coherence and finish of a room's interior design.
#PaintBehindRadiator #HomeImprovement #DIYPainting #InteriorDesignTips #WallPreparation #PaintingTechniques #RadiatorMaintenance #HomeDecor #ExpertAdvice #PaintBehindRadiator #HomeImprovement #DIYPainting #InteriorDesignTips #WallPreparation #PaintingTechniques #RadiatorMaintenance #HomeDecor #ExpertAdvice
0 comment in total
 No comments yet
You may also like
How to hide a radiator - the expert guide to decorating tricks to help them blend in
6 clever ways to make a radiator look good – there is no excuse for an ugly radiator to sabotage your scheme
7 places in your home you’re probably forgetting to paint – but design experts say you really shouldn’t
How do I bleed my radiator? We asked a plumbing expert for their top tips
How to paint a radiator - an easy guide to update an ugly radiator in an afternoon
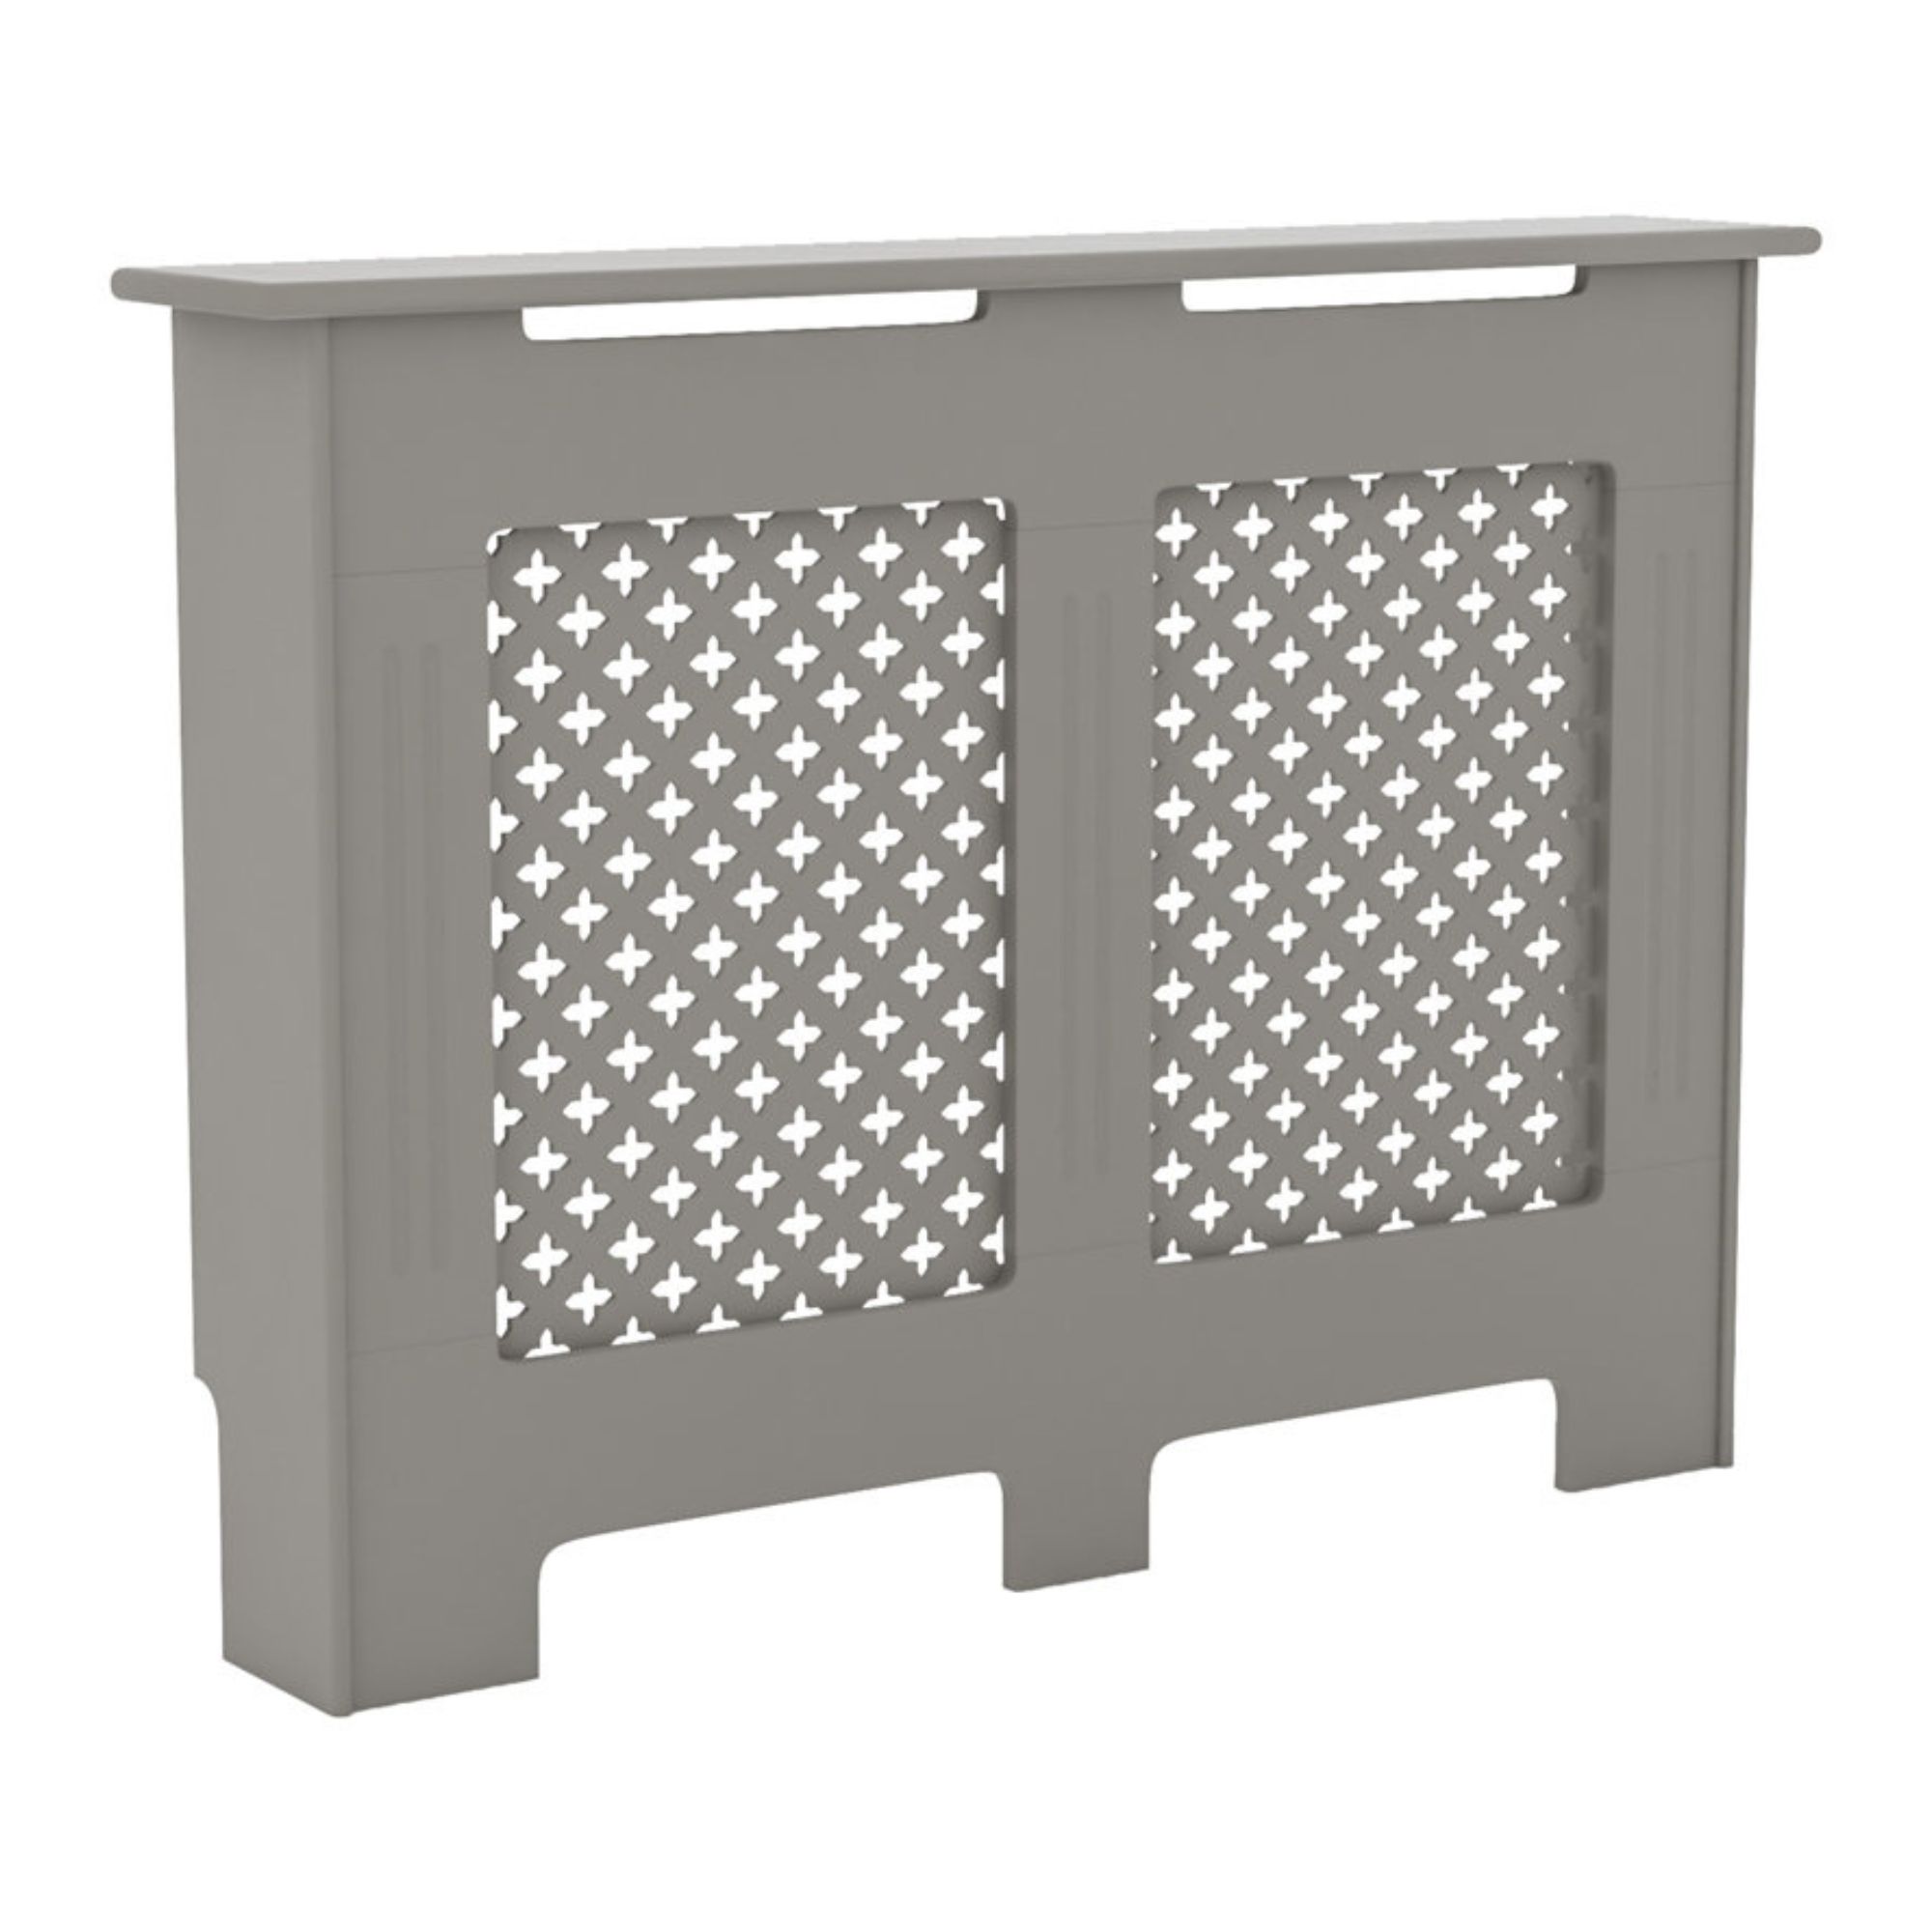
The best radiator covers – modern, rustic and affordable options to disguise your heating in style
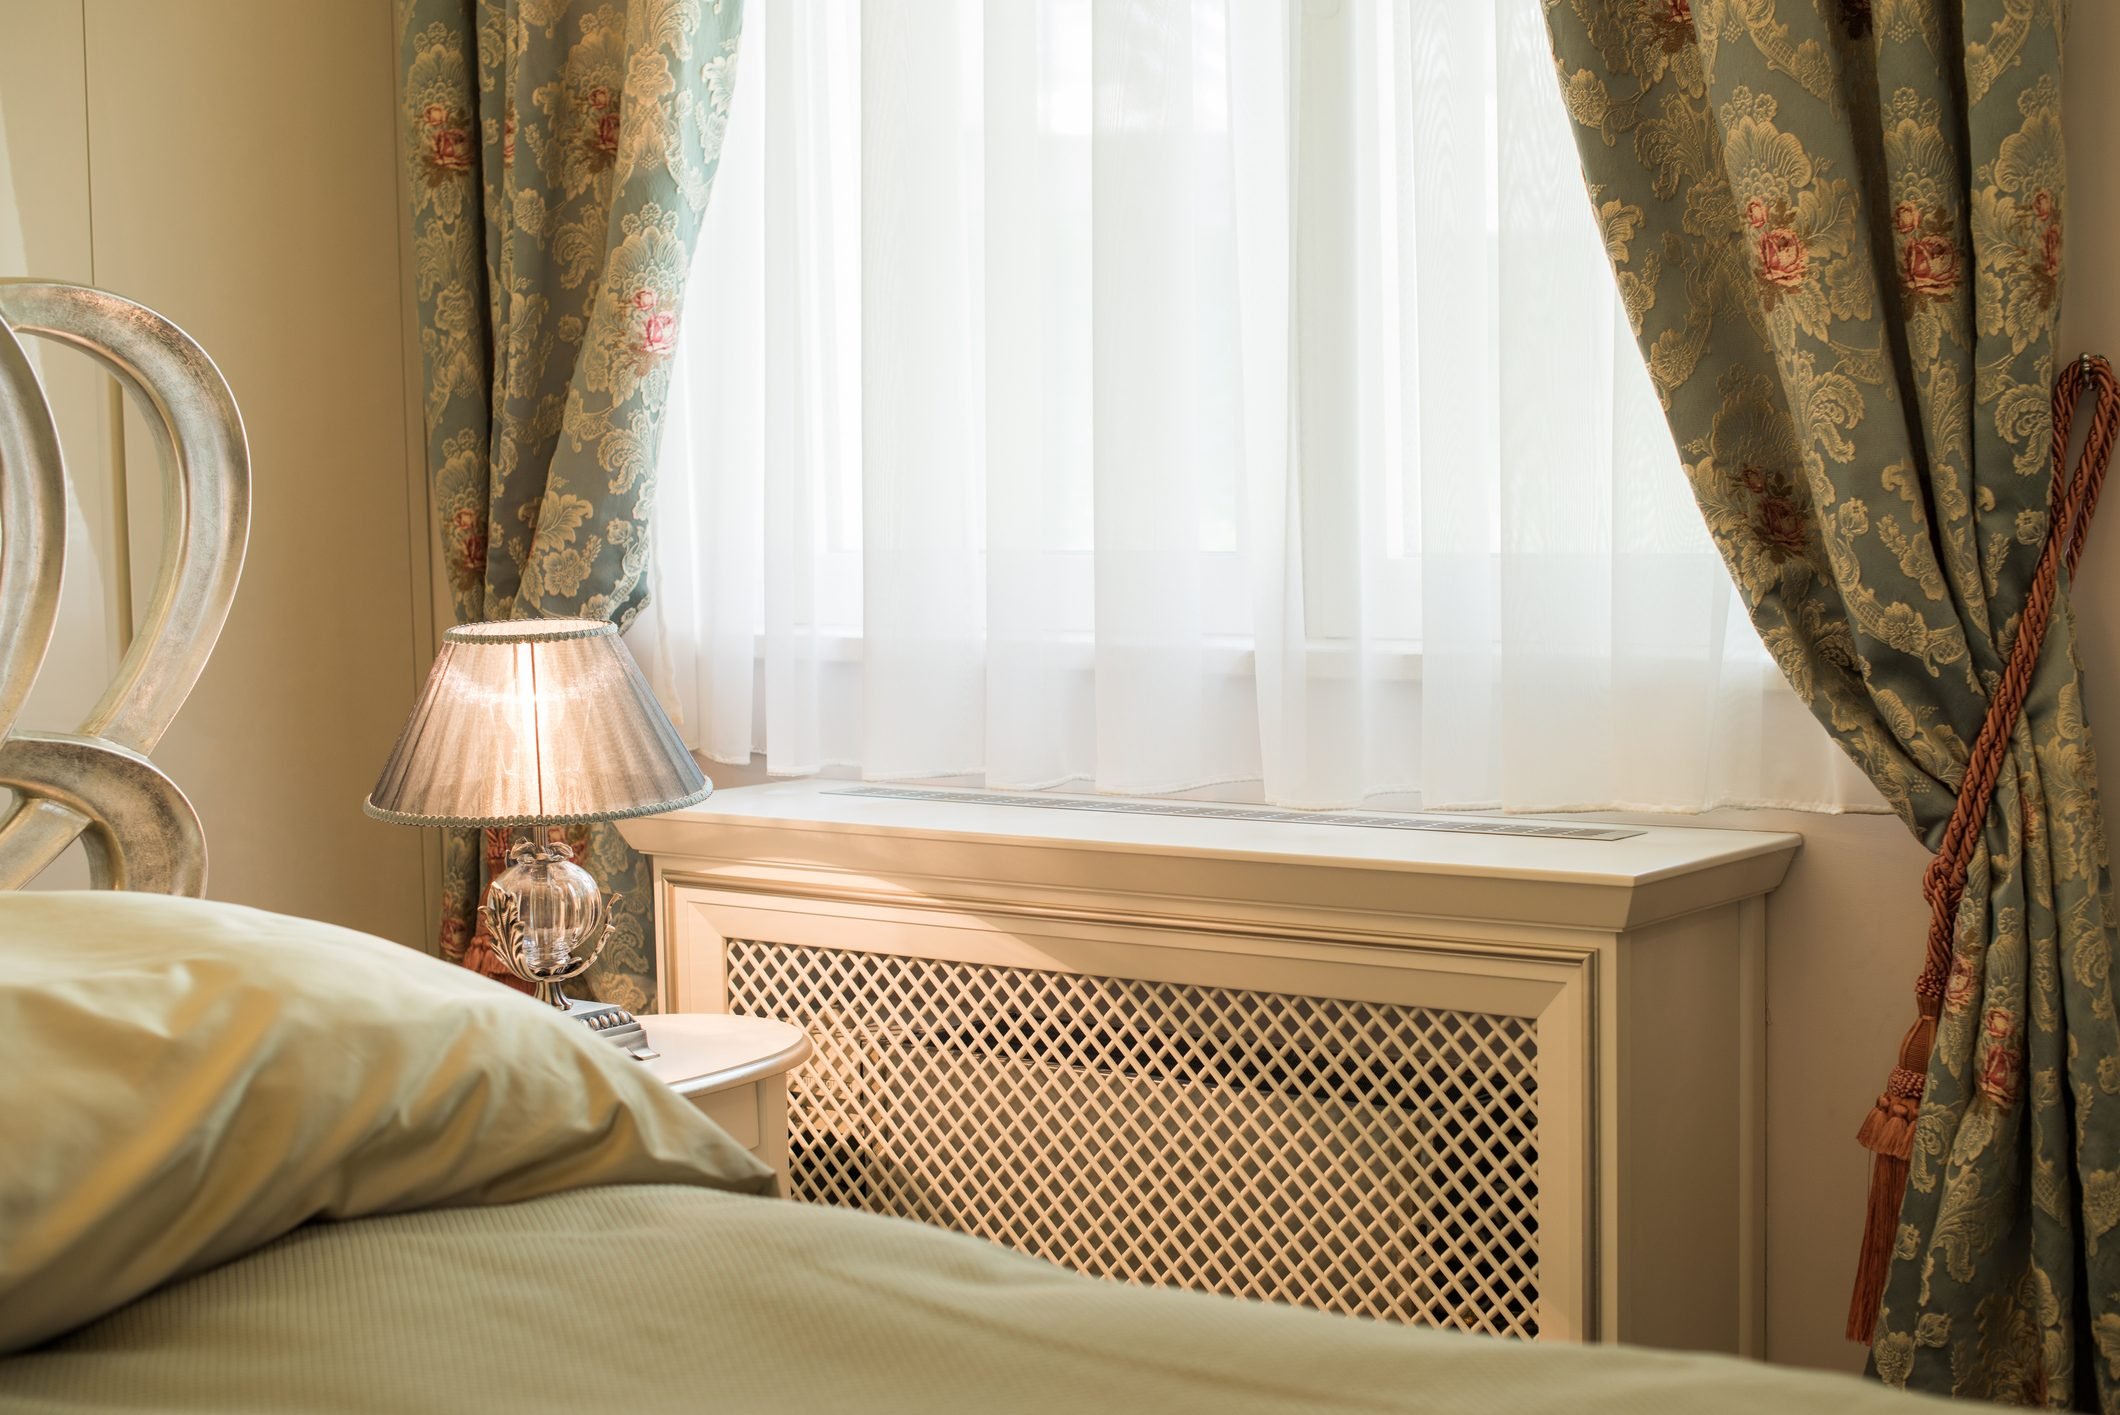
Radiator Covers Buyer’s Guide: Why Use, Types (Wood, Metal &; More), Costs Etc.

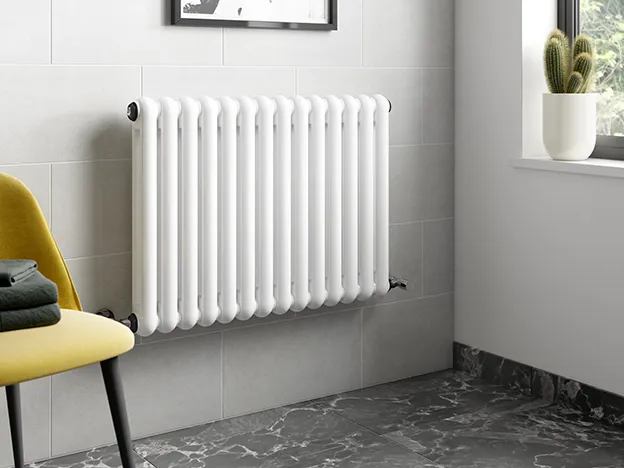
Radiators

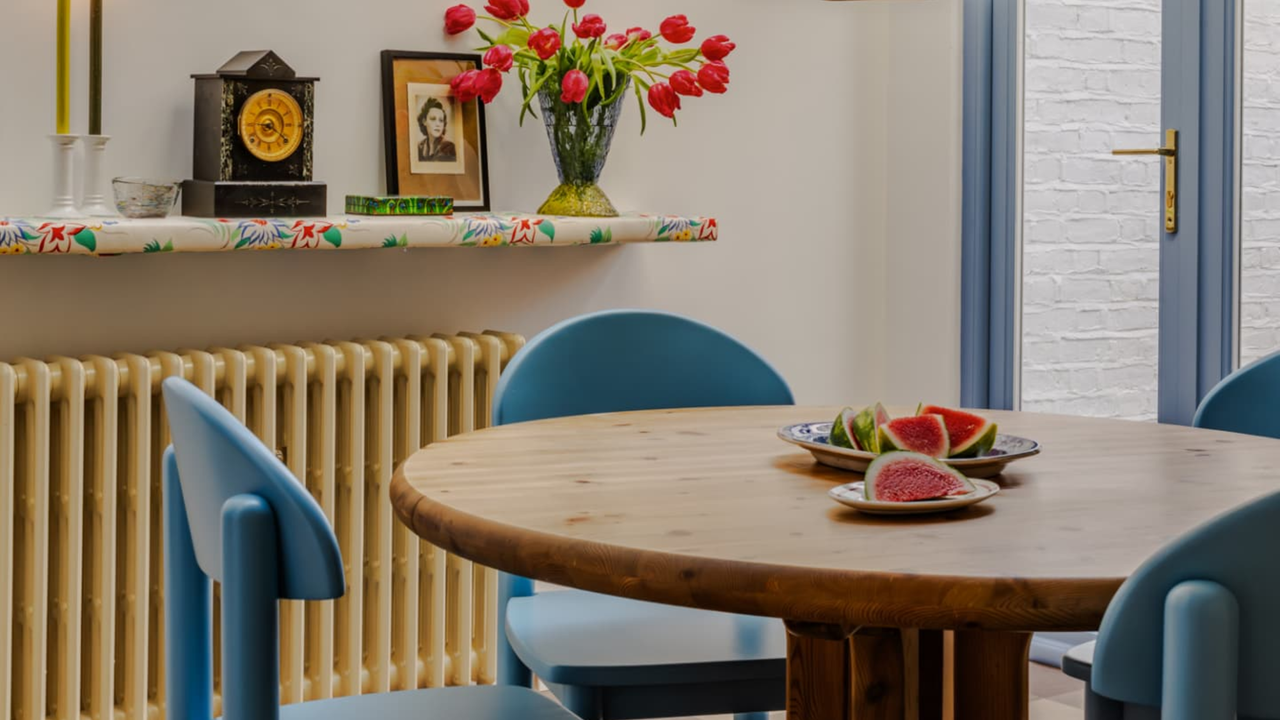
5 Ways to Make Radiators Actually Look Good —…

How to Dress Up Your Baseboard Radiator Space
How to Transform Your Radiator from Eyesore to Eye Candy

Undercoat & Primer Paints
Take cover / Turn your unsightly radiator into a thing of beauty with an enclosure

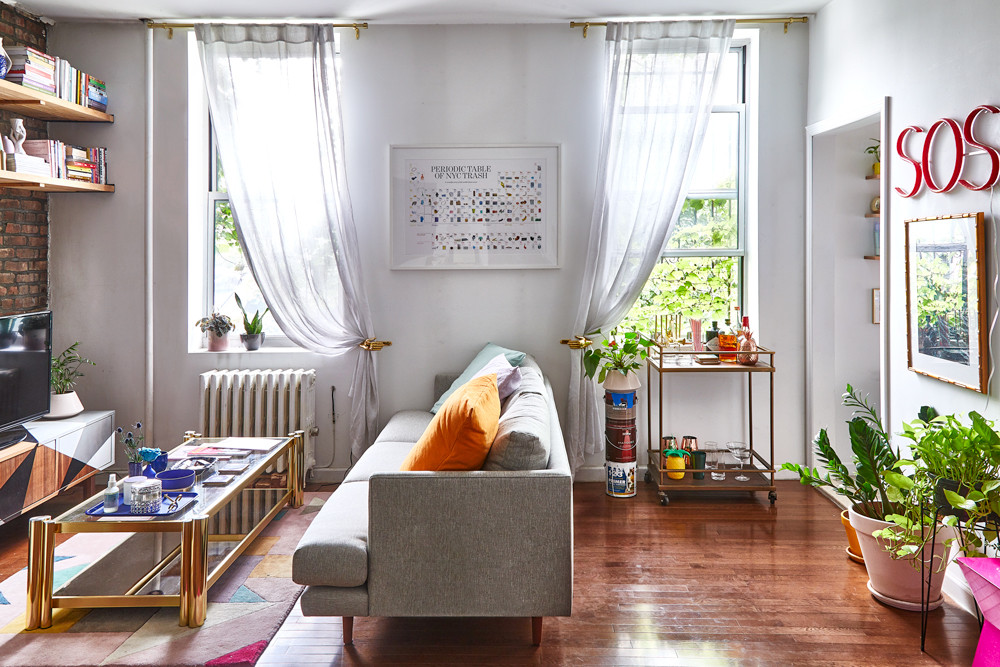
Stylish Ways To Hide Your Ugly Radiator And Other Common Household Eyesores
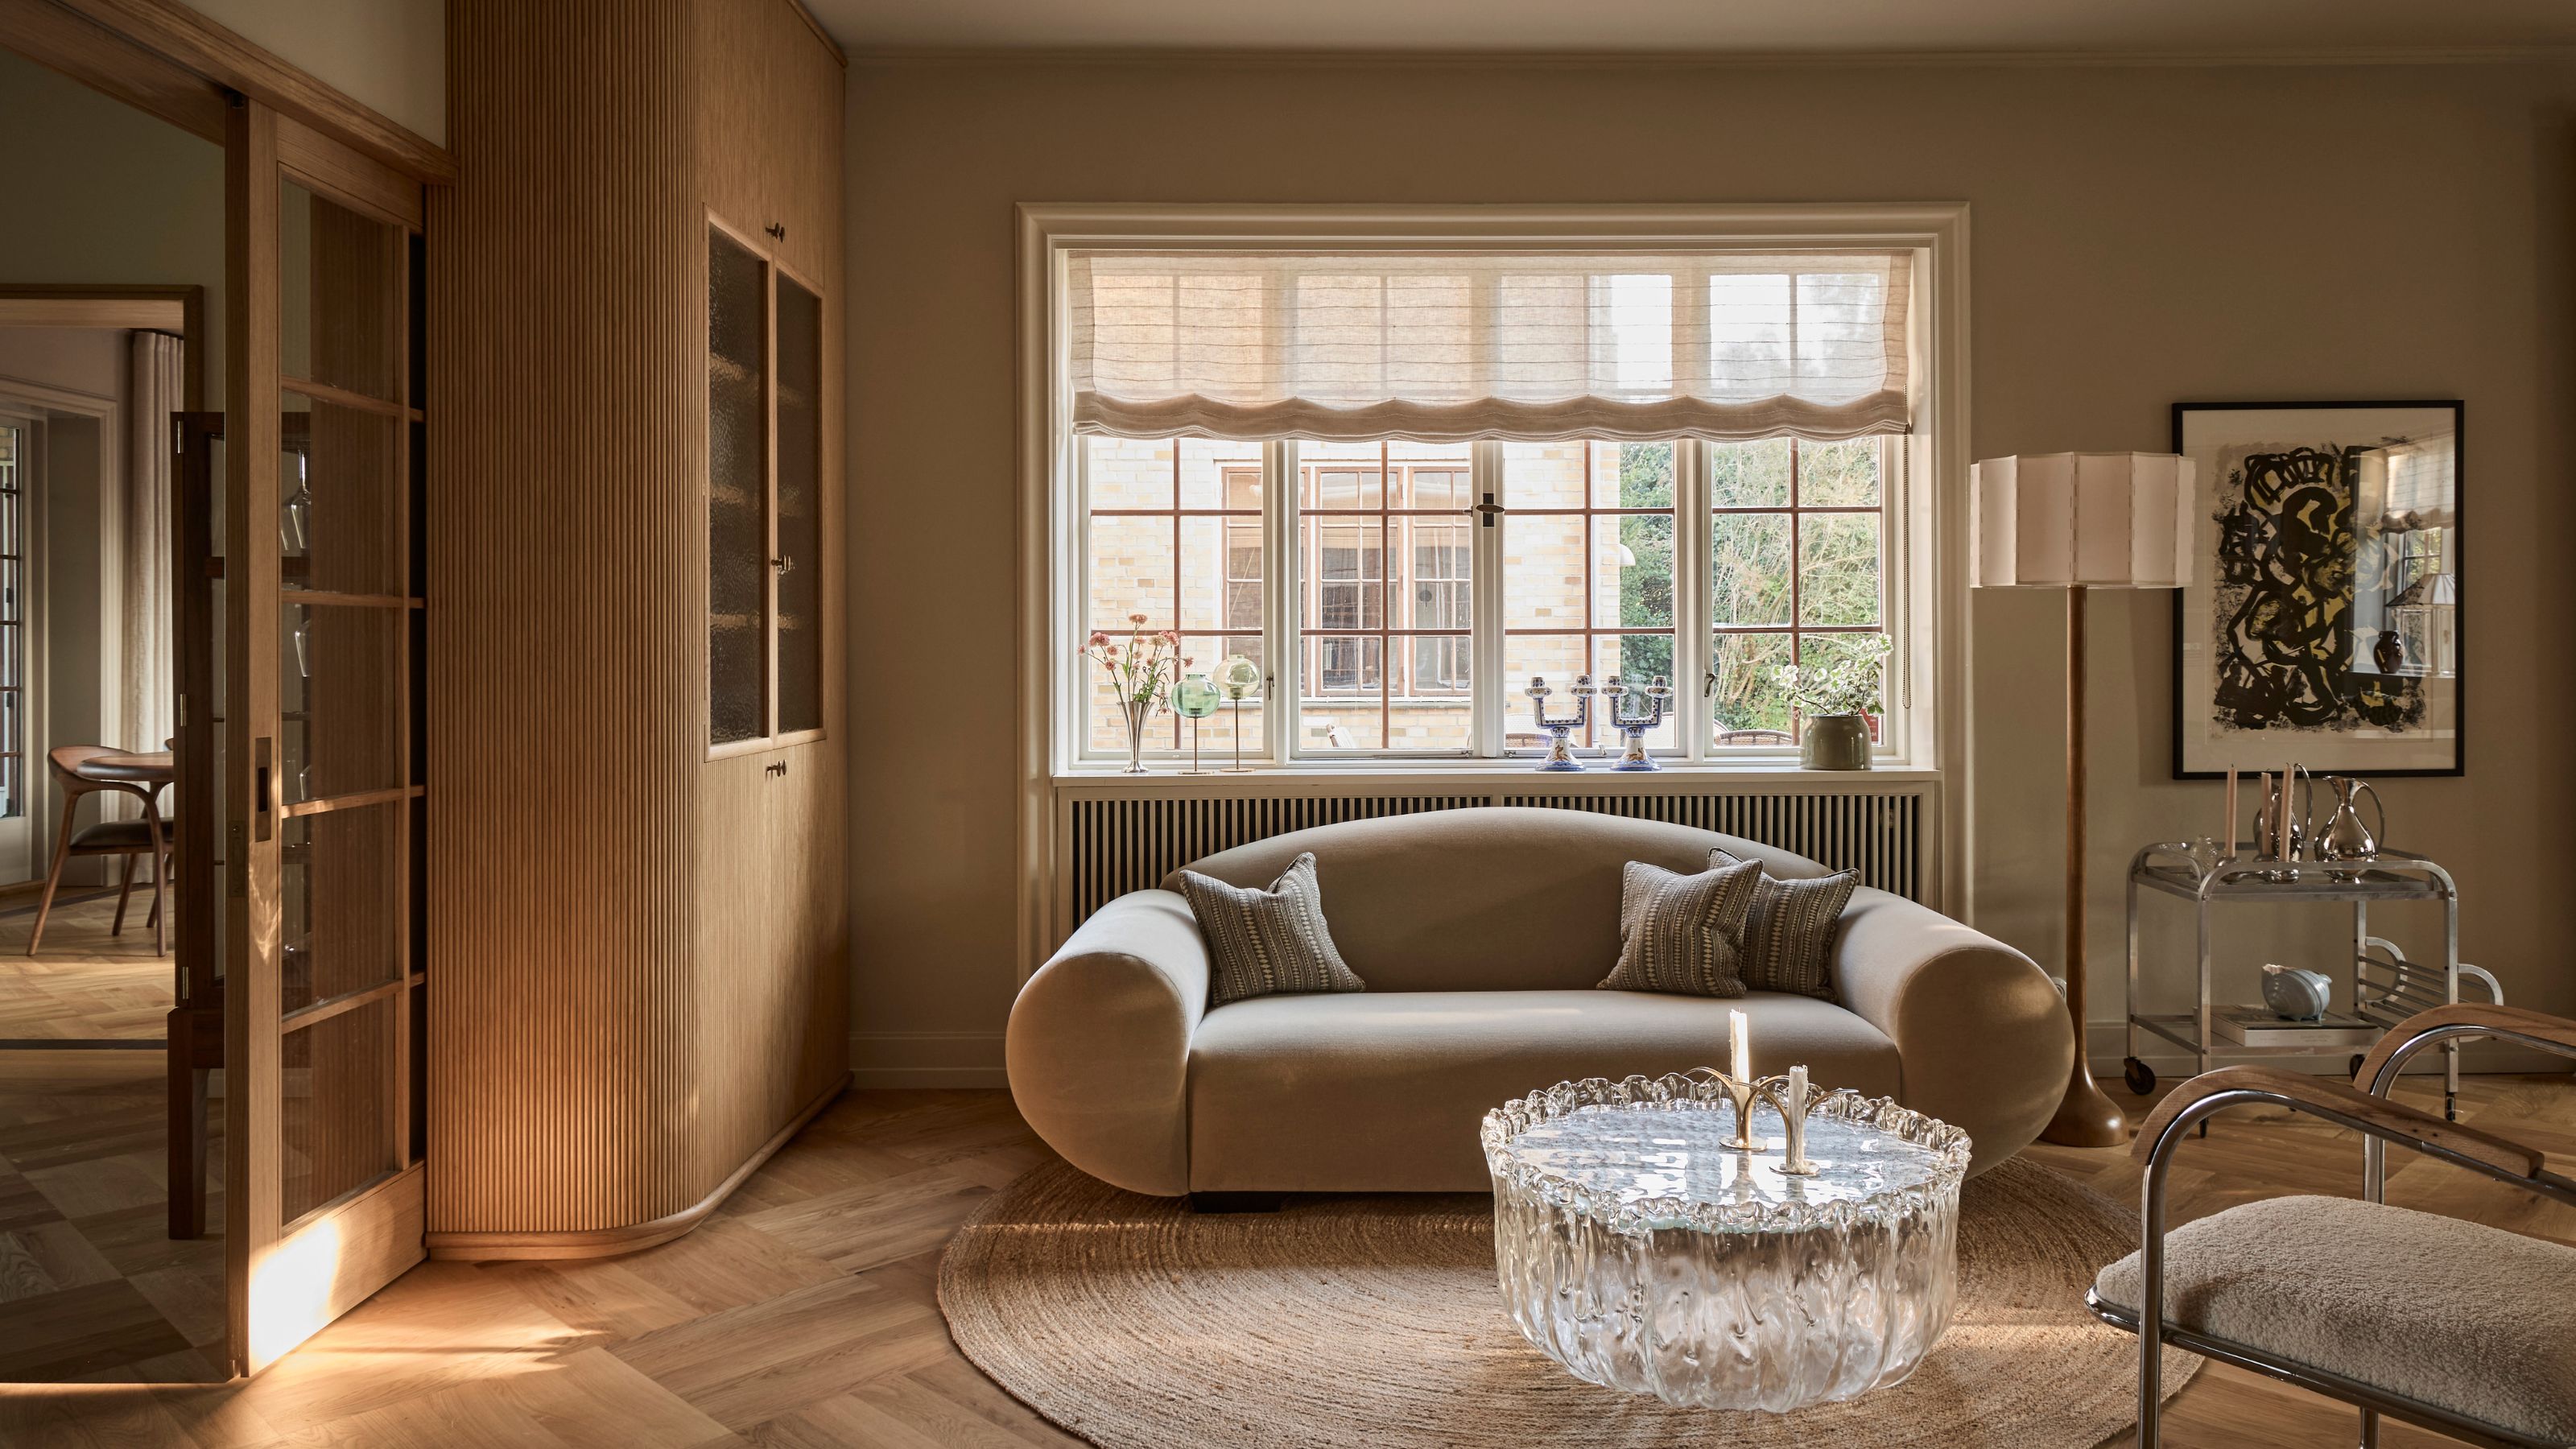
Do Radiator Covers Block Heat? Heating Experts Break It Down
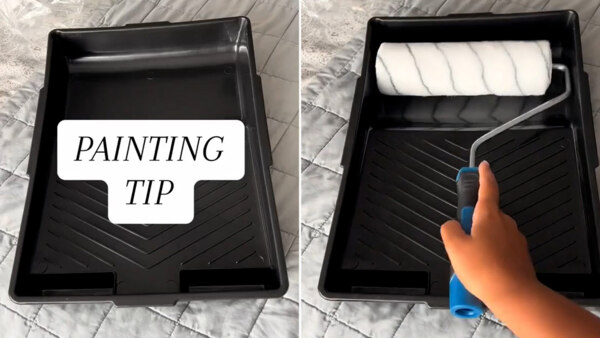
I’m a paint expert - the £1.25 buy pros swear by for a flawless finish on walls

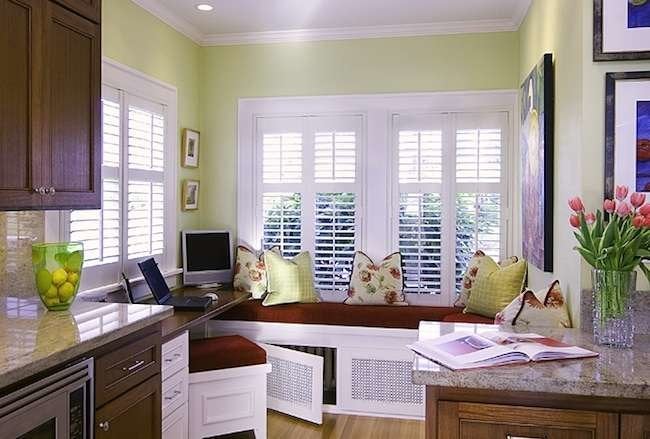
11 Stylish Ways to Enhance—or Hide—Your Radiators
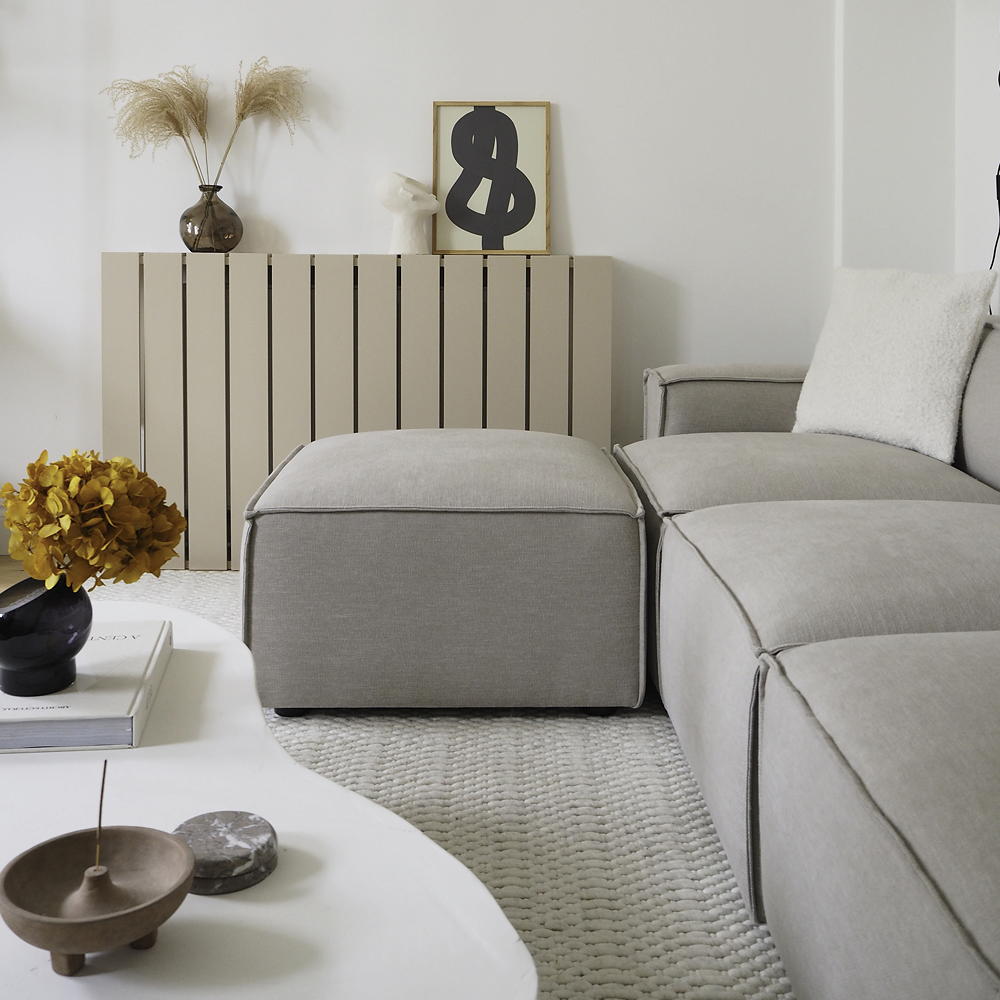
See how this savvy Instagrammer created a stylish radiator cover using pre-cut panels
Understanding paint finishes
Paint tips from a pro!