1/13
How to Build Your Own Outdoor Projector Arcade Setup
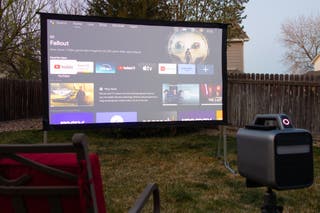
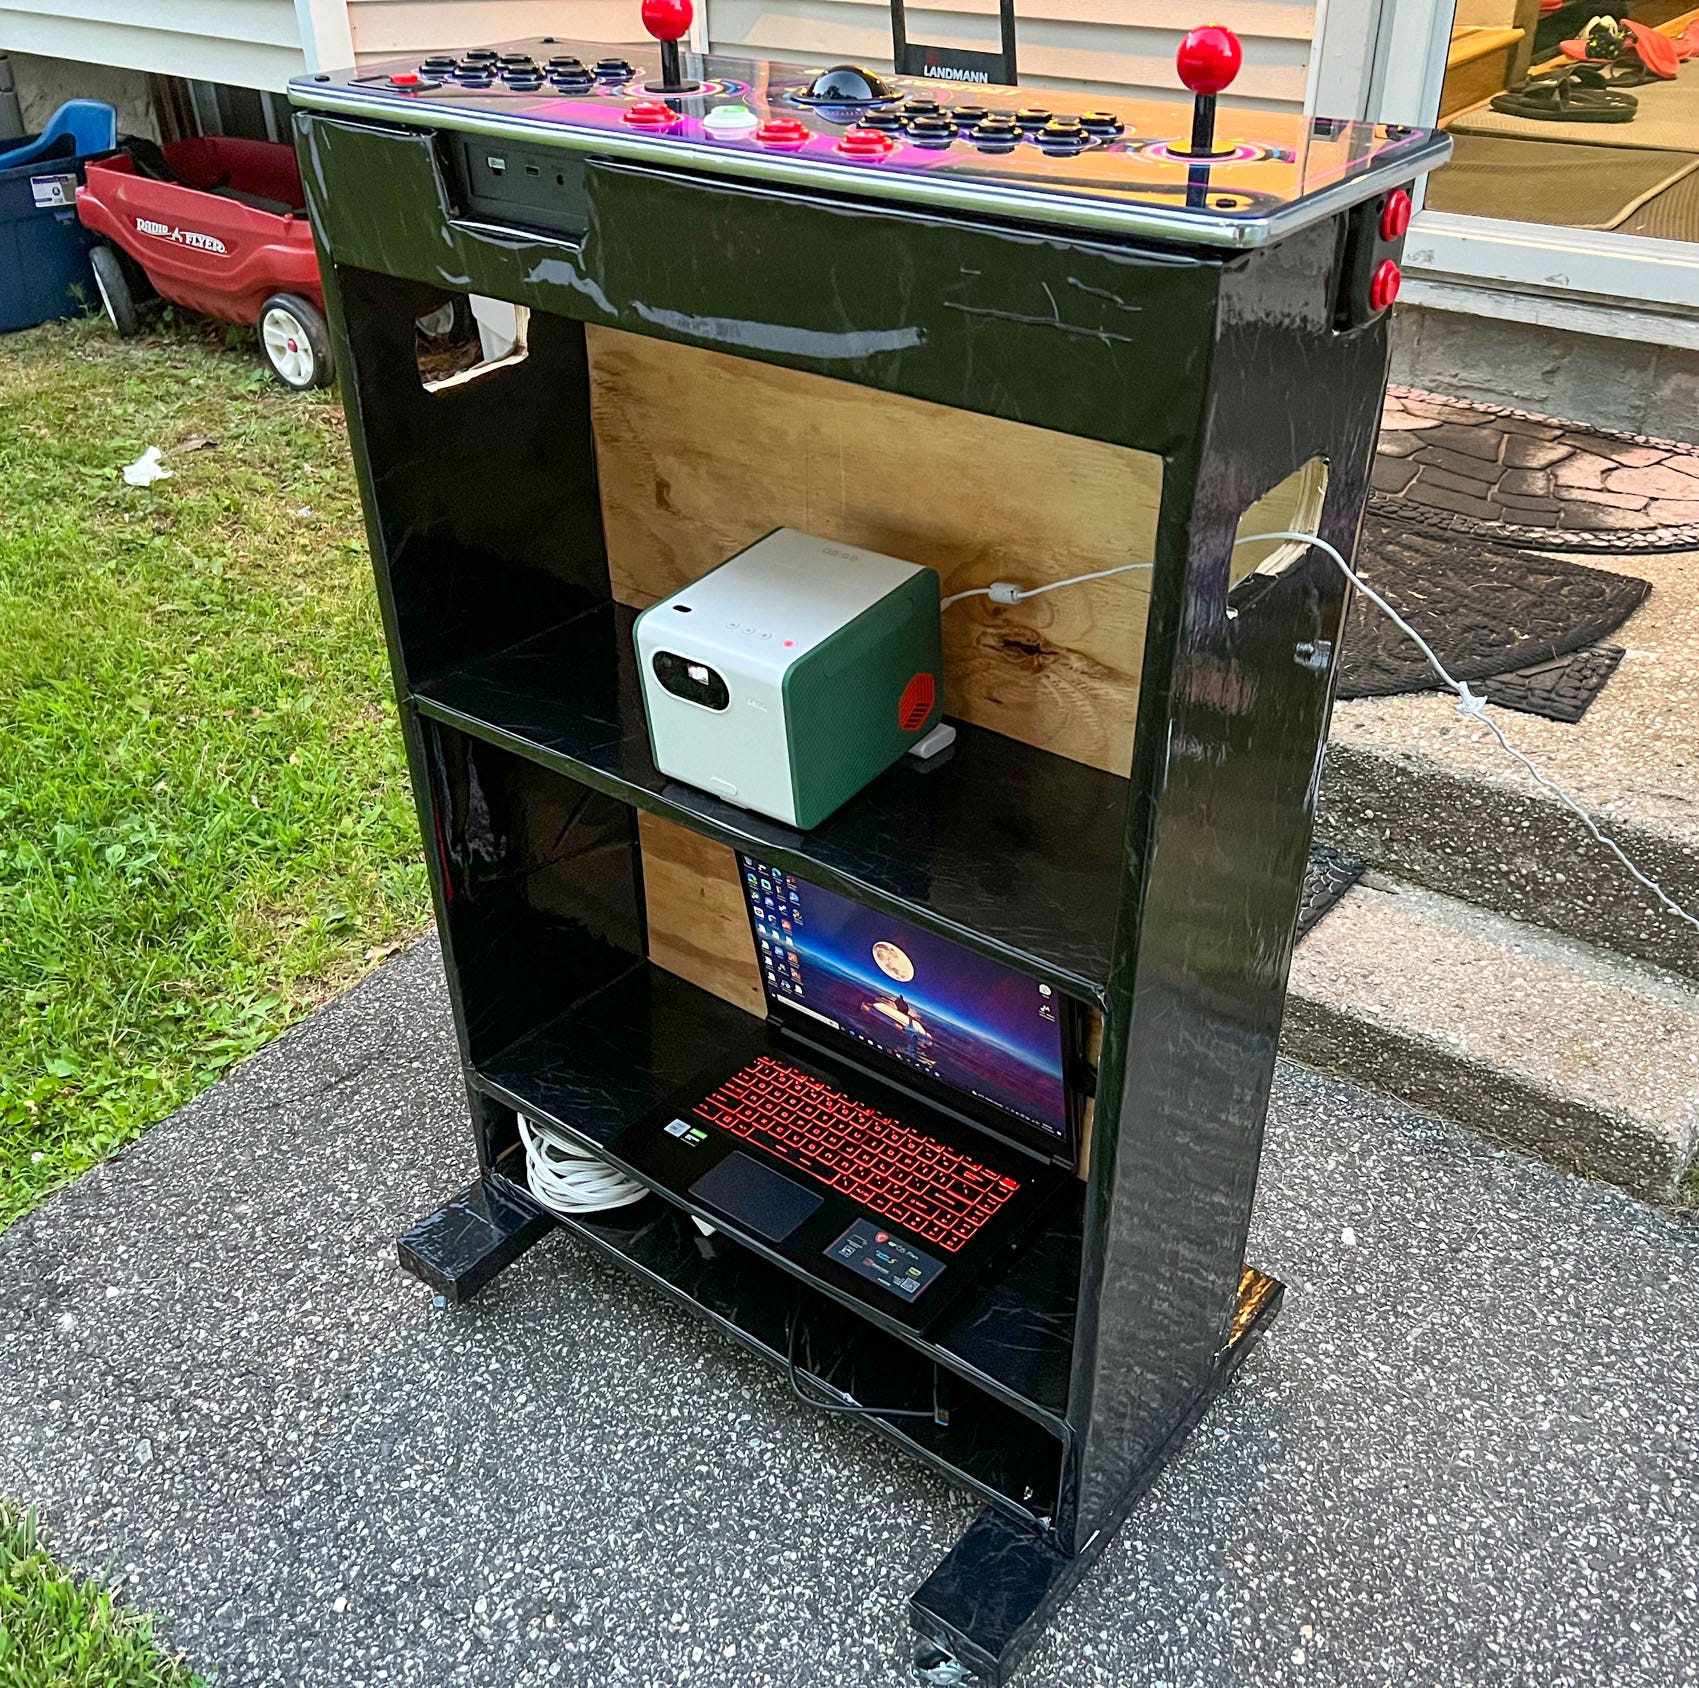
This article details the construction of a "Projectorcade," a versatile outdoor entertainment center designed for playing retro games, watching TV, and listening to music. The inspiration for this DIY project stemmed from the enjoyment of reviewing outdoor TVs under the stars, leading to the idea of incorporating a gaming system and computer into an outdoor setup. The Projectorcade is a multi-functional unit that includes a two-player arcade cabinet pedestal, shelving for an outdoor projector, and additional space for devices like a laptop or speaker. The entire structure is portable, mounted on locking wheels, and weighs just over 50 pounds, making it easy for one person to move between indoor and outdoor spaces using built-in side handles.
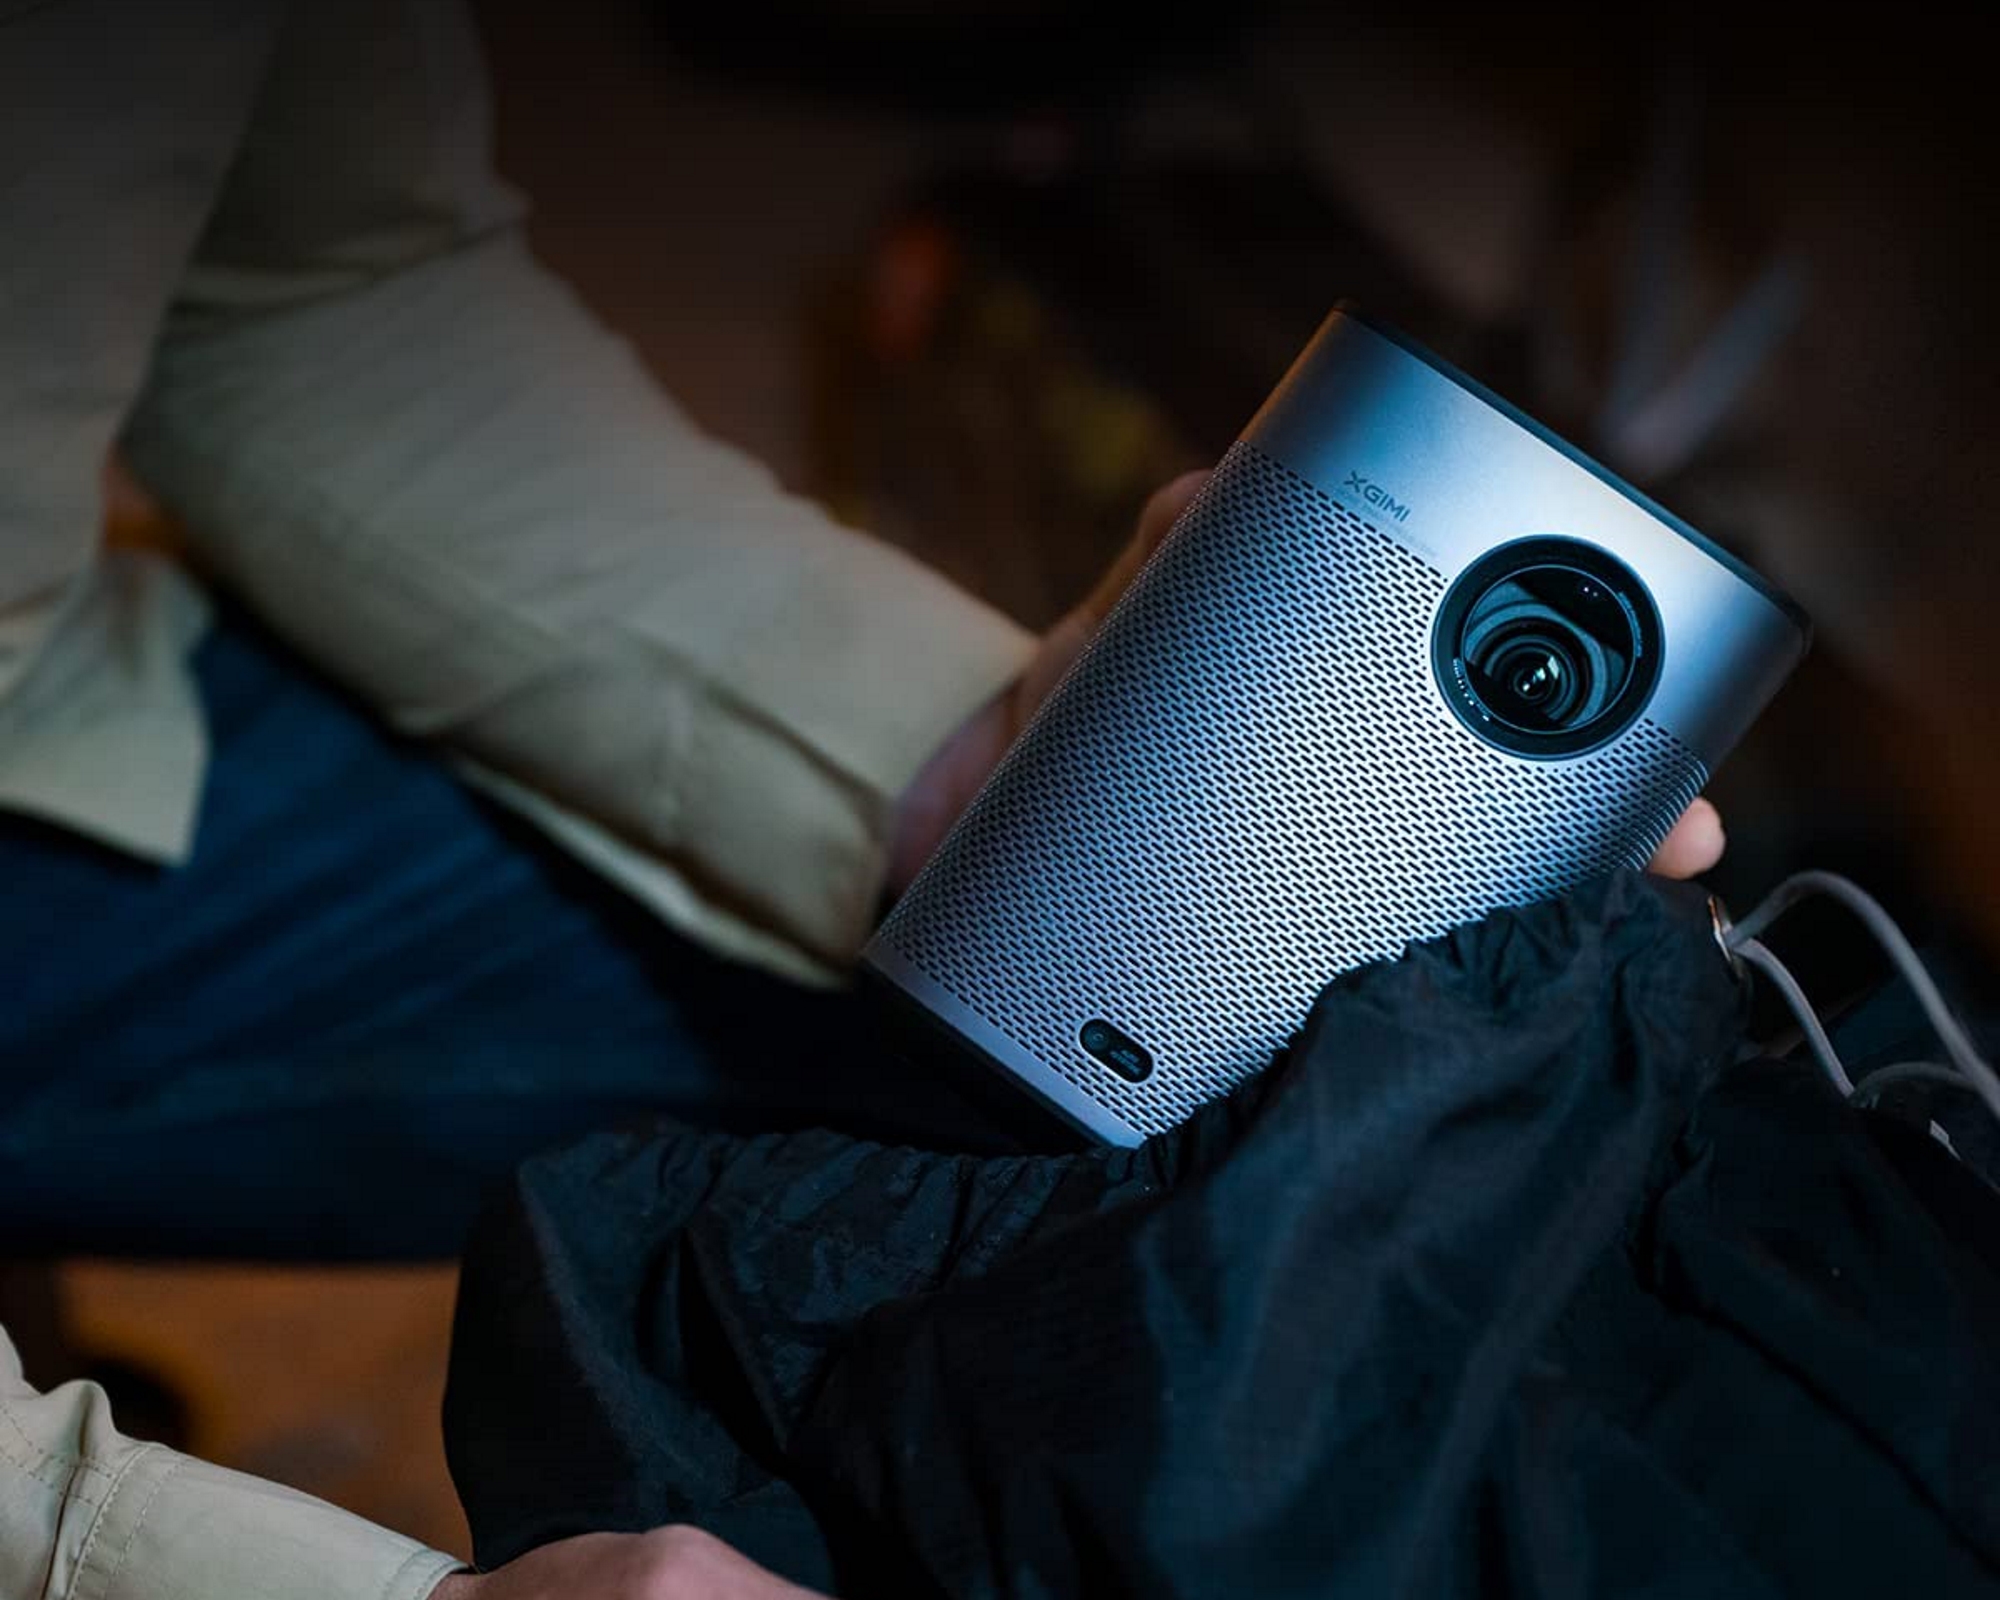
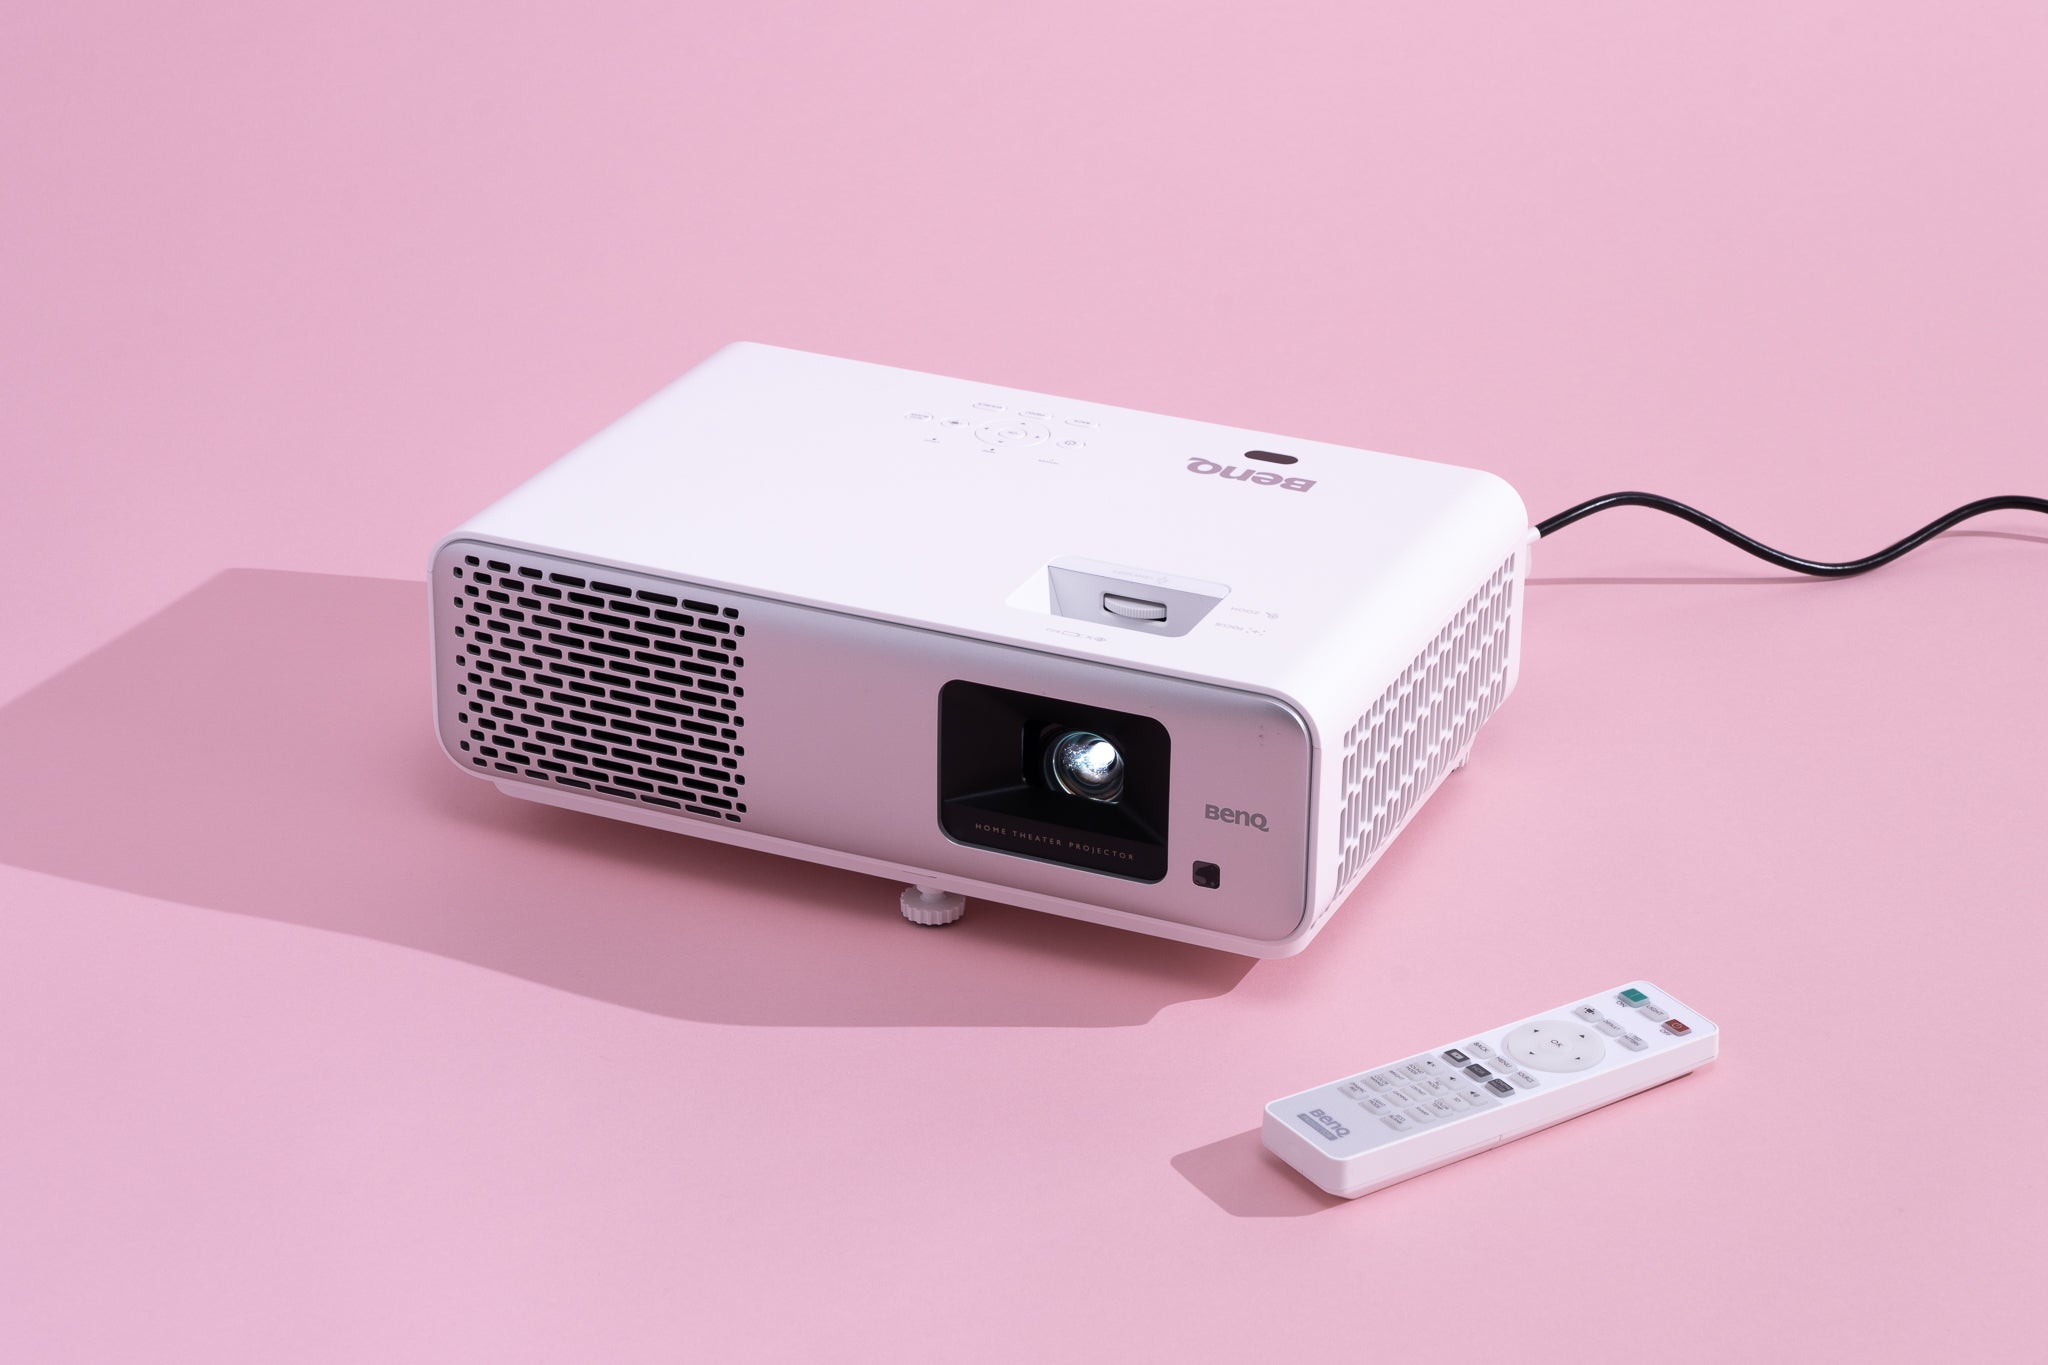
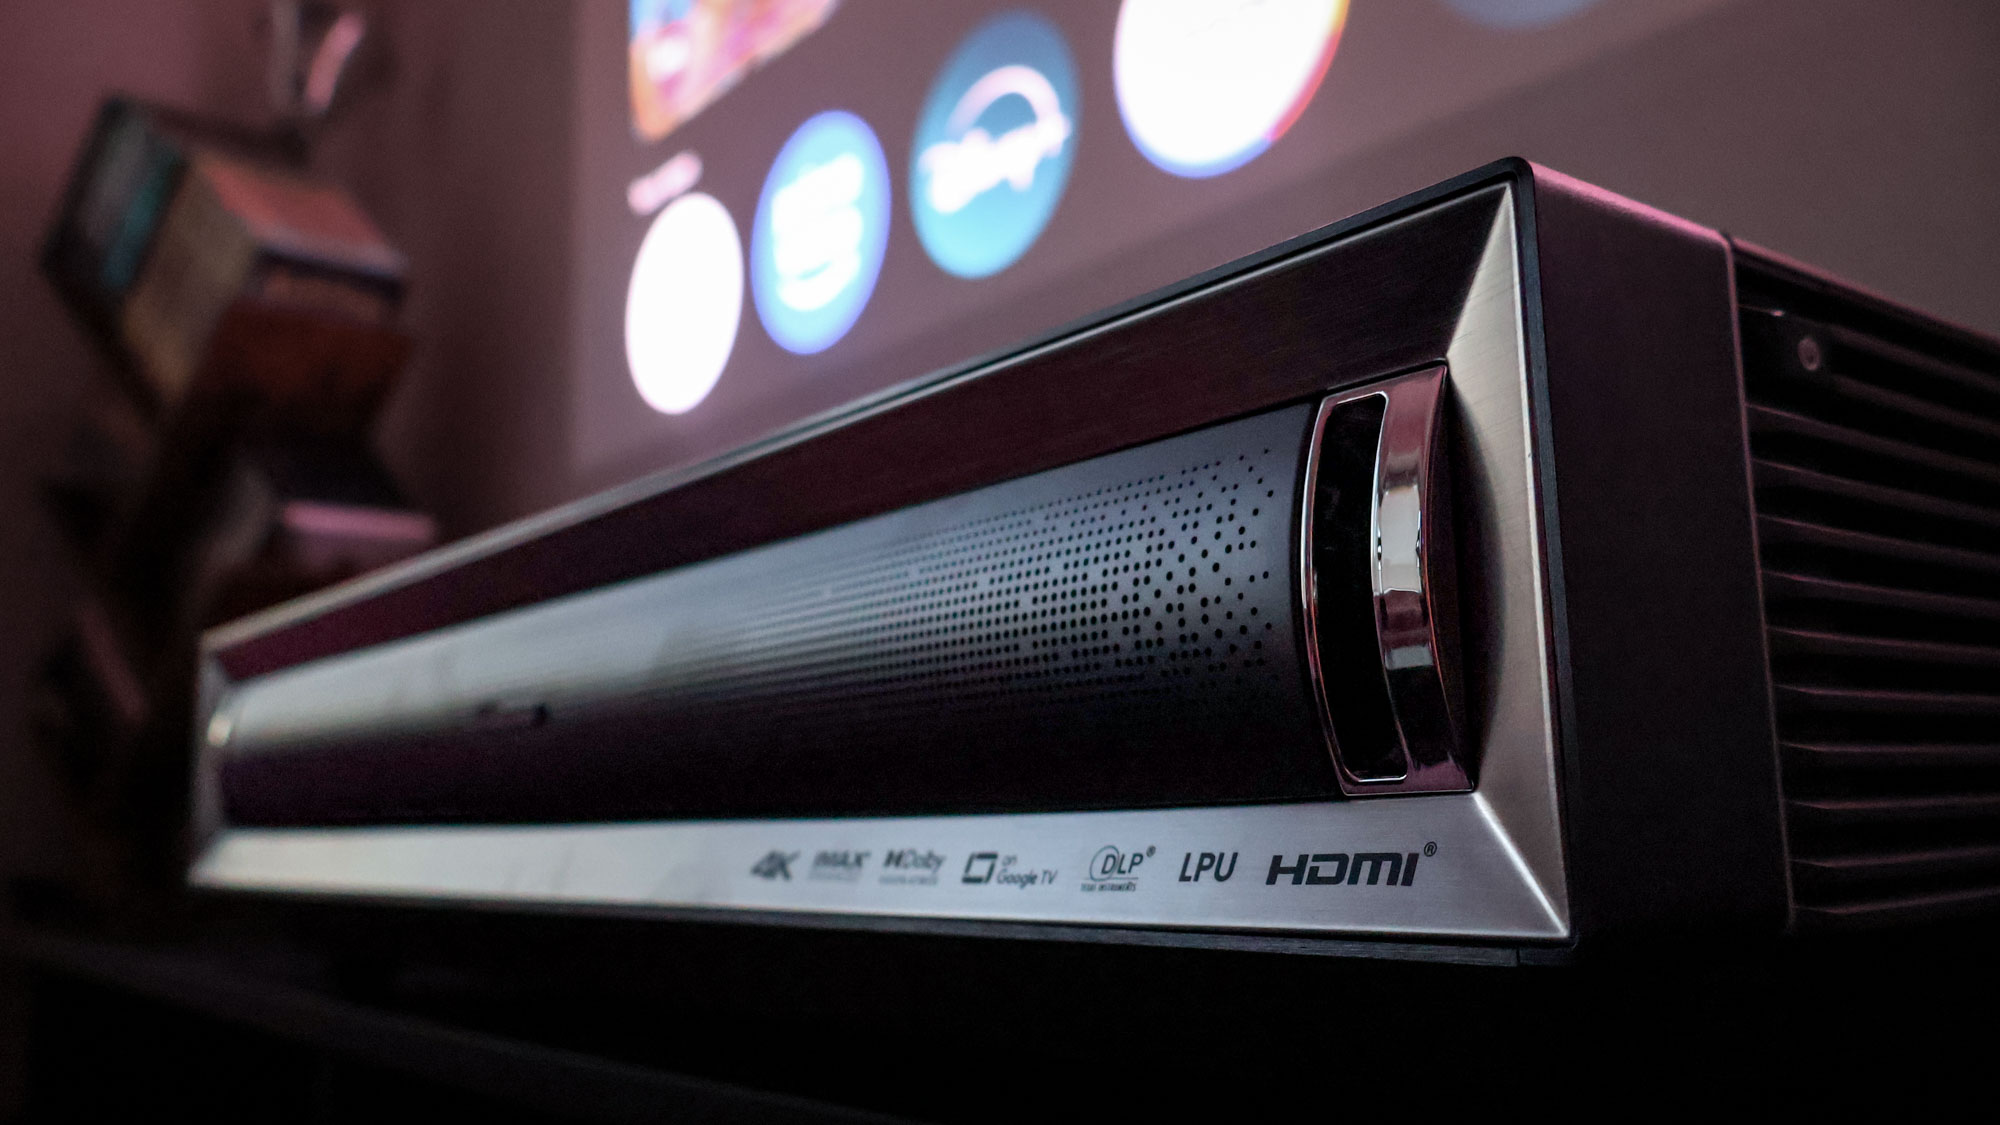
The core components of the Projectorcade are a projector for visuals and an arcade system for computing power. The BenQ GS50 projector was chosen for its high performance and ruggedness, offering a crisp picture, sharp sound, and multiple input sources, including an Android TV interface for app downloads. Although this specific model is highlighted, the article suggests that a more affordable projector can be used to reduce costs. For the arcade system, the AtGames Legends Gamer Pro was selected. This system comprises a streaming puck and a two-player control deck with two joysticks, 16 mechanical action buttons, a trackball, and four side flipper buttons, allowing for a wide variety of retro games and even modern PC games when connected to a gaming laptop.
The construction of the Projectorcade prioritizes efficiency and cost-effectiveness. The sizing specifications for the portable arcade pedestal, storage shelves, and backing were designed to utilize a single standard 4 x 8 sheet of CDX plywood. Local home stores often provide free cuts, which simplifies the process for those without personal saws. Essential woodworking tools include a circular saw, track saw, or table saw for straight cuts, and a jigsaw for curved sections. For assembly, a brad nailer is recommended, though a hammer with wood glue and finish nails can serve as an alternative. A drill is necessary for attaching the caster wheels. The total material cost for the platform itself came in under $100.
The construction process involved several key steps. Side panels, 40 inches long, were marked 1 1/8 inches down from the top edge to create 3-inch deep, 2.5-inch wide notches for the pinball flipper buttons. Ergonomic handles were cut into the center of these panels using a jigsaw after drilling pilot holes. Four shelves were then cut: a 28.5-inch bottom support base and three 27-inch shelves for the projector, gaming system, and storage. The side panels were attached to the bottom shelf using a brad nailer. A 27-inch shelf was positioned 3 inches beneath the top of the side panels to house the arcade panel flush with the structure. Subsequent shelves were placed 14 inches below for projector airflow and 16 inches below that for a large gaming laptop, leaving 4 inches of storage at the bottom. Wire holes were drilled in each shelf using a 7/8-inch spade drill bit. A 27-inch rail was added across the front top, with a 2-inch deep rectangular notch for access to the arcade system’s back ports, and a large backing piece was attached for stability. Two 18-inch 2 x 4s with casters were added to the bottom for enhanced stability and easier access to the wheels, preventing the unit from being top-heavy.
The final aesthetic touch involved wrapping the Projectorcade with three rolls of PVC black marble peel-and-stick contact paper for a quick, finished look. Alternatively, higher-quality cabinet-grade plywood could be stained or painted for a more customized appearance. The finished Projectorcade offers a dynamic outdoor entertainment experience, capable of supporting gaming sessions and streaming media. Future upgrade considerations include 3D-printed cupholders, chrome trim, and LED lighting, with potential for further expansion into a portable outdoor PC or a mini-bar on wheels. This DIY project provides a customizable blueprint for creating a unique outdoor media center tailored to individual preferences and needs.
#DIYProject #OutdoorEntertainment #HomeImprovement #ProjectorArcade #Woodworking #RetroGaming #SmartHome #GadgetIntegration #PortableDesign #DIYProject #OutdoorEntertainment #HomeImprovement #ProjectorArcade #Woodworking #RetroGaming #SmartHome #GadgetIntegration #PortableDesign
0 comment in total
 No comments yet
You may also like

The 3 Best Outdoor Projector Screens of 2025 | Reviews by Wirecutter
Pass Off Your DIY Skills As Those of a Pro With An Easy-To-Assemble Pergola Kit

Home cinema install: Underground retreat

Portable, Full-Size Arcade Cabinets

8 simple ways to elevate your backyard movie night so all you need do is add popcorn

I turned my living room into a movie theater — here's how

You wish you had this home theater in your basement

10 Gazebo Kits You Can Buy and Build Yourself


The Best Projectors for 2025 | Reviews by Wirecutter
Reader's cinema: Car? Park it outside!
Best Build Your Own Gazebo Kits For Achieving Outdoor Bliss


17 Best Entertainment Centers for a Modern-Looking Setup in 2025
Home cinema install: XXL entertainment
Polycade Is A Wall Mounted Arcade Cabinet For Retro Gamers
Deck and Patio Designs, Ideas and Projects
Colorful Window Film Will Convince You It's Always Summer in This Designer's Tiny Backyard Shed

3 Good Projector Screens That Don’t Cost a Fortune
How One Cool Dad Built the Ultimate Backyard Playground for $1K
Is It Better to Buy or Build Your Own Pergola? Experts Discuss the Most Cost-Effective Way to Embrace Those Shady Summer Days
Building a Screened-in Porch, Deck, or Balcony