1/8
Here's How Much It Actually Costs to Install a Penny Floor in Your Home
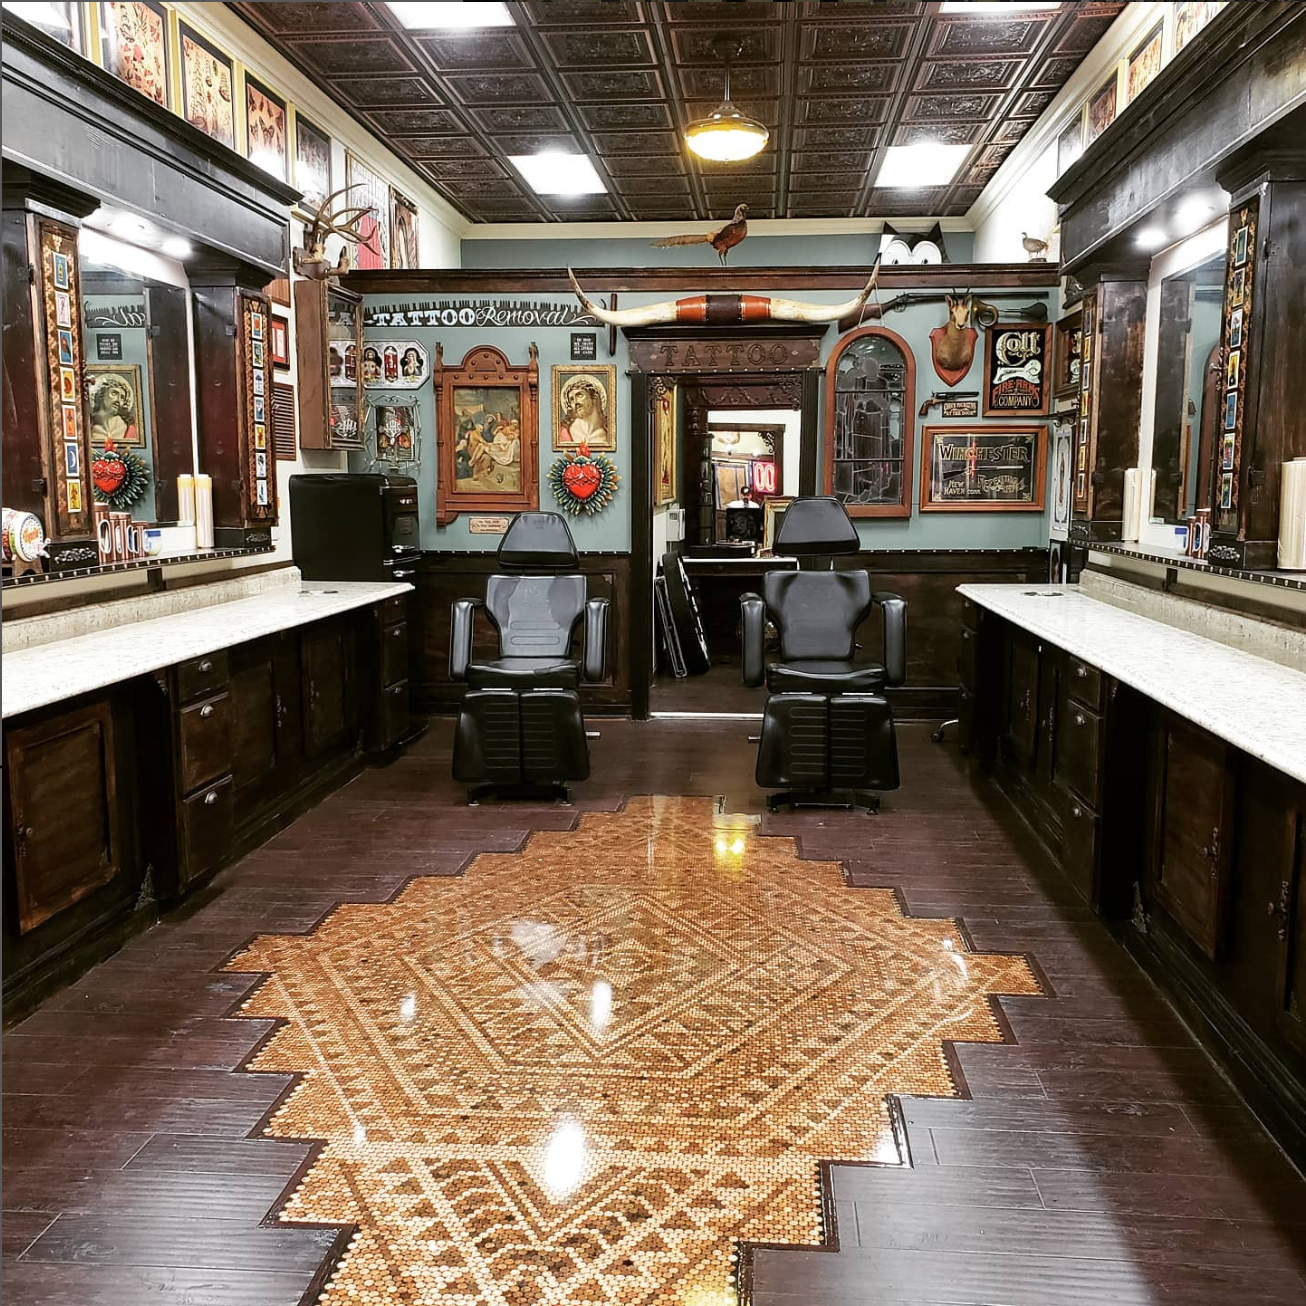
This article details the comprehensive process of installing a penny floor, a unique and maximalist flooring trend, based on the experiences and expertise of Sara and Justin Ilse from Ilse Interior Finishings. It covers everything from initial planning and material acquisition to the intricate steps of installation and sealing, alongside cost considerations and practical advice. The Ilses, who documented their own penny floor project on TikTok, emphasize that while the process is labor-intensive and time-consuming, it offers a distinctive aesthetic for a home.
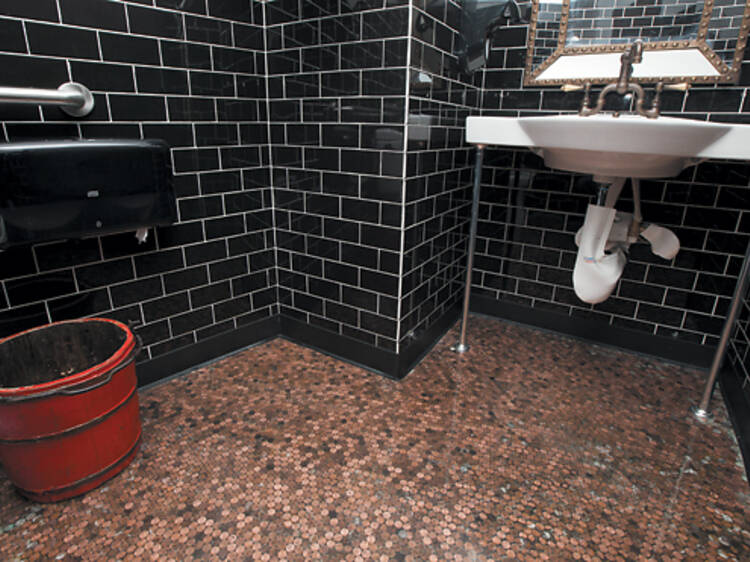
The first crucial step involves calculating the number of pennies needed. The article explains how to determine square footage and estimates that approximately 256 to 288 pennies are required per square foot, depending on the pattern. For their 230-square-foot entryway, the Ilses used over 65,000 pennies. Following this, the article provides tips on collecting pennies, suggesting both bank visits for bulk quantities and leveraging personal networks. Sara Ilse advises gathering all necessary pennies before beginning the project to avoid interruptions.
Preparing the floor is the next critical stage. The article highlights the importance of starting with a completely smooth and stable surface. For new constructions, a high-quality 6-millimeter underlayment is recommended to prevent movement. Alternatively, for existing floors, removal of old flooring and installation of an underlayment or self-leveling concrete is necessary. The Ilses painted their plywood underlayment black, which is important because the underlying color will show through the final sealant if glue is used for adhesion.
The most labor-intensive part is adhering the pennies. The Ilses opted for glue, specifically Weldbond Multi-Surface Adhesive, due to its strong, clear-drying properties, preferring it over grout to avoid a foggy appearance. They recommend investing in knee pads for this step, as it involves extensive work on hands and knees. For those choosing grout, the article suggests selecting a color that complements the copper pennies. It also mentions that creating a specific design, like the Ilses' diamond pattern, requires more precision and time.
Finally, the article covers sealing the pennies, which is crucial for durability. The Ilses used a multi-layer epoxy system, followed by a high-solids urethane topcoat for UV and scratch resistance. They consulted with local contractors and paint stores to ensure compatibility and effectiveness of their chosen products. For those using grout, a polyurethane sealant is suggested. The cost analysis reveals that a penny floor can be relatively expensive, with the Ilses' project costing over $1,850 for materials alone, equating to about $8.04 per square foot. This price excludes the significant labor involved, which professionals might charge hundreds of dollars per day for. The article also advises considering potential challenges such as cutting pennies for intricate areas, dealing with pet hair during the sealing process, and the long-term commitment given the difficulty of removal. It concludes by encouraging enthusiasts to treat the project like a large puzzle, perhaps even listening to audiobooks to make the tedious process more enjoyable.
#PennyFloor #DIYFlooring #HomeRenovation #InteriorDesign #MaximalistDecor #FlooringInstallation #IlseInteriorFinishings #EpoxyFlooring #HomeImprovement #PennyFloor #DIYFlooring #HomeRenovation #InteriorDesign #MaximalistDecor #FlooringInstallation #IlseInteriorFinishings #EpoxyFlooring #HomeImprovement
0 comment in total
 No comments yet
You may also like
Q&A on wood flooring: How much it costs and more
Cheap Flooring Ideas: 4 Attractive and Inexpensive Alternatives to Hardwood

6 Flooring Upgrades That Are Worth The Extra Cost (And 3 To Skip)
How Much Does Hardwood Timber Flooring Cost in 2023?

We Spent $10K On Our 4-Room HDB Flat’s Vinyl Flooring
Flooring

Penny floor at Square One

Top-Rated Brands For Reliable Peel-And-Stick Floor Tiles That Last
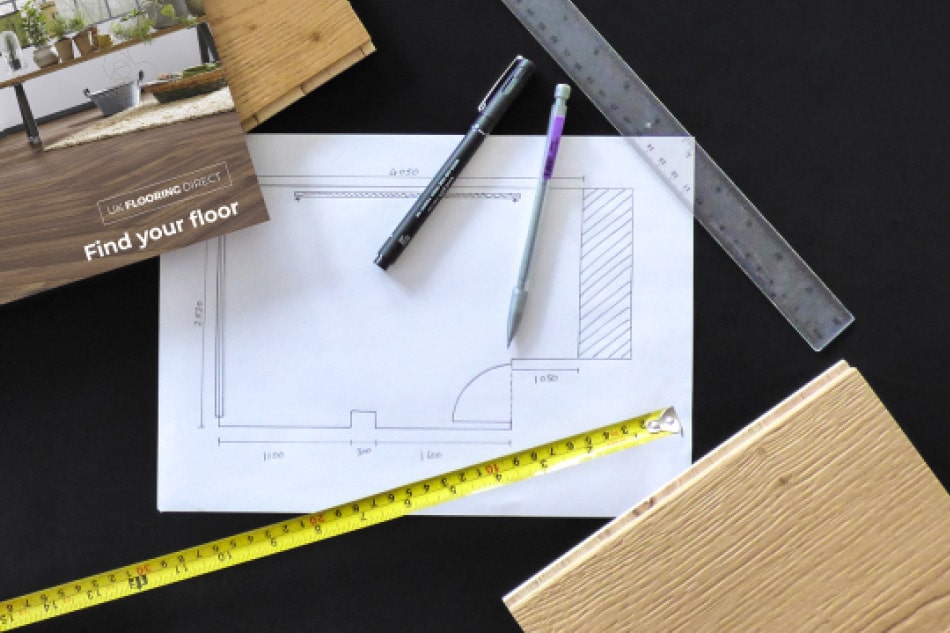
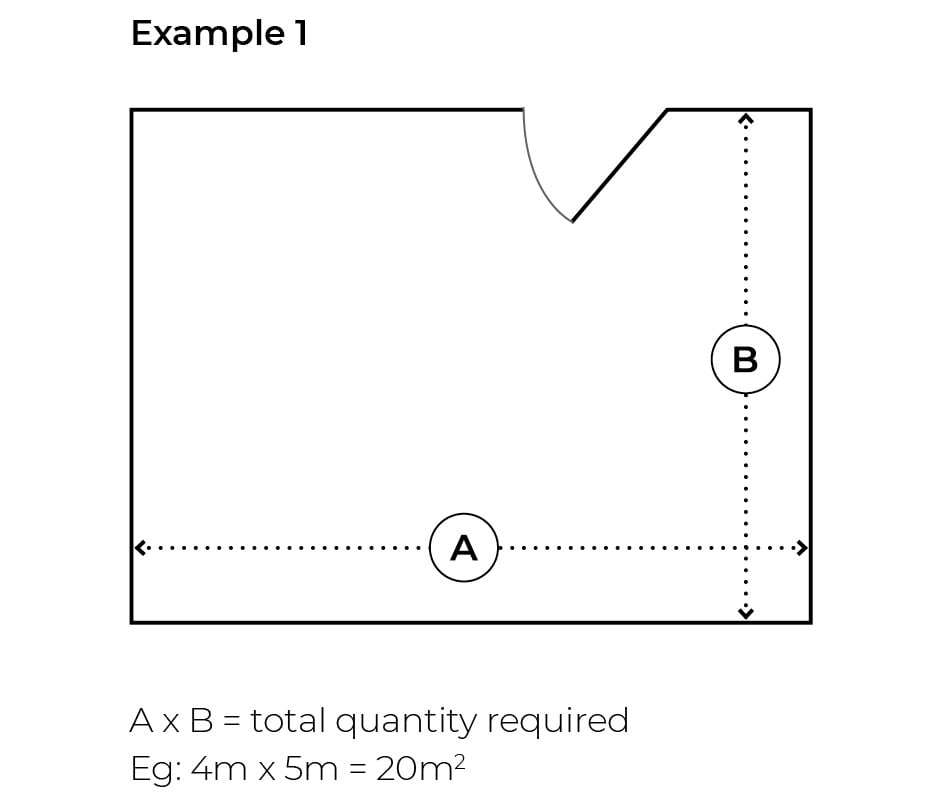
How To Measure Your Room

Thinking About Installing Hardwood Floors? Here's How Much It Will Cost

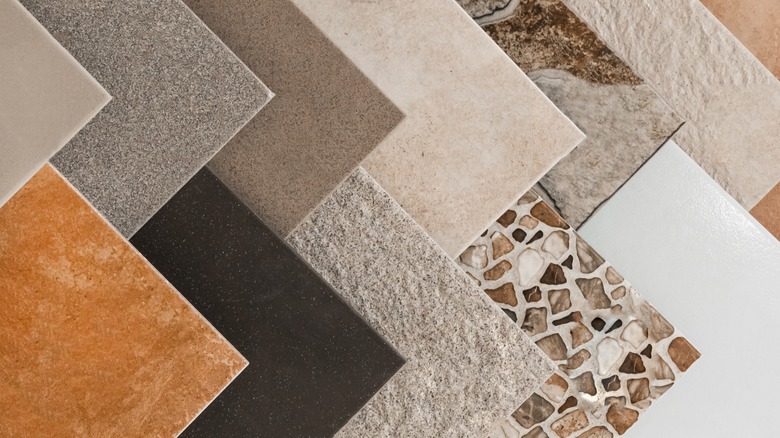
Our Real Estate Expert Names The Kitchen Flooring Choice That Can Hurt Your Resale Value
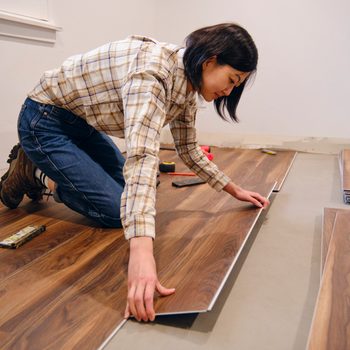
The Cost to Install Laminate Flooring in 2025

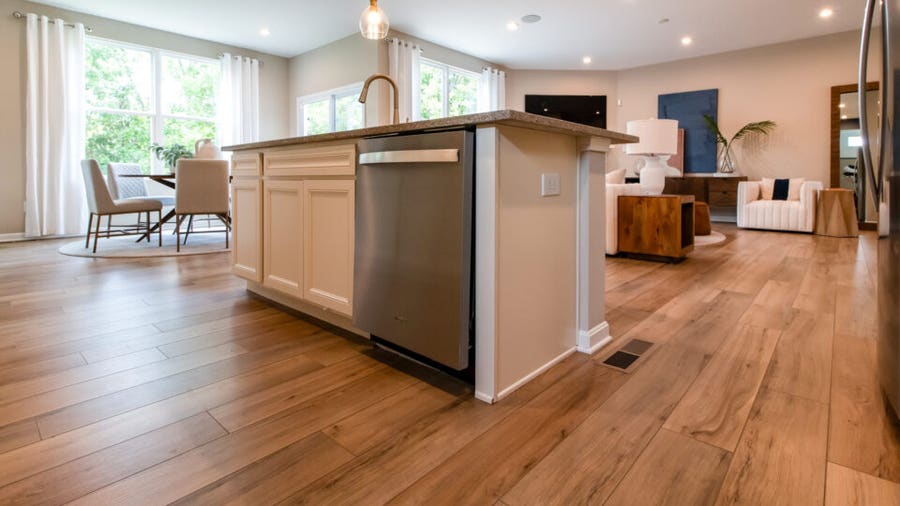
How Much Does Vinyl Plank Flooring Cost?


Yes, Peel-and-Stick Floor Tiles Really Work—And These Are the Best

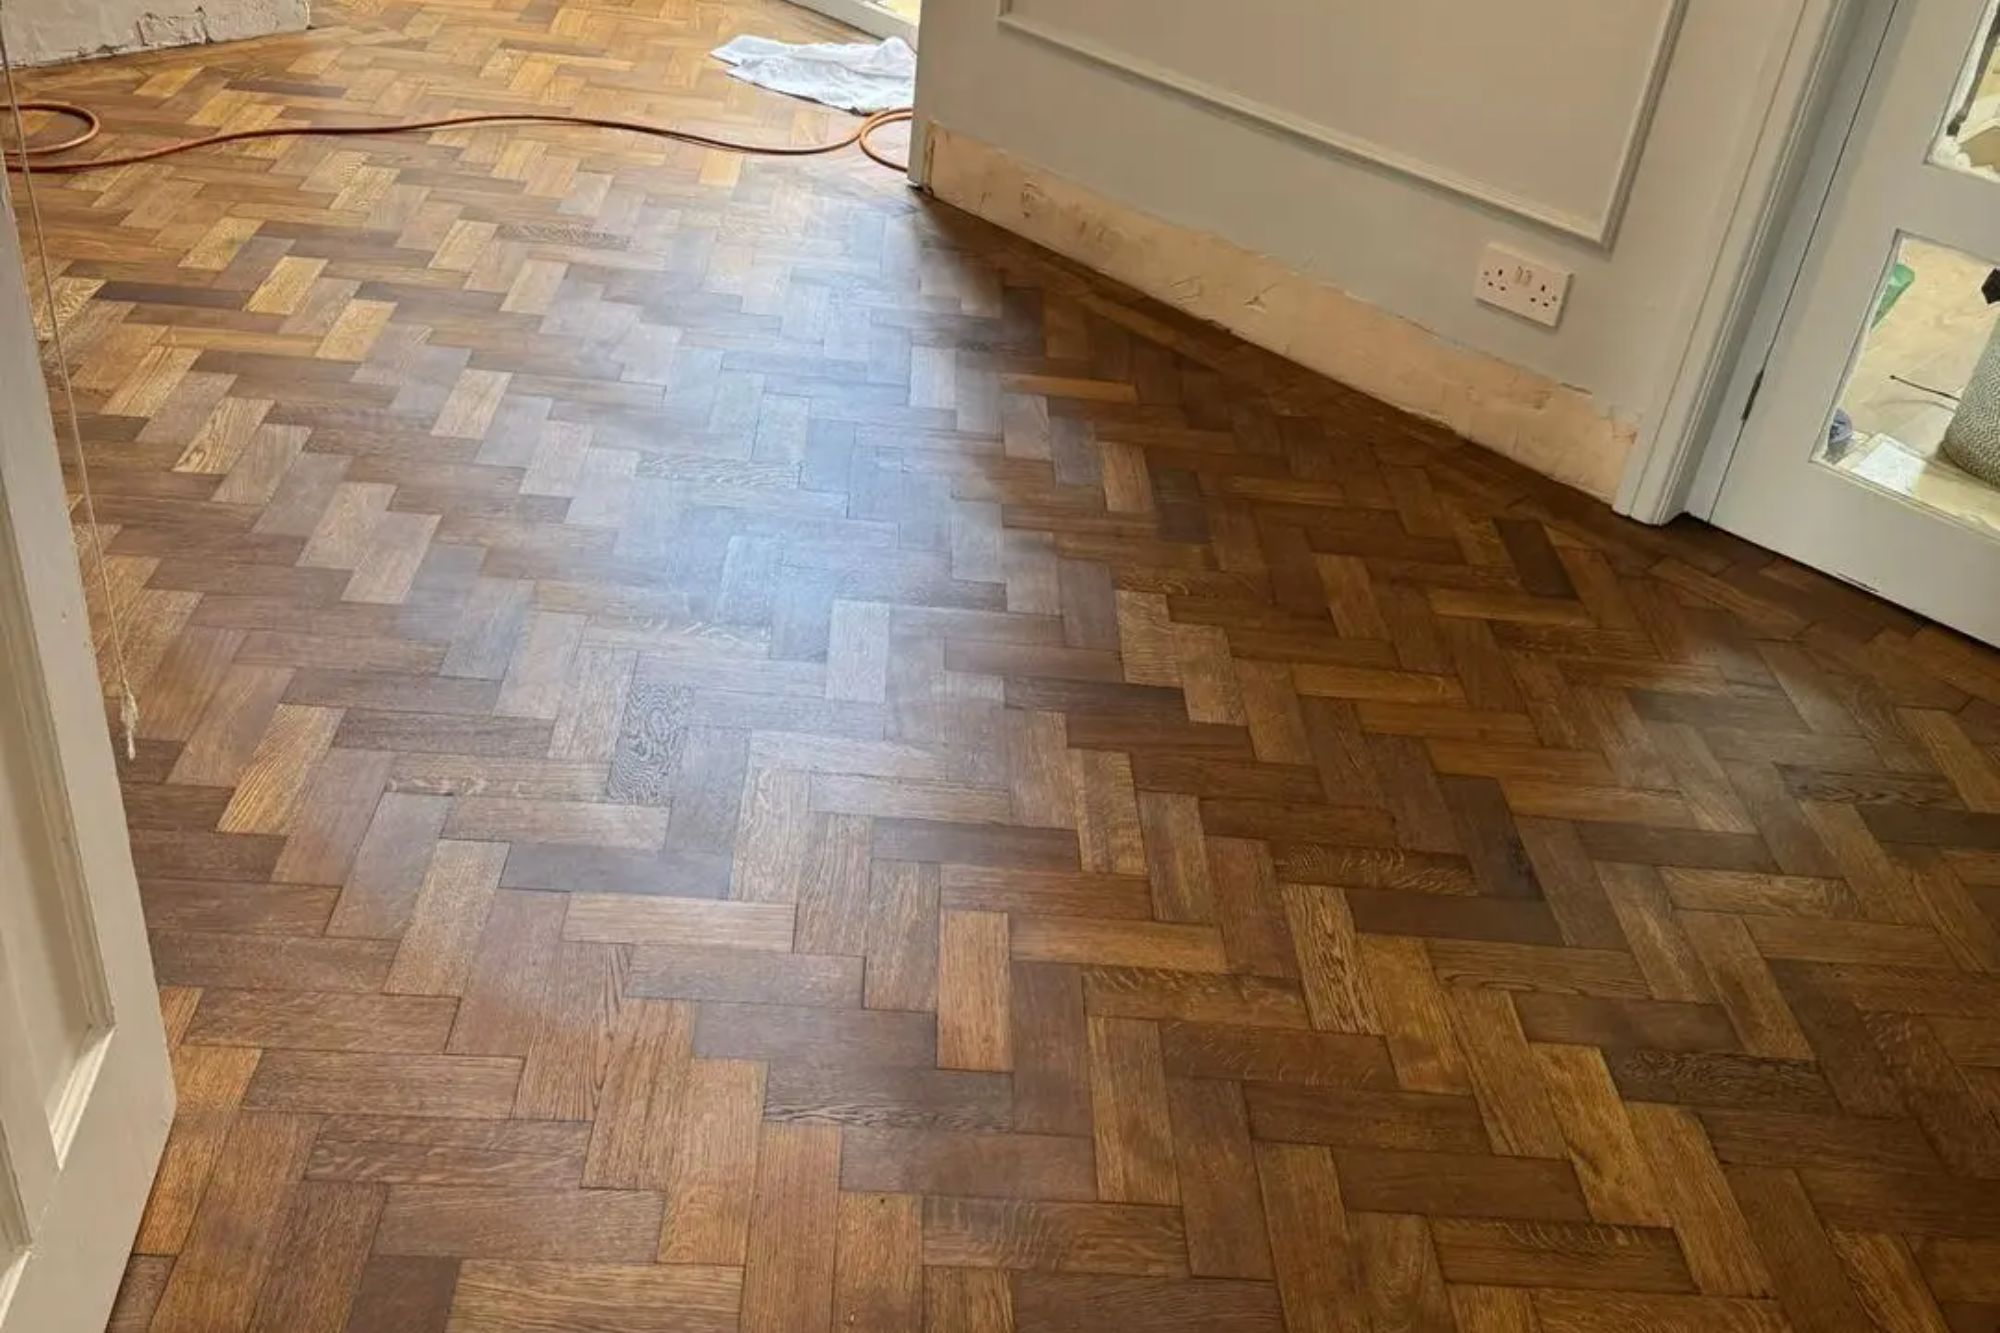
I dreamt of parquet flooring but was quoted £6k so I did it myself with £350 buy

Underfloor heating installation and running costs

How Much Should You Spend on an Area Rug?

Wainscoting Is Hot Again—Here's What It Costs To Add It to Your Walls

Stylish new vinyl flooring from the Carpetright x House Beautiful collection
Cost to Replace Hardwood Floors in 2026