The Stress-Free Way to Hang Art (Published 2021)
Hanging art in a home can be a daunting task for many, but with some simple guidelines, it becomes manageable and enjoyable. The primary objective is to overcome the intimidation factor associated with wall decoration. Experts from professional art installation companies emphasize that minor mistakes are easily rectifiable with minimal wall damage. To begin, it's crucial to categorize existing art collections, labeling pieces as 'A' (priority), 'B' (fillers), and 'C' (optional) to streamline the selection and placement process. Different types of items, such as family photos versus paintings or travel souvenirs, should be grouped separately to create a cohesive look. For those looking to expand their collection, online platforms like Saatchi Art, Lumas, and Desenio offer readily available options.
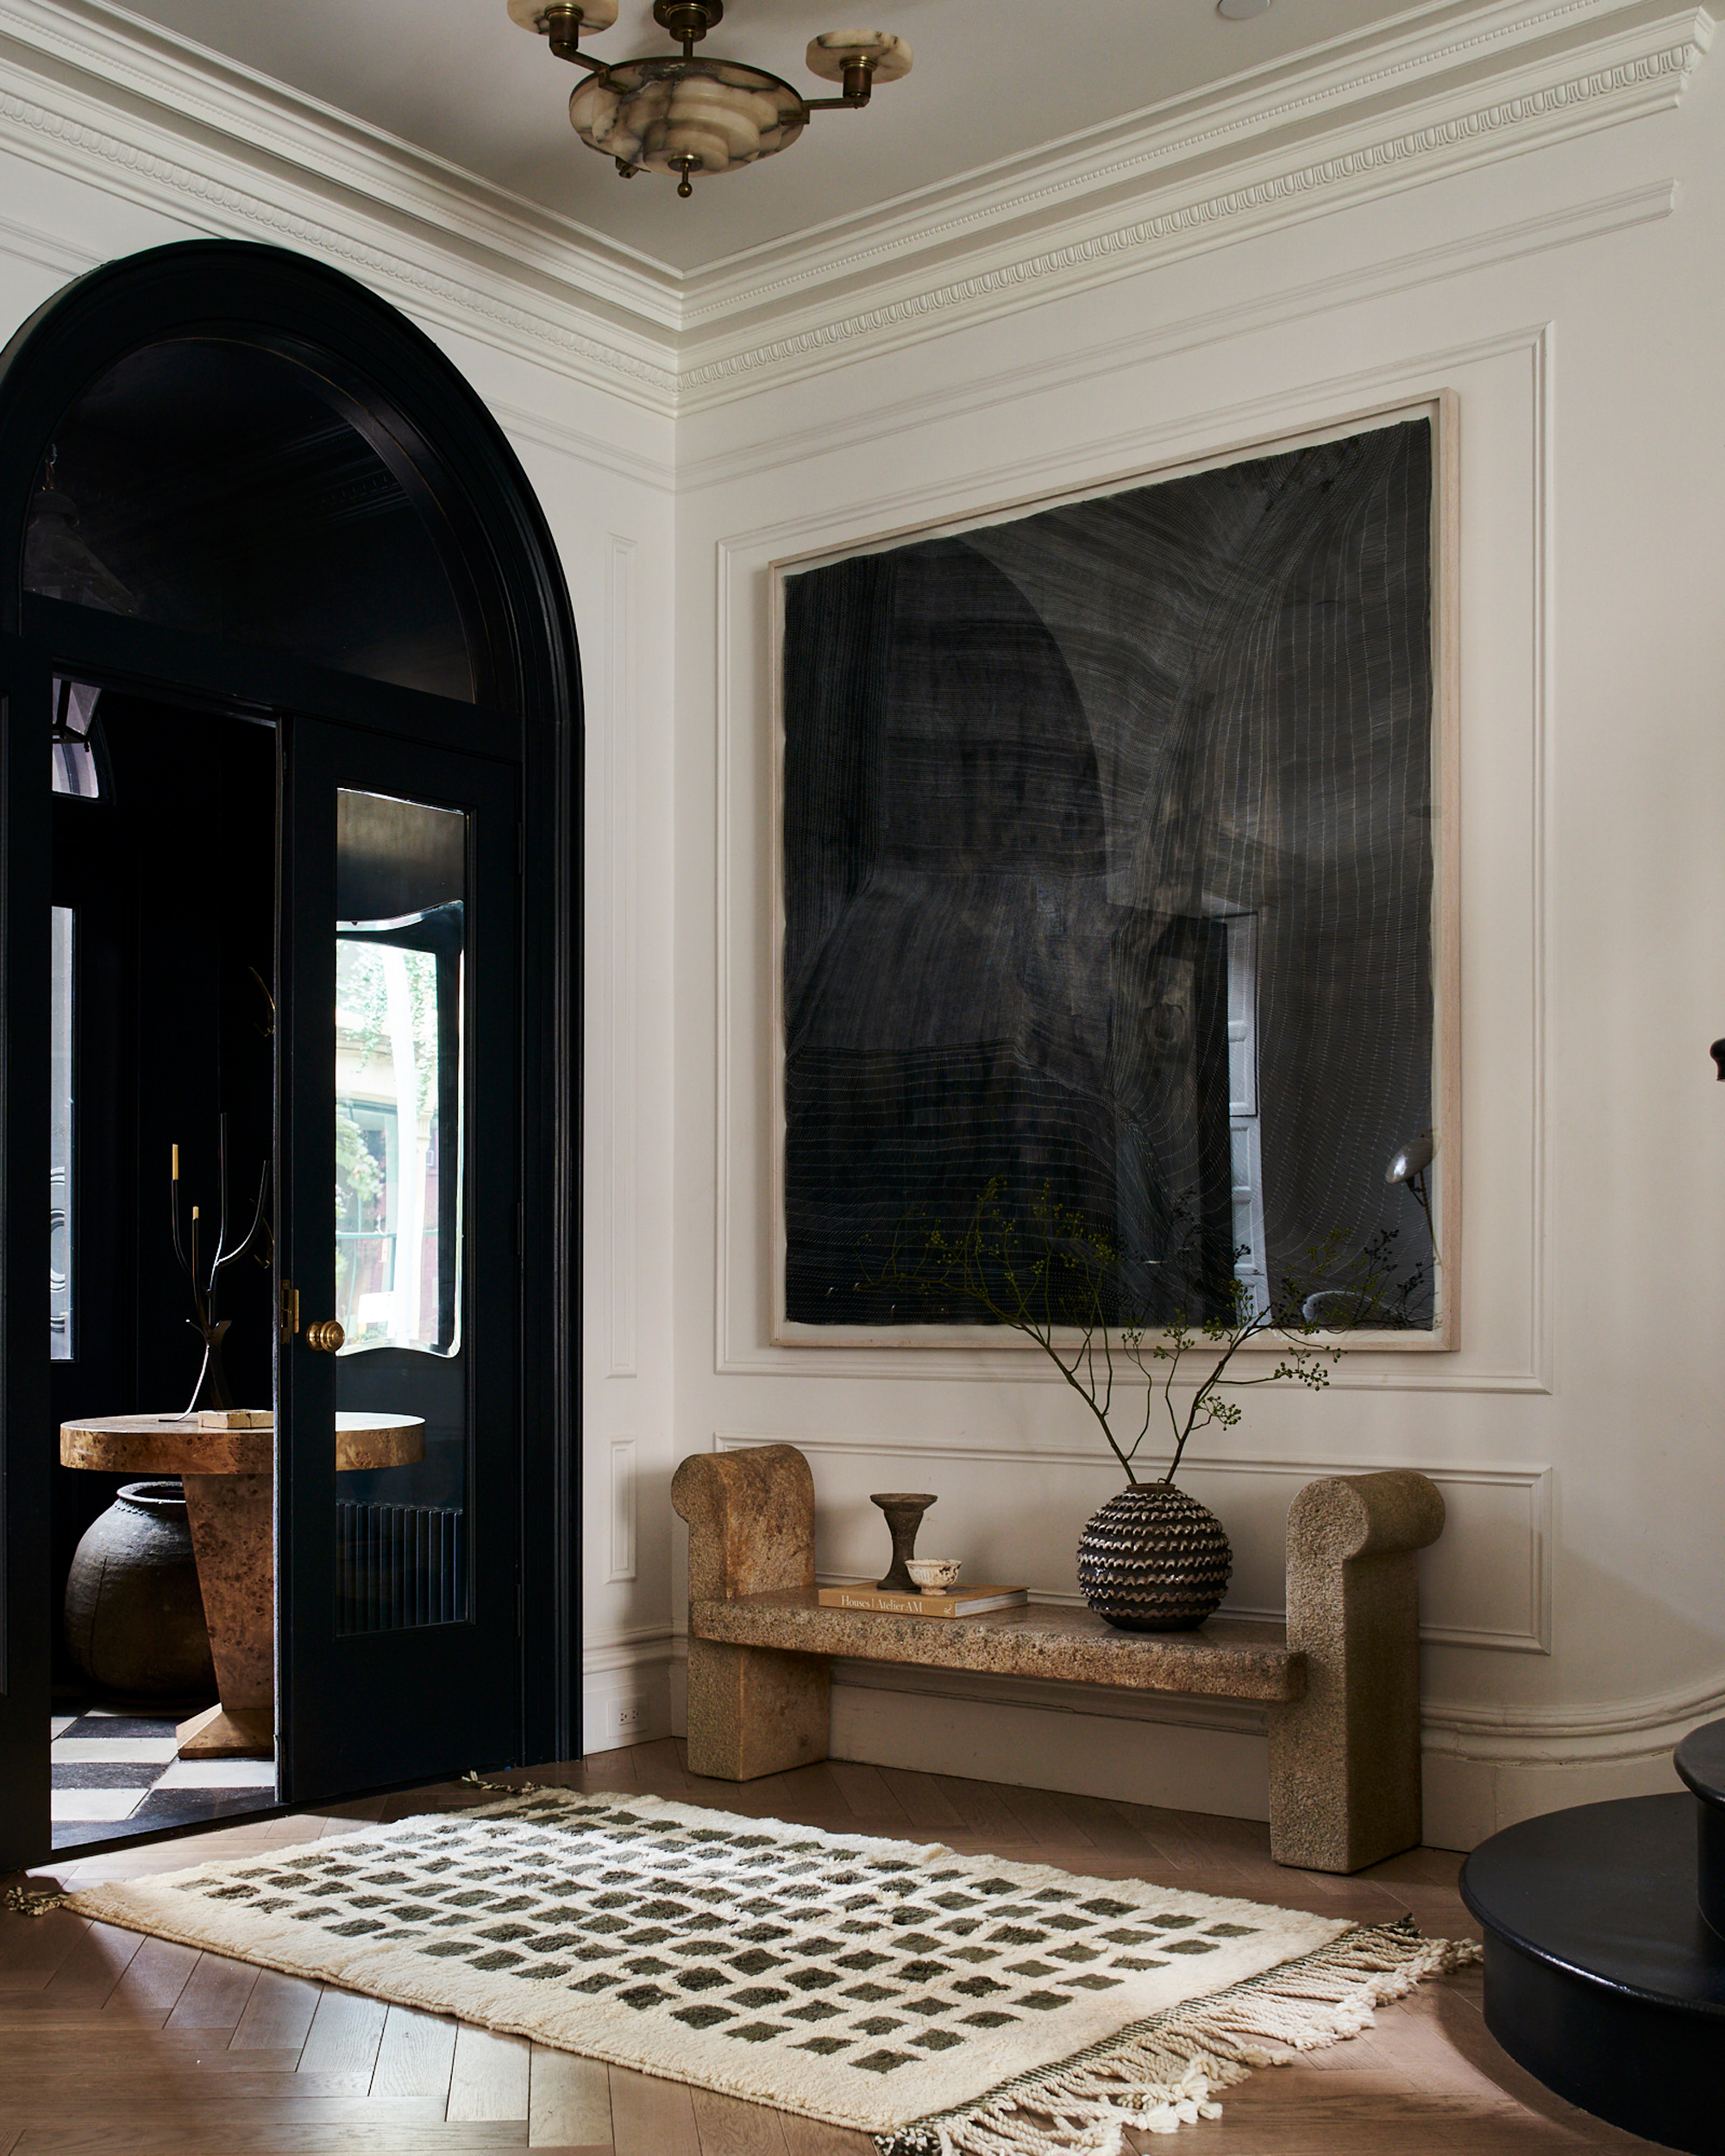
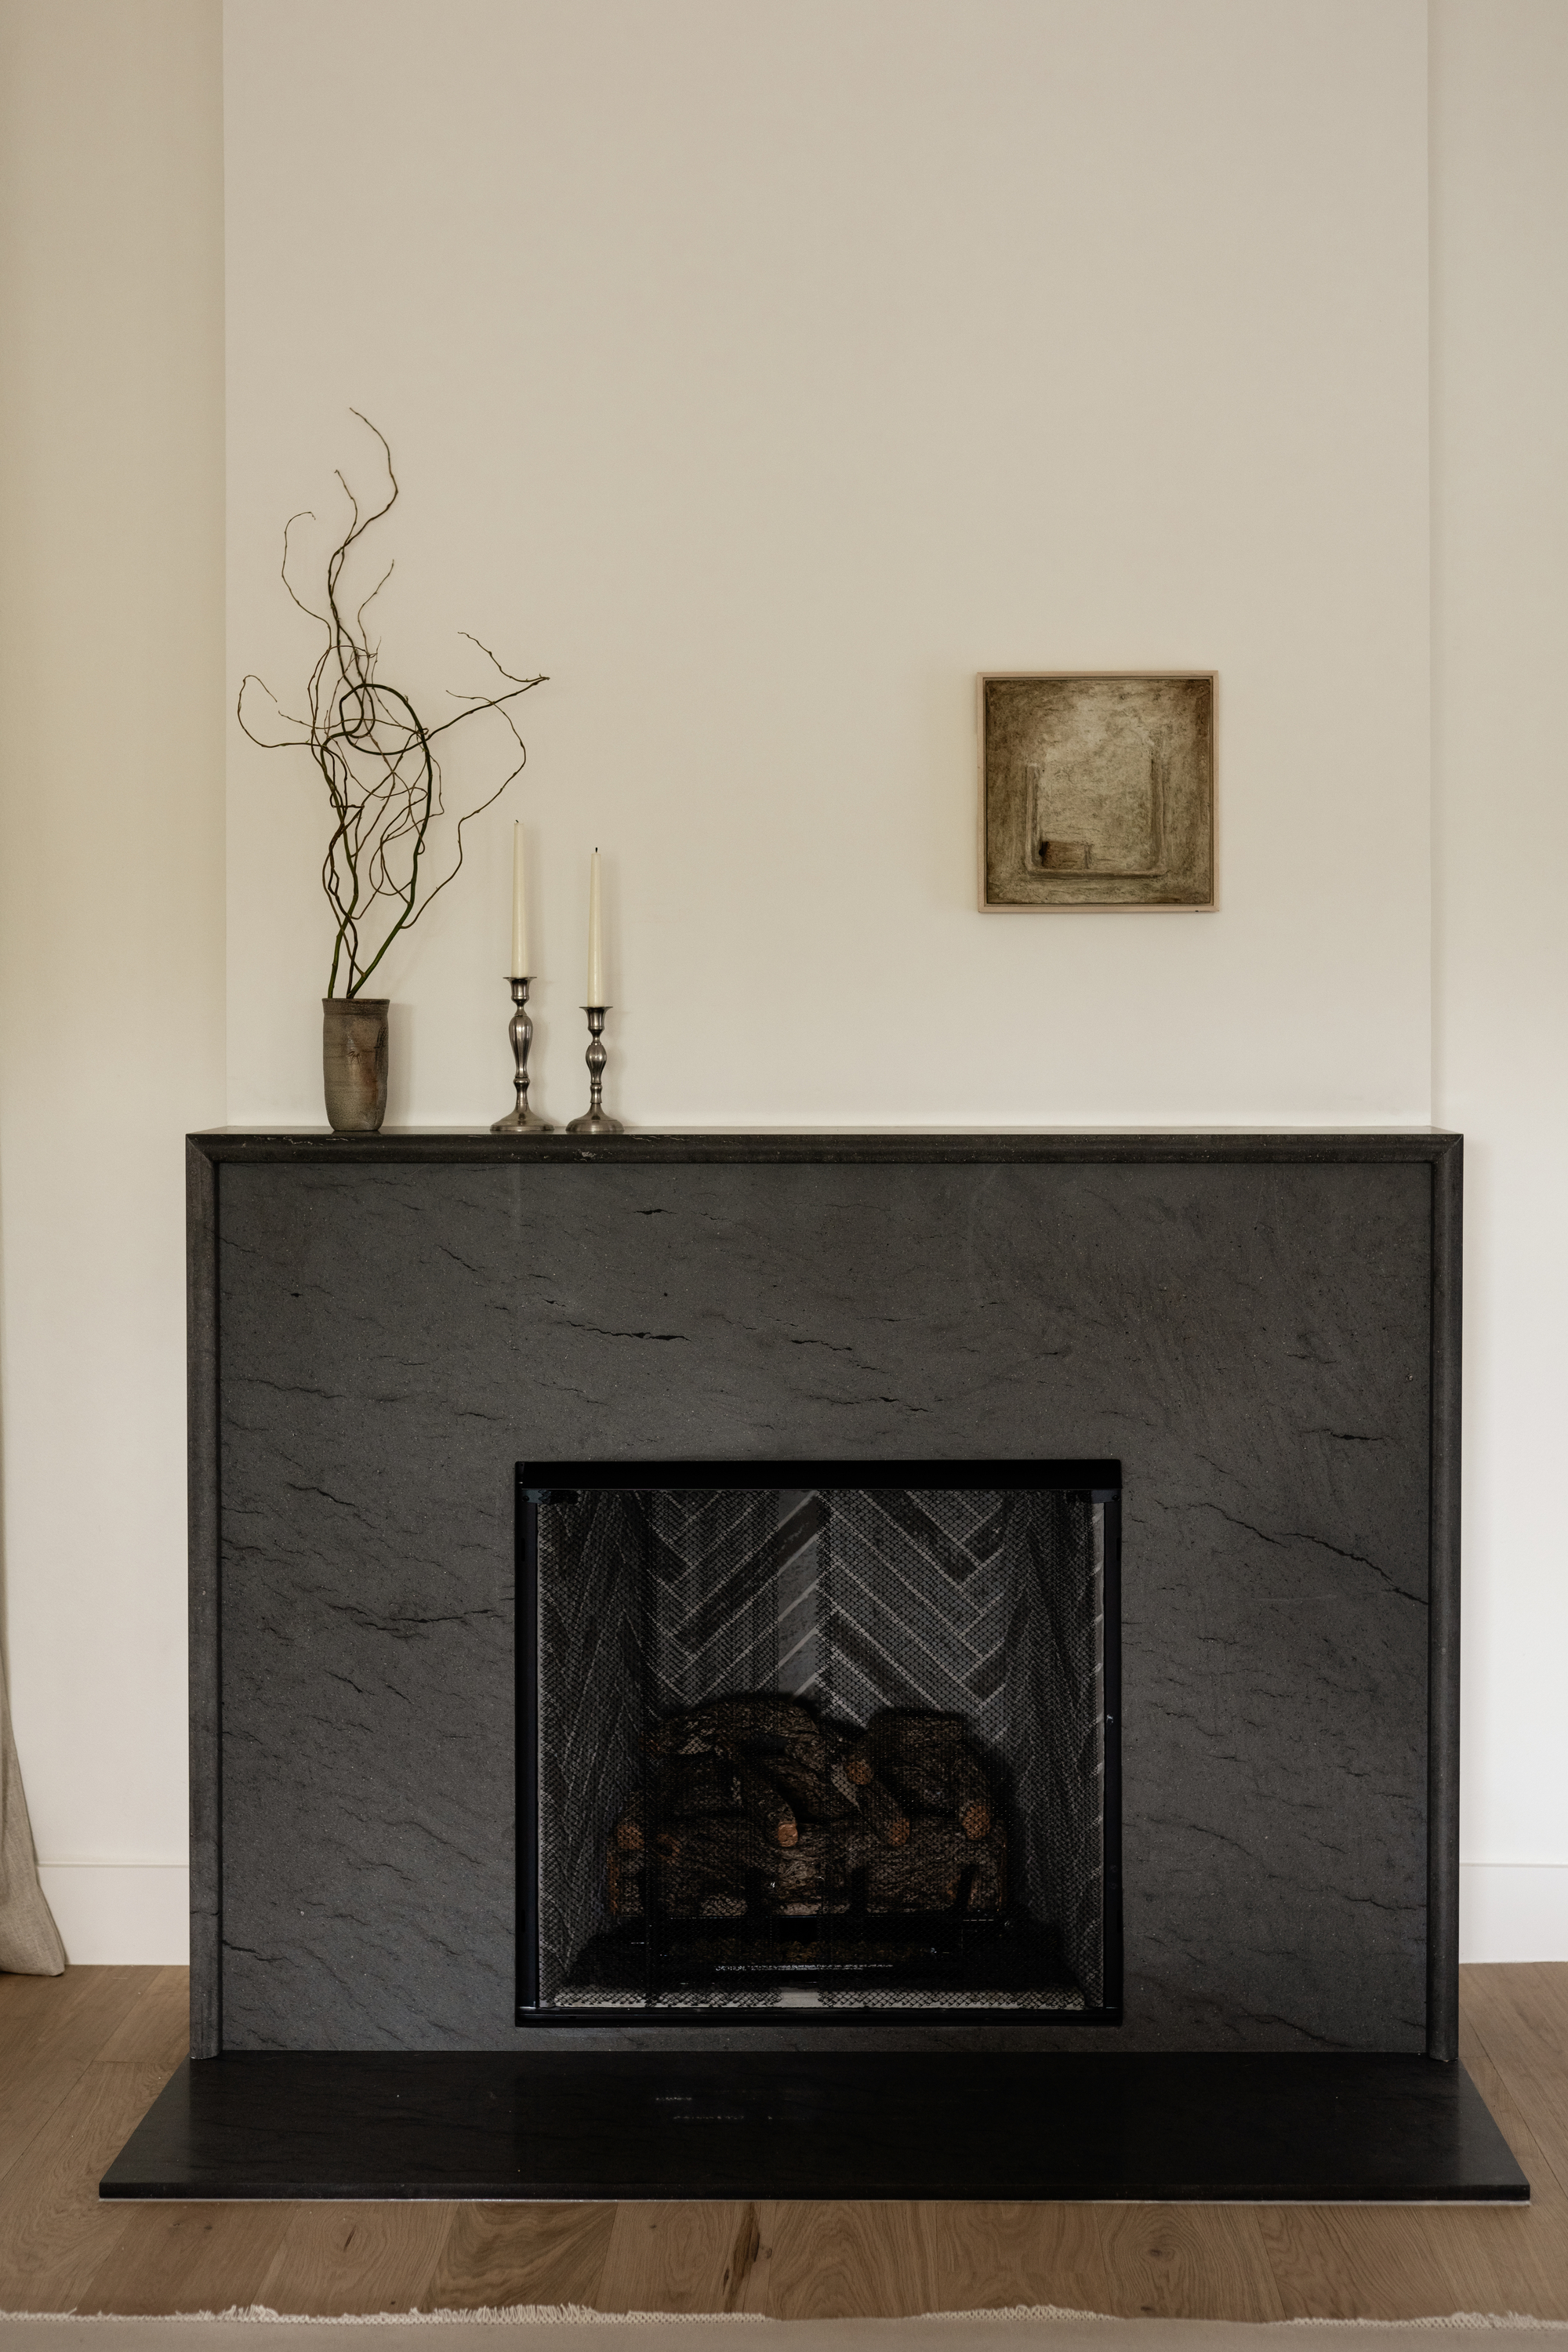
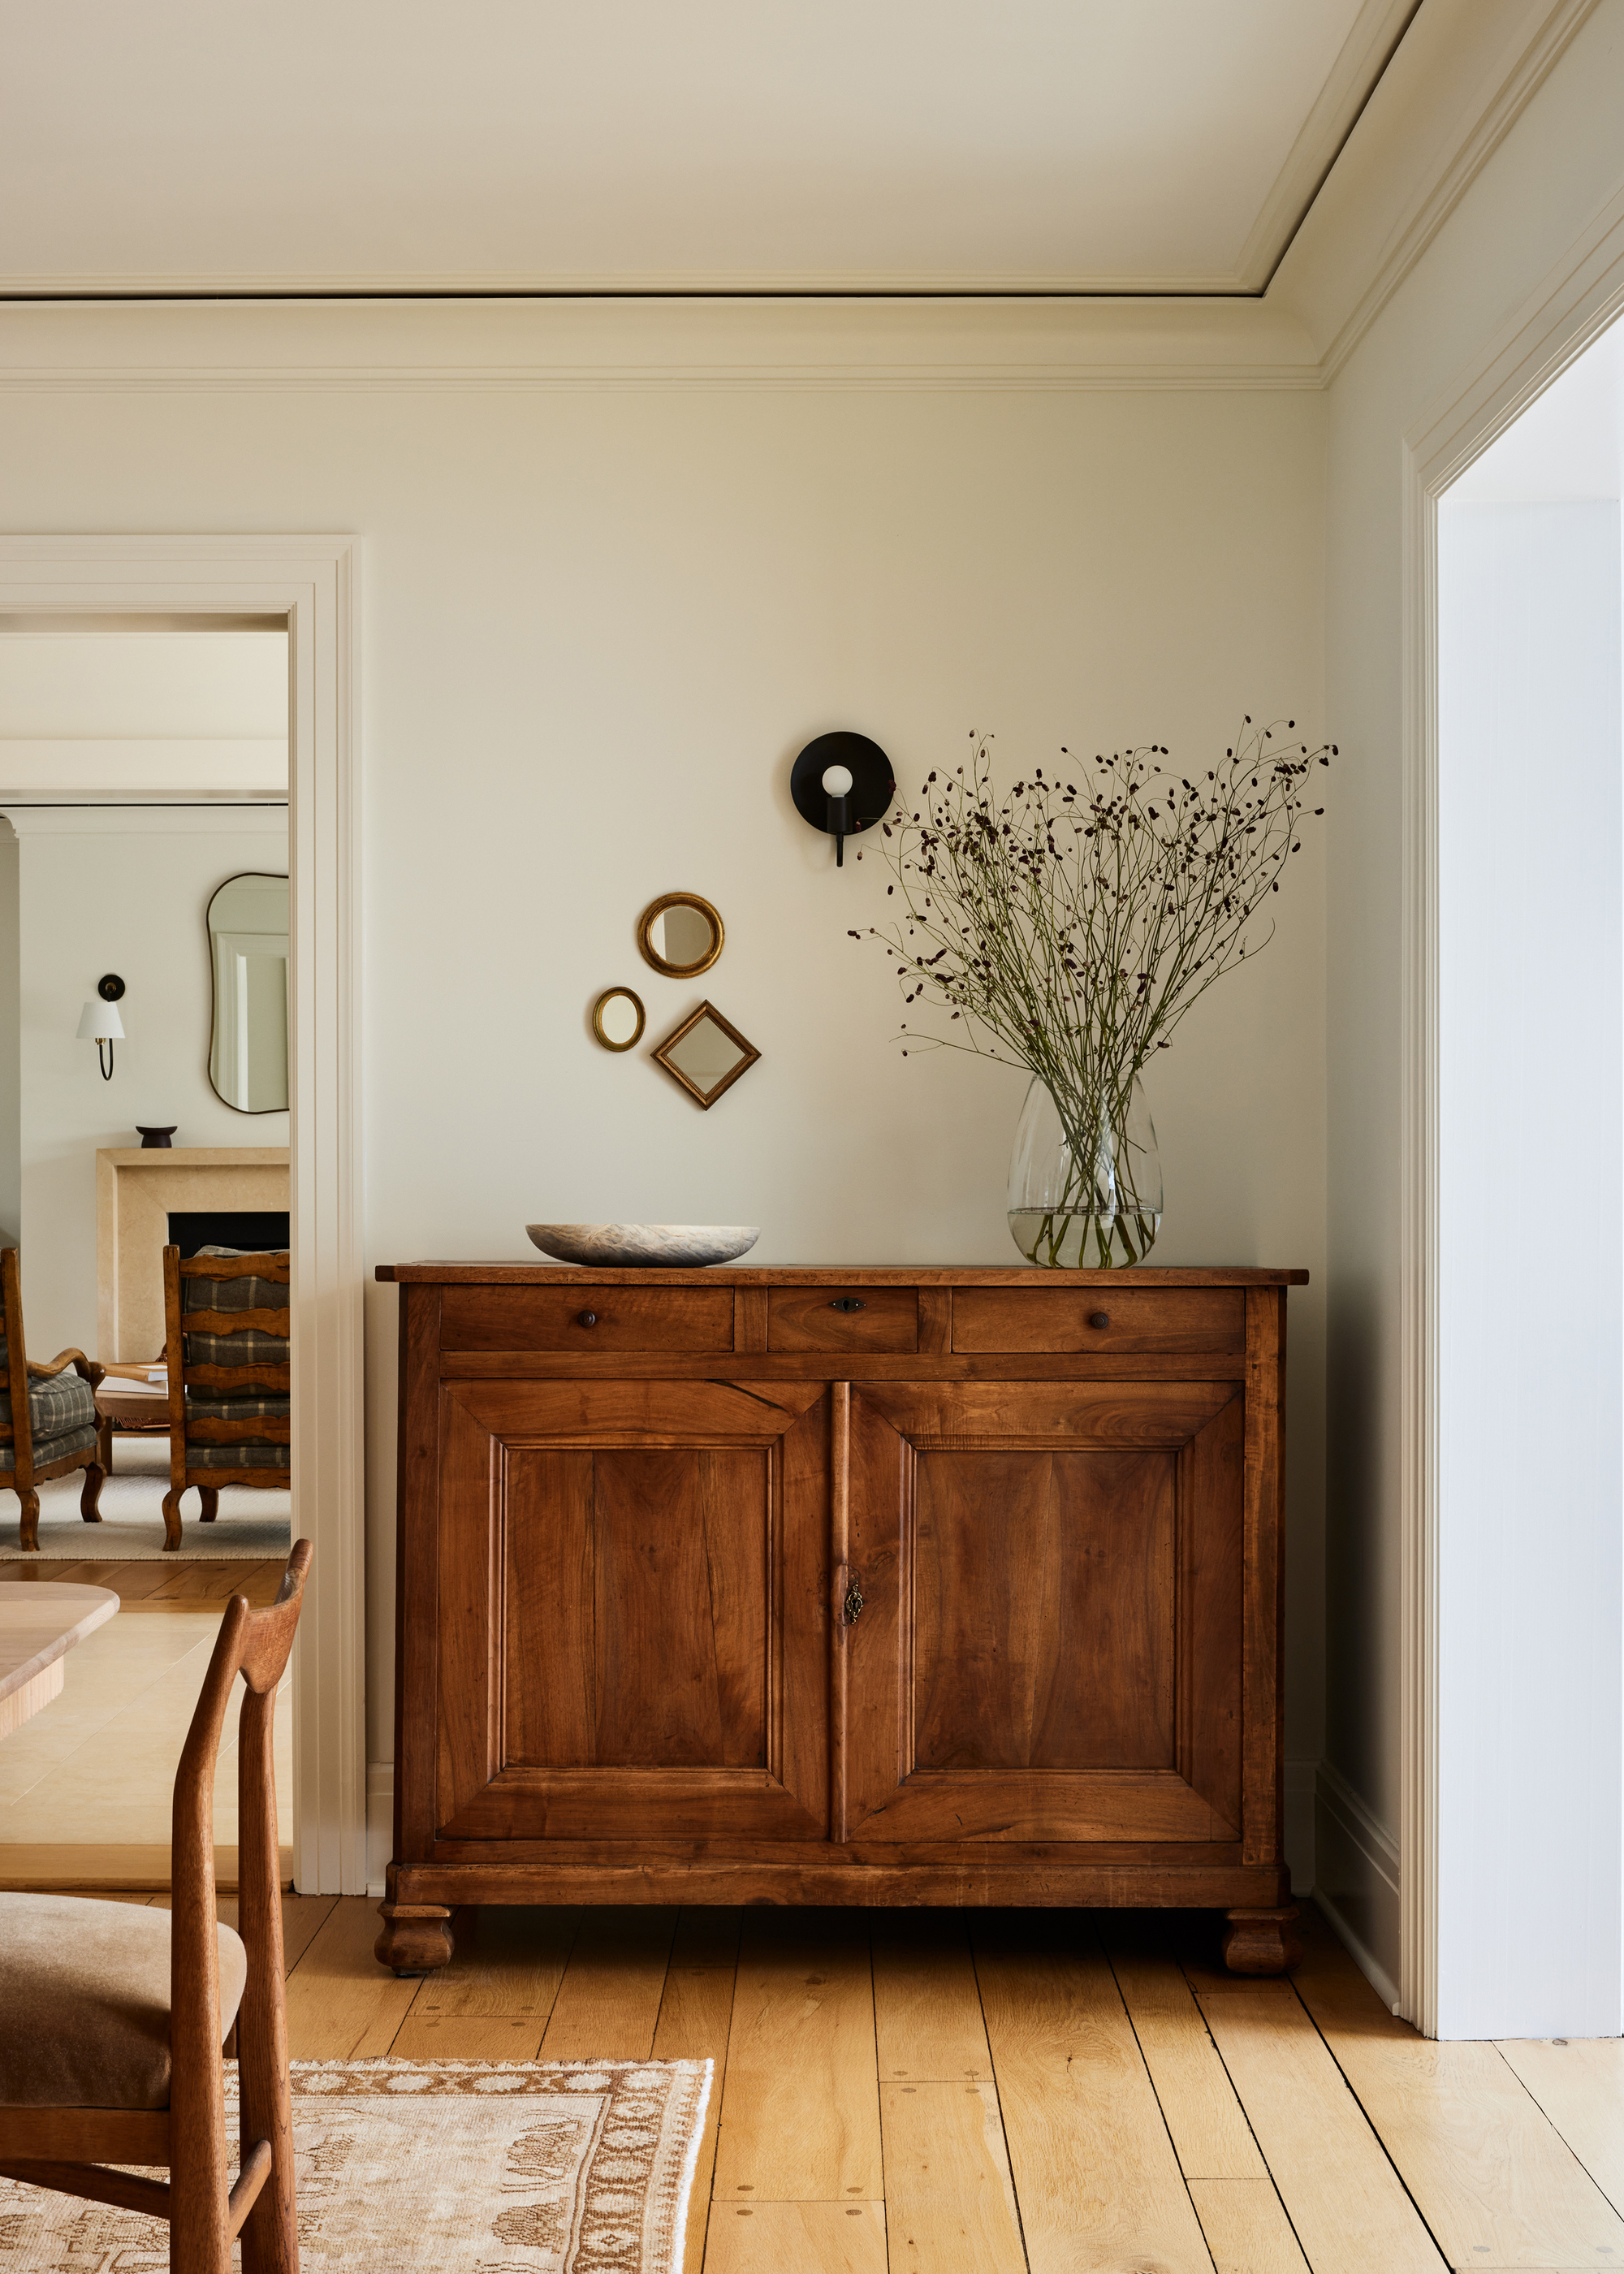
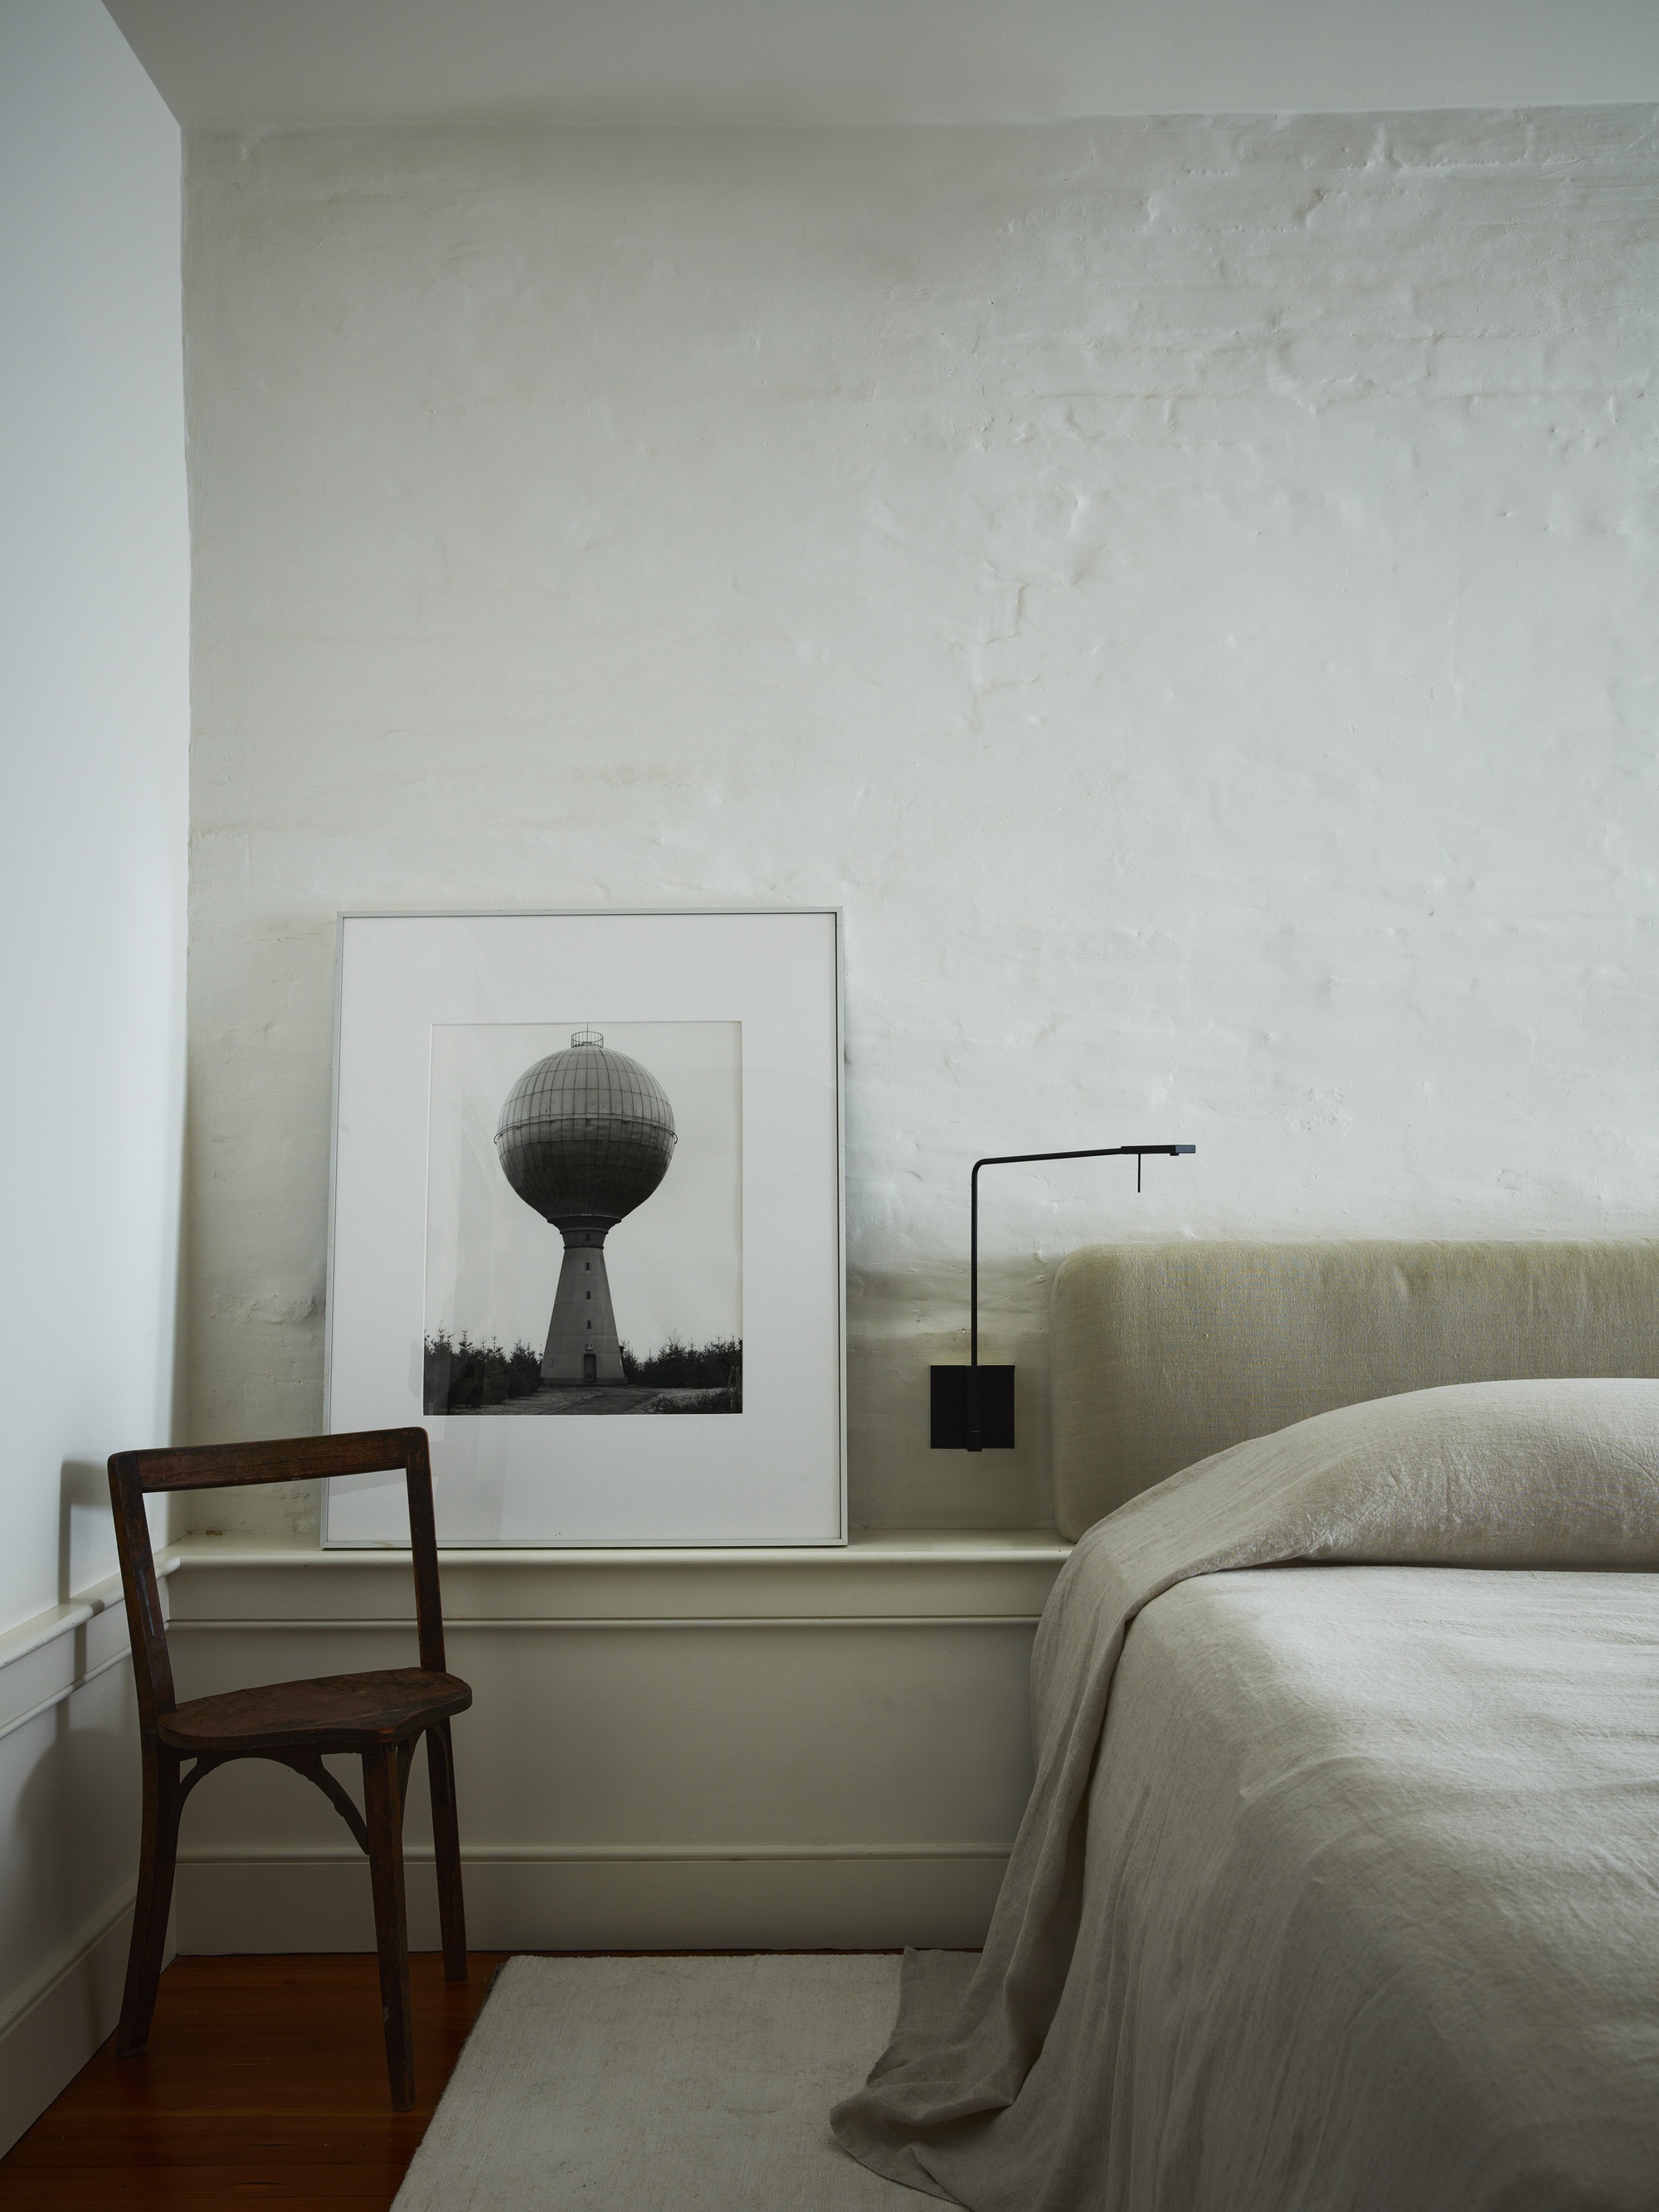
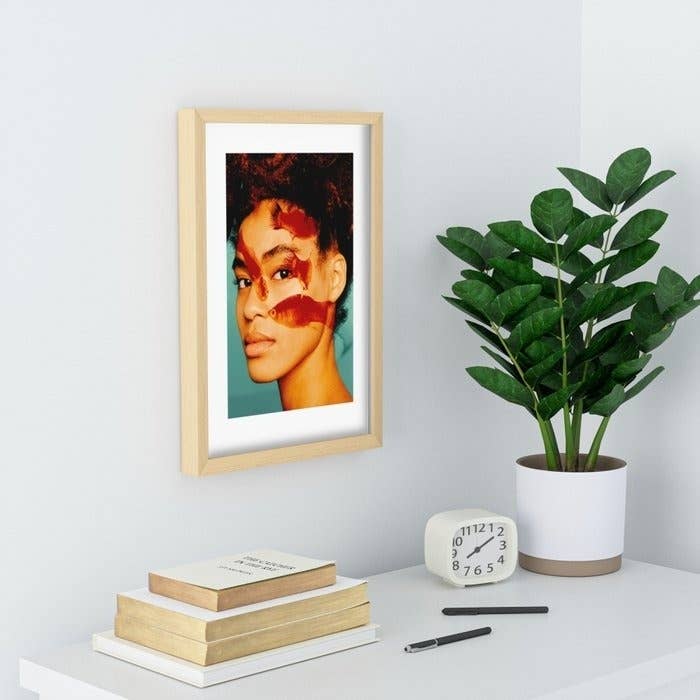
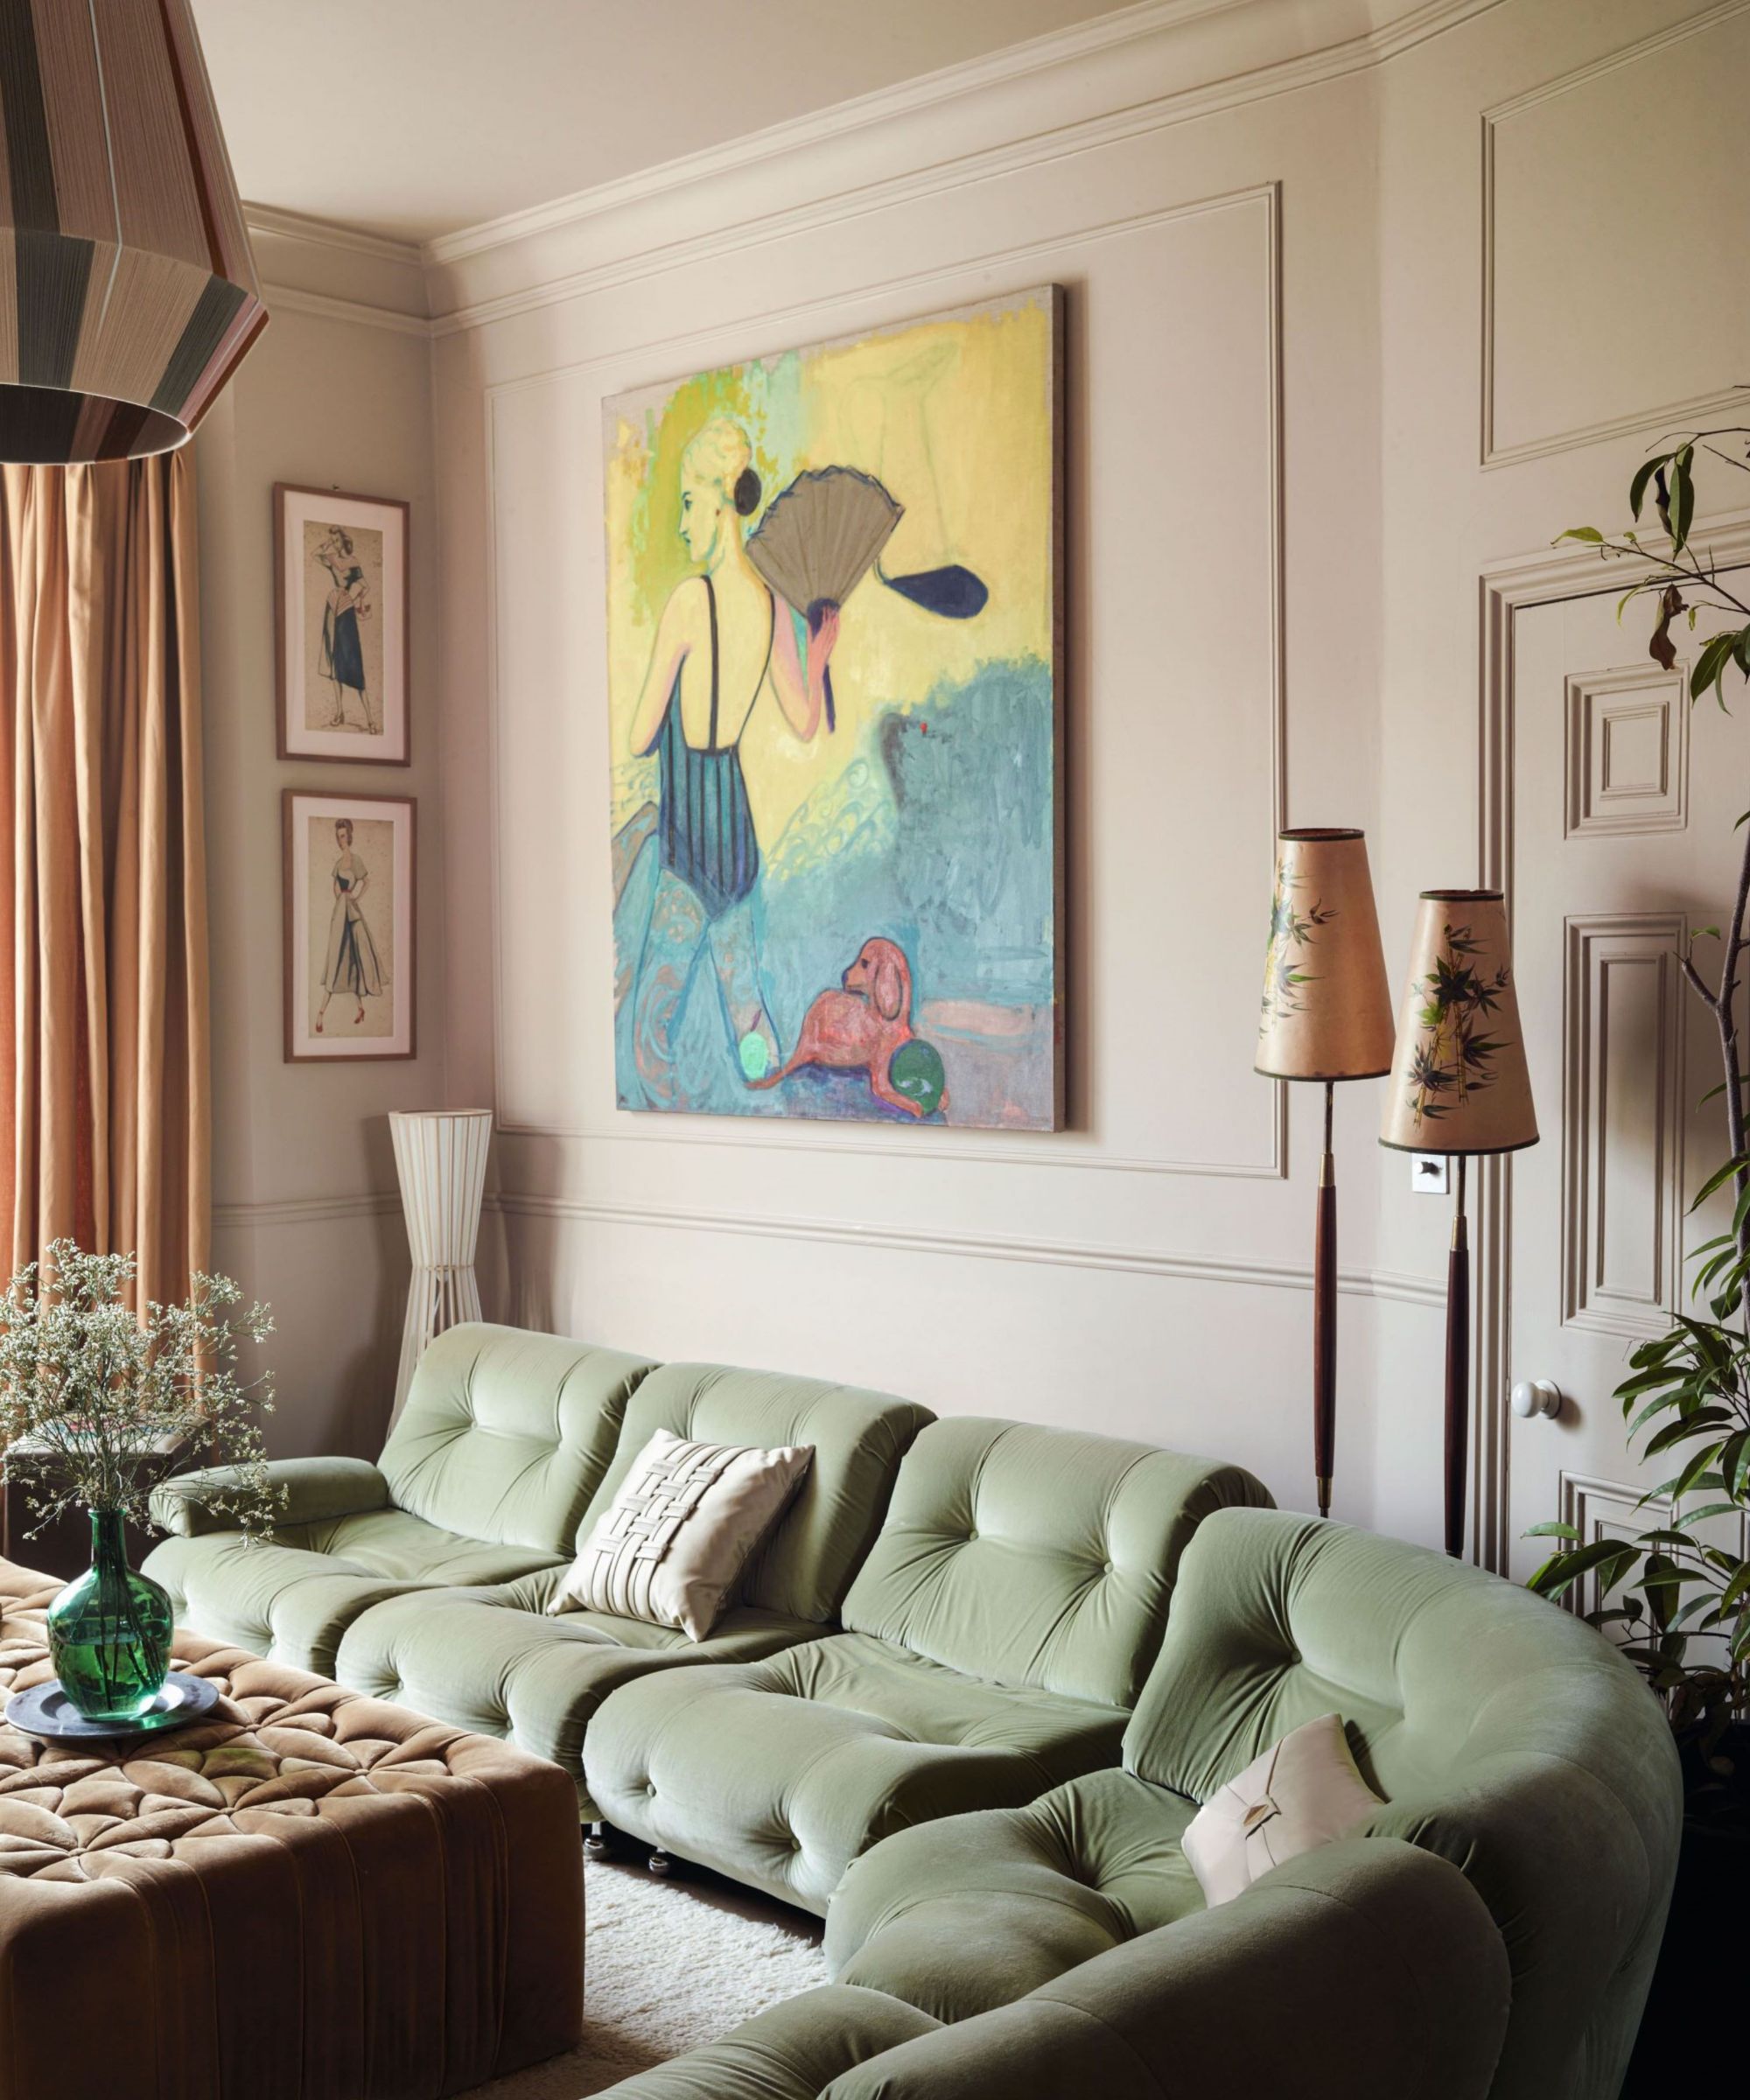
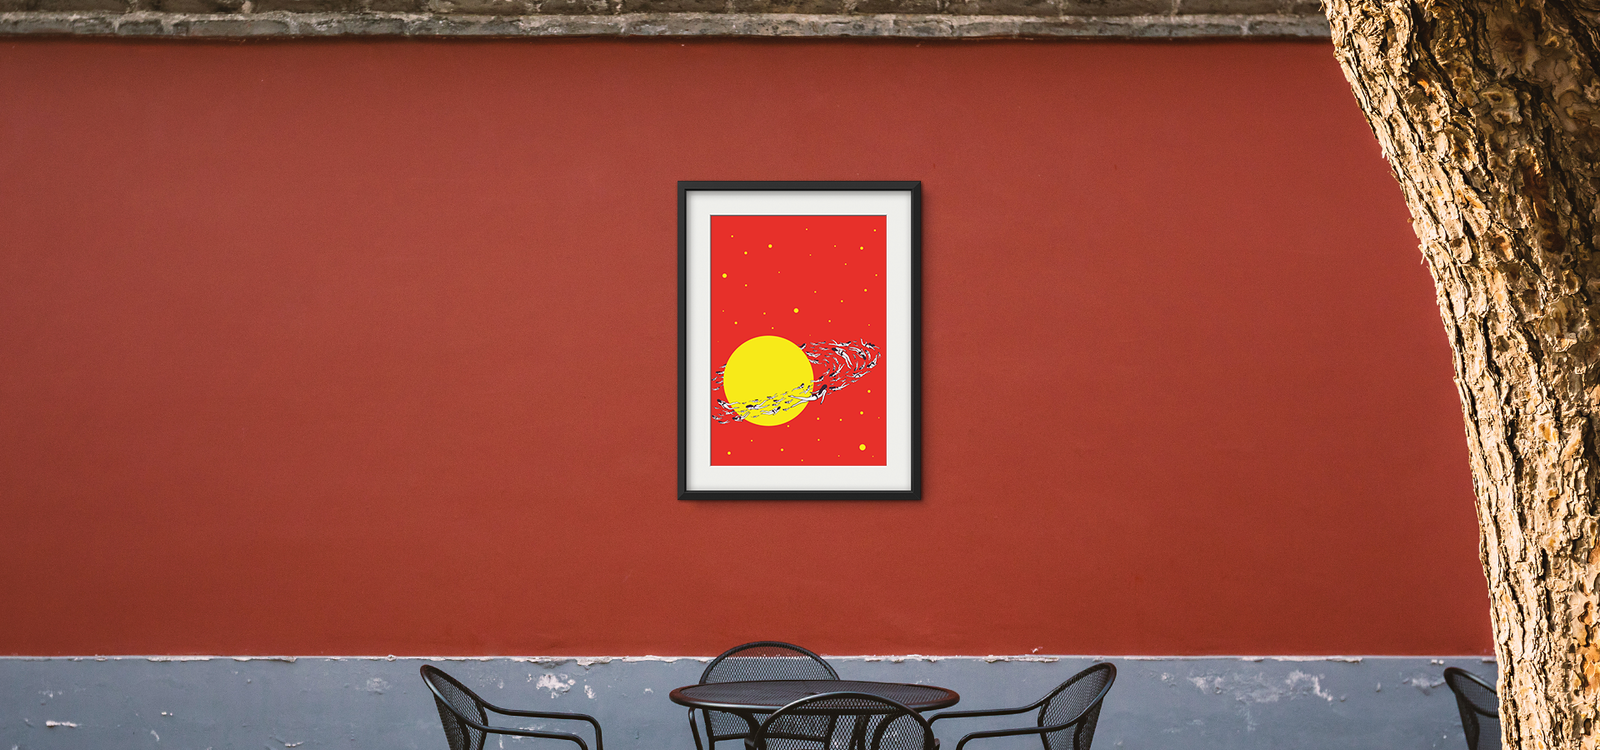
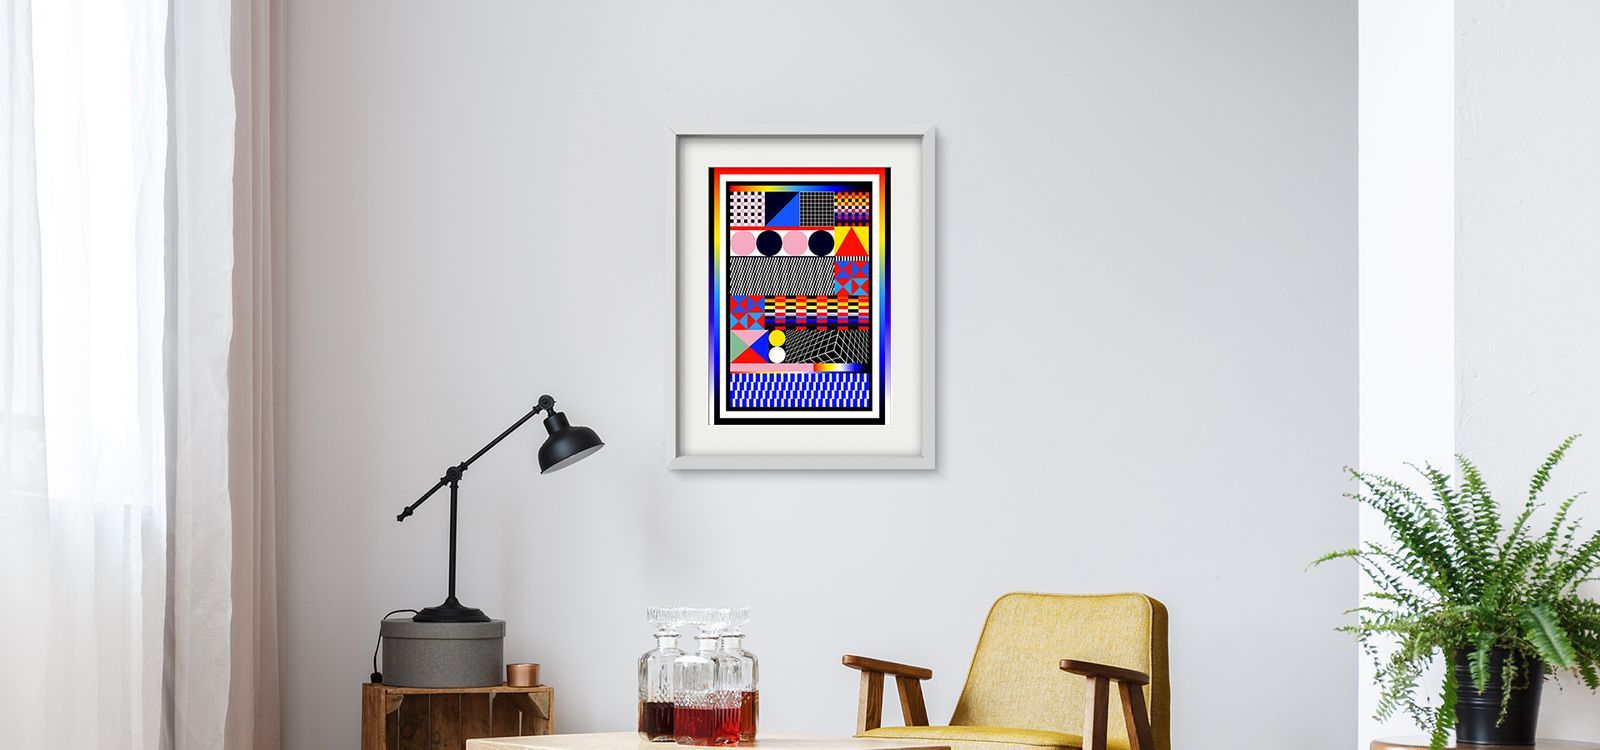
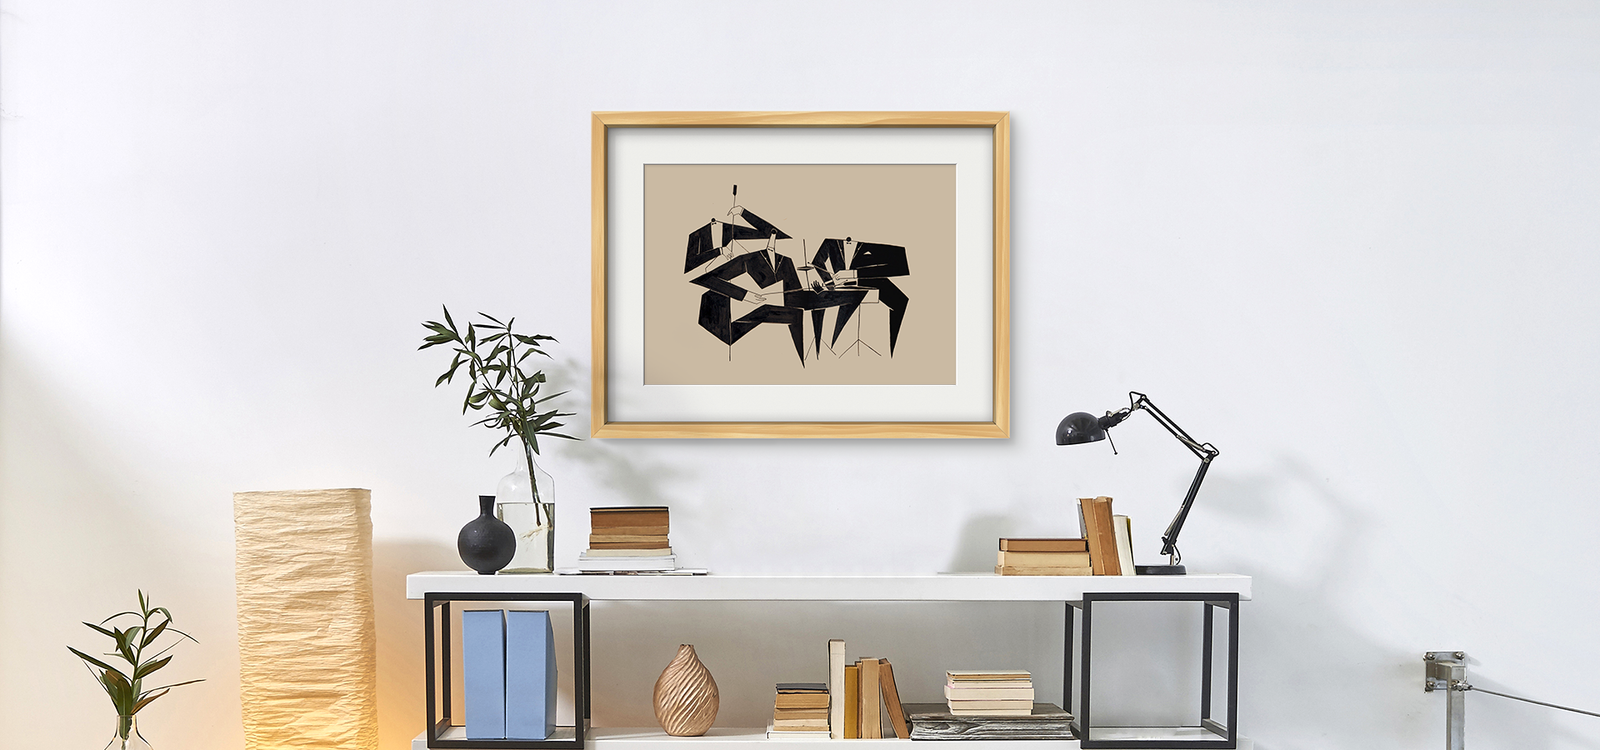
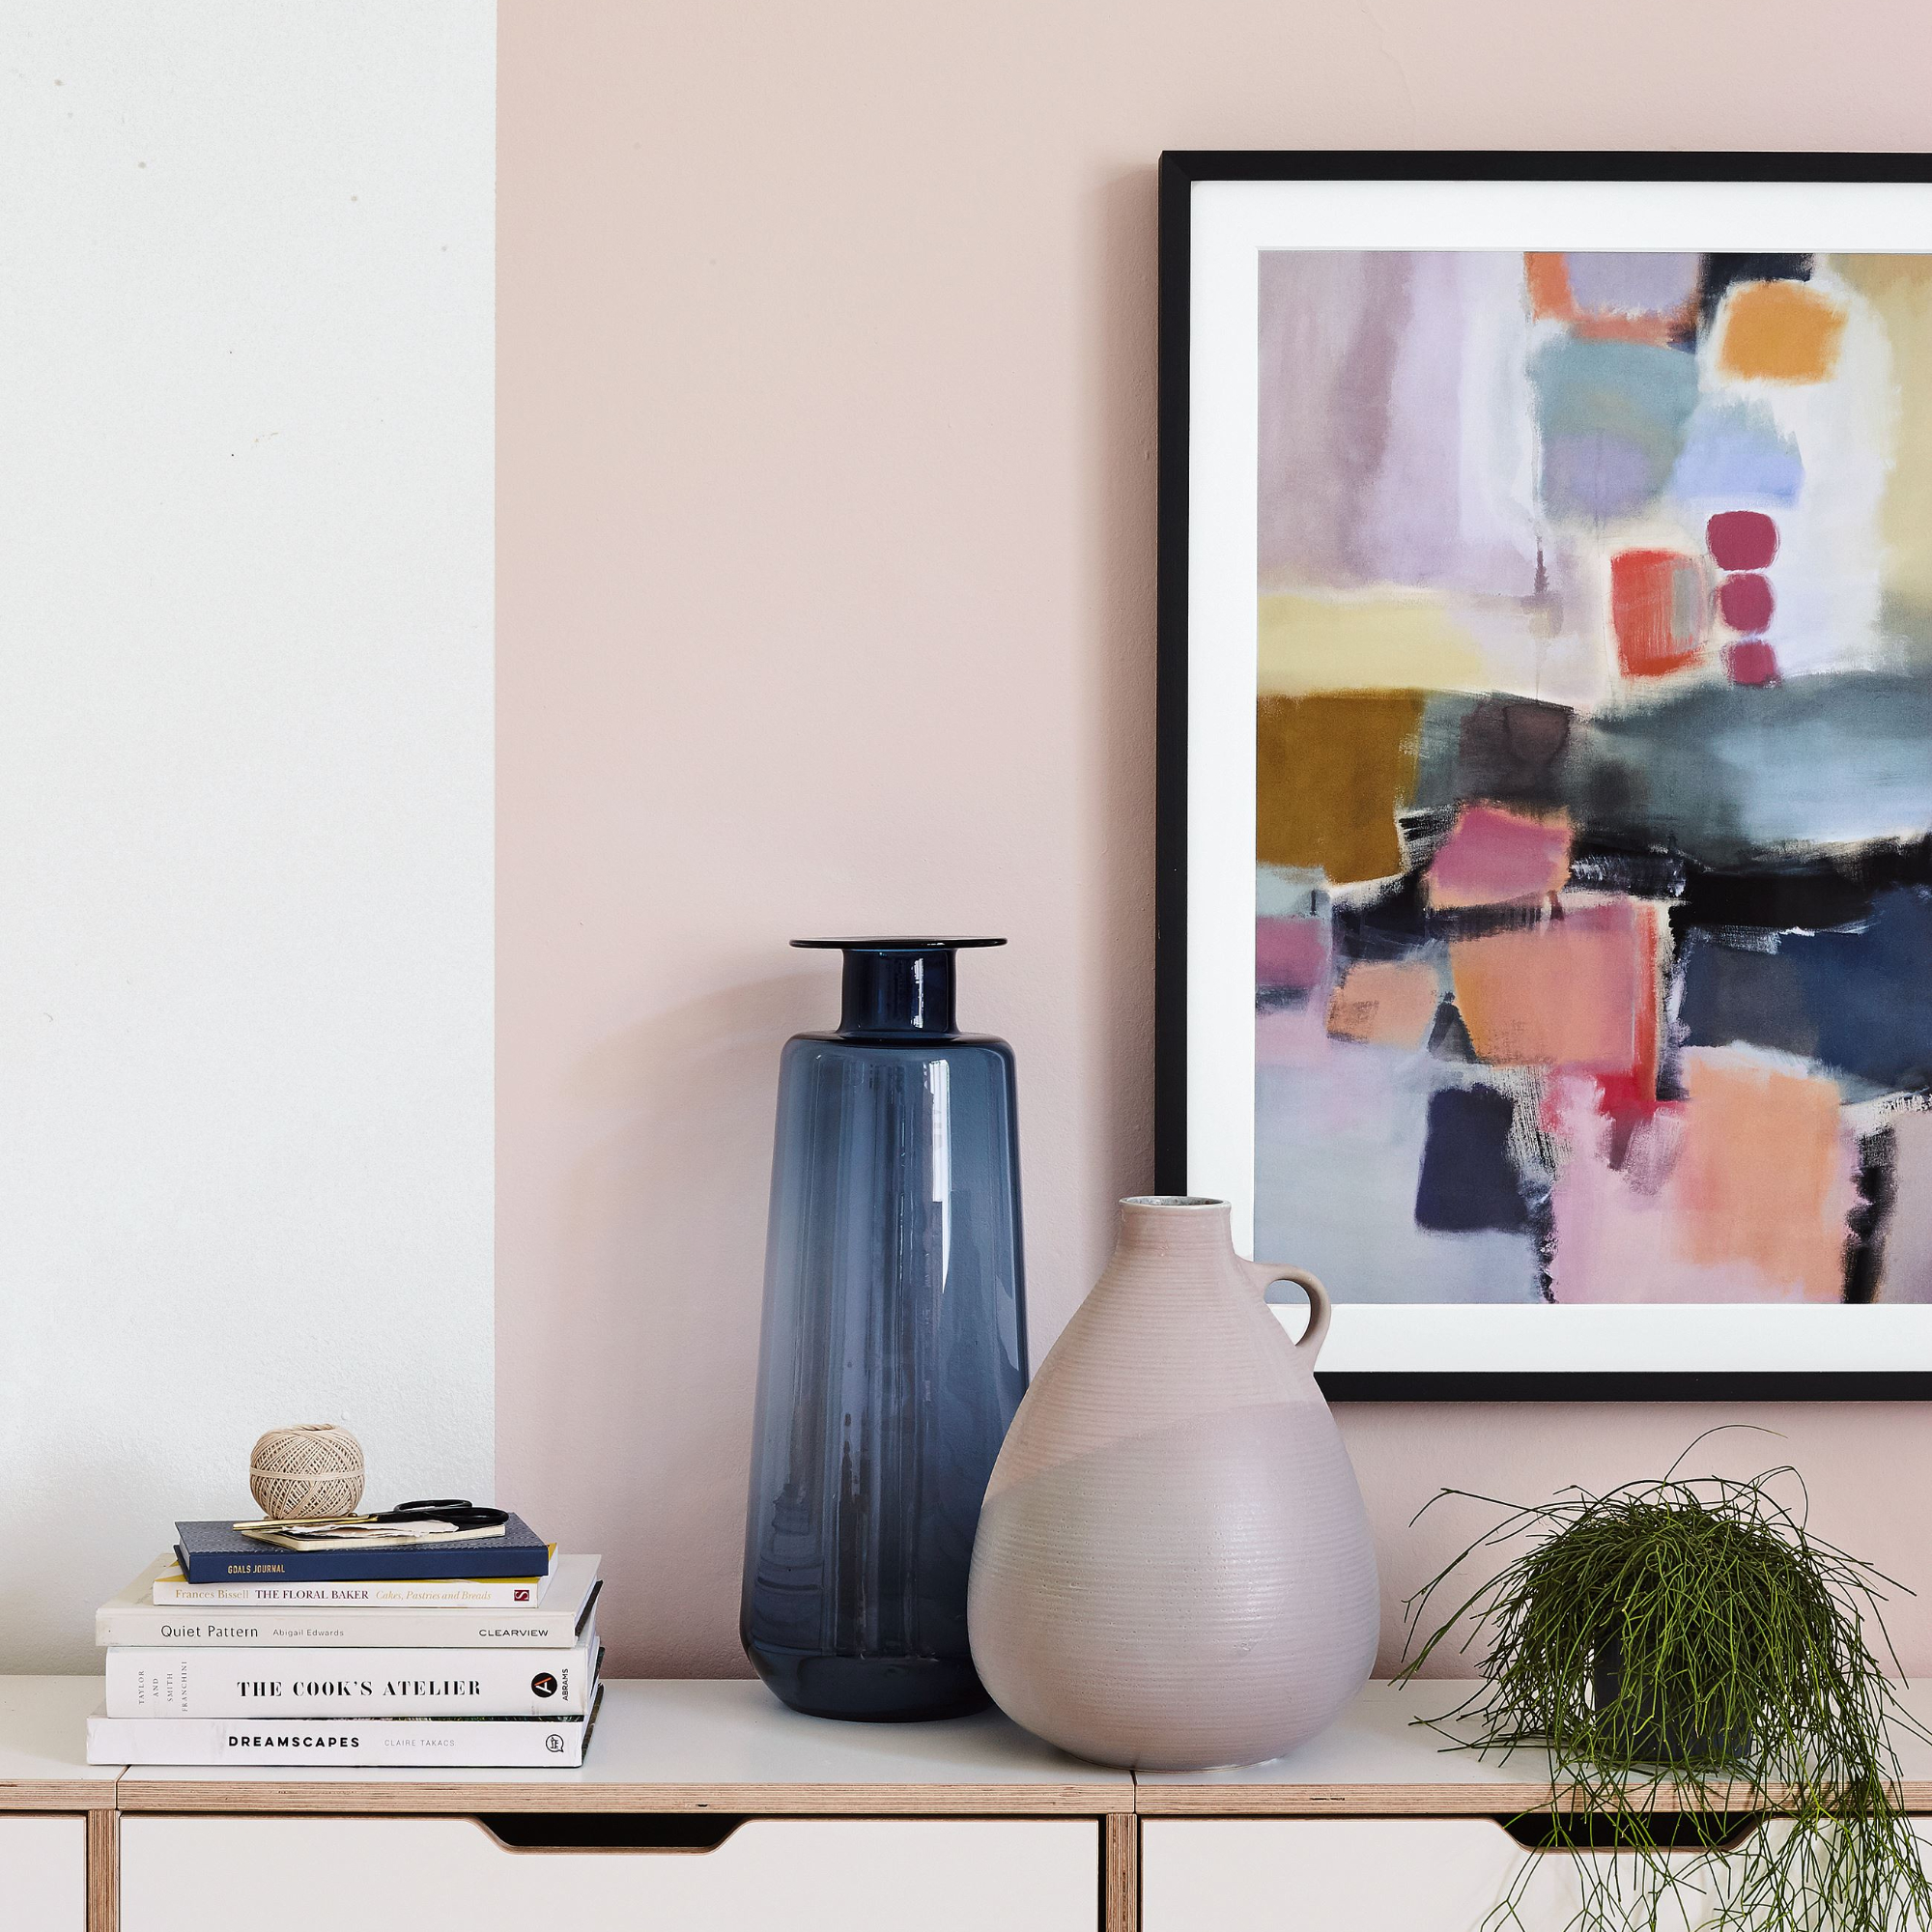
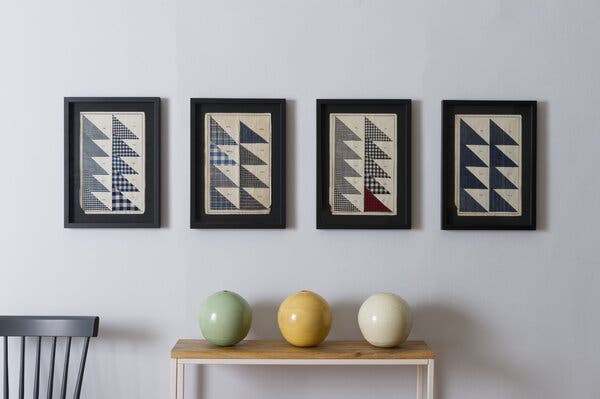
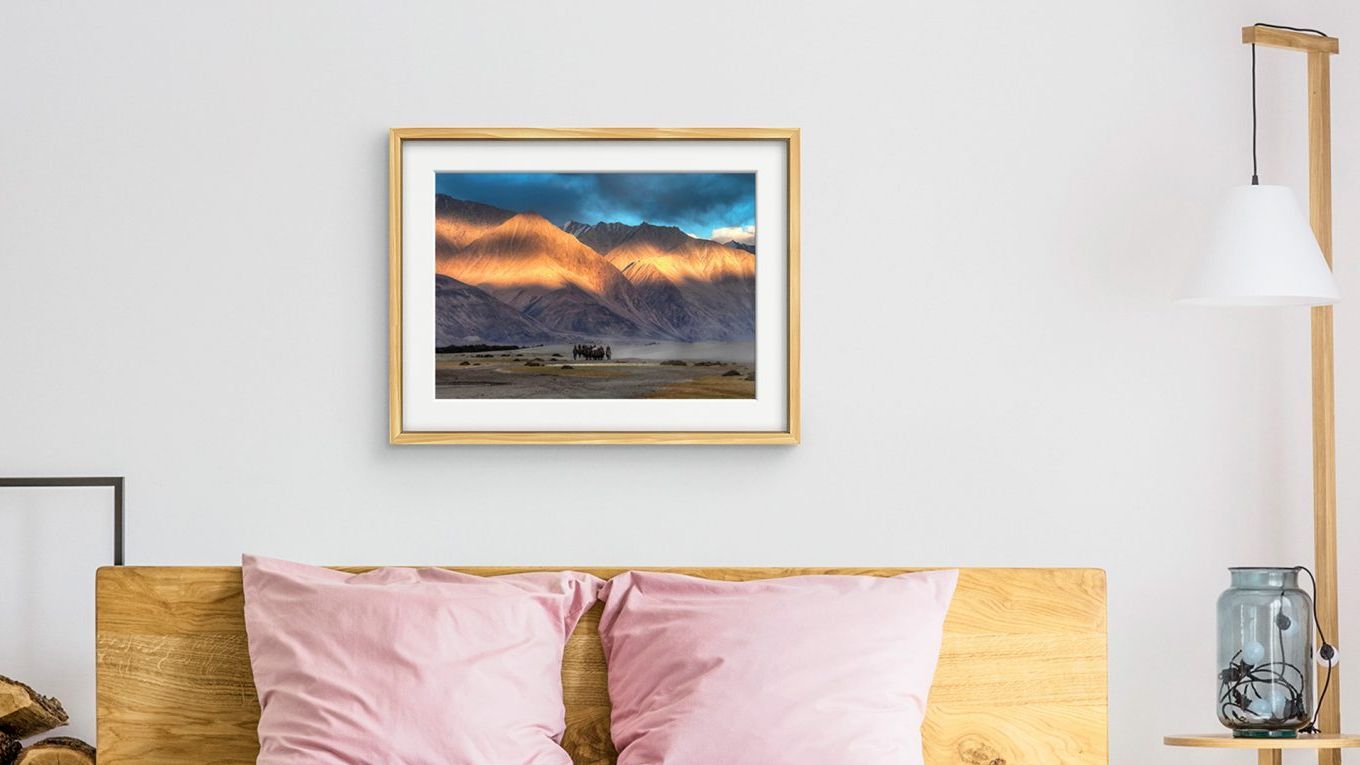
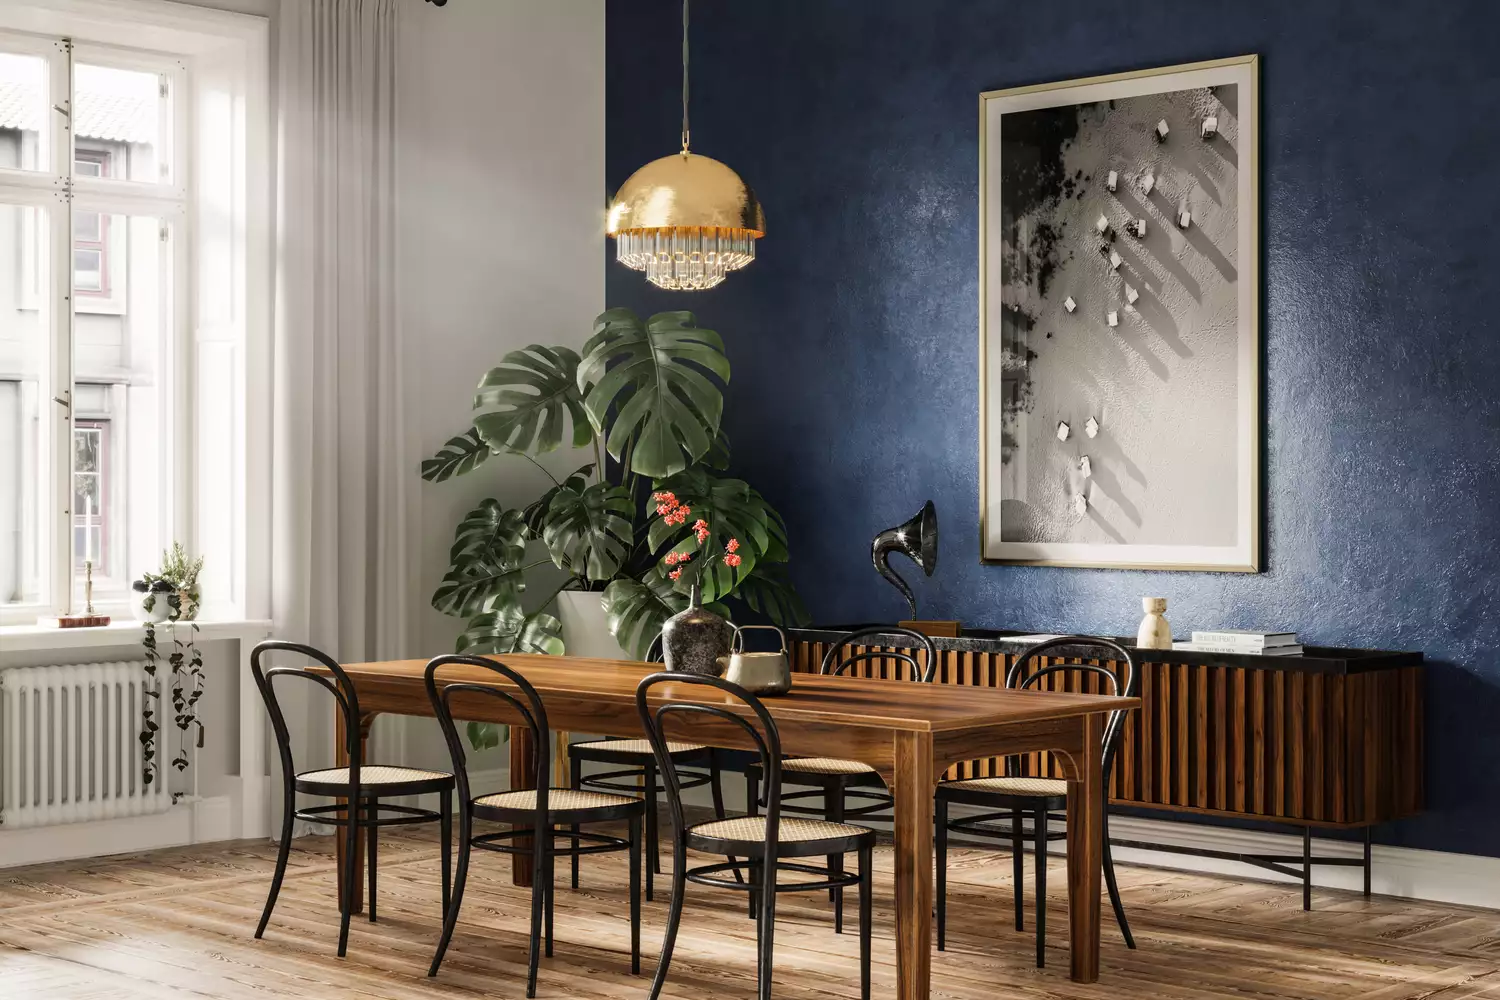
Selecting the right walls for art is another key step, with the recommendation to prioritize key walls in frequently used areas like the foyer, living room, and primary bedroom. Not every wall requires art; often, less is more. Considerations include the scale of the artwork relative to the room size, ensuring the piece has enough space to 'breathe.' Sunlight exposure is also a significant factor, as it can degrade valuable artwork; thus, such pieces should be mounted away from direct sun. The general rule for individual art placement is to center the artwork about 60 inches off the floor, aligning with the eye level of an average-height person. However, this rule is flexible, accommodating architectural features like mantels, moldings, and ceiling heights. It's helpful to have someone hold the art in place for a visual assessment before final installation. When hanging art above furniture, a gap of four to six inches between the furniture and the artwork is advised, and the artwork's width should ideally be about 75 percent of the furniture's width.
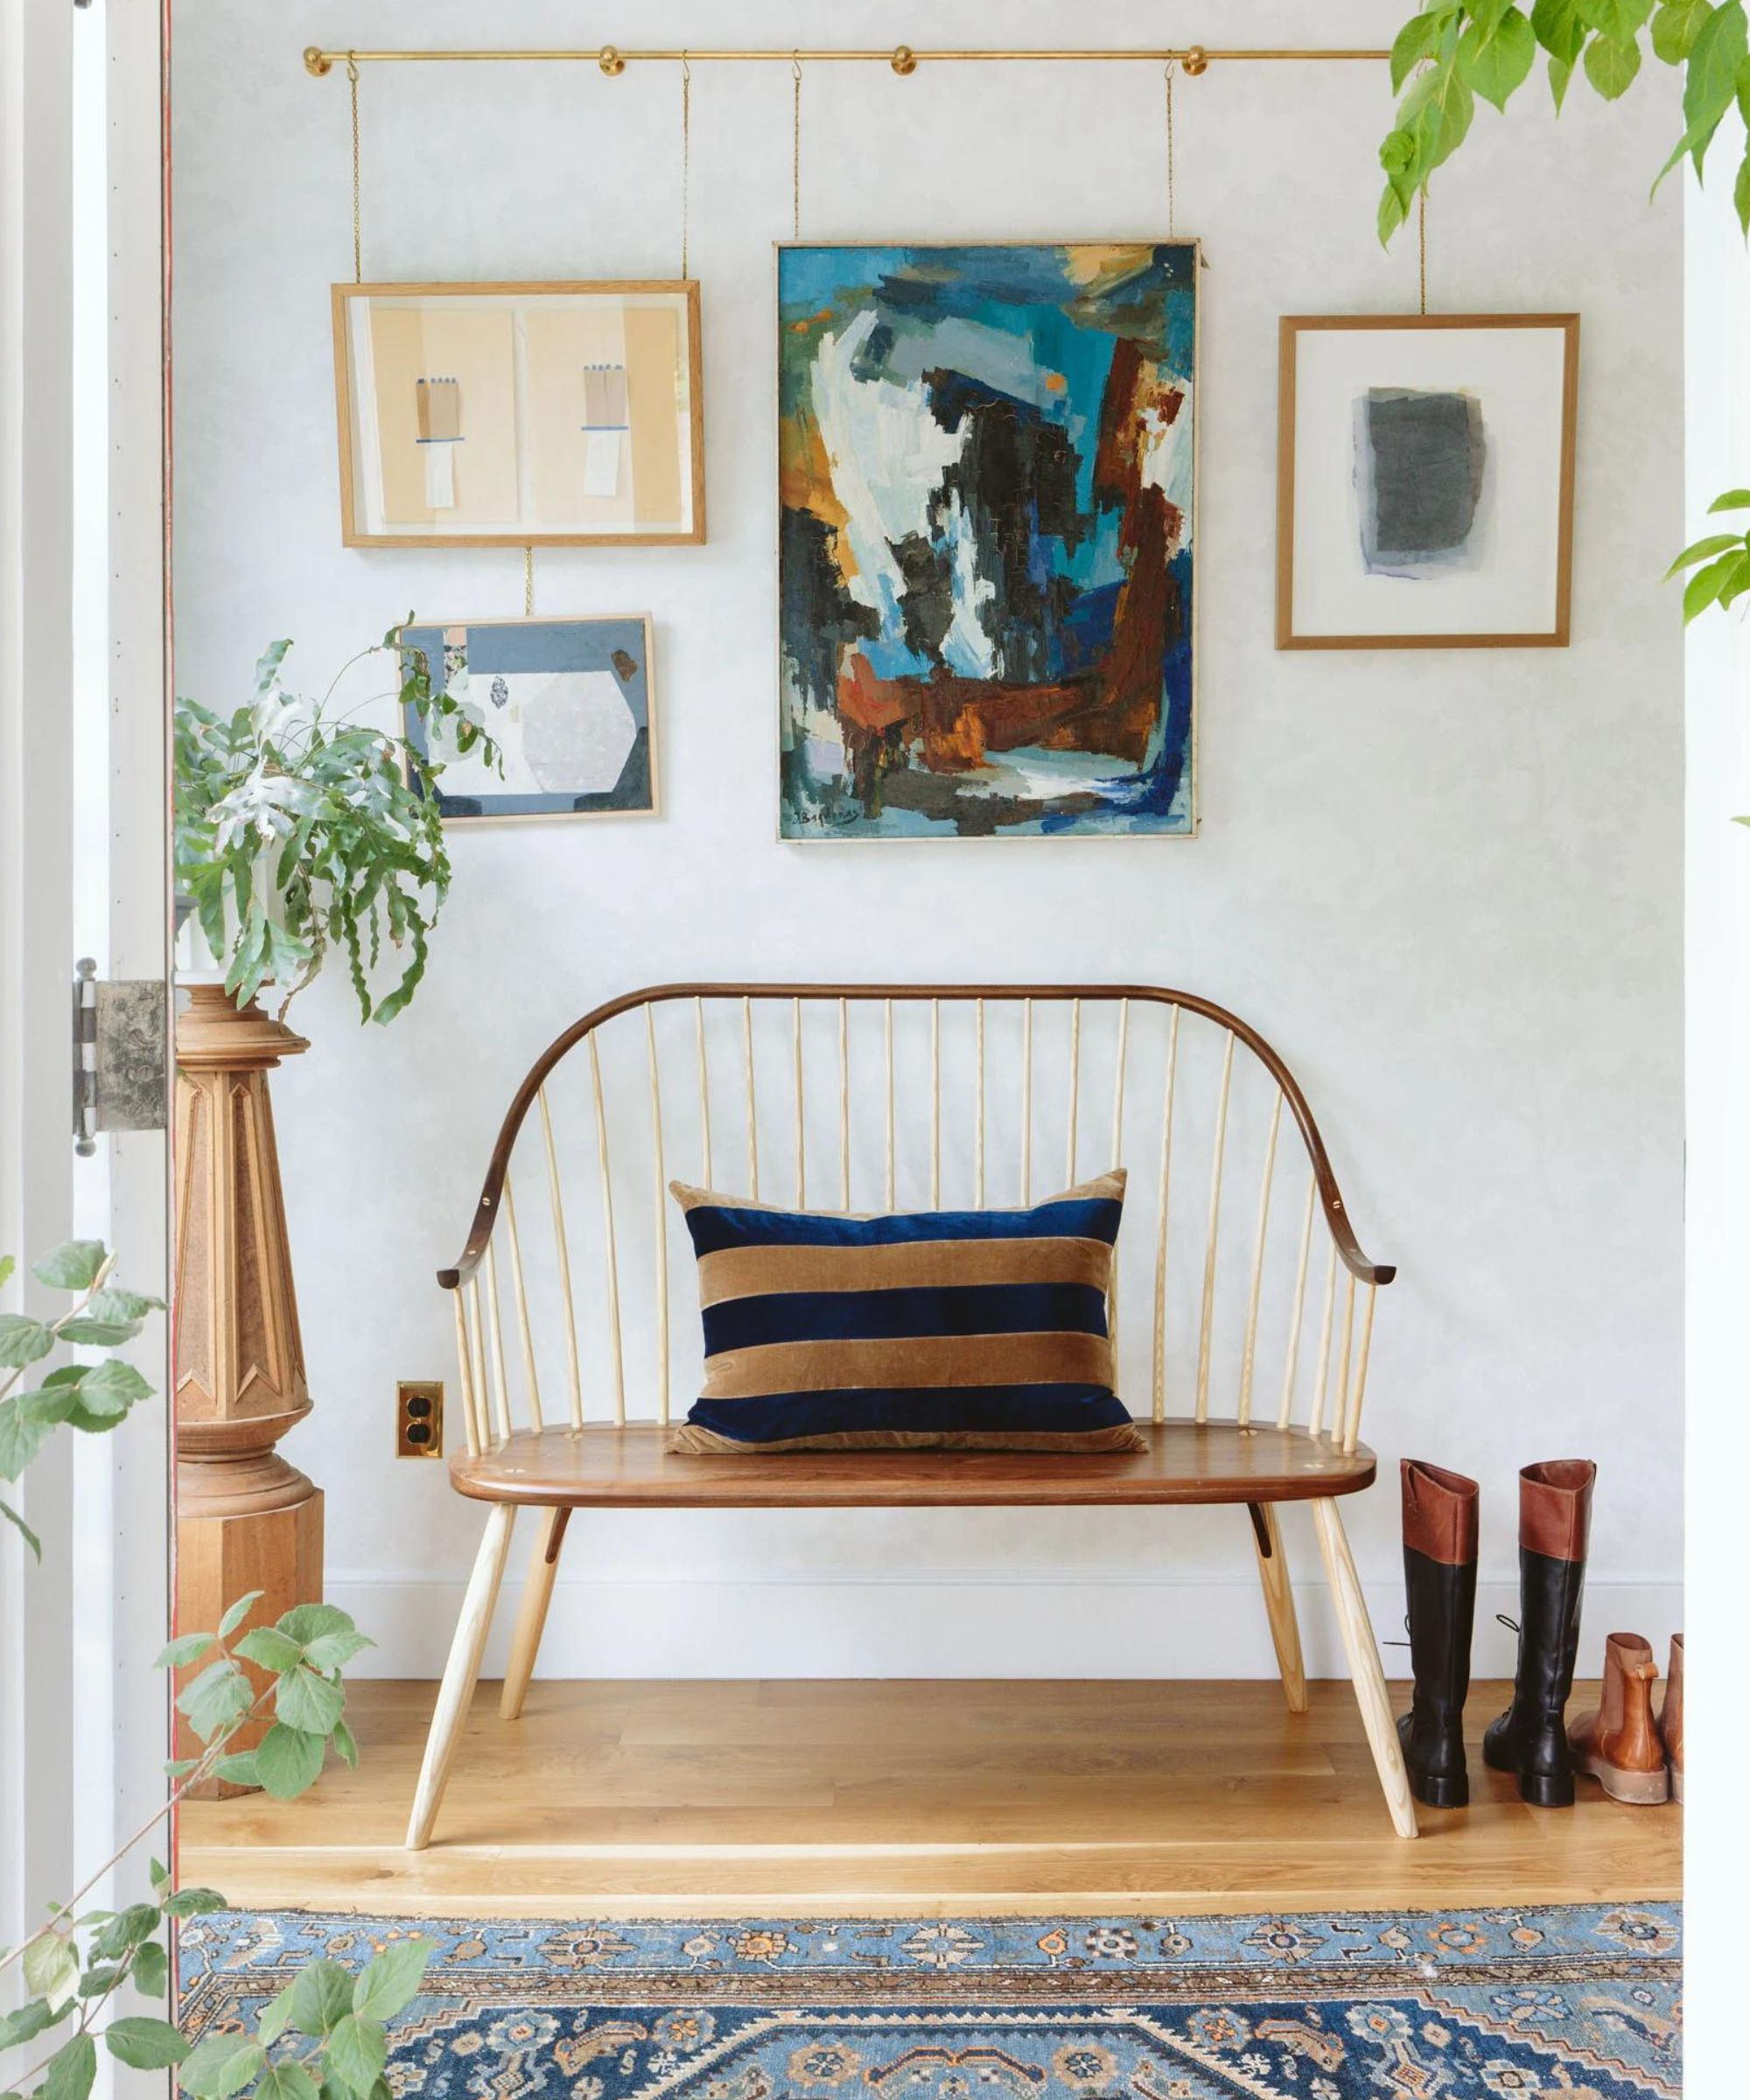
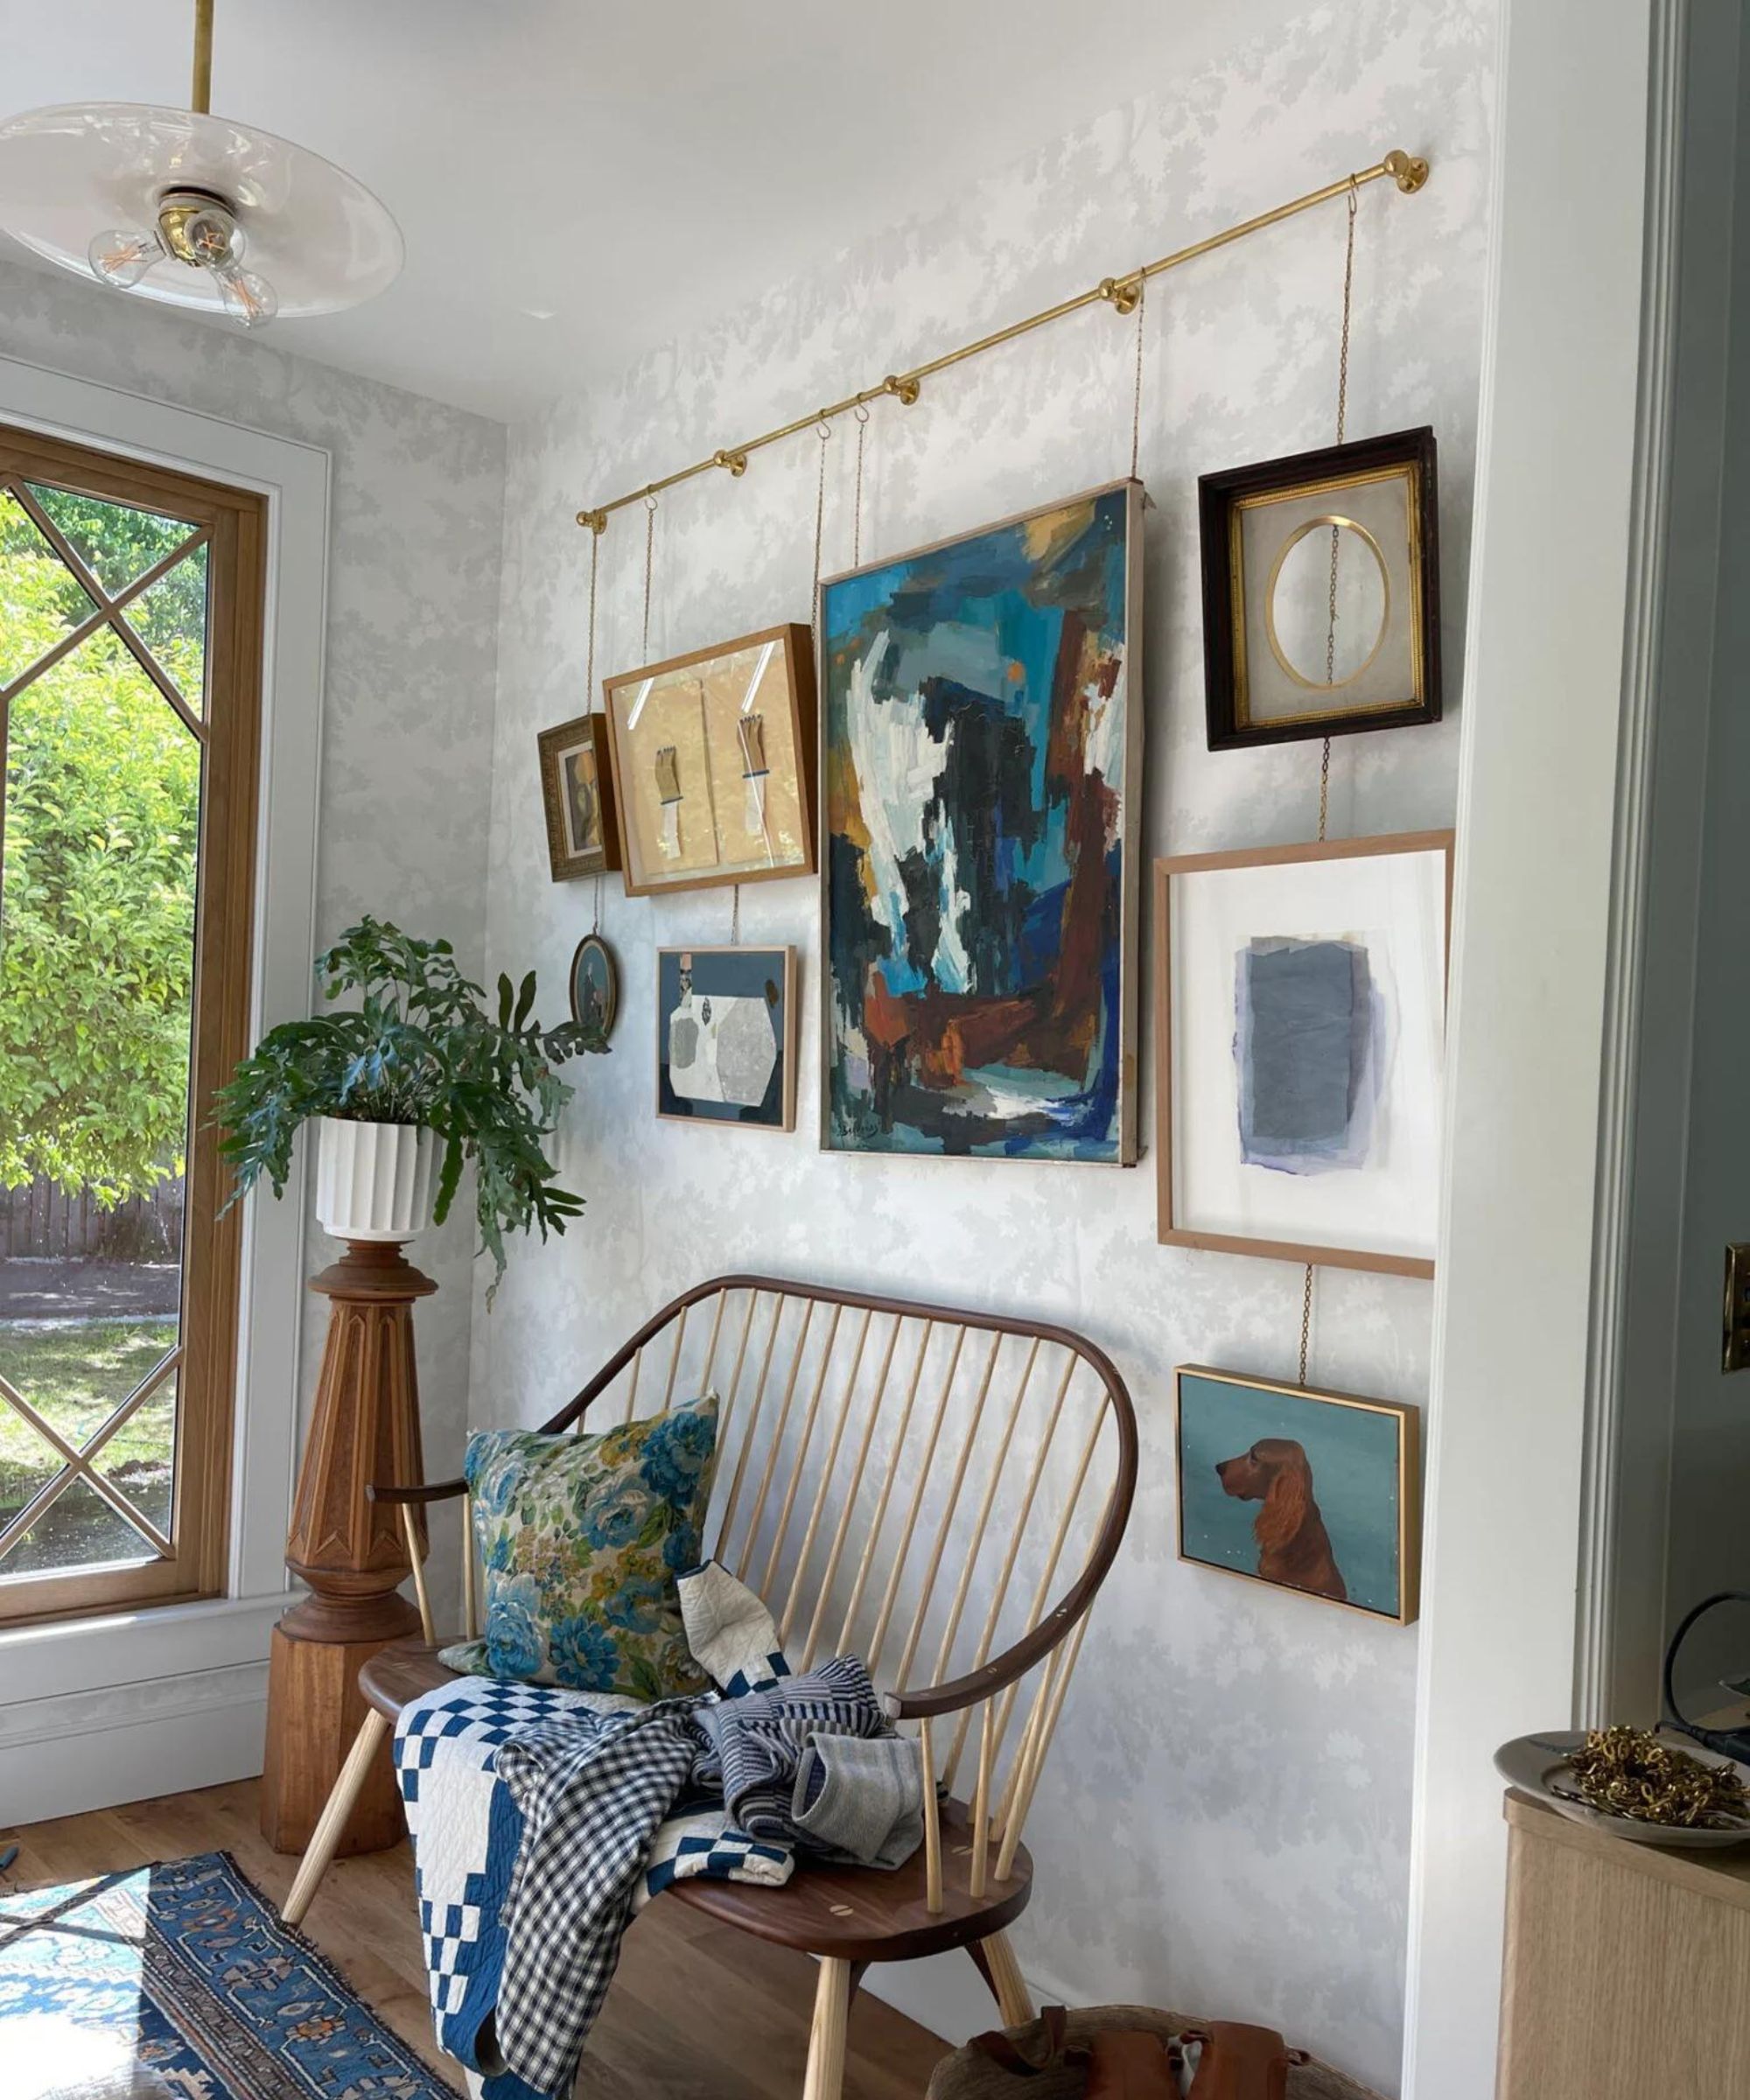
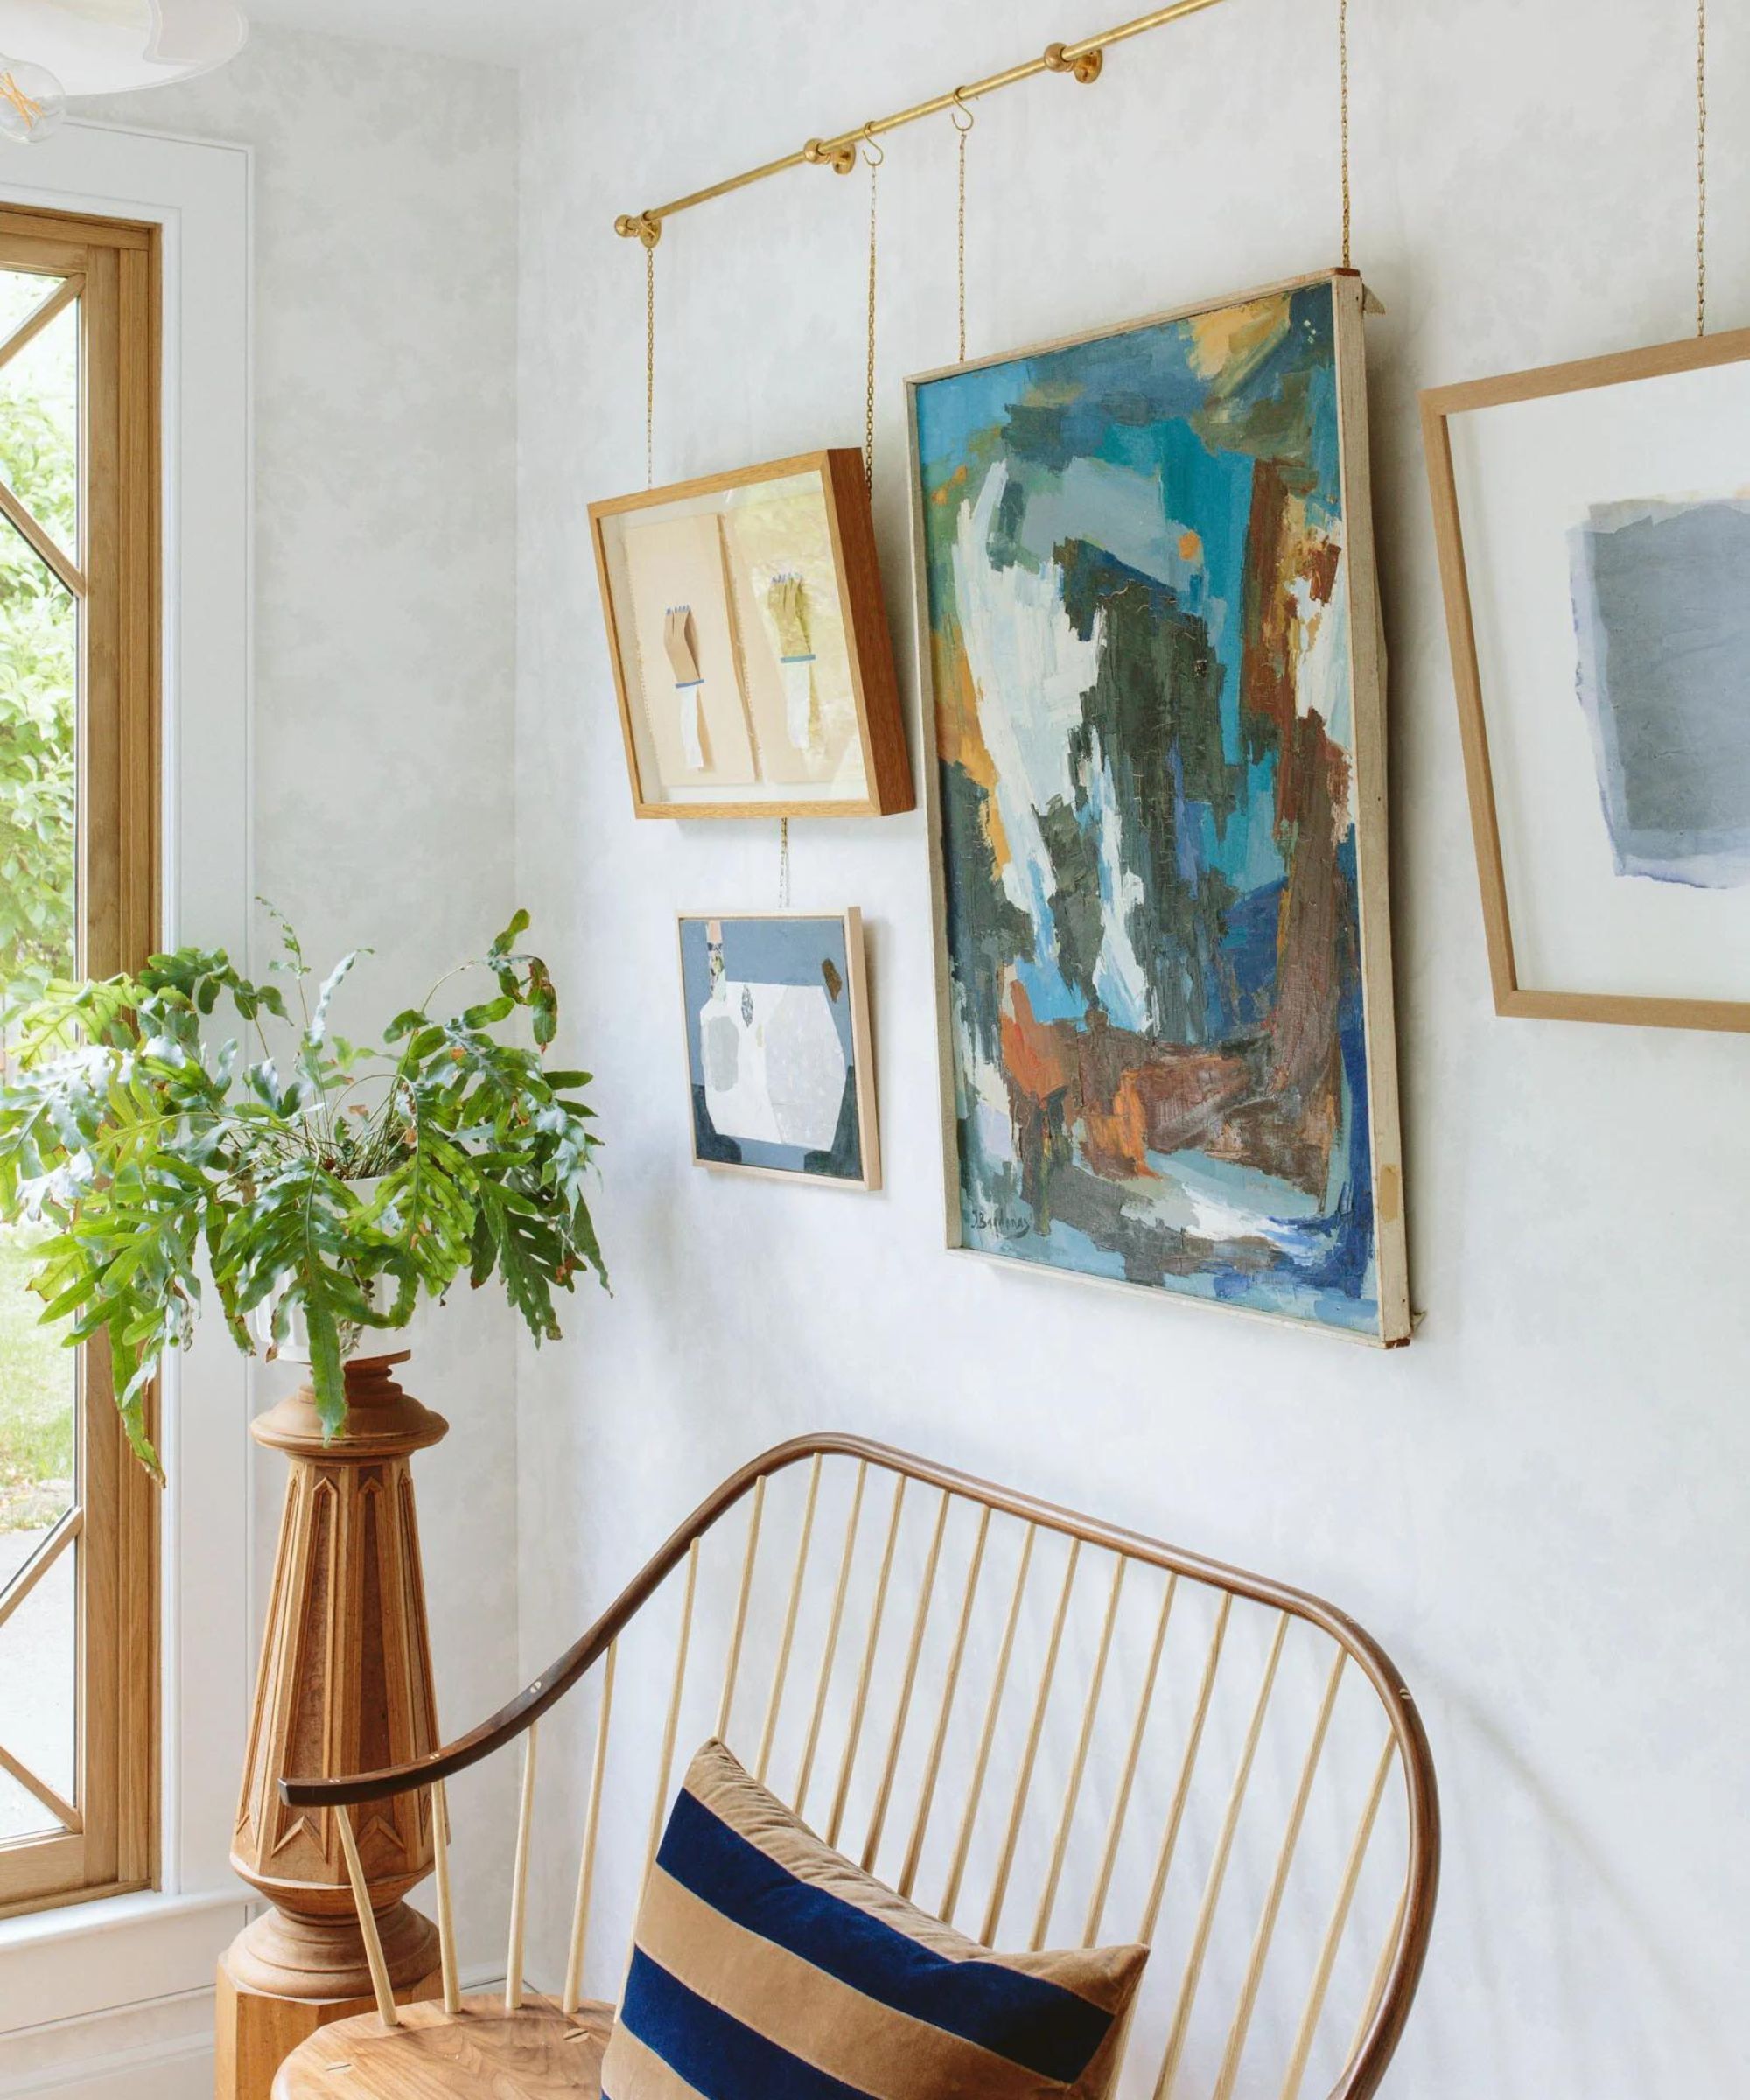
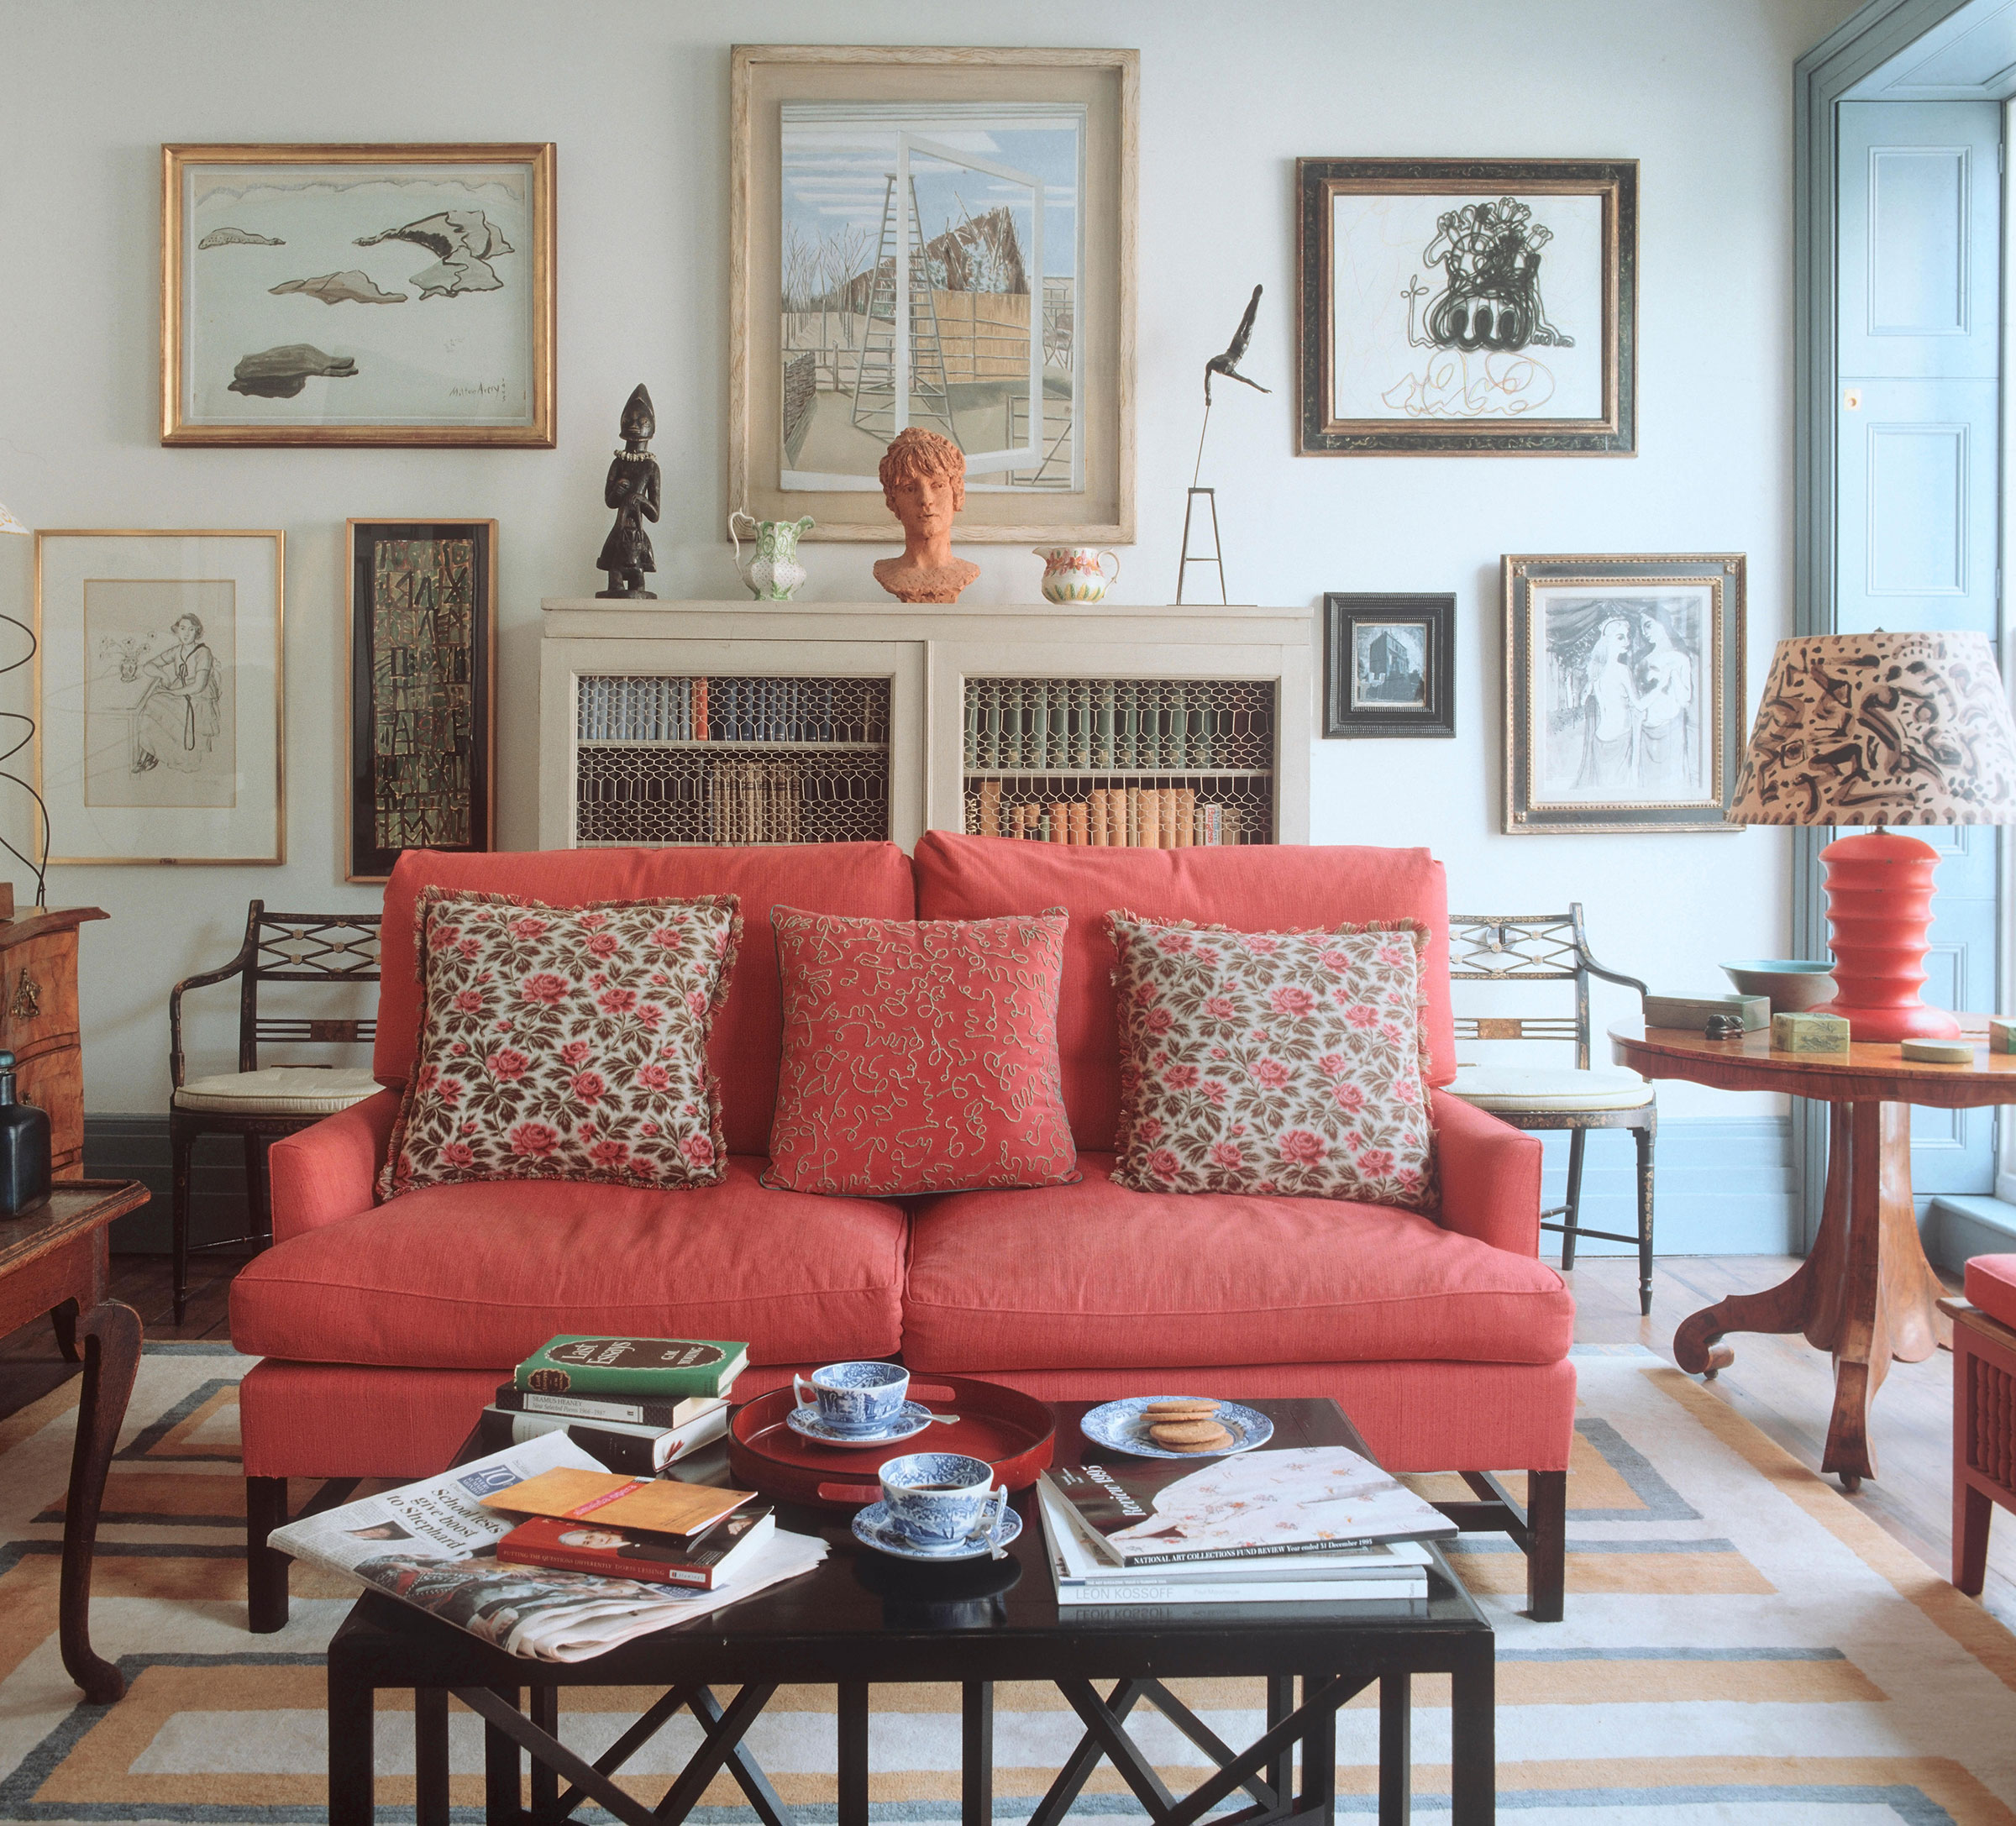
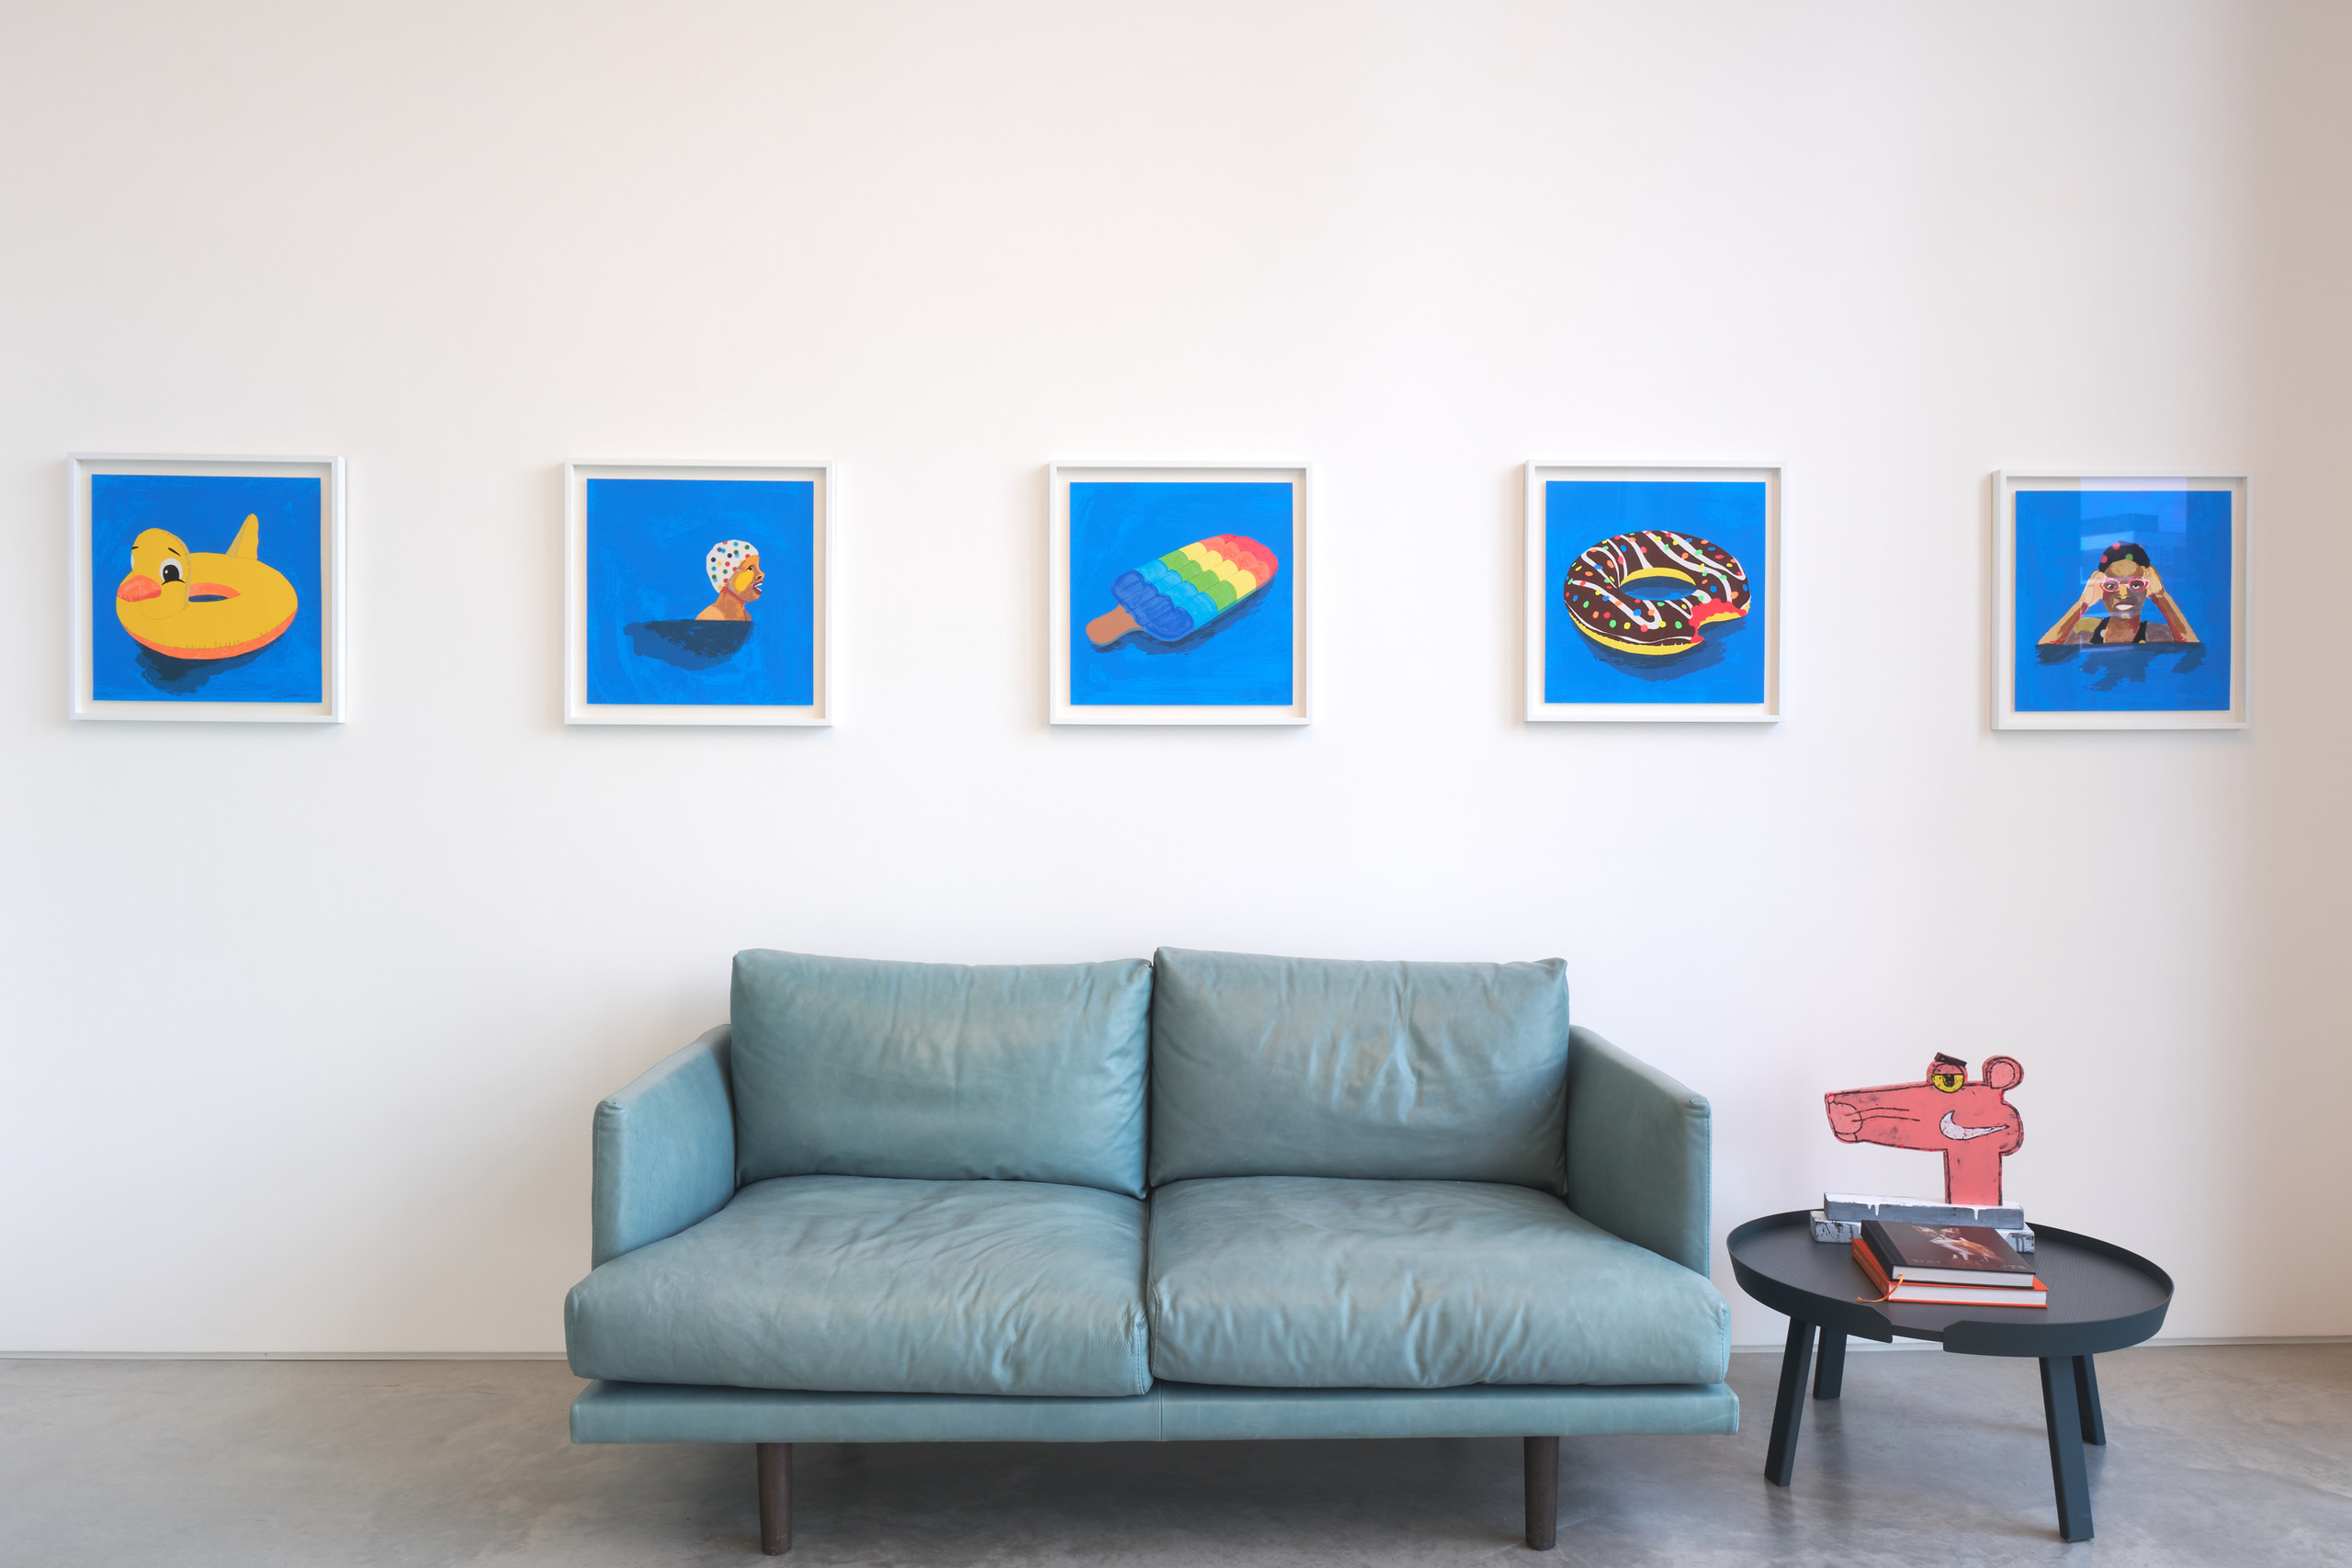
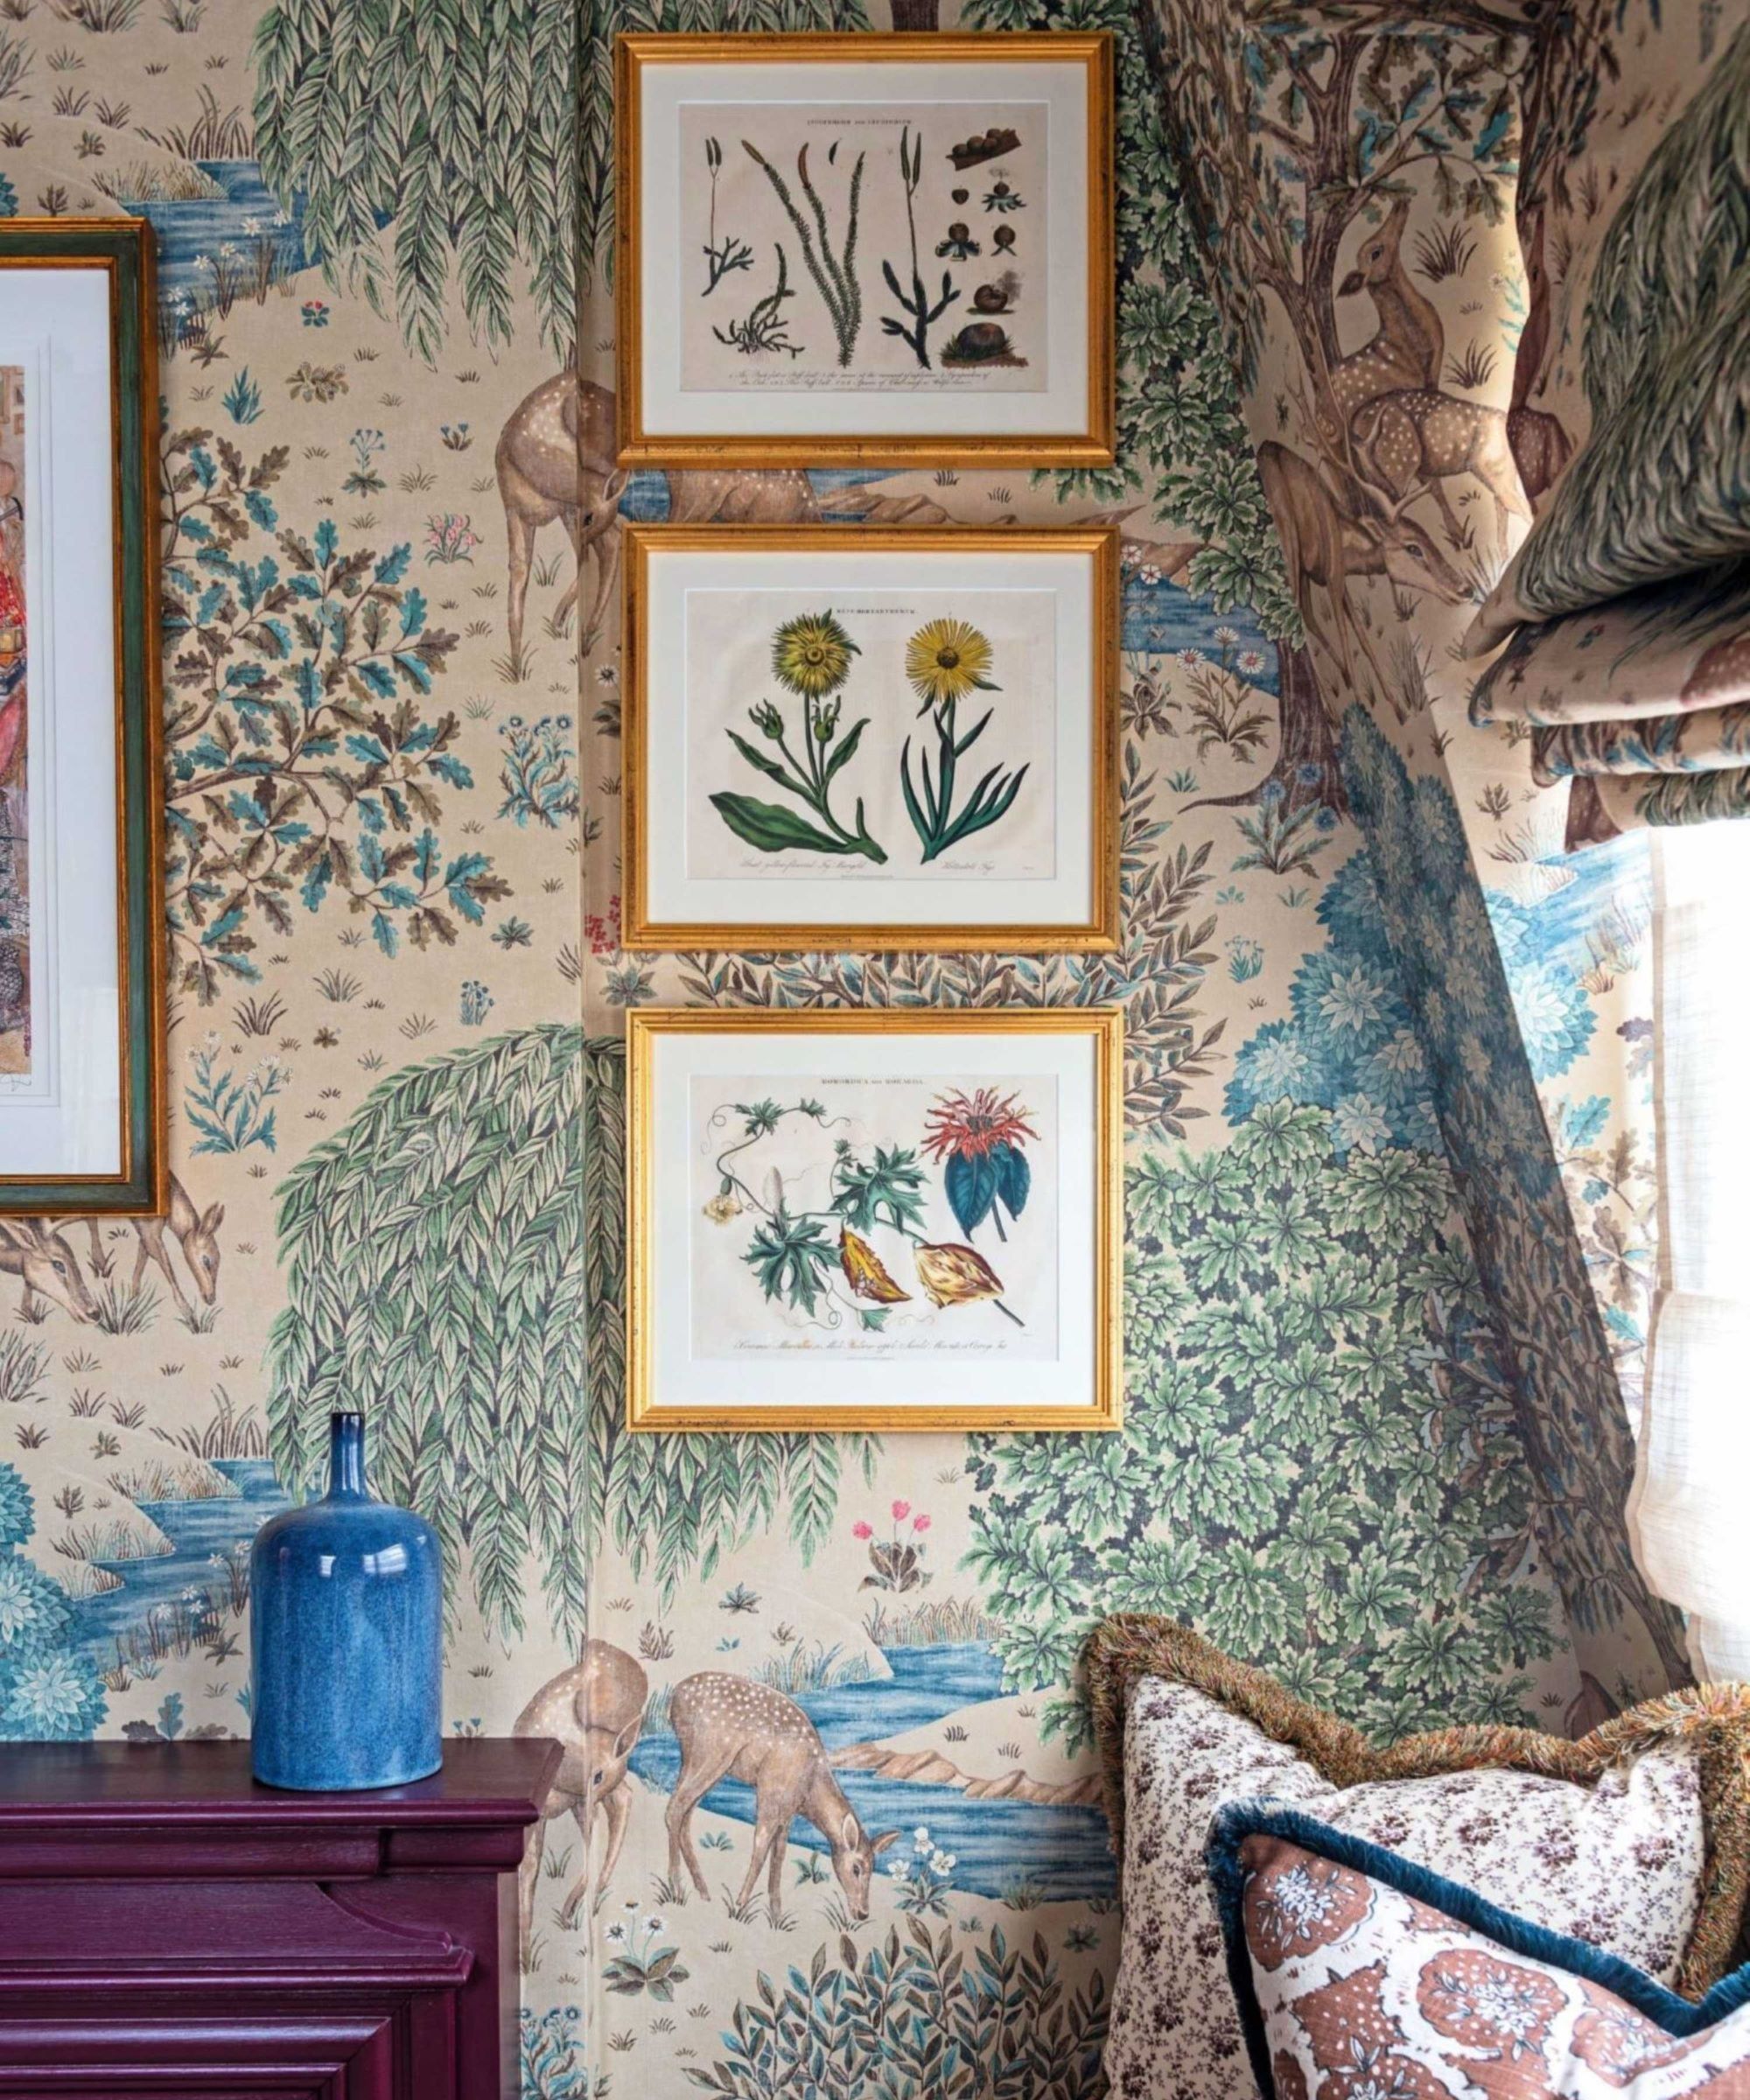
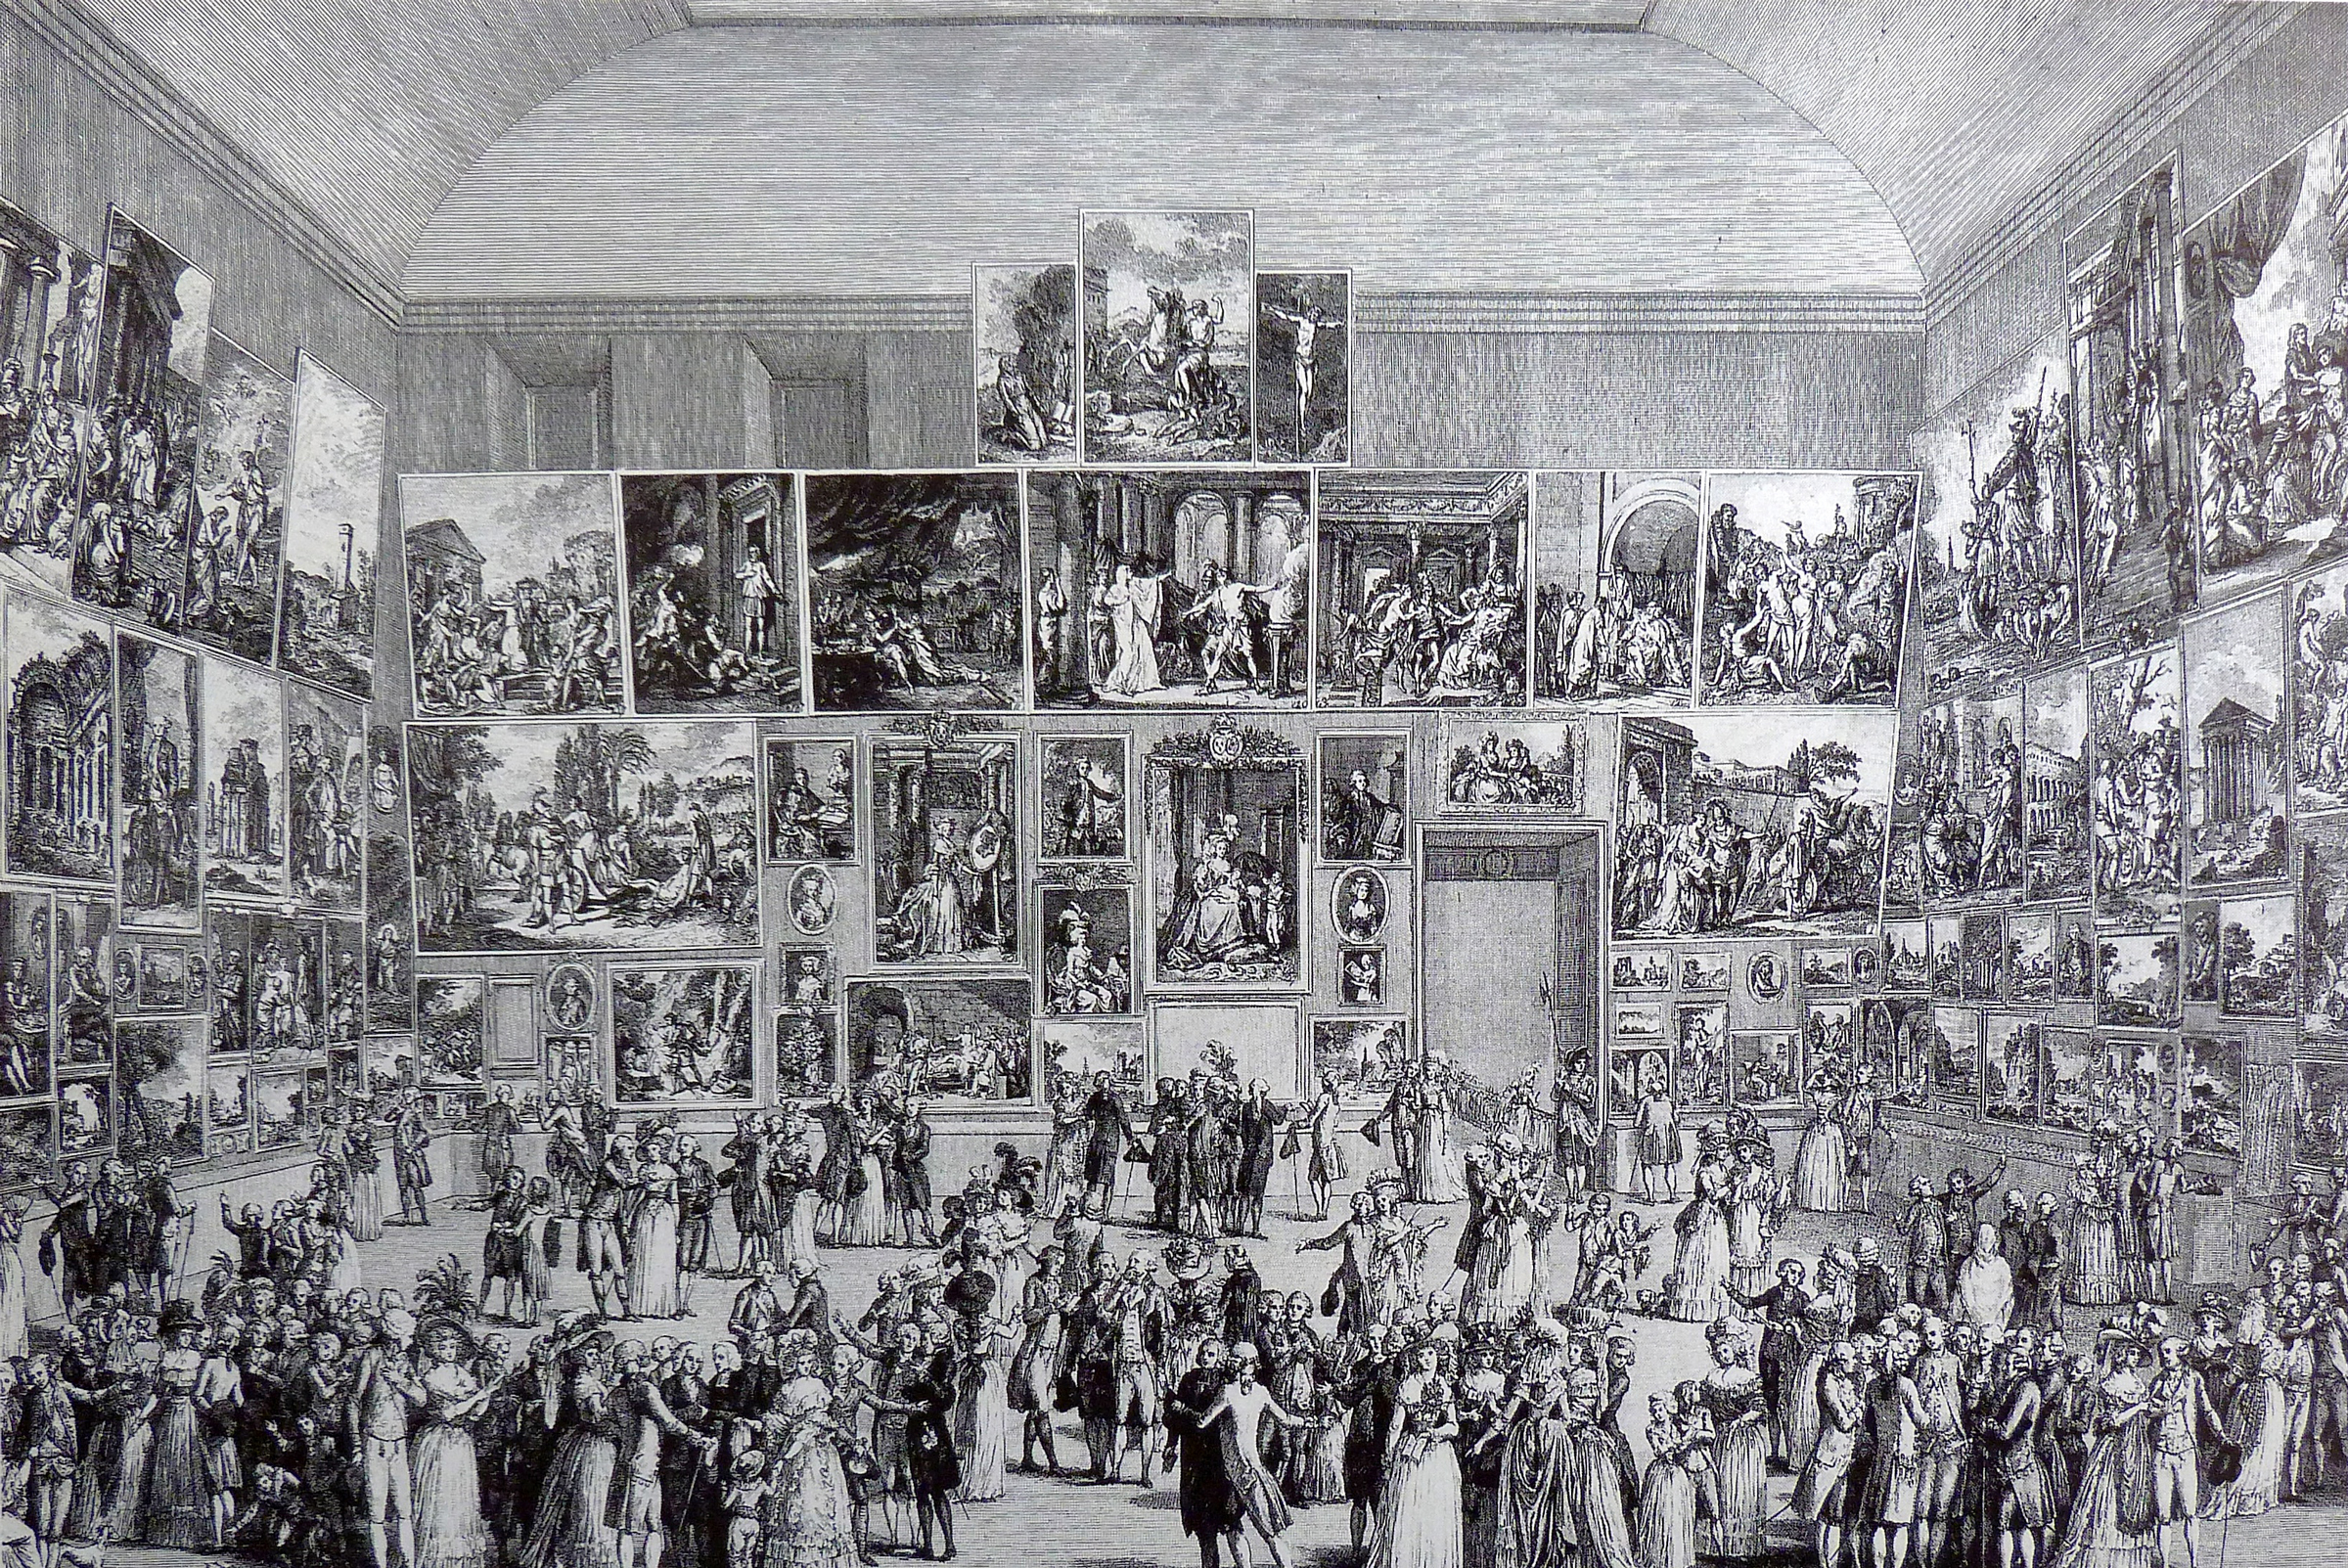
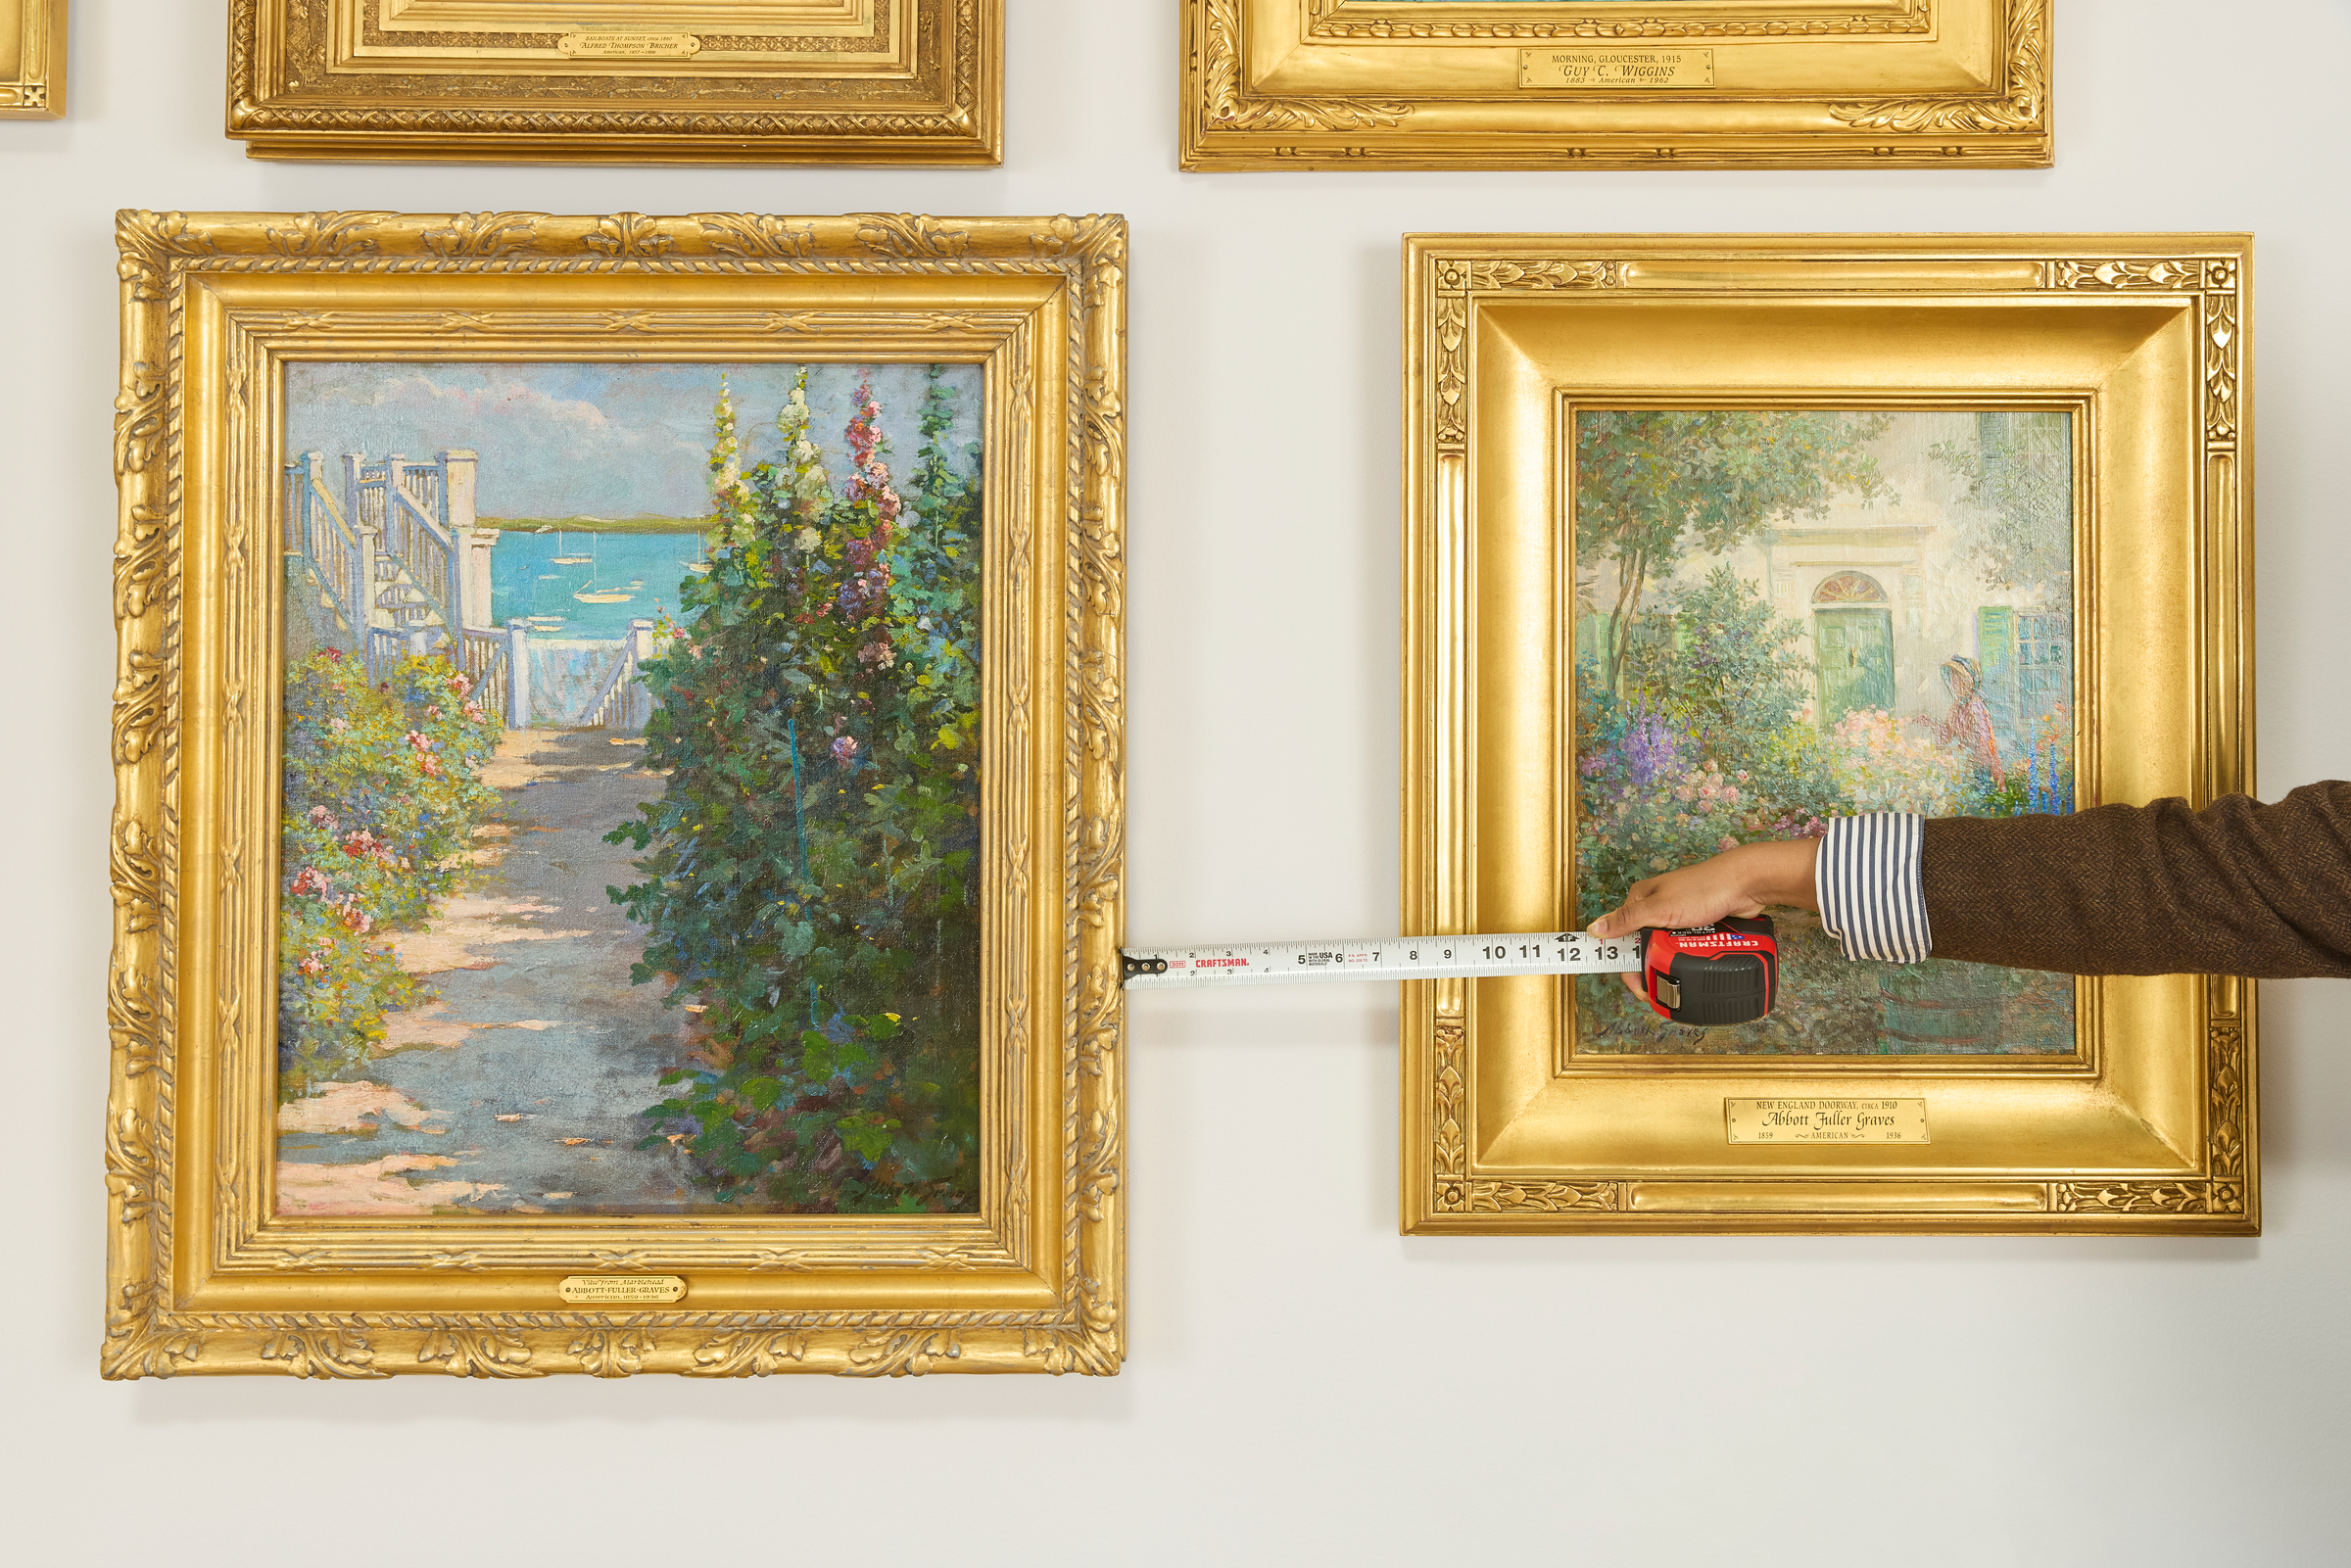
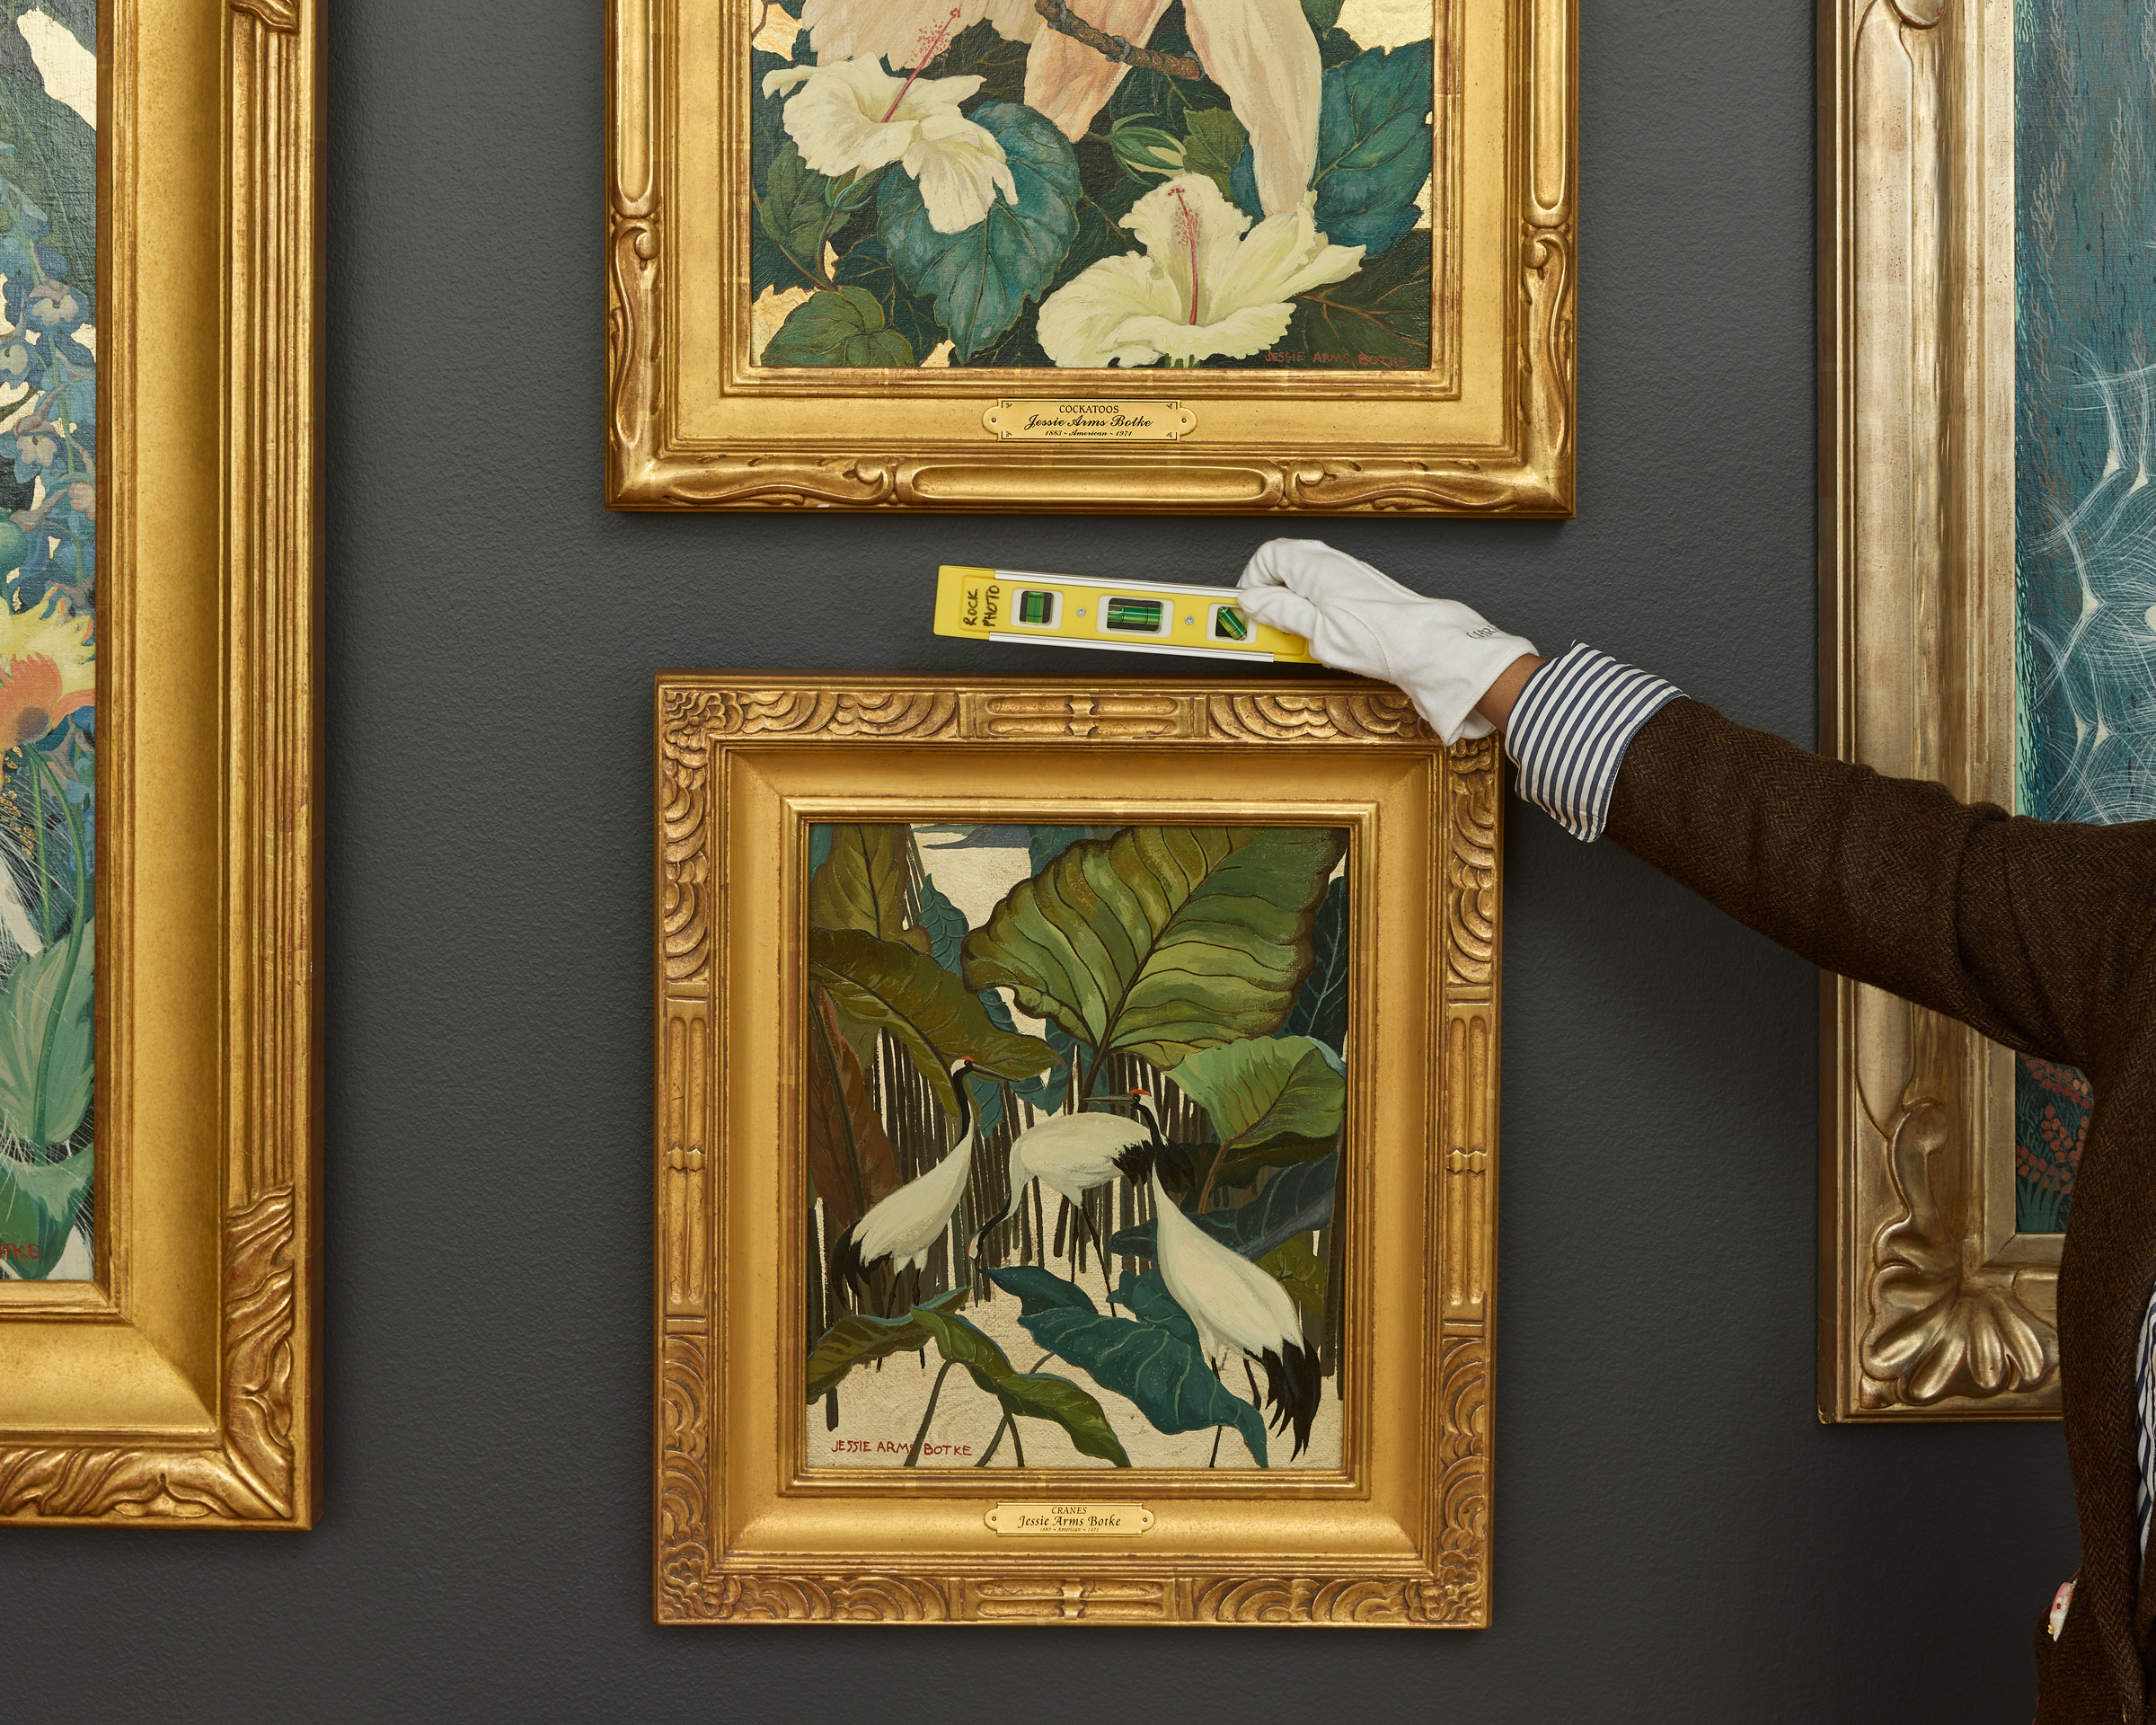
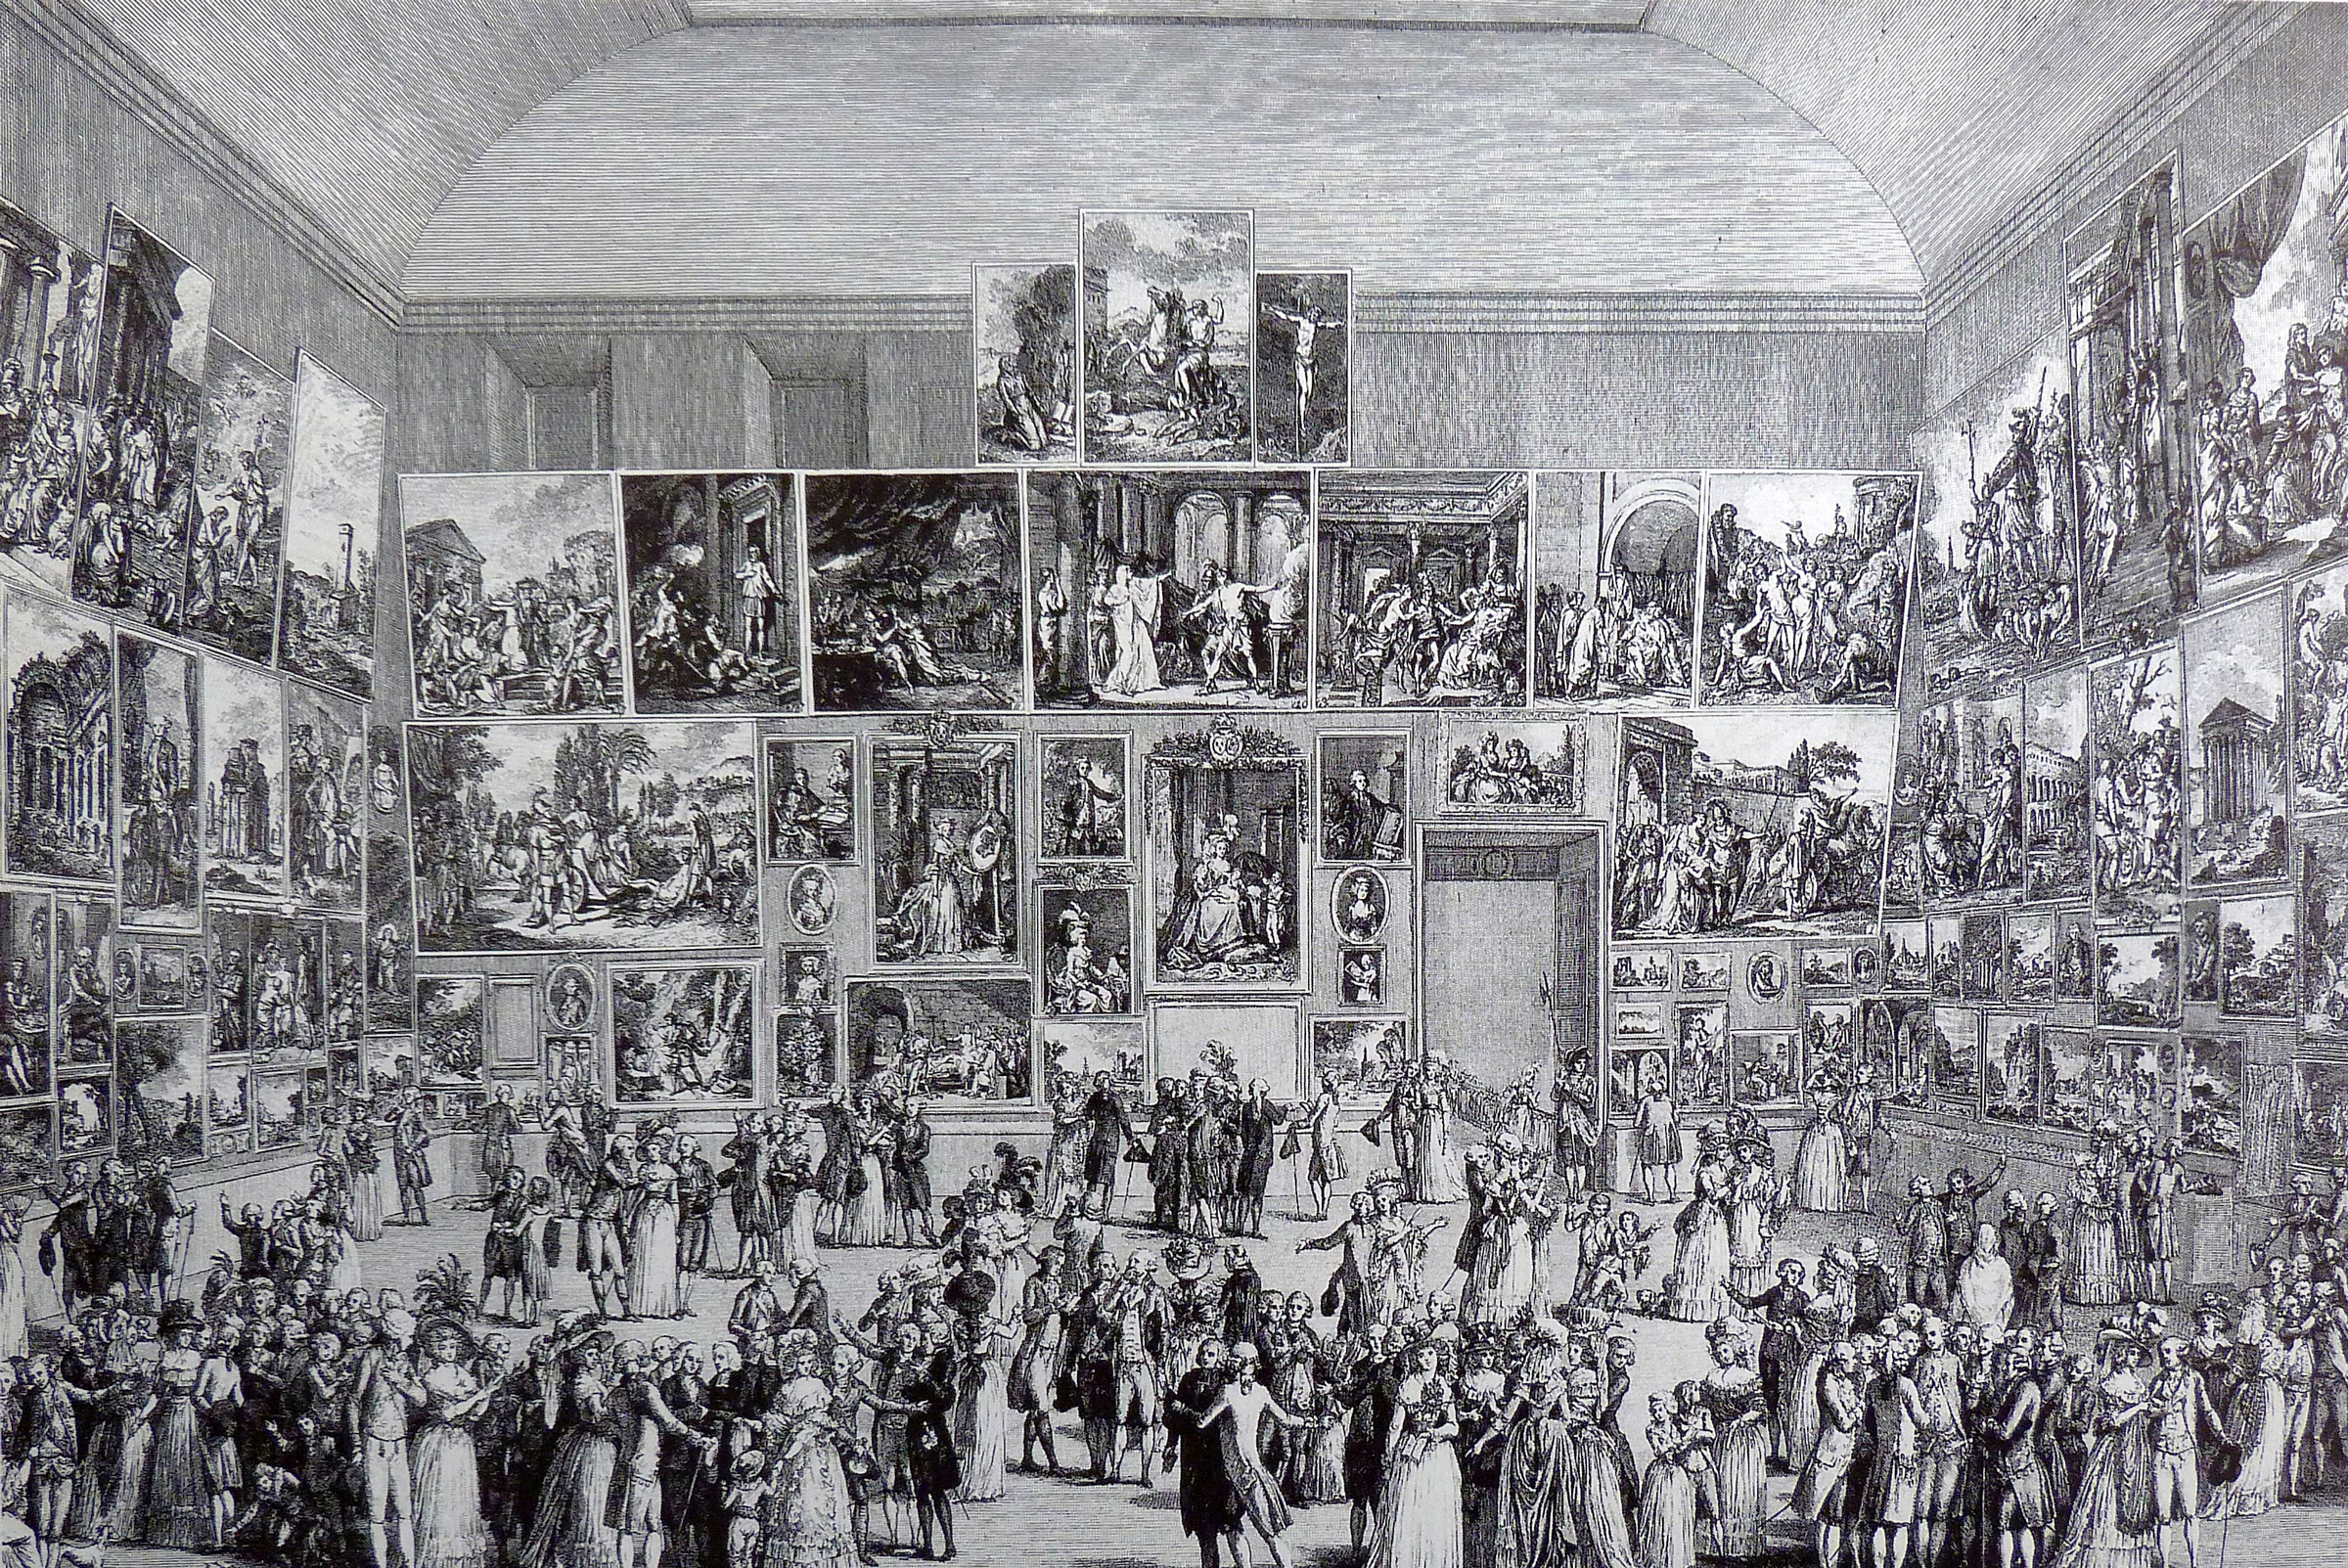
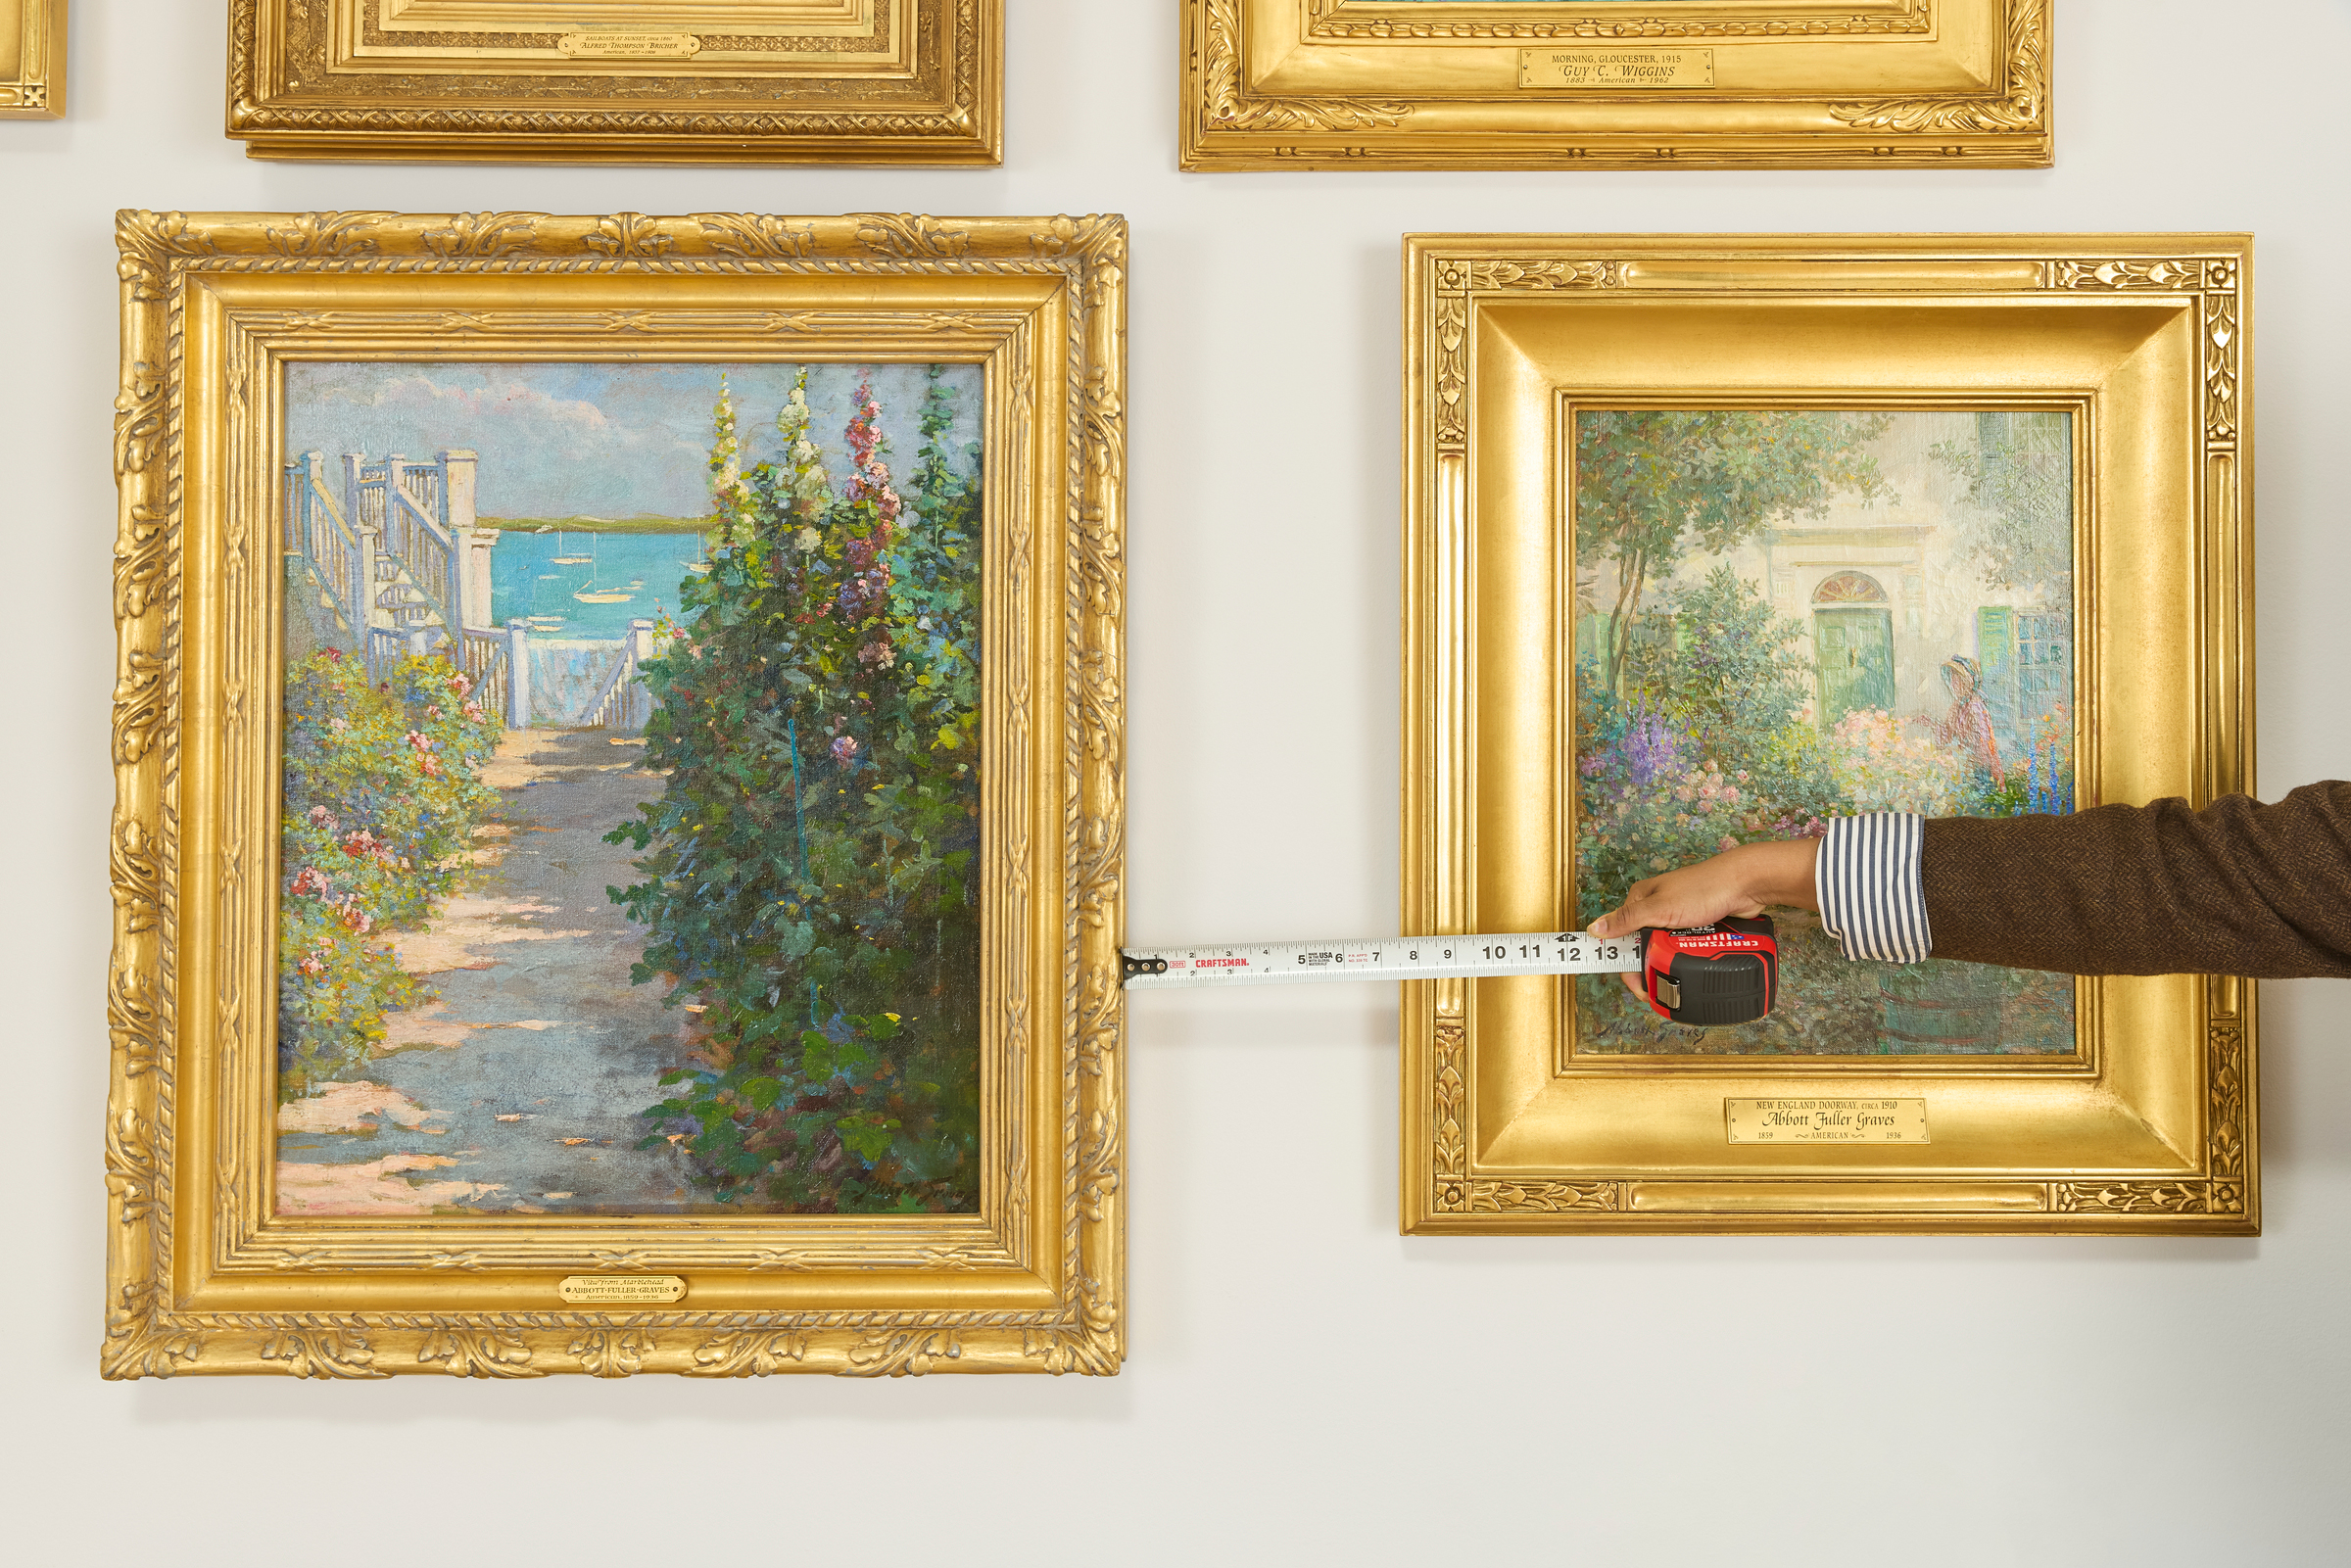
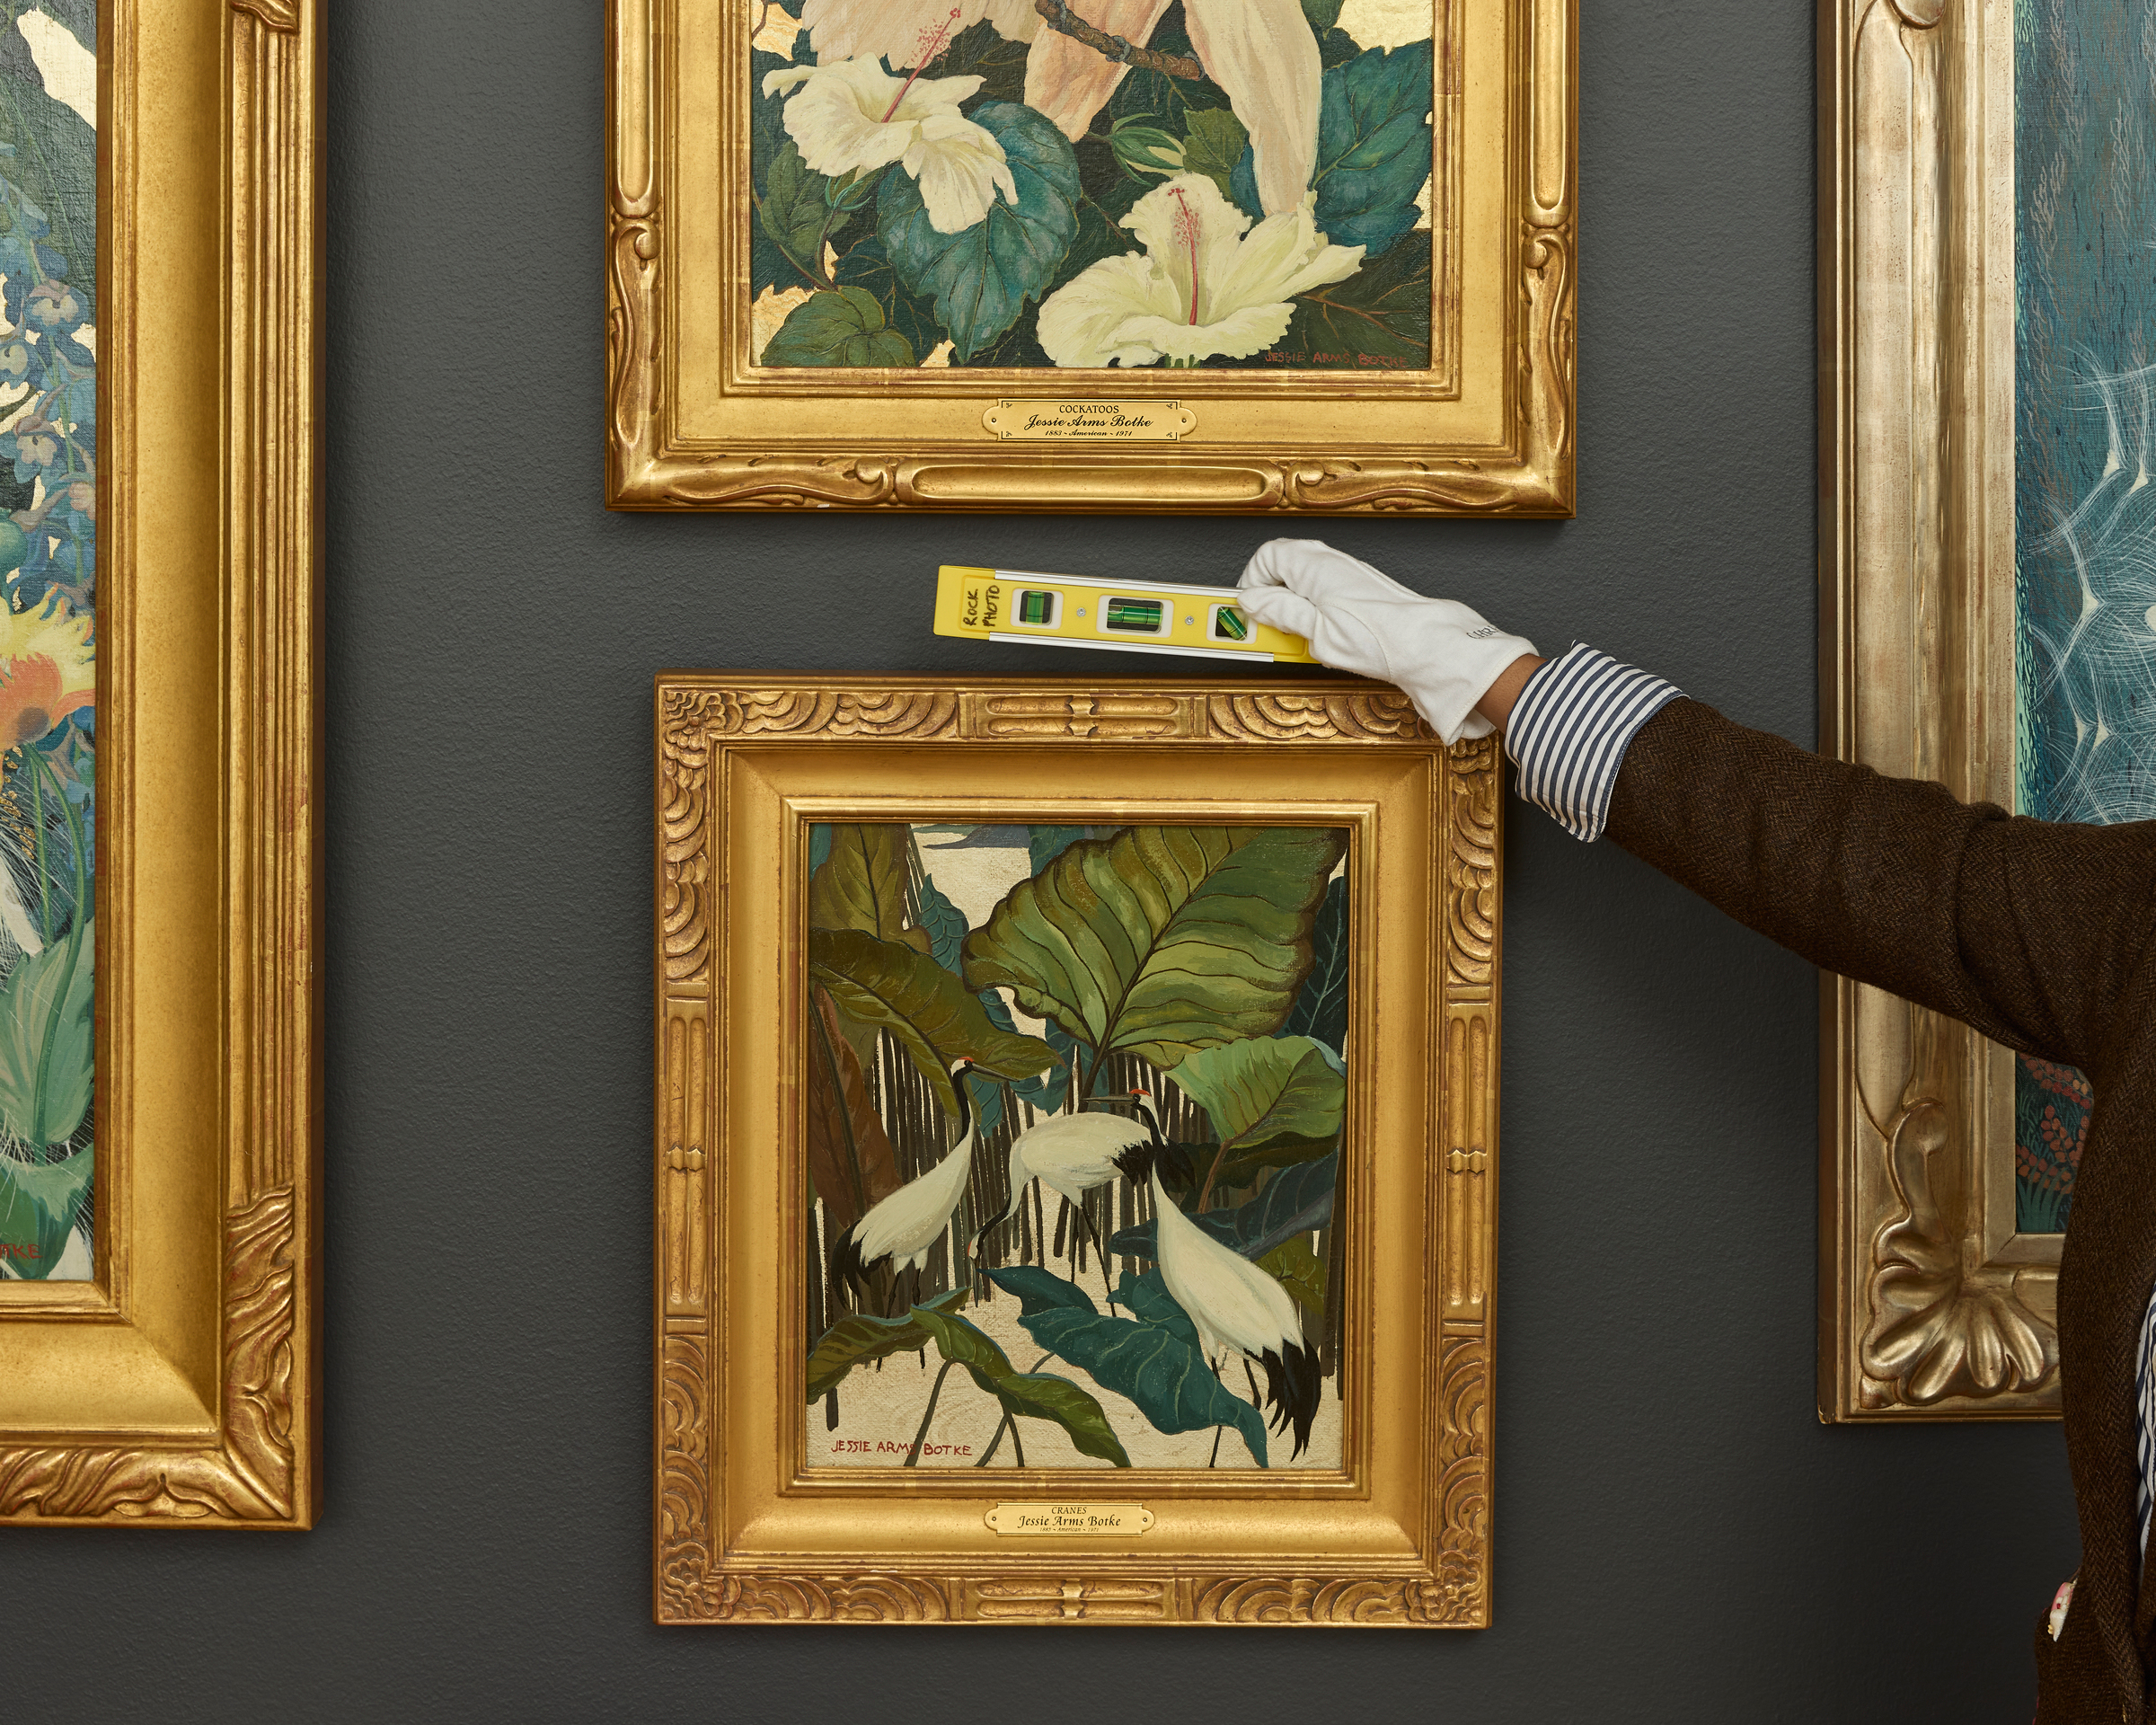
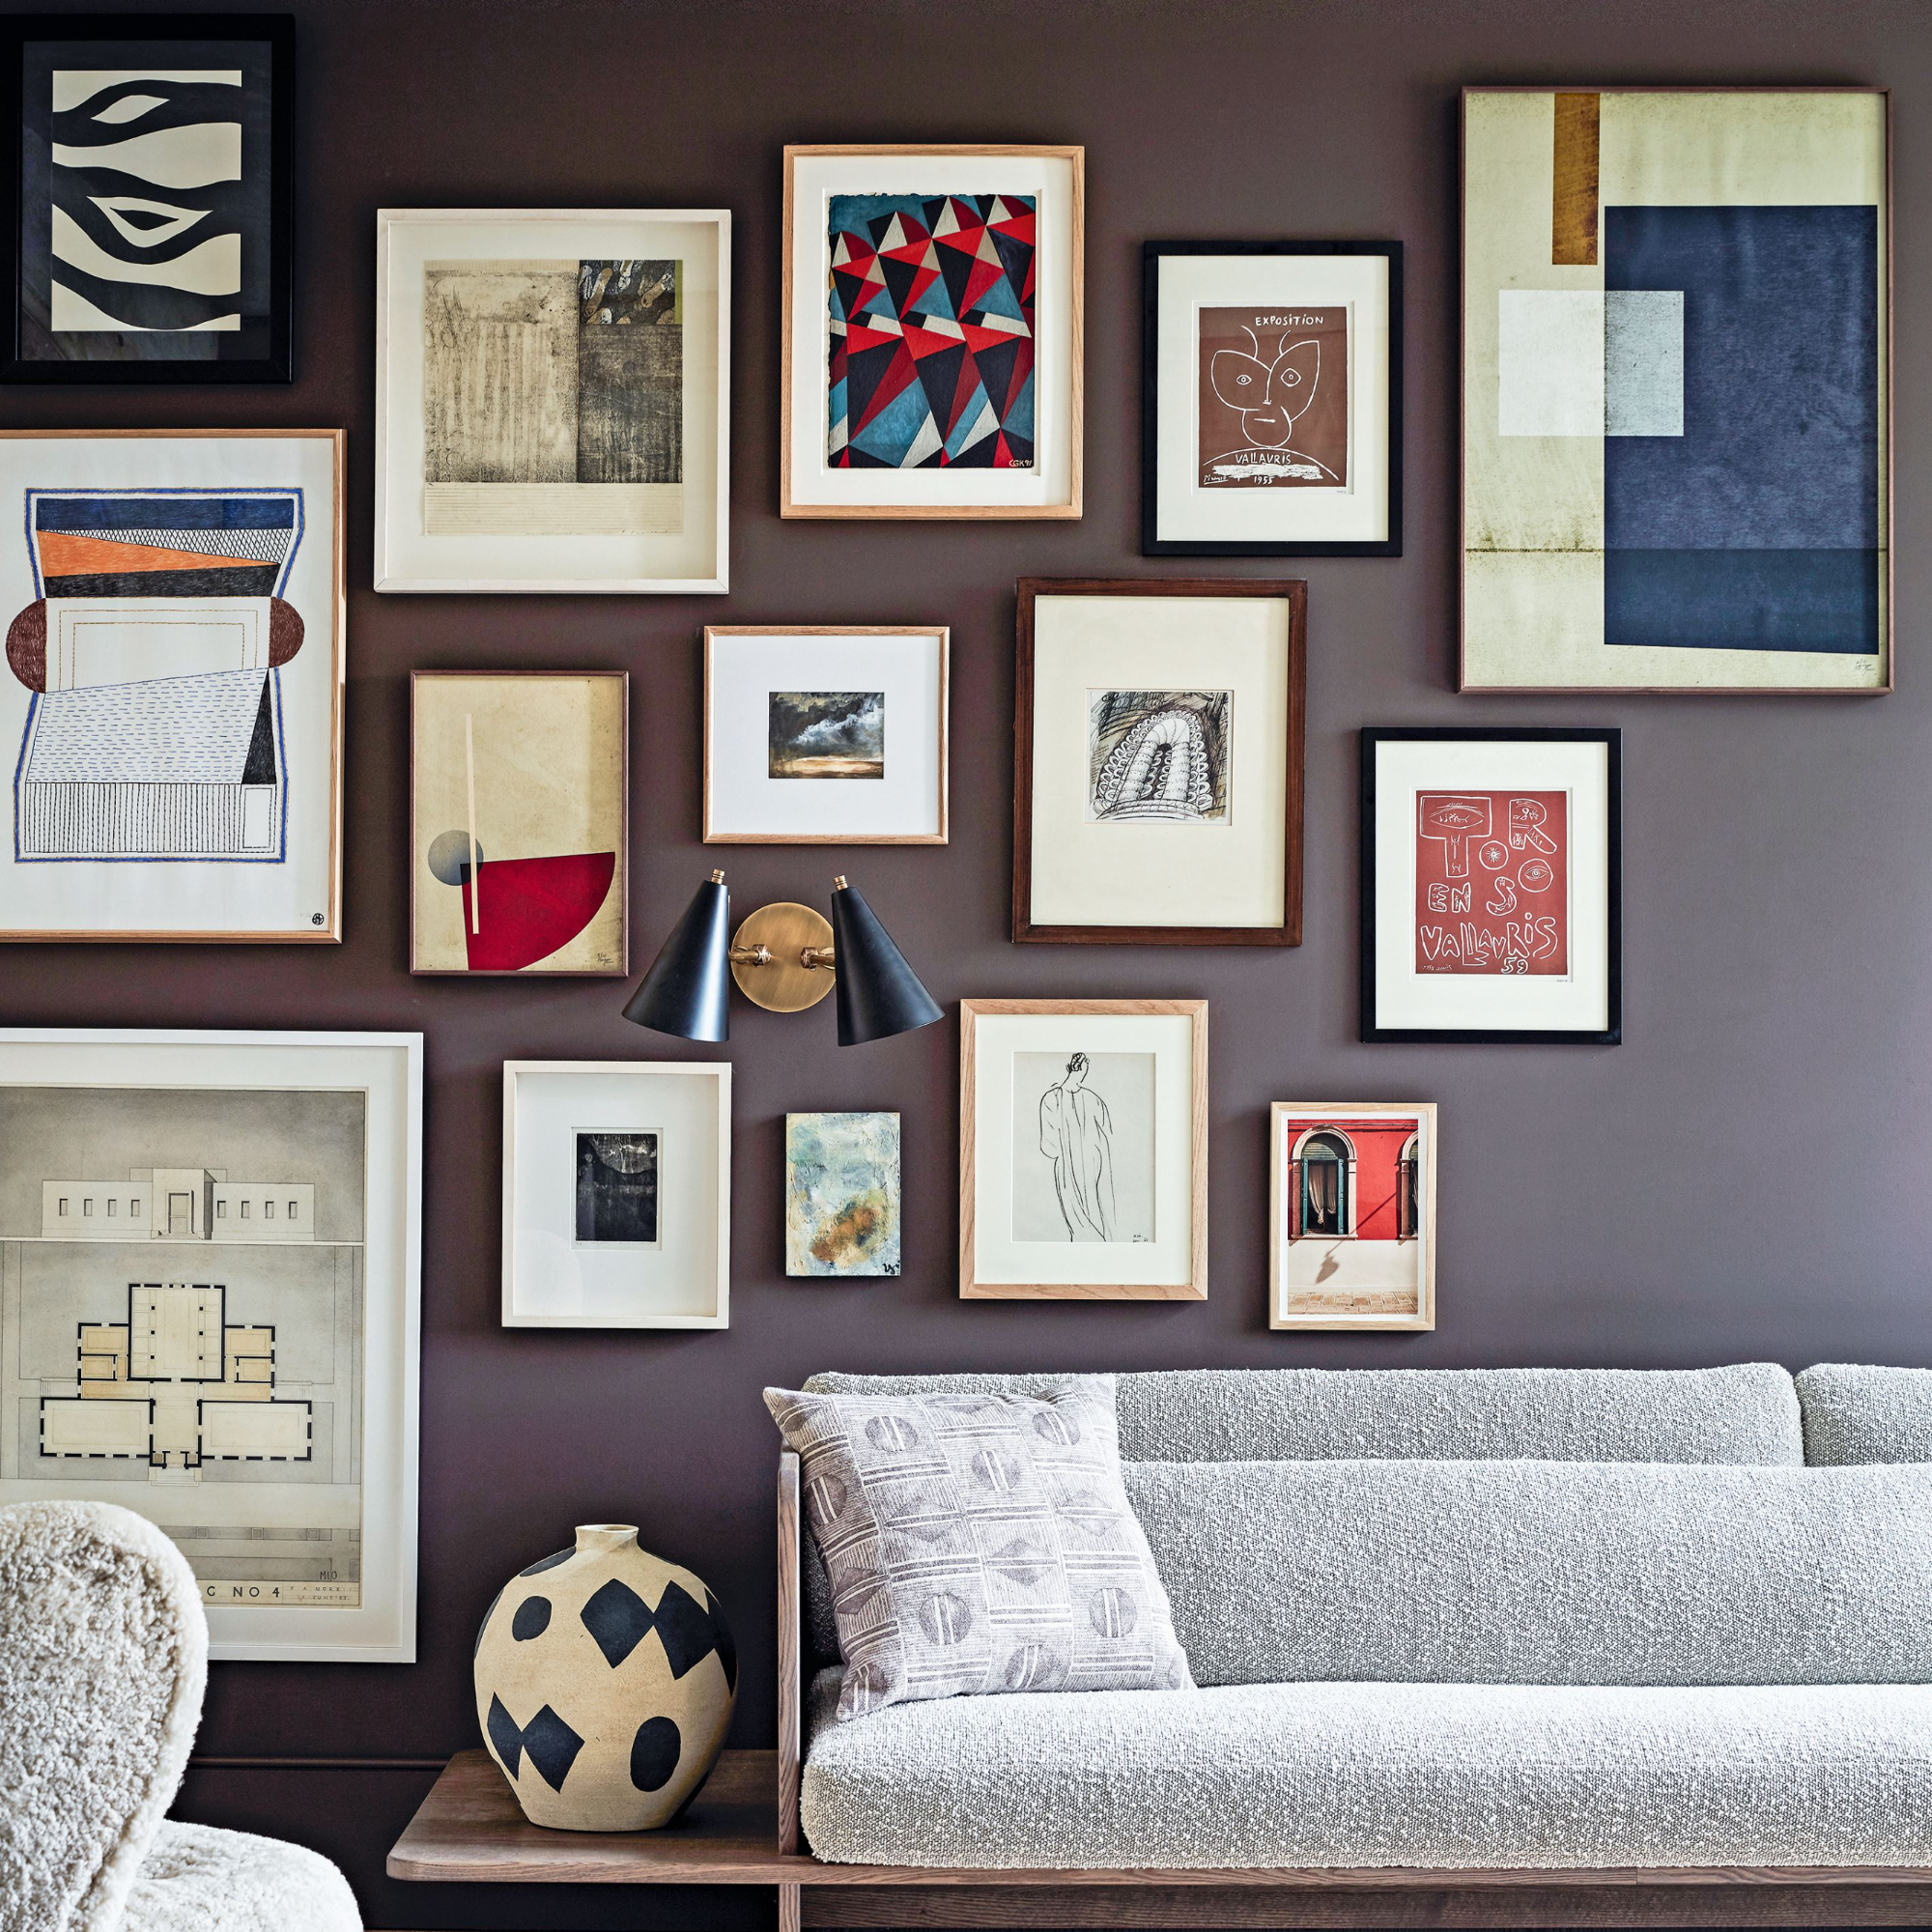
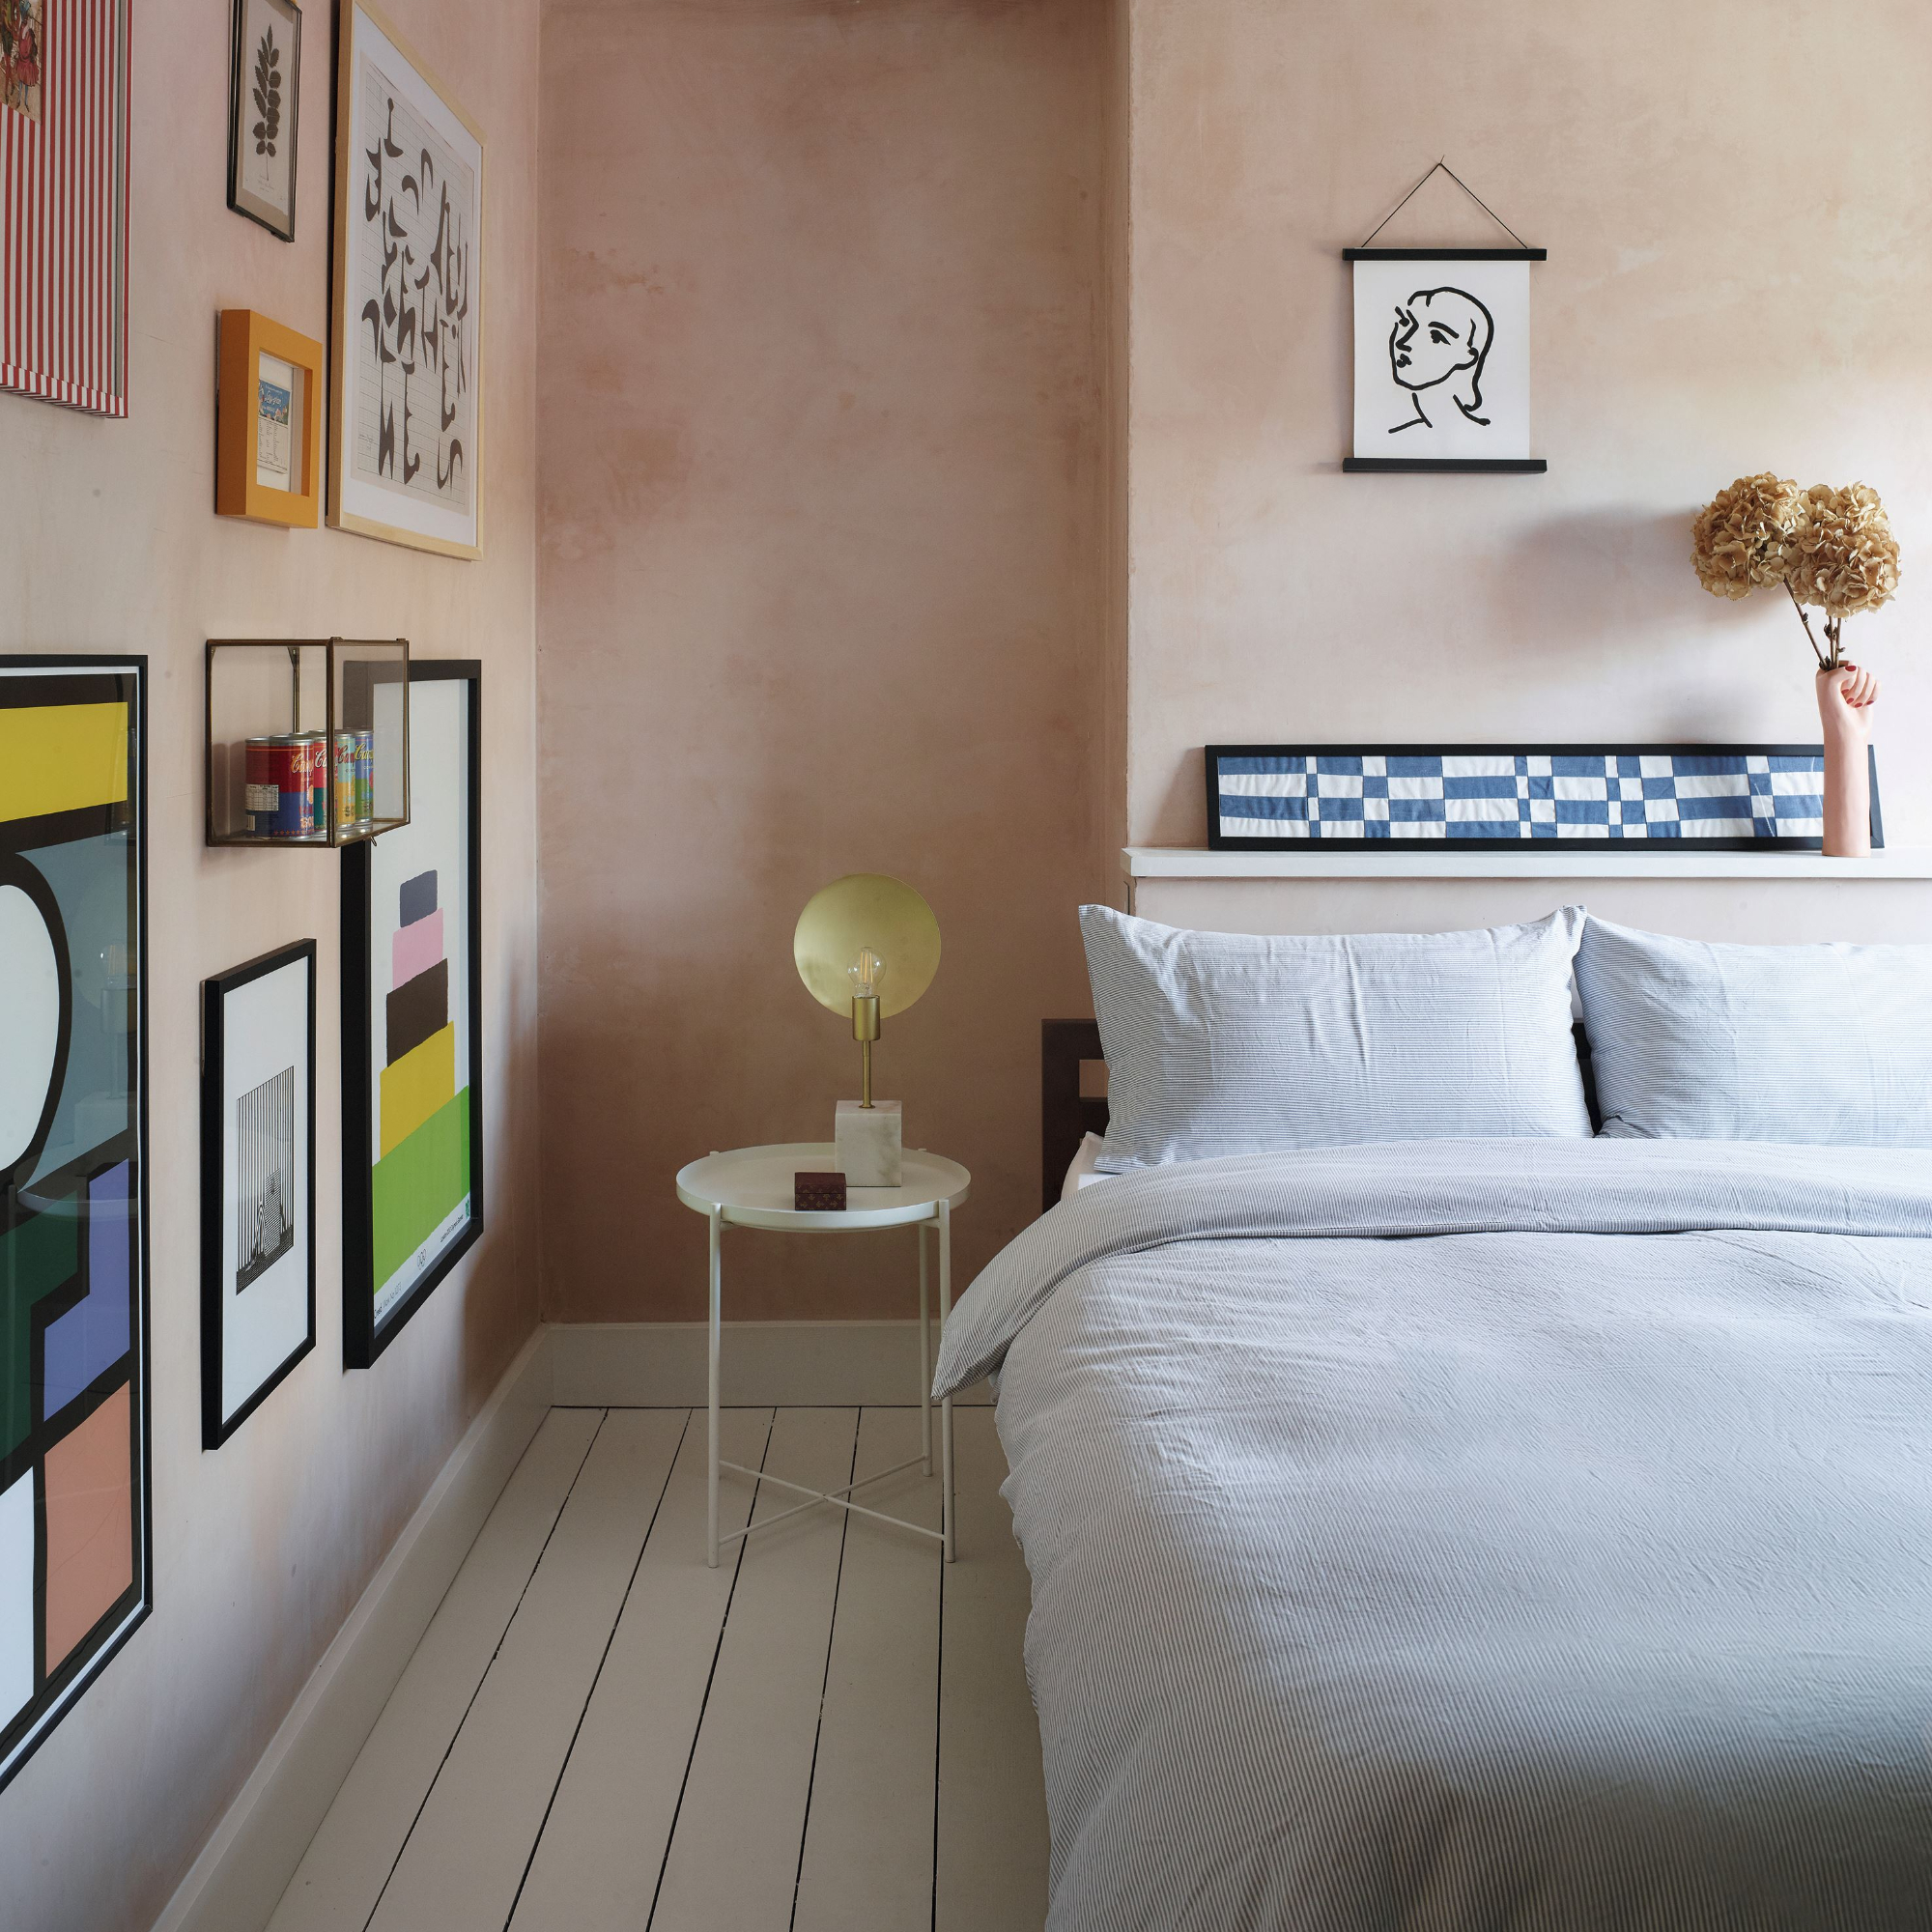
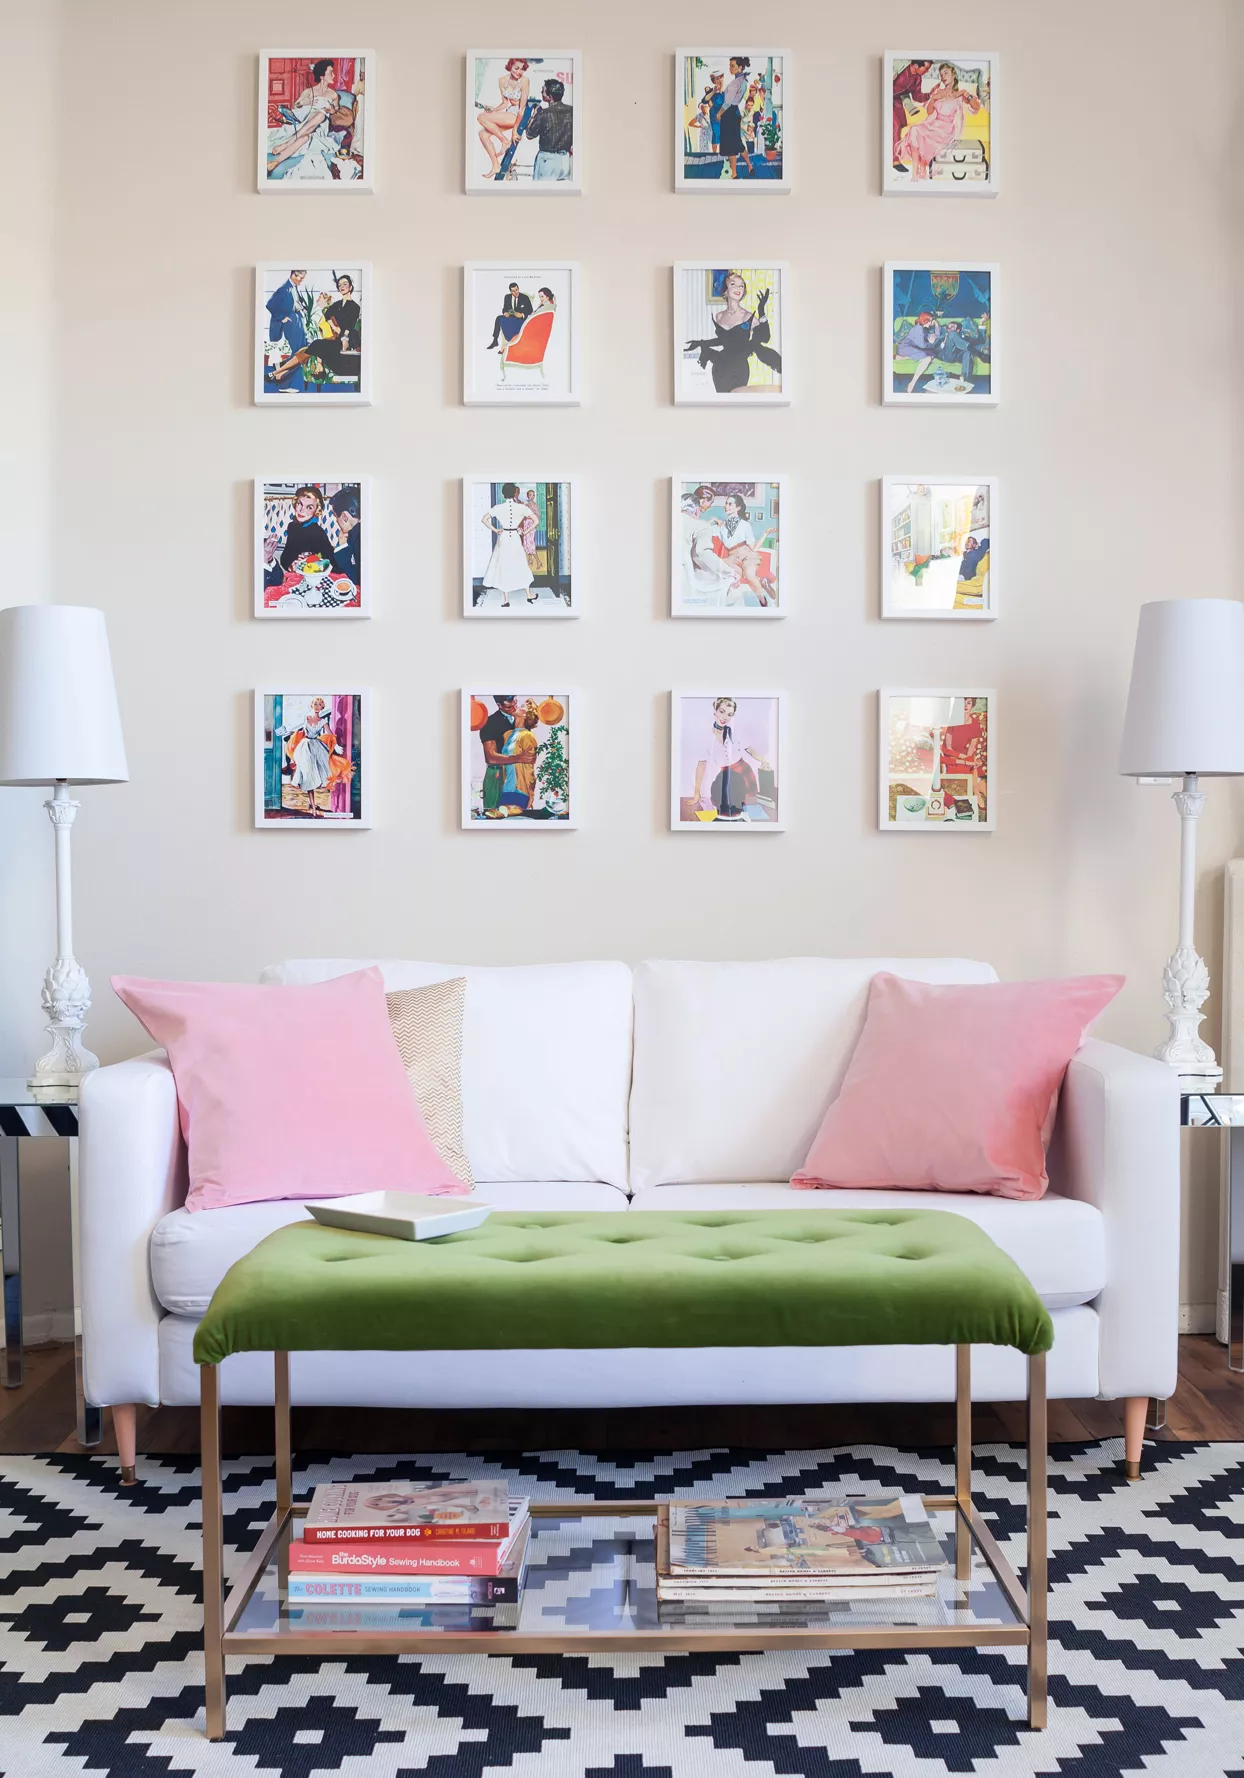
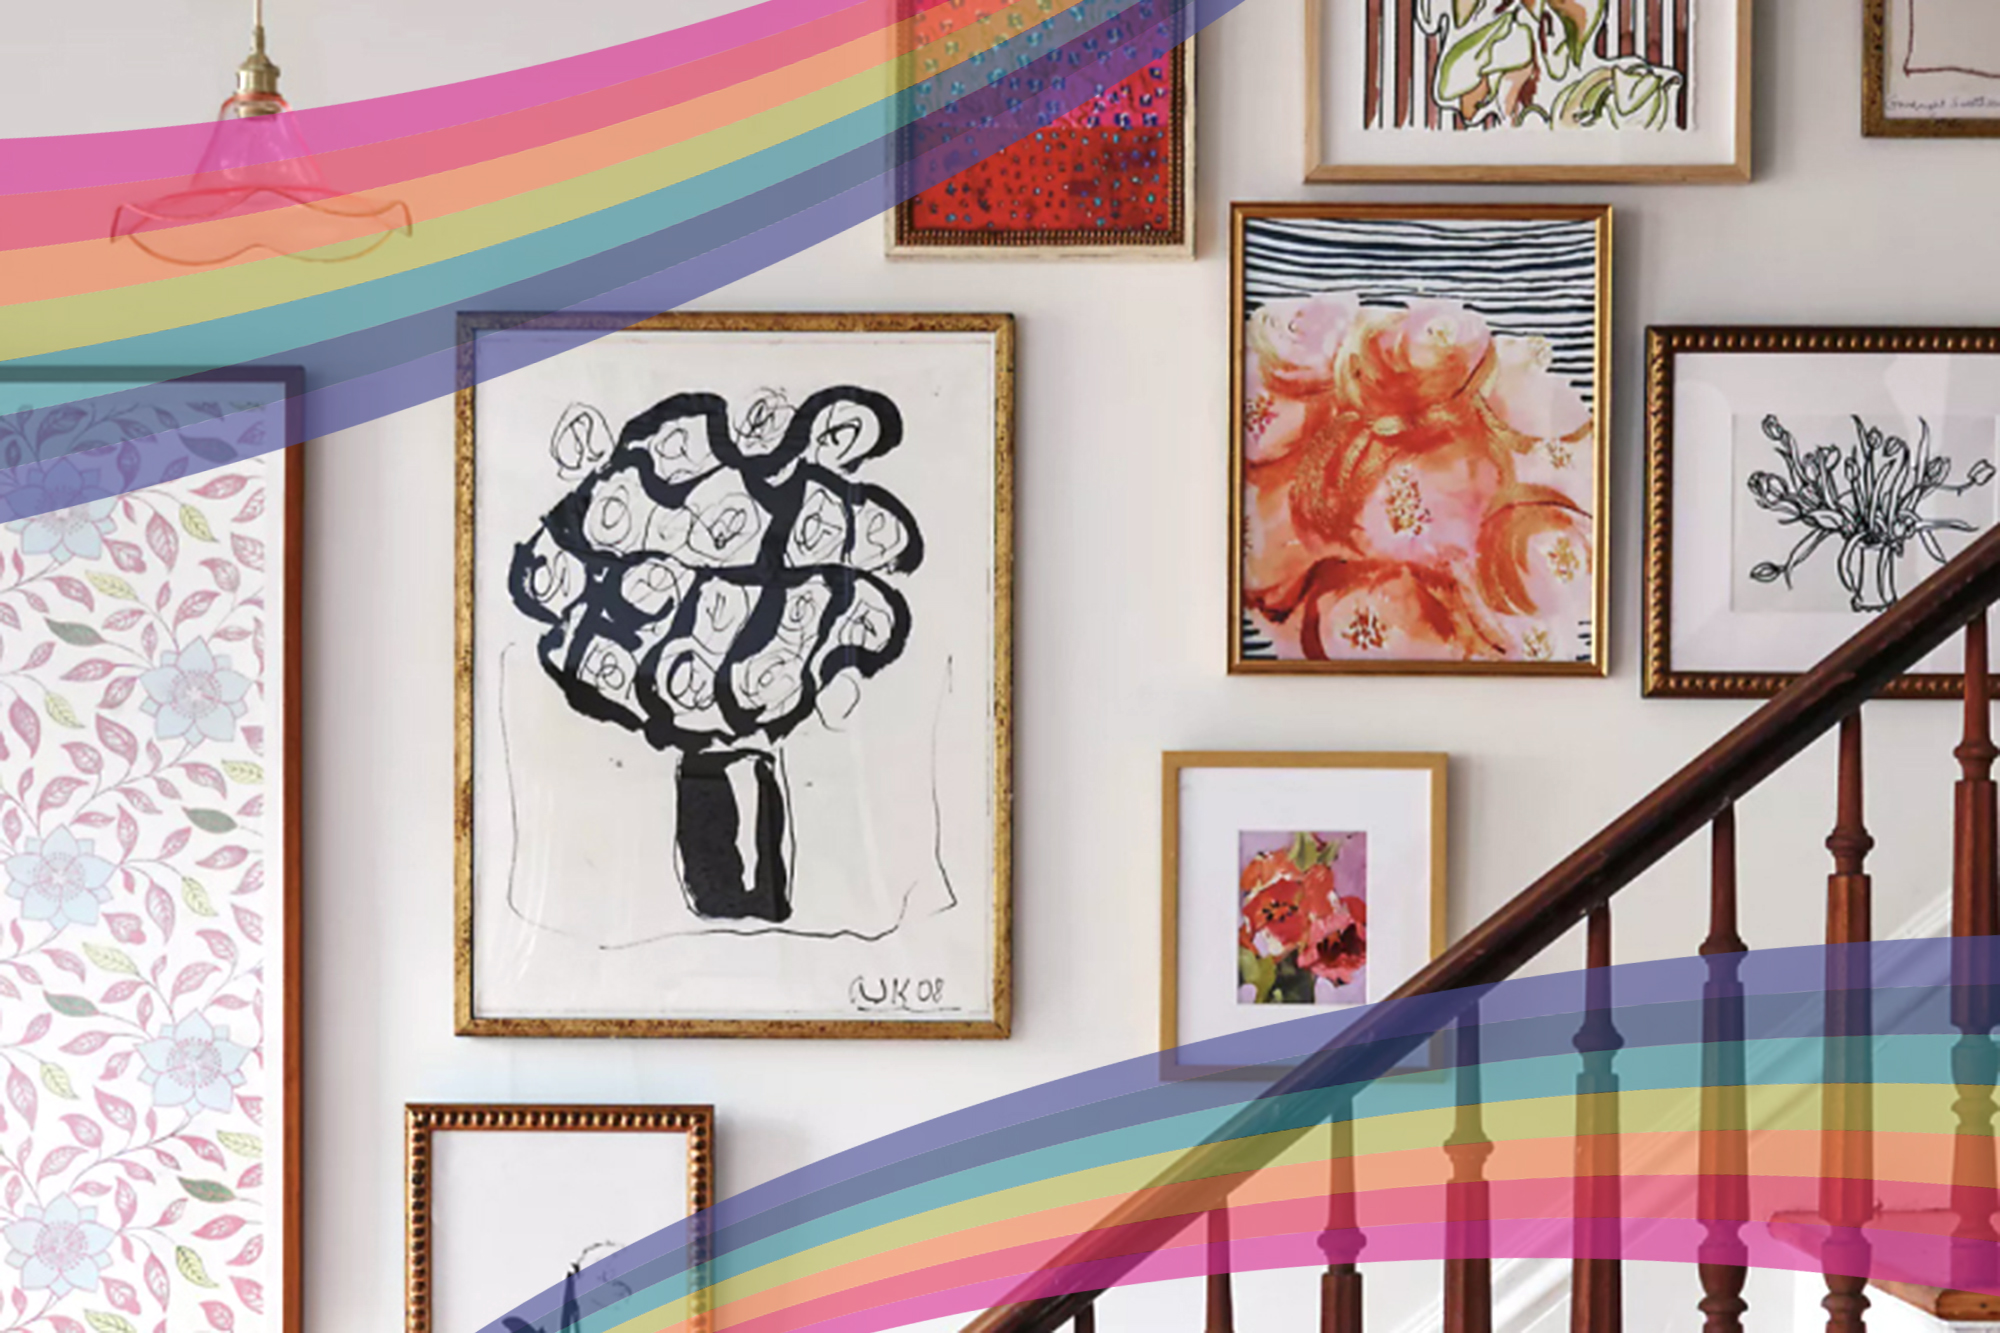
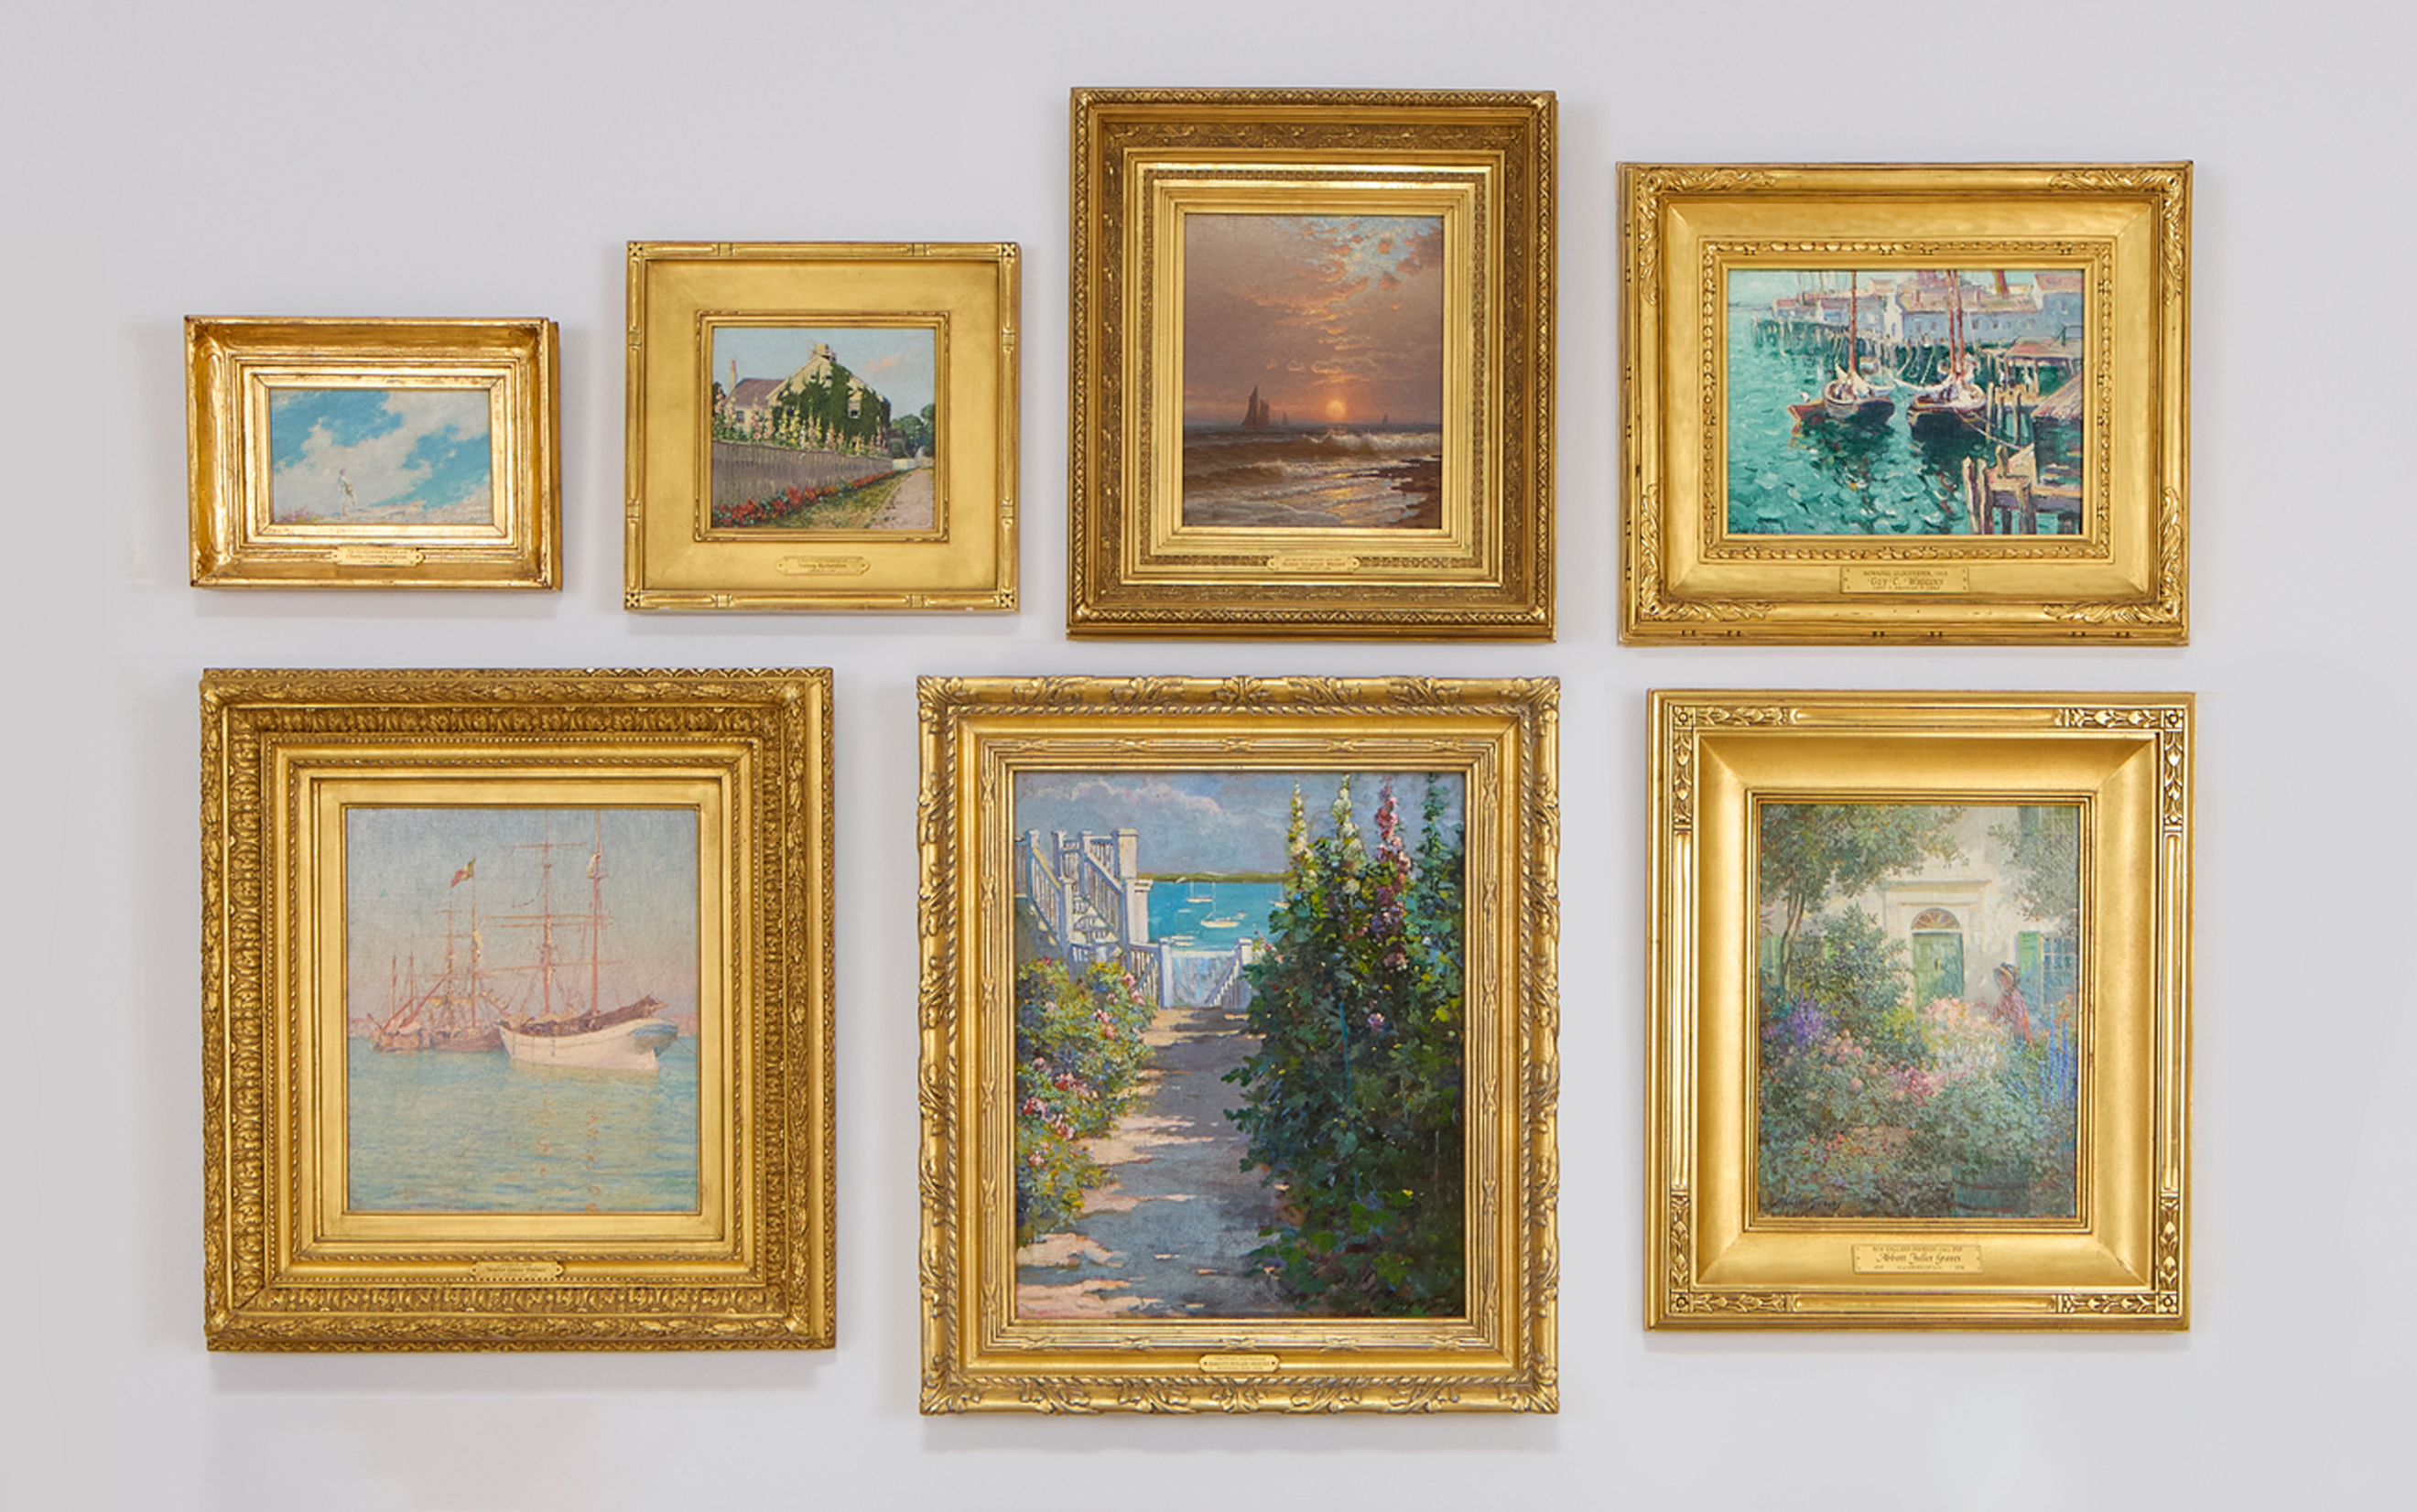
For multiple pieces, consistent spacing is paramount. Arranging the art on the floor beforehand to finalize the composition is a common practice. The ideal spacing between frames typically ranges from one and a half to three inches, which can be adjusted based on the number of pieces and wall size. In hallways, for example, vertical distances might be shorter and horizontal distances wider to accentuate the corridor's length. For works of varying sizes, one technique involves aligning the tops of frames in one row at a specific height and the bottoms of frames in a row above, creating a clean, consistent line of empty wall space between them.
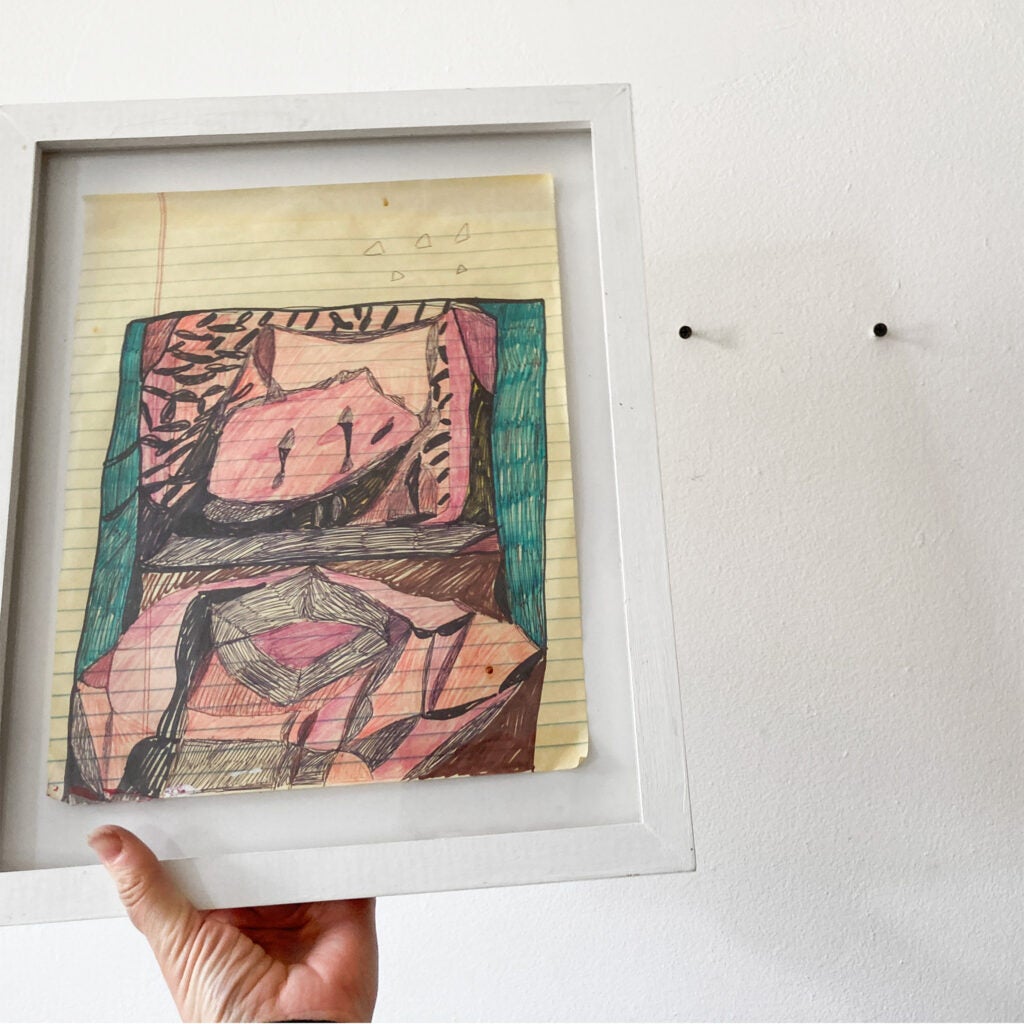
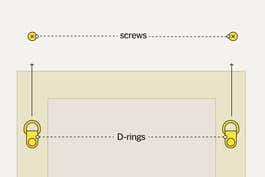
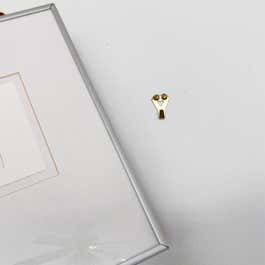
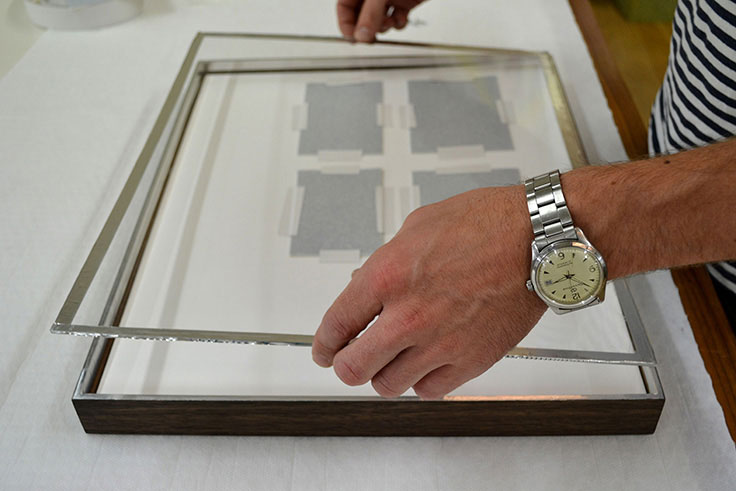
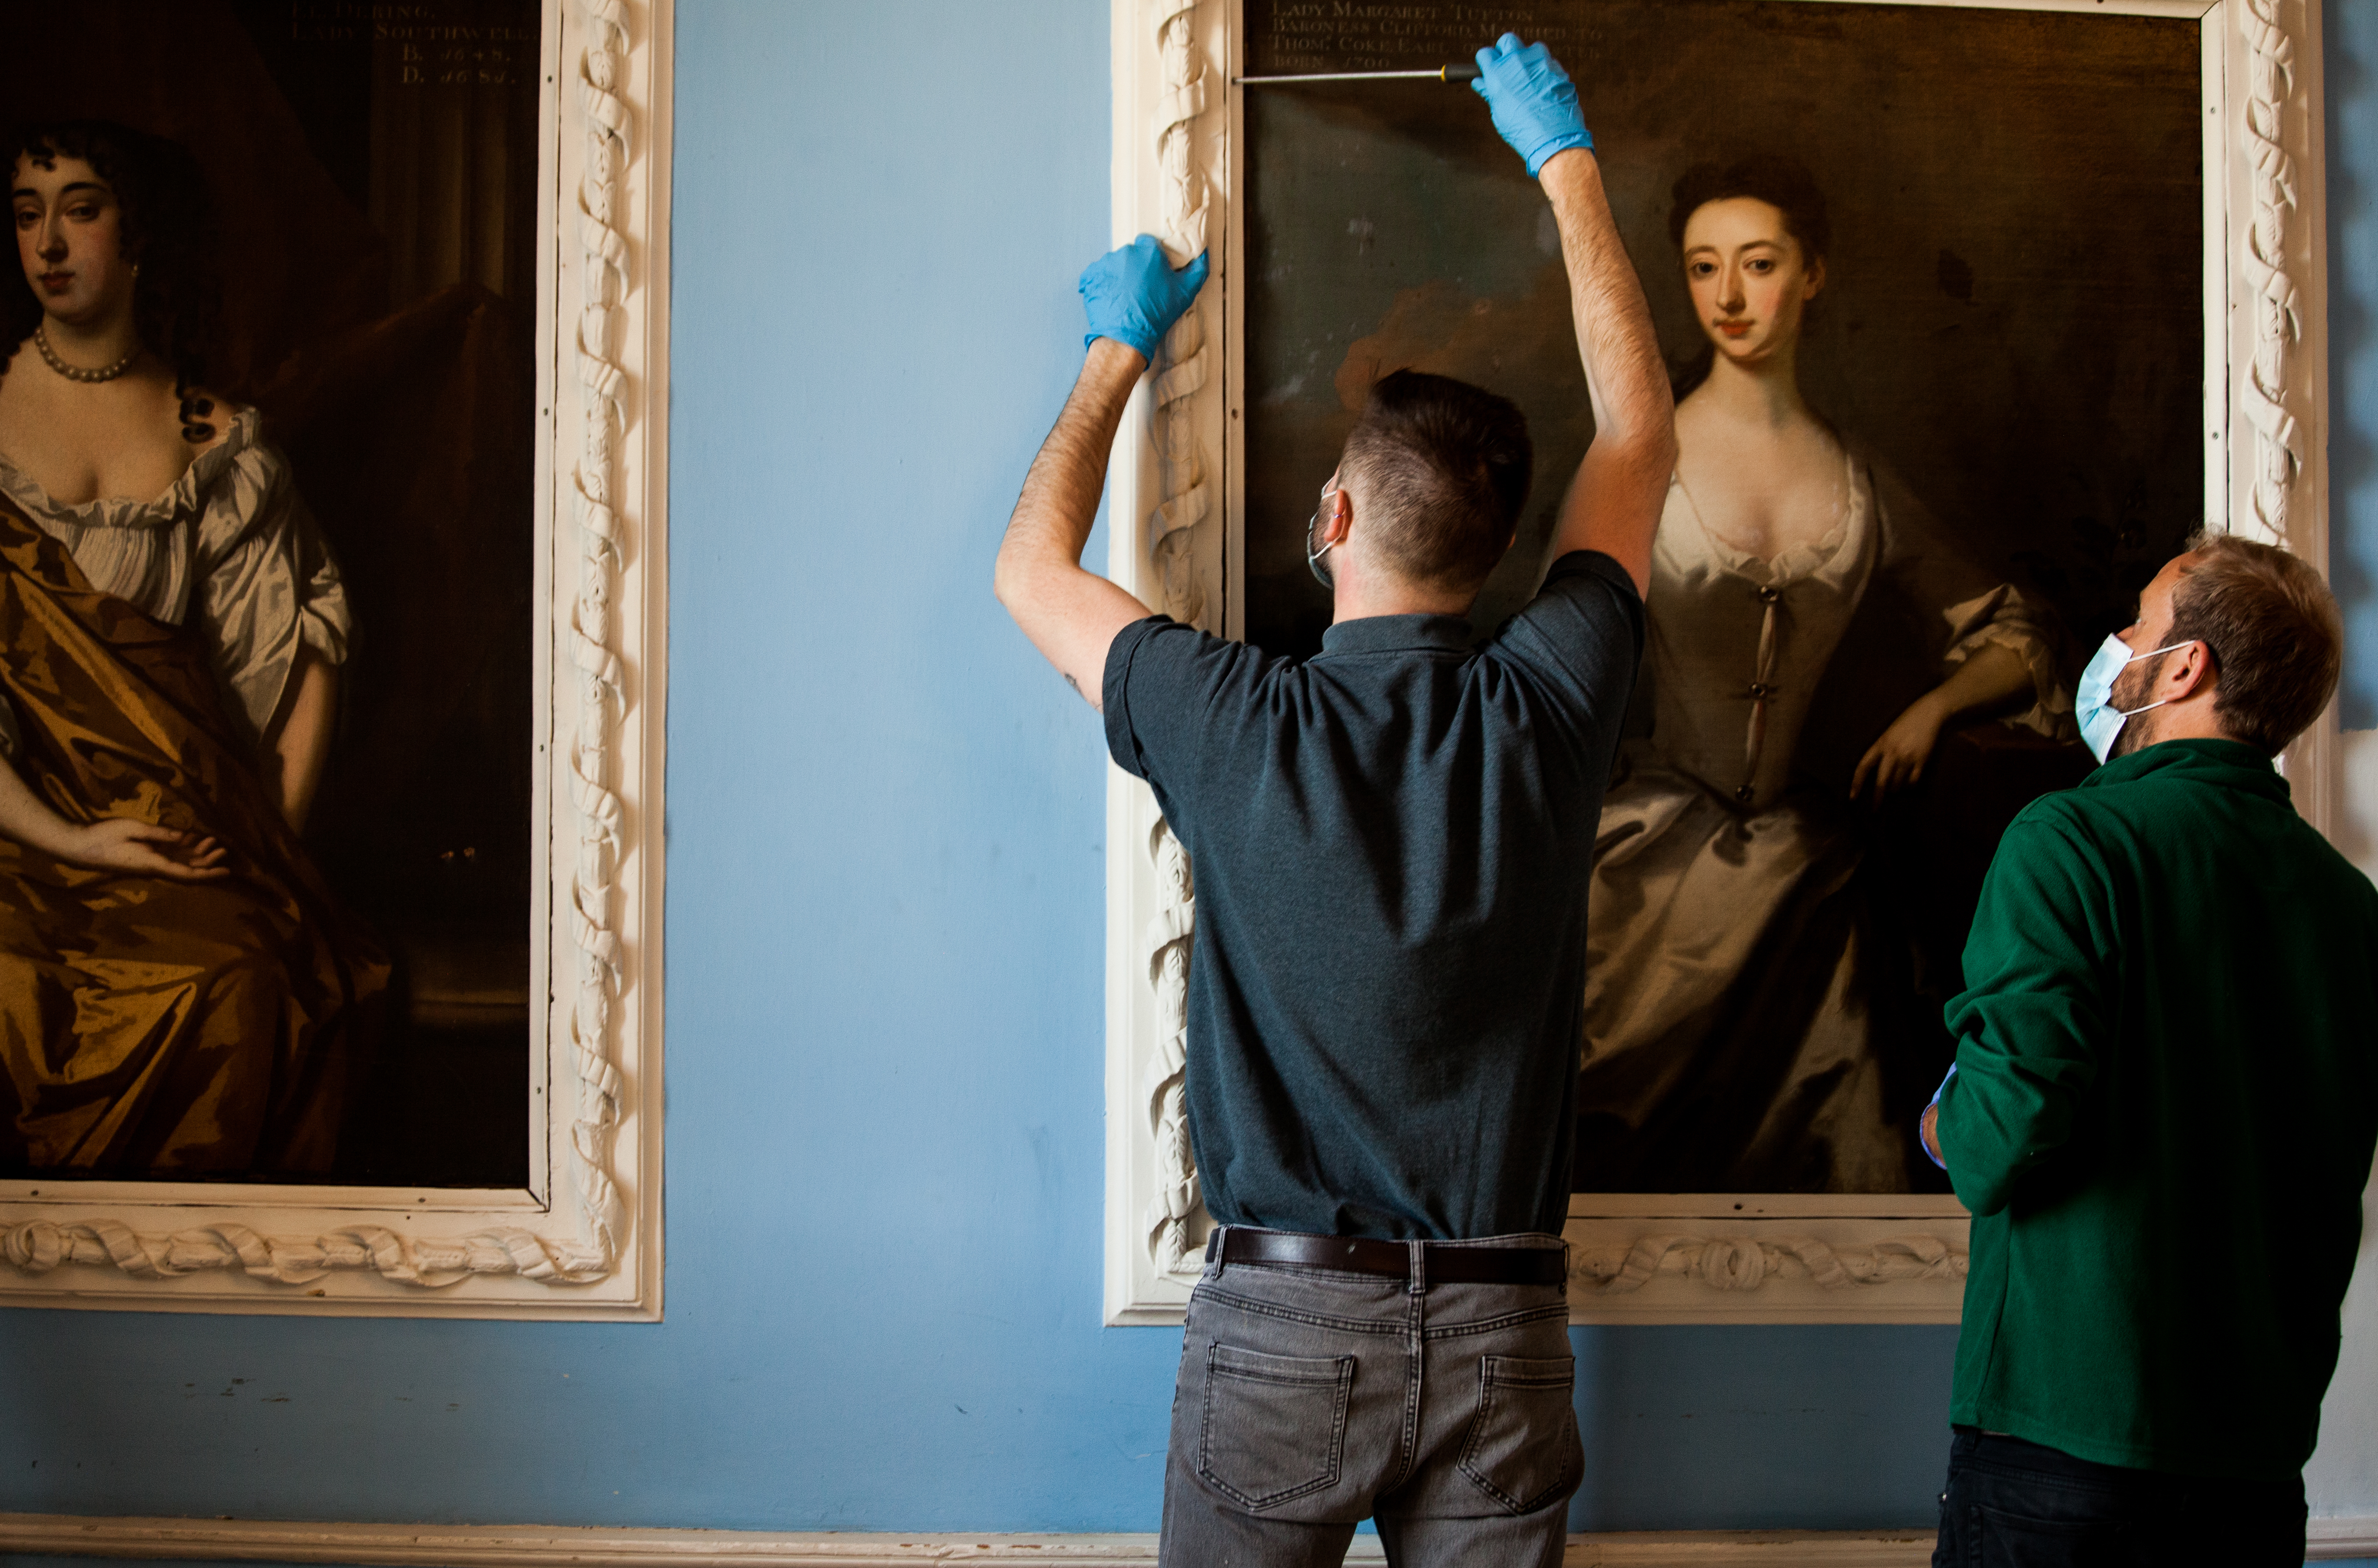
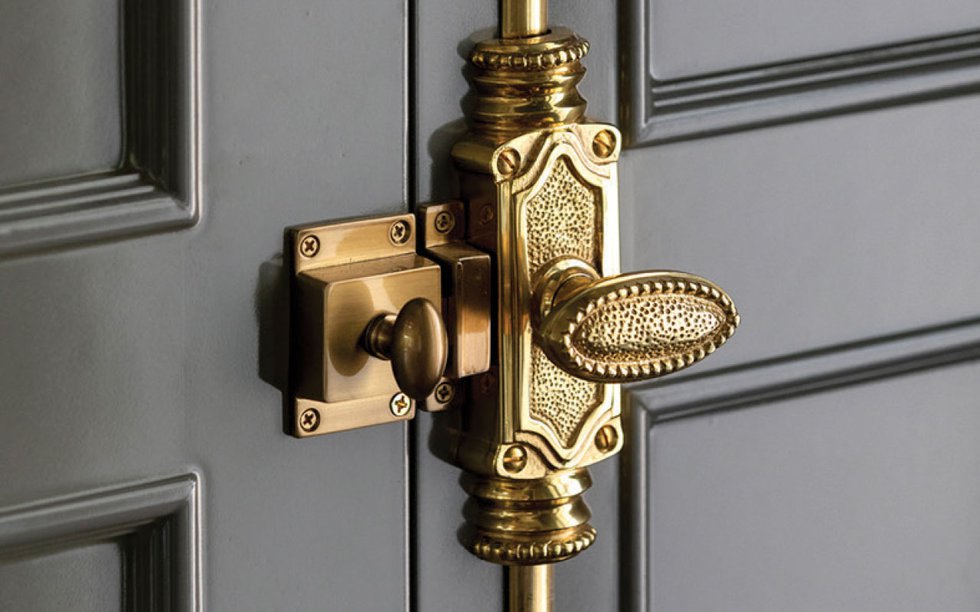
Regarding hardware, professional installers often recommend using two D-rings directly screwed into the back of the frame, about one-third down from the top, instead of picture wires or saw-toothed hangers. This method ensures the picture hangs flat, straight, and stable. D-rings are available in various sizes and weight ratings, with strap hangers for heavier items. For frames incompatible with D-rings, picture wires can be used, supplemented with mounting putty to prevent shifting. Installers employ different wall attachment methods, including screws with drywall anchors or specialized picture hooks rated for various weights. When using picture hooks, using two hooks effectively doubles the weight capacity. For very heavy or long pieces, a cleat system, consisting of two interlocking strips, offers secure mounting. It is always advisable to use hardware with a weight rating significantly higher than the actual weight of the artwork to ensure maximum safety and stability, avoiding reliance on advertised weight limits.
#ArtInstallation #HomeDecoration #WallDecor #InteriorDesignTips #ArtHangingGuide #HomeStyling #ArtPlacement #PictureHanging #DIYHomeDecor #ArtInstallation #HomeDecoration #WallDecor #InteriorDesignTips #ArtHangingGuide #HomeStyling #ArtPlacement #PictureHanging #DIYHomeDecor
0 comment in total
 No comments yet
You may also like
Emily Henderson just shared a simple trick for hanging art – giving your gallery wall a refresh has never been easier

How to Hang an Art Collection Like an Expert
Hanging art salon style: everything you need to know

The Best Art Hangers in New York

Yes, You Can Hang Art Like a Pro | Reviews by Wirecutter
This 'Lazy' Way of Displaying Art, Conveniently, Also Happens to Be the Best Looking

How to Arrange Art for a Flawless Wall Display

Affordable art - the 10 best places to buy it
There's Hanging Art, and Then There's Hanging Art Like an Interior Designer — Here's How to Do the Latter
If You’re Looking To Buy Affordable Art, Here Are The Best 35 Places To Shop Online

Home & Design | Art + Soul
'No forking way!' – this genius hack might have just solved our biggest problem with hanging art on a wall

Art Hanging Tips From an Expert
Emily Henderson just shared her tried-and-true tips for hanging art – this is how to get a gallery-like look
Want to rent art for your home? Here’s how you can do it for INR 90 a month!

20 best places to buy affordable art online: Society6, Minted and more
How to hang paintings: Everything you need to know
Hanging art salon style: everything you need to know
You Don’t Need to Be a Gallerist to Source the Best Wall Art Online

The Best (and Easiest!) Ways To Hang Pictures, According to Art Pros