1/21
How to lay a garden path
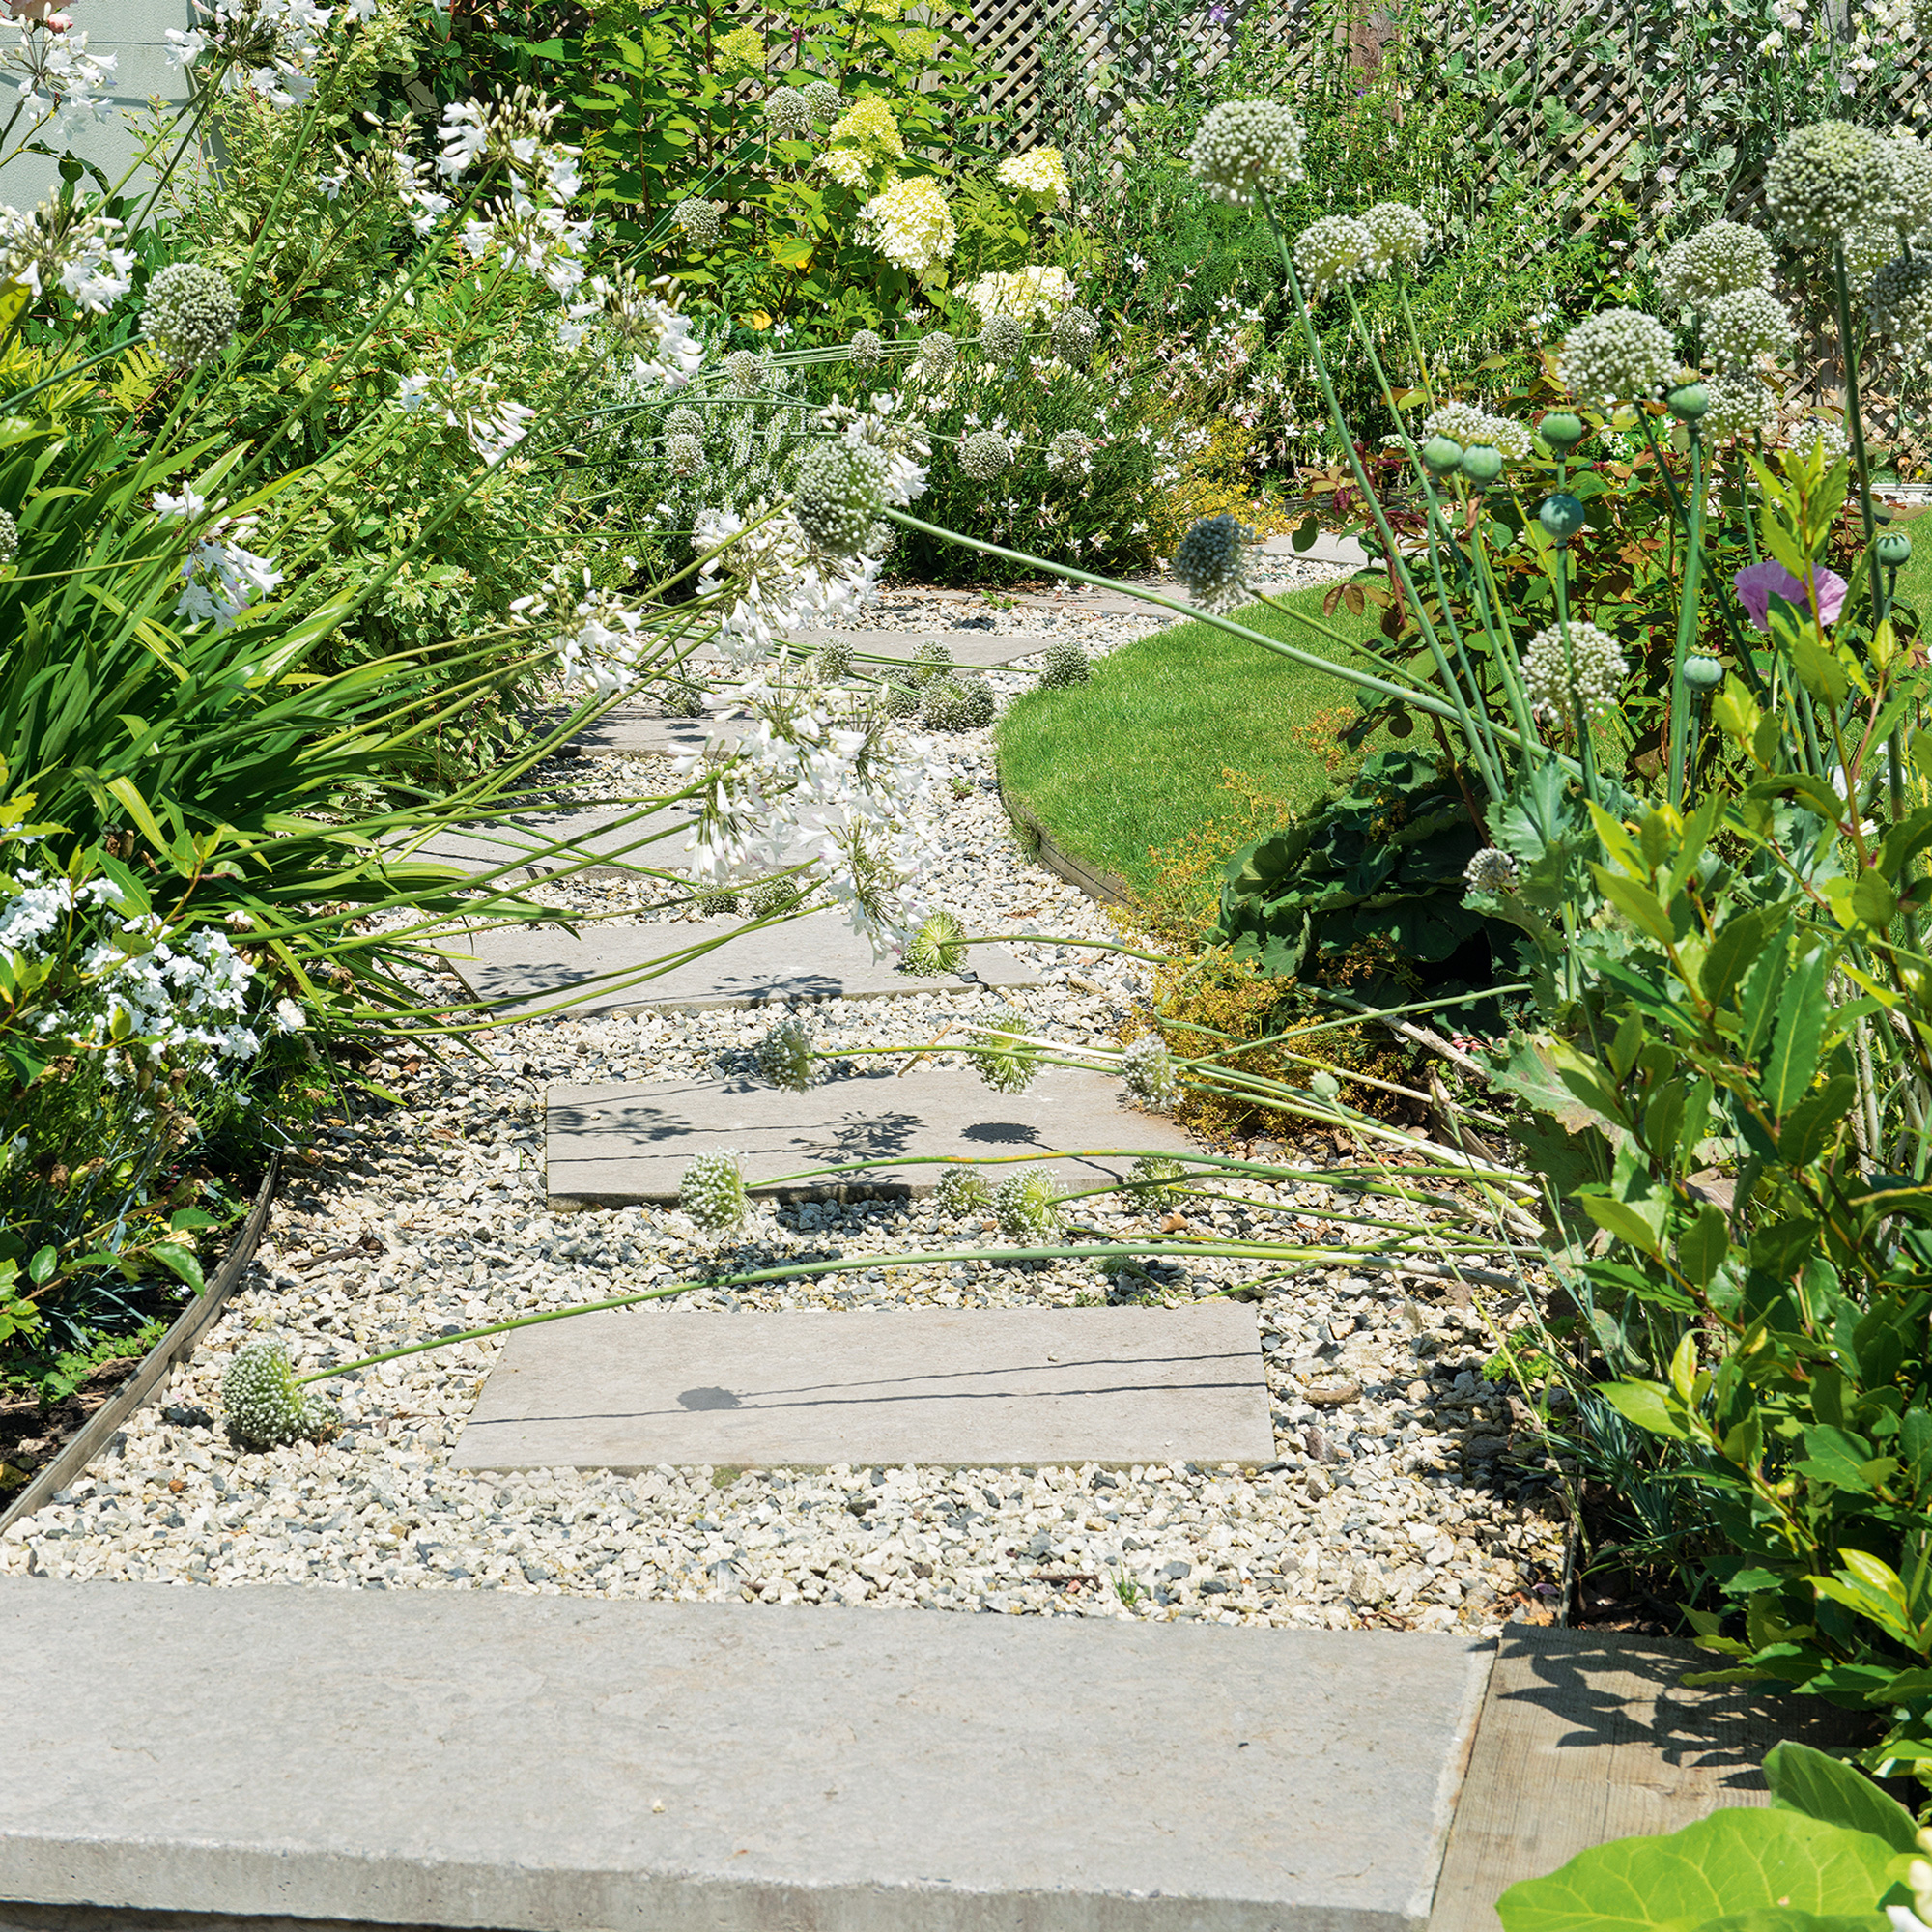
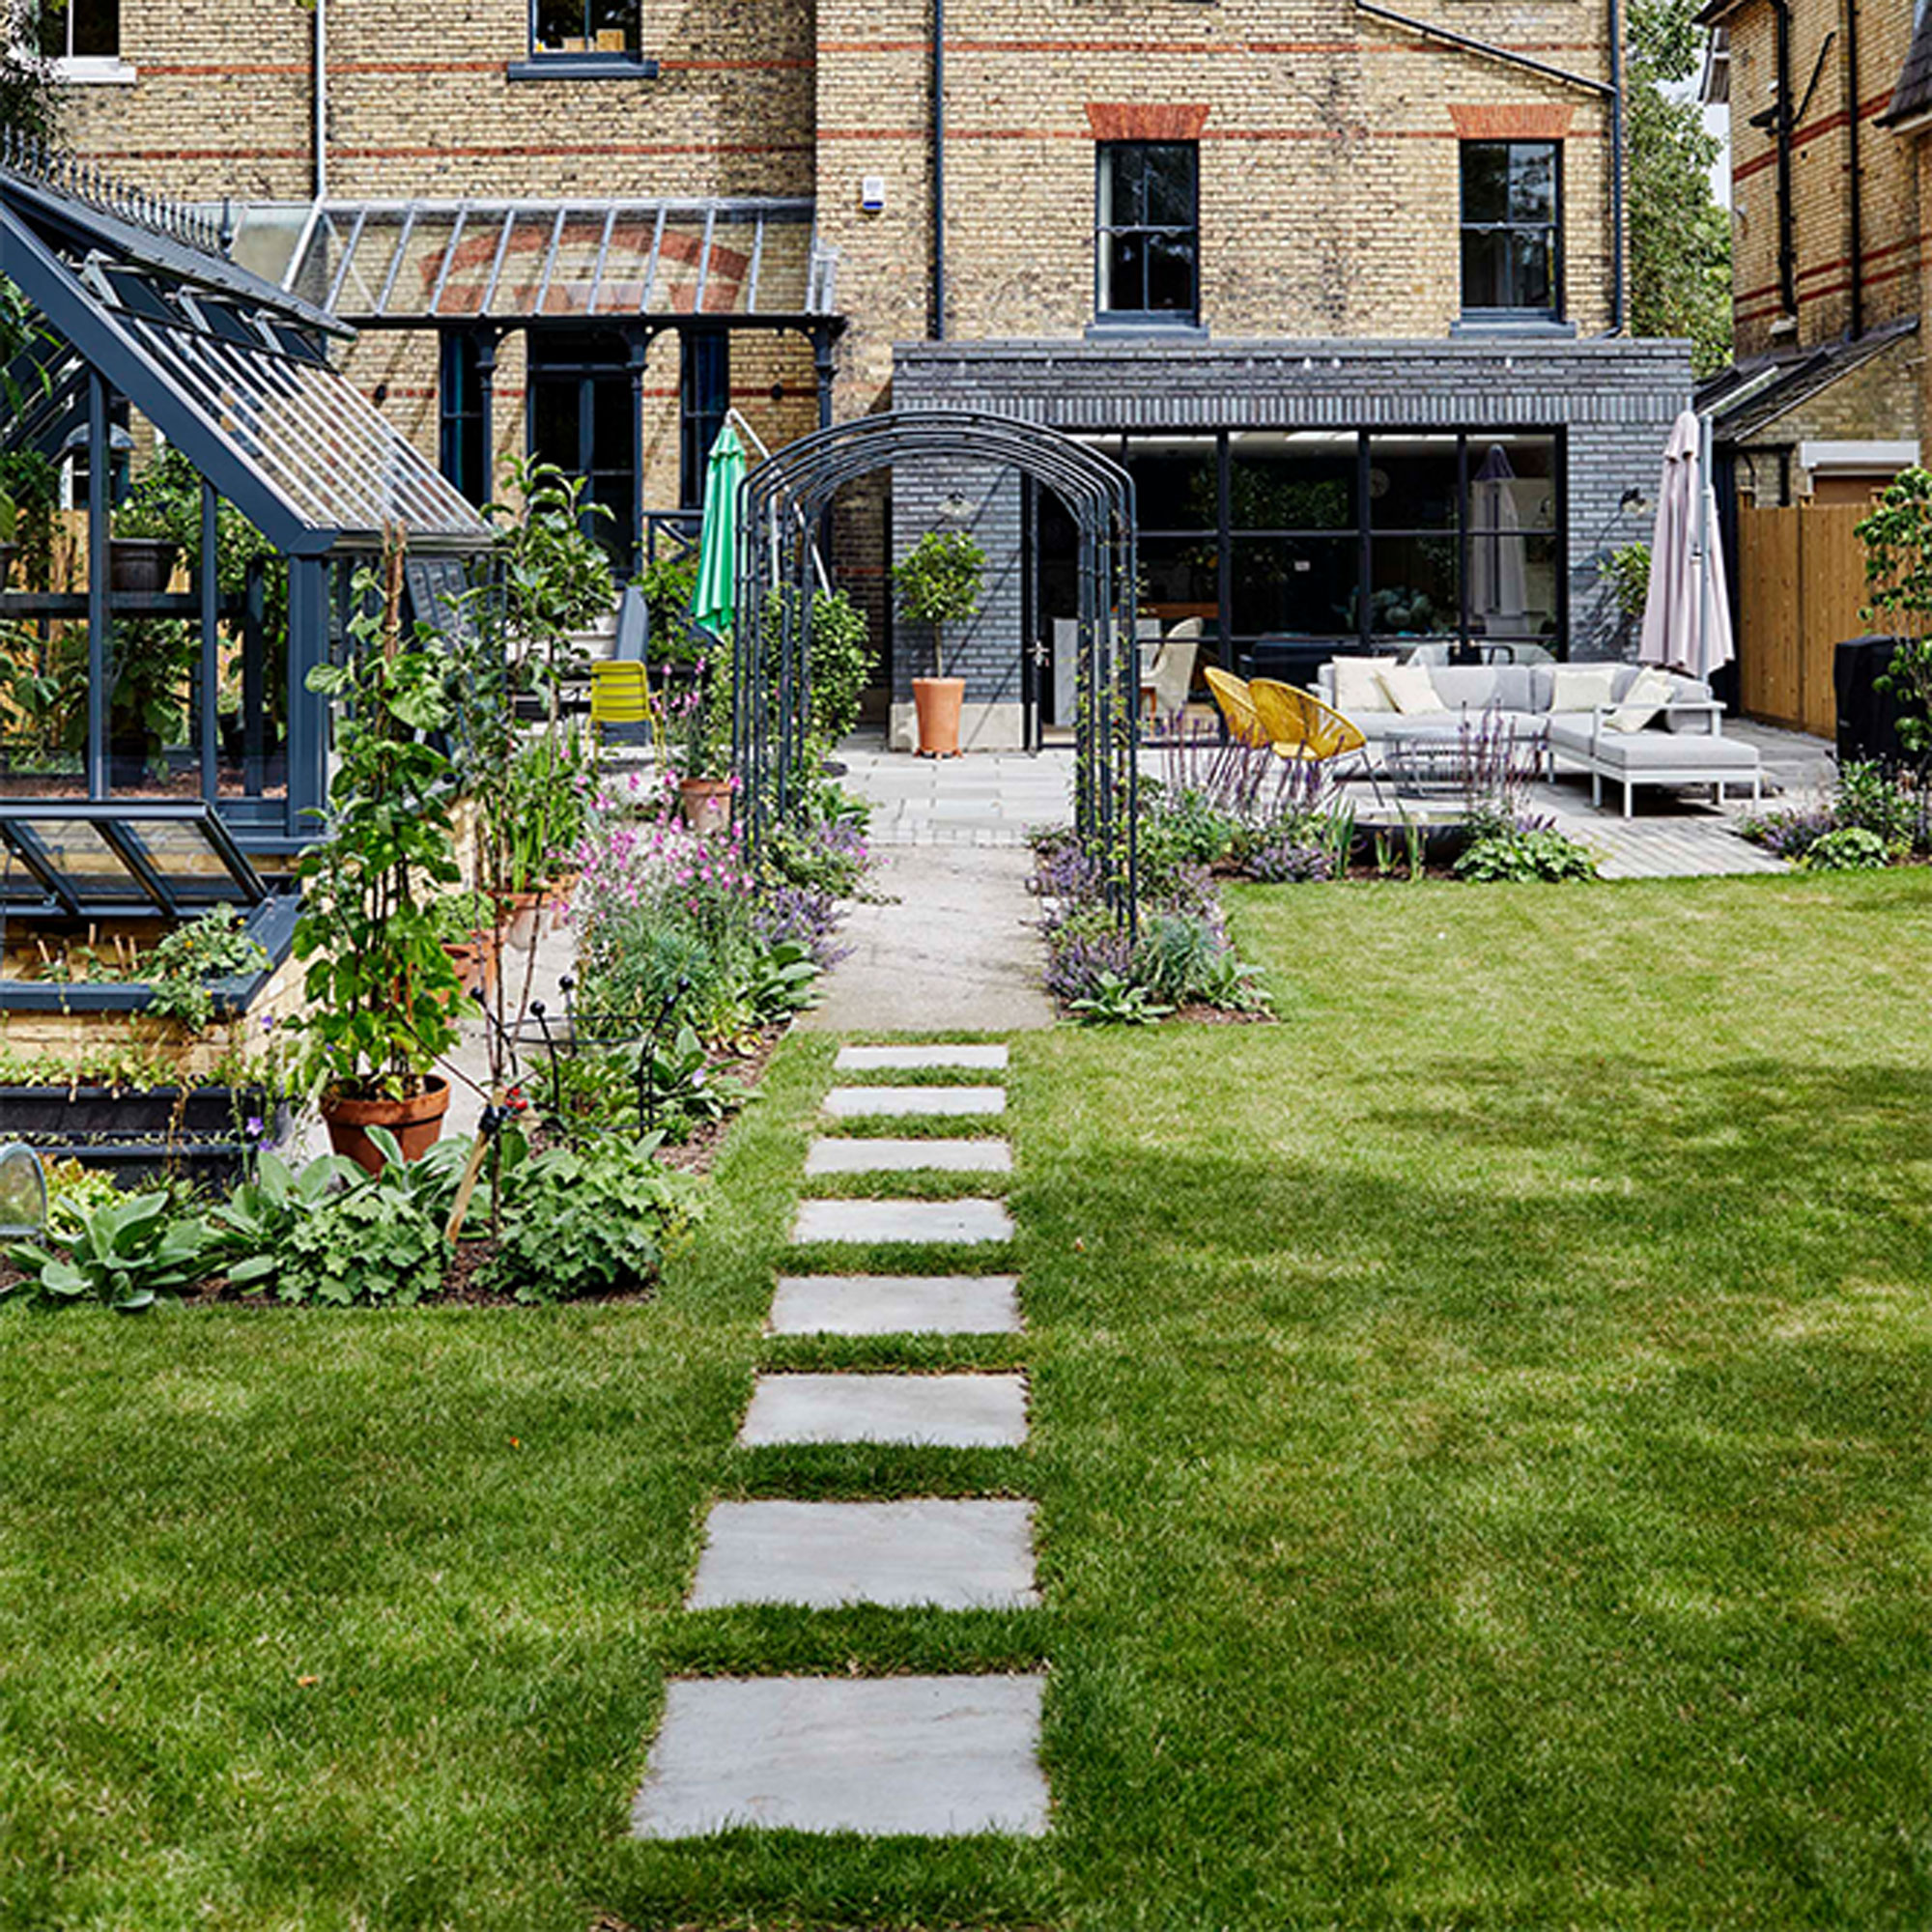
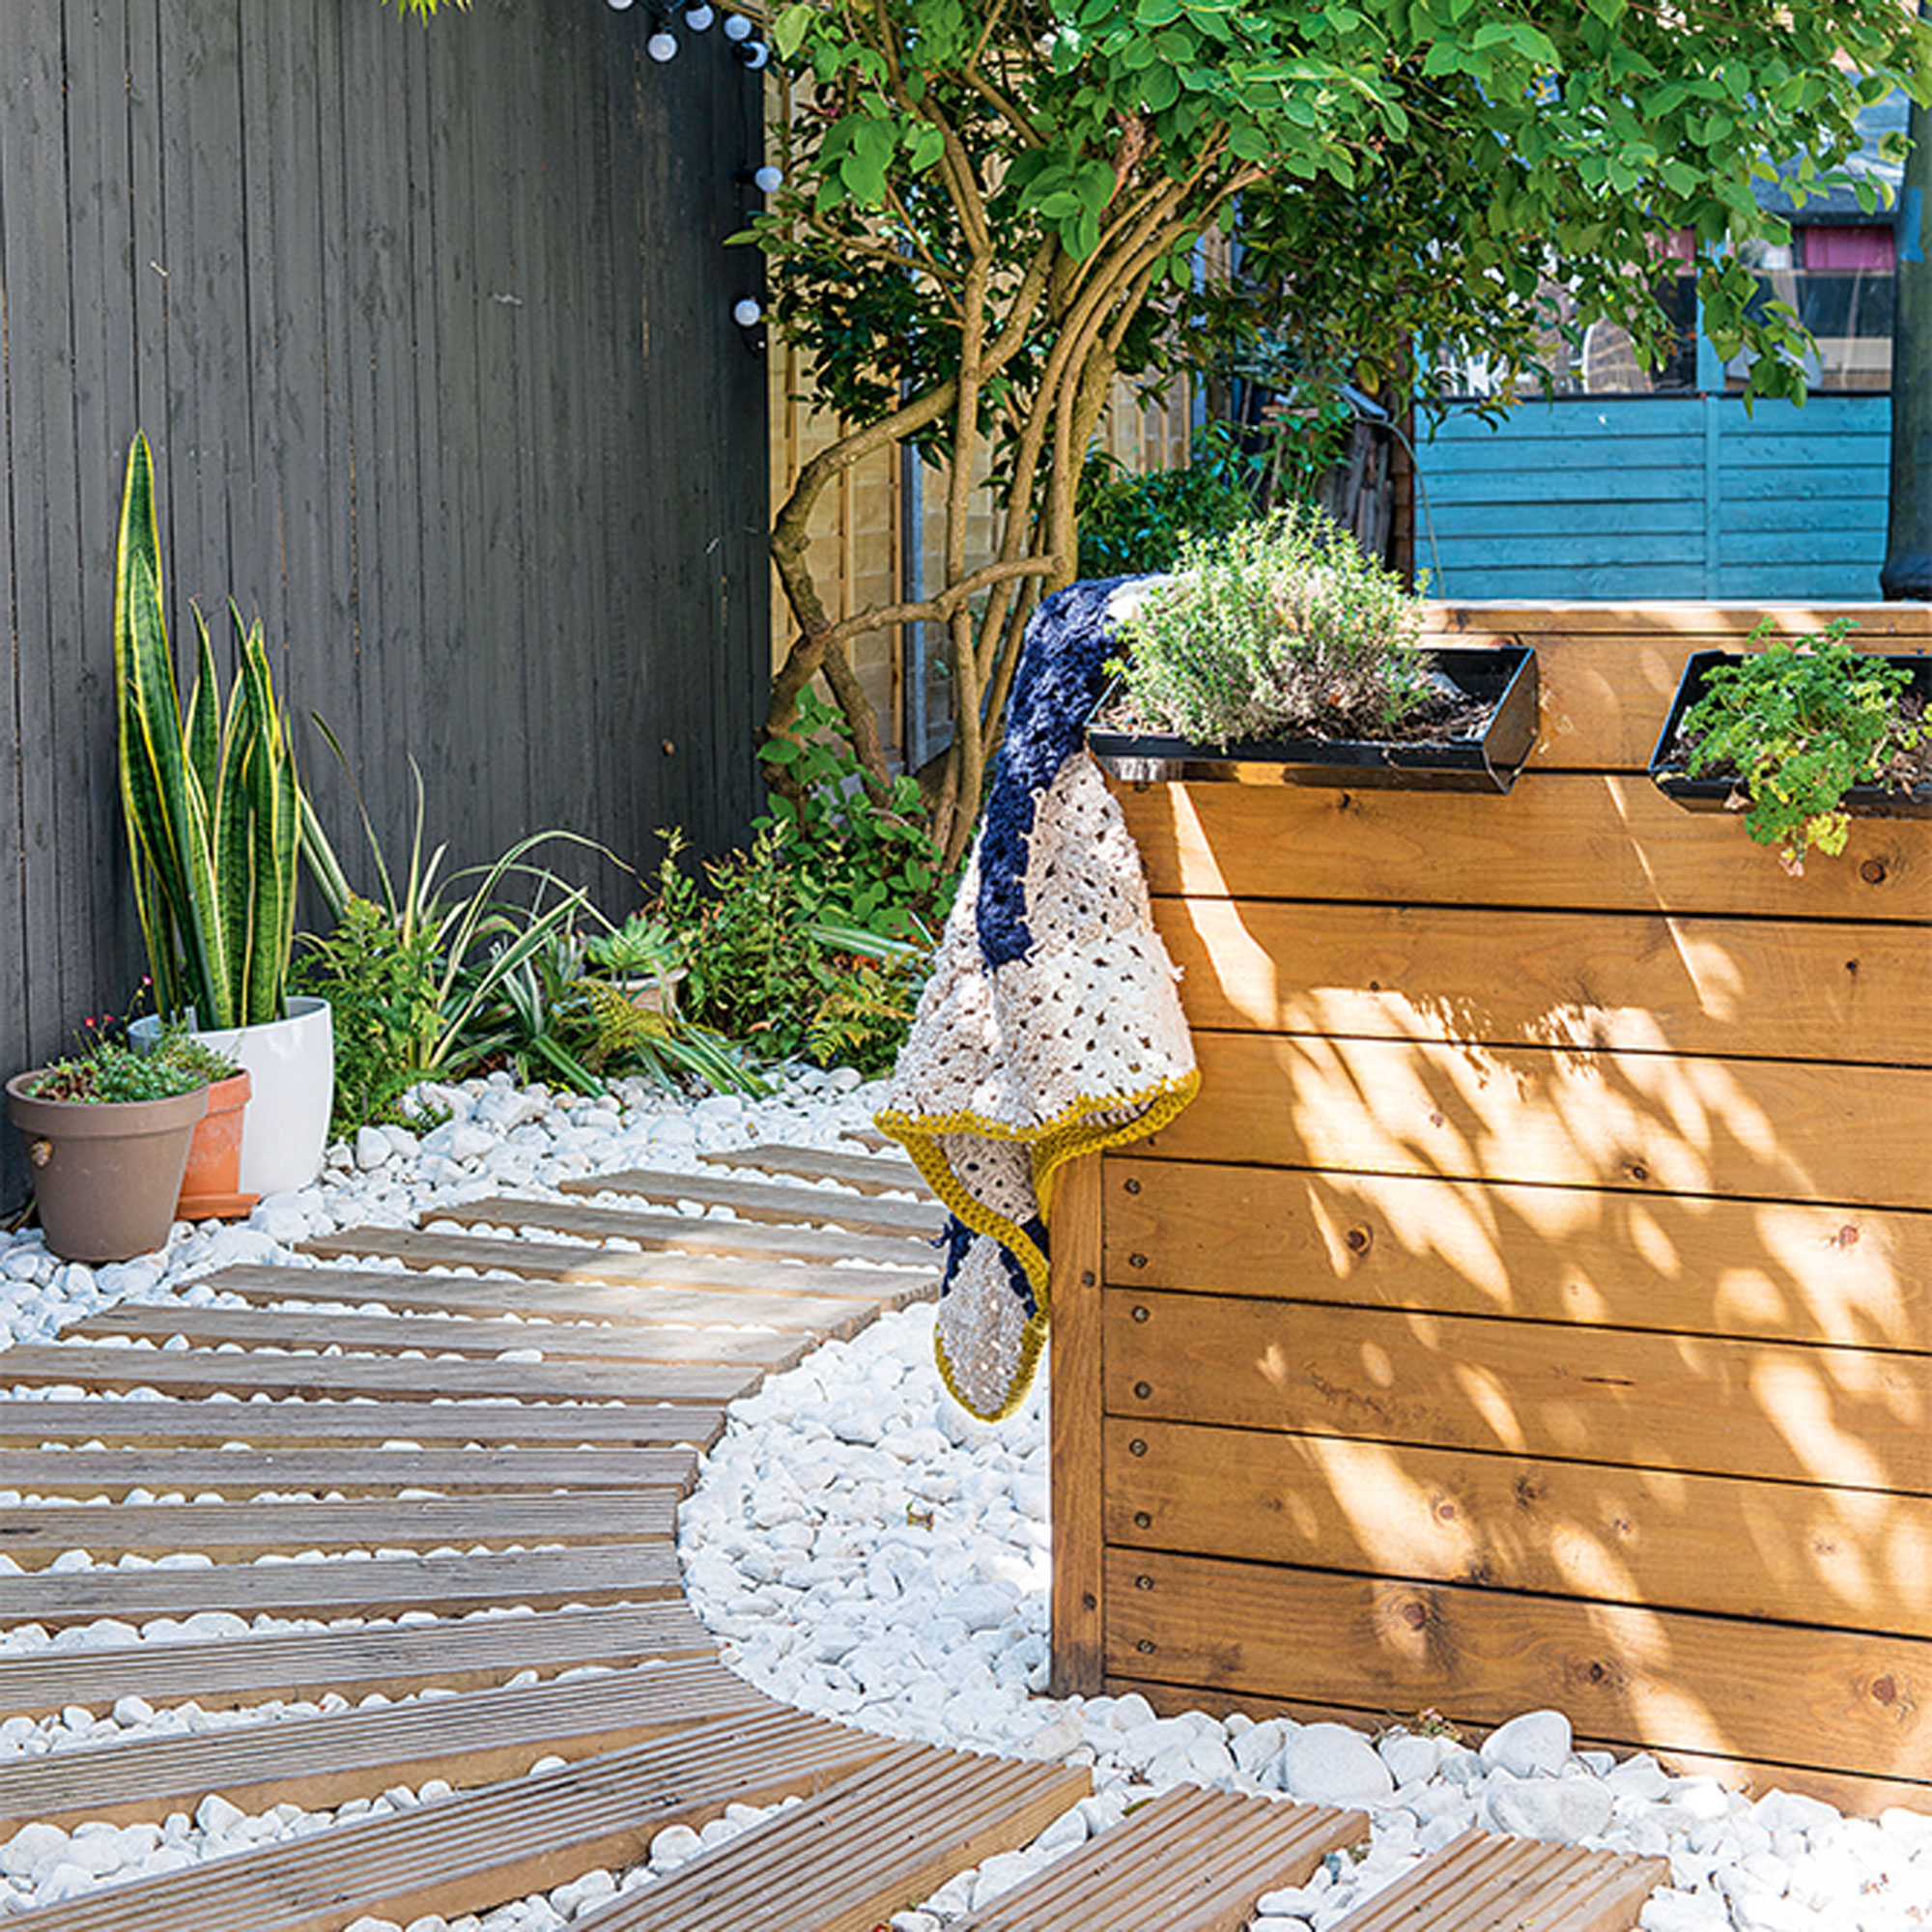
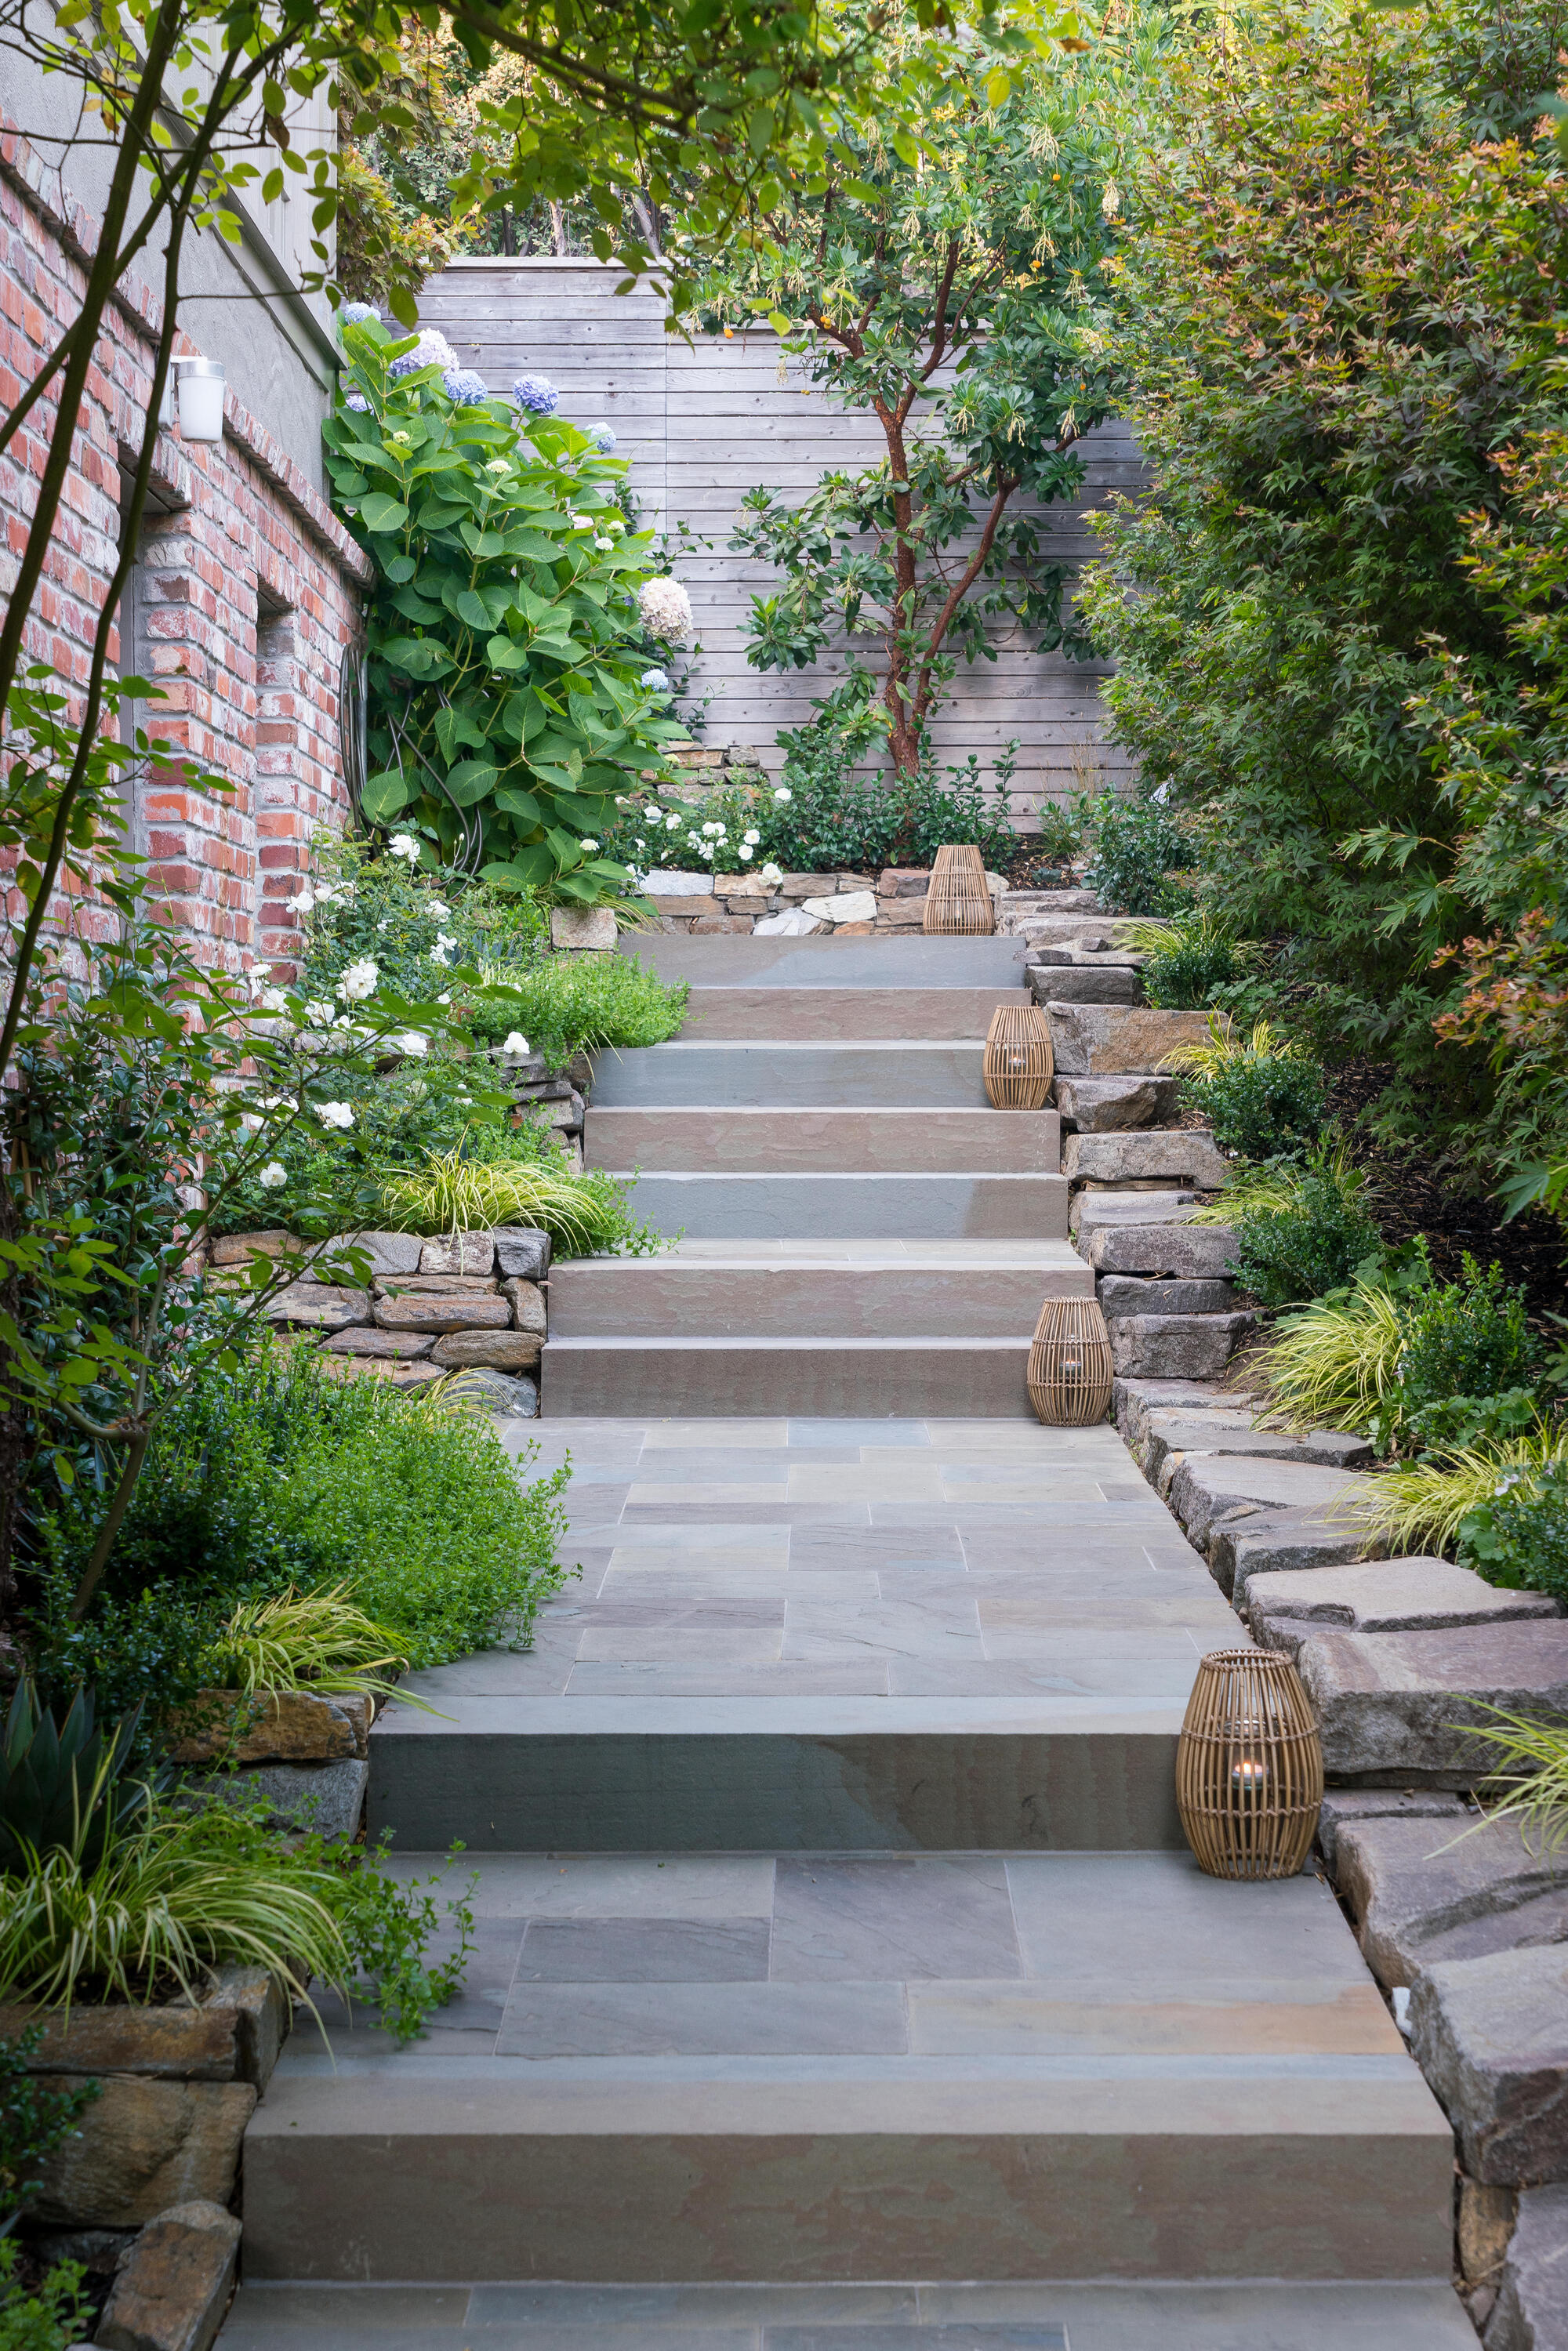
This comprehensive guide details the process of laying a garden path, emphasizing its dual role in enhancing a garden's aesthetics and practicality. A well-planned garden path can visually connect different areas of a property, such as the home, patios, sheds, and decking, while also facilitating easy access. The guide focuses on three popular path materials: gravel, paving slabs, and block paving, offering step-by-step instructions for each.
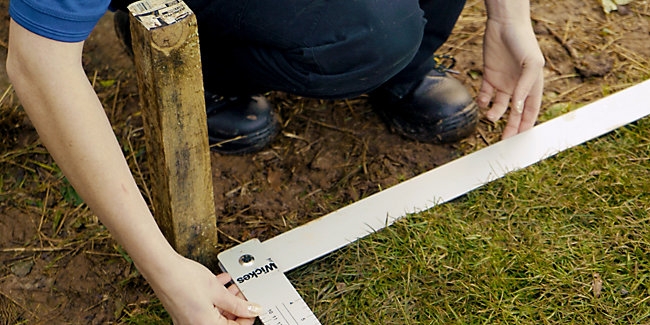
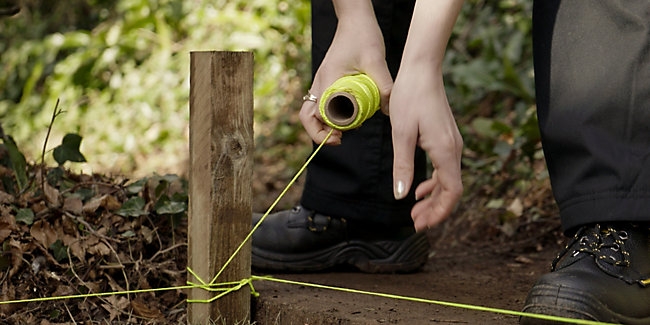
Before commencing any work, careful planning is crucial. This involves considering the path's placement within the garden, the specific materials required, and the existing soil conditions. The guide suggests a minimum path width of 900mm and recommends marking out the proposed area with pegs and string or a garden hose to visualize the layout. For curved paths, a garden hose can be particularly useful. Additionally, laying out paving slabs on the lawn beforehand can provide a clearer idea of the final appearance.
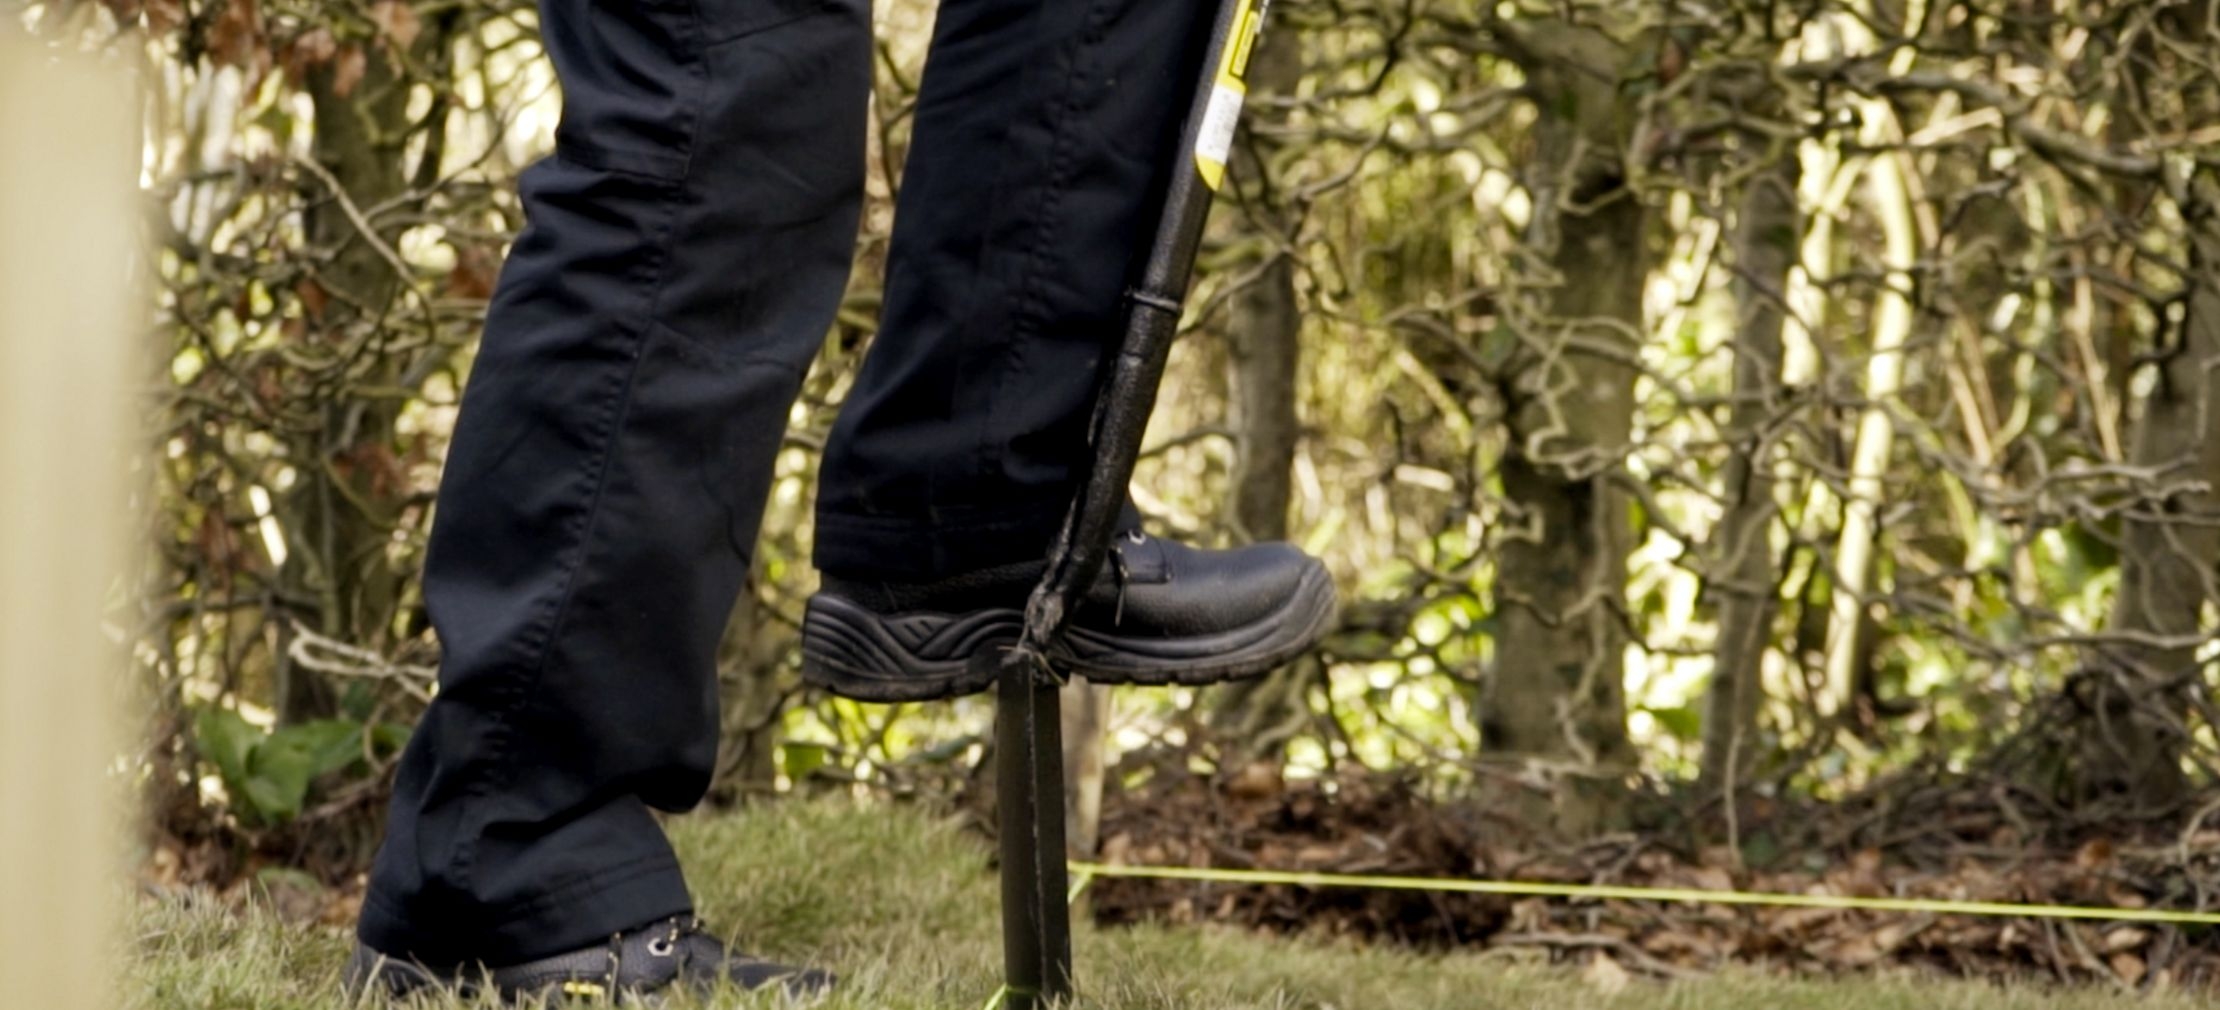
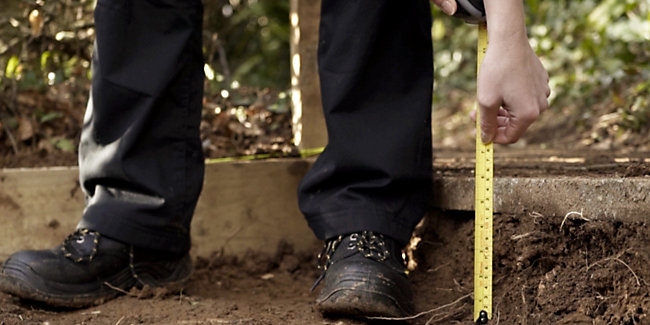
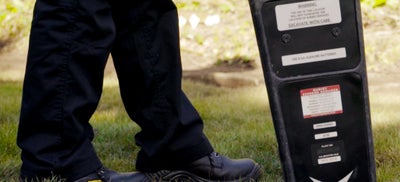
One critical preliminary step is to use a CAT tool to detect any hidden underground pipes or cables in the intended digging area, ensuring safety and preventing damage. Once the area is clear, the process begins with digging out the turf to the depth of the chosen edging, which should sit flush with the ground level. The required trench depth varies based on the path material: gravel paths typically need an overall depth of 100mm, while paving slabs and block paving require a base layer of up to 150mm, plus the thickness of the paving material itself. In areas prone to dampness, the base layer depth might need to be increased to 200mm. The trench is then edged with treated timber boards, cut to size and secured with treated pegs and external grade screws, ensuring the edging remains level using a spirit level.
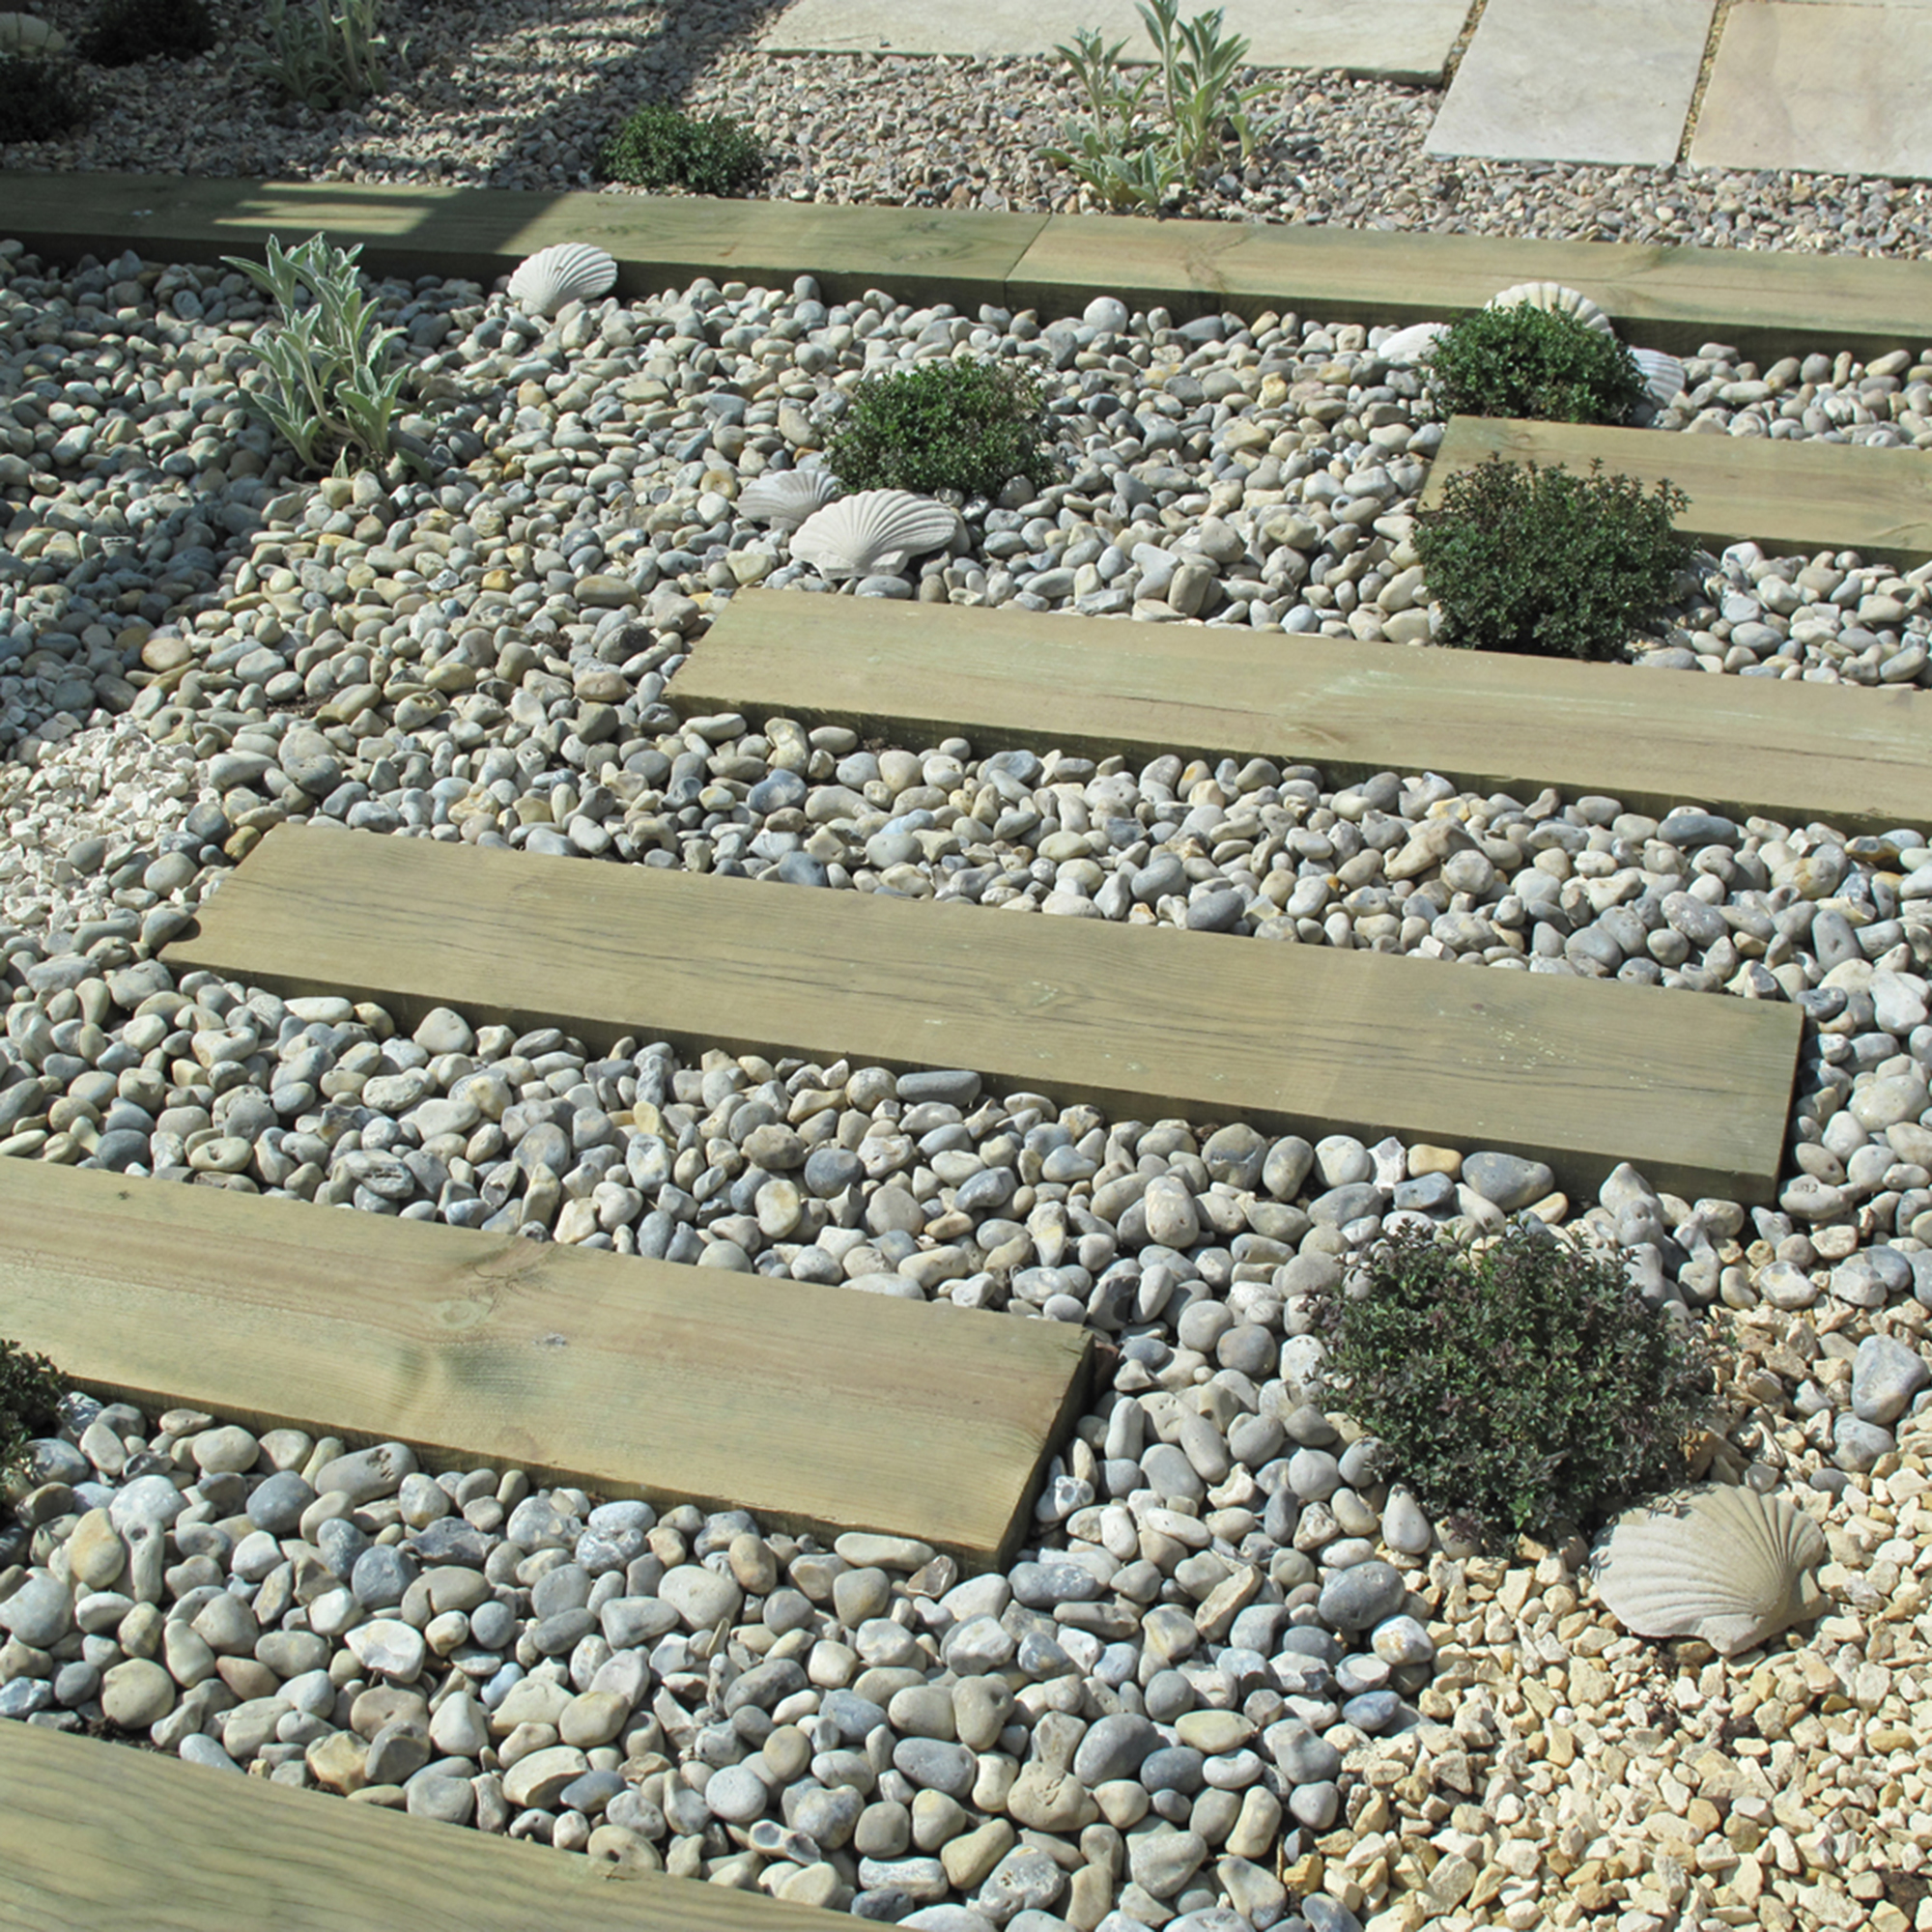
For a gravel path, after the edging is installed, a landscape fabric is rolled out, overlapping by 50mm on each edge and 150mm at each end. This is followed by a 50mm layer of MOT Type 1 sub-base or hardcore, which is raked level and compacted using a tamper or wacker plate. Finally, a 25mm layer of gravel is added, raked level, ensuring it sits approximately 25mm below the top of the edging.
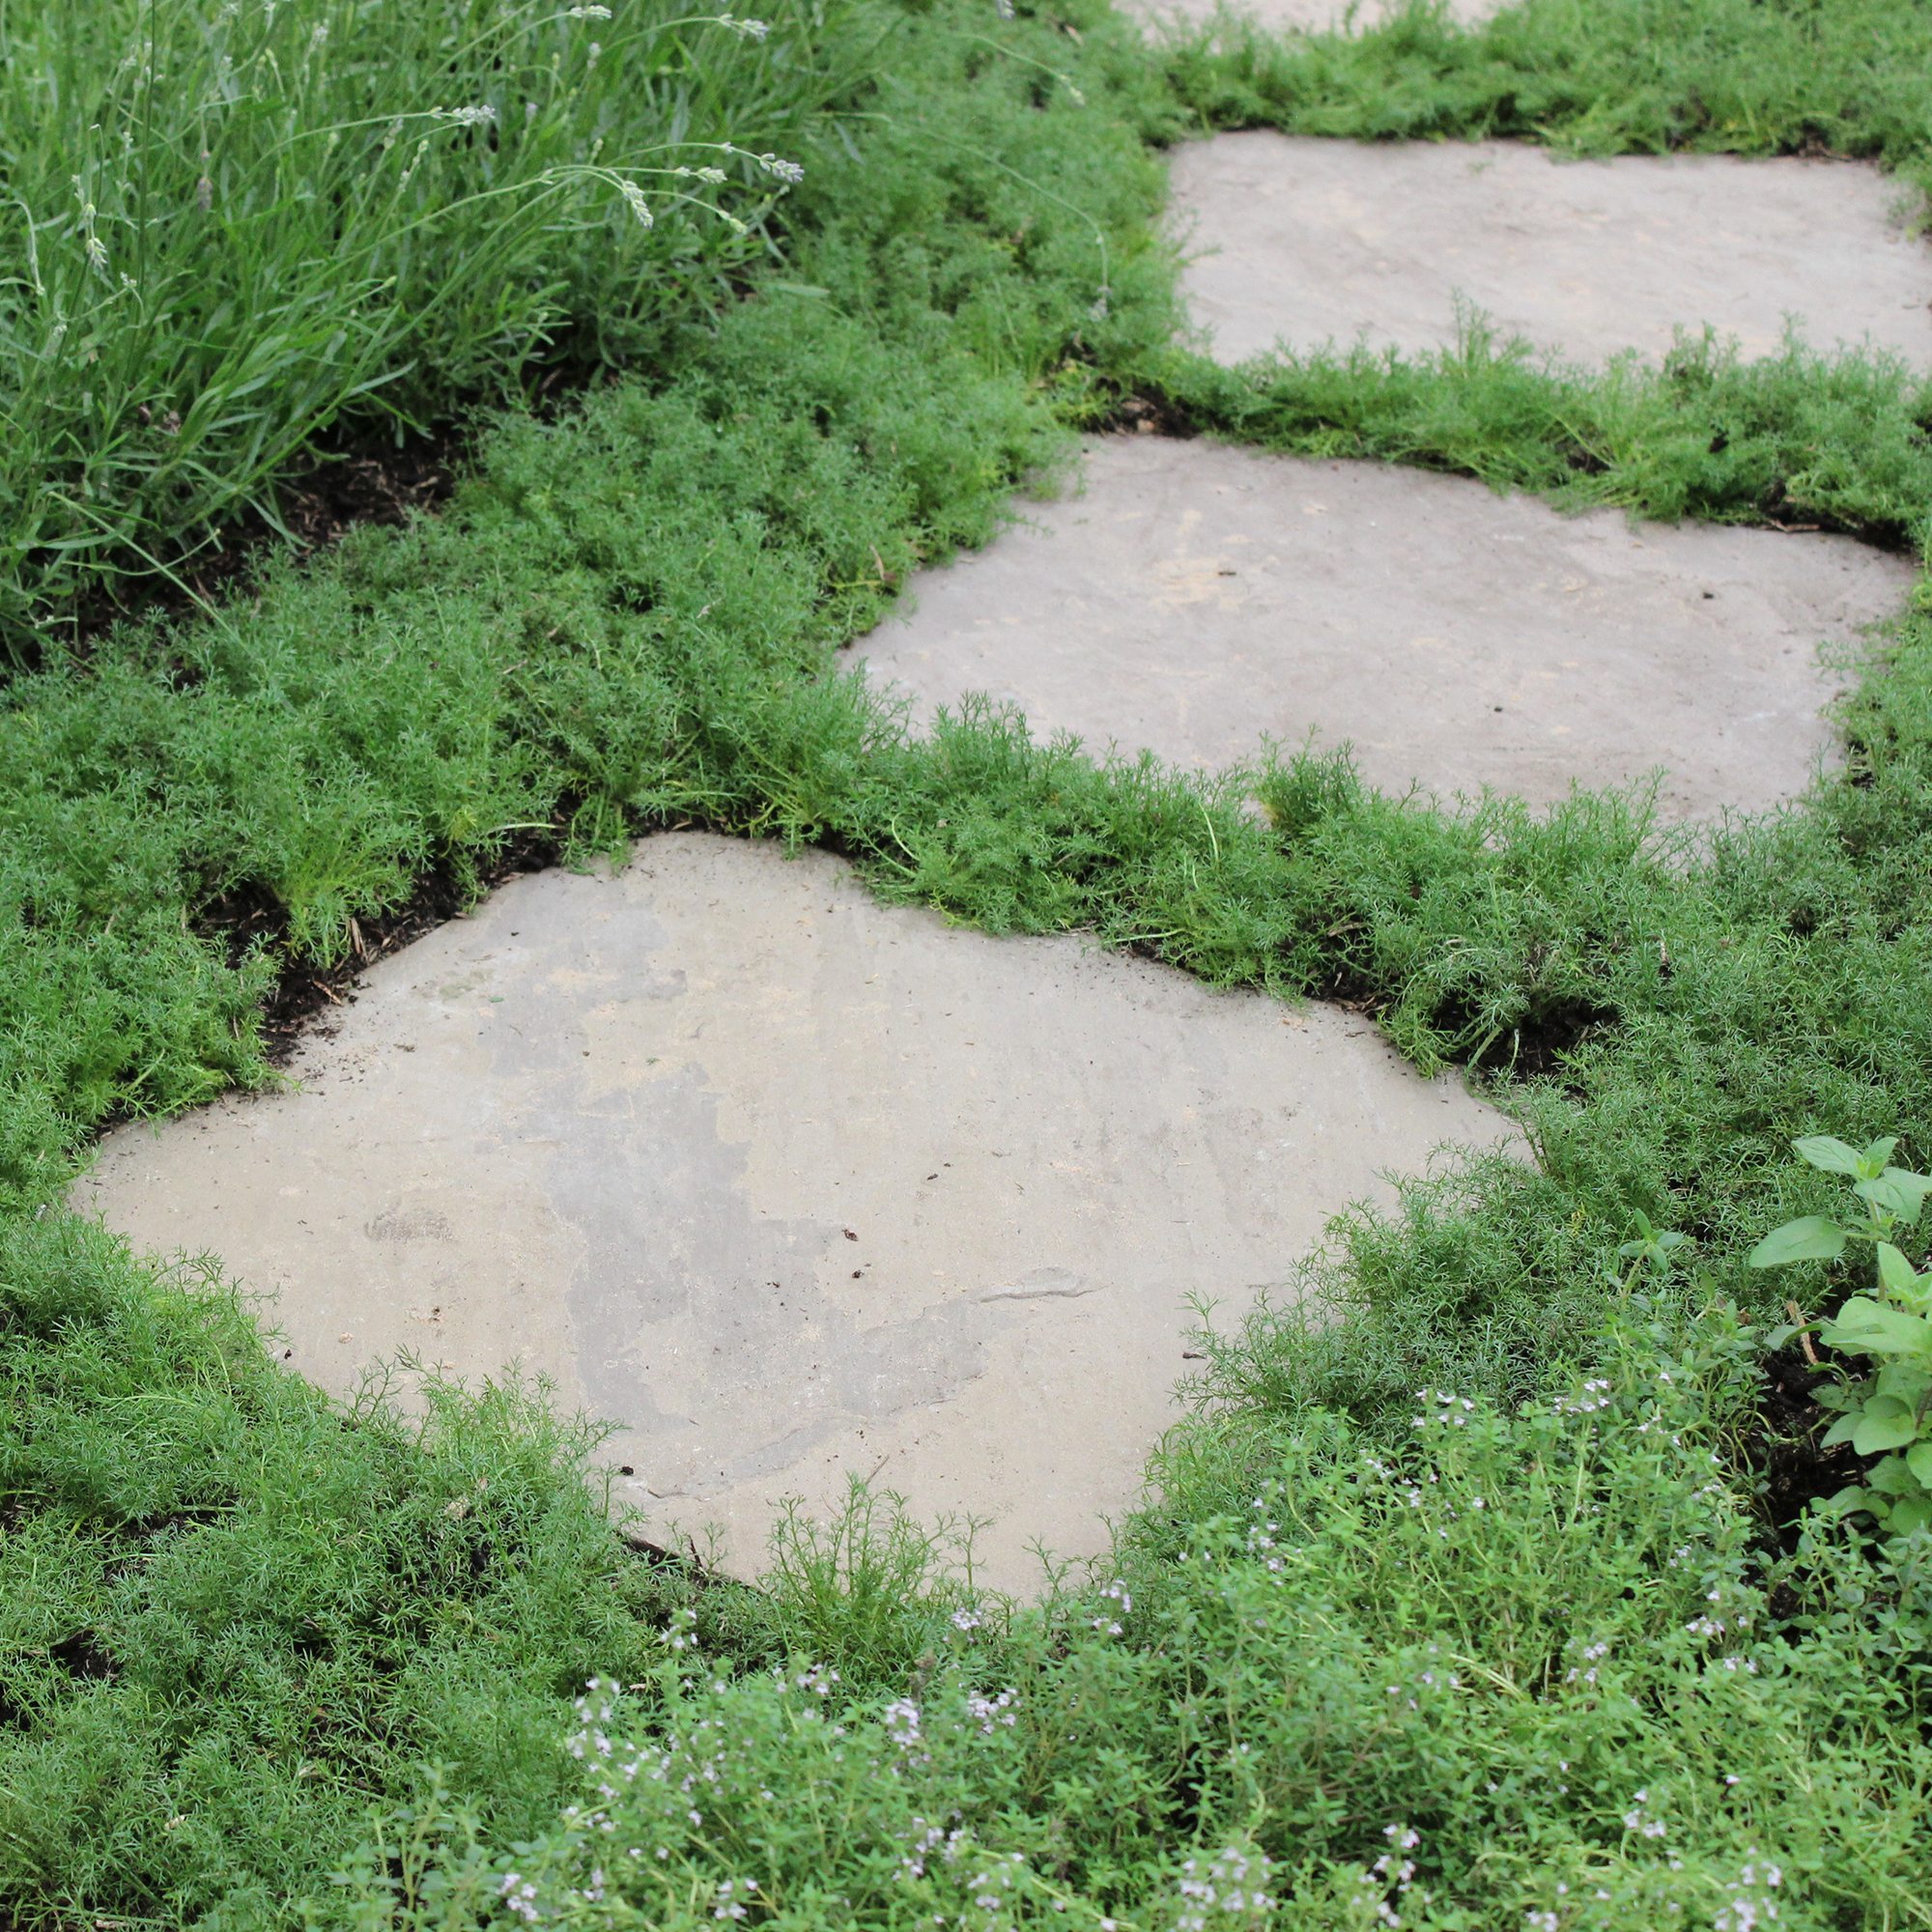
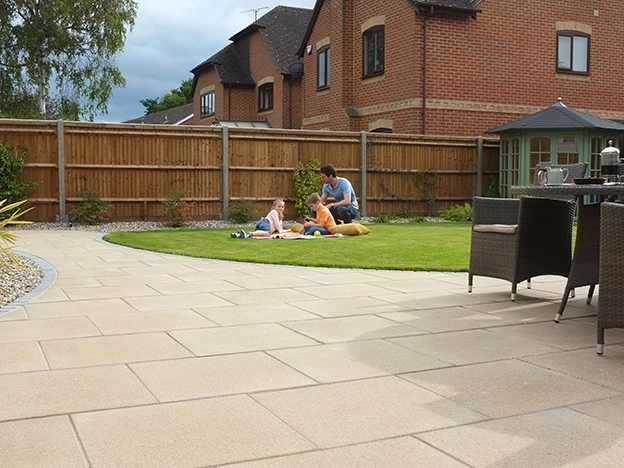
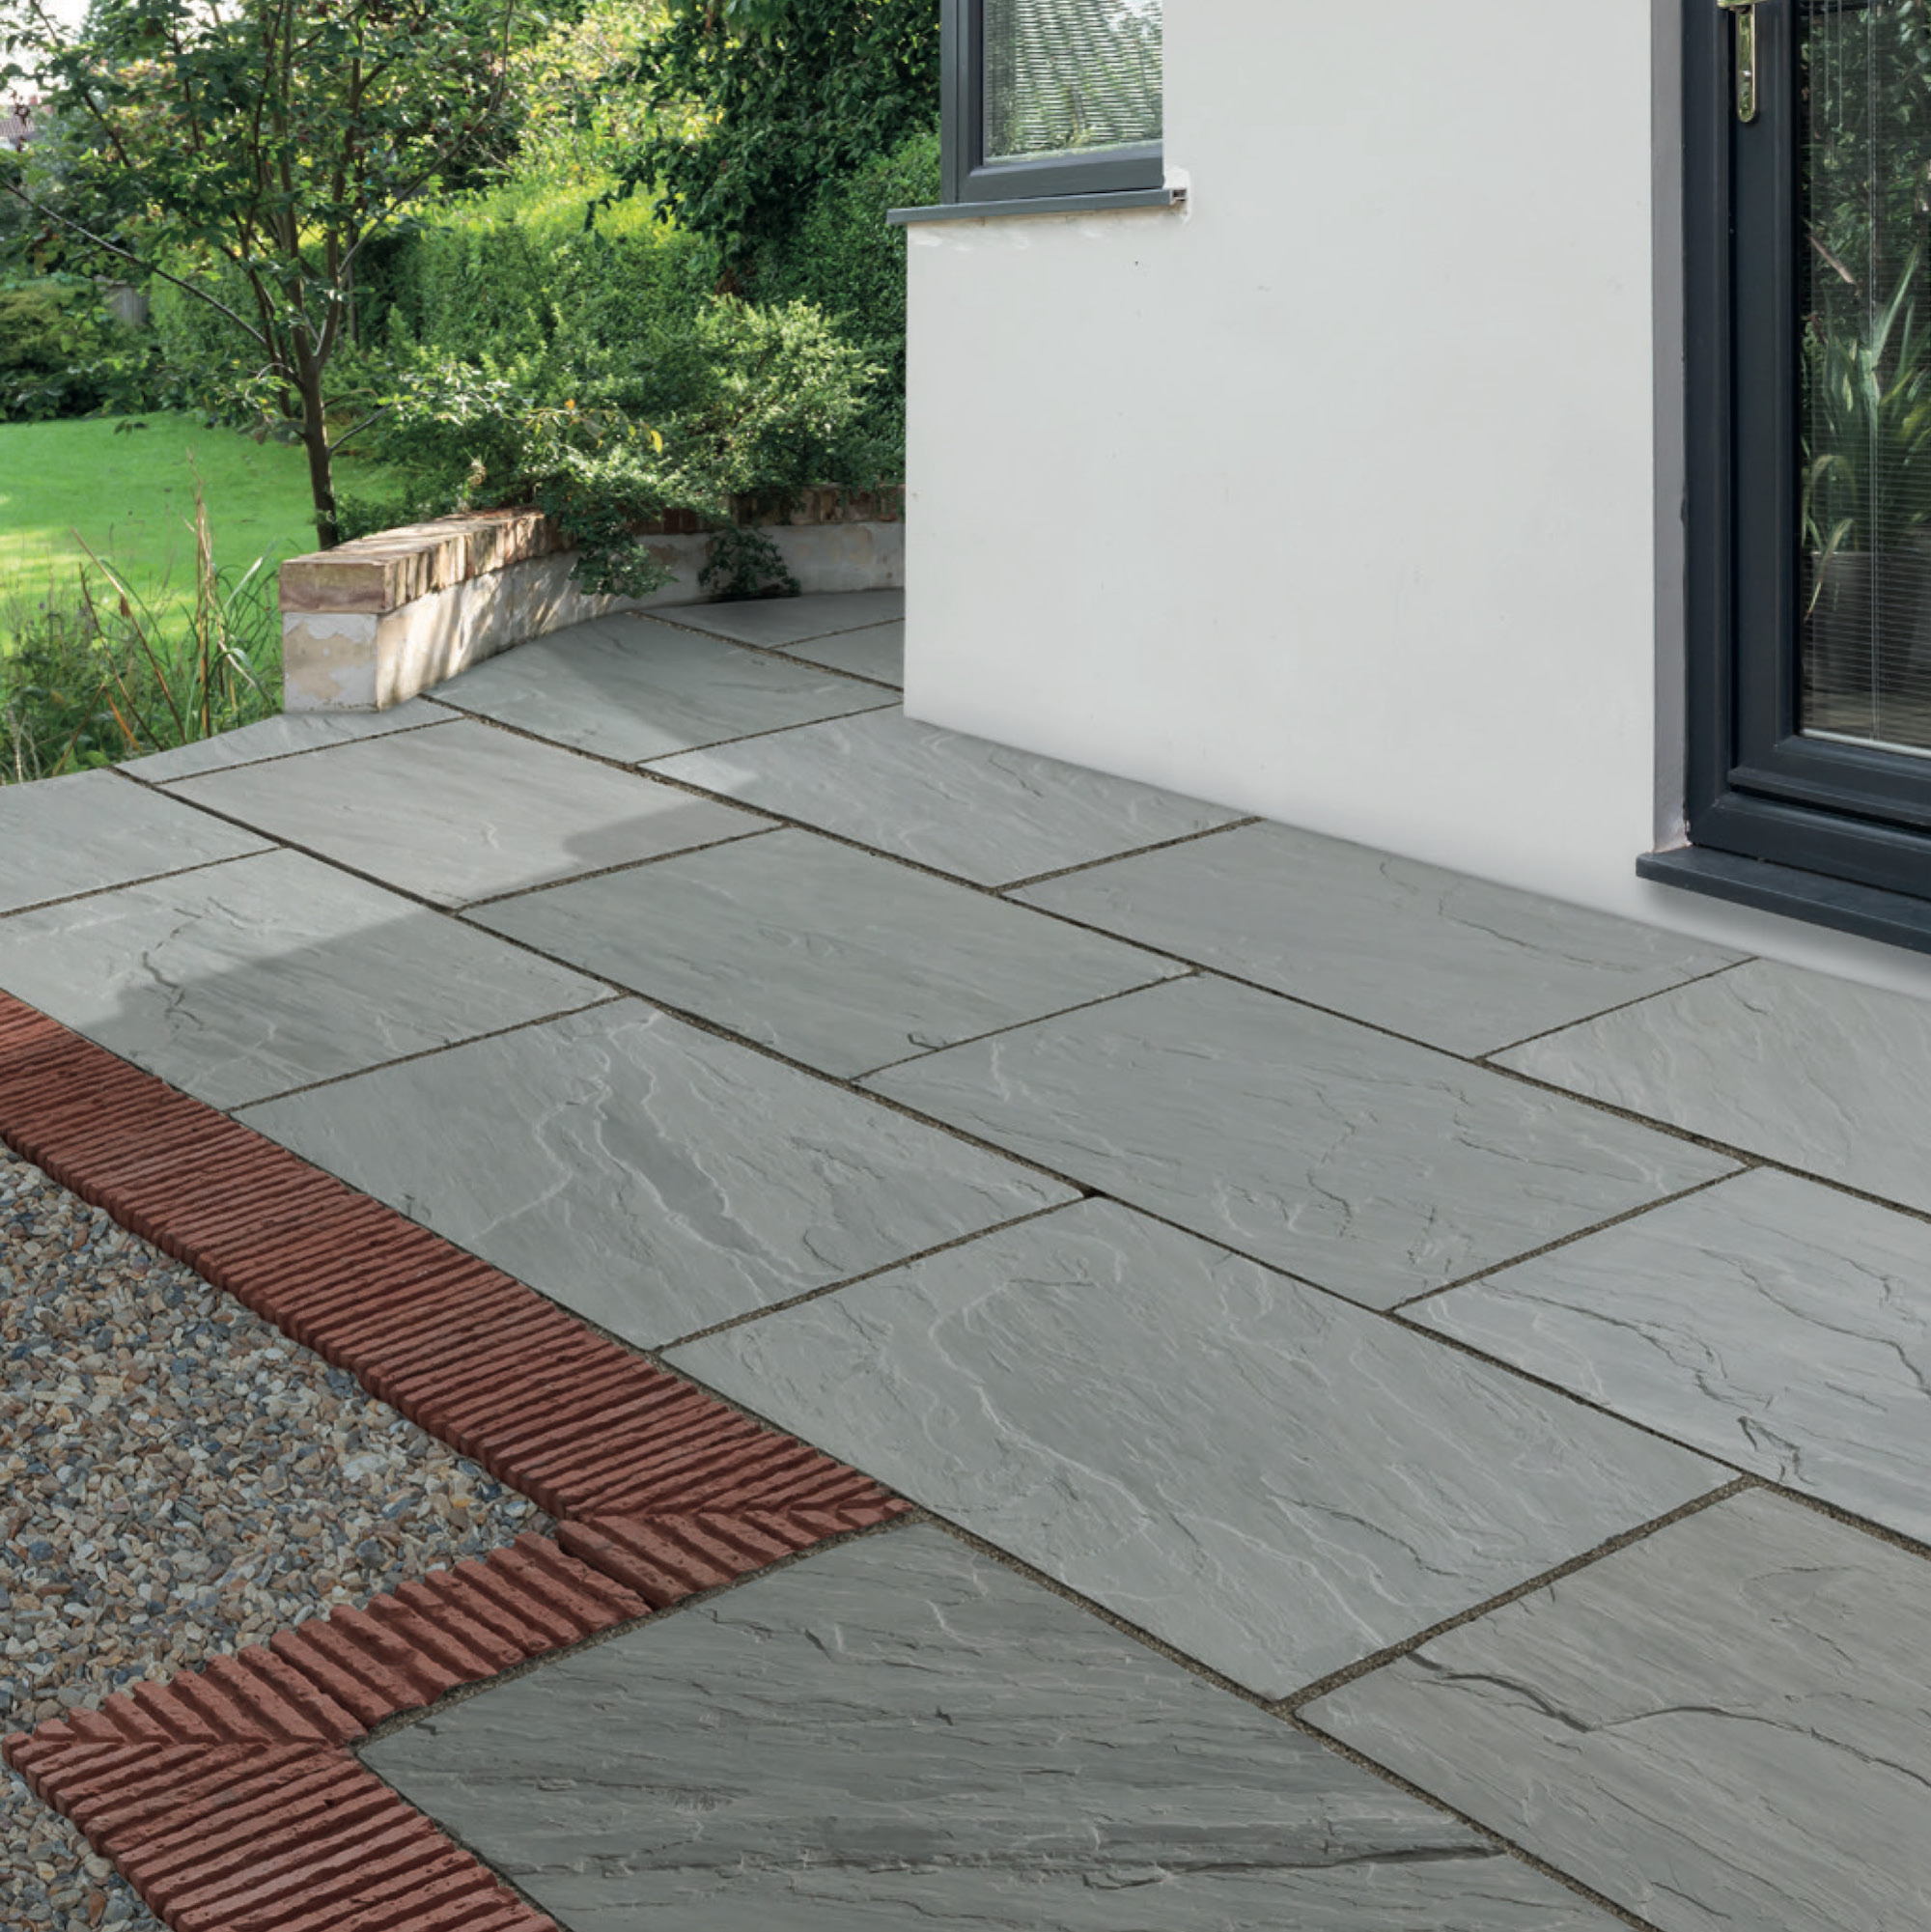
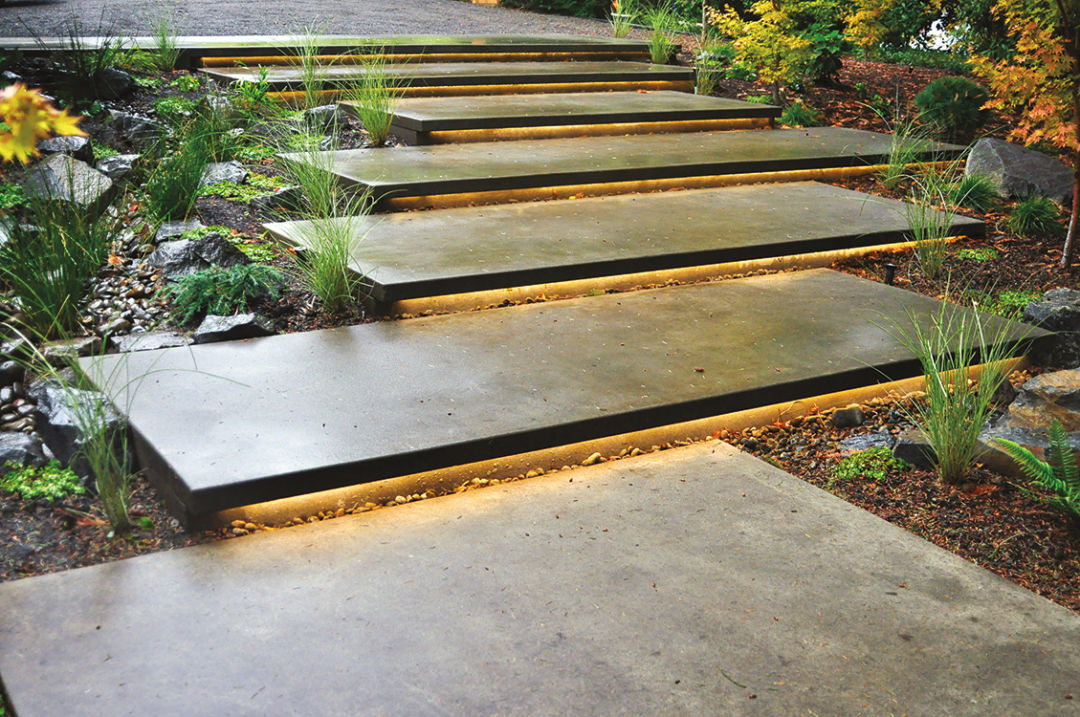
When laying a path with paving slabs, the initial steps of digging and edging are similar. After the first 50mm layer of compacted sub-base, another 50mm layer of sub-base is added and compacted again. A 25mm layer of Slablayer is then applied, leveled, and moistened according to manufacturer instructions. The first paving slab is dampened underneath, placed, and gently bedded into position with a rubber mallet, checked for squareness and level. This is repeated for a second slab, establishing a guide for the rest. Subsequent slabs are laid, maintaining a 100mm gap using spacers. Once dry, the joints are filled with a damp sand mix.
For block paving, the trench depth accounts for 100mm of sub-base, 50mm of sand, and the depth of the paving, noting that bricks will settle about 15mm into the sand base. Two 50mm layers of compacted MOT Type 1 sub-base or hardcore are laid, similar to paving slabs. A layer of sharp sand is then added, lightly dampened, and compacted to a depth of 50mm. Block paving bricks are laid and gently tapped into place, checking for levelness. The final step involves spreading kiln-dried sand over the bricks, sweeping it into the joints, and compacting the path, followed by a re-application of sand to fill any remaining gaps.
The guide also emphasizes safety precautions, including wearing steel toe-cap boots, dust masks, safety goggles, rigger gloves, and ear defenders, especially when using power tools or handling cement. It advises careful handling of wet and dry cement due to its potential to cause skin irritation.
#GardenPath #Landscaping #DIYGuide #GravelPath #PavingSlabs #BlockPaving #HomeImprovement #OutdoorDesign #Wickes #GardenPath #Landscaping #DIYGuide #GravelPath #PavingSlabs #BlockPaving #HomeImprovement #OutdoorDesign #Wickes
0 comment in total
 No comments yet
You may also like
How to lay a patio

Great landscaping ideas for ‘regular people’ from a design expert
'It mimics nature's randomness' - this simple gardening trick is how landscape designers make a backyard look more put together

Piece by piece: Pros and cons of using pavers to spruce up your yard
12 cheap DIY garden path ideas that still look great – you'd never know they were home-made

Garden Paving & Walling | Front Garden Paving & Block Paving Grout
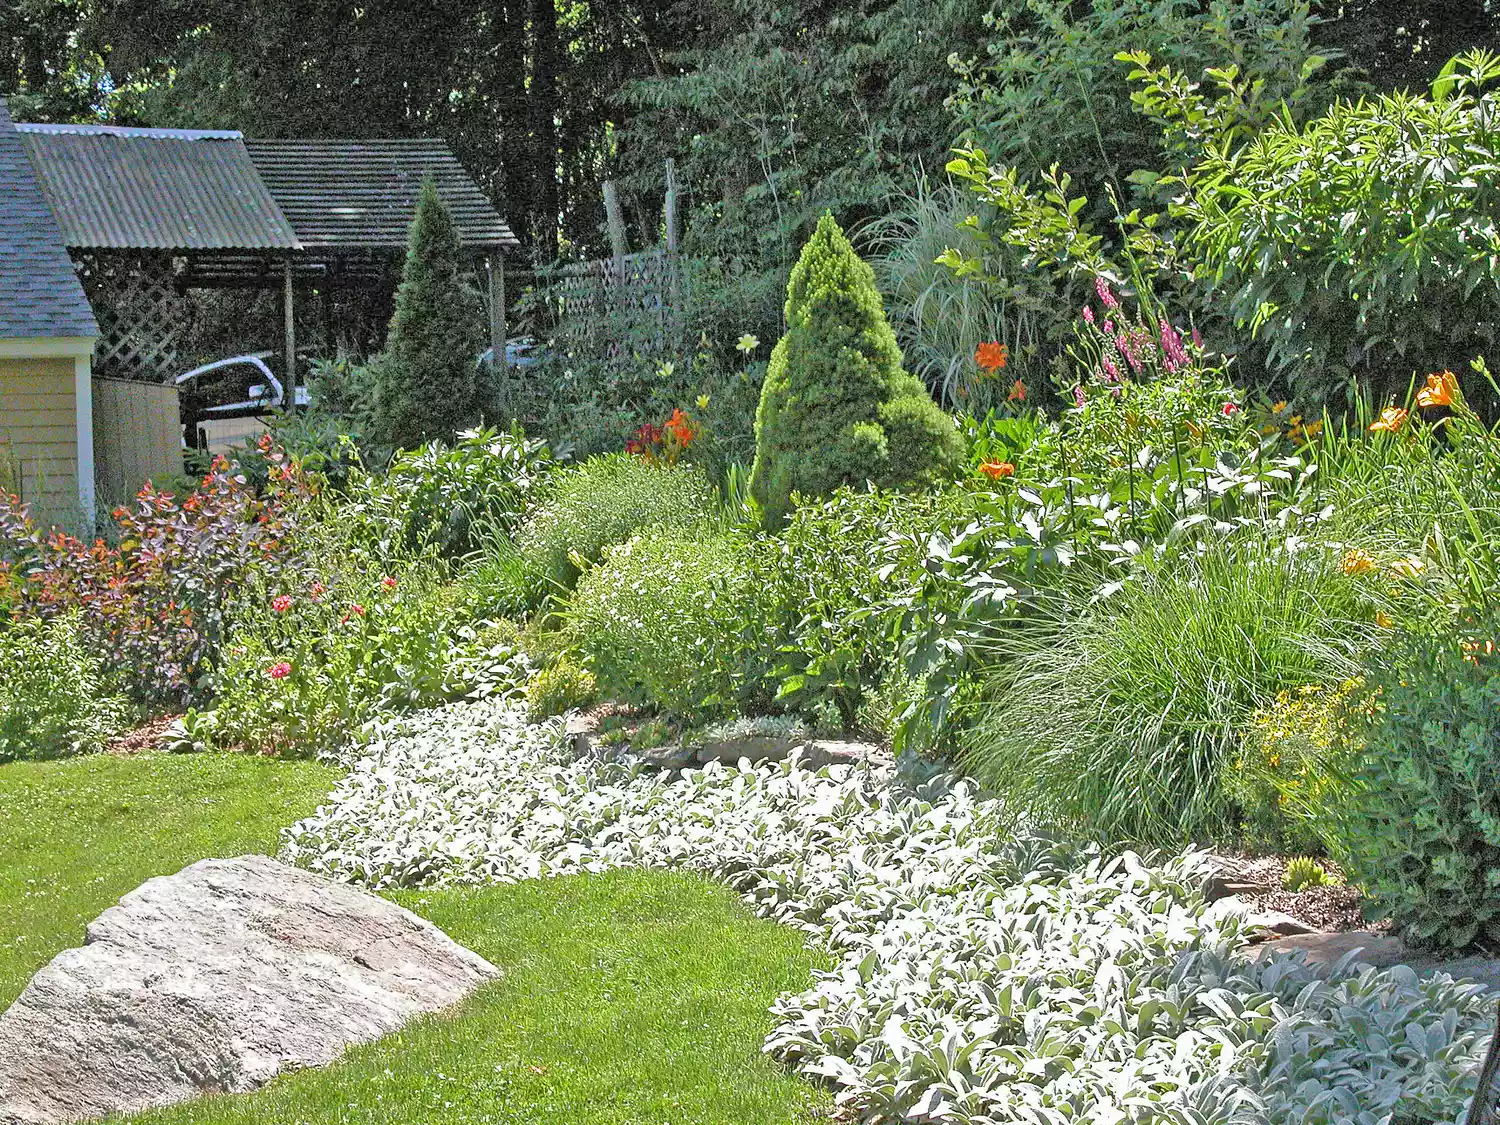
How to Landscape a Sloped Yard

This Is Your Sign to Rip out Your Concrete Backyard and Turn It into a Lush Retreat
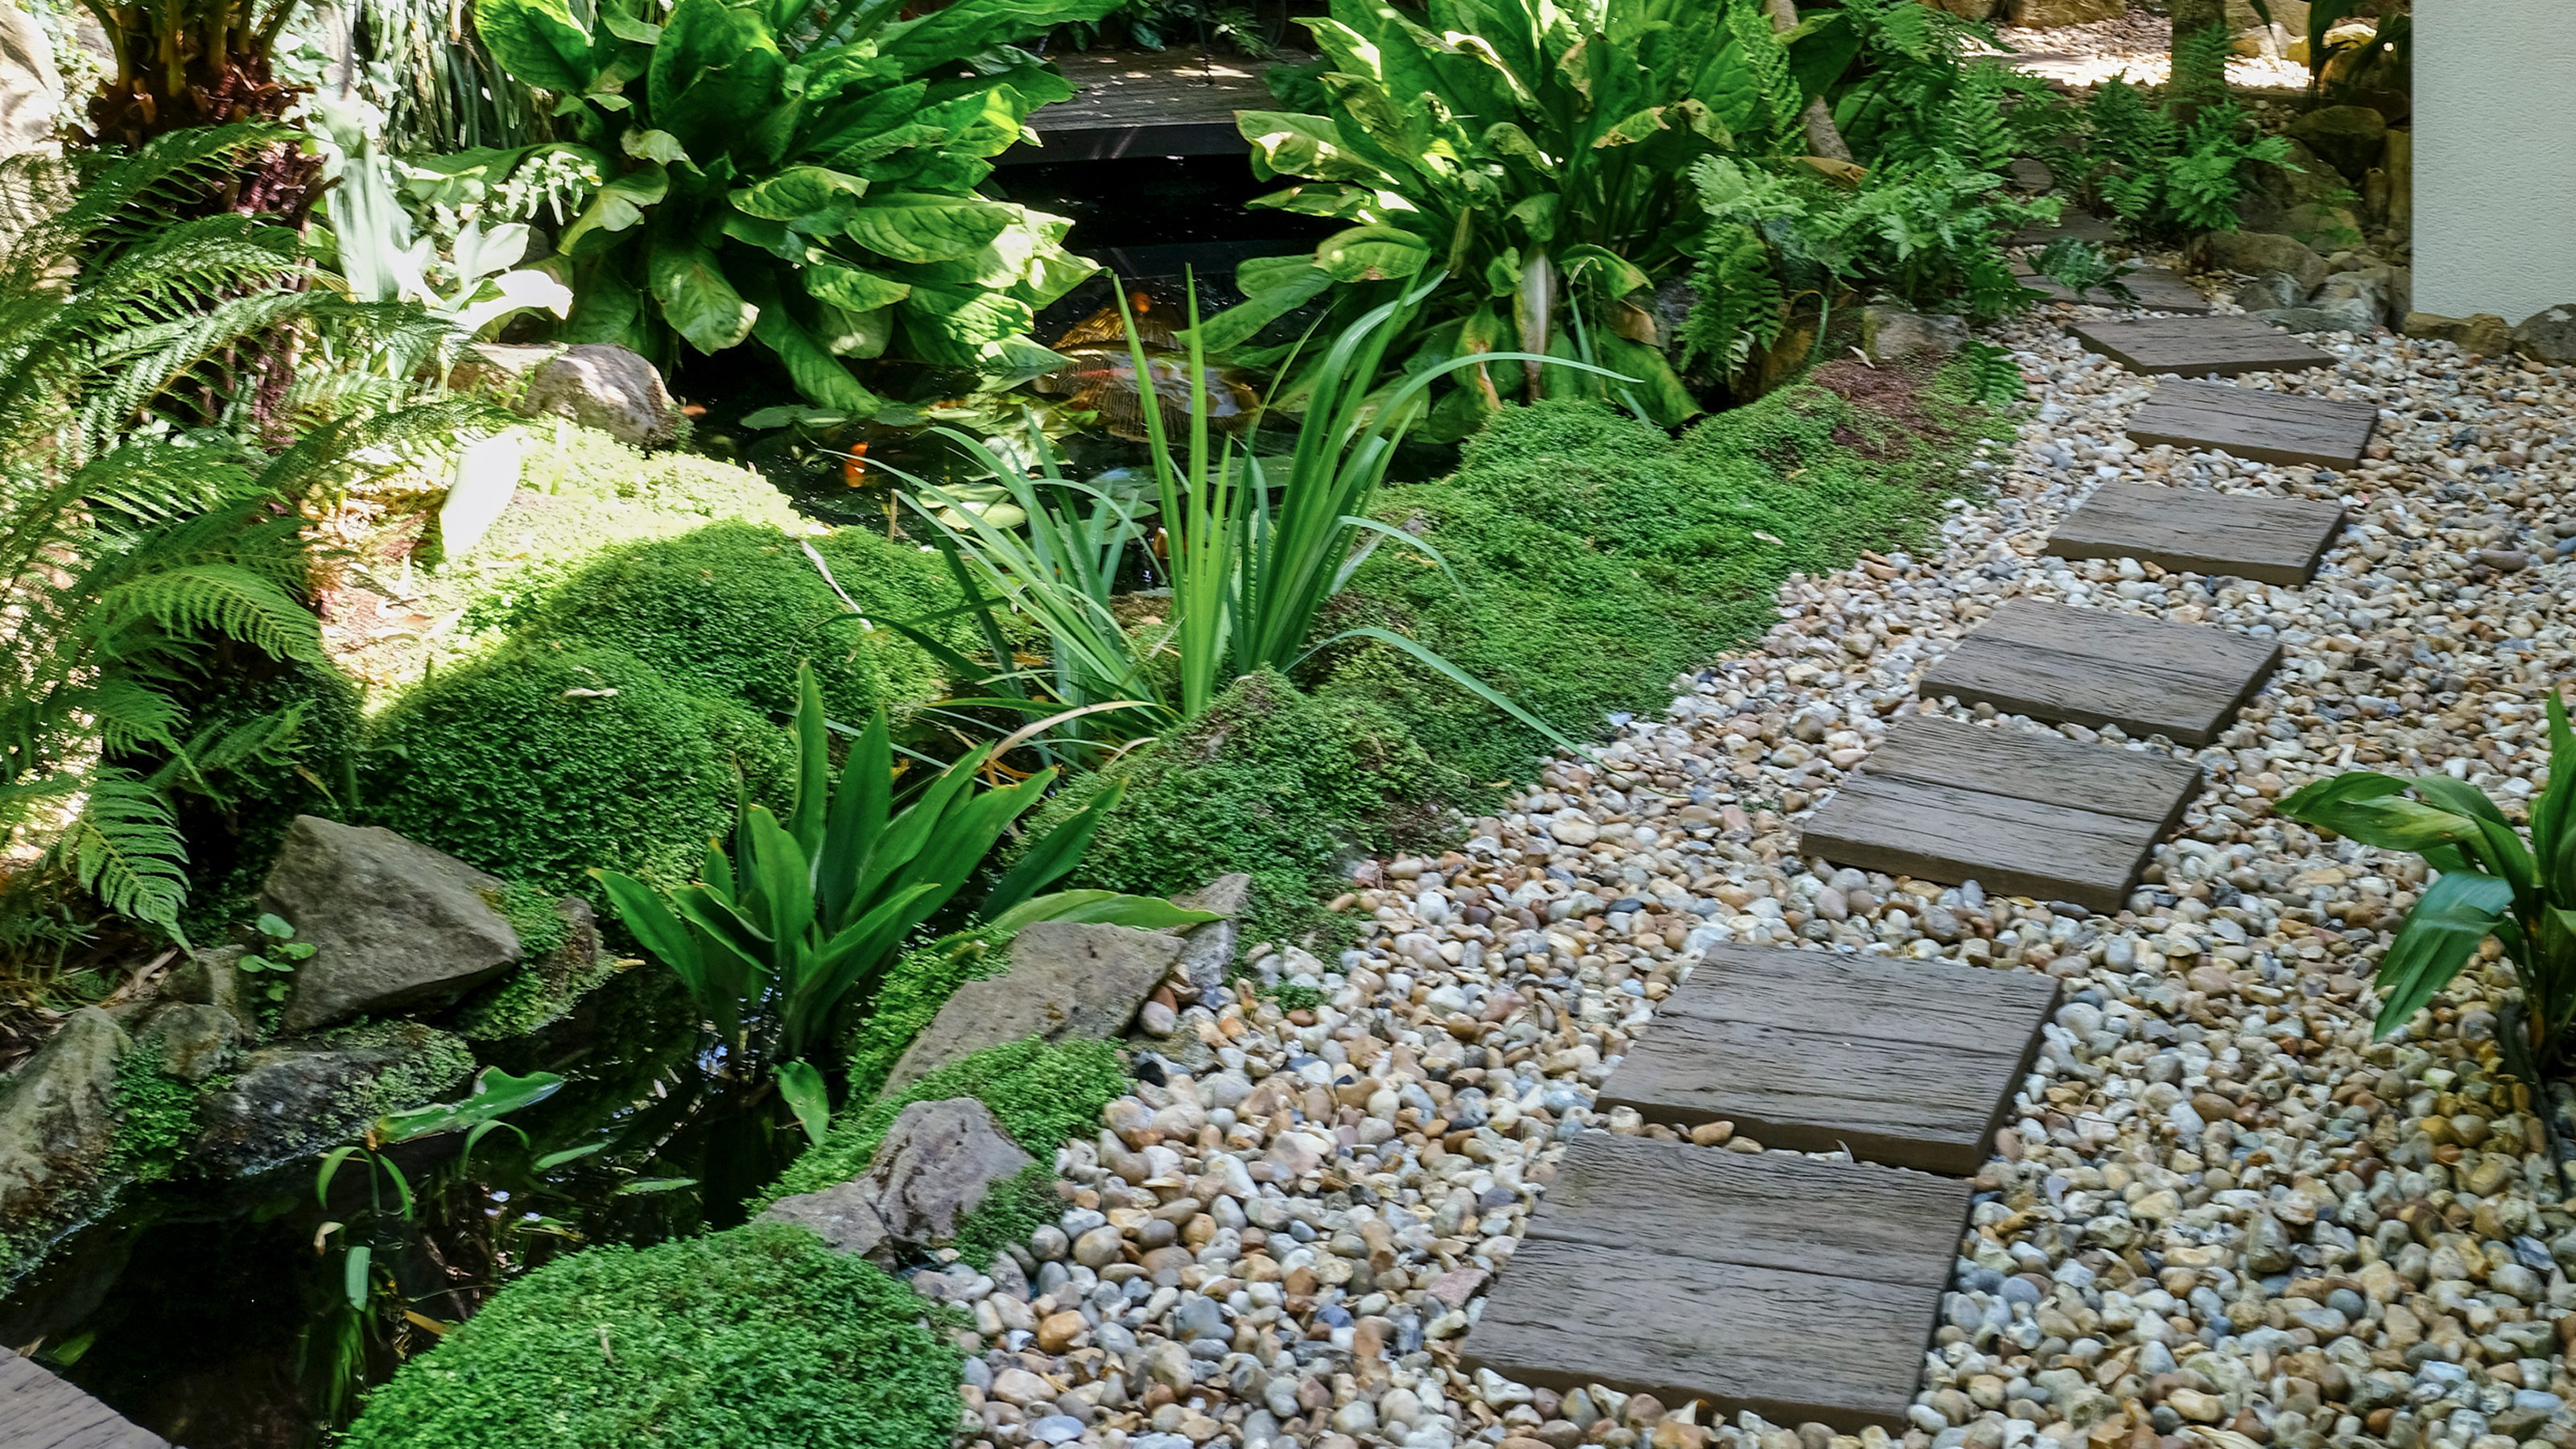
Front garden path ideas to up your kerb appeal
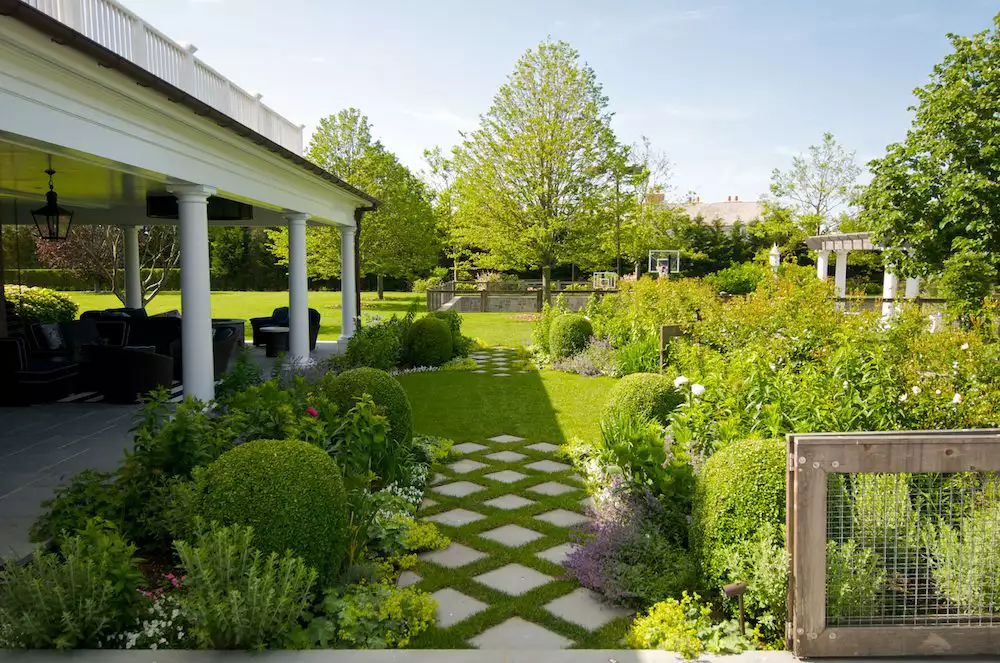
13 Budget-Friendly Paver Ideas to Beautifully Define Your Outdoor Spaces

Front garden ideas – 32 ways to transform your space for the ultimate kerb appeal

Build Your Perfect Backyard Patio in 5 Easy Steps

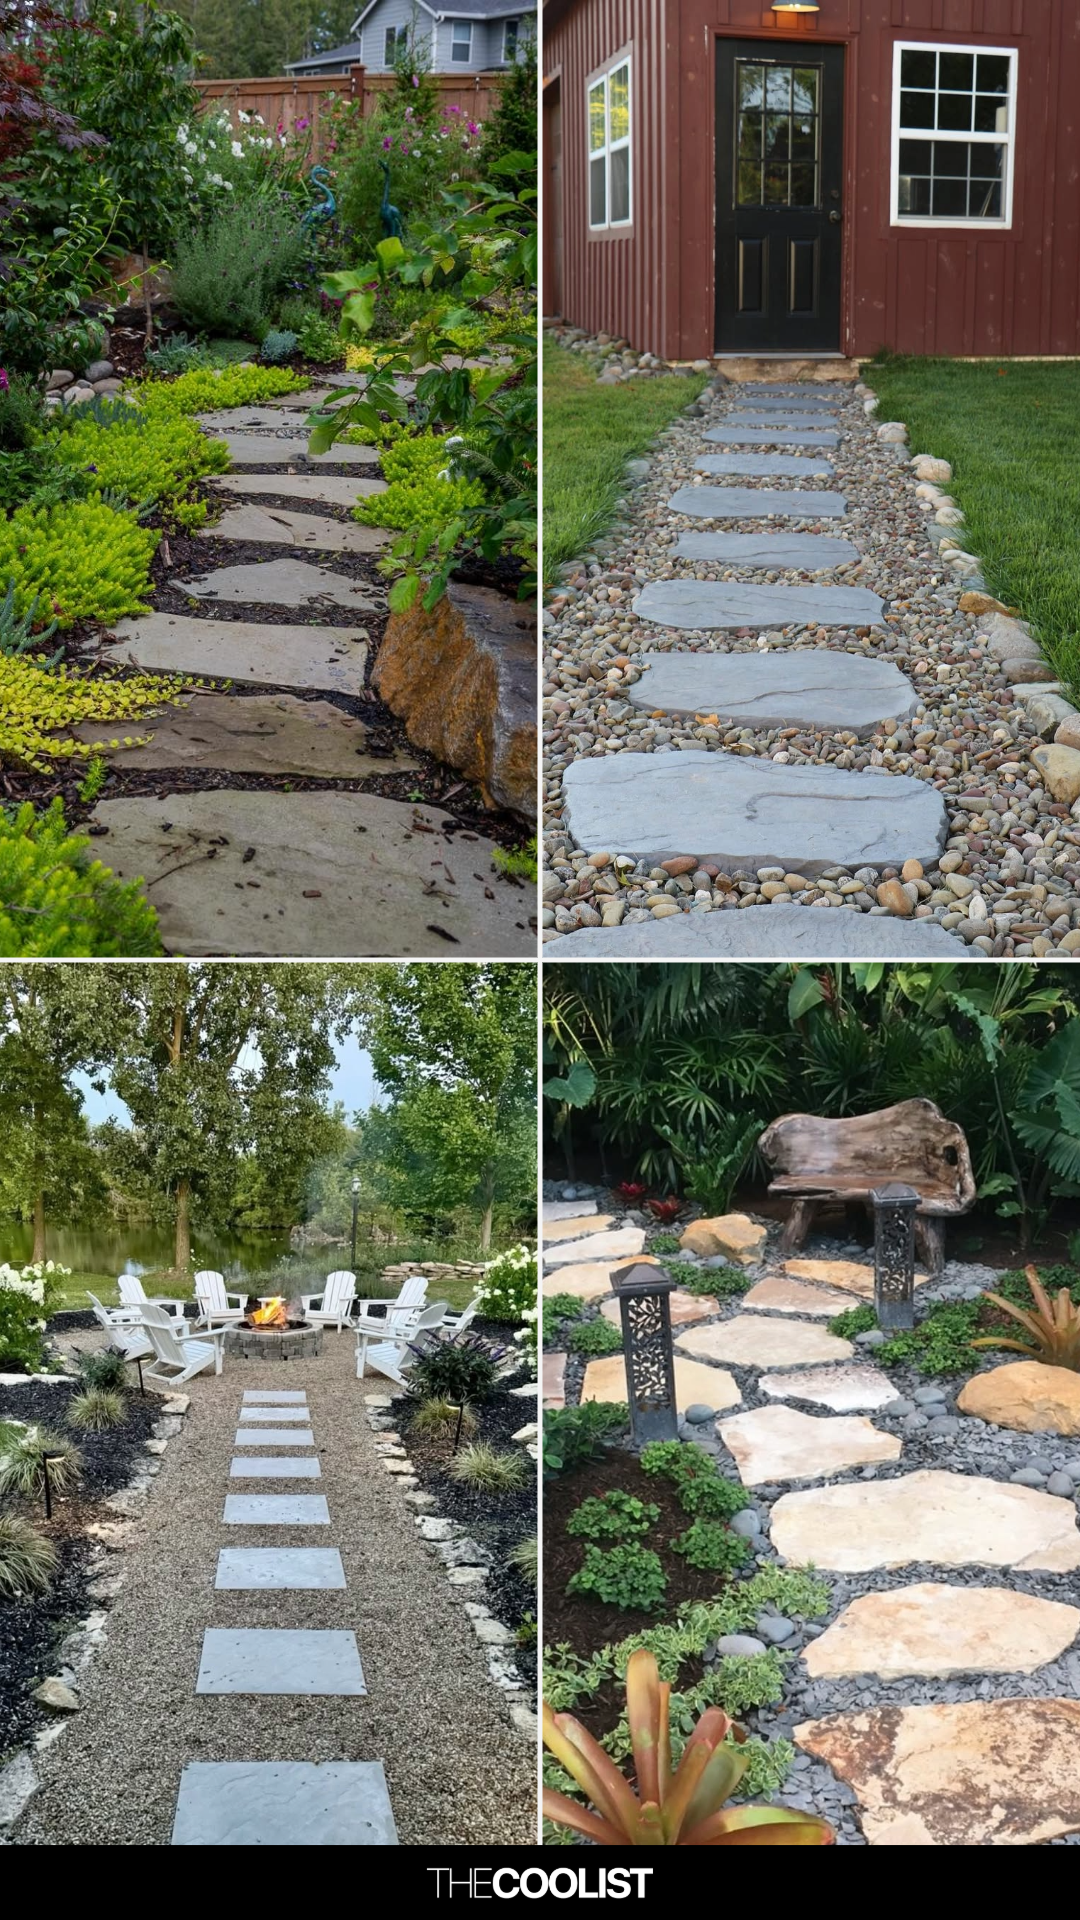
25 Stepping Stone Walkway Ideas in 2025 That Make Front Yards Feel Custom-Curated

Patio edging ideas - 10 ways to create beautiful borders around paved areas
6 Easy Design Ideas to Add Height to a Backyard That Feels Flat
Landscaping with ornamental grasses – 6 inspirational ideas to add height and movement to your yard

5 brilliant budget alternatives to paving slabs that won't cost the earth
L-shaped garden ideas to help you create a visually pleasing space

Brooklyn Garden: From Weeds to Wonderful With Groundworks
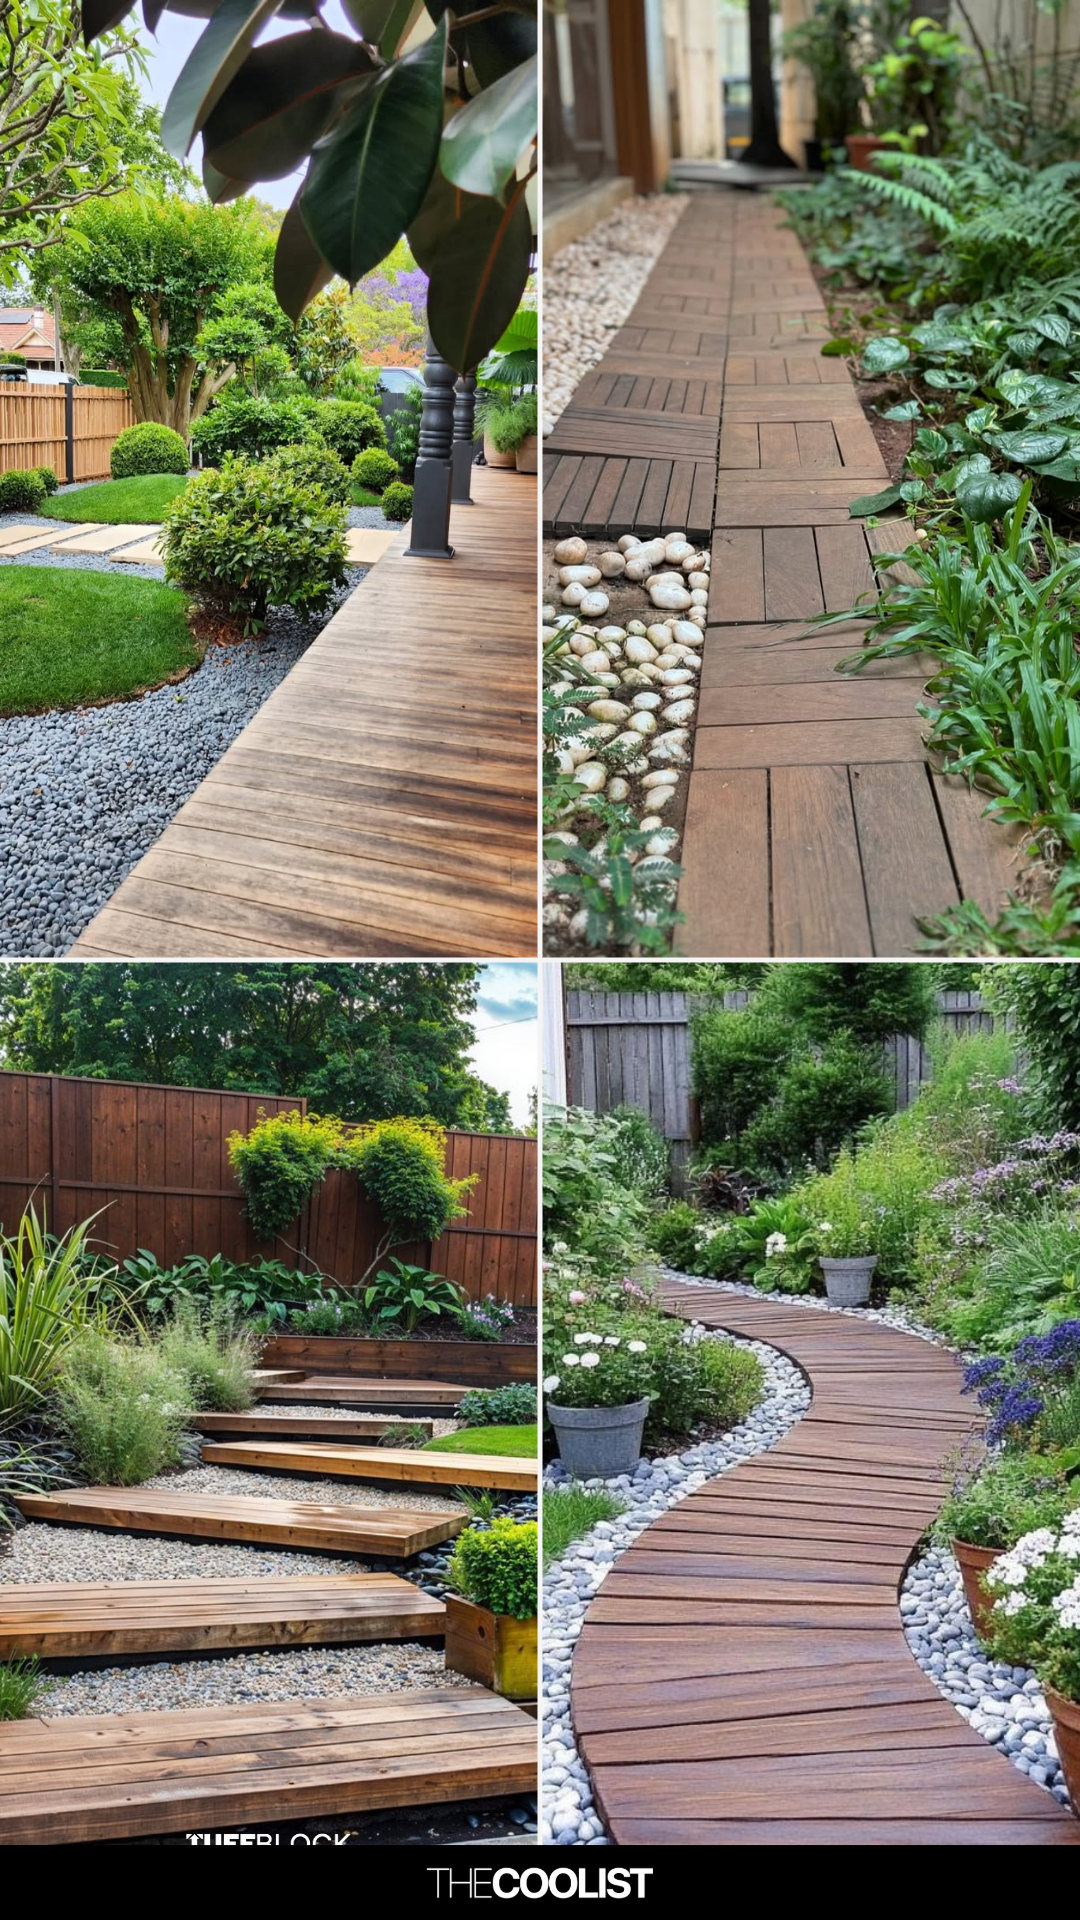
27 Jaw-Dropping Wooden Walkway Design Ideas That’ll Make Your Yard Look Million-Dollar