1/4
When Your Landlord Says Paint Is Out of the Question, Try Contact Paper for Cabinets
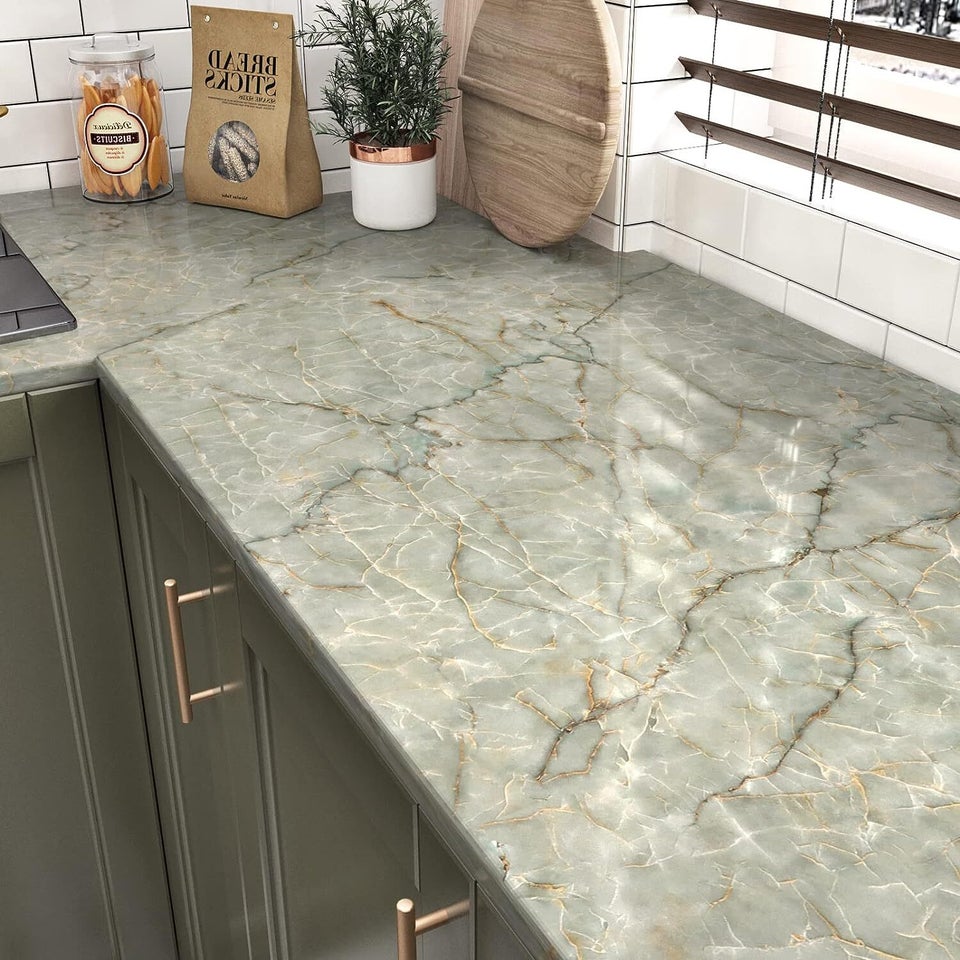
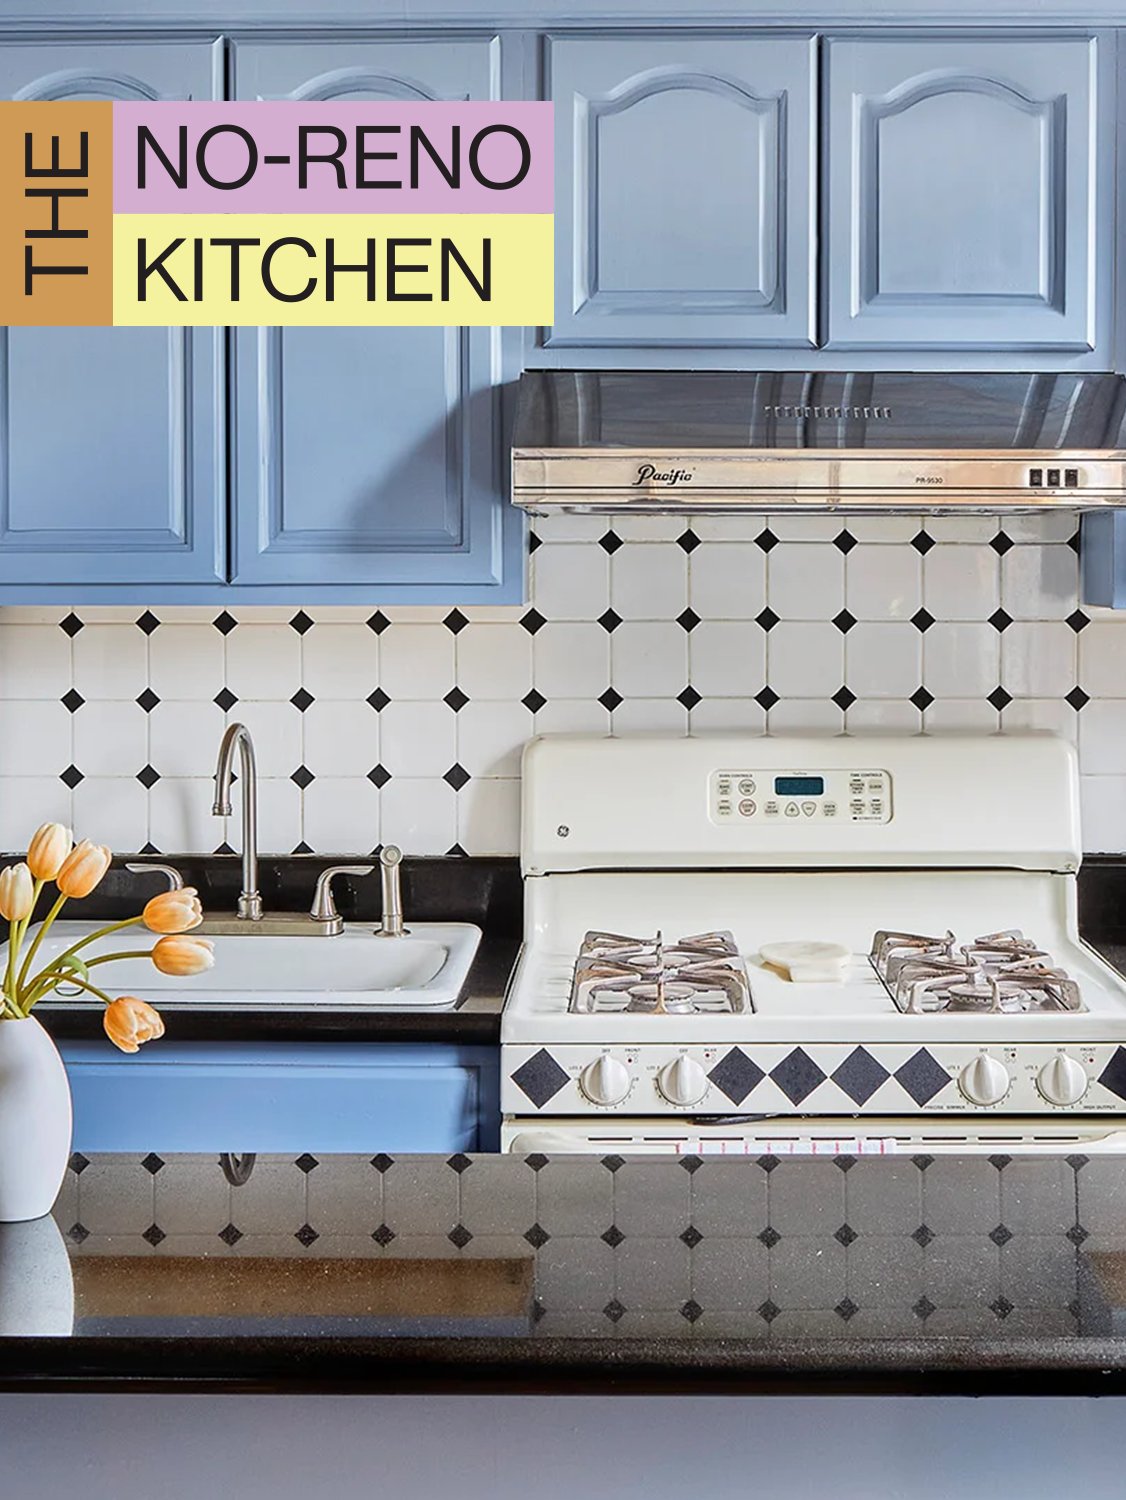
This article details a non-permanent, budget-friendly DIY solution for updating kitchen cabinets in rental properties where painting is prohibited. It highlights a method using contact paper, inspired by Madeline Scalzi, a New York-based creative who successfully transformed her dated wooden cabinets into a vibrant blue finish for less than $15 and a weekend's worth of work. The transformation is part of "The No-Reno Kitchen" series, which focuses on achieving significant changes without major renovations or substantial financial outlay.
The process begins with preparing the cabinet doors. Each door needs to be removed from its hinges, and the screws should be stored carefully. A thorough cleaning with an all-purpose cleaner is essential to ensure a smooth, dust- and dirt-free surface for optimal adhesion of the contact paper. This foundational step is critical for the durability and appearance of the final product.
Next, the article outlines the precise application of the contact paper. It recommends measuring each cabinet front and cutting a piece of contact paper approximately an inch larger on all sides. This excess allows for easier handling and trimming. Working one door at a time is advised to prevent confusion and ensure accuracy. The application technique involves starting from the bottom of the cabinet and smoothing the paper upwards and outwards to prevent air bubbles and ensure firm adhesion. A smoothing tool, preferably foam-edged, is used for this step. A key tip provided is to use a hairdryer to make the contact paper more pliable, especially if it's stiff, as the heat helps melt the adhesive backing, making it easier to manipulate.
The article also addresses the challenge of working with cabinet fronts that have carved panels or grooves. For these, an X-Acto knife is used to make slits along the center of each side of the panel. Fingers are then used to smooth the edges of these slits towards each other, allowing the contact paper to mold into the curves rather than tenting over them. Gaps that inevitably form between these molded sections are managed by cutting thin strips of contact paper, referred to as "fettuccine," to patch them. These strips are applied from the center outwards, again using the smoothing tool to eliminate air bubbles.
Finally, the framing and finishing touches are described. A larger piece of contact paper is cut to cover the frame of the cabinet, extending about an inch beyond on all sides. This excess is then wrapped towards the interior of the cabinet for comprehensive coverage. An X-Acto knife is used to trim any overhanging paper along the outer edges once the door is completed. The article suggests cleaning the knife with dish soap between each door to maintain its effectiveness. Despite the initial trial and error, Scalzi's cabinets have held up well for almost a year, with only minor sagging near the stovetop, which can be easily fixed with a hairdryer. The supplies needed for this project include contact paper, an X-Acto knife with extra blades, a smoothing tool, a hairdryer, and dish soap, all amounting to a minimal cost.
#DIYKitchen #RentalFriendly #CabinetMakeover #ContactPaper #HomeImprovement #BudgetDesign #KitchenRenovation #InteriorDesign #NoRenoKitchen #DIYKitchen #RentalFriendly #CabinetMakeover #ContactPaper #HomeImprovement #BudgetDesign #KitchenRenovation #InteriorDesign #NoRenoKitchen
0 comment in total
 No comments yet
You may also like
Hate your new home's walls? You need a holding paint colour

Interior Paint

How Installing the Right Contact Paper for Cabinets Can Basically Feel Like a Kitchen Reno

Try These Dirt-Hiding Paint Colors in the Messiest Parts of Your House

When Your Client Cares About Paint as Much as Furniture, You Go Big With Opposing Colors


BBB Tip: When to call a professional painter
Is Your Can Of Paint Still Good? Here’s How To Tell According To Experts
16 Renter-Friendly Design Upgrades You Won't Regret Trying


Furniture Paint & Cupboard Paint

These 3 Paint Colors Can Add Up to $2,500 to Your Home's Sale Price, a New Report Says

Interior Wood Paint
Skip Wallpaper in Favor of an (Almost) Free Painter’s Tape DIY
5 Paint Mistakes Your Realtor Wishes You Wouldn't Make
The Best Cabinet Paint of 2026

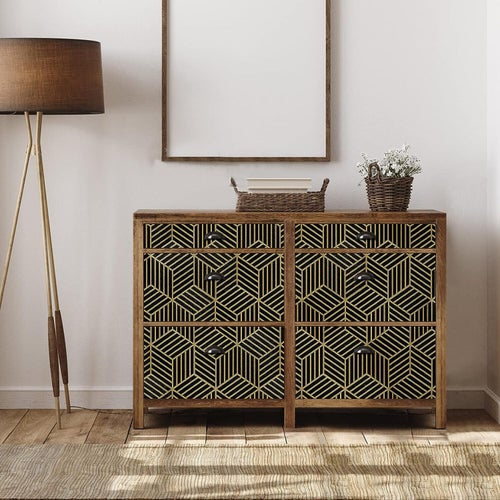
I Customized My Rental With This Easy Old-School Design Hack
Where to buy paint online
How to prolong the life of your paint job, according to painters and decorators

7 totally genius ways to cover ugly carpet in a rental

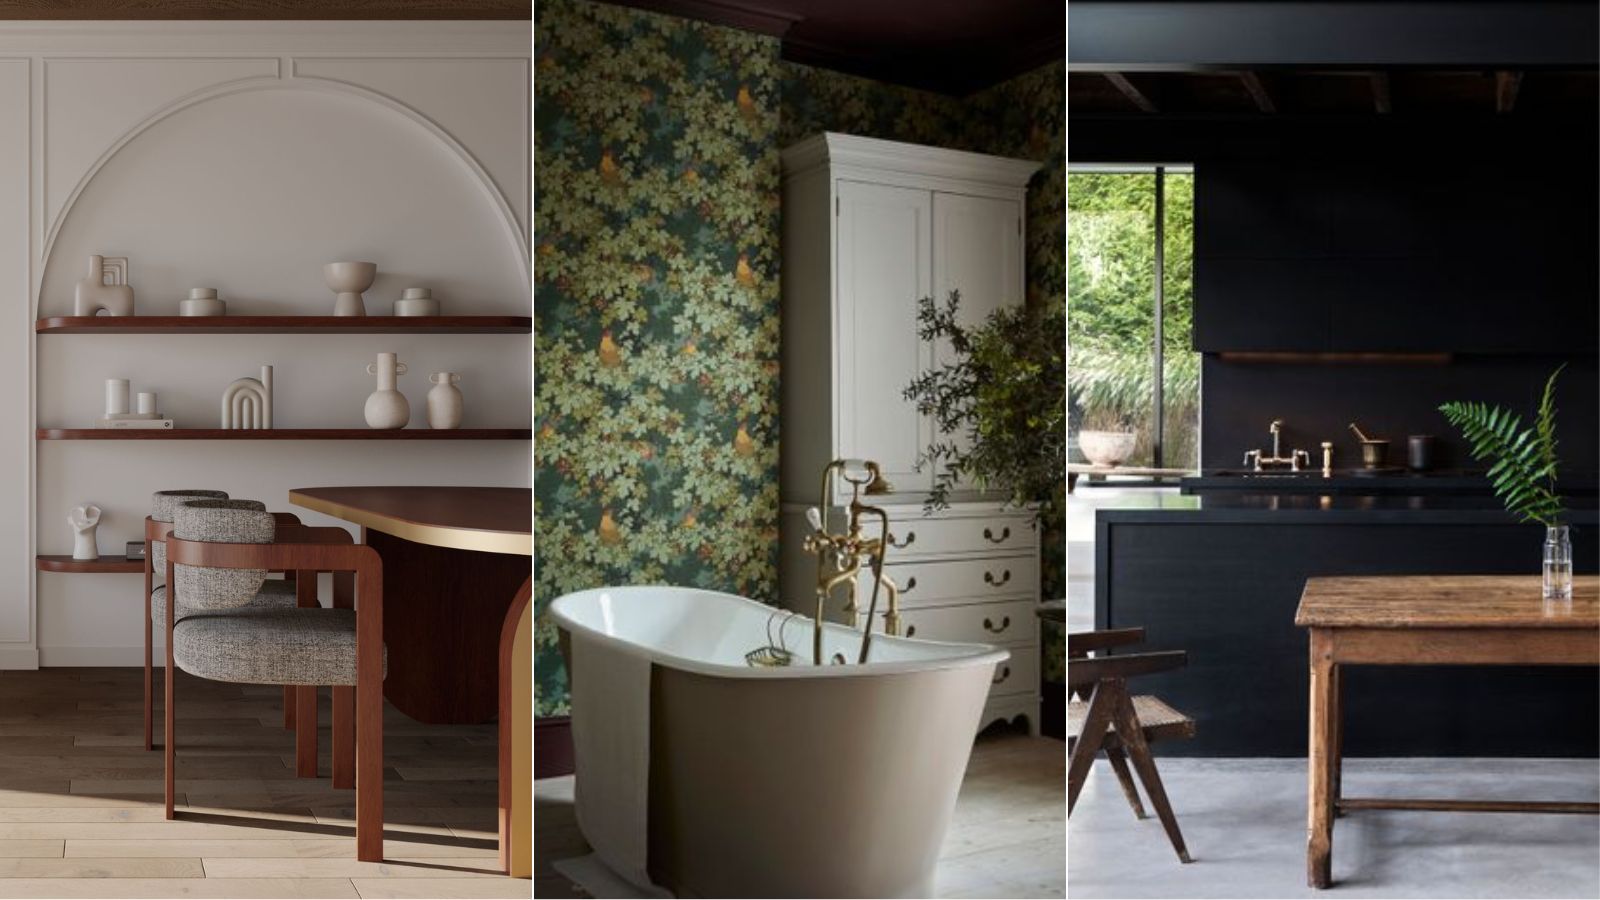
Bold ways to decorate your rental property that are landlord-approved
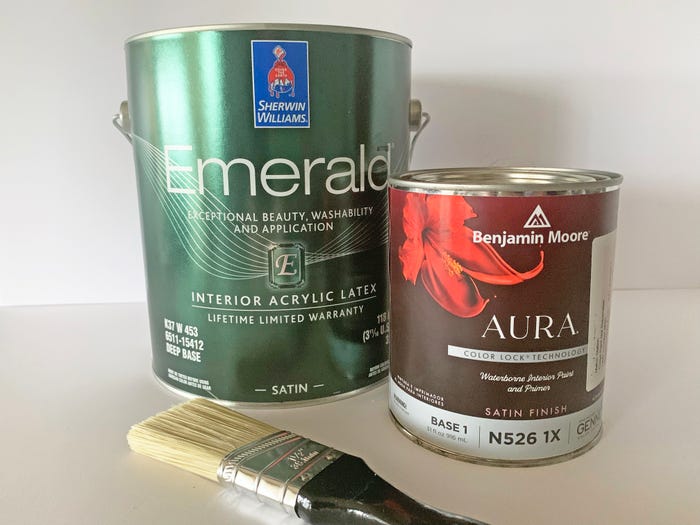
Benjamin Moore vs. Sherwin-Williams: Painting pros explain the differences and why both make great paint