Filling Nail Holes in Stained Trim
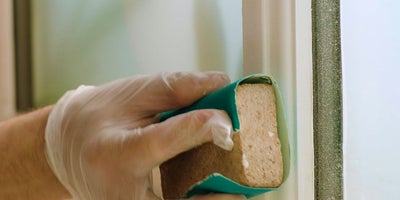
This article addresses the common challenge of effectively concealing nail holes in stained wood trim, specifically white oak, to ensure they are not noticeable. Mike DiBlasi, a painting expert, provides a detailed methodology for achieving a seamless finish. He emphasizes the importance of preparing the wood before filling, recommending that the trim be sanded, stained, and have an initial coat of clear finish applied. This preparatory step is crucial for two main reasons: it allows for the excess filler to be easily wiped away without staining the bare wood, and it helps the filler integrate more naturally into the wood's overall appearance.
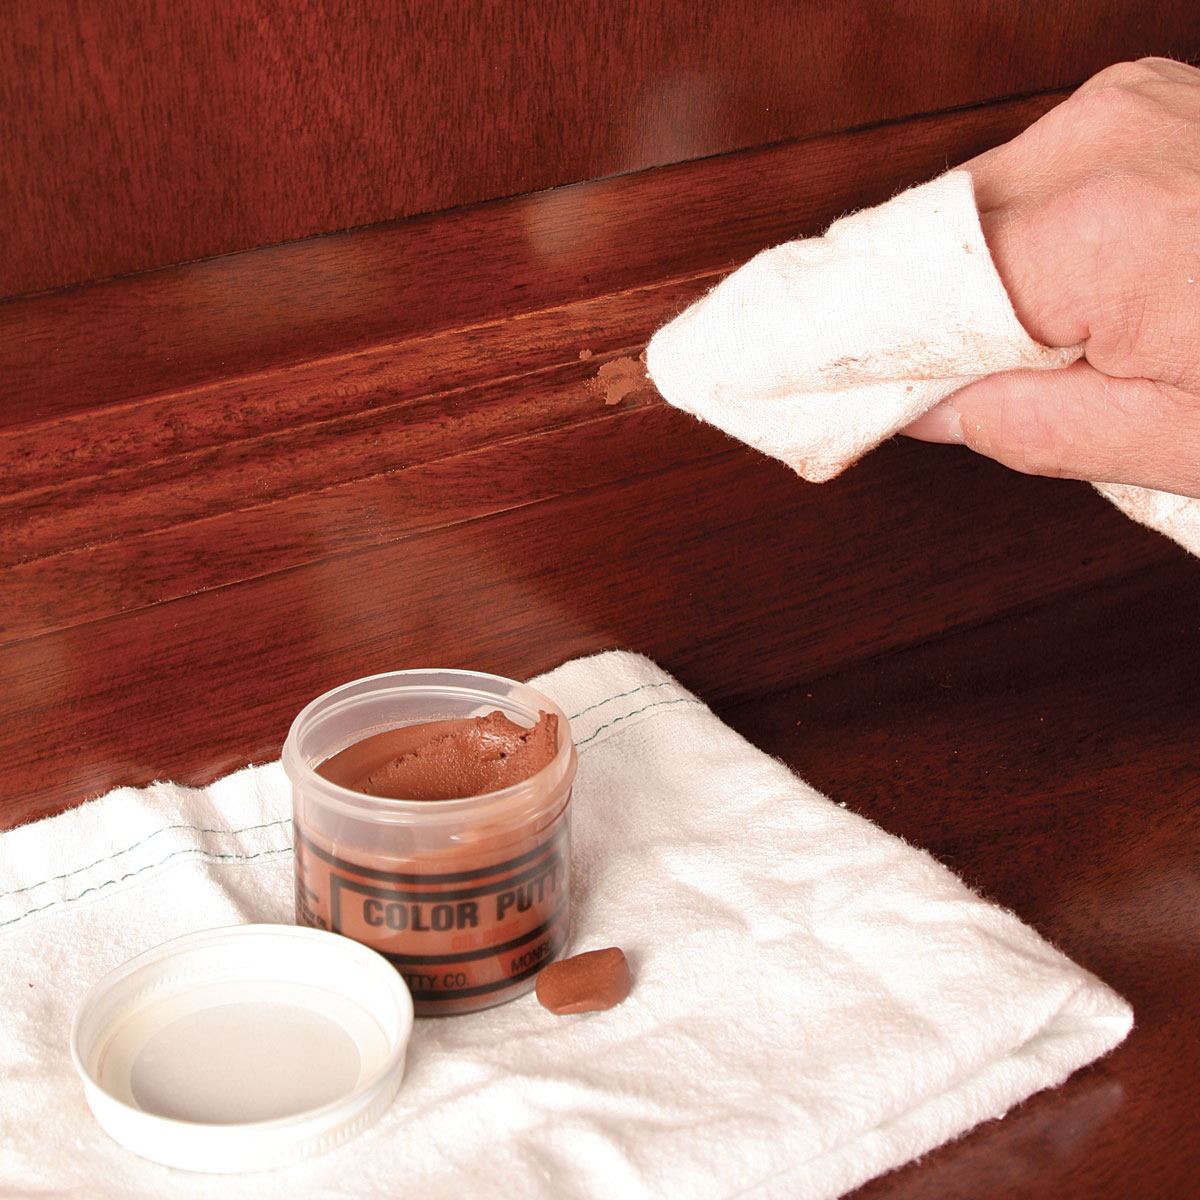
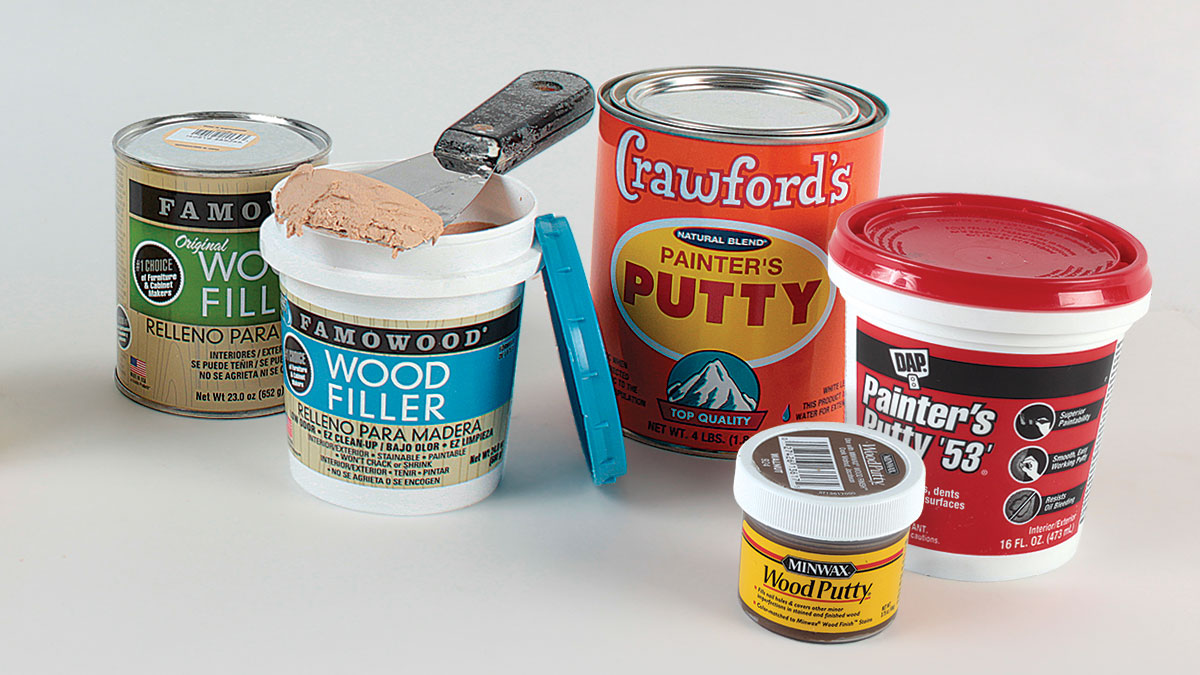
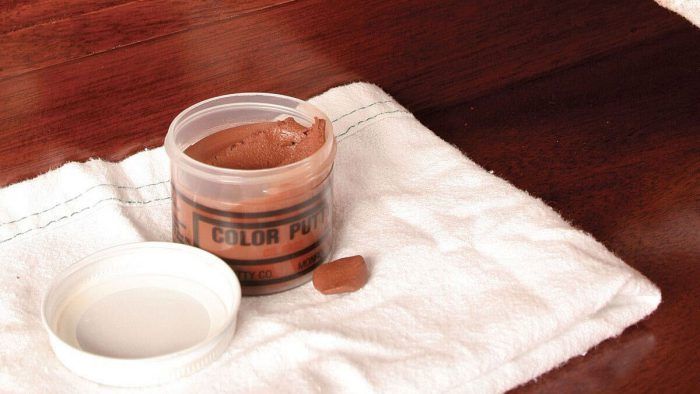
DiBlasi recommends using Crawford’s Painter’s Putty, a linseed oil-based product, for filling nail holes. The key advantage of this putty is its tintability. DiBlasi advises custom-mixing universal colorant tubes, which he sources from art-supply stores, to precisely match the varying shades present in the wood grain. This often necessitates preparing several differently shaded fillers for a single project to accommodate the natural variations in the wood. He also provides a practical tip for maintaining the putty's workability: if the mixture becomes too oily and sticky from the tinting process, cornstarch can be added to restore its optimal consistency.
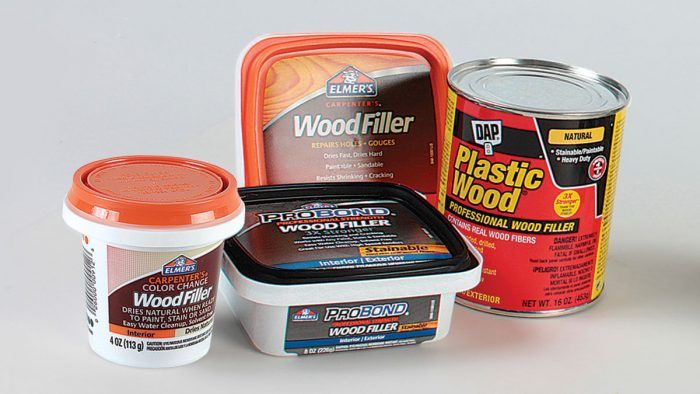
While oil-based putties are preferred for their tinting capabilities and superior tooling, DiBlasi acknowledges the viability of off-the-shelf fillers as an alternative. These fillers, though drying faster and not tooling as smoothly, are available in a reasonable range of colors and can be combined to achieve custom matches. He notes that the same oil-based colorants used with linseed oil putty are compatible with oil-based off-the-shelf fillers. For alcohol- or water-based fillers, aniline dyes and trans tints are suggested for color matching.
The application sequence is critical for a high-quality finish. After the initial clear finish coat, the customized filler is applied. Once the filler has dried, the final coats of clear finish are applied. This final step ensures a uniform sheen across the entire trim and helps the filled areas blend imperceptibly with the surrounding stained wood. The expert guidance aims to assist homeowners and professionals in achieving a polished, high-end look for stained wood moldings, particularly when addressing nail hole concealment.
#HomeImprovement #WoodFinishing #NailHoleFilling #StainedTrim #DIYHome #PaintingTips #WoodPutty #InteriorDesign #WhiteOak #HomeImprovement #WoodFinishing #NailHoleFilling #StainedTrim #DIYHome #PaintingTips #WoodPutty #InteriorDesign #WhiteOak
0 comment in total
 No comments yet
You may also like
Nails


Got chipped wood veneer furniture on your hands? 3 easy ways to restore it to its former glory

Fillers, Putty & Caulk


How to Nail This Tricky But Surprisingly Trendy Farrow & Ball Paint Color


18 Things You Never Knew You Could Fix with Nail Polish


“Wellness” Nails To Navy Blue: 12 Nail Trends That You Need To Try


Successful Staining

How to Prepare Interior Woodwork For Painting

Roofing Nails
Everything You Need to Know About Rocking Navy-Blue Nails

How to repair a wall or ceiling

Fence Nails | Fence Staples

Yes, You Can Reuse Old Nails—Here Are 7 Ideas Worth Trying This Weekend

Deciding on Wood Fillers


Navy Blue Nails: The chicest manicure trend you need to try now

Acid Stain finish by Ideal Work

In Depth: Trim & Moulding


These Are the 14 Prettiest Pastel Nail Colors, Hands Down


Periwinkle Is The Prettiest Addition To Your Nail Polish Collection

How to Bring the Milky Nail Trend to Your Decor for a Glowing, Iridescent Space