1/7
How to Install a Paver Patio Base
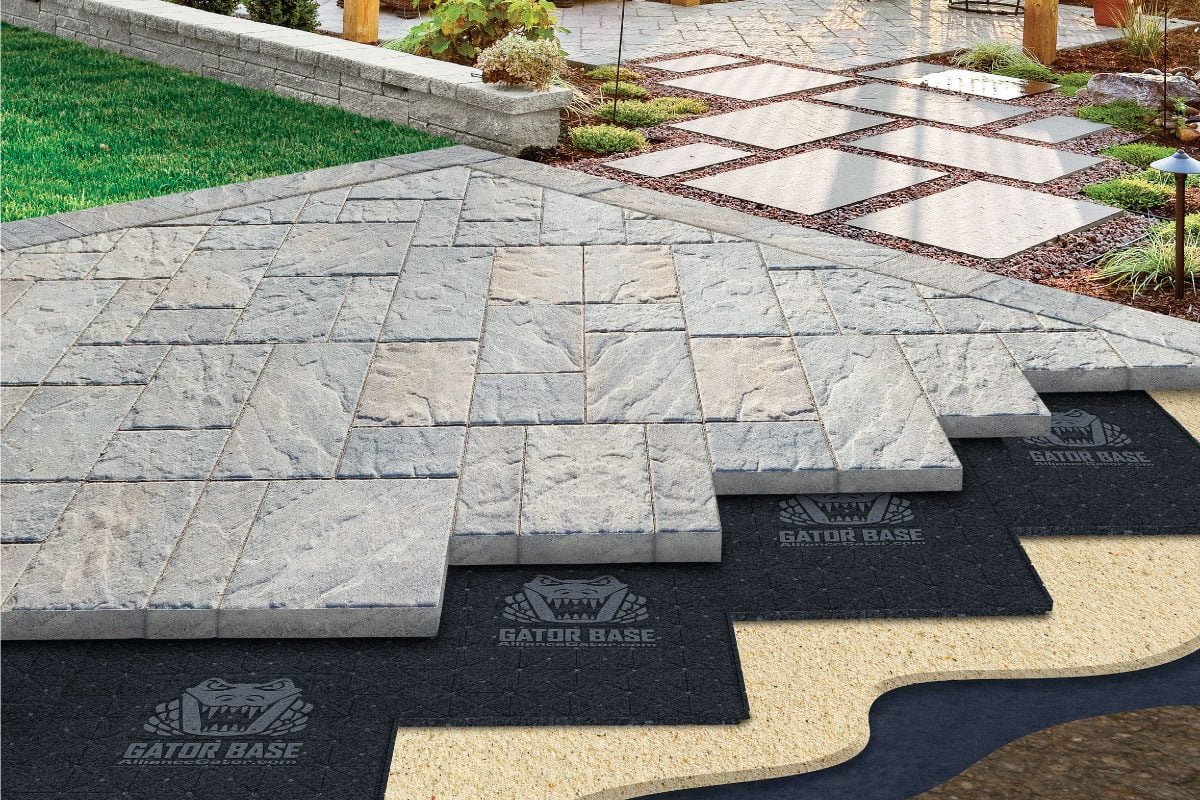
This article outlines the process of installing a paver patio base using plastic paver panels, offering an alternative to traditional gravel bases. It details the benefits, disadvantages, and common pitfalls associated with this method. A traditional paver patio base typically requires excavating and hauling large quantities of dirt and gravel. In contrast, plastic paver base panels, made from lightweight high-density polypropylene, distribute weight more widely, reducing pressure on the soil and preventing pavers from becoming uneven. These panels also include built-in channels and holes for water drainage to the underlying sand layer. Independent engineering studies have affirmed their equivalence to compacted gravel bases for load distribution and their superiority in thermal resistance.
Plastic paver patio bases are particularly suitable for areas where heavy equipment access is challenging. However, they are not recommended for areas subject to vehicular traffic or in extreme climates. The choice between plastic and gravel bases depends on specific needs, including cost and environmental conditions. When selecting plastic panels, it is crucial to choose those with ample drainage capacity, as some foam panels have limited drainage, potentially affecting joint material durability. The benefits of plastic paver bases include less excavation, easier handling, elimination of heavy gravel fill, time savings, reduced costs for digging and hauling, prevention of landscaping damage by excavation equipment, and suitability for limited-access areas. Additionally, these plastic bases provide stability and drainage, contributing to the longevity of the paver project.
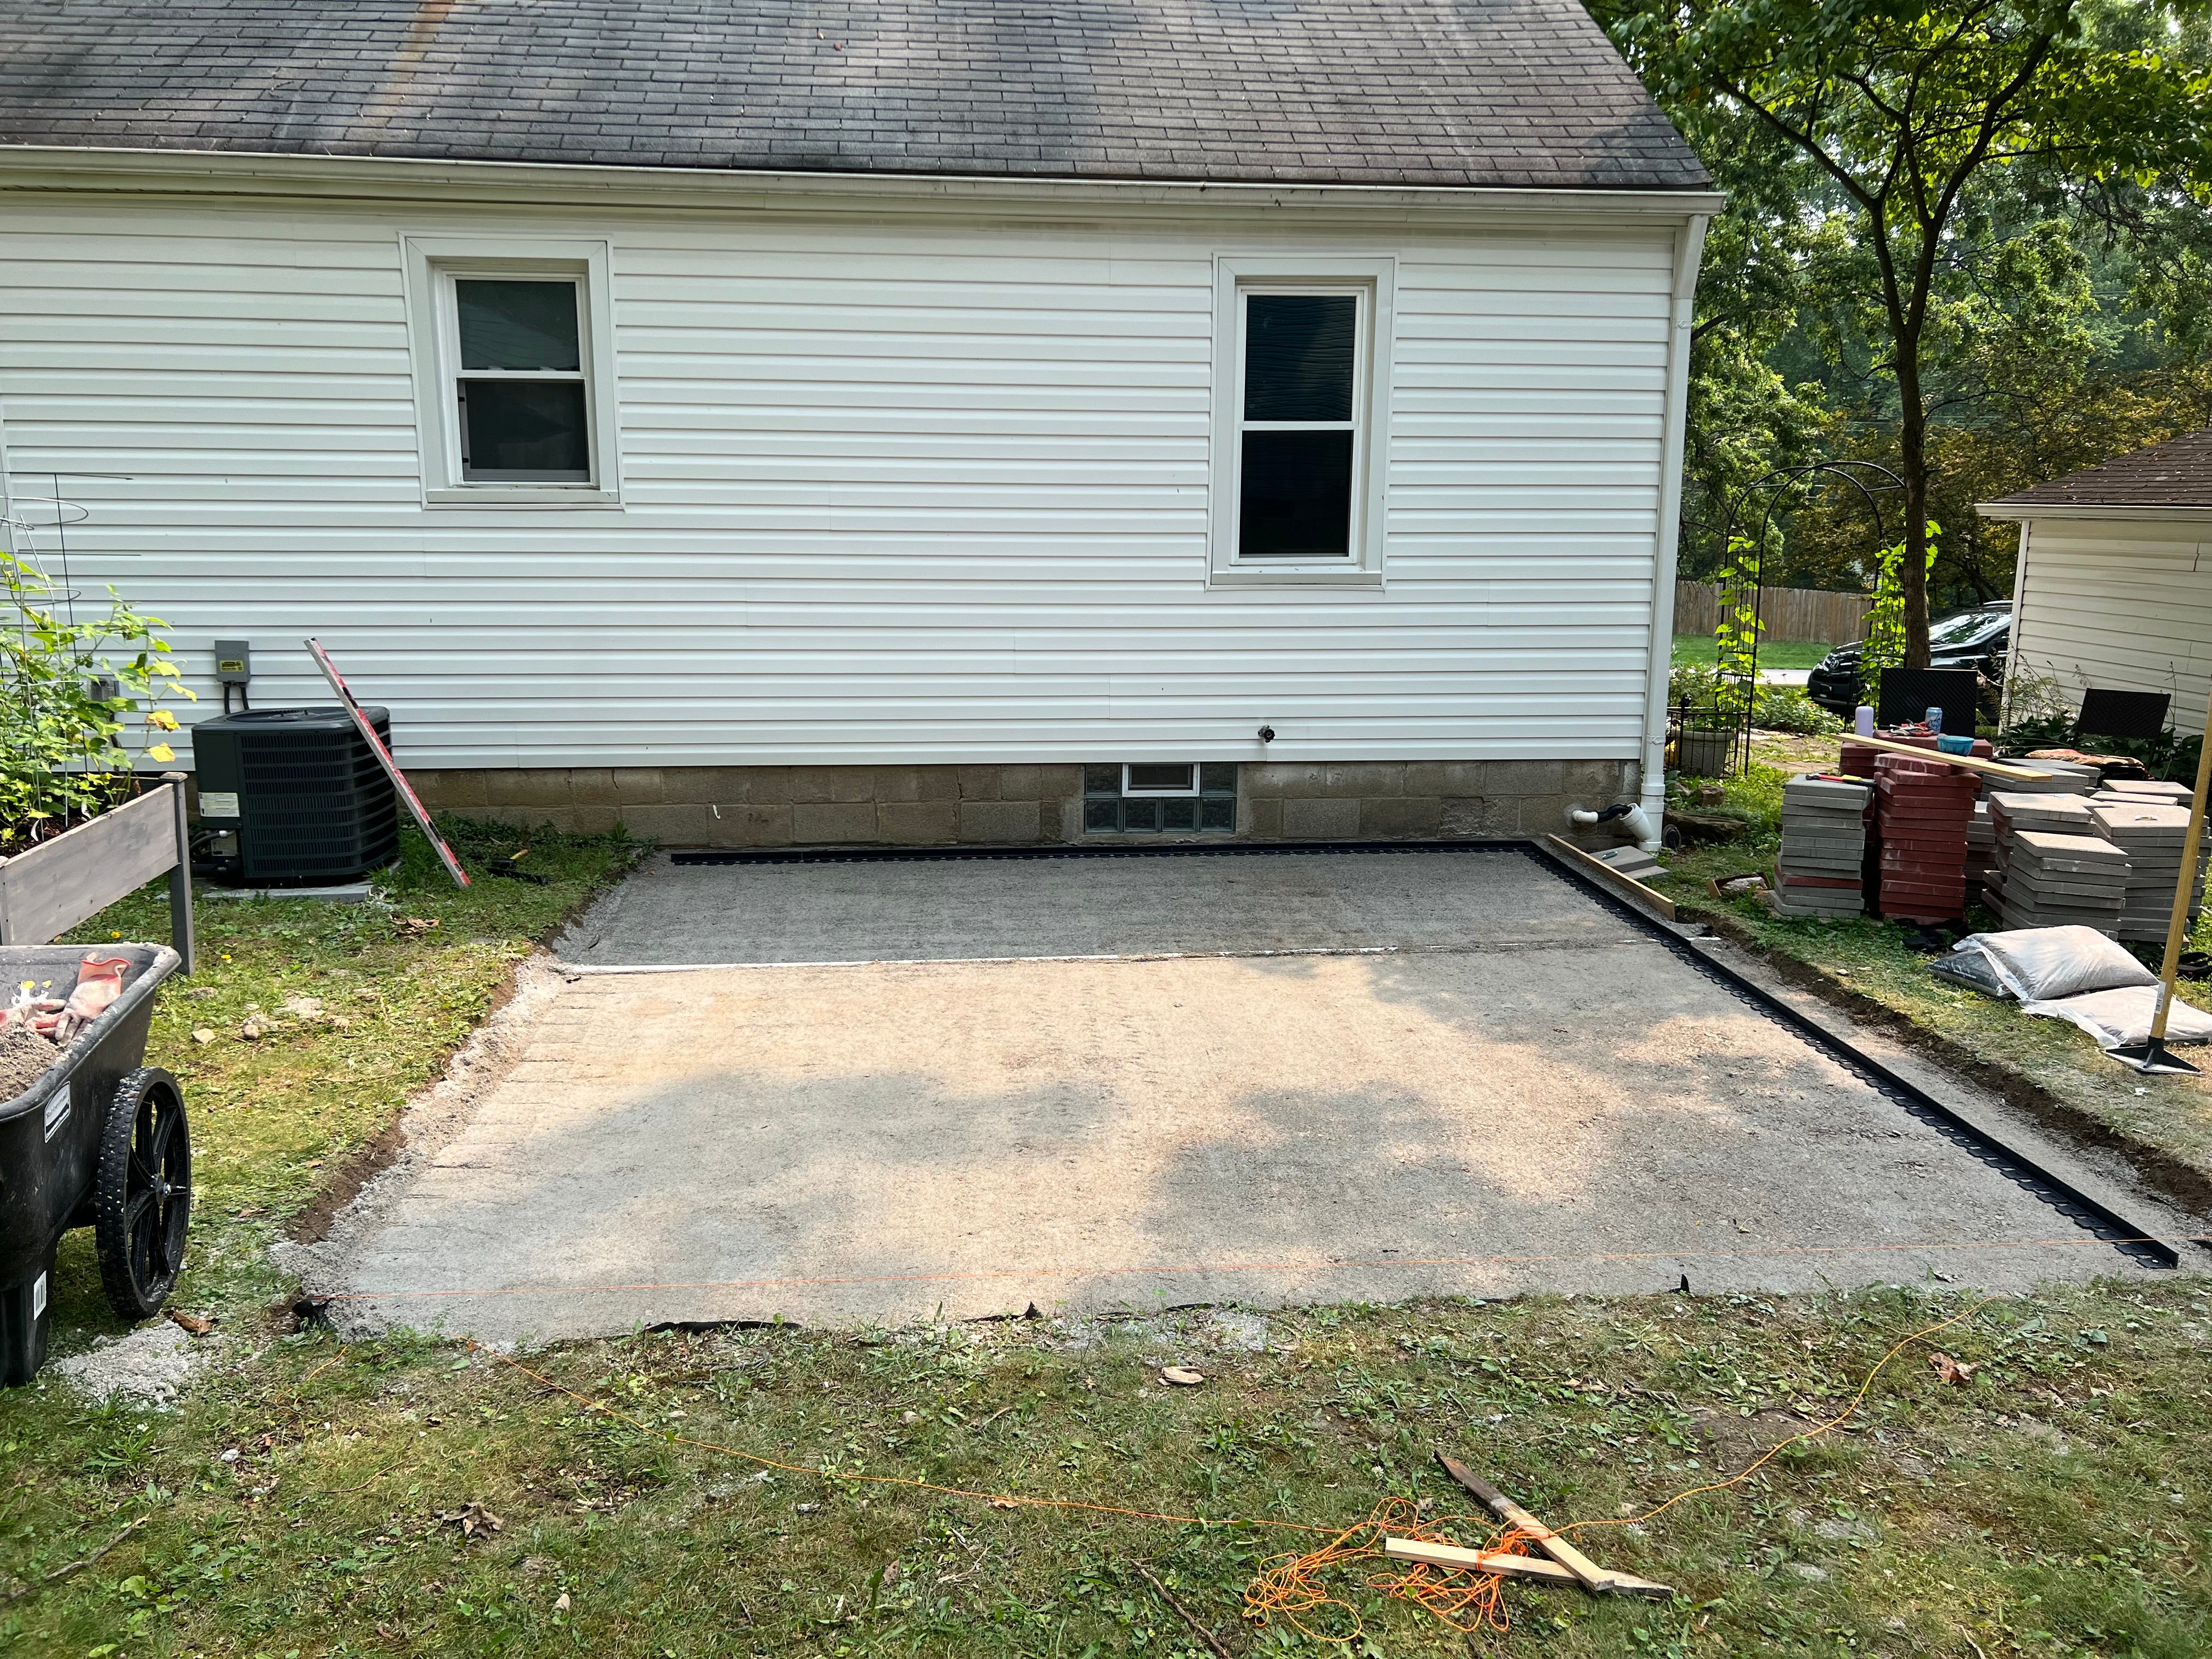
Conversely, plastic paver bases can be more expensive than gravel and may not be universally available. They are unsuitable for areas with extreme temperatures, ranging beyond -20°F to 140°F, and can cause the patio to be hotter in summer or ice up more easily in winter due to their insulating properties. Common installation errors include insufficient digging depth, typically requiring 4.5 inches for plastic paver bases (including bedding sand), improper drainage planning (a slope of 1 inch per 4 feet is recommended), failure to use edge restraints, skimping on base materials leading to instability, using plastic sheeting under the patio which can trap water, rushing the leveling process, and not adequately compacting the subgrade soil. Proper compaction and a solid base are essential for extending the patio's lifespan by 10 to 20 years.
The article also provides guidance on when to consult a professional, particularly for large, complex, raised, permeable, or poolside patios, or those using epoxy joint sand. For smaller patios (100 to 200 square feet), DIY installation is feasible with thorough self-education and a willingness to perform future repairs if necessary. The necessary tools for installation include a broom, concrete trowel, hammer, tin snips, level, string line, mason's saw or splitter, marking tools, plate compactor or hand tamper, rake, shovels, rubber mallet, screed rails, stakes, tape measure, utility knife, and a wheelbarrow. Required materials include edge restraints or concrete wet sand, geo-textile or landscape fabric, pavers, plastic paver base panels, and sand for the bedding layer.
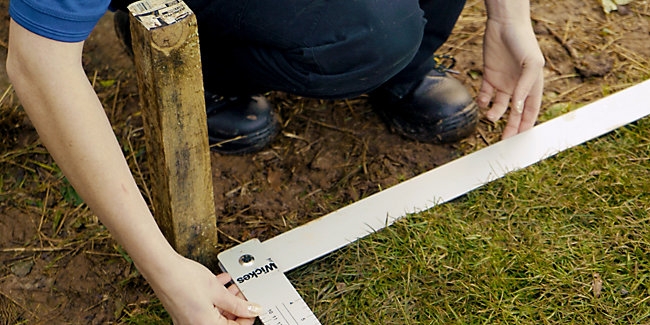
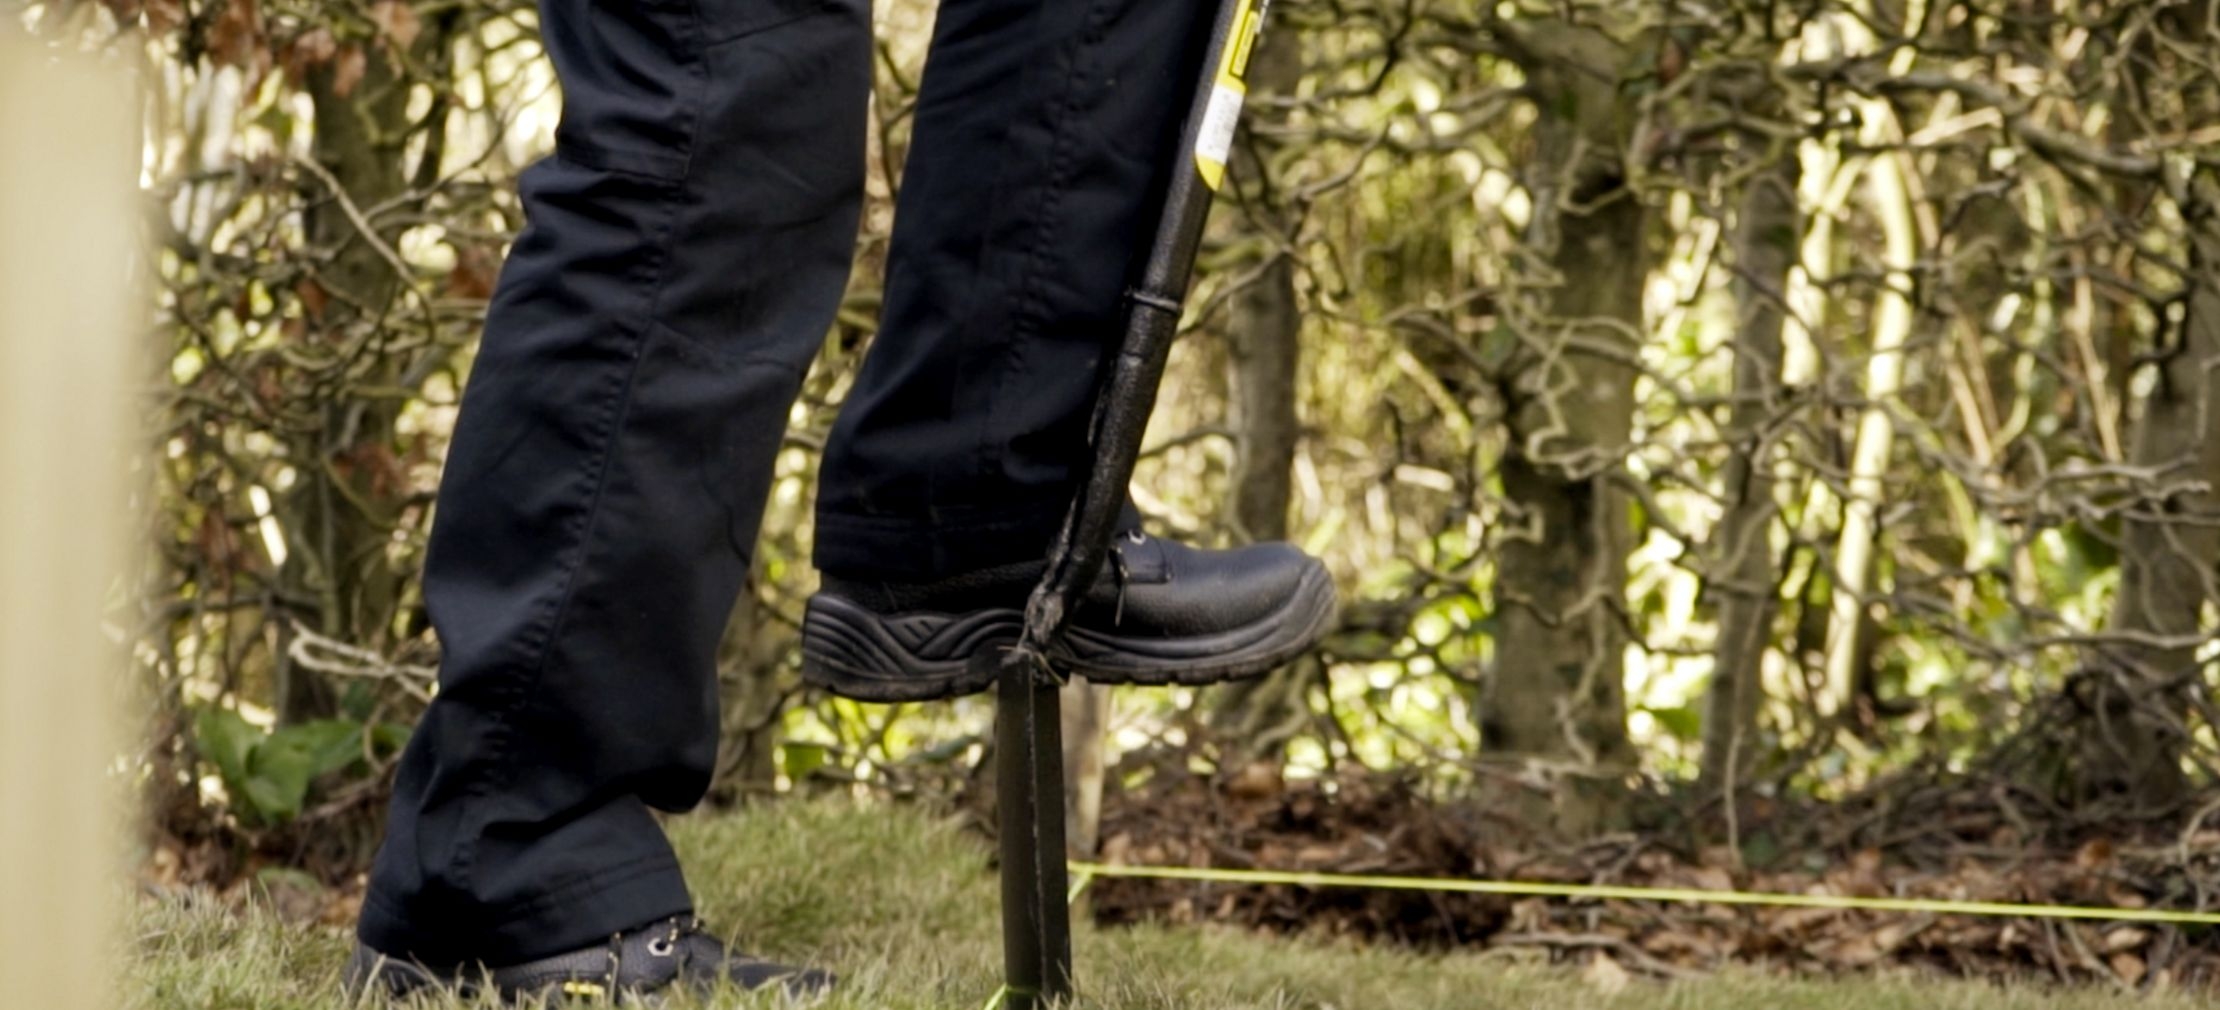
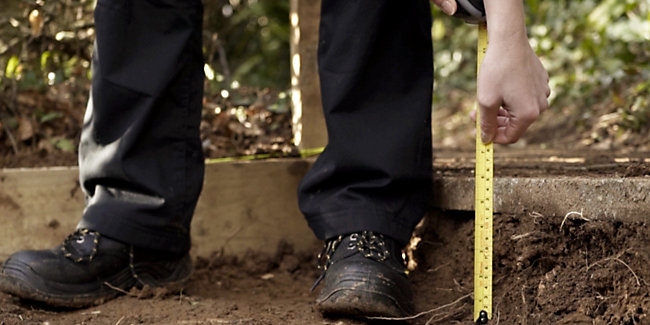
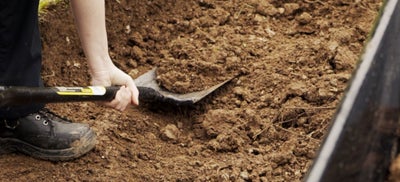
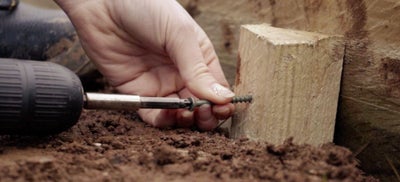
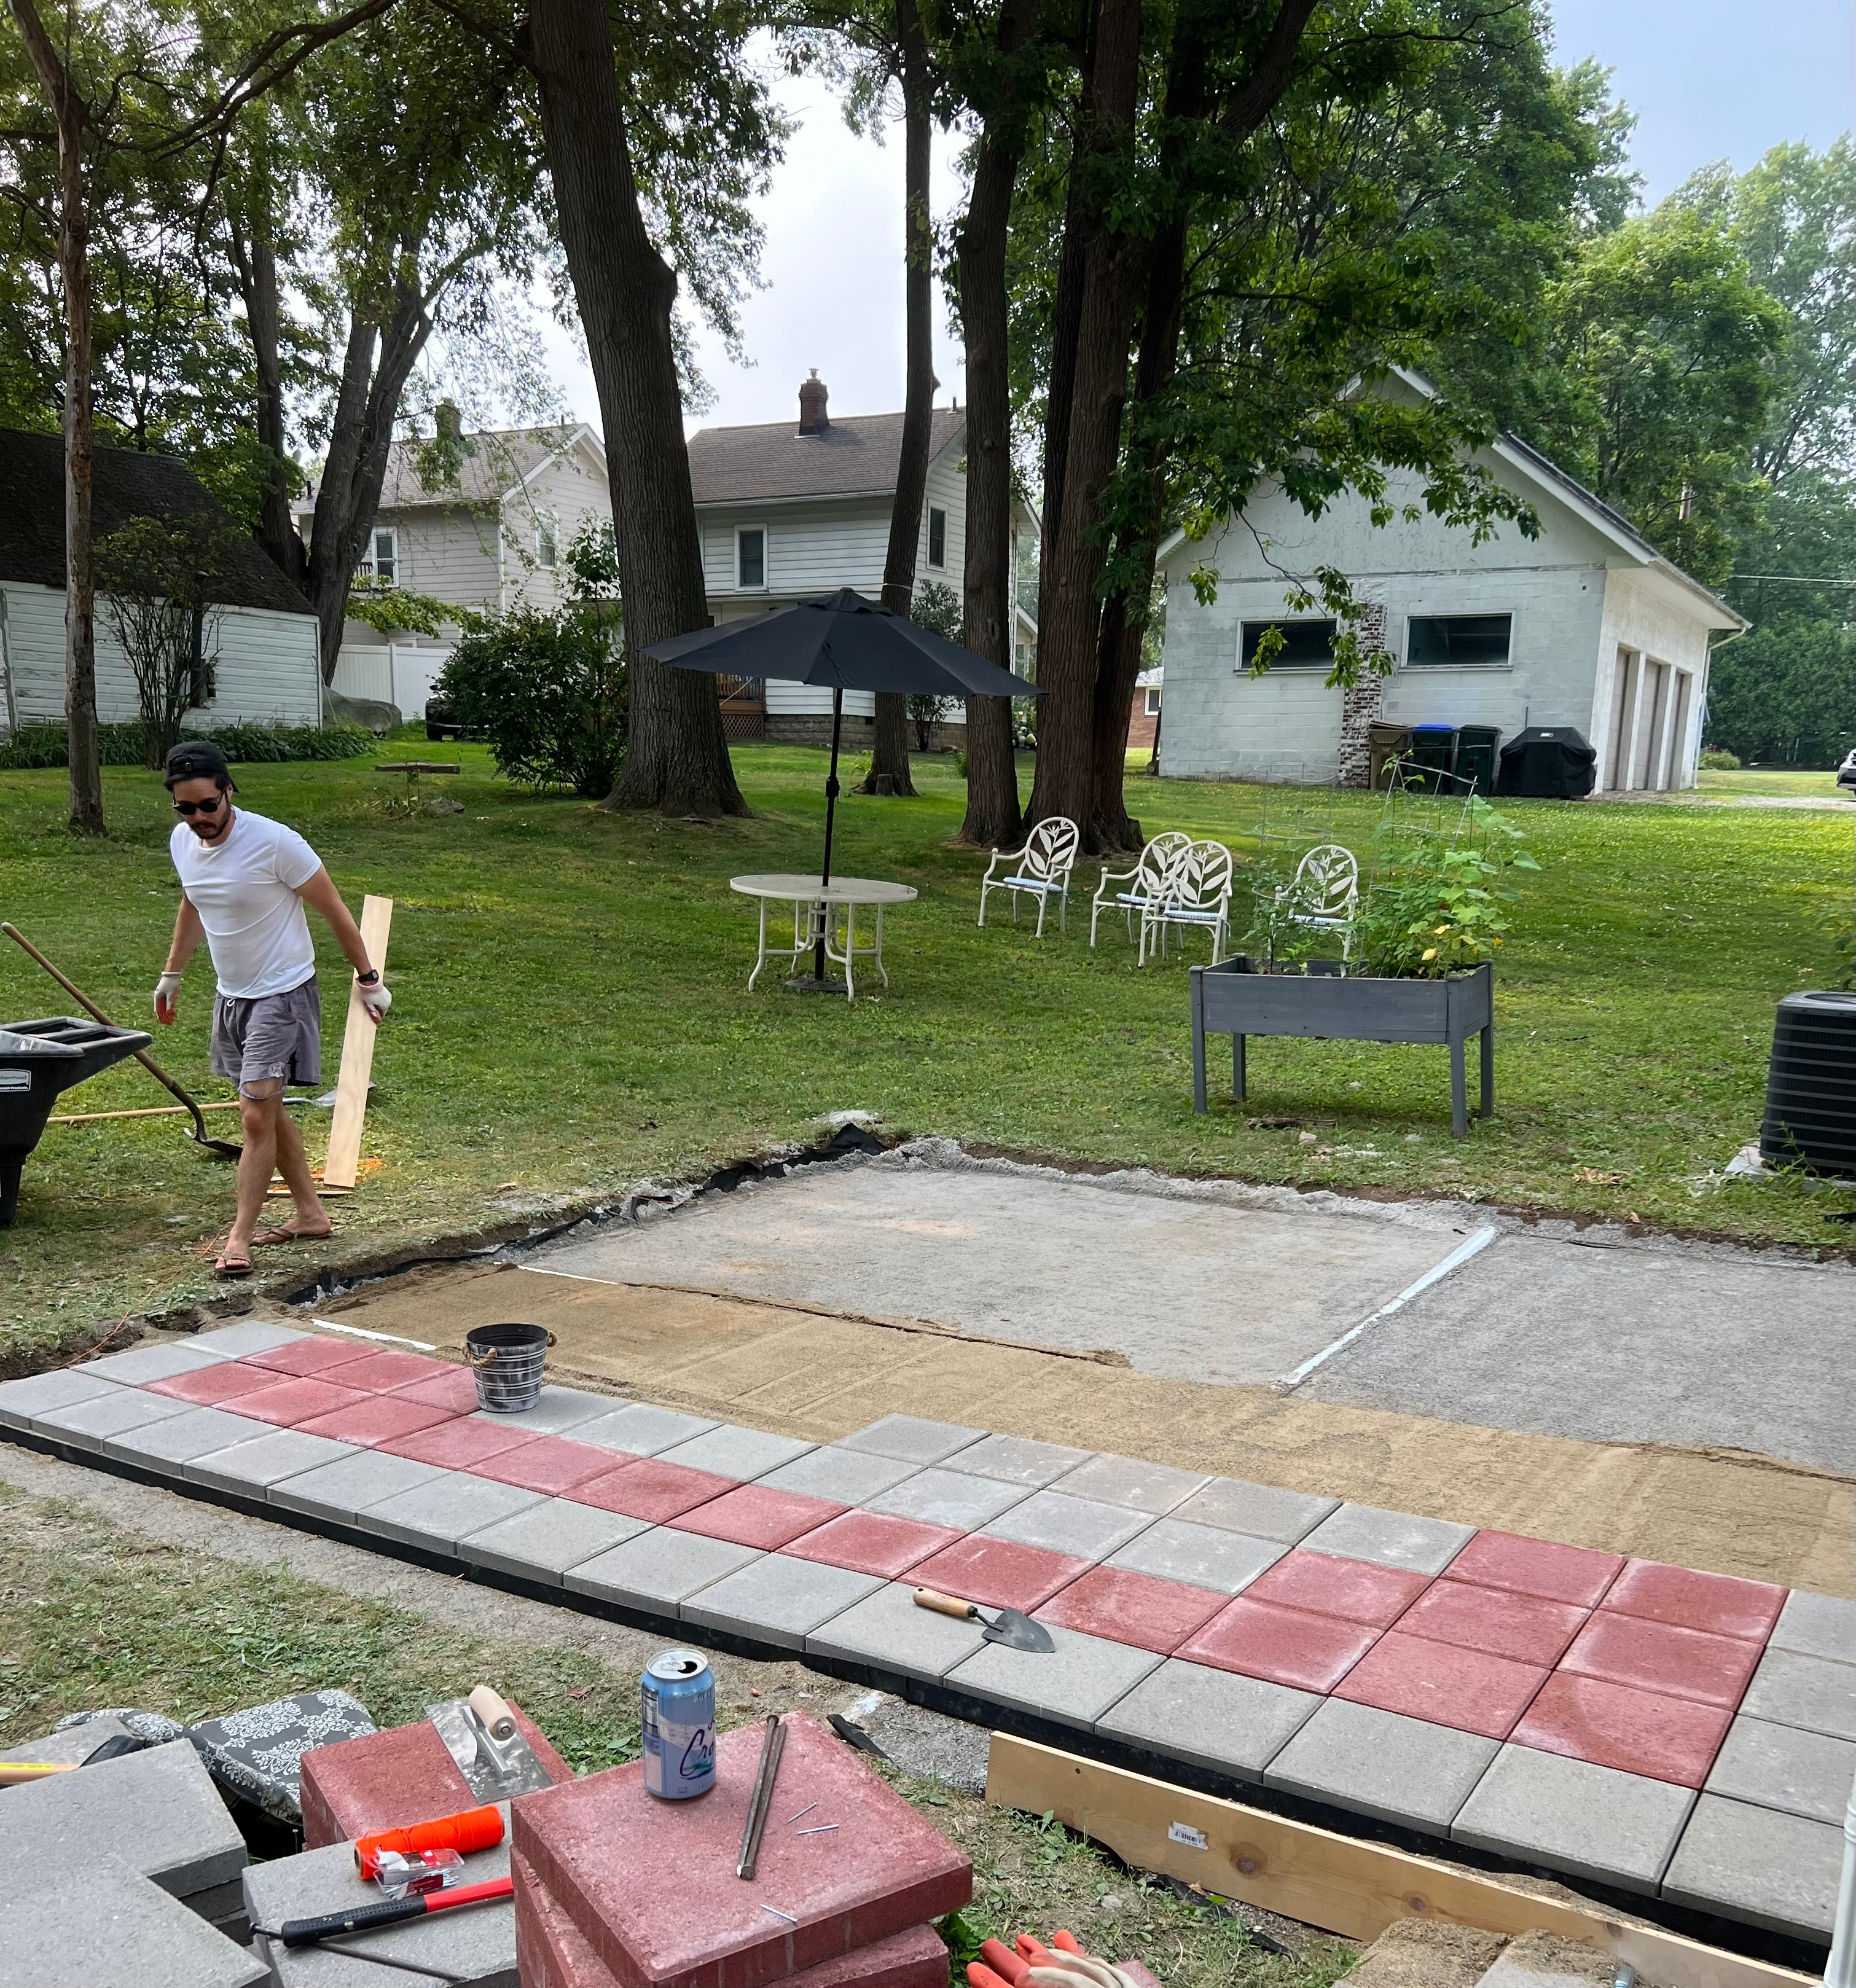
The nine-step installation process begins with planning the patio area, marking it out, and calculating material needs, ensuring the base extends 6 inches beyond the finished paving. The second step involves excavating the area to a depth of 2 to 4 inches, removing vegetation, ensuring an even surface with no more than a 1/2-inch variation, and compacting the soil. Step three entails rolling out a non-woven landscape fabric to prevent sand-soil mixing. Step four requires adding a 3/4-inch layer of sand and screeding it to create a flat, sloped surface. Step five involves laying the paver base panels, staggering them to avoid continuous seams. Step six focuses on installing paver edging, attaching it to the base panels with stainless steel screws. Step seven is the installation of pavers directly onto the synthetic base panels, starting with a chalk line and using the 3-4-5 method for perpendicular lines. Pavers are cut as needed, and joints are filled with appropriate material, noting the complexity of joint material selection. The article concludes by emphasizing the necessity of some form of base—synthetic, compacted gravel, or a concrete slab—to prevent patio failure.
#PaverPatio #PatioInstallation #DIYHomeImprovement #OutdoorLiving #Landscaping #PlasticPaverBase #GravelBaseAlternative #HomeProjects #YardImprovement #PaverPatio #PatioInstallation #DIYHomeImprovement #OutdoorLiving #Landscaping #PlasticPaverBase #GravelBaseAlternative #HomeProjects #YardImprovement
0 comment in total
 No comments yet
You may also like
How to lay a patio


Build Your Perfect Backyard Patio in 5 Easy Steps


Patio flooring ideas – 10 smart looks to transform a paved outdoor space


11 Stunning Concrete Patio Ideas That Will Take Your Backyard to the Next Level
Best base for a gazebo – landscaping experts reveal their top tips for your garden structures
15 budget-friendly paver patio ideas from the pros — perfect for stylish small spaces


13 Budget-Friendly Paver Ideas to Beautifully Define Your Outdoor Spaces

Beach Patio Design Tips
15 Modern Patio Paver Ideas

Piece by piece: Pros and cons of using pavers to spruce up your yard
Mission complete: Is building your own patio worth it? | Home With Tess
Patio flooring ideas - amazing designer-approved alfresco spaces for backyards large and small

How to Install Deck Footings with Spread Base

How to lay a garden path

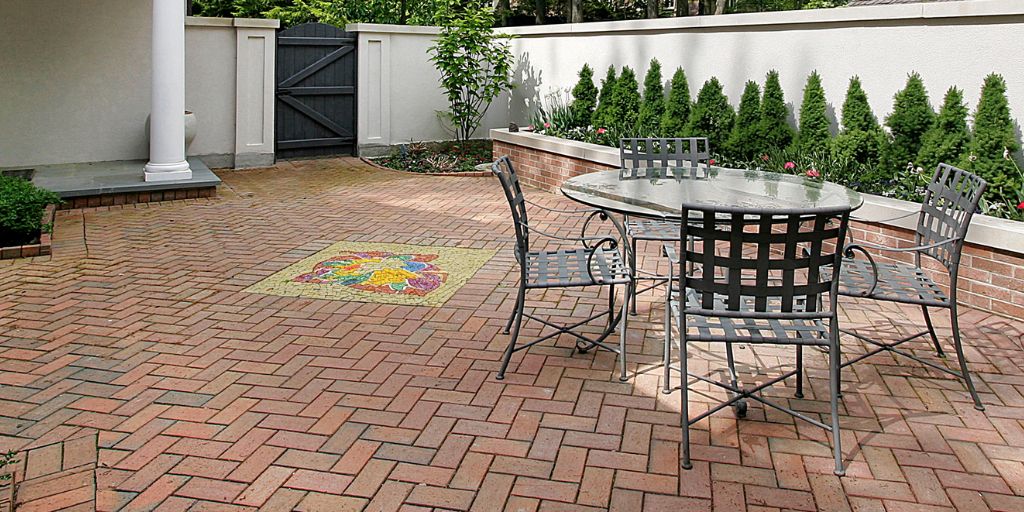
Ready To Pick a Patio Pattern? Here Are 12 Designs To Consider

3 design expert tips for preparing your backyard for spring

Garden Paving & Walling | Front Garden Paving & Block Paving Grout

5 brilliant budget alternatives to paving slabs that won't cost the earth
New products, trends create exciting time for outdoor living projects
Ask the Builder: Clay paving brick is superior