1/5
A Textured Paint Hack That’ll Transform Any Vase—The Good, the Bad, and the Ugly
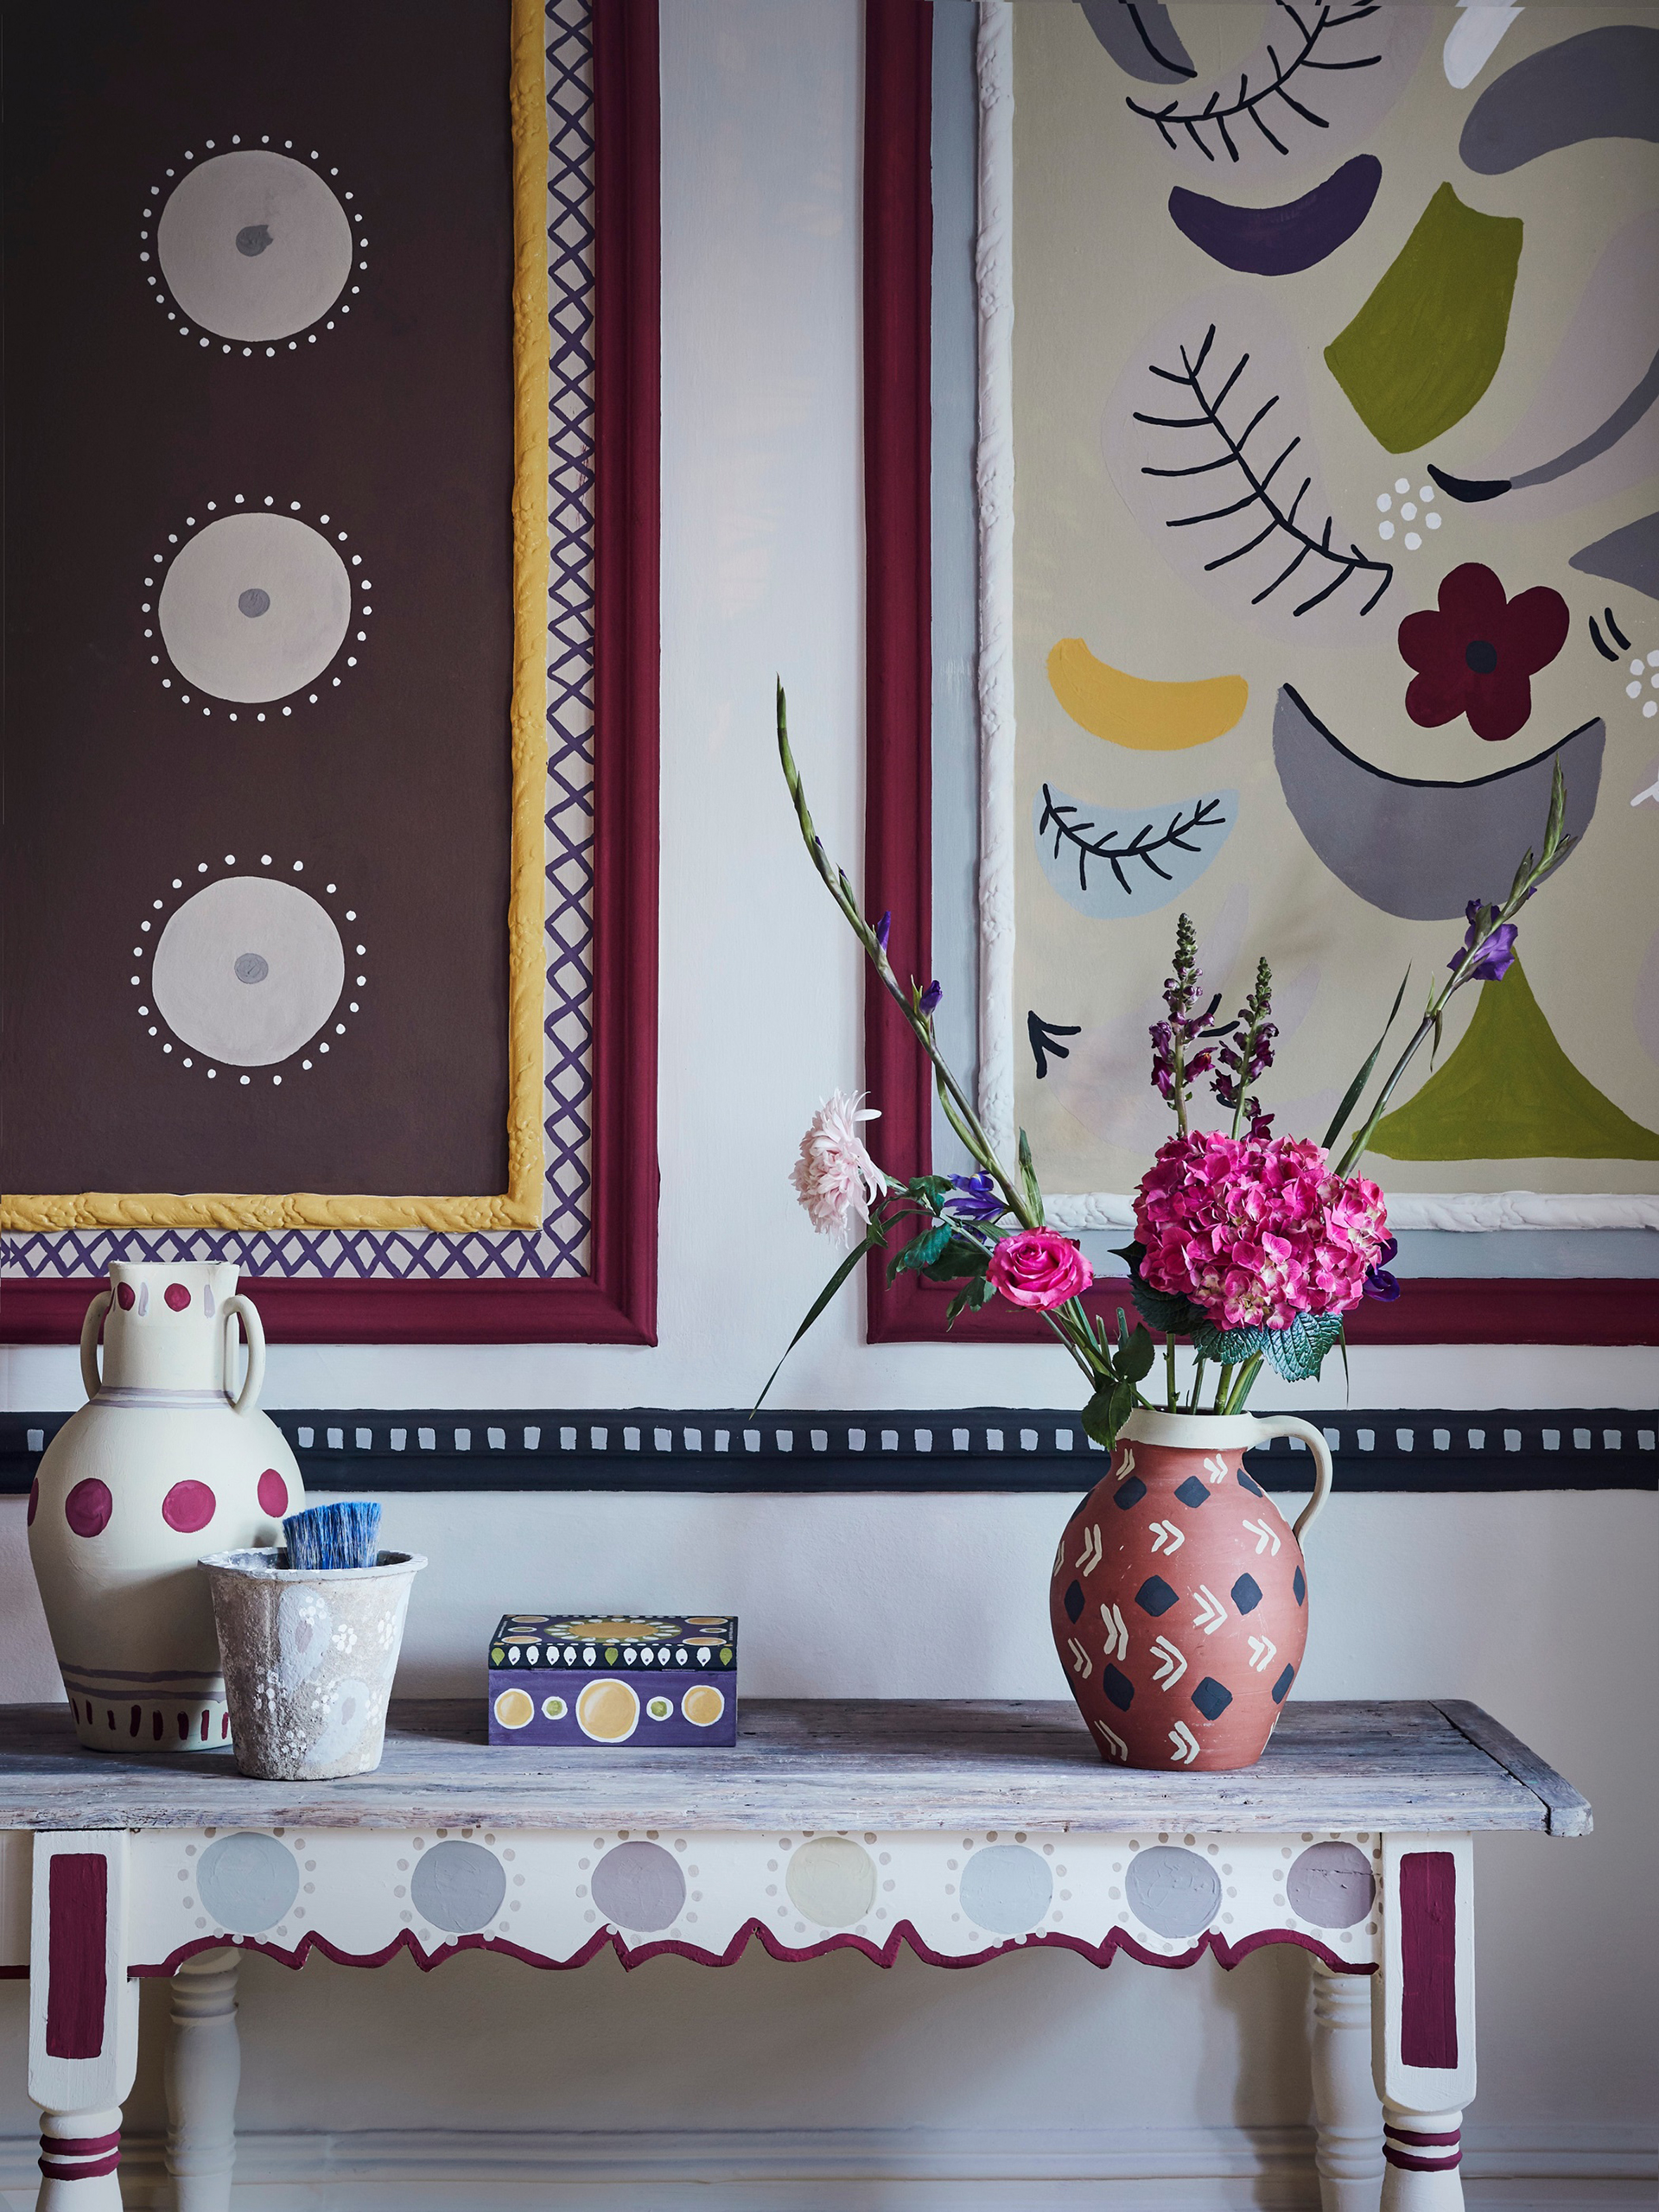
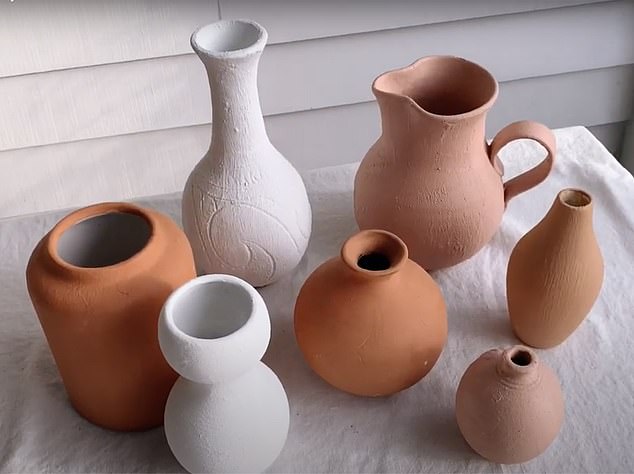
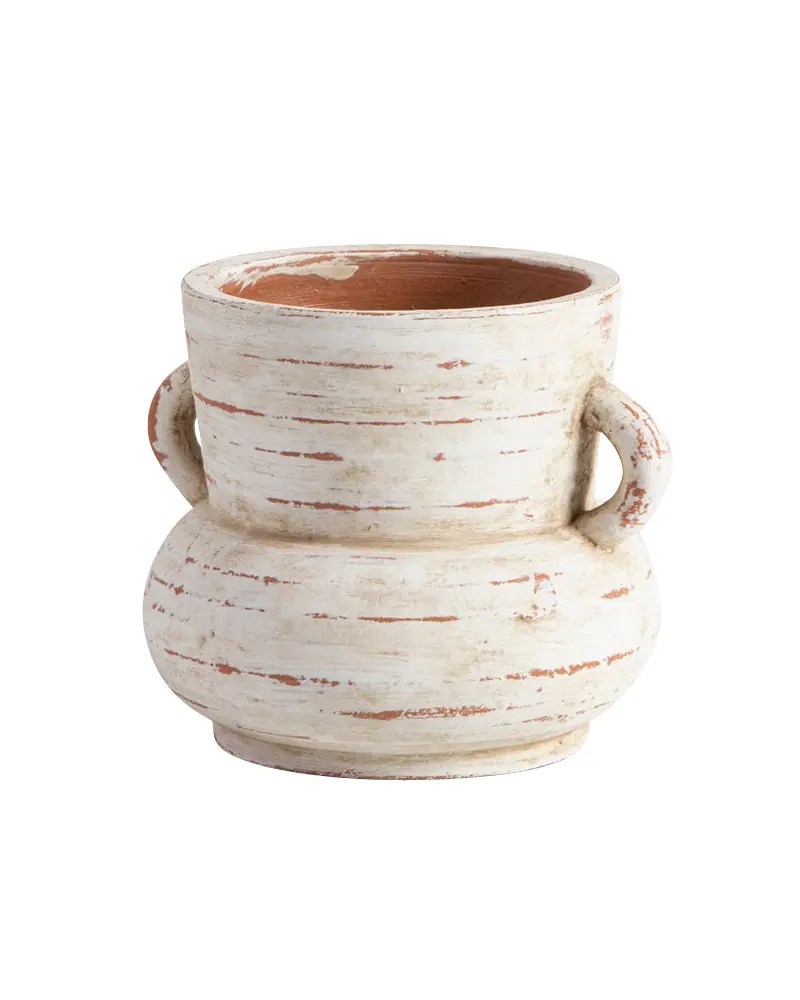
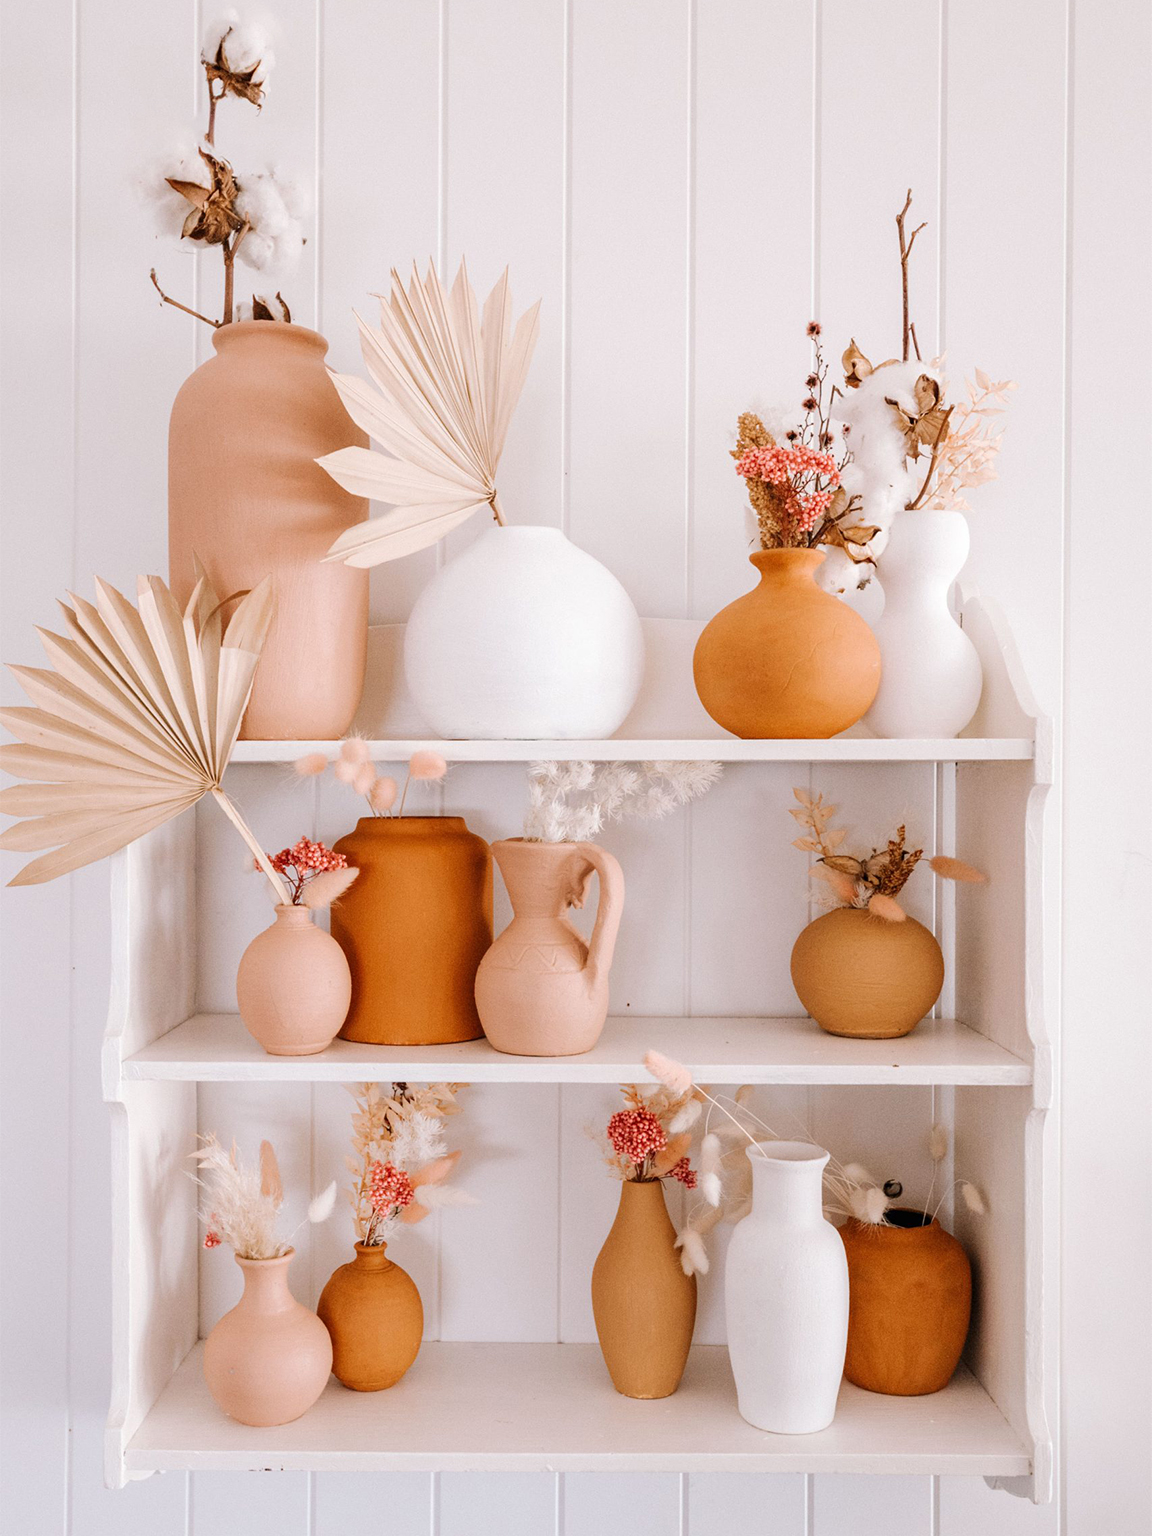
Stylist Geneva Vanderzeil, author of "Home Is Where You Make It," offers a DIY approach to revitalizing old vases and planters using a homemade chalk paint. This method provides an alternative to purchasing new decor, focusing on upcycling existing items to give them a fresh, streamlined look with a bespoke, handmade feel. The inspiration for this hack stemmed from her earlier experiment using a liquid terracotta treatment called Megatreat (similar to Rust-Oleum’s Sandstone Spray) on her vase collection. Following requests for a white version, she developed a simple chalk paint recipe.
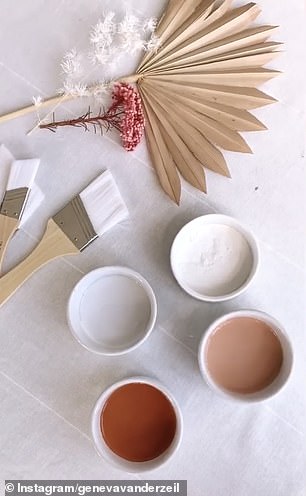
The project is suitable for a variety of containers, including plain cement pots, antique ceramic vessels, and dark-colored planters. The necessary supplies are readily available: 1 cup of white wall paint (any type, though Dulux’s Vivid White was used), 1 tablespoon of baking powder, a small container, a spoon or stick for mixing, the vase to be painted, cardboard or a drop cloth, and a brush (foam or bristle, depending on desired texture).
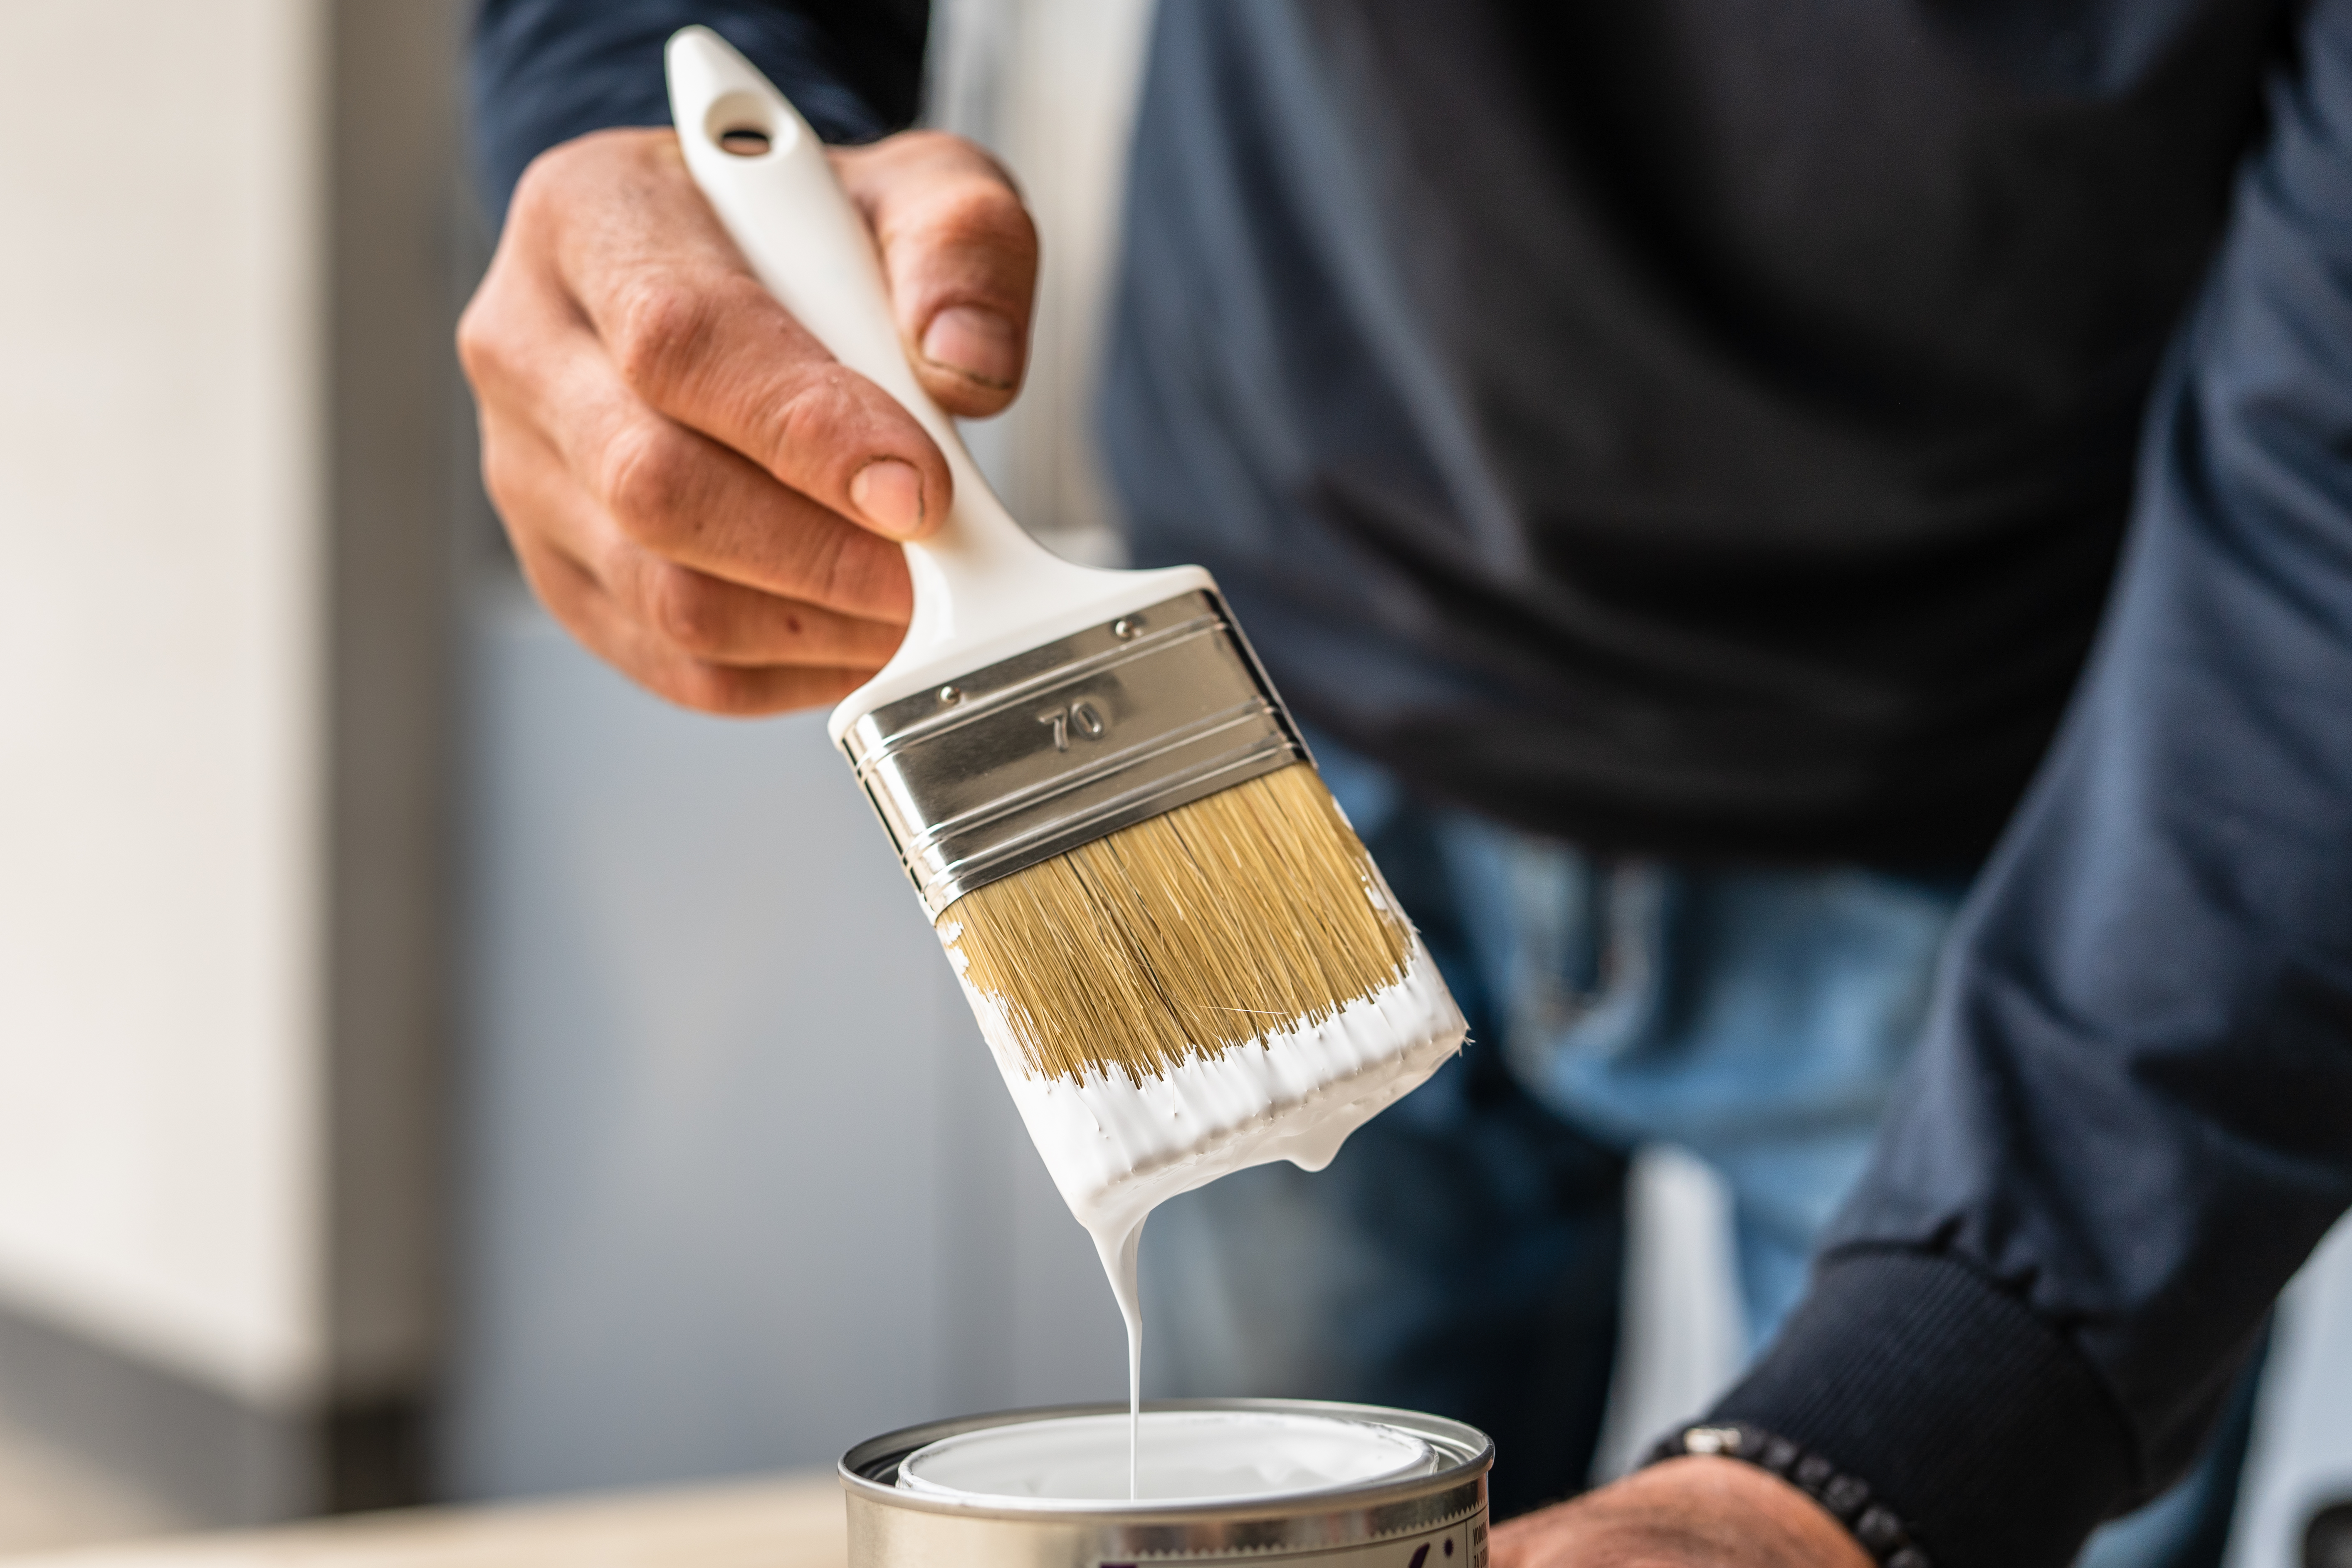
The process begins with mixing the paint. The white wall paint and baking powder are combined in a container and stirred until the mixture becomes thick and frothy, resembling mousse. This thick consistency is crucial for effectively covering glossy surfaces. Before painting, the vessel needs to be prepped by wiping it clean with warm water, soap, and a rag to ensure a smooth, even finish. A drop cloth or cardboard should be laid down to protect the work surface from splatters.
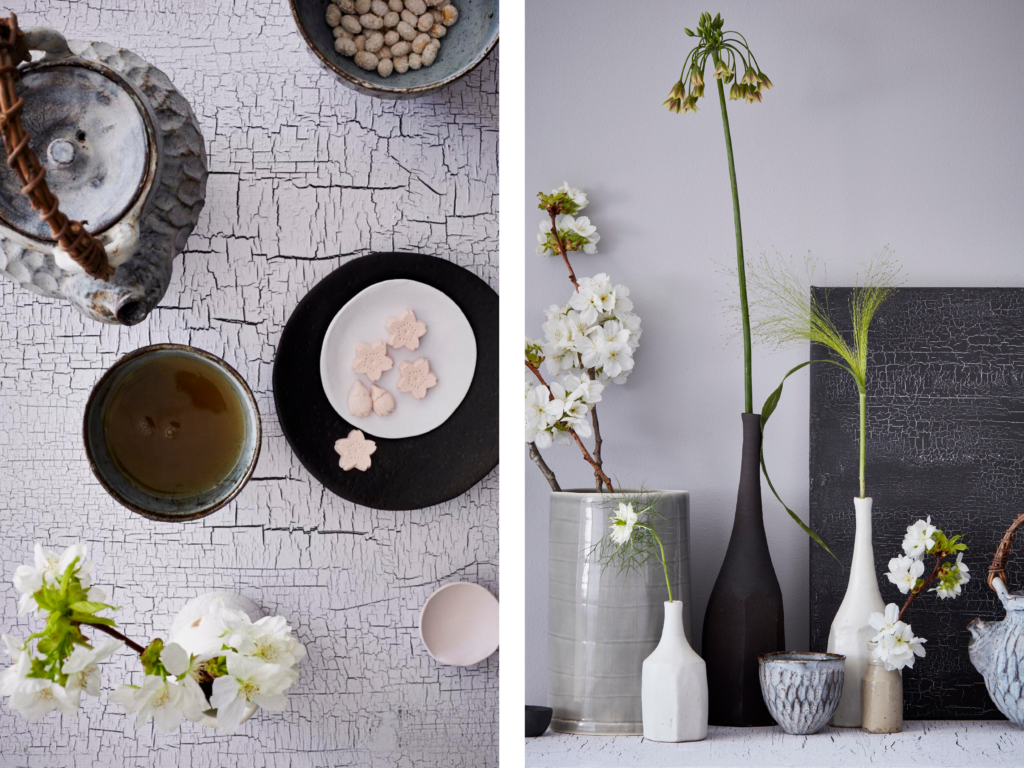
For the application, the choice of brush influences the final texture; a bristle brush creates a rougher, more organic appearance, while a foam brush yields a smoother finish. The first coat of paint may appear watery and transparent, but this is normal. After allowing approximately half an hour for the first coat to dry, subsequent coats are applied. Vanderzeil suggests three to four coats for most vases, although unglazed pottery may require fewer. To ensure an authentic and seamless look, especially for brightly colored vessels, it is important to paint the inside edges. Vanderzeil advises tipping the vase onto its side to paint the inner rim first, then turning it upright to complete the rest of the vase. After all coats are applied, the vase should be left to dry completely overnight. Once dry, the newly textured vase can be styled with dried florals, offering a refreshed decorative element created through an accessible DIY technique.
This DIY project not only transforms the aesthetic of existing items but also aligns with principles of sustainability by promoting the reuse and upcycling of household decor. It offers a practical and cost-effective way to update home interiors without extensive purchases, demonstrating how simple materials can achieve significant design impact.
#DIYHomeDecor #VaseTransformation #ChalkPaintHack #Upcycling #HomeCrafts #InteriorDesign #CreativePainting #HomeRenovation #DecorRefresh #DIYHomeDecor #VaseTransformation #ChalkPaintHack #Upcycling #HomeCrafts #InteriorDesign #CreativePainting #HomeRenovation #DecorRefresh
0 comment in total
 No comments yet
You may also like
10 ways to use textured paint in your home

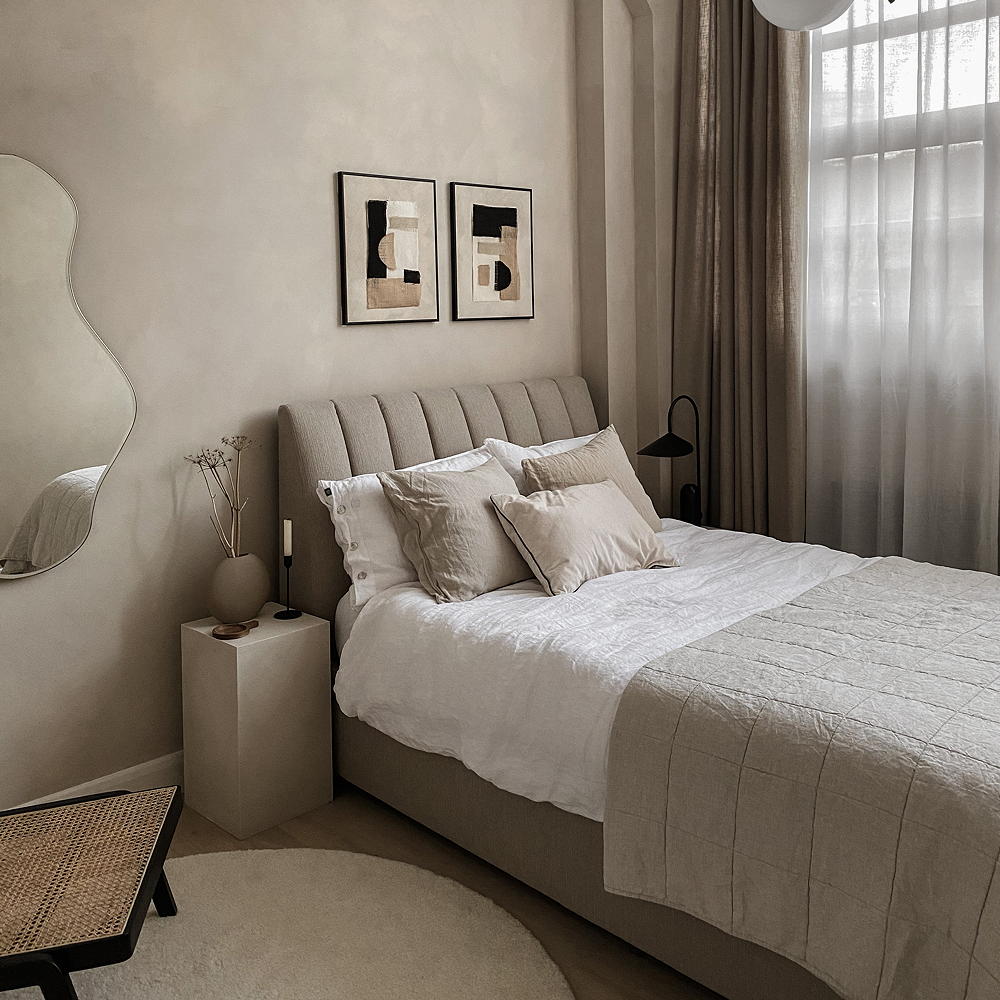
Instagram can't get enough of this new textured paint craze - here's how to get the look
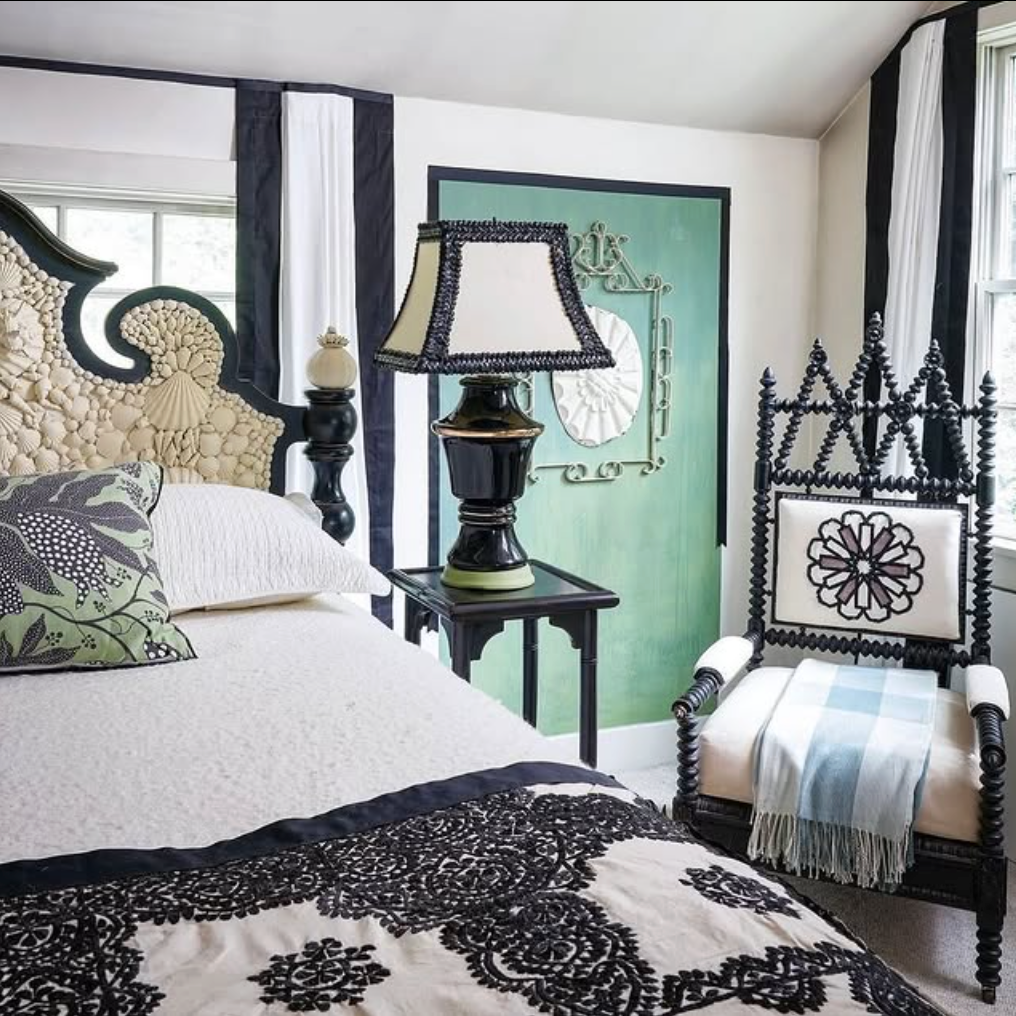
How a Coat of Paint Can Change Everything


This Paint Sheen Makes Any Room Look Tacky, Designers Say—No Matter the Color

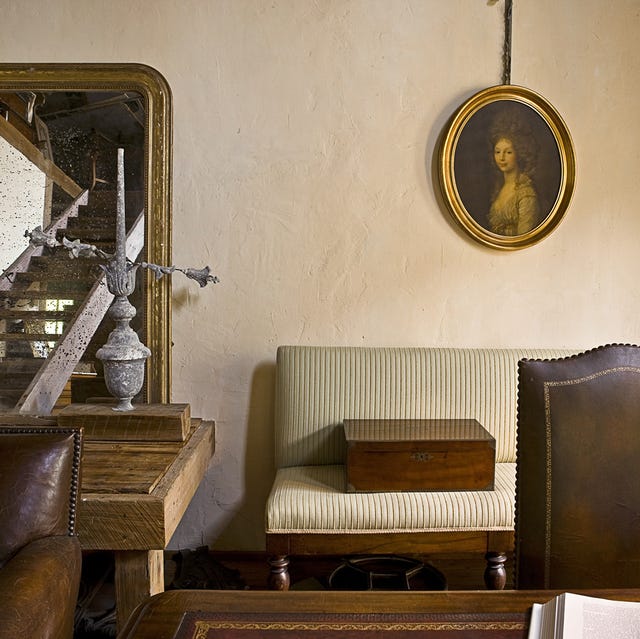
This Texture-Rich Finish Is Designers' Go-To for Instant Patina

I’m a paint expert - the £1.25 buy pros swear by for a flawless finish on walls

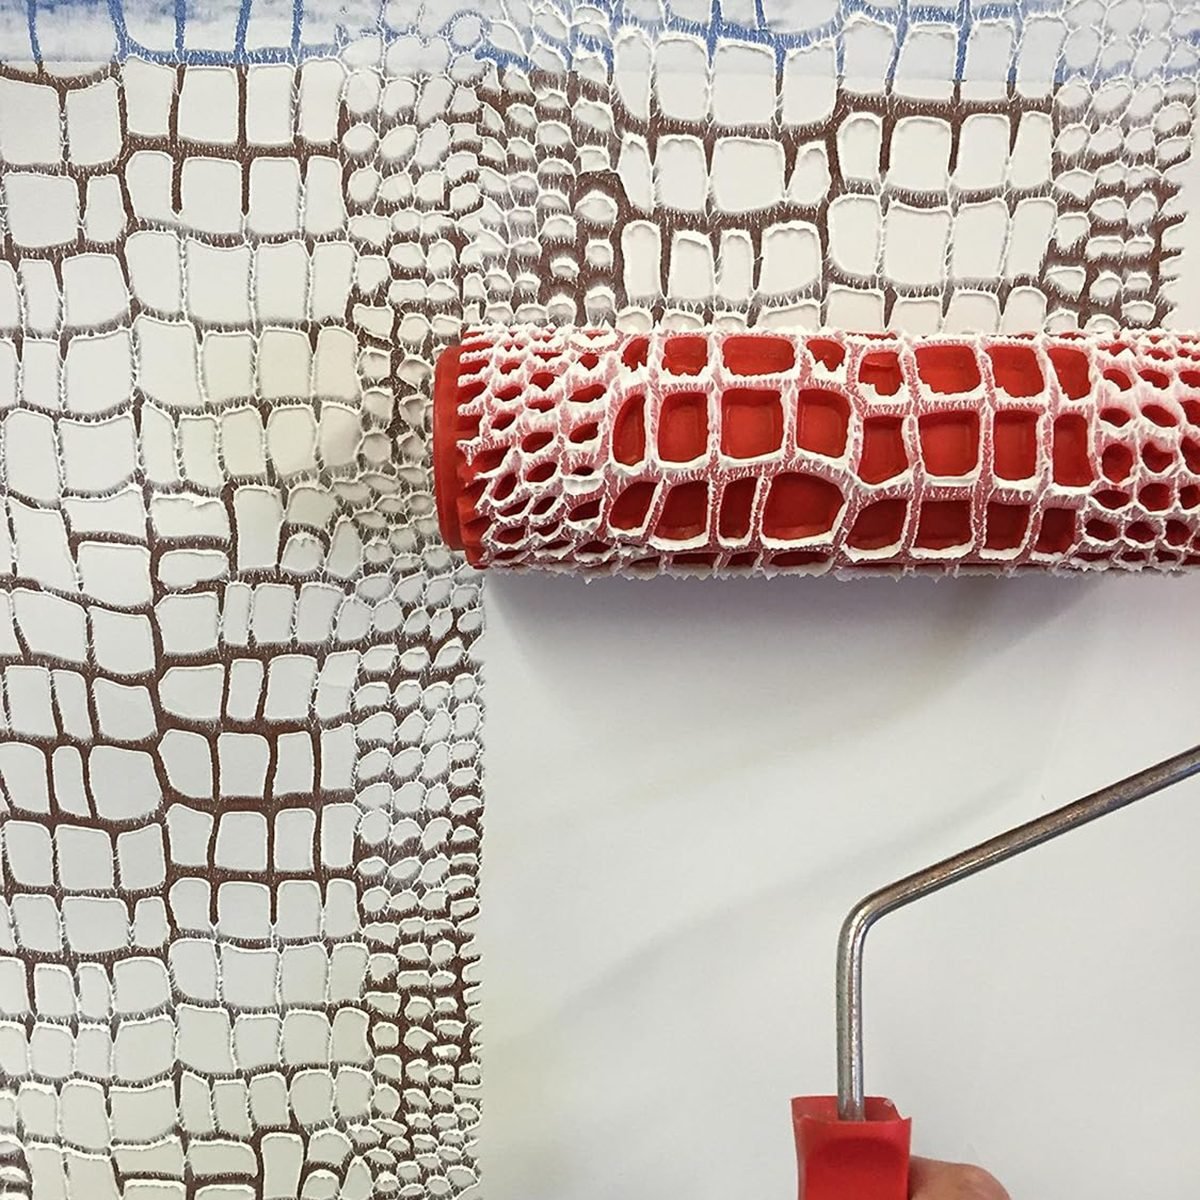
8 Tips for Painting With a Textured Roller

This Game-Changing New Paint Finish Should Only Be Used If You Want to Drench Your Space in Color (and You Absolutely Should)

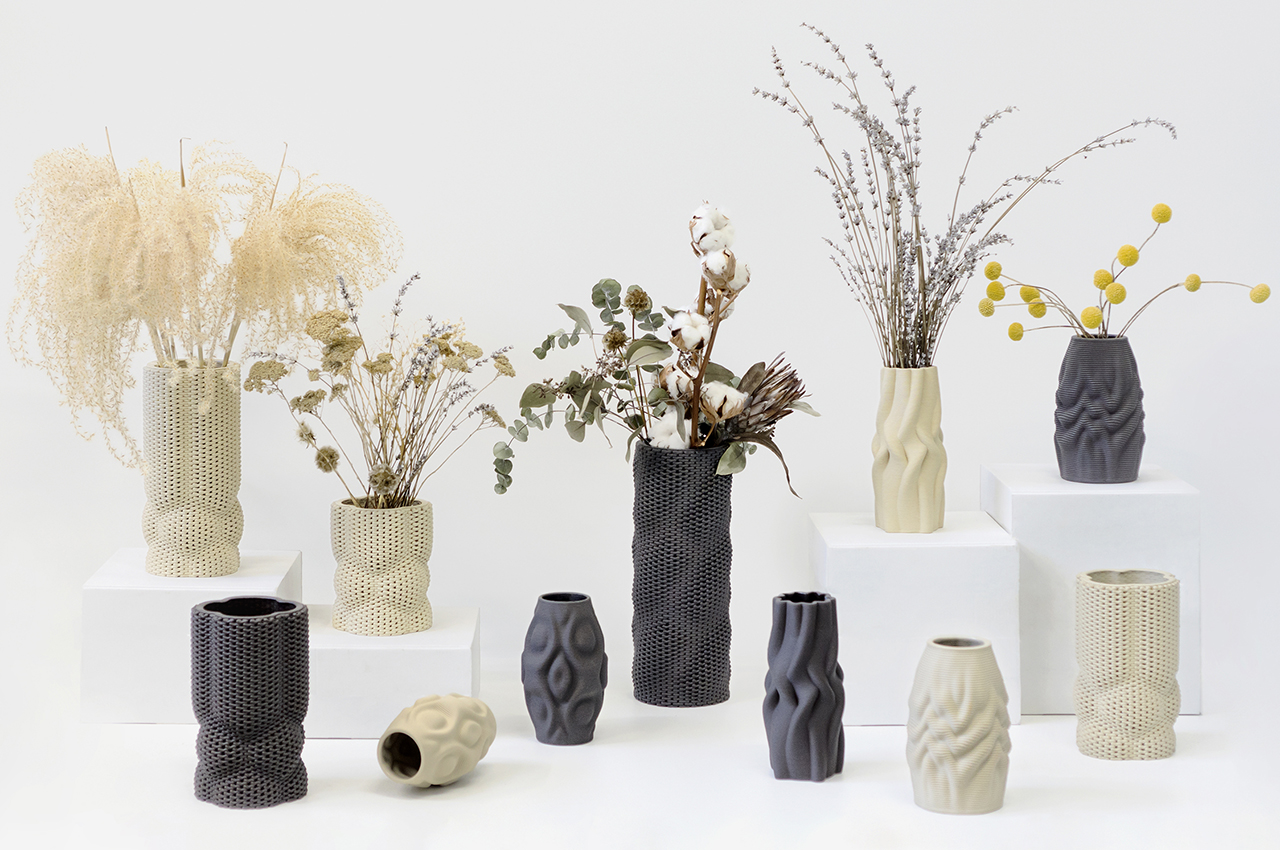
3D-Printed Ceramic Vases That Mimic Nature’s Patterns

This viral paint effect for creating realistic wood-grain is such an easy way to transform lackluster surfaces

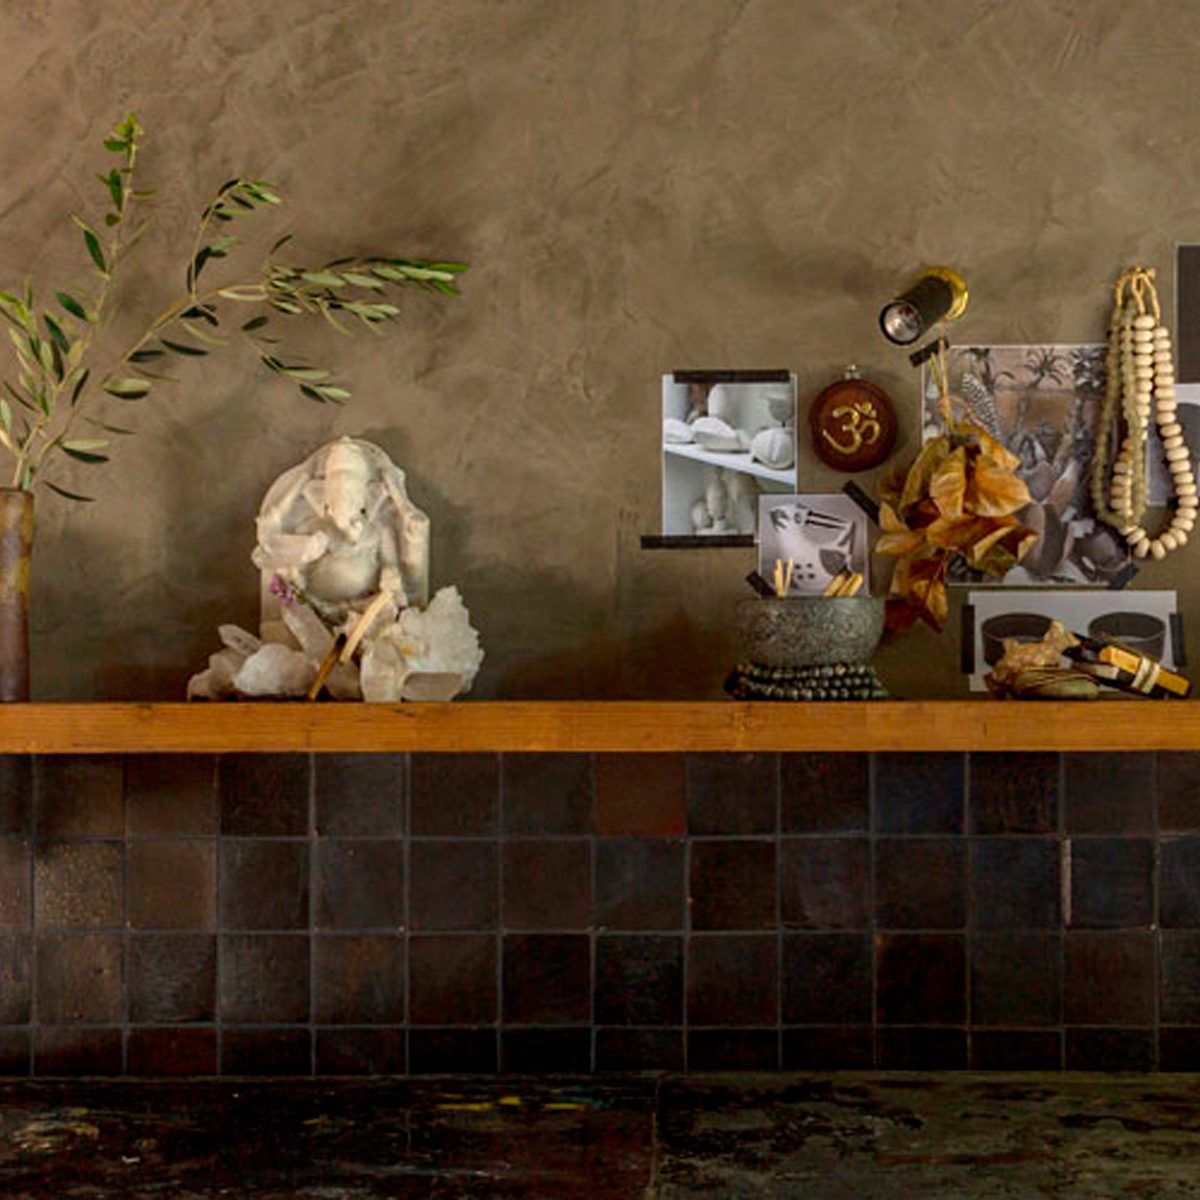
7 Best Interior Texture Paints
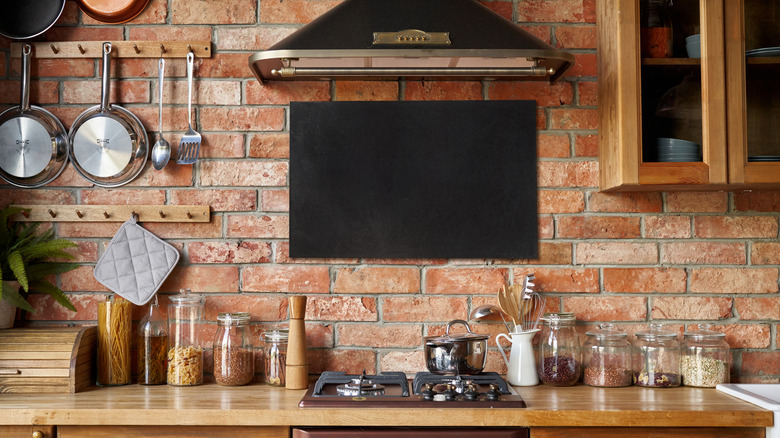
9 Ways To Refresh Your Kitchen By Adding Texture
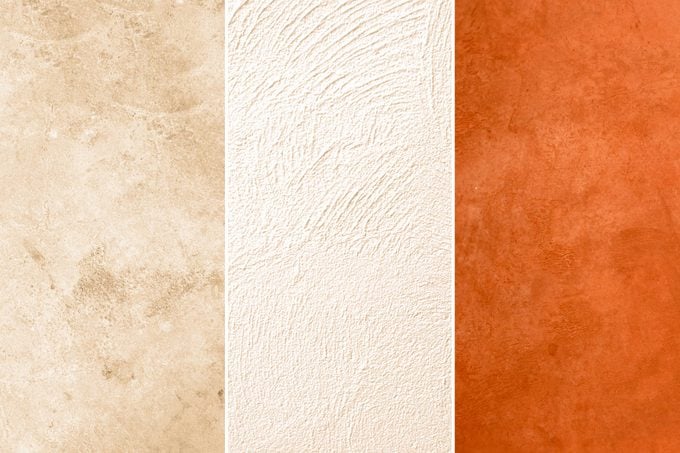
What To Know About Textured Paint
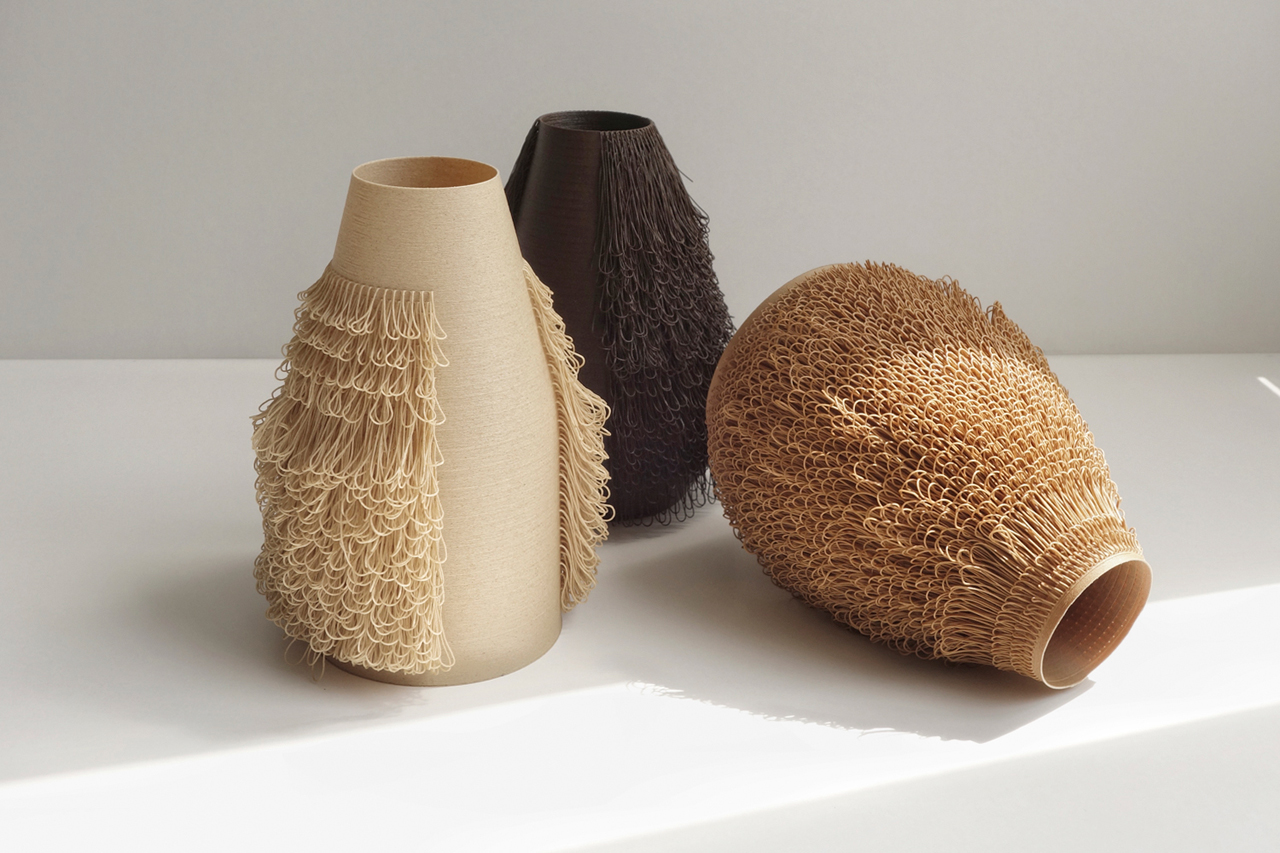
Poilu Vases Are 3D Printed with Implanted "Hair"
3D Printed Vases That Give New Life to Old Bottles
This Paint Brand Will Transform Your Room In A Day

Vibrant Geometric Vases That Speak the Language of Painting
How to transform old vases into on-trend 'ceramic' style decor
30 Funky/Statement Vases To Elevate Your Home
These Easy DIYs Prove That Paint Can Transform Any Room Without Breaking the Bank