1/7
How to Make a DIY Thanksgiving Centerpiece
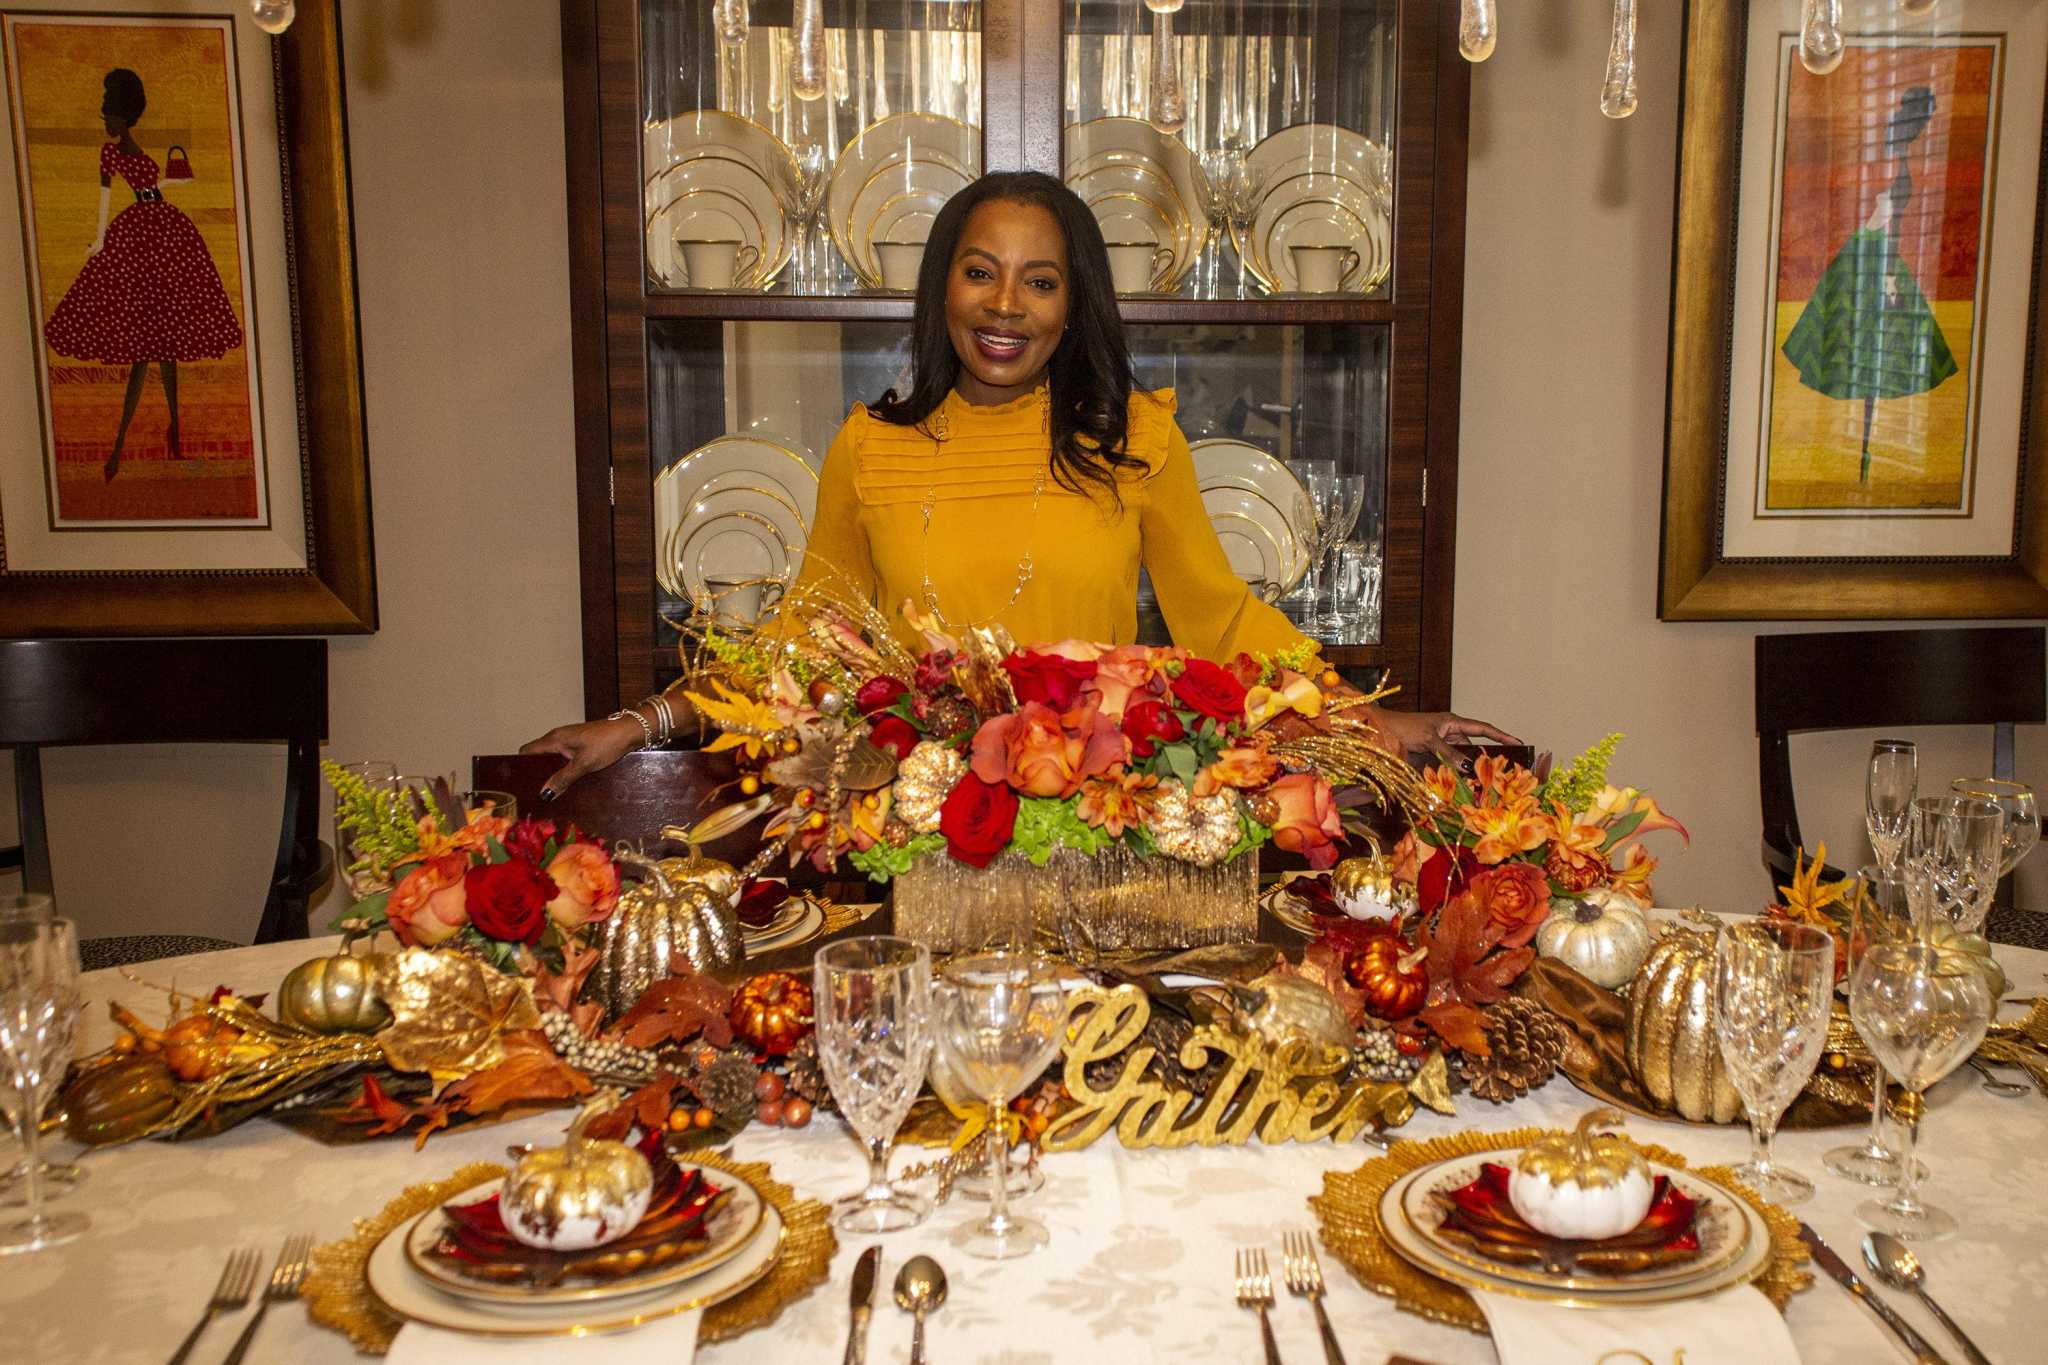
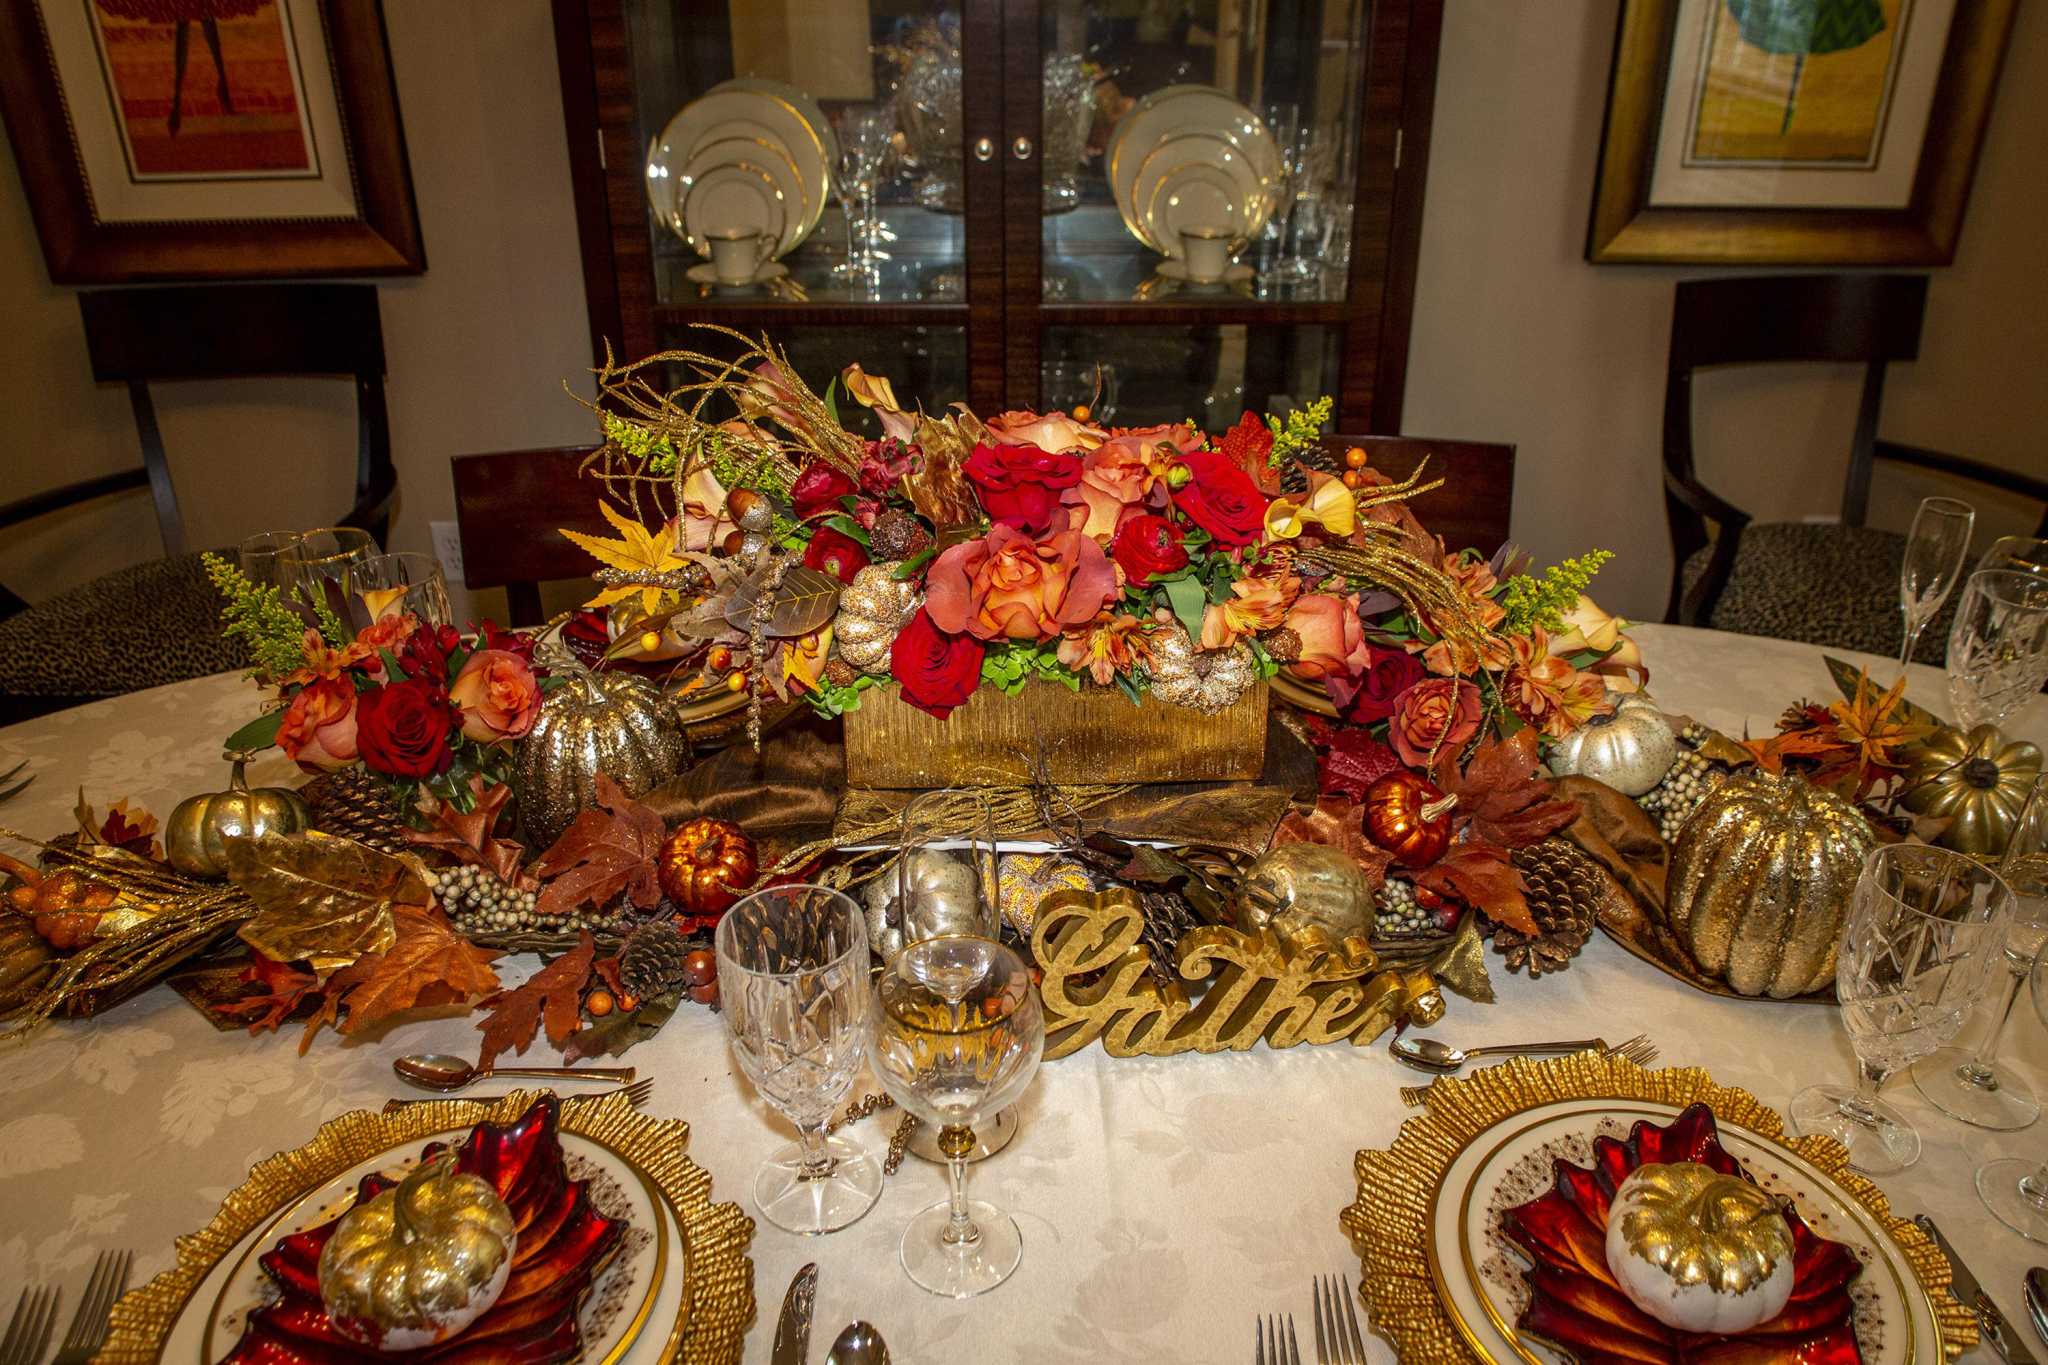
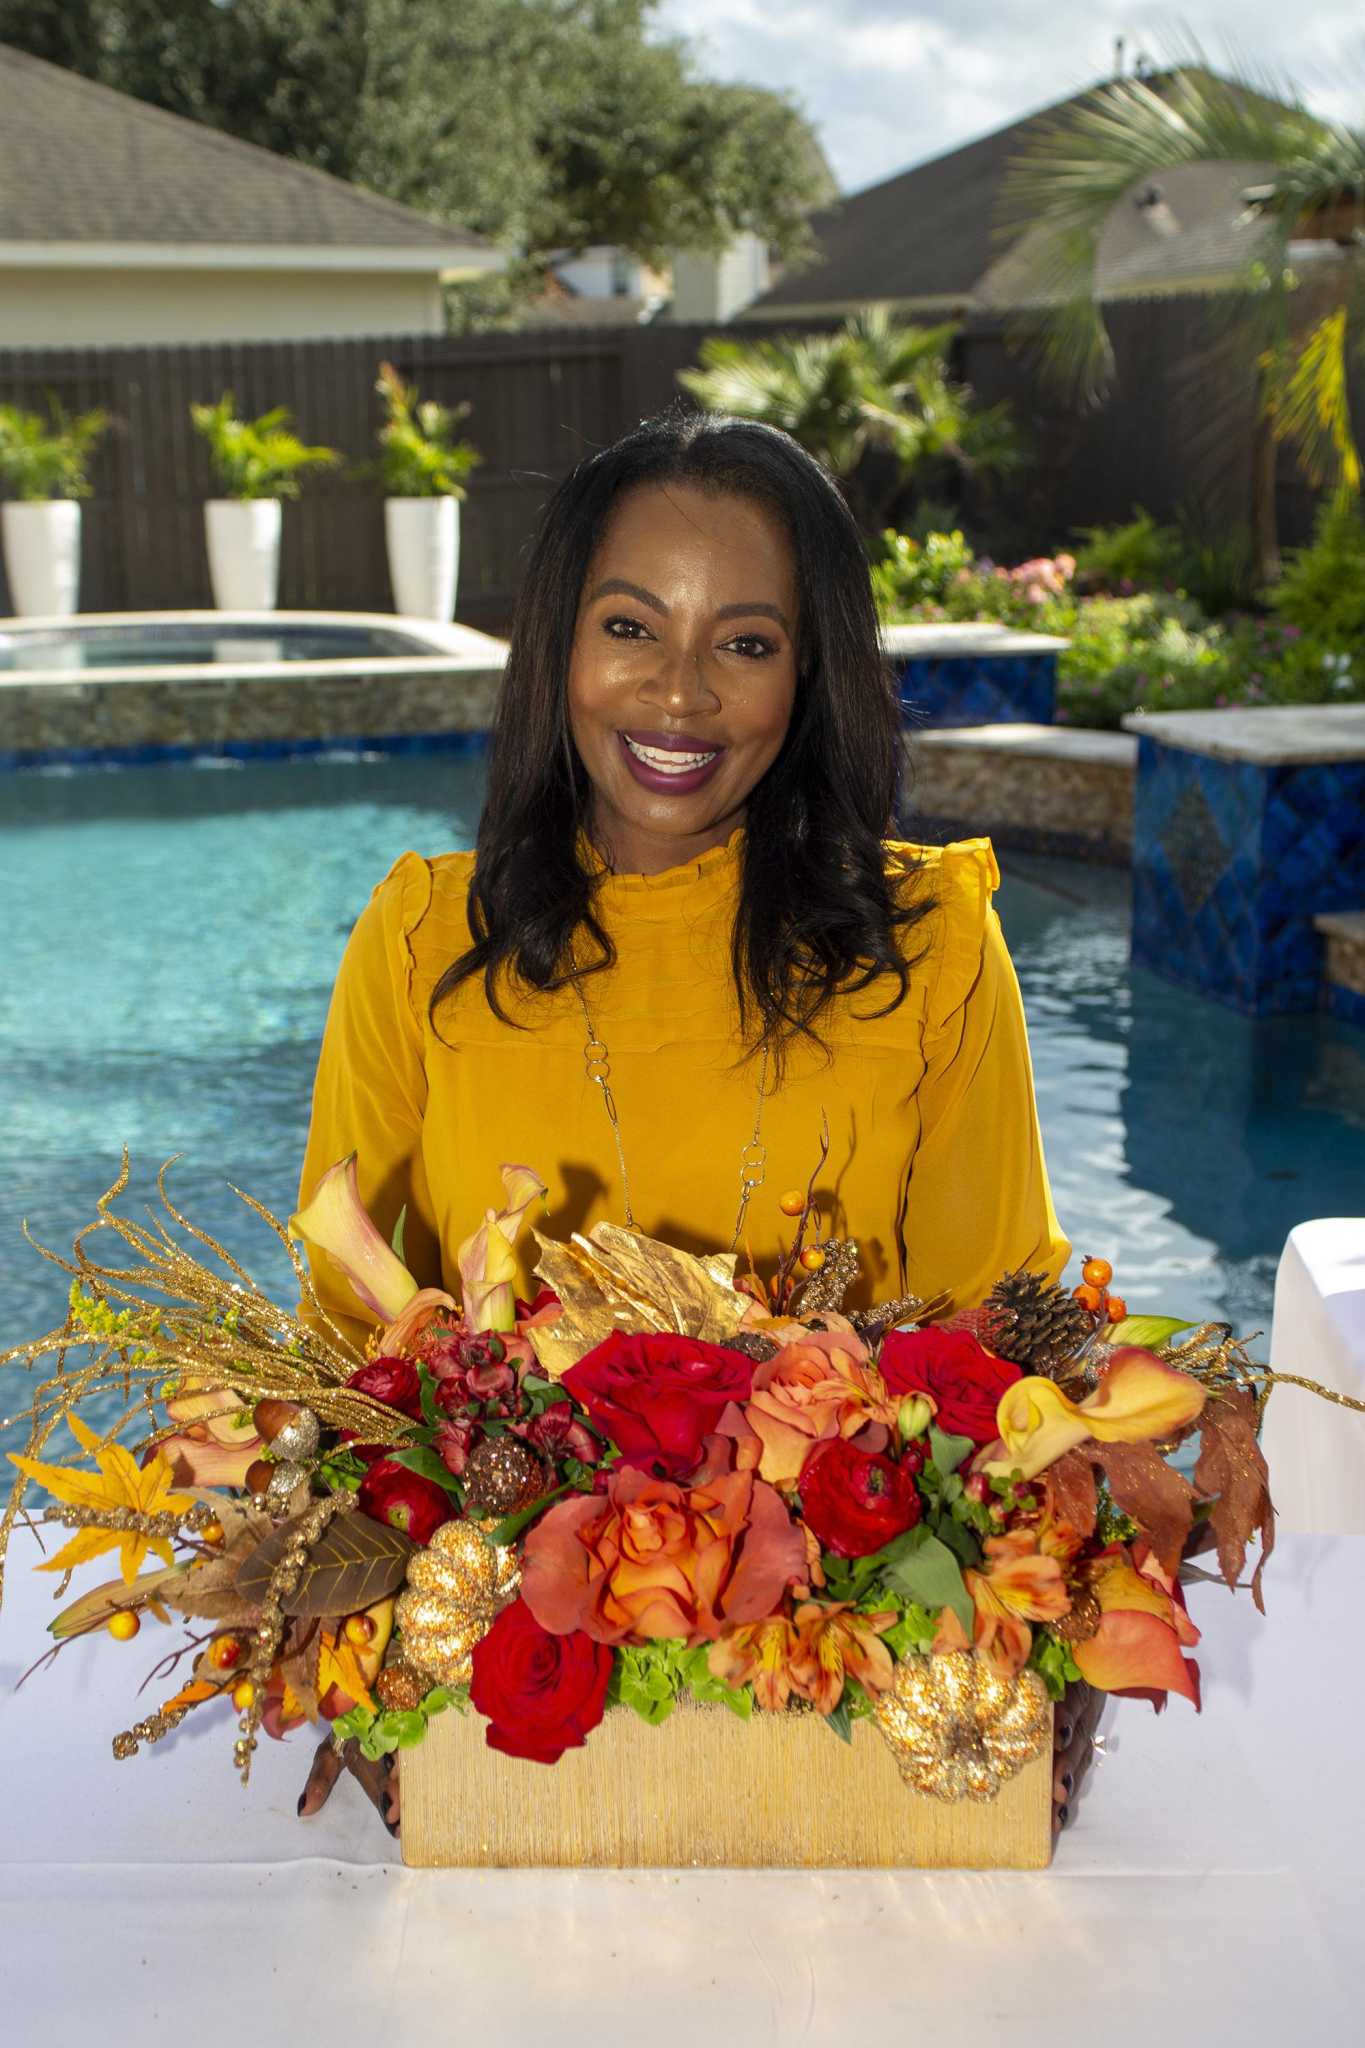
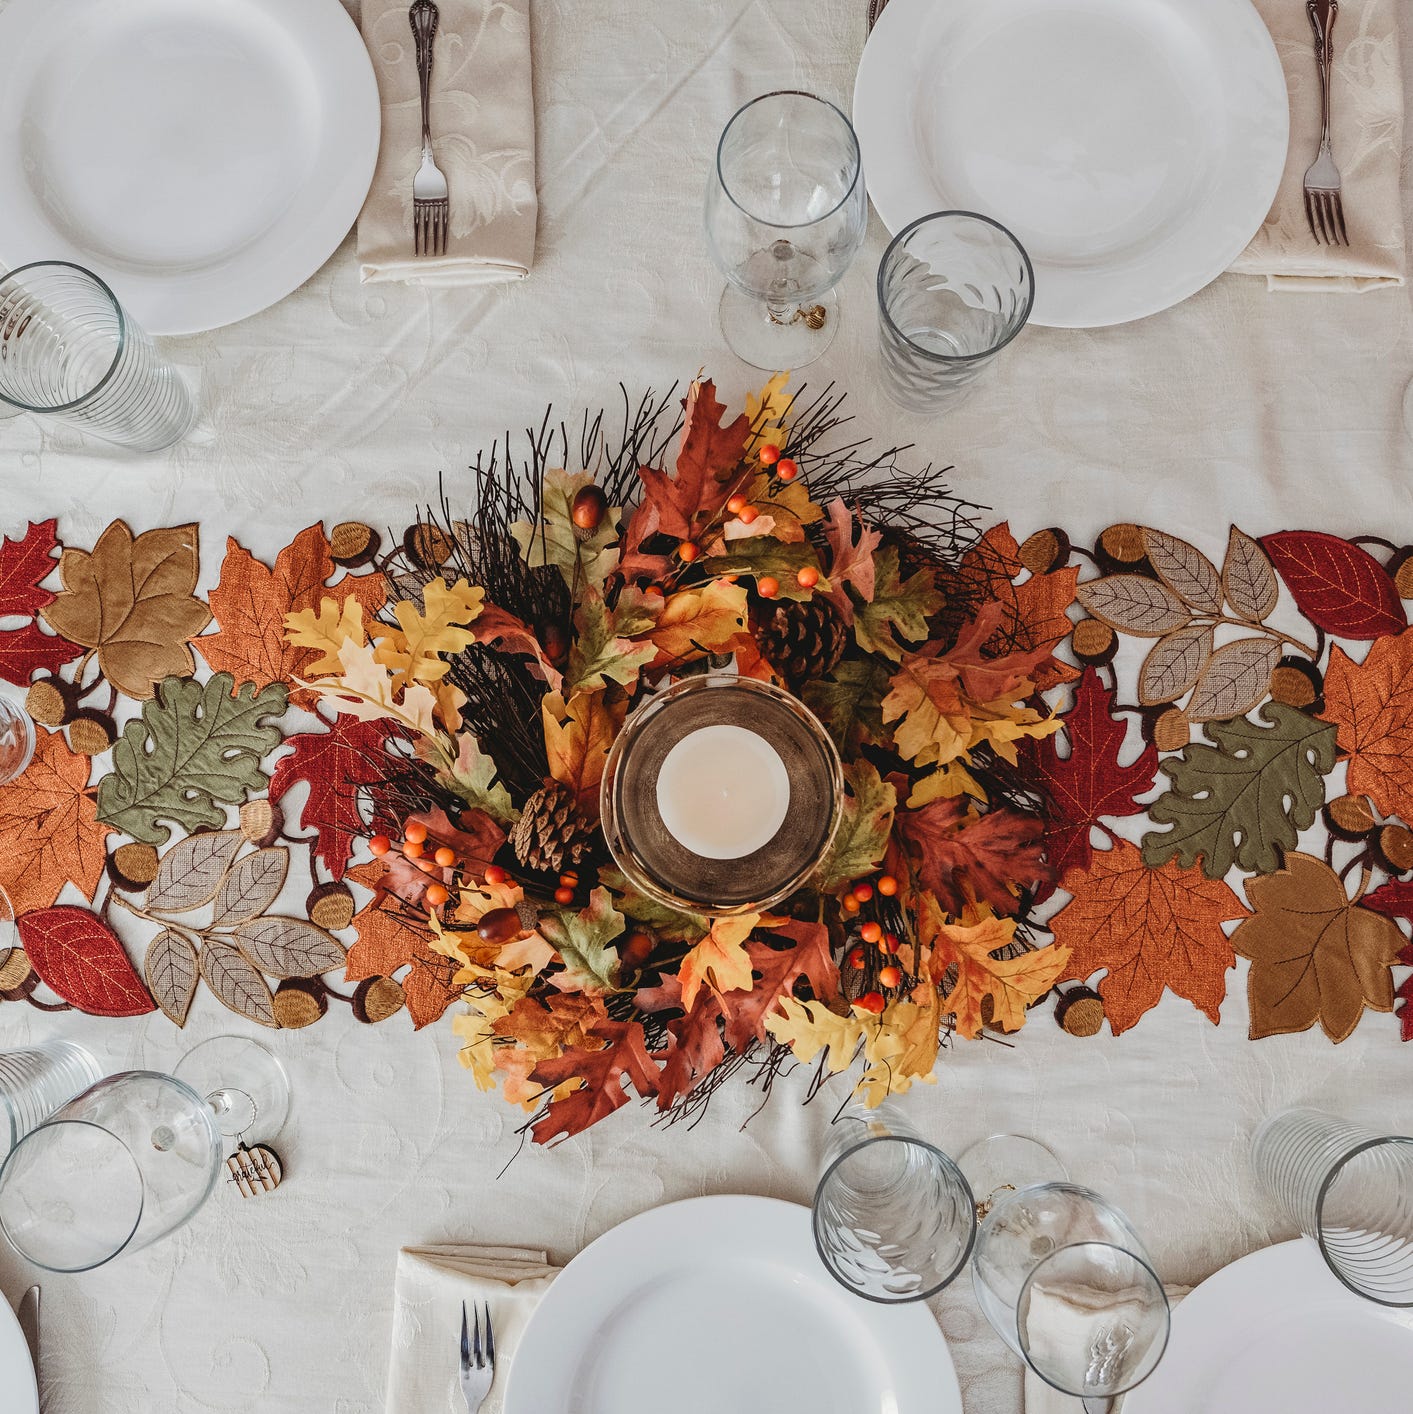
This article provides a step-by-step guide for creating a Thanksgiving centerpiece using readily available materials. The approach focuses on a horizontal design, offering an alternative to traditional vase arrangements, and aims to be both elegant and easy to assemble for individuals with varying levels of floral design experience. The instructions are based on insights from Marilyn Quigley, an instructor at Emily Griffith Technical College, who possesses over 30 years of industry experience. The emphasis is on utilizing common grocery store blooms and natural elements, some of which can be sourced from a backyard, such as evergreen or juniper branches.
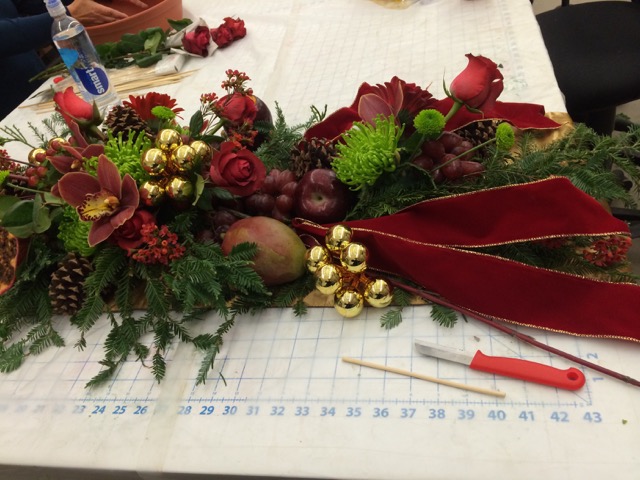
The process begins with preparing the foundation directly on the holiday table. This involves laying out the tablecloth and table runner first, then arranging three medium-sized Tupperware containers to act as anchors for the floral arrangement. These containers are intended to be hidden by the subsequent layers of the design. Floral foam, cut to fit the containers, is soaked in water and then placed inside. This saturated foam provides the necessary hydration and support for the plant materials.
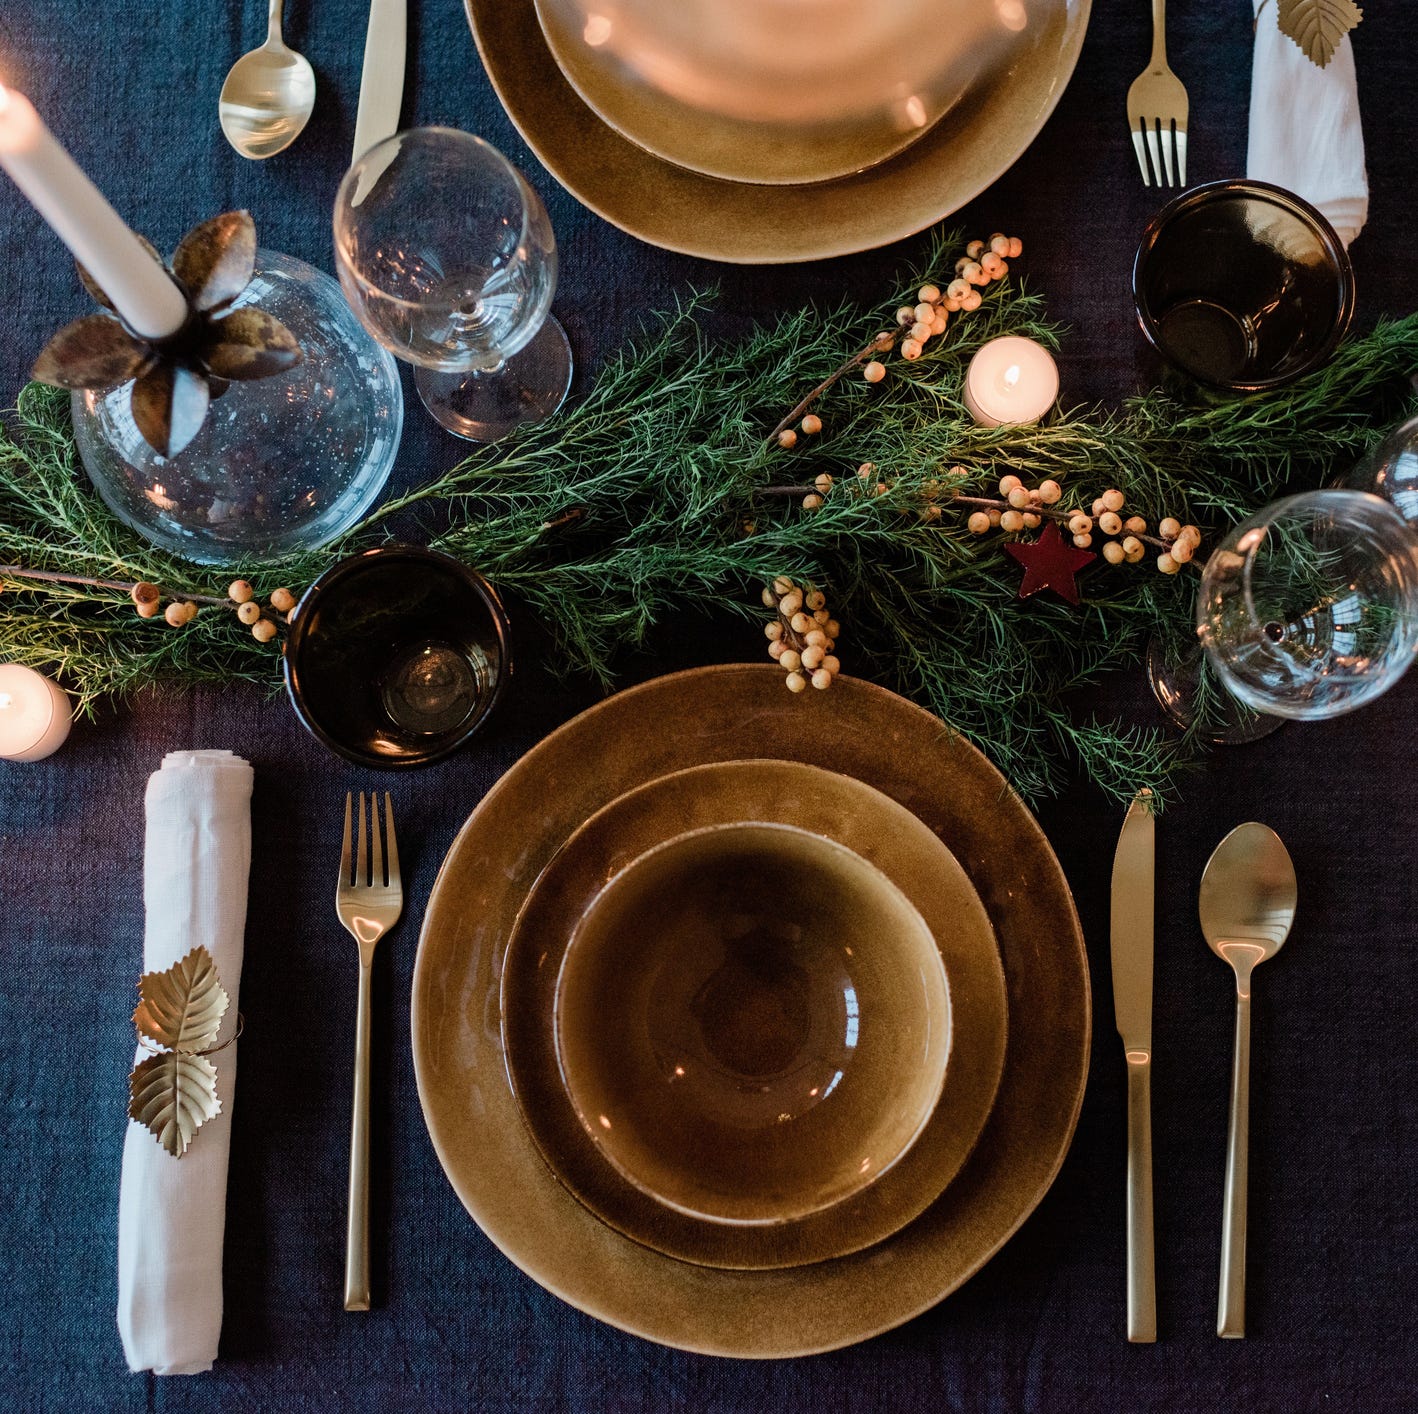
Next, a base of greenery is established using evergreen or juniper branches. These branches are cut to size and inserted into the floral foam along the edges of the containers, forming a rectangular shape. The branches are made longer at the ends and shorter in the front and back to create a balanced look. Following the greenery, large fruits, such as mango, red grapes, pomegranate, eggplant, and red delicious apples, are incorporated. Kitchen skewers, cut in half, are used to secure fruits like grapes and apples into the foam, positioning them a few inches above the evergreen base. Larger fruits are placed directly on the table between the branches.
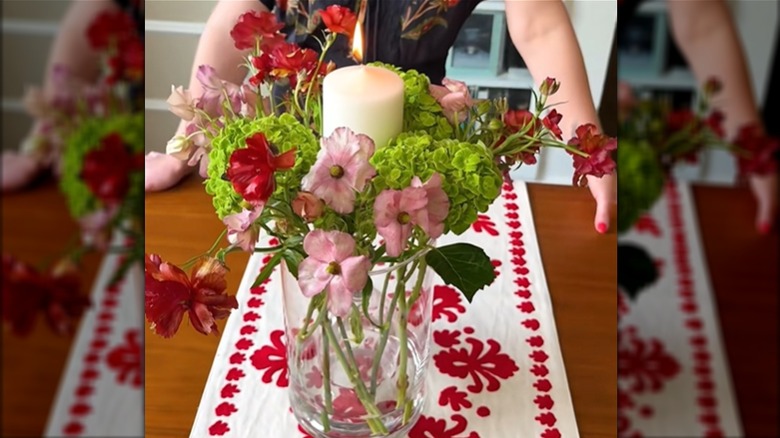
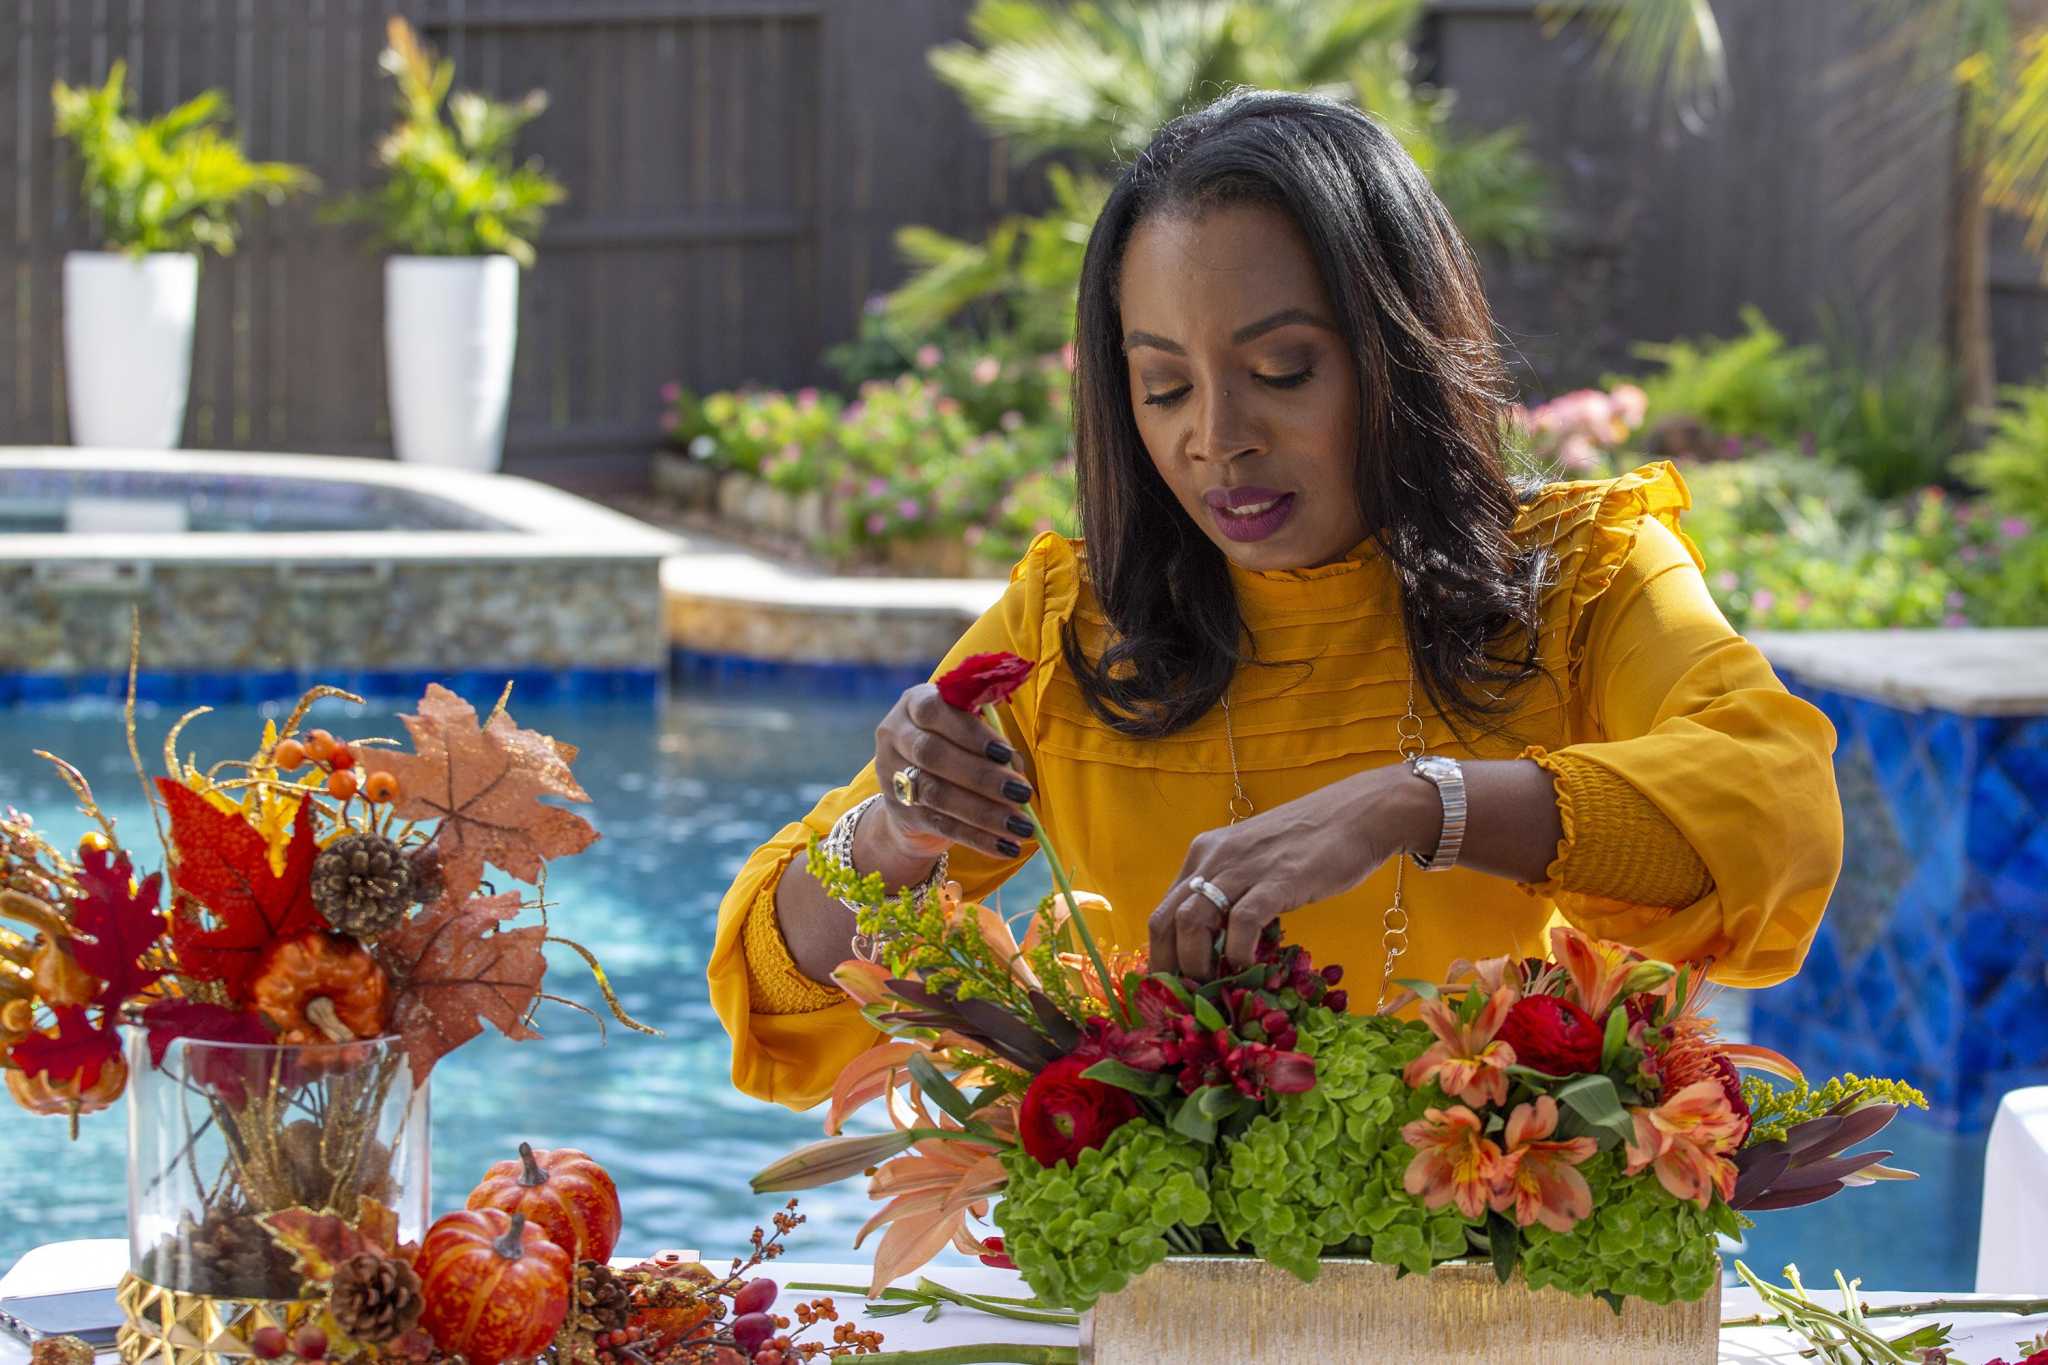
A crucial measurement recommendation is provided: the arrangement should not exceed the length from an elbow to a fingertip, ensuring that guests can converse comfortably across the table. Subsequently, the blooms are introduced. Flowers like gerbera daisies, roses, waxflowers, and green spider mums are trimmed, with their stems kept short for the larger, focal blossoms. These are inserted into the floral foam to begin covering the green base. Smaller flower heads, such as mums, green button pom poms, and hypericum berries, are placed with longer stems, sitting higher in the foam to add dimension and texture. The aim is to continue inserting flowers until the foam is completely concealed. The article suggests maintaining an elegant, monochromatic theme for both flowers and fruit for a cohesive aesthetic.
For the finishing touches, pinecones and a halved pomegranate are placed directly onto the table to brighten the evergreen base and fill any remaining empty spaces. Seasonal decorations like ribbons or ornaments can also be added, secured with skewers into the foam. An additional creative suggestion involves making small votive candleholders from red delicious apples. Finally, long red twig dogwood pieces or other available sticks are inserted into the floral foam. These sticks are intended to accentuate the horizontal design, providing a visually interesting and upgraded alternative to typical upright vase arrangements. The article concludes by highlighting that this DIY project can yield a professional-looking centerpiece at a fraction of the cost, making it a rewarding endeavor for the Thanksgiving celebration.
#ThanksgivingDecor #DIYCenterpiece #FloralDesign #HolidayDecor #HomeDecor #TableSetting #EmilyGriffithTechnicalCollege #SeasonalArrangement #ThanksgivingDecor #DIYCenterpiece #FloralDesign #HolidayDecor #HomeDecor #TableSetting #EmilyGriffithTechnicalCollege #SeasonalArrangement
0 comment in total
 No comments yet
You may also like
18 Thanksgiving centerpiece ideas to style your space with grace

21 Thanksgiving Table Decorations - Thanksgiving Table Decor Ideas

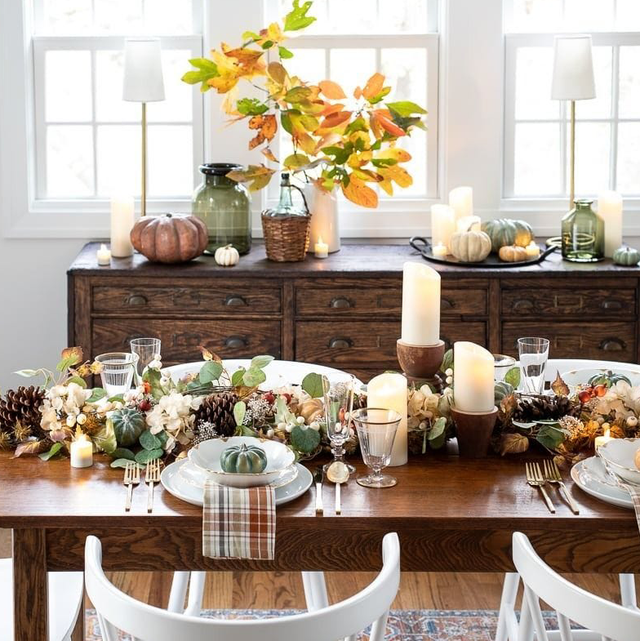
Elevate Your Celebration With These Stunning Thanksgiving Décor Ideas

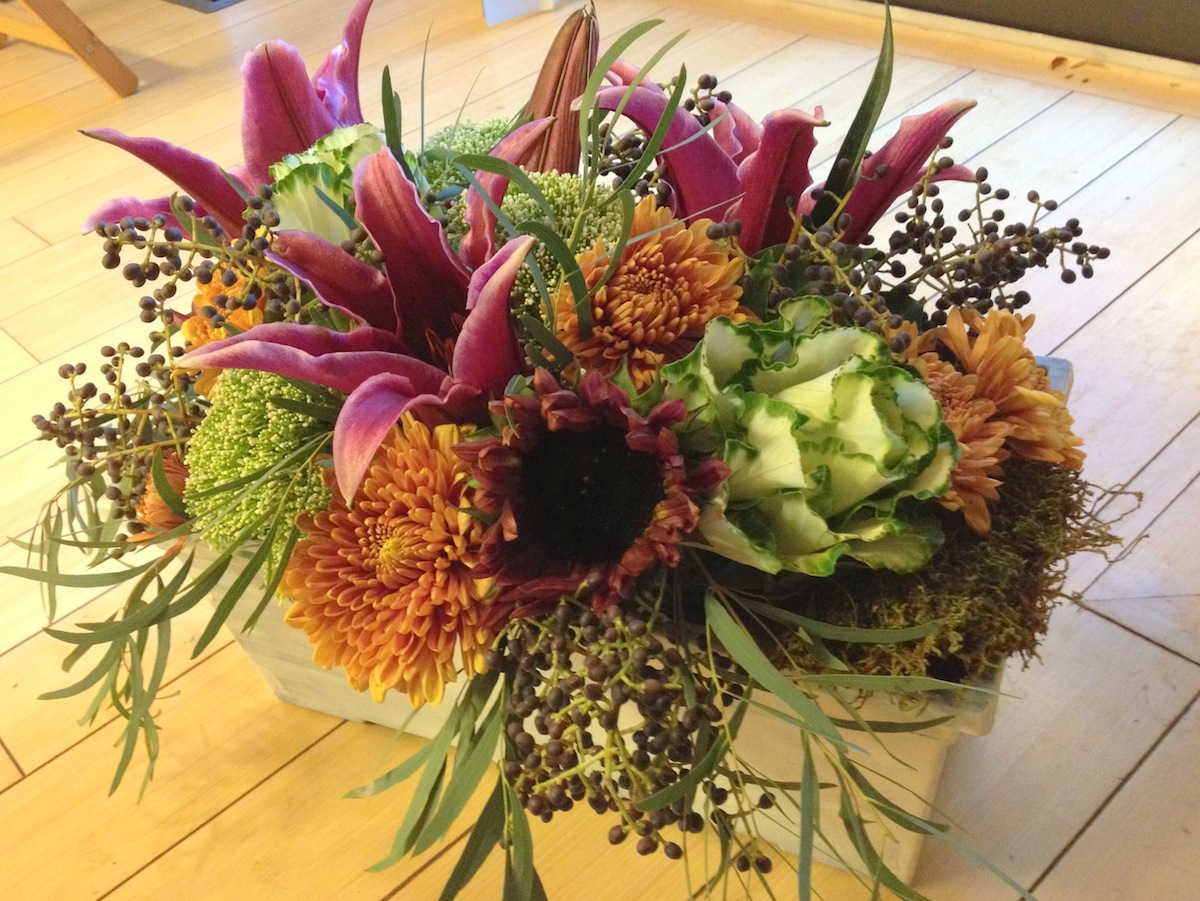
Dwell: Thanksgiving Centerpieces

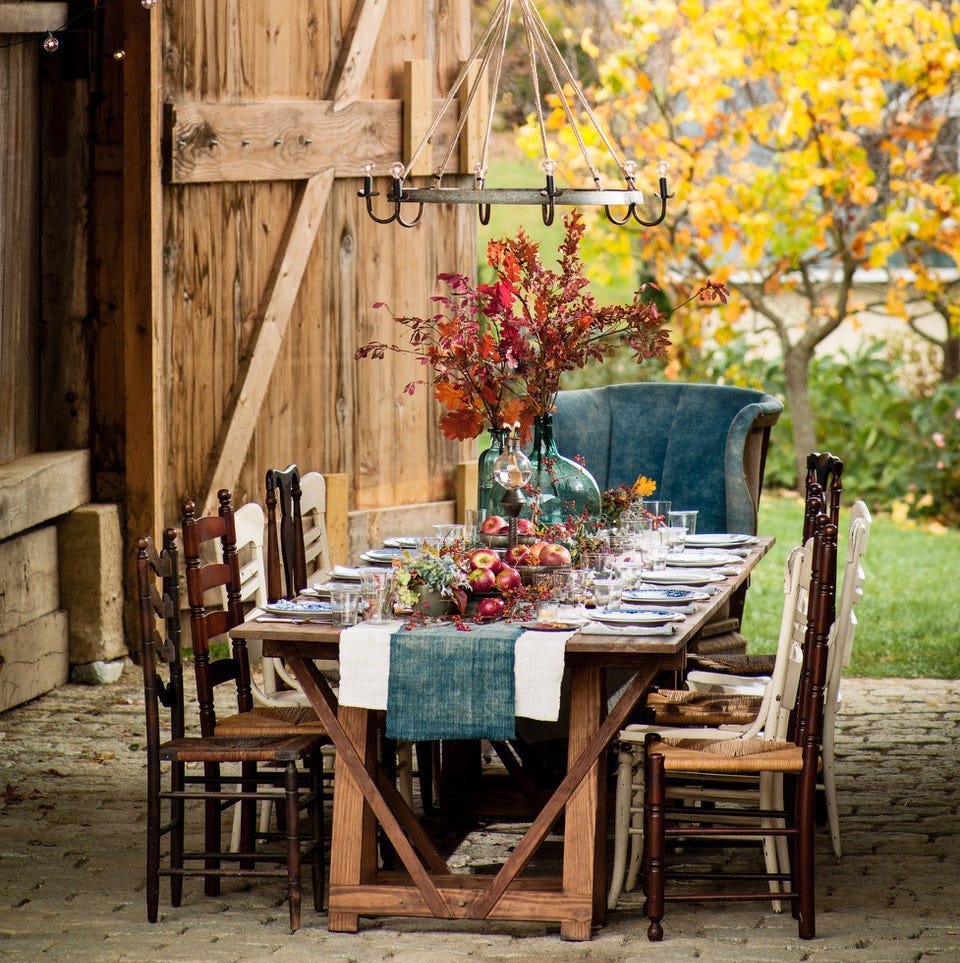
53 Refined Centerpiece Ideas for a Beautiful Thanksgiving Table

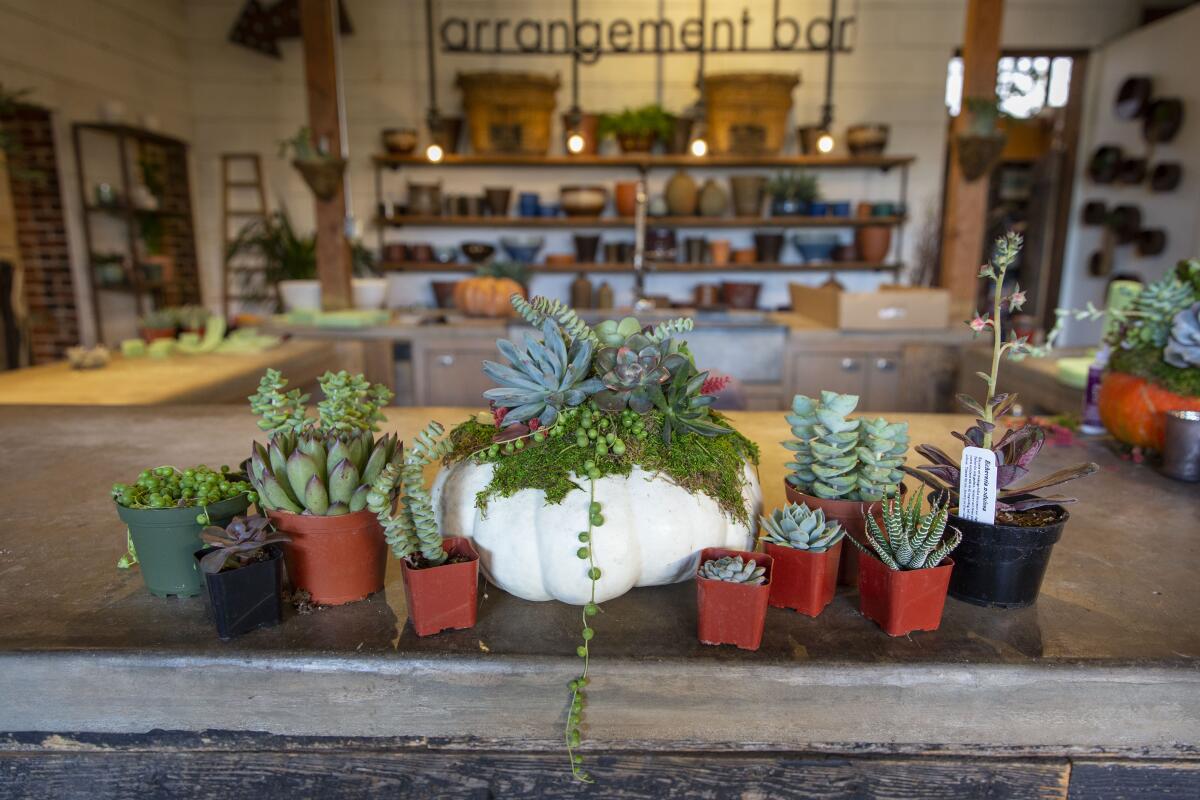
Succulent pumpkins make a great Thanksgiving centerpiece. Here’s how to DIY

Giving thanks in style

35 Fresh and Festive Ways to Dress Up Your Thanksgiving Table

Here's how to make your own Thanksgiving centerpiece with flowers from HEB

Create A Chic Light-Up Thanksgiving Centerpiece Using Affordable Dollar Tree Materials

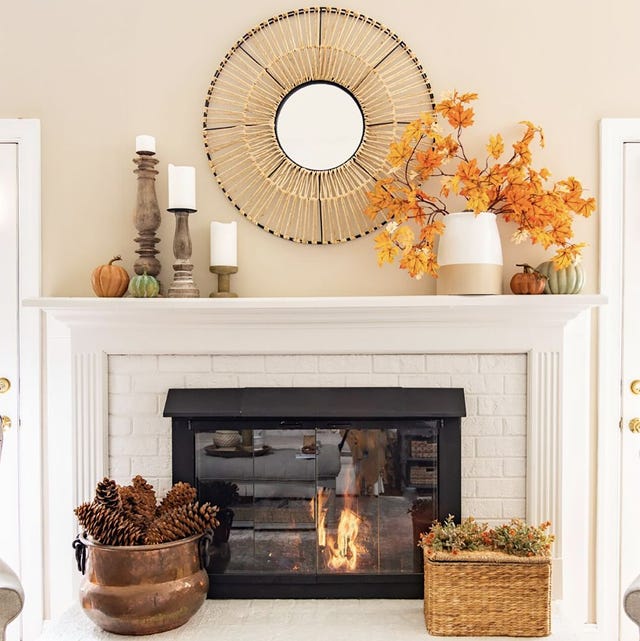
Welcome! These Thanksgiving Décor Ideas Will Instantly Warm Your Home
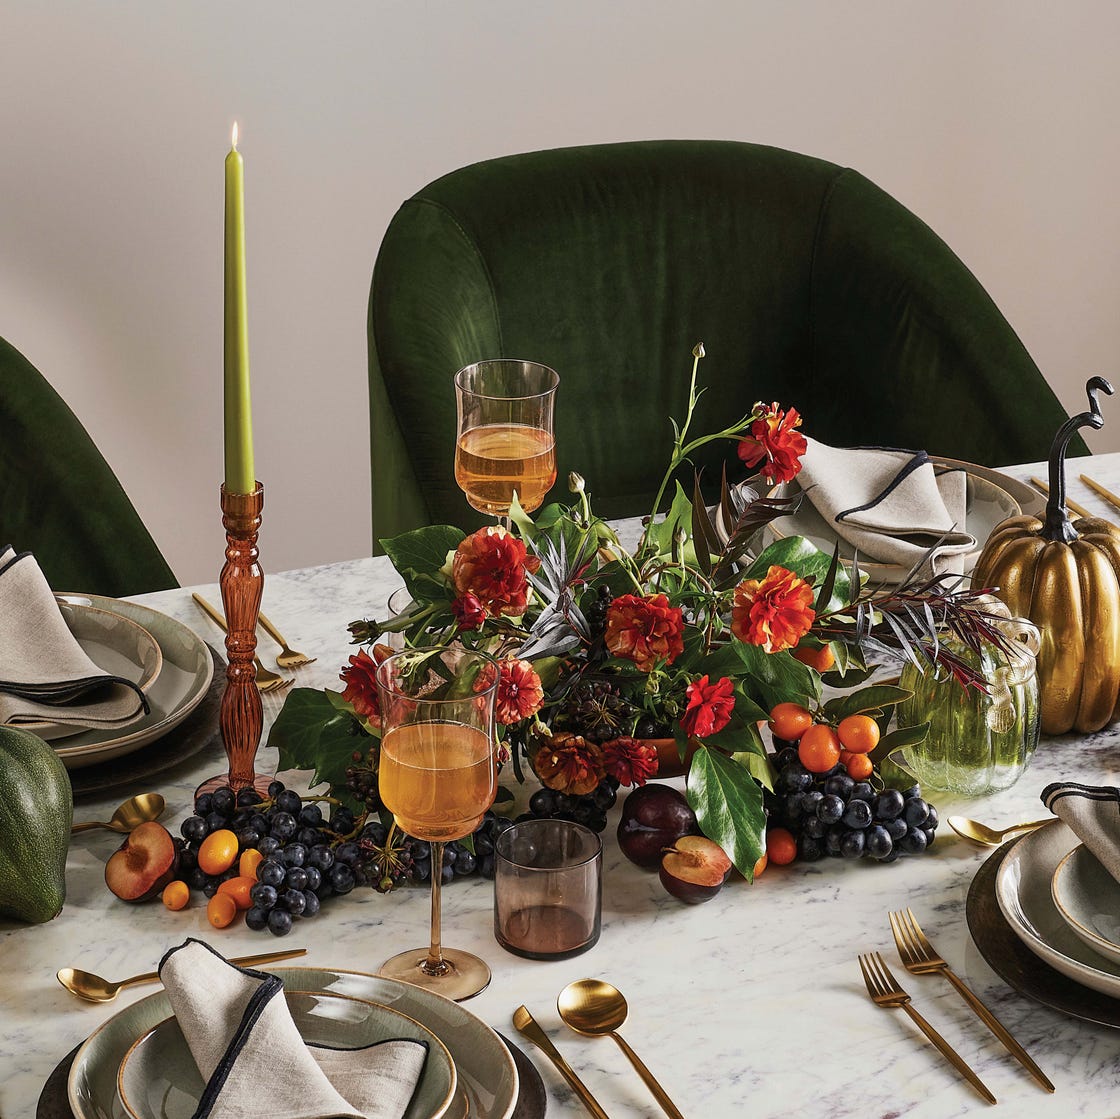
We’re Falling for These Chic Thanksgiving Table Centerpiece Ideas

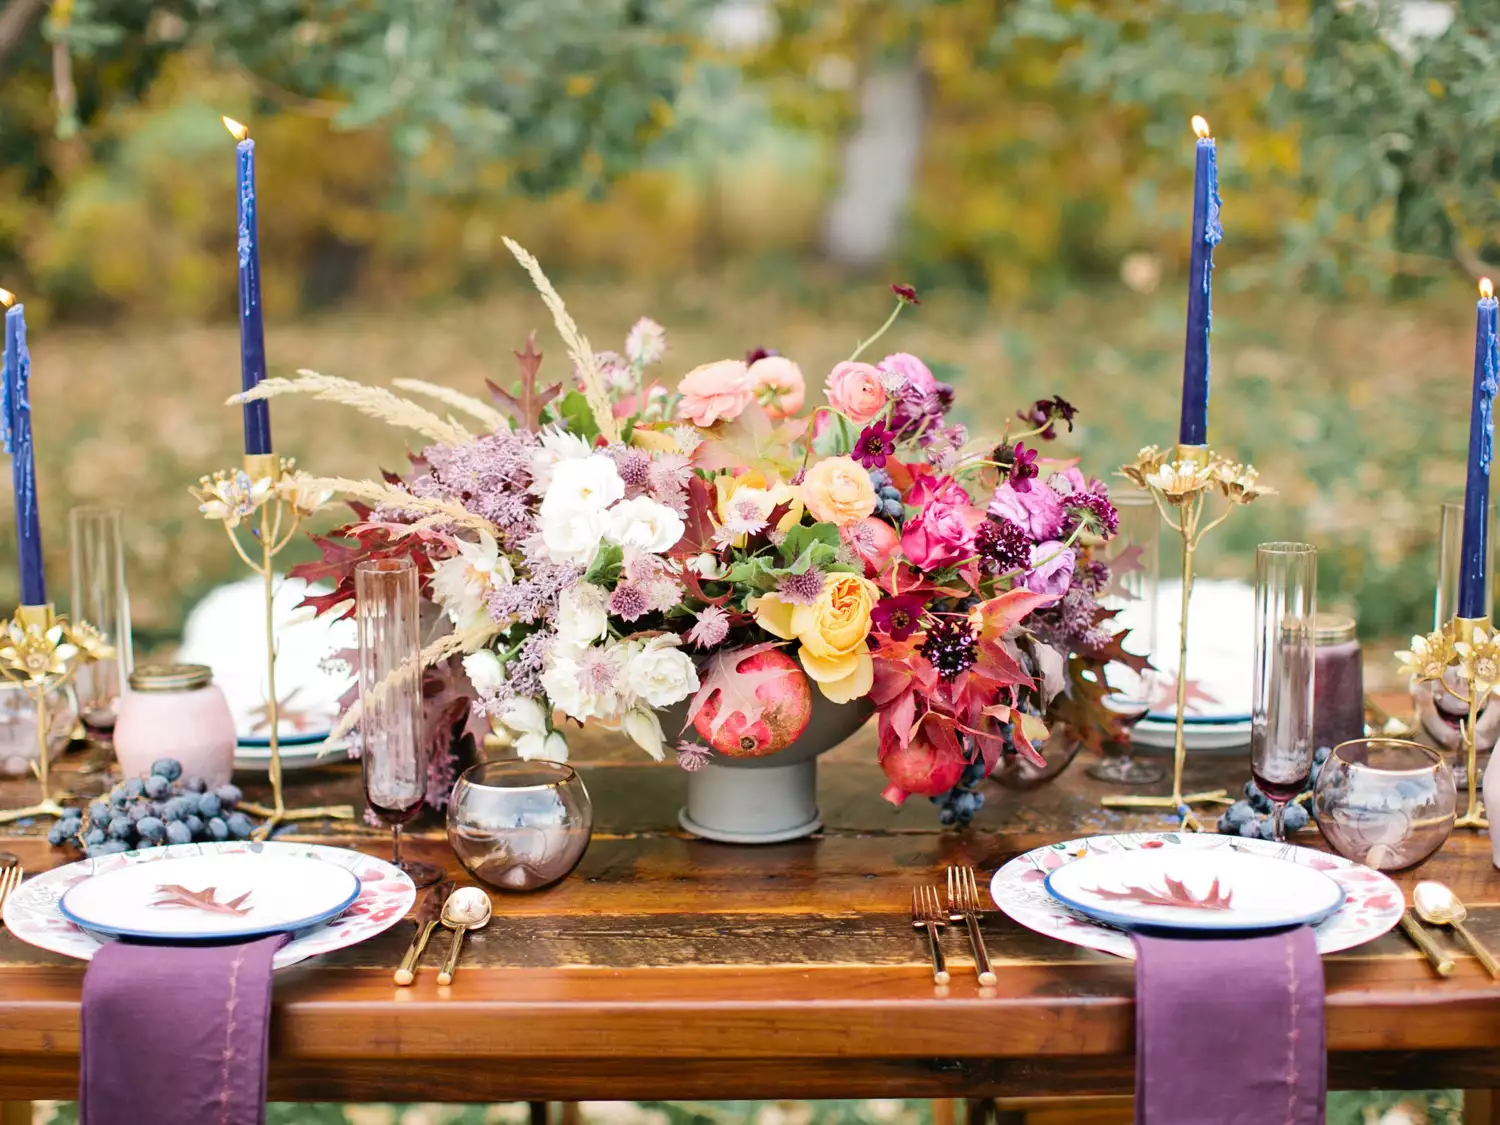
These 17 Thanksgiving Centerpieces Will Be the Talk of the Meal

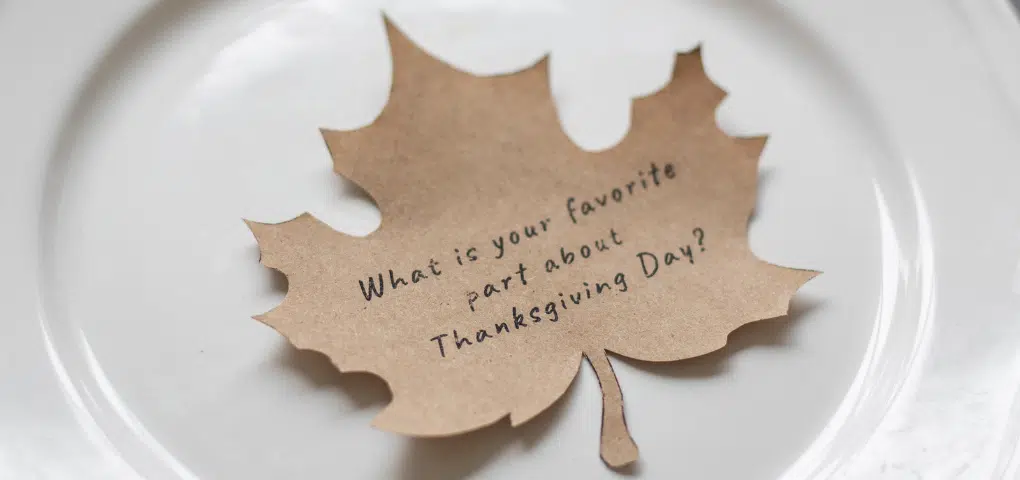
75 Thanksgiving Crafts 2023

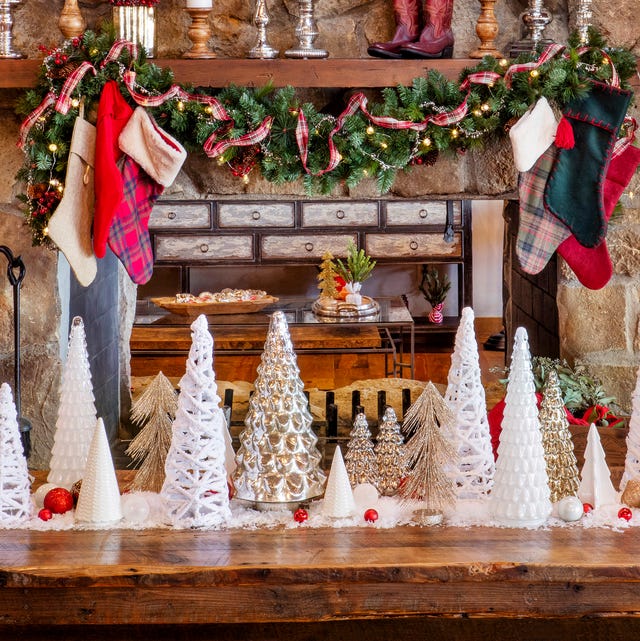
Spruce Up Your Christmas Table Décor With These DIY Centerpieces
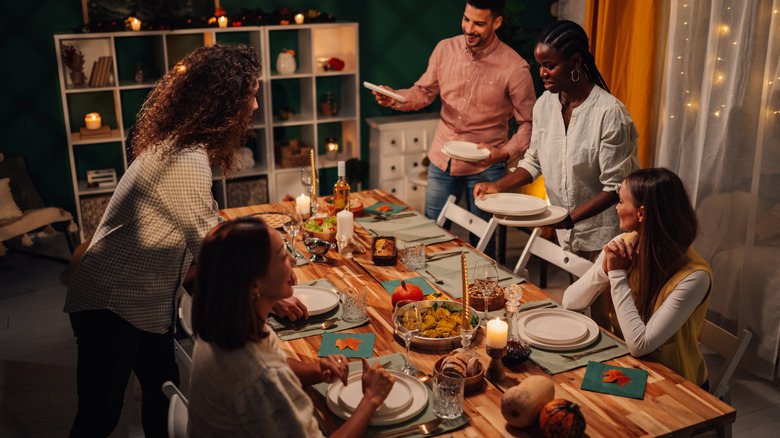
12 Unique Floral Arrangements That Set The Scene For A Lively Thanksgiving Gathering
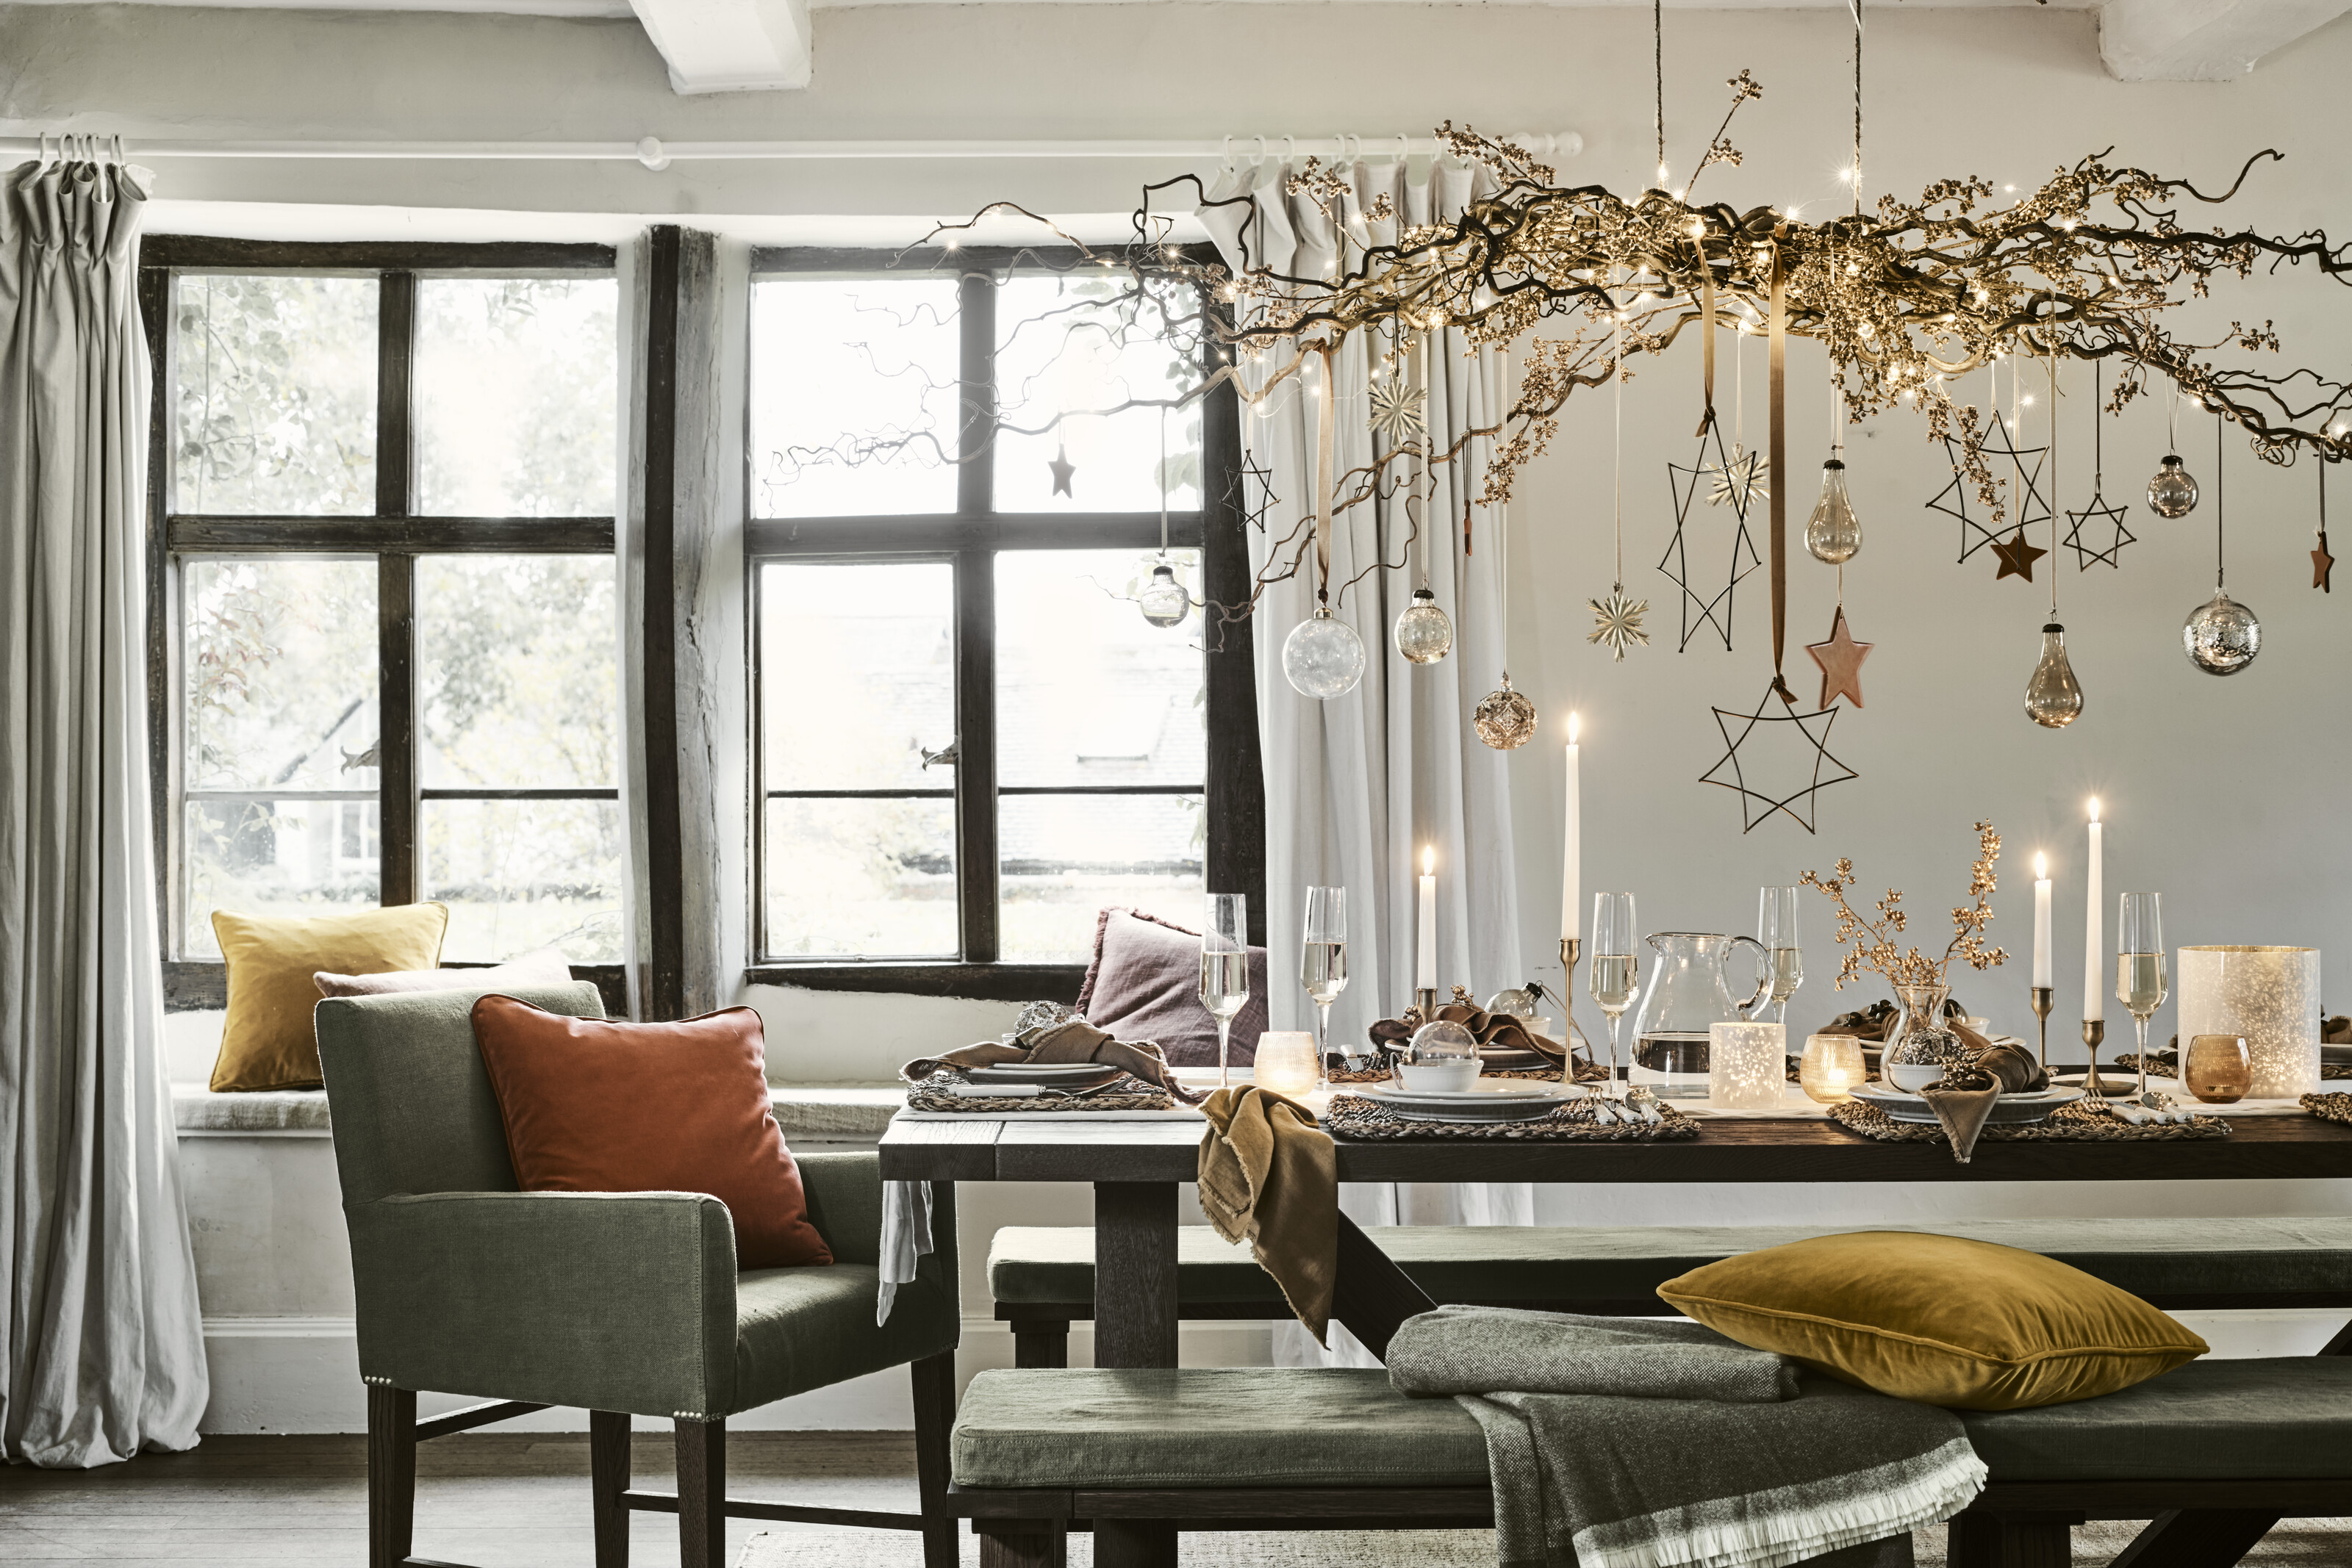
If You’re Planning a Holiday Centerpiece to Run Along Your Table, You’re Doing it Wrong — Here’s Why

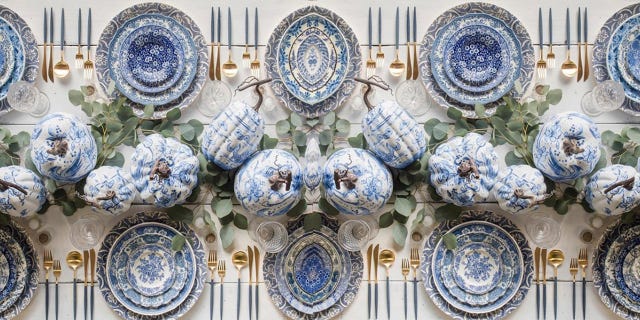
Classic and Chic Ideas for a Festive Thanksgiving Tablescape

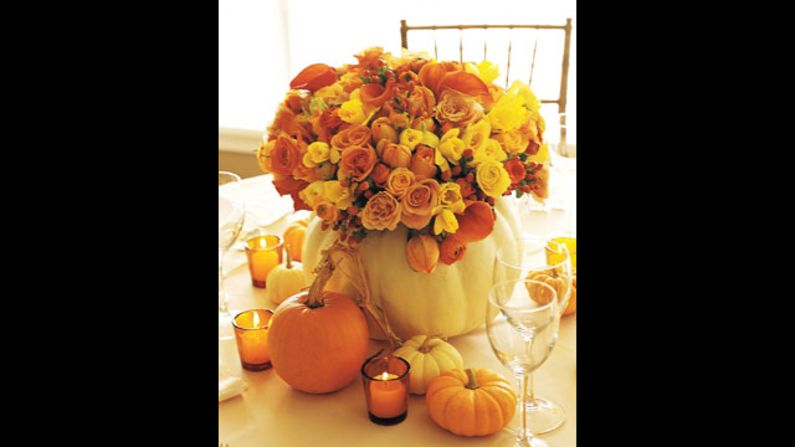
Fabulous fall centerpieces for Thanksgiving
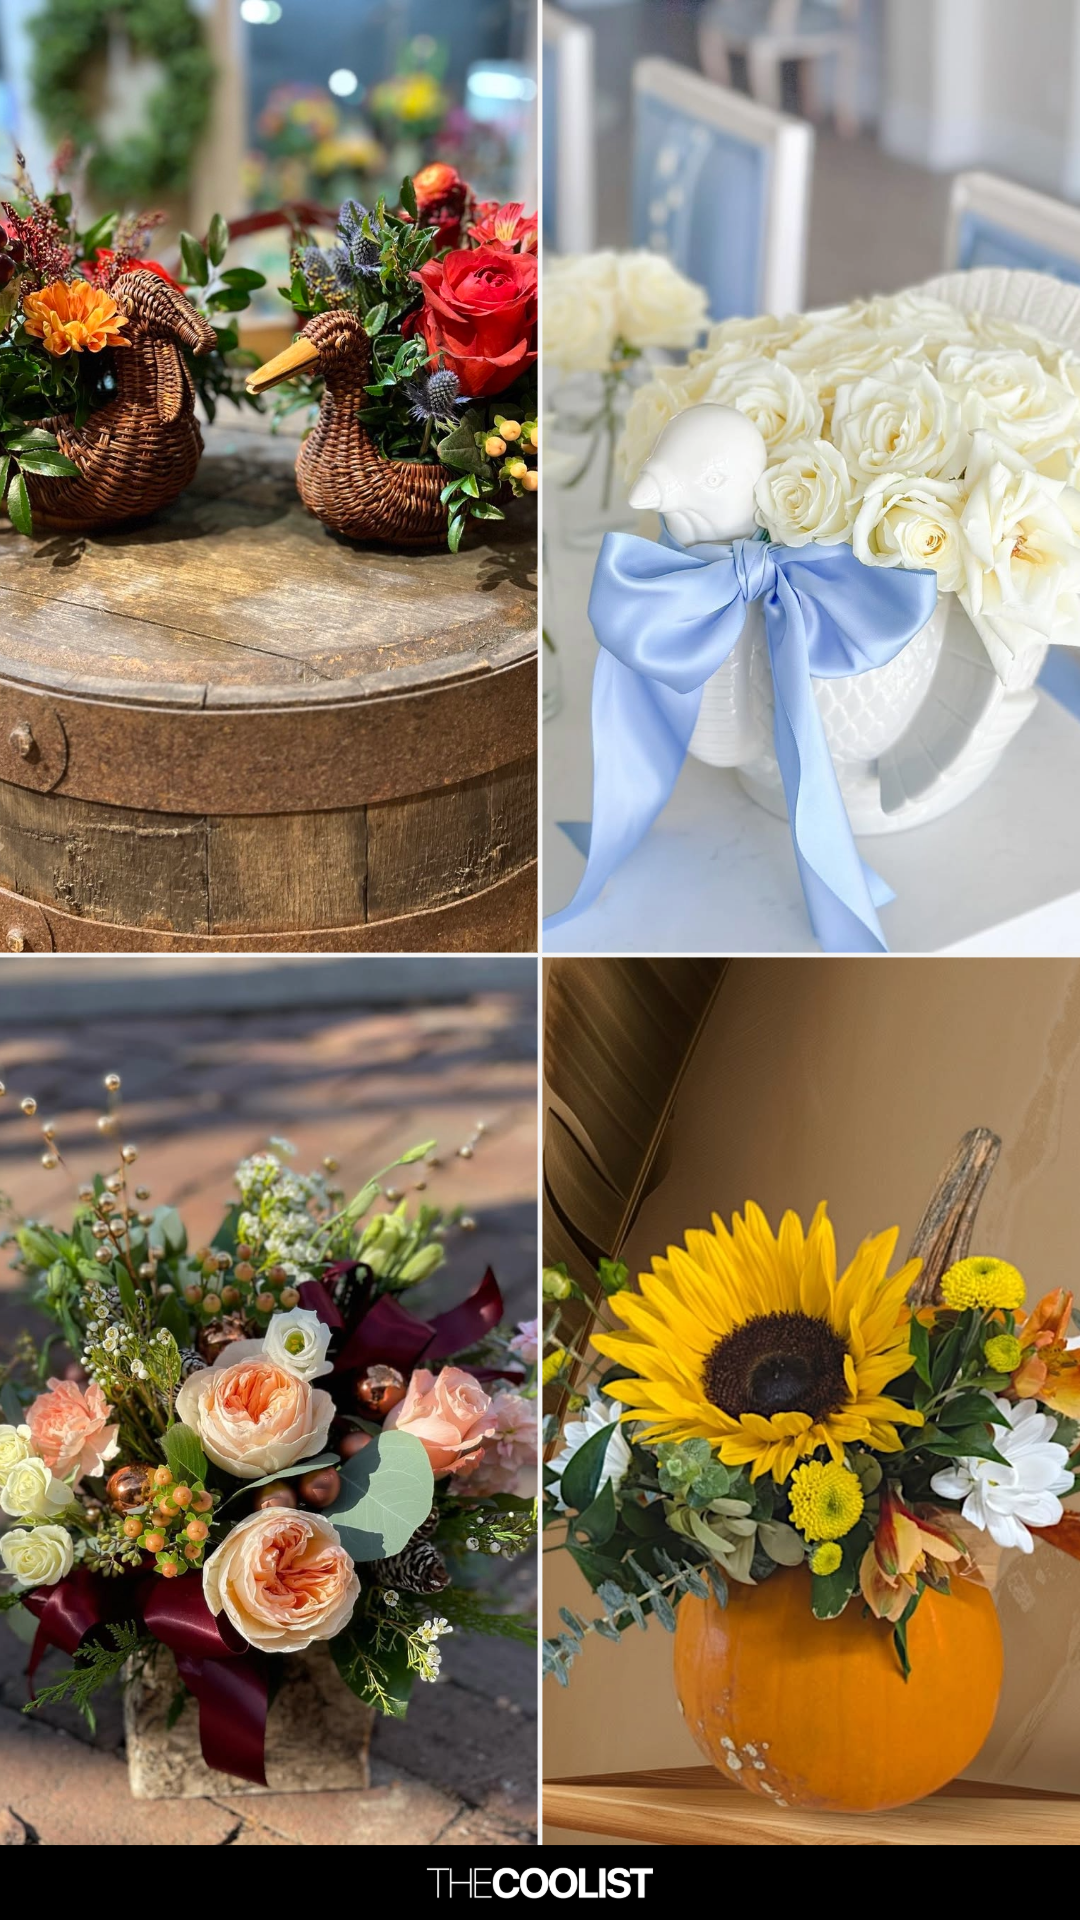
35 *Spellbindingly Epic* Thanksgiving Centerpiece Ideas That Turn Heads Instantly