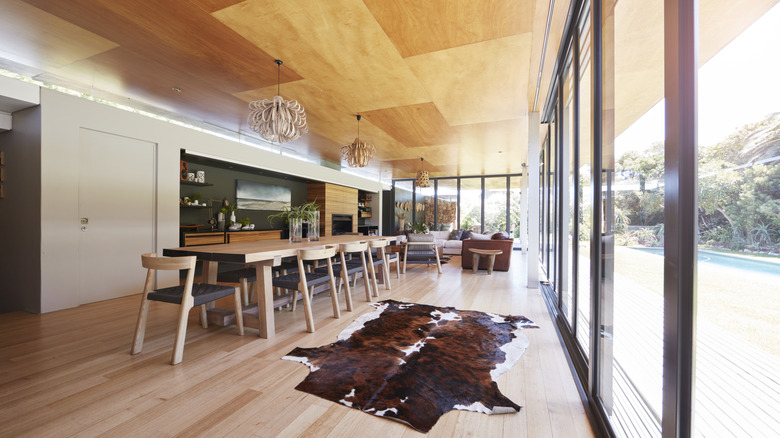
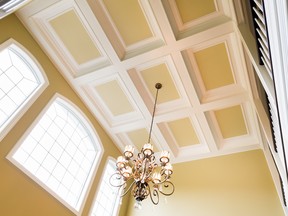
Handyman Hints: Creating the coffered ceiling
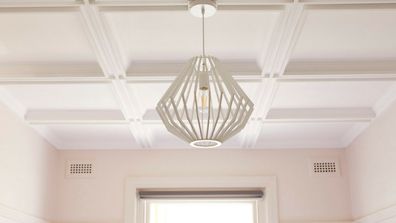
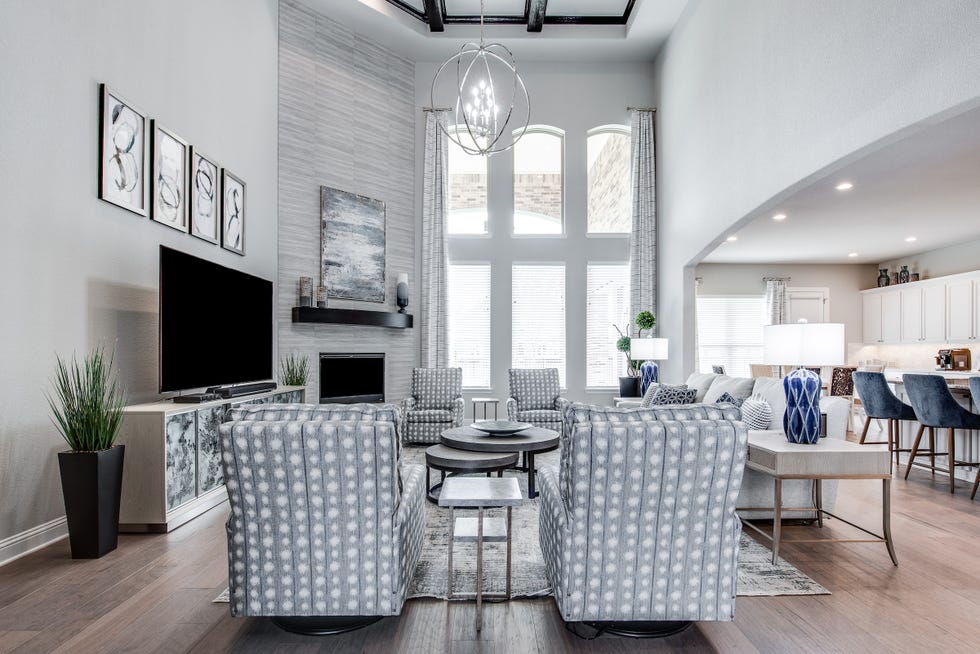
This article details the process of constructing a coffered ceiling, a decorative architectural feature that adds elegance and improved sound absorption to a room. While the term "coffer" traditionally refers to a box for valuables, a coffered ceiling is an architectural term for a ceiling finished with a series of boxed and recessed panels. The article clarifies that this type of ceiling is not typically used for hidden storage, despite the linguistic similarity.
The installation of a coffered ceiling involves creating multiple layers to achieve varying depths. The recommended depth of these beams or panels depends on the ceiling's existing height. For standard eight-foot ceilings, the depth should be limited to between 0.75 inches and 3.5 inches. For higher ceilings, such as those nine to ten feet tall, depths of six to eight inches are feasible. Despite their elaborate appearance, coffered ceilings are presented as a manageable do-it-yourself project, requiring basic carpentry skills, primarily accurate 45-degree cuts.
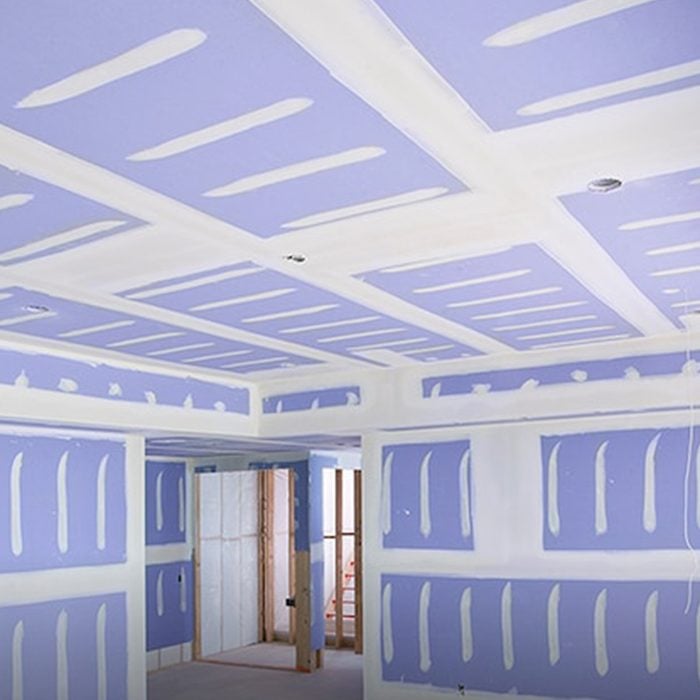
The initial step for an existing drywall ceiling is to locate the 1x3 strapping, which serves as the anchor for the new structure. This can be done by observing slight protrusions or cracks from drywall screws, using a magnetic or electronic stud-finder, or by employing the hammer and nail method. Once the first strapping is found, subsequent ones should be located every 16 inches on center. Before starting physical construction, it is recommended to plan the ceiling configuration on graph paper.
For a design featuring 2x2 foot squares using flat planks, the article suggests using 1x4 finger-jointed, primed pine instead of primed MDF due to pine's lighter weight, which is advantageous for ceiling structures. Installation should commence from the center of the room, unless a light fixture necessitates a slight modification in plank placement or square size. The longer planks are to be run perpendicularly and fastened into the ceiling's strapping. The shorter two-foot lengths can be attached to the drywall using glue and an air nail. The procedure for successful installation includes applying glue to the back of the planks, securing them with screws or air nails, and caulking the seams.
For those desiring deeper, more substantial beams, typically four to six inches deep, the anchor structure involves 2x4 or 2x6 spruce pieces. These are firmly installed with screws every 16 inches. A U-shaped, hollow beam can then be constructed and lifted into position, attaching to the spruce anchor. The article suggests forming the U-shaped beam using two pieces of 1x6 jointed pine for the sides and one piece of 1x4 jointed plank for the top. To enhance the aesthetic, the 1x4 top plank can be set in a slightly recessed position, approximately 1/8 inch in from the 1x6 sides.
#CofferedCeiling #DIYHomeImprovement #CeilingDesign #InteriorDecoration #Woodworking #HomeRenovation #ArchitecturalDetails #CofferedCeiling #DIYHomeImprovement #CeilingDesign #InteriorDecoration #Woodworking #HomeRenovation #ArchitecturalDetails
0 comment in total
 No comments yet
You may also like

10 Ways to Cover a Hideous Ceiling That Anyone Can Do

Why Scott Cam thought Spence was 'insane' for attempting a coffered ceiling


12 Stunning Ceiling Design Ideas That Will Have You Looking Up All Day Long

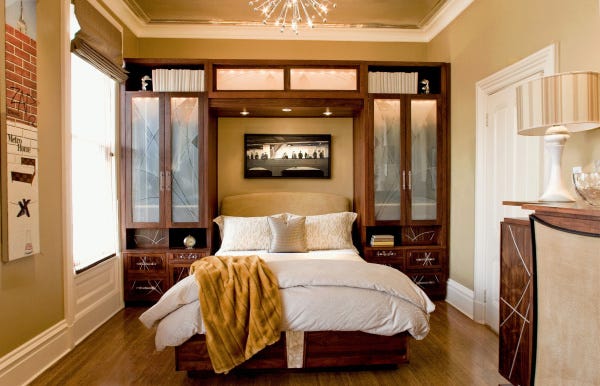
Ceiling makeovers uplifting

7 Glamorous Hacks to Transform a Boring White Ceiling

7 ceiling design ideas to add character to your home


Ask the Builder: This ceiling-hugging suspended ceiling system is a winner

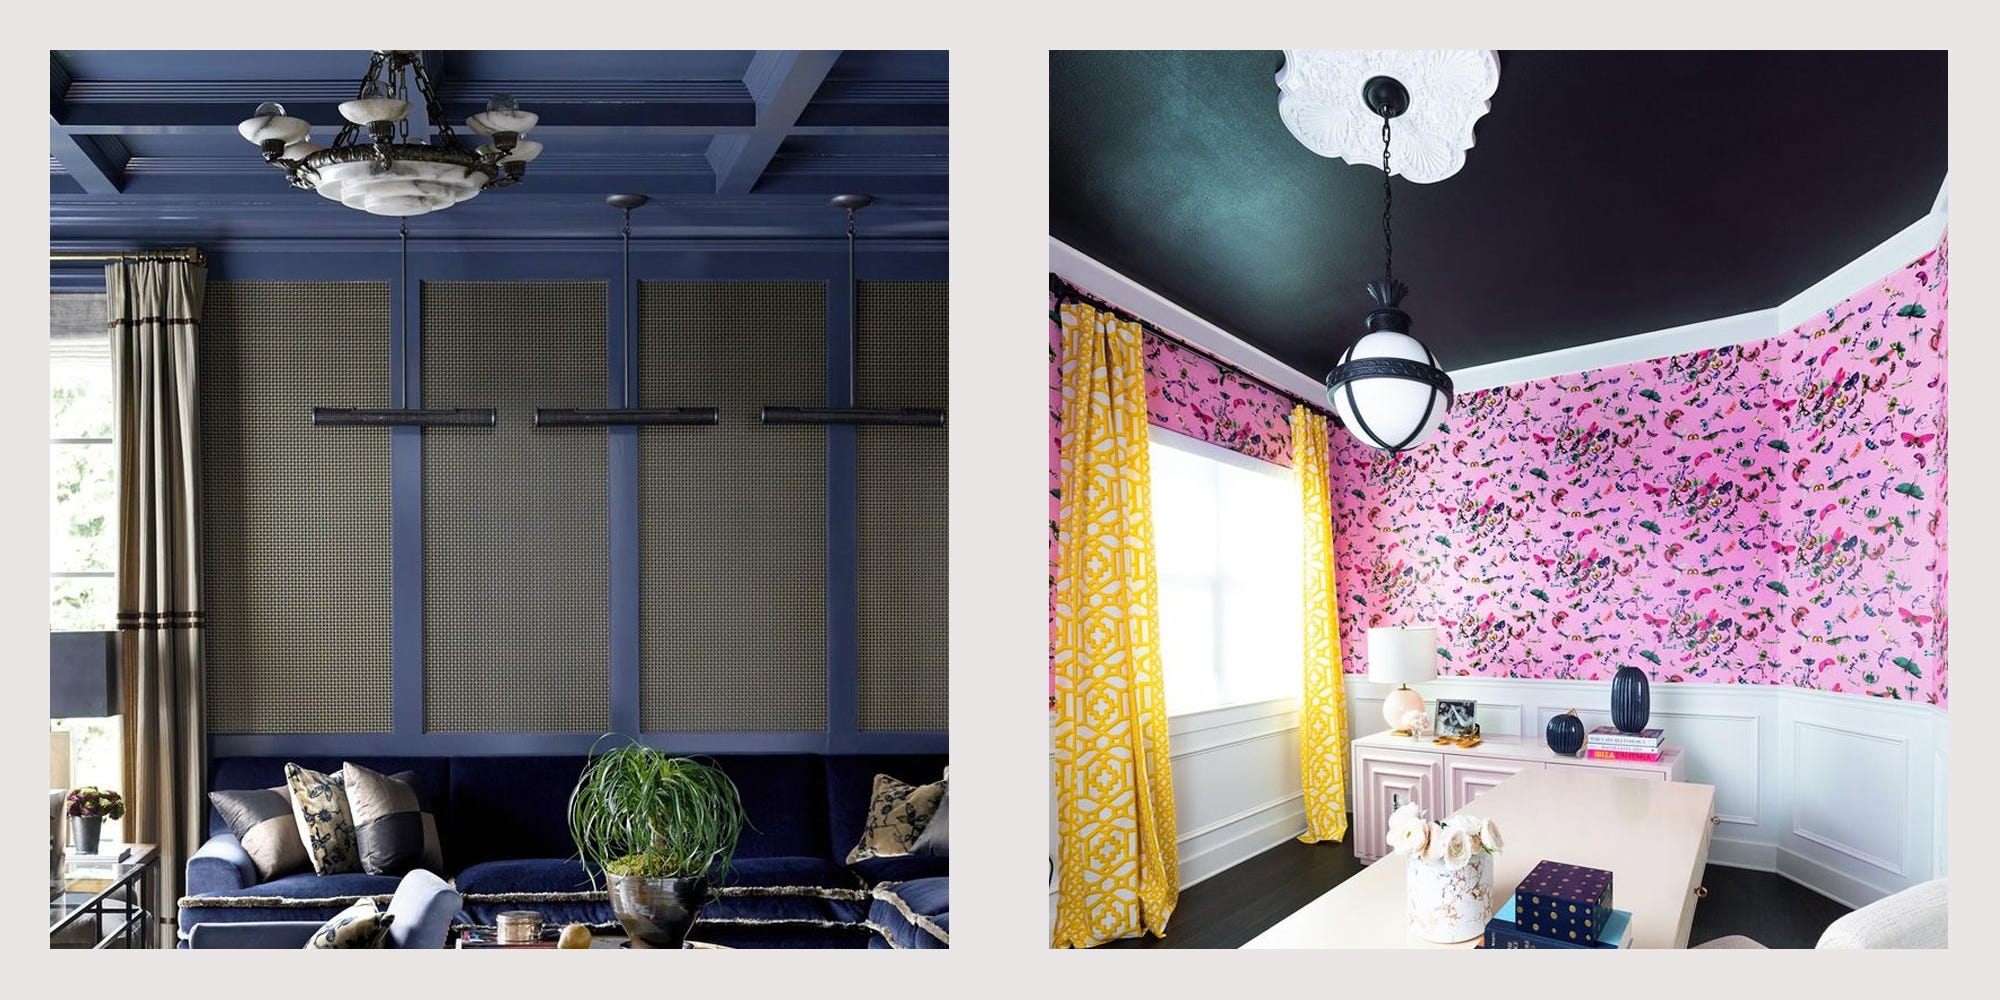
Trend Alert: Here’s How To Perfect The Painted Ceiling Look


Coving | Ceiling Coving


Decorative and architectural ceiling solutions

Ceiling Carrier System - Combi-Line from Hunter Douglas Architectural (Europe)


How to Decorate a Room with a High Ceiling, According to Designers
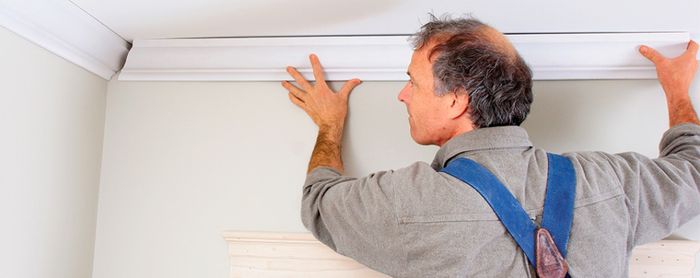
Quick Coffered Ceilings

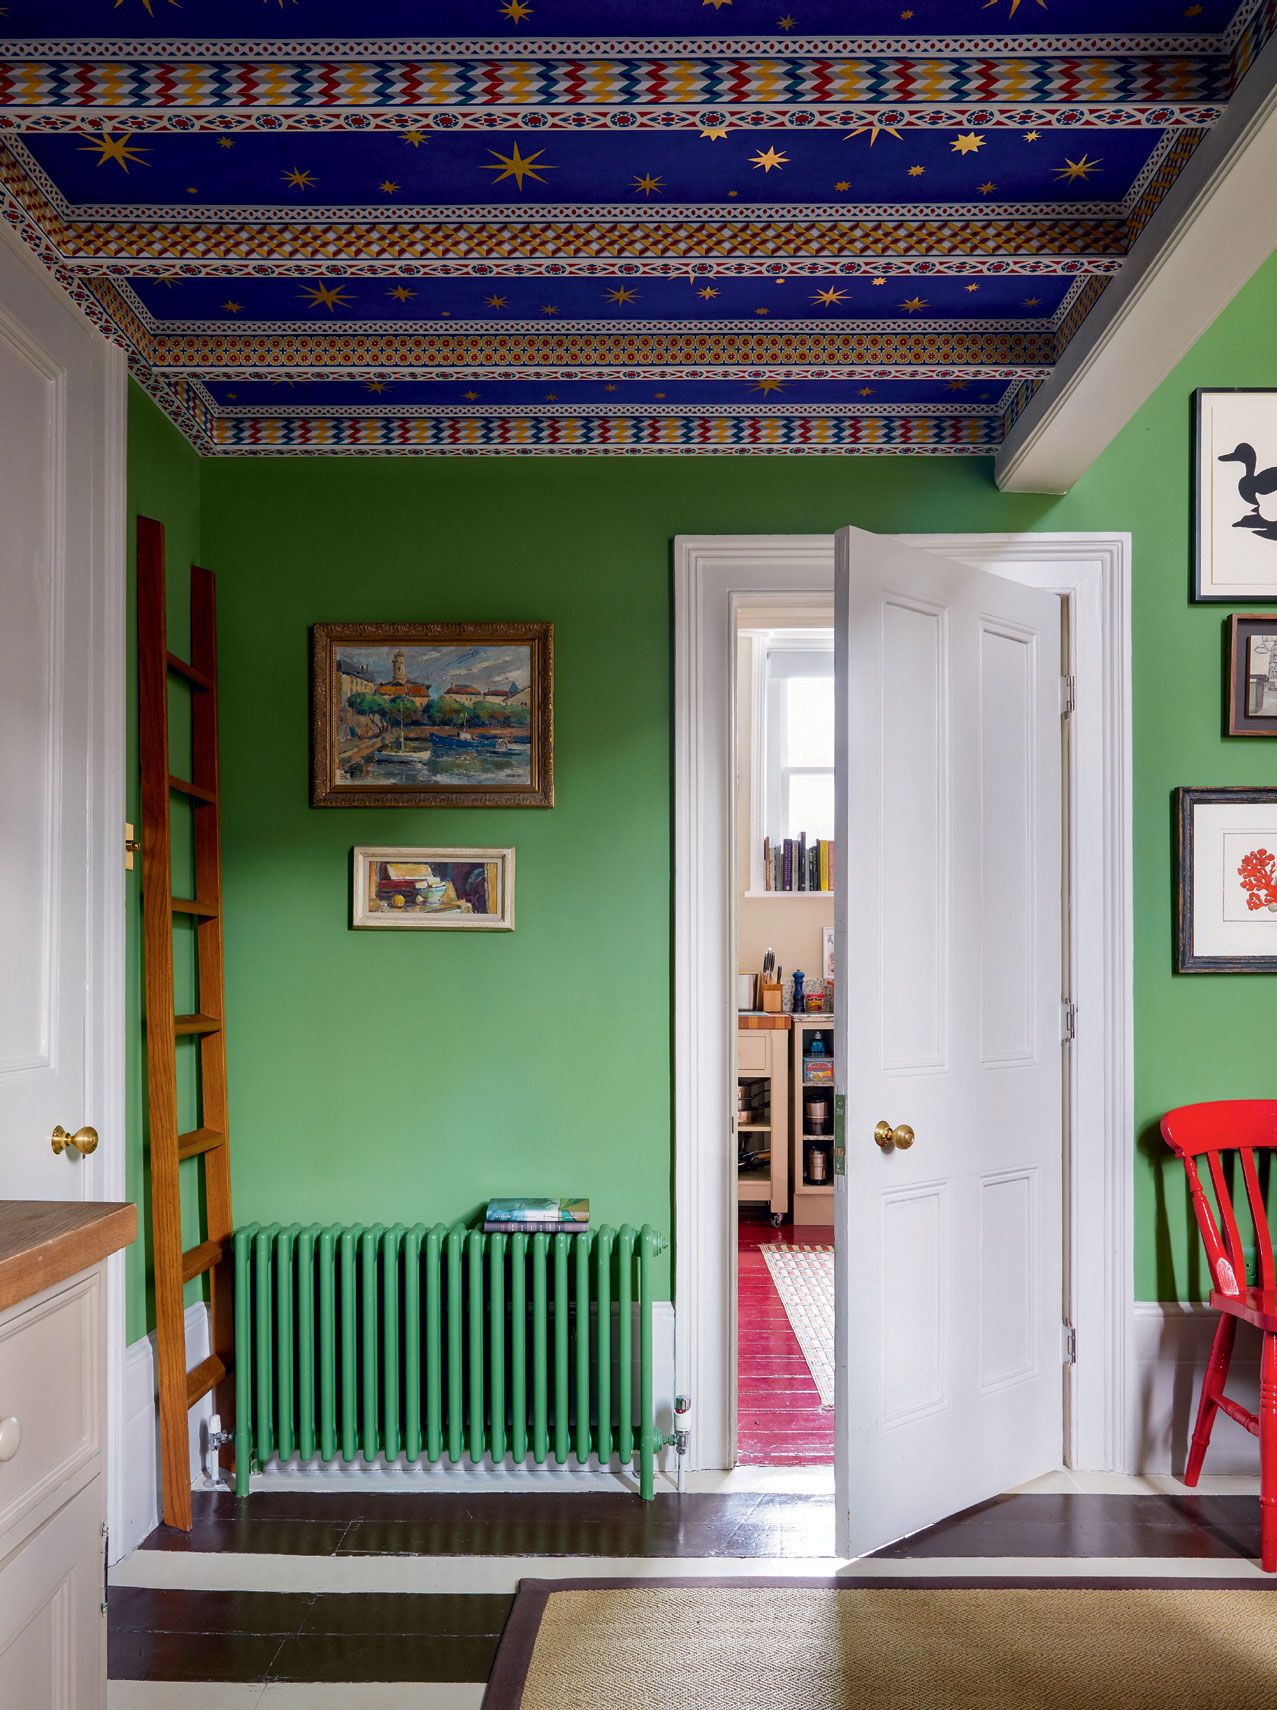
30 ways to decorate a ceiling (with no boring white in sight)

"Barrel Vault Ceilings" Might Be the Architectural Detail of the Moment — These Projects Will Show You Why

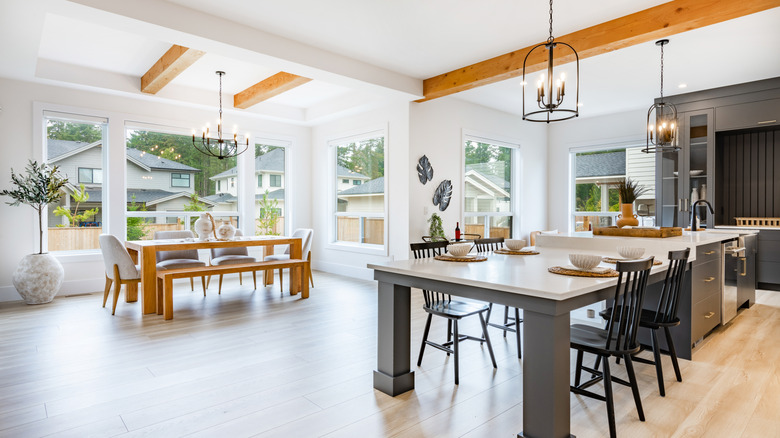
Top Ceiling Trends You Can Expect To See More Of In 2025
Can't Stand Your Generic Basement Ceiling? This DIY Project Will Make It Stunning


Designer-Approved Tips to Make the Most of High Ceilings

Design, Debated — Can You Put Decorative Ceiling Trim in a Modern Home? And More Importantly, Should You?
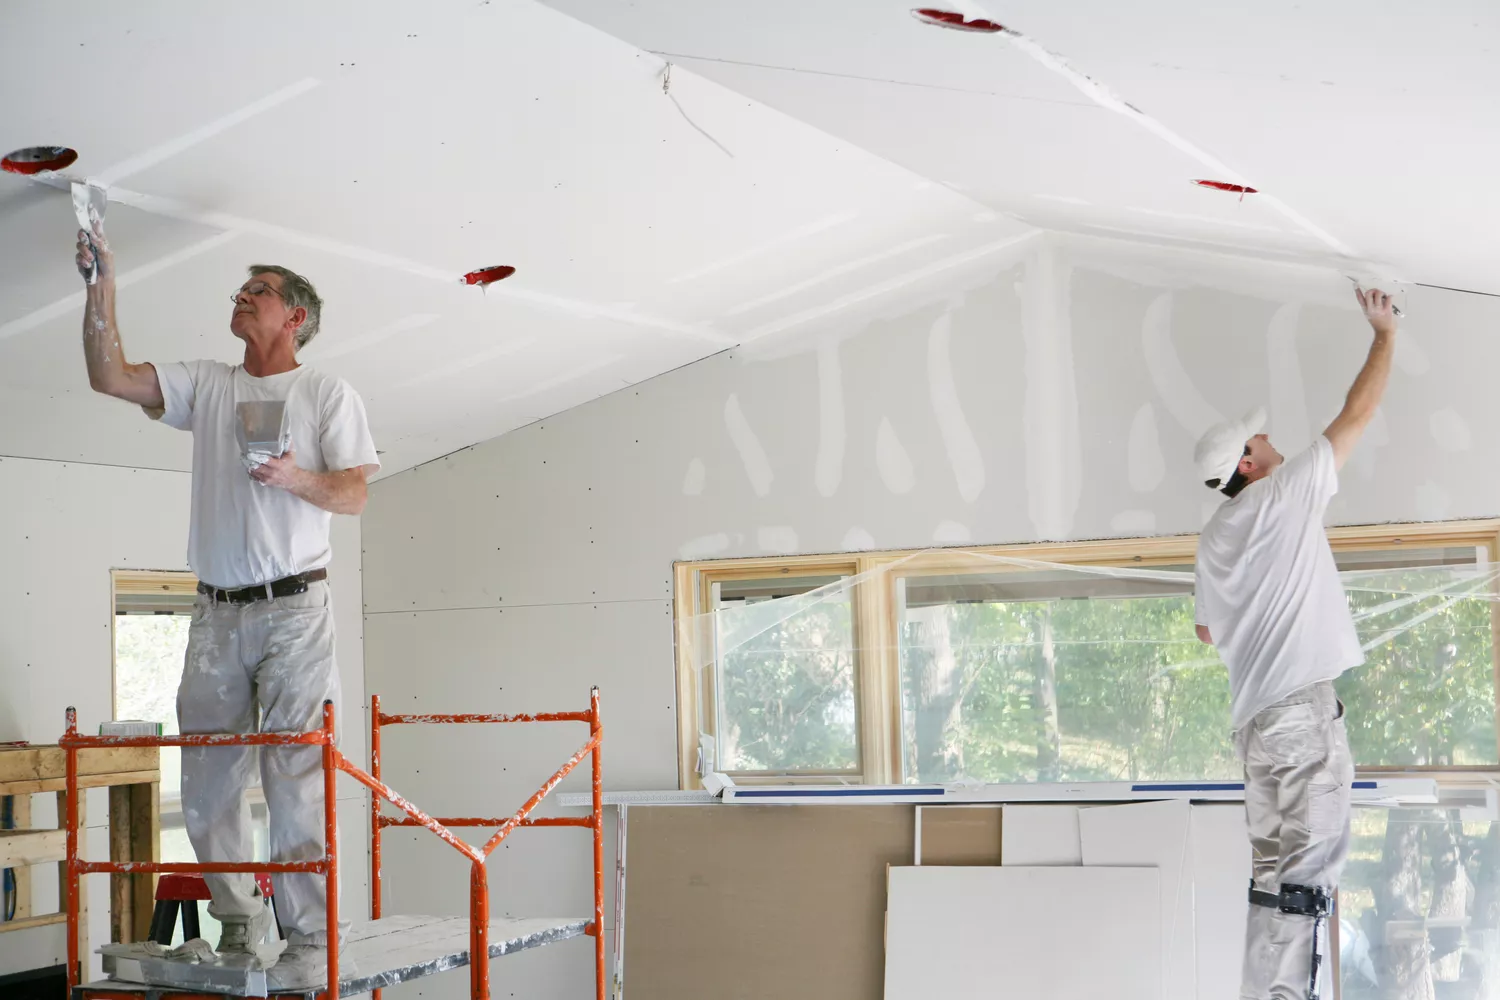
How to Convert a Flat Ceiling to Vaulted