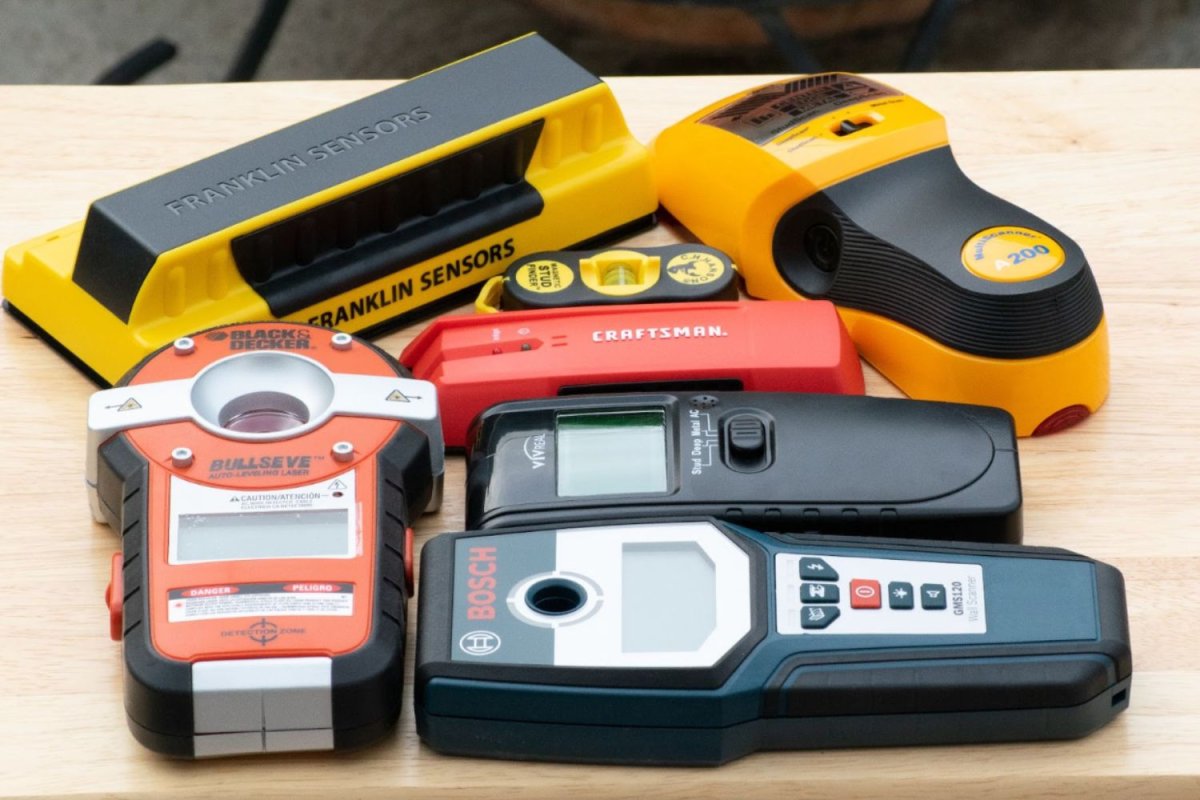
Stud-finders, a must-have tool, could be useful for your home
Before embarking on any home improvement project that involves hanging items on walls, understanding the structural components of a home and utilizing the right tools is crucial. One such essential tool is the stud finder, particularly when dealing with drywall installations. Studs are the vertical wooden beams, typically 2x4 or 2x6 inches, that form the underlying framework of a wall. Drywall is then applied over this frame, creating the interior surface. In the case of masonry homes, which are constructed with concrete, 'furring' strips (one inch by one-and-a-half inches) are often attached to the concrete blocks, and the drywall is then affixed to these strips. Identifying these studs or furring strips is vital for securely mounting heavy objects such as flatscreen TVs, artwork, or shelves, preventing them from falling and causing damage or injury. The article emphasizes that a stud finder is considered one of the 12 essential tools for any homeowner's toolbox.
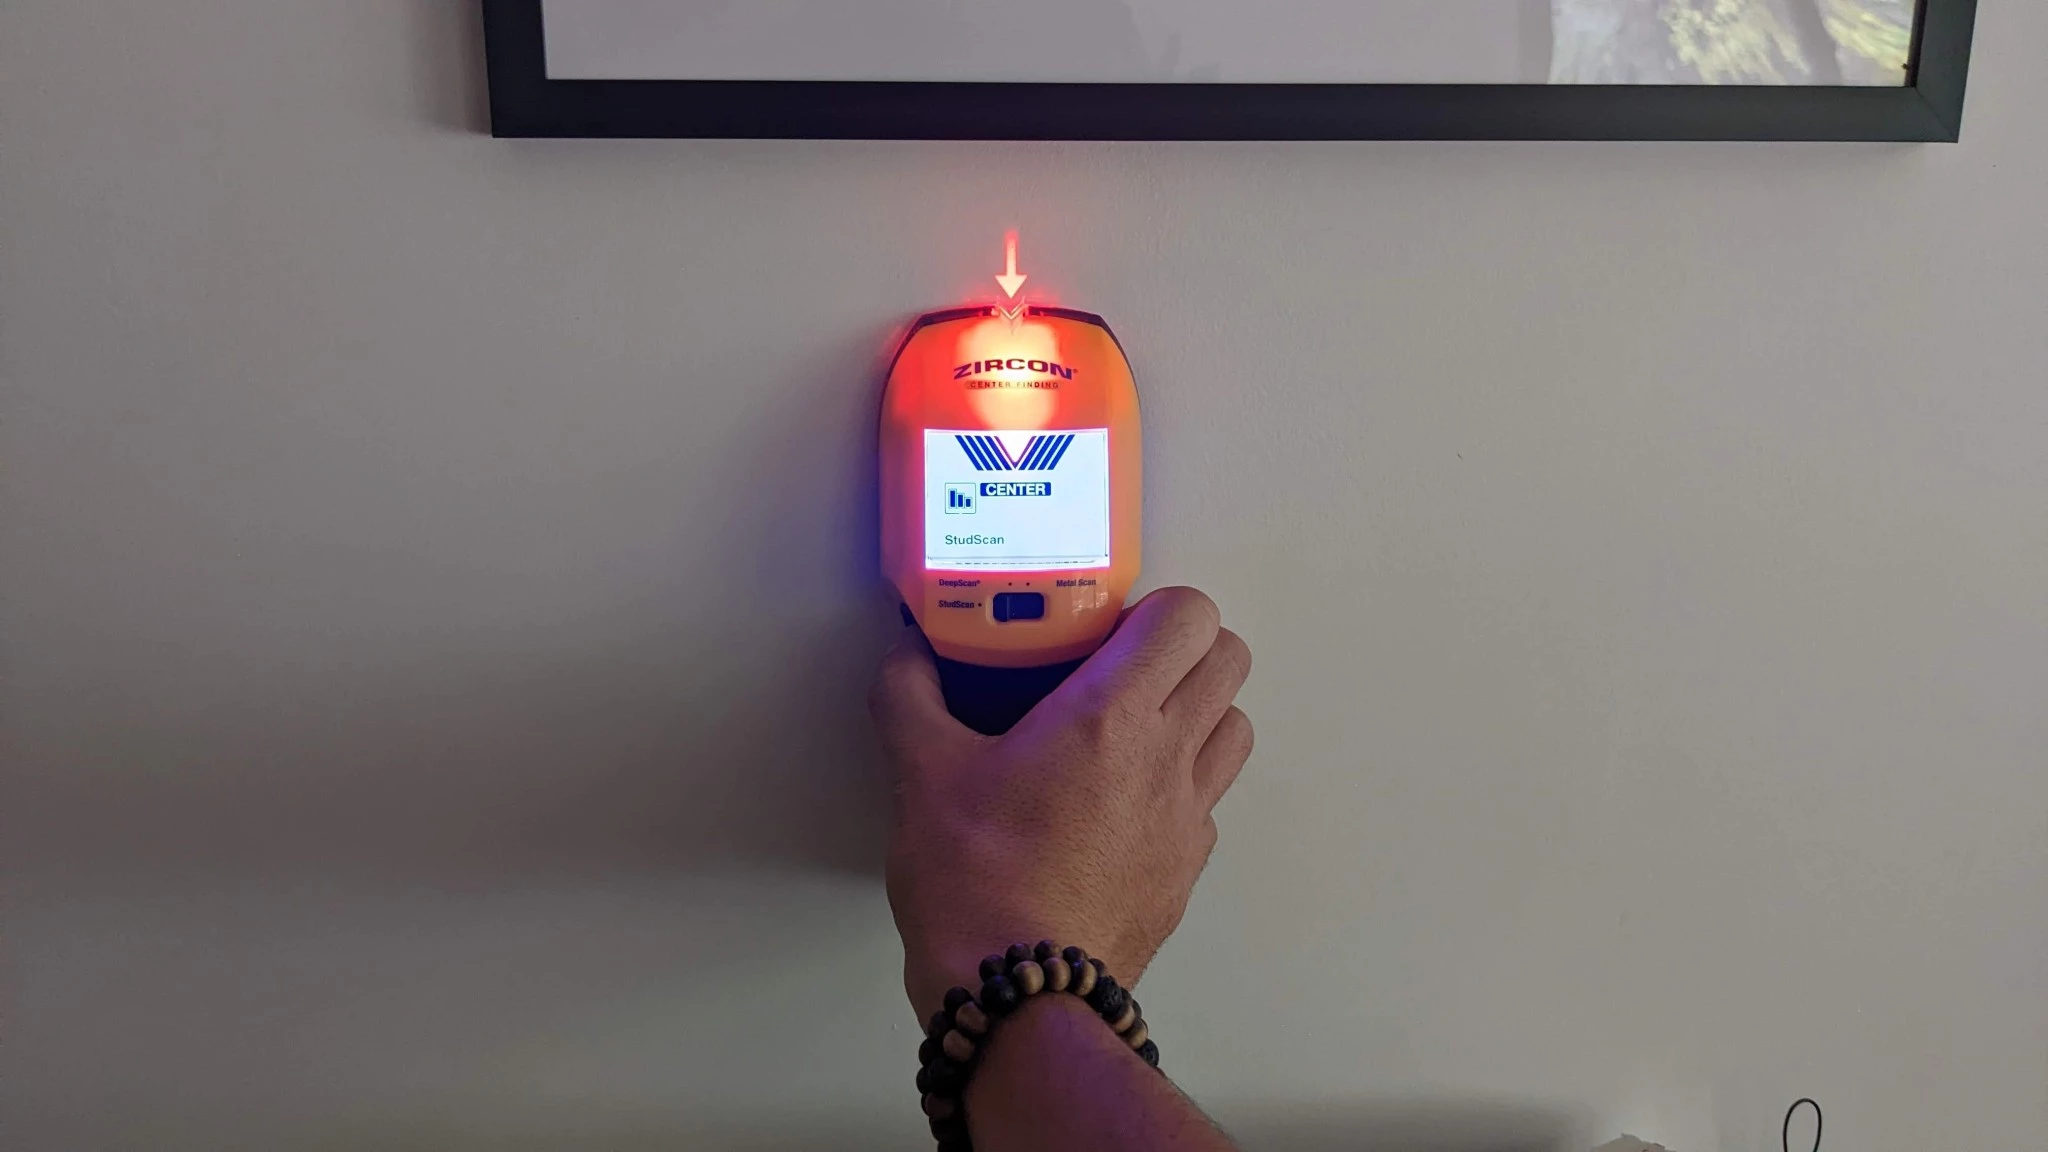
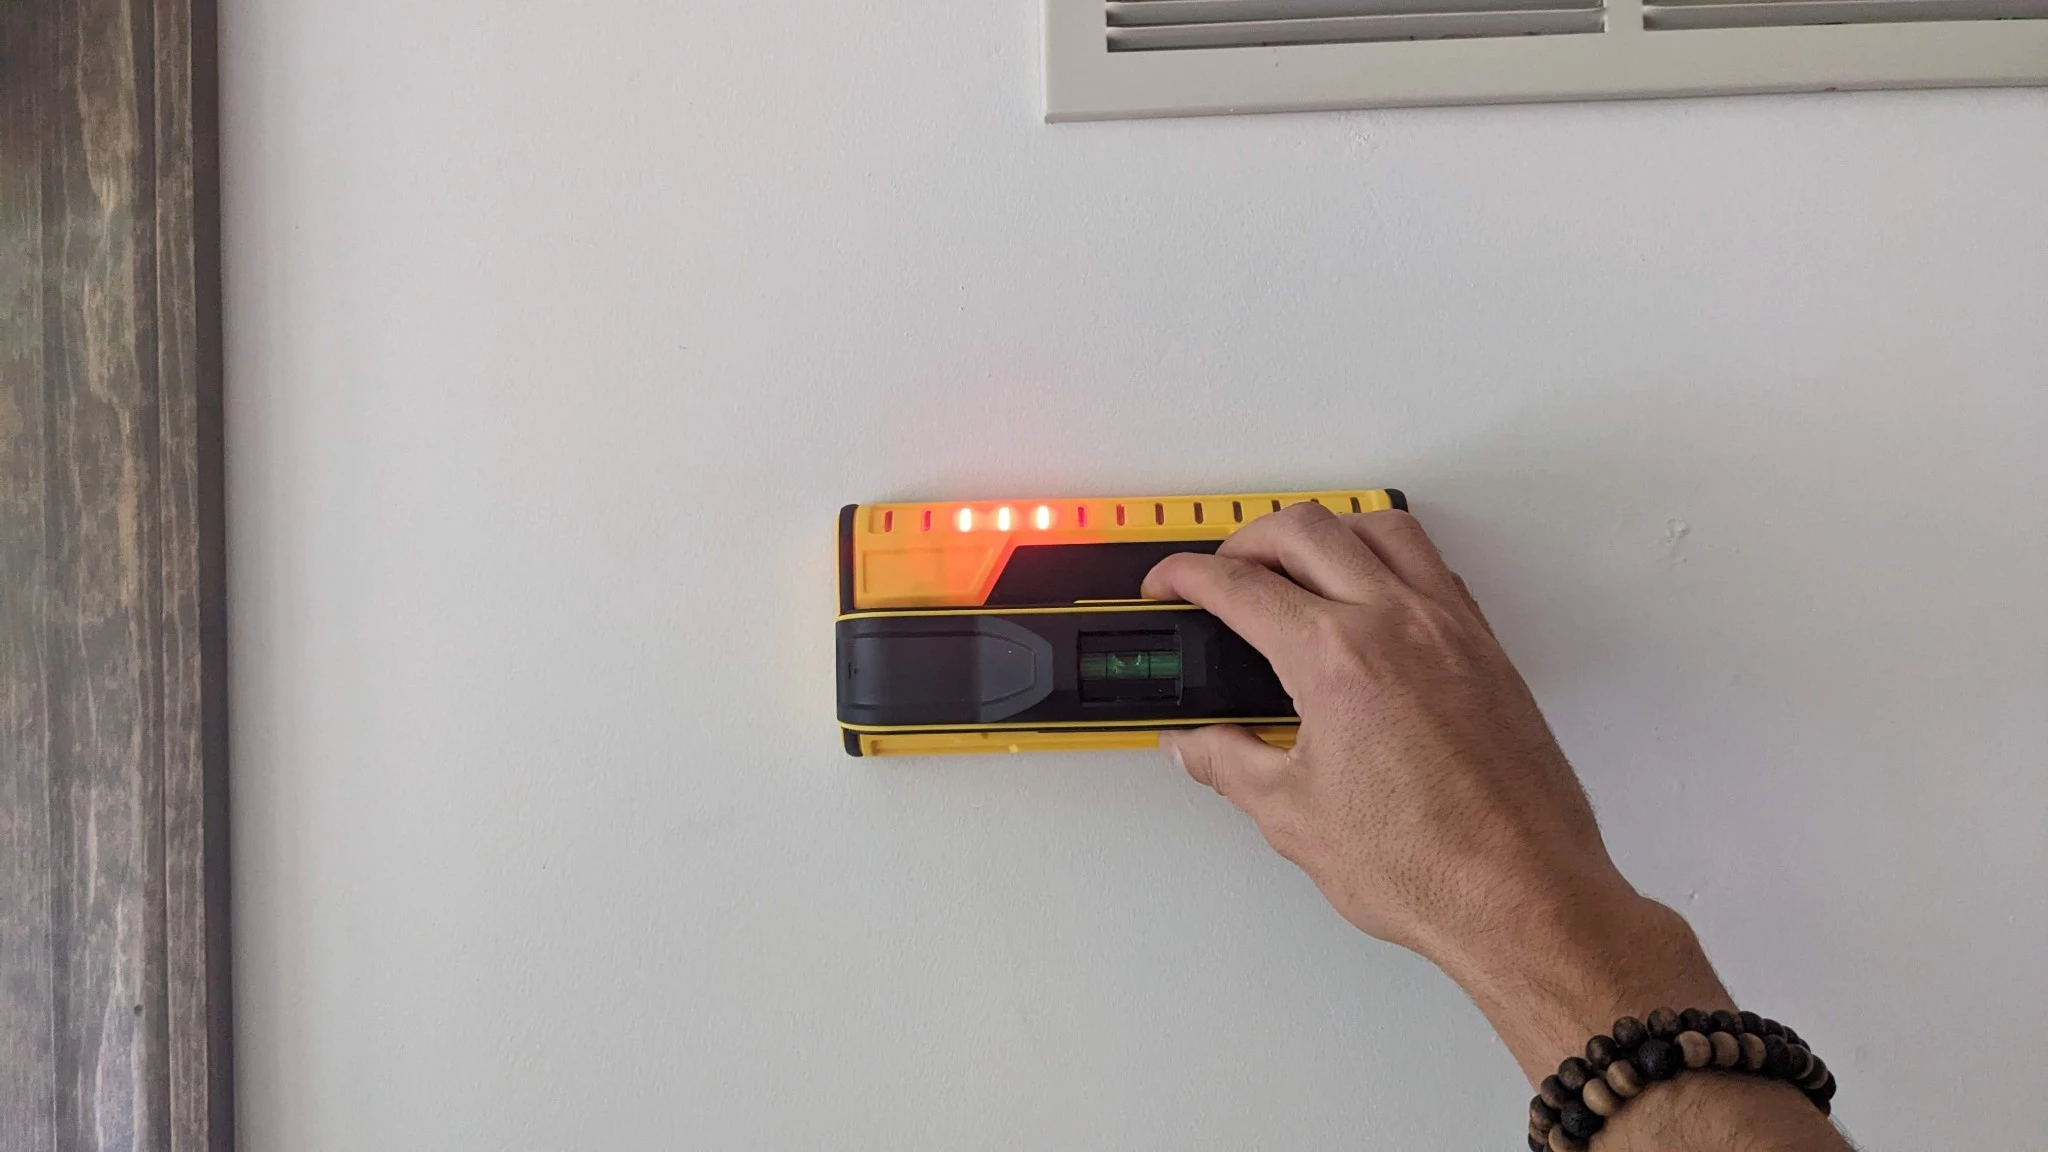
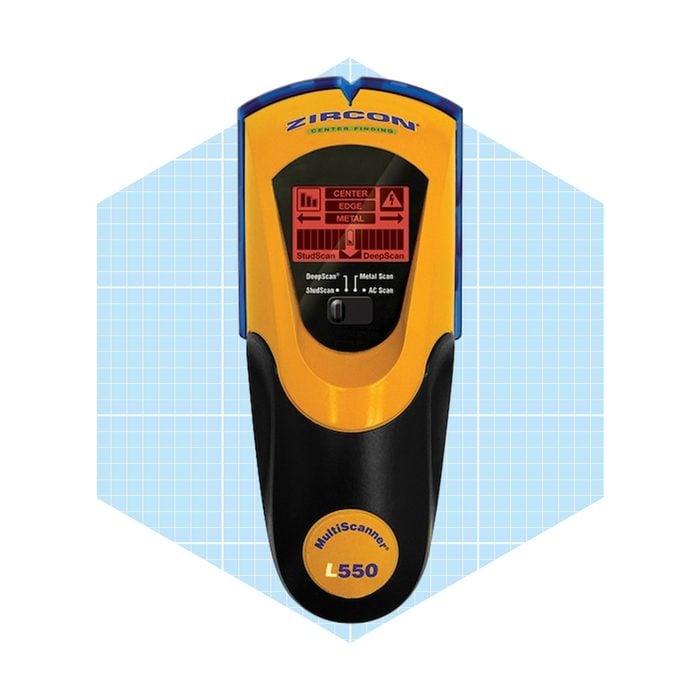
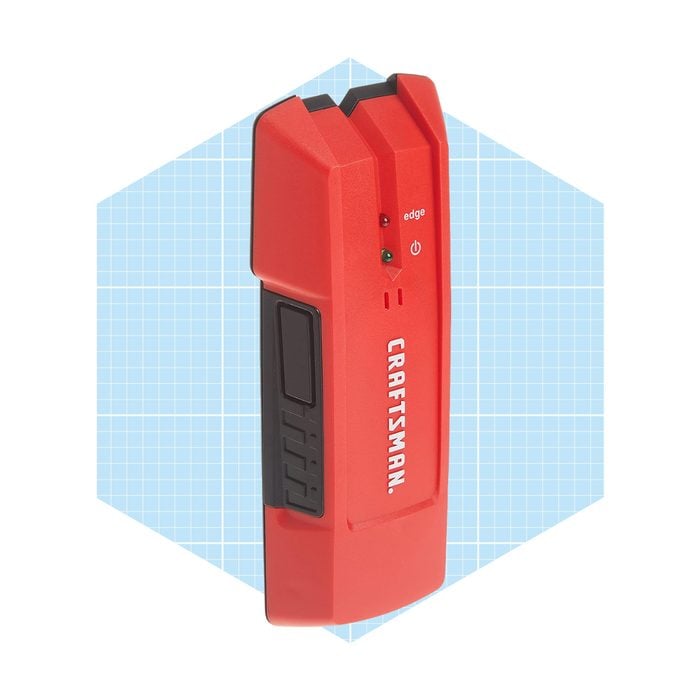
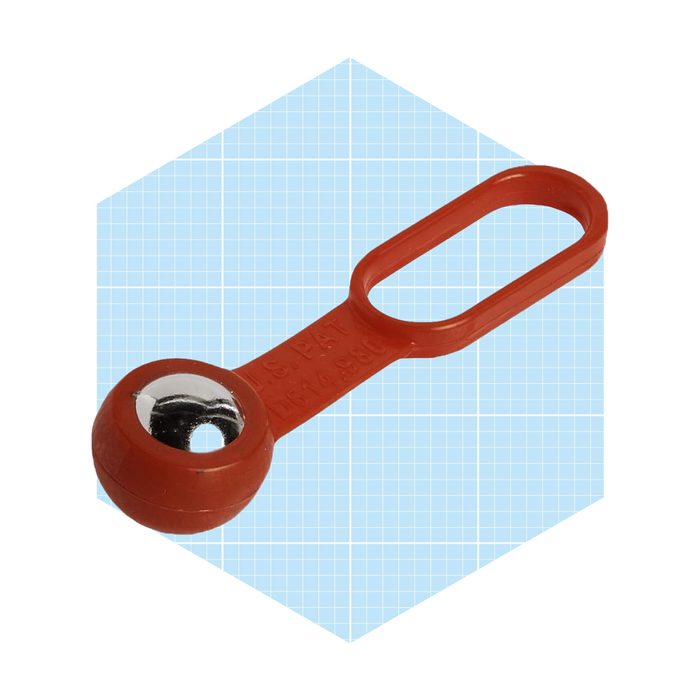
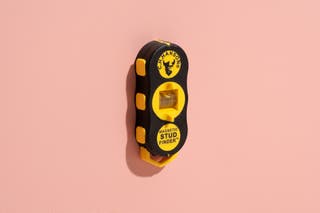
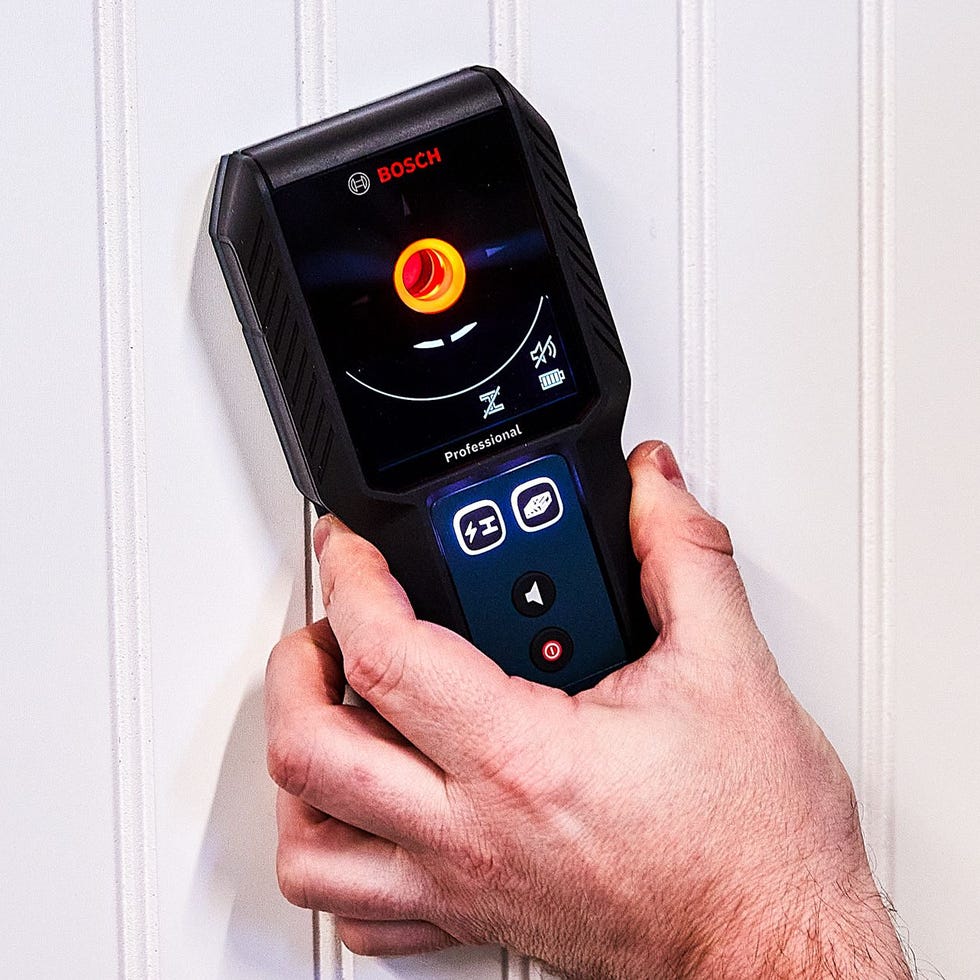
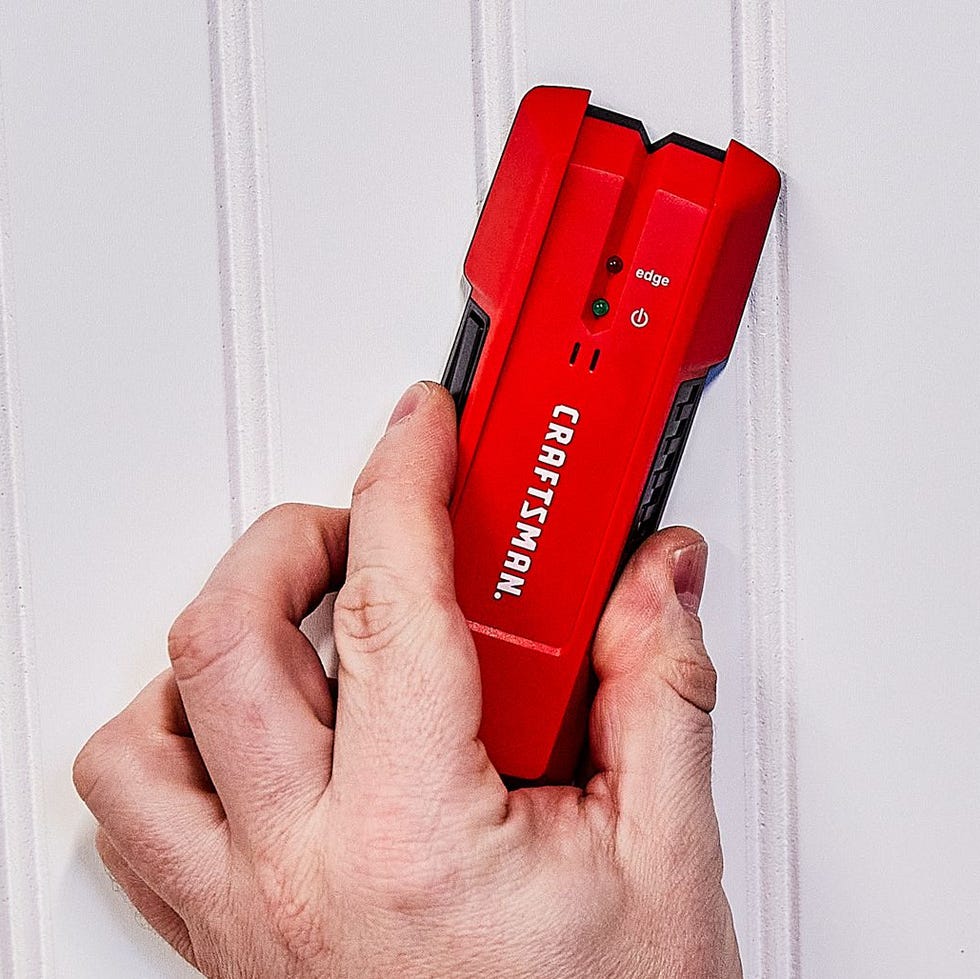
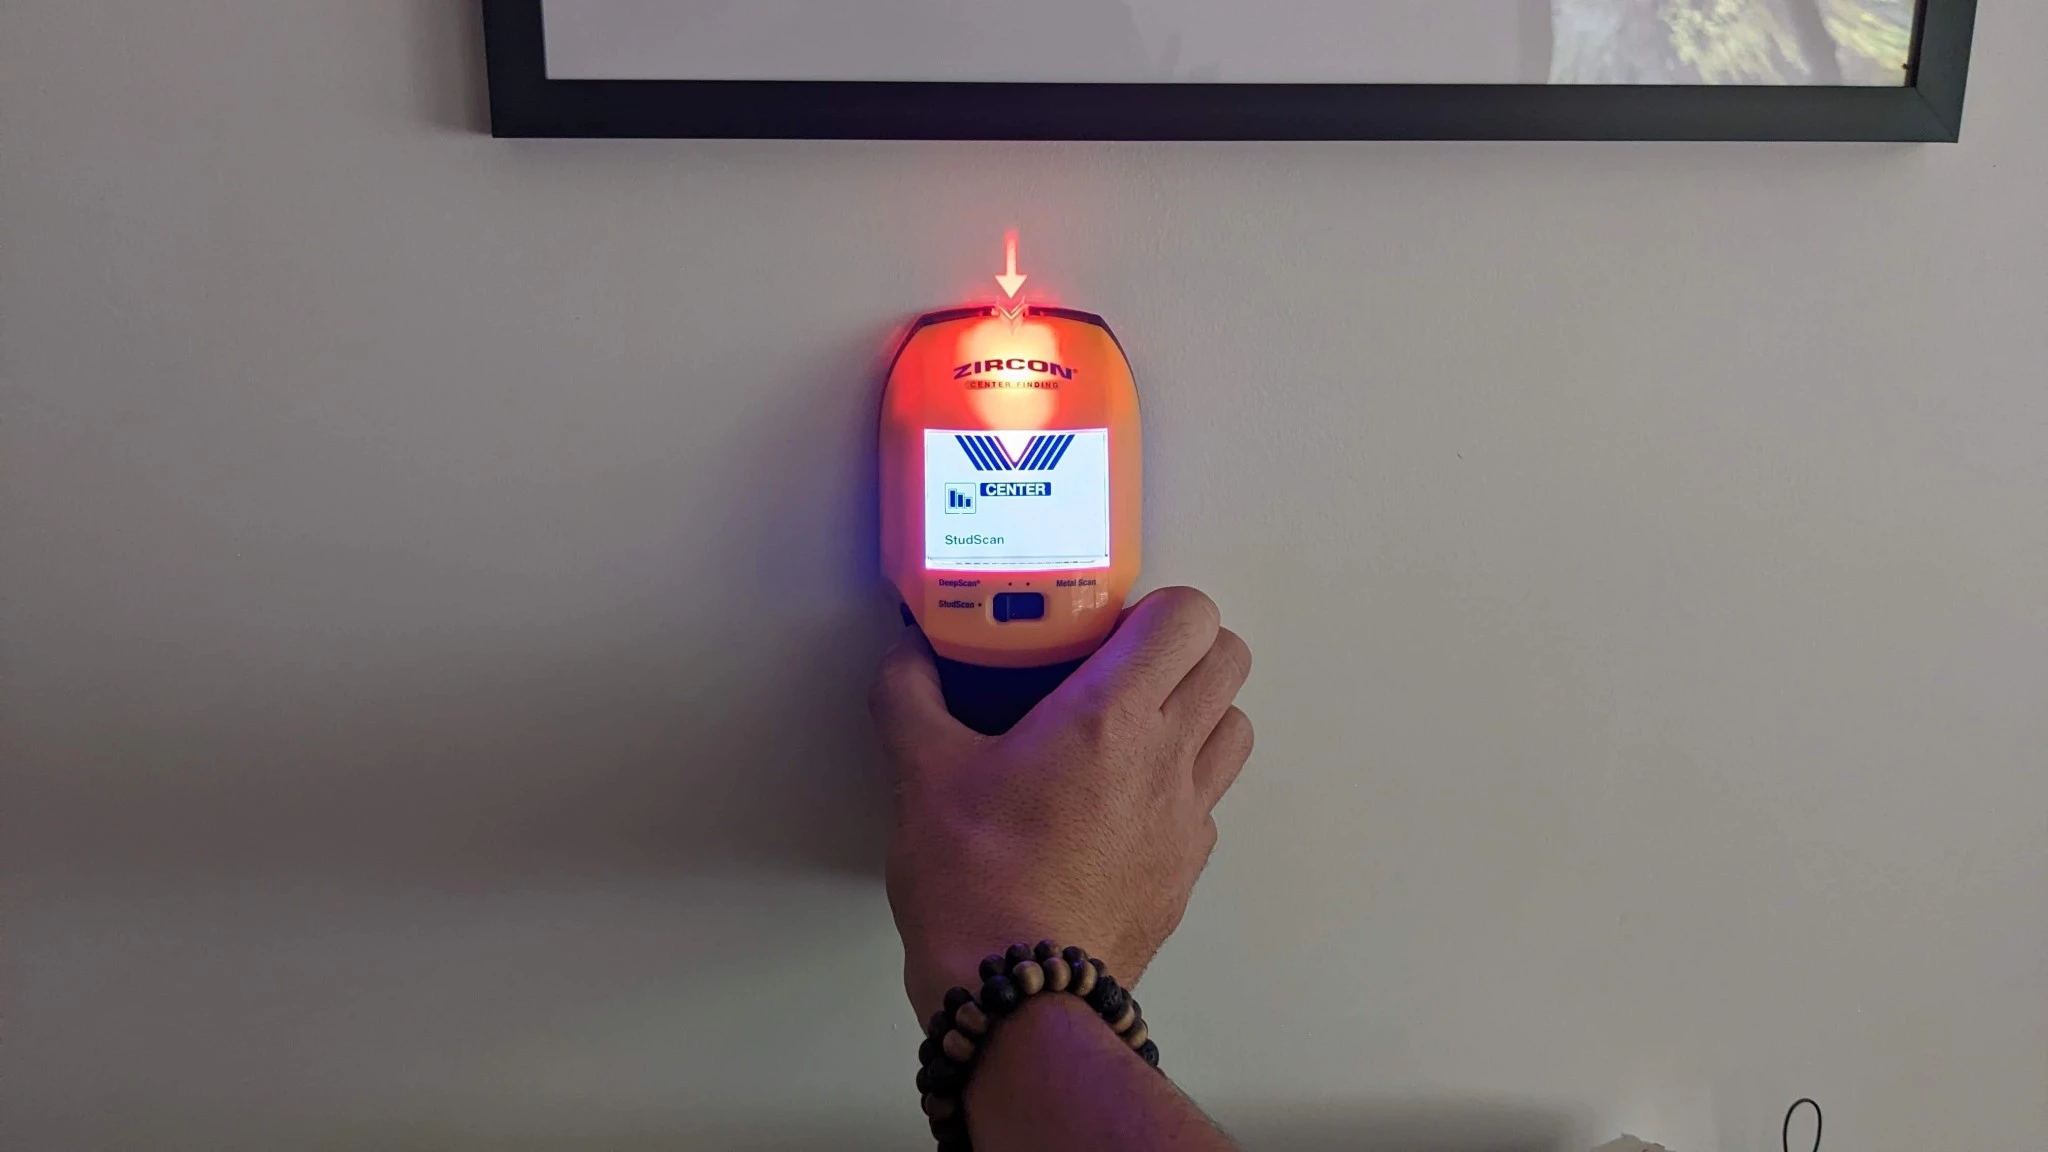
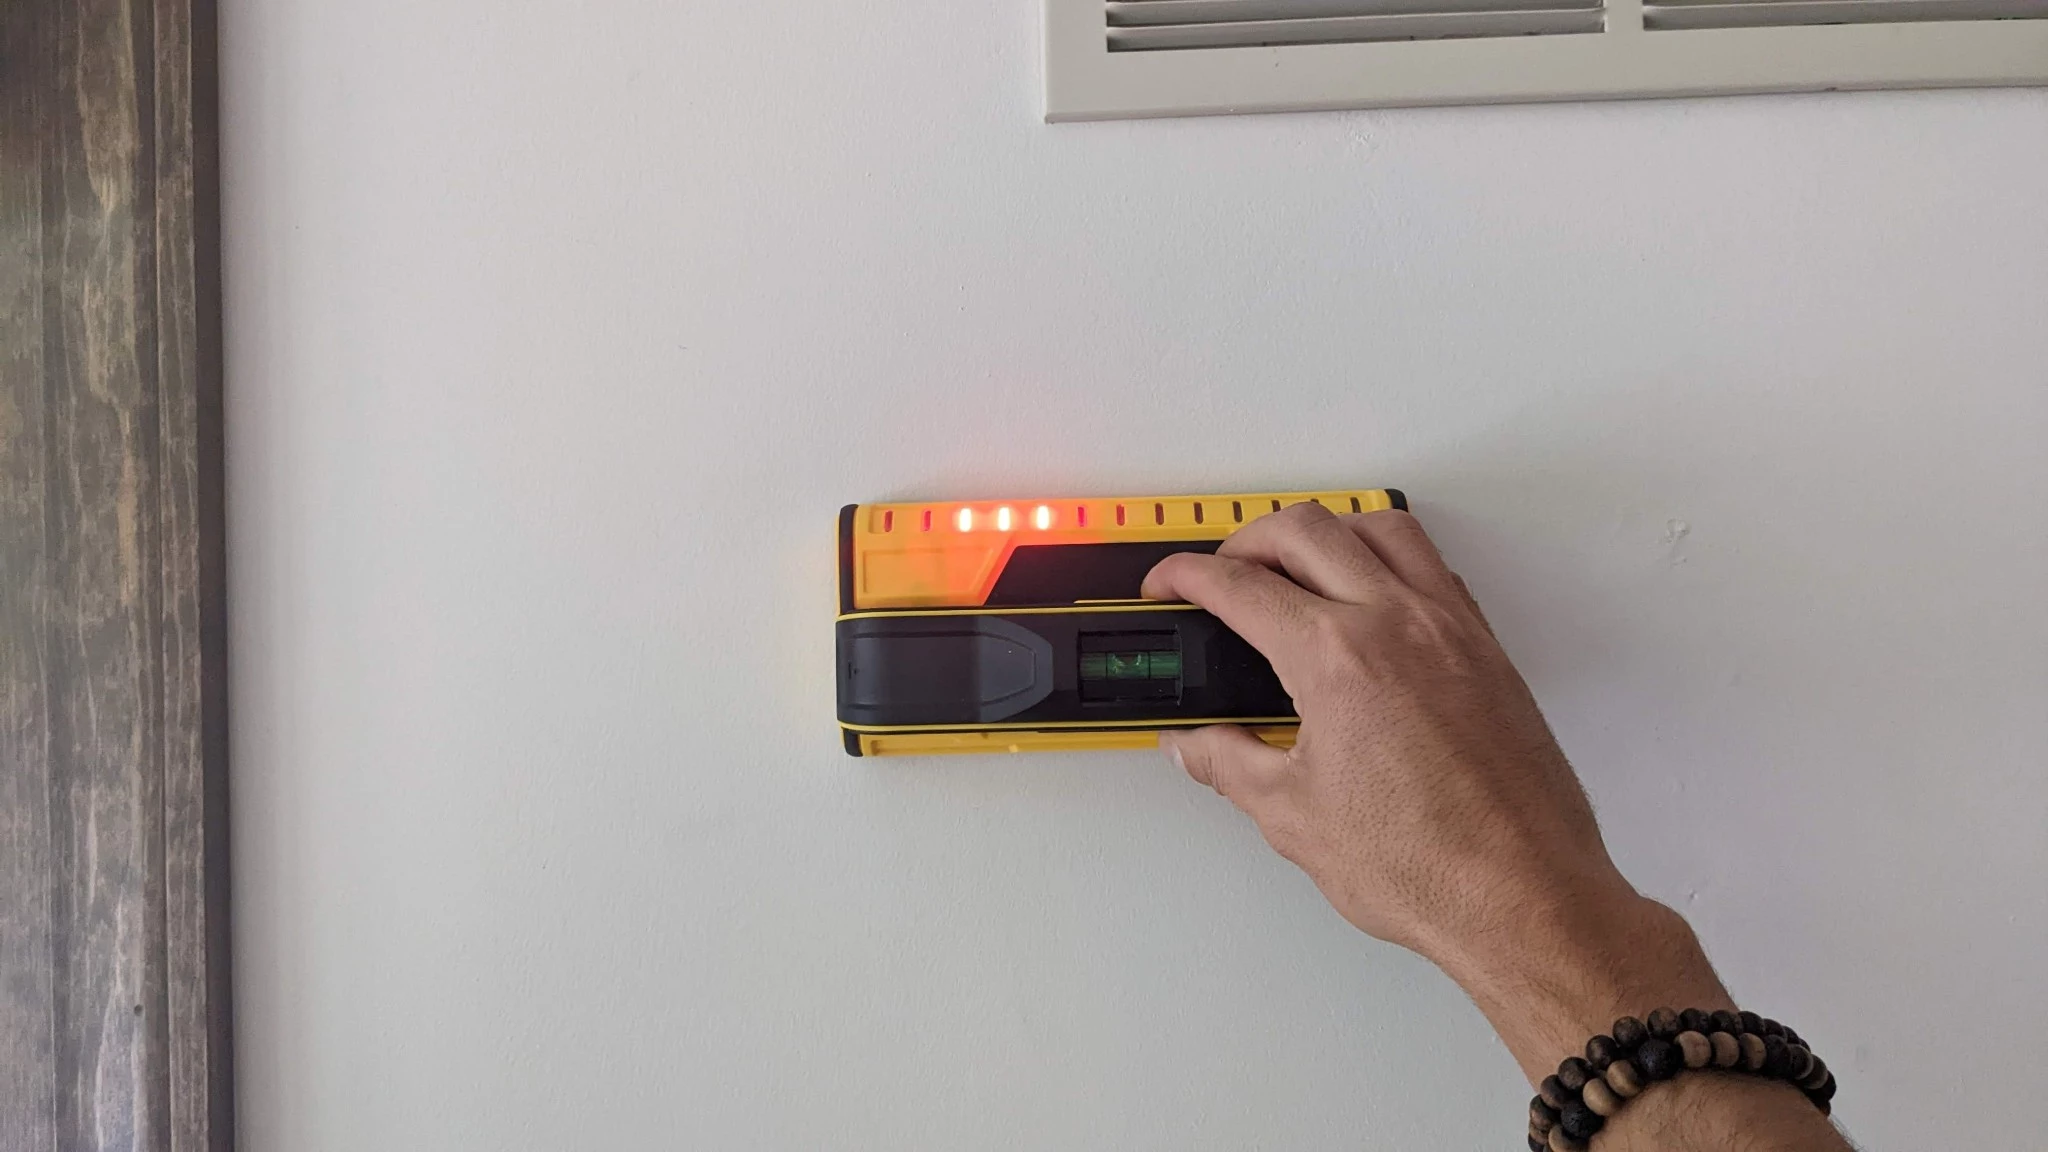
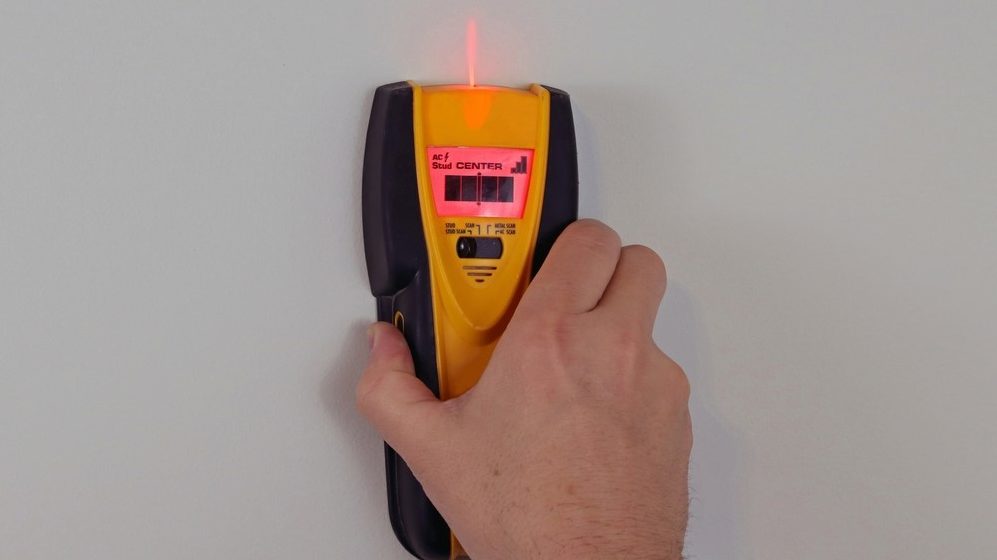
Stud finders operate on various principles, with electronic stud finders being the most common and widely recognized. These devices work by detecting changes in the density of the wall material. As an electronic stud finder is moved across a wall, its sensors register the increased density when it passes over a stud, typically indicated by a blinking light or an audible signal. This method provides a relatively precise way to locate hidden studs. Prior to the widespread availability of electronic stud finders, a more rudimentary, yet effective, method involved using magnetic stud finders. Since studs are typically fastened with nails and screws, a magnetic device could be used to locate these metallic fasteners, thereby indicating the position of the underlying stud. This low-tech approach remains a viable option for those without electronic tools.
Beyond specialized tools, a basic yet often overlooked method for locating studs involves manual techniques. One can gently knock on the wall with their knuckles and listen for changes in the sound. Areas of the wall backed by empty space will produce a hollow sound, while sections directly over a stud will yield a more solid 'thunk.' This auditory cue can help pinpoint the general location of studs. Given that studs are typically spaced 16 to 24 inches apart, this knocking method can be further verified by measuring these standard intervals. If a solid 'thunk' is detected, measuring the typical stud spacing should lead to another solid 'thunk,' confirming the presence of an adjacent stud. For individuals whose hearing might not be sensitive enough to discern these subtle sound differences, a practical shortcut is to locate a power outlet. Power outlets are almost invariably attached to the side of a stud. Once an outlet is found, one can draw an imaginary vertical line up or down the wall from the outlet's position, as studs run vertically. This provides a reliable guide for where to hang items without the need for a specialized stud finder. Regardless of the method chosen, correctly locating studs ensures stability and safety for any wall-mounted installations.
#HomeImprovement #DIYTools #StudFinder #WallMounting #HomeMaintenance #ToolboxEssentials #DrywallInstallation #HomeSafety #HomeImprovement #DIYTools #StudFinder #WallMounting #HomeMaintenance #ToolboxEssentials #DrywallInstallation #HomeSafety
0 comment in total
 No comments yet
You may also like

The Best Stud Finders


How to find studs in your walls using just your phone


15 Cool Tech Gadgets That Turn Your Home into a Smart House


What's the Least Intrusive Way to Find Out What's In a Wall?

The Best Stud Finders of 2025, Tested and Reviewed

Can a $12 Stud Finder Outperform a $100 Pick? We Put Them Both to the Test.
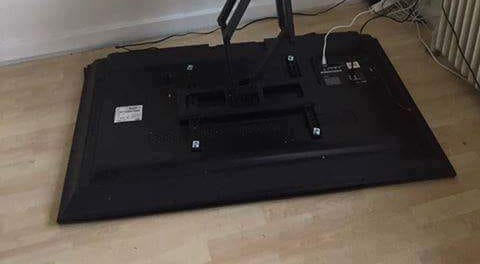
This Hack Will Ensure You ALWAYS Hit A Stud


The Best College Dorm Essentials for 2026 | Reviews by Wirecutter

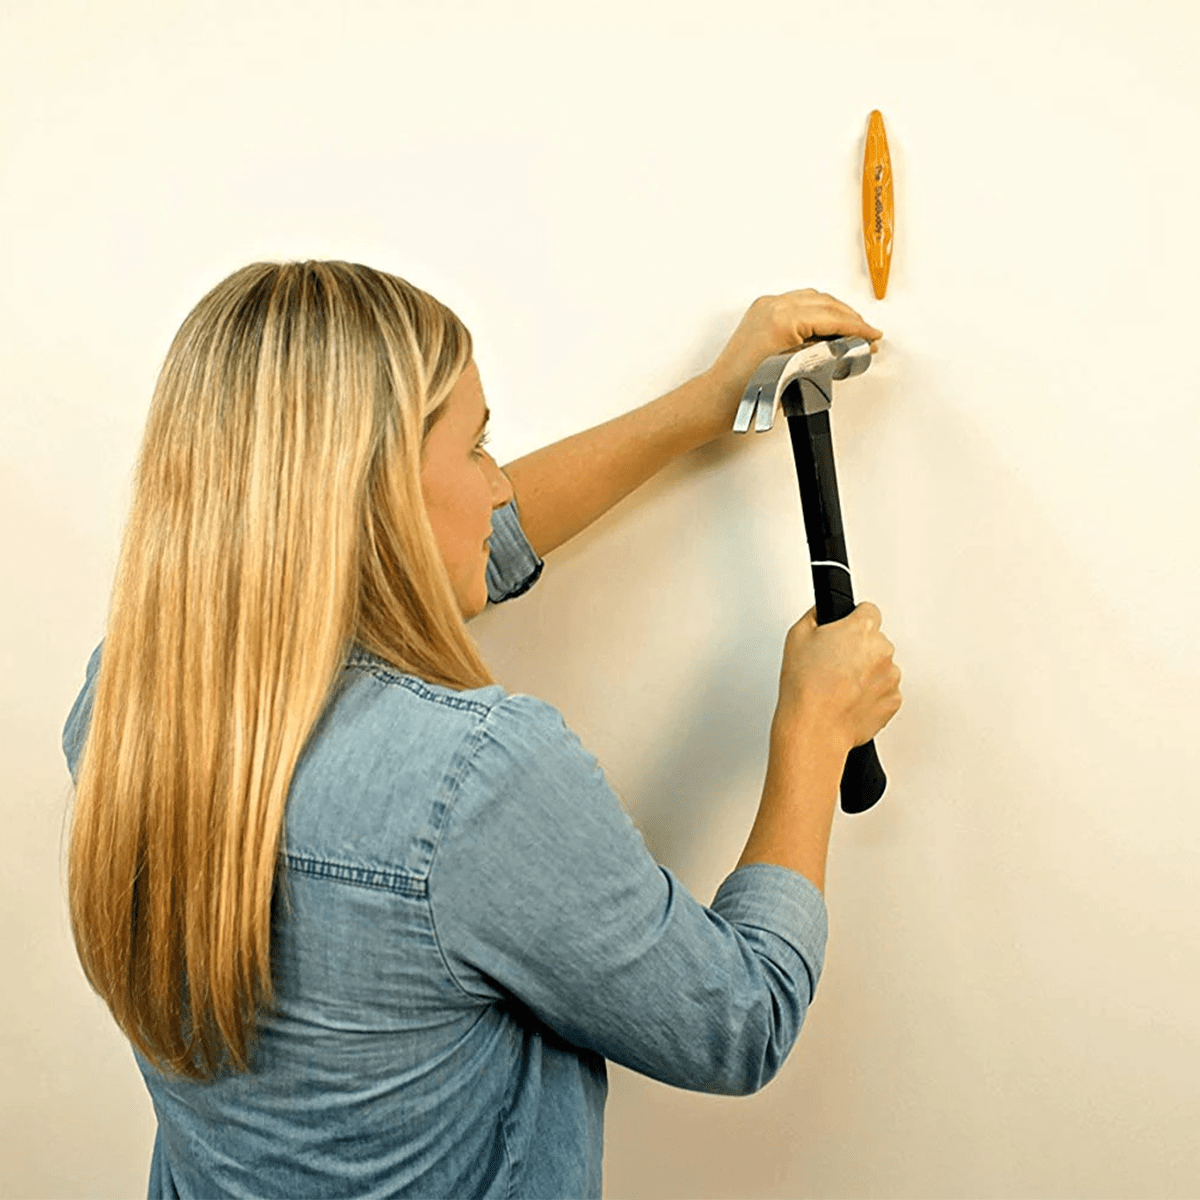
8 Best Stud Finders

6 Things You Absolutely Need as a New Homeowner, According to Reddit

These Under-$10 Amazon Home and Kitchen Gadgets Will Seriously Simplify Your Life

20 Home Office Essentials You Didn’t Know You Needed
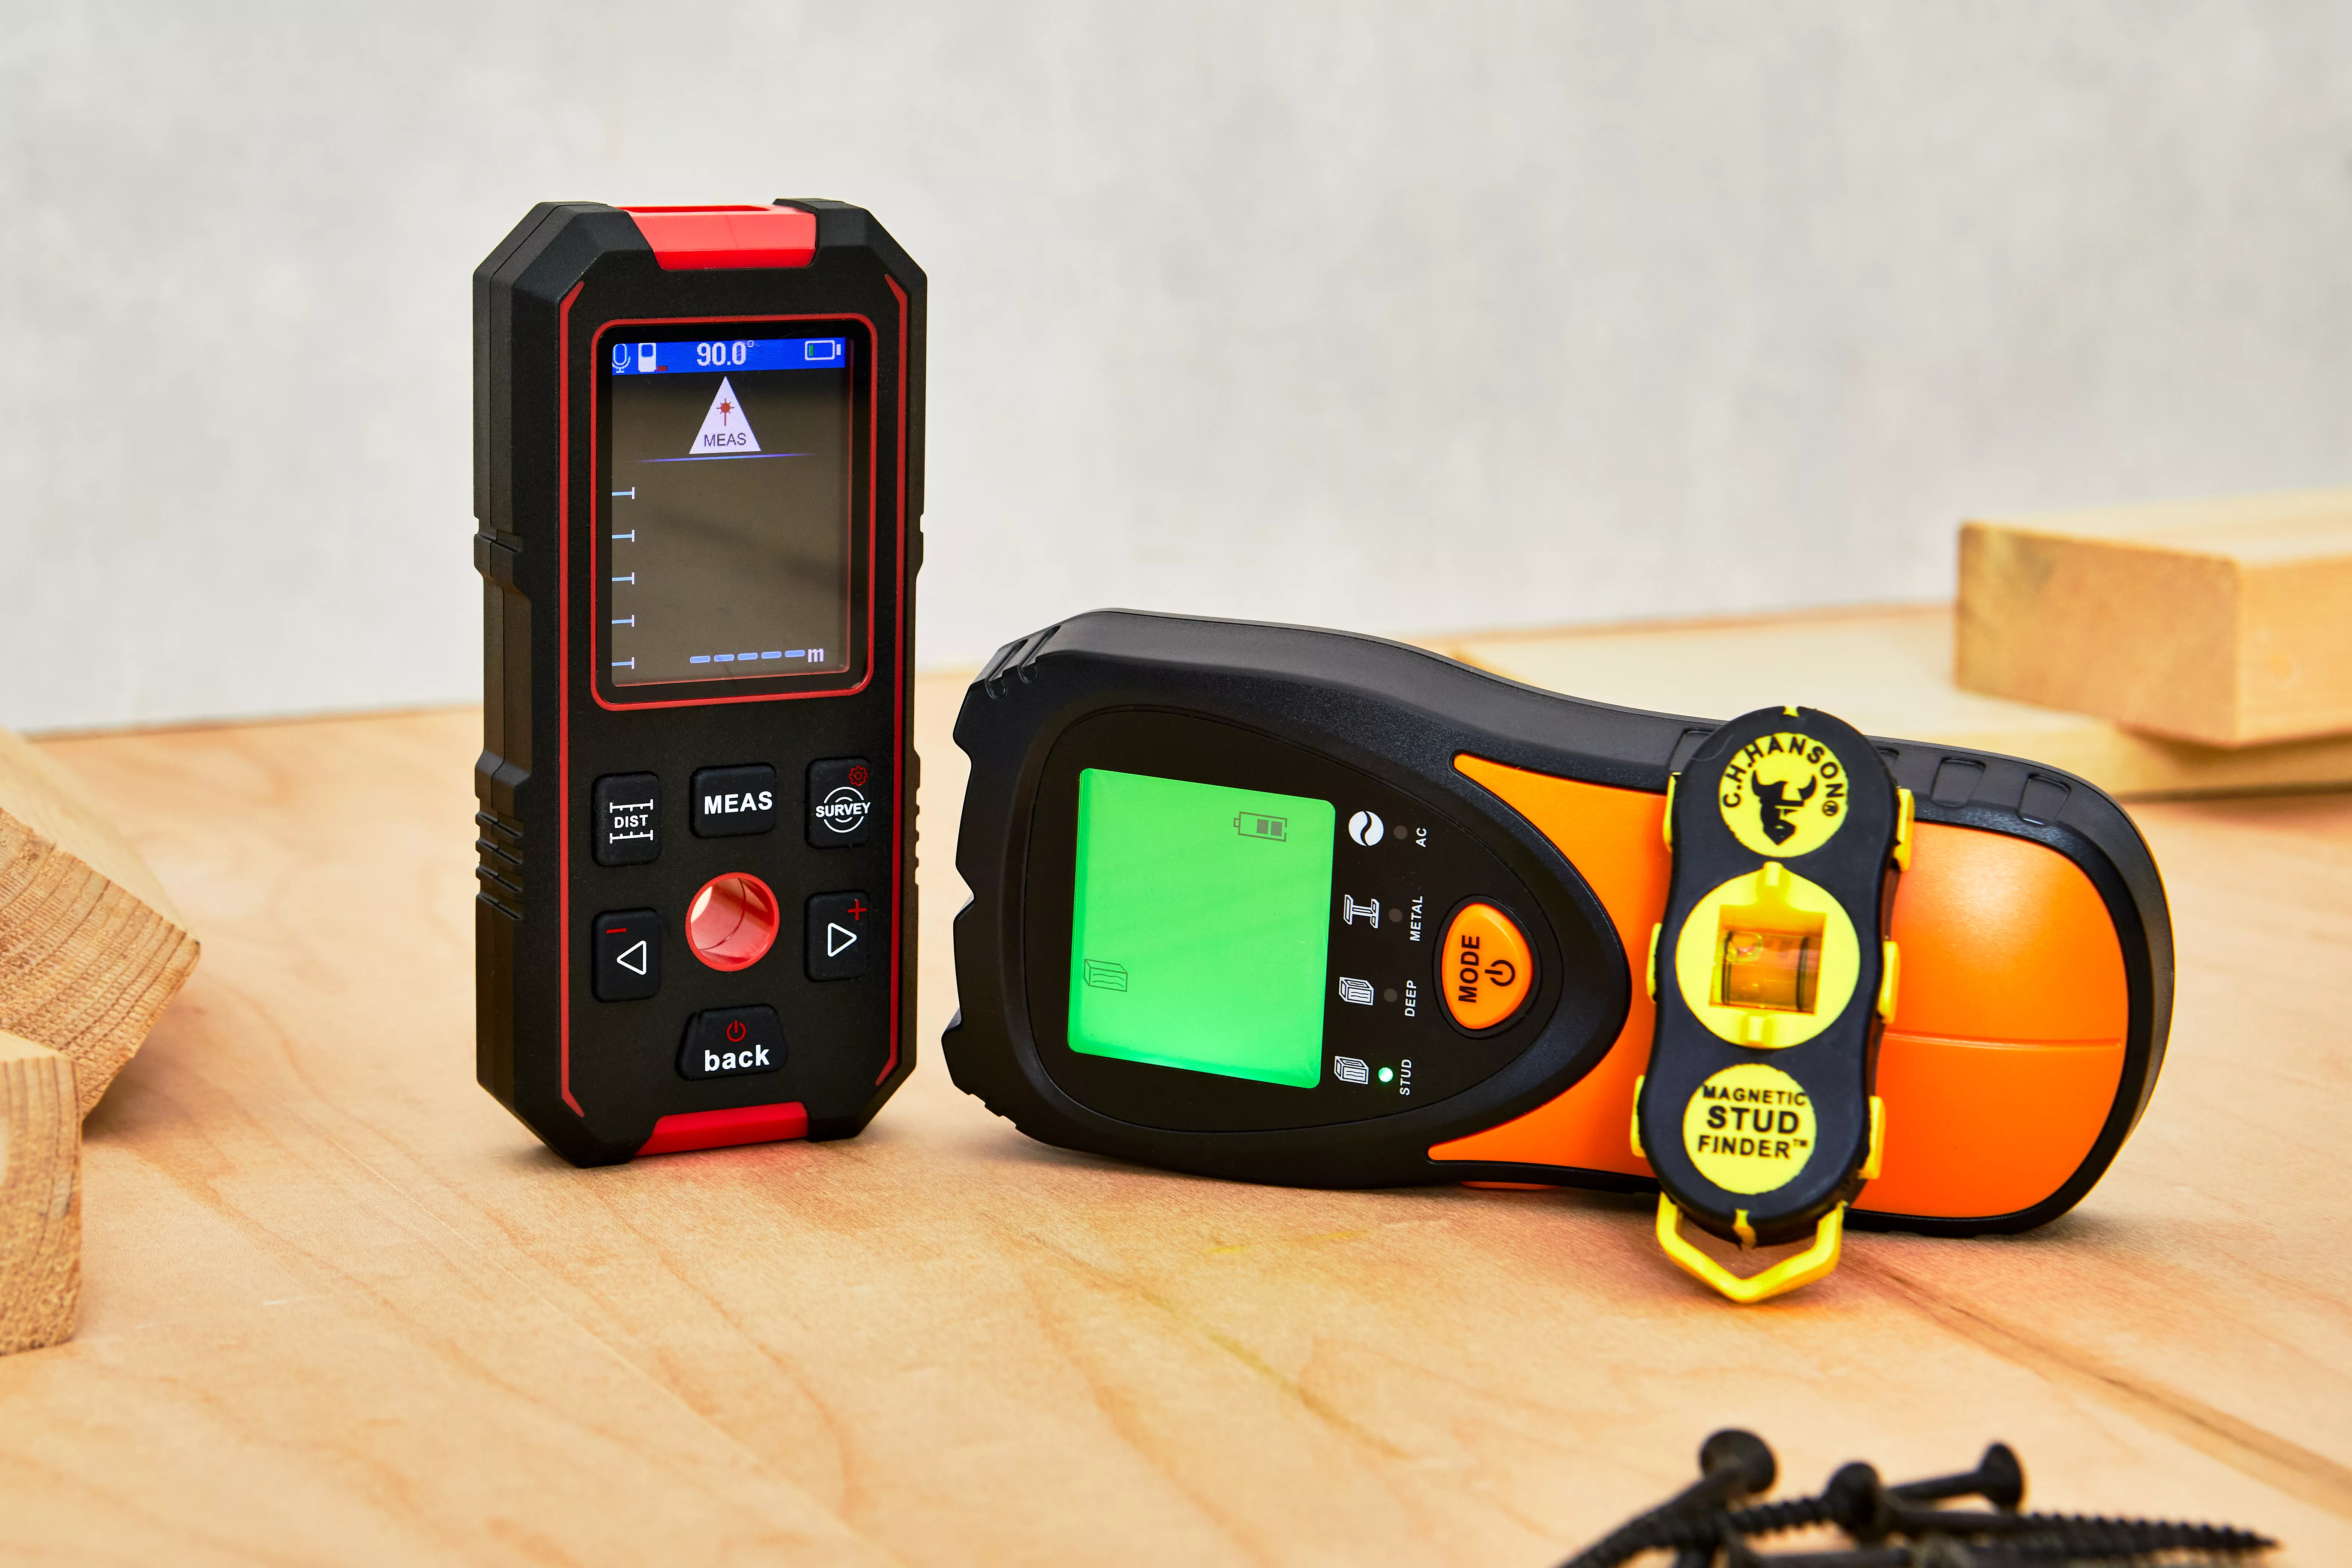
The 5 Best Stud Finders for Your Home DIY Projects


The Best Stud Finders of 2025


I Tried New AI Project Planning Tools From The Home Depot and Lowe's—Here's What Happened
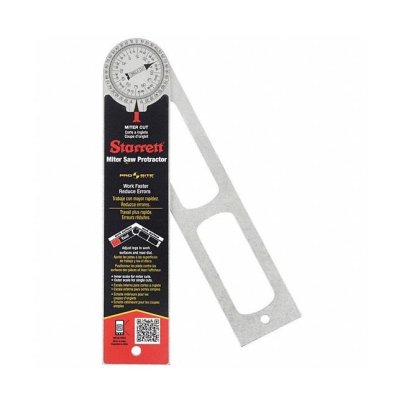
The Best Angle Finders for Pros and DIYers

The Best Stud Finder for Home Use | Reviews by Wirecutter
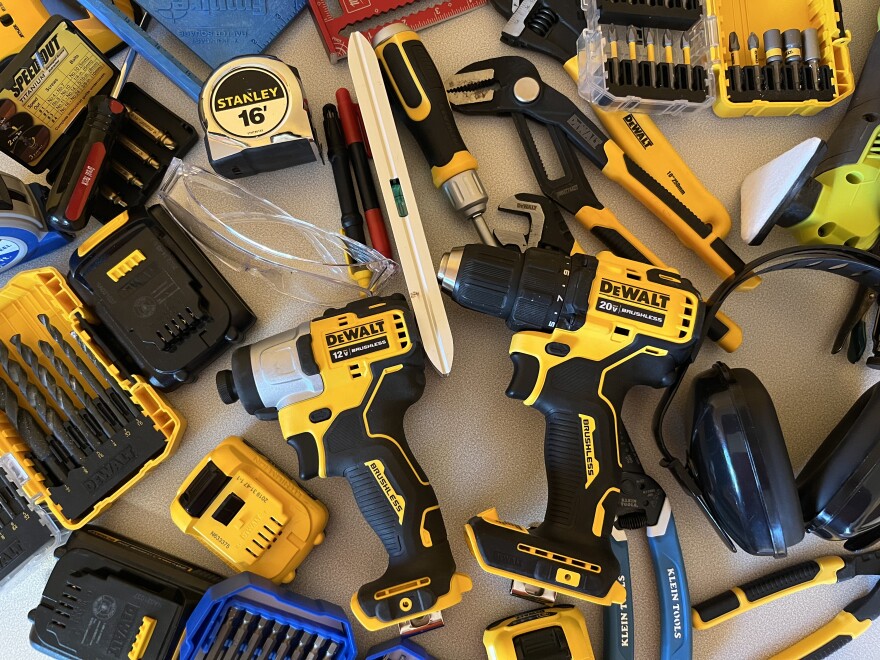
Home improvement tools for the handy person in your life


The 20 Very Best Shoe Organizers
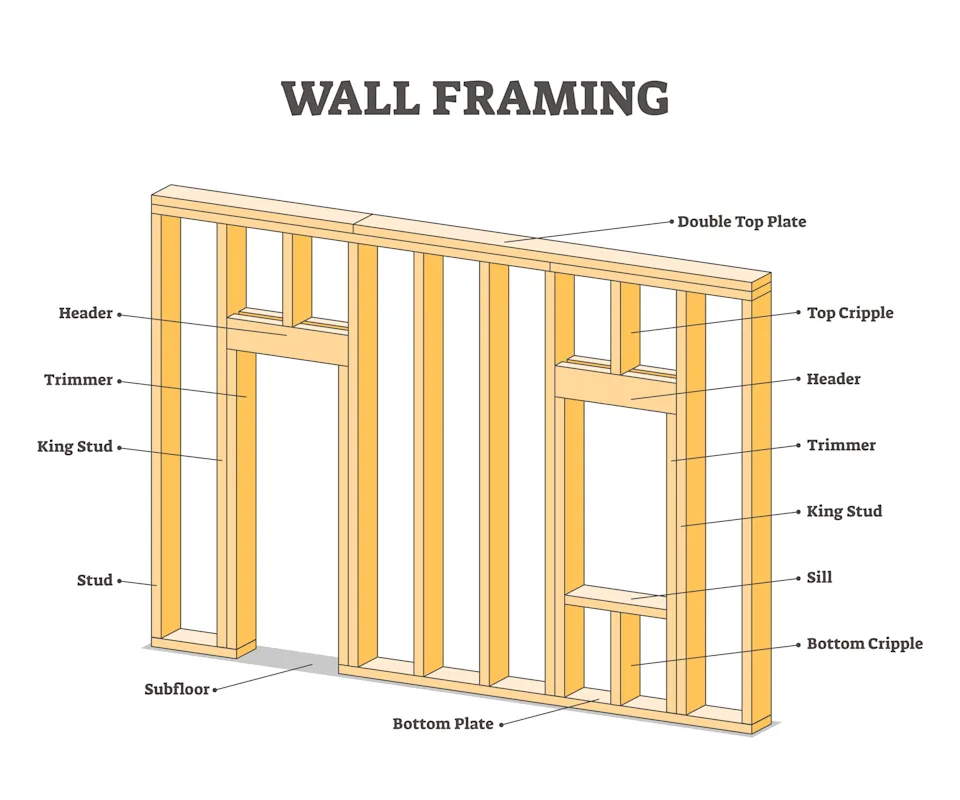
How To Find Studs In A Wall Without a Stud Finder — It's Easier Than You Think!