Add Privacy and Expand Your Home's Use With This DIY Interior Wall Project
Building a non-load-bearing interior wall is a practical home improvement project that can add privacy, reduce noise, and create distinct spaces within a home. This project can typically be completed over a weekend for an estimated cost of $155 to $205, even for individuals with intermediate DIY skills. The construction involves basic materials such as two-by-fours for framing and drywall sheets for the surface.
Before starting, it is crucial to check local building codes and permit requirements, as many municipalities mandate permits even for non-load-bearing wall construction. The necessary equipment includes a framing hammer, speed square, circular saw, cordless drill, step ladder, laser level or plumb bob, electric miter saw, tape measure, carpenter's pencil, drywall knife, painting supplies, and potentially a powder-actuated nailer for concrete floors. Materials required are nine 8-foot two-by-fours, two drywall sheets, 2-1/2-inch galvanized nails, 1-1/4-inch coarse-thread drywall screws, drywall joint compound, paper drywall tape, drywall primer, interior paint, and an optional pressure-treated two-by-four for concrete floors.
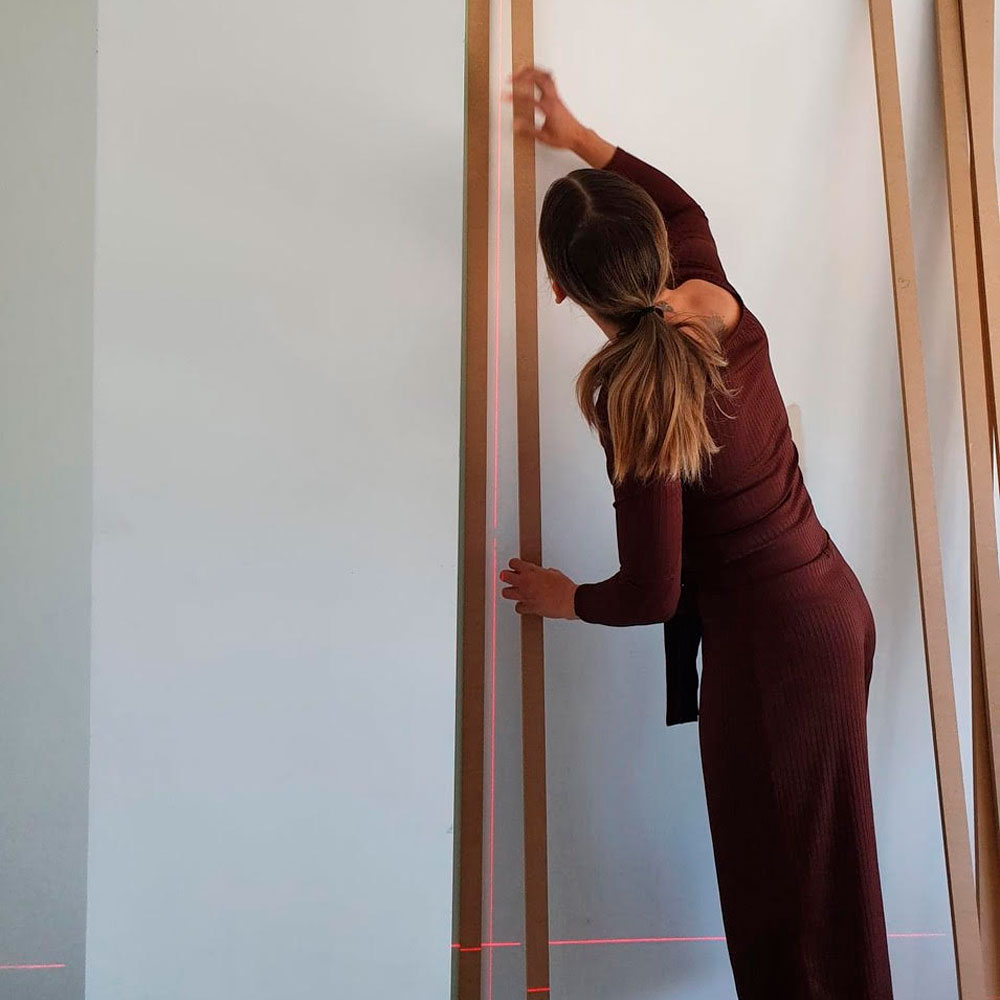
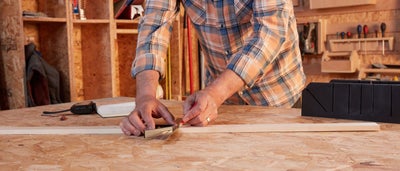
The process begins by locating the wall. For wooden floor systems, the wall should be perpendicular to or directly on top of floor joists or beams. On concrete floors, any point is suitable. Next, stud locations are marked on the top and bottom plates, typically 16 inches apart on-center. The bottom plate is then fastened to the floor, using nails for wood floors and a powder-actuated nail gun for pressure-treated wood on concrete. The top plate is installed directly above the bottom plate, ensuring alignment with a laser level, and nailed into ceiling joists.
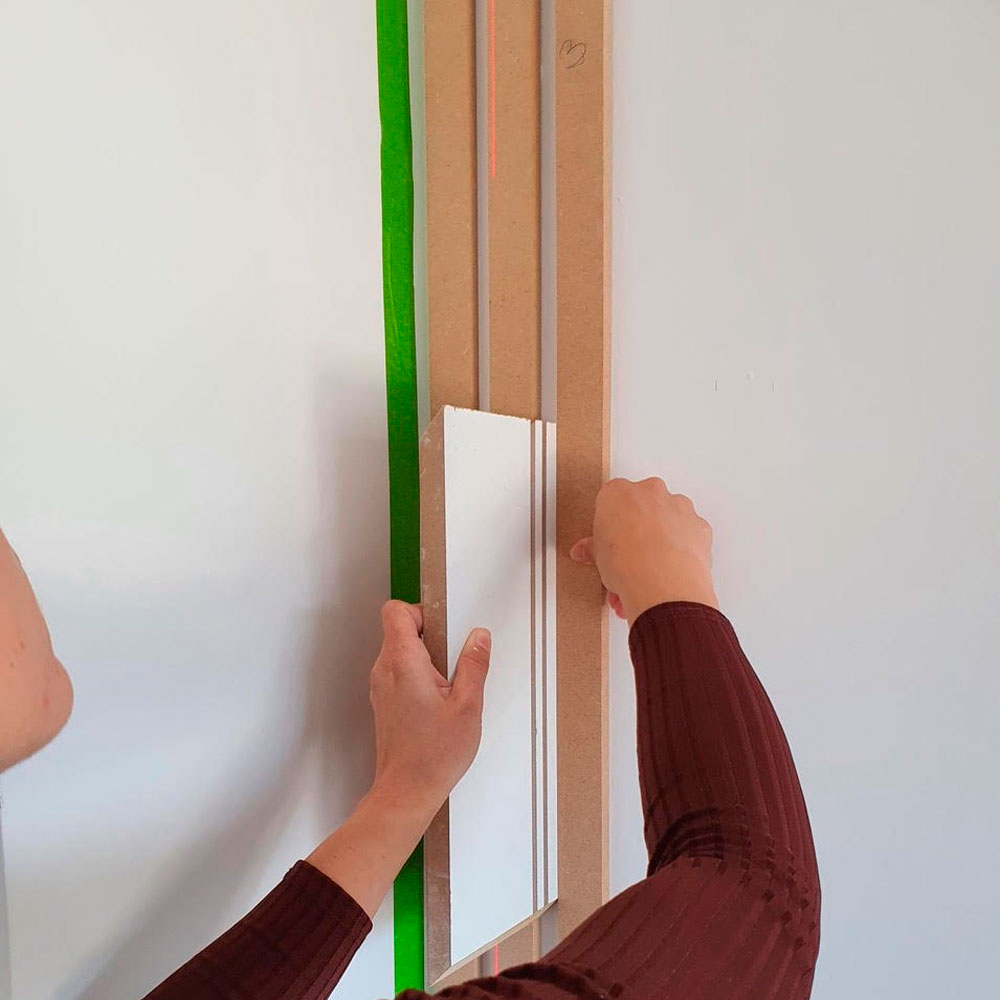
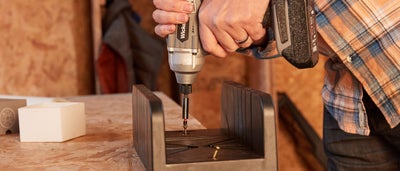
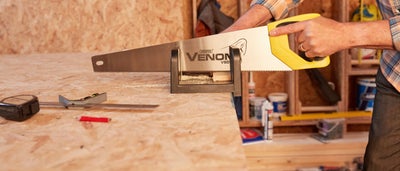
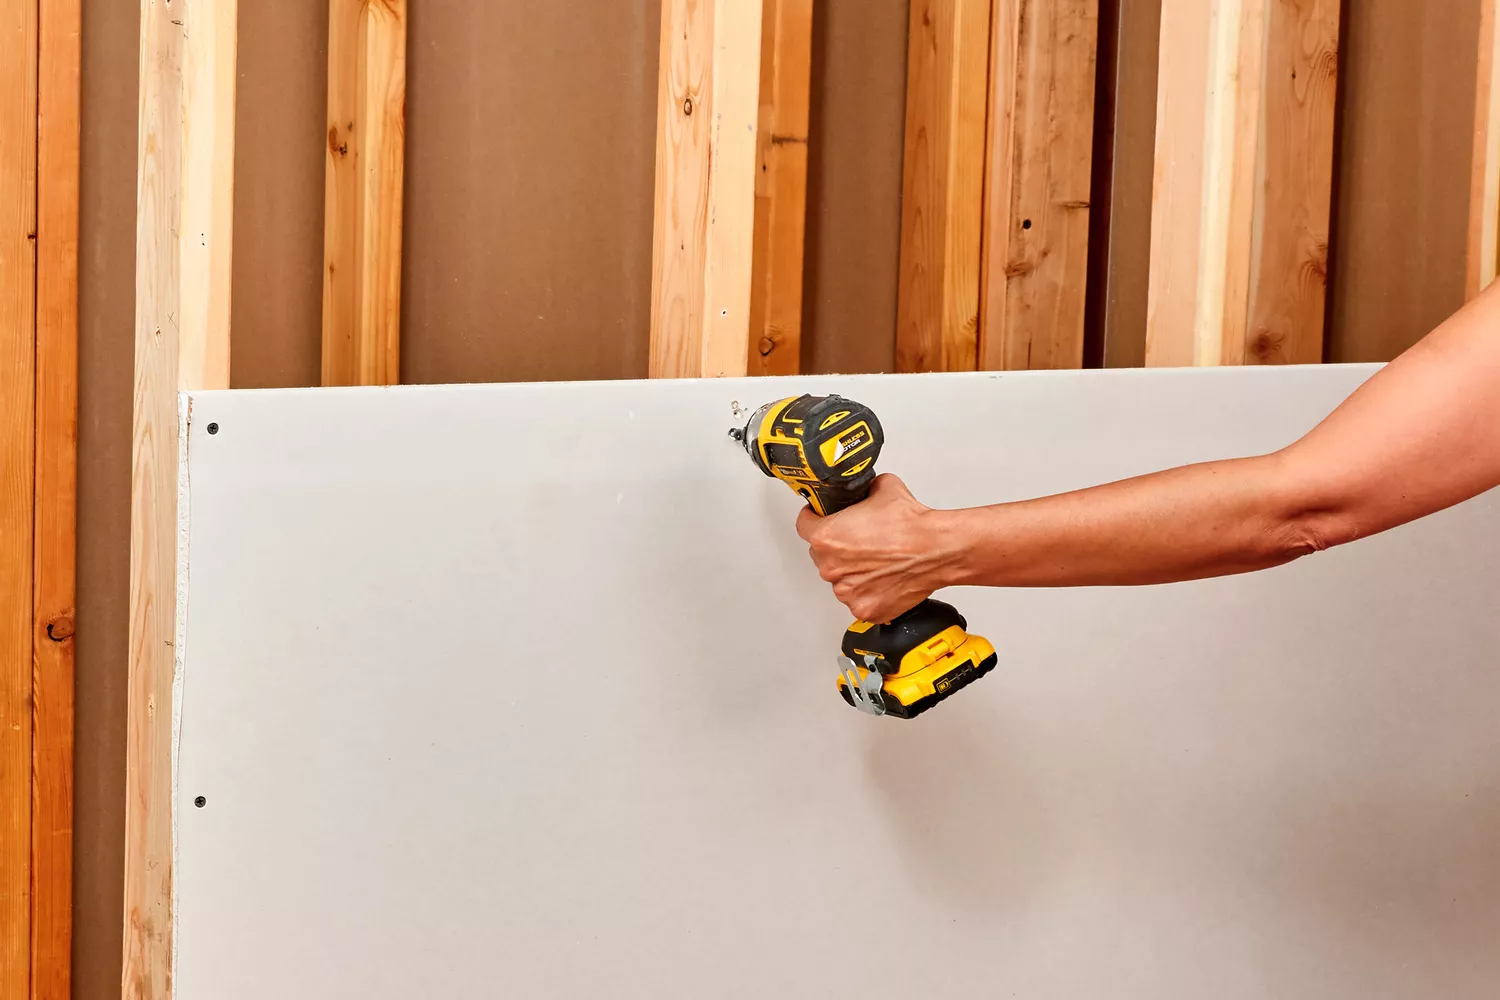
Vertical studs are then measured and cut to fit precisely between the top and bottom plates. It's advisable to cut studs slightly long and trim if necessary. These studs are then toenailed into their corresponding positions, ensuring they are plumb using a laser line. Once the framing is complete, drywall sheets are hung horizontally on the studs using drywall screws. For walls longer than 8 feet, drywall ends should be staggered to avoid four corners meeting at one point. After hanging, screw holes are filled with joint compound, and drywall seams are finished by embedding paper joint tape in joint compound, covering it with another layer, and sanding smooth once dry. The final step involves rolling drywall primer onto the surface, allowing it to dry, and then applying two coats of interior paint. An 8-foot section typically requires one gallon of primer and two to three gallons of paint.
For more complex projects, such as building a load-bearing wall or if the non-load-bearing wall lacks a solid base, consulting a contractor or carpenter is recommended to ensure structural integrity and proper support. The cheapest way to build an interior wall is by performing the work oneself and using standard materials to avoid labor costs for carpenters and drywall installers.
#InteriorWall #DIYHomeImprovement #HomeConstruction #DrywallInstallation #Framing #HomeRenovation #BuildingCodes #PowerTools #InteriorWall #DIYHomeImprovement #HomeConstruction #DrywallInstallation #Framing #HomeRenovation #BuildingCodes #PowerTools
0 comment in total
 No comments yet
You may also like
These 100-Year-Old Doors Make All Other Room Dividers Pale in Comparison
How to Paint a Wall Mural Even If You’re Not an Artist

Feature Wall Designs, Wallpaper and Paint Ideas
34 Creative DIY Wall Art Ideas to Decorate Your Space

Homeowner wows with DIY version of latest feature wall trend – and the results are stunning!
My editor swears by this framing trick to make any wall art look more expensive – I’m taking her advice on board, and so should you
How to Add DIY Wall Molding That Looks Luxe—Even If You’re Renting

21 living room wall ideas to stylishly decorate a blank space

How to make a living wall that brings the outdoors in
Adam makes three feature walls

5 Custom Wall Treatments You Can Do Yourself


How to install wooden panelling

25 Ways To Transform Your Boring, Empty Walls Into Something You'll Actually Want To Look At
This New DIY Will Make Your Windows and Wall Treatments Look Way More Luxe and Fun
How to create a gallery wall in your home
Why Paint an Entire Room When You Have These 9 DIY Door Ideas


21 Wall Art Ideas That Will Give Your Home Some Major Personality
How to hang wall perfectly: Use a fork

how to style a 3D gallery wall
Why gallery walls are the worst