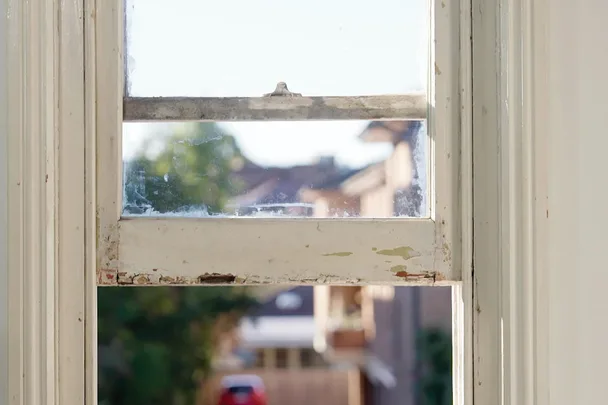
1/10
How to repair a sash window without calling a tradie
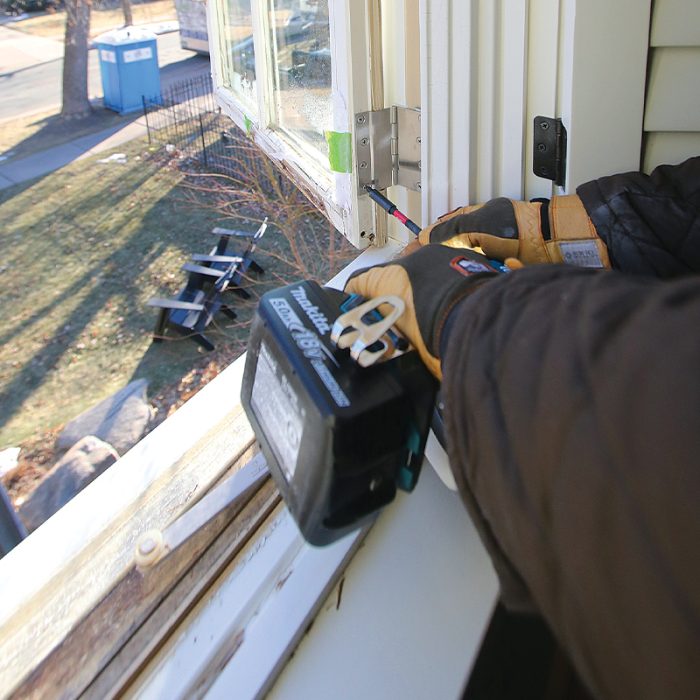
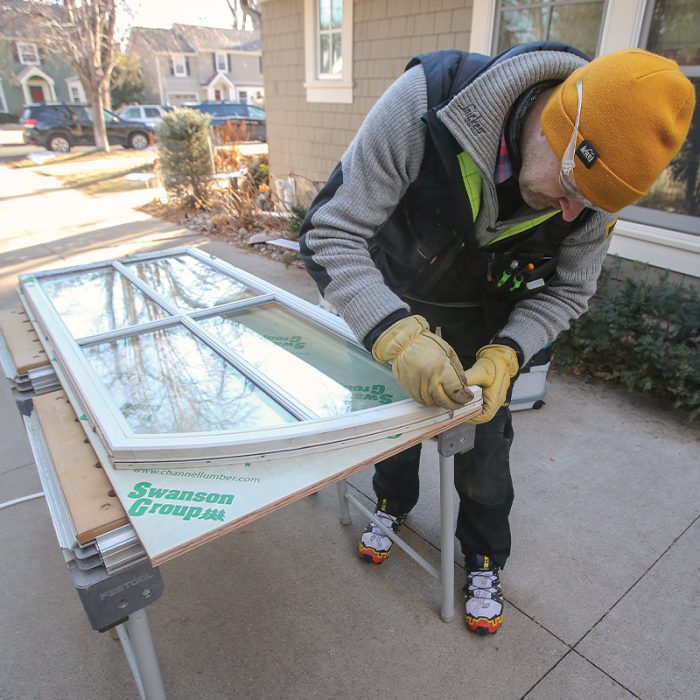
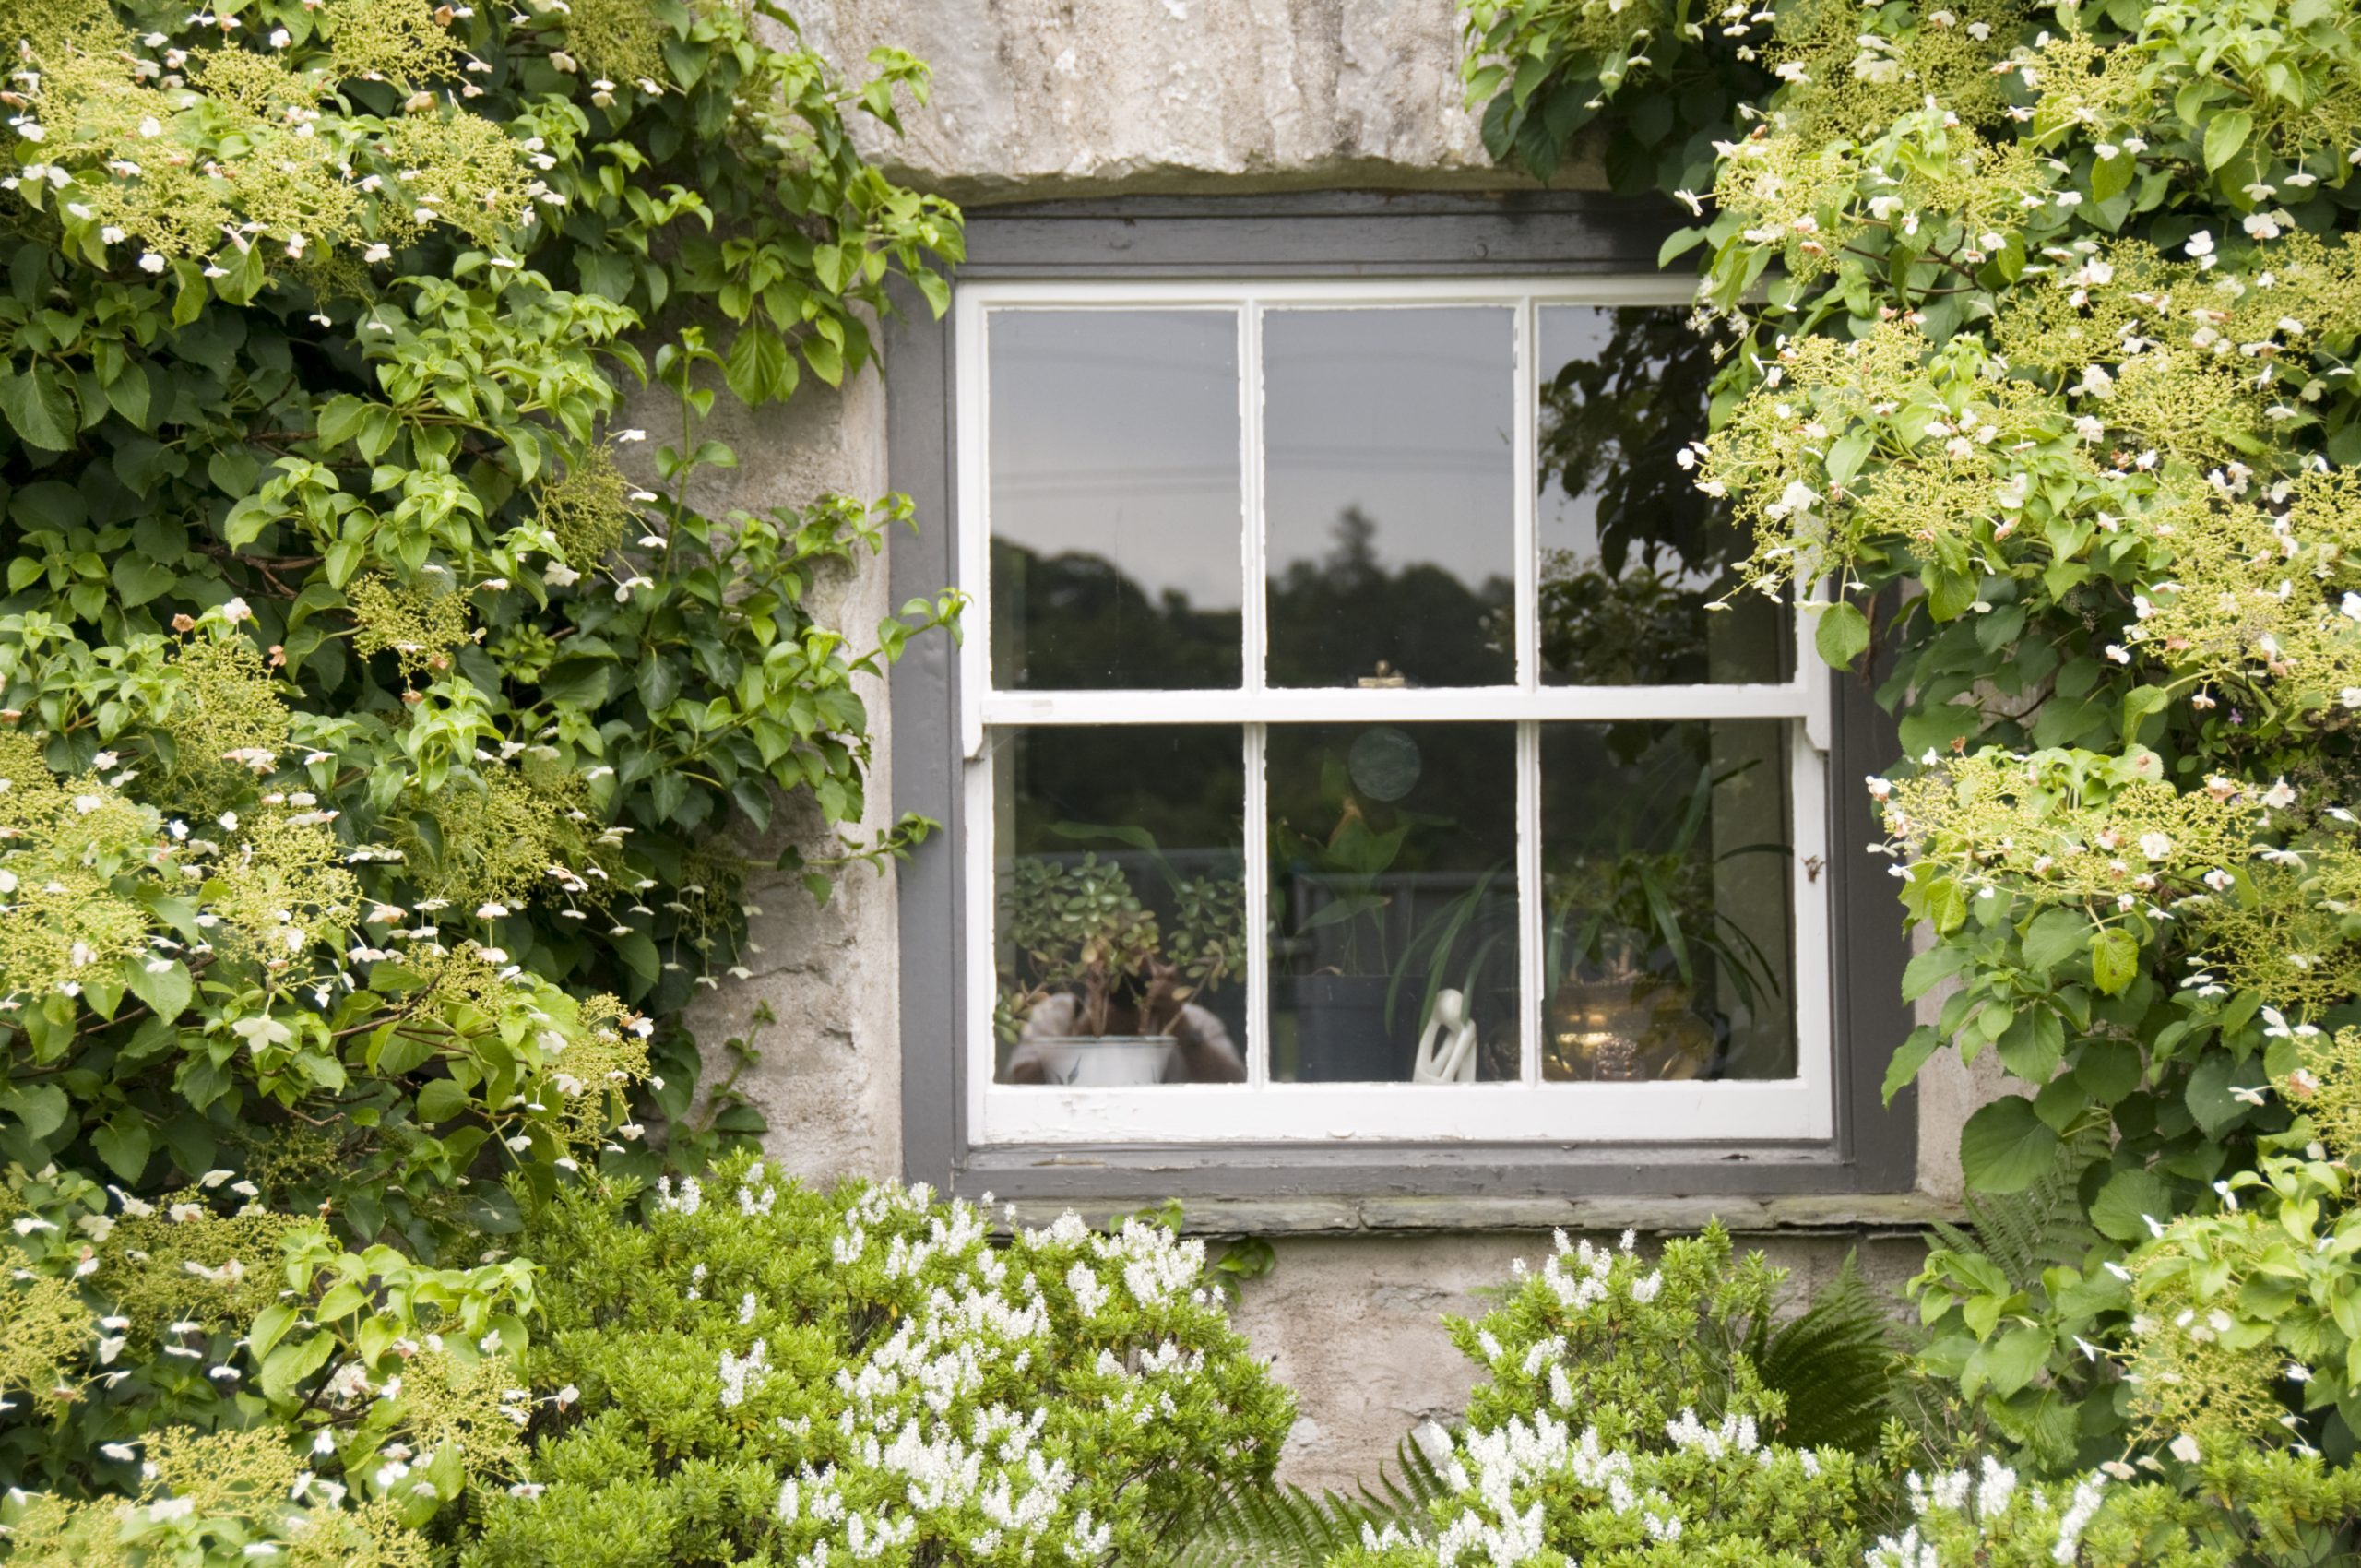
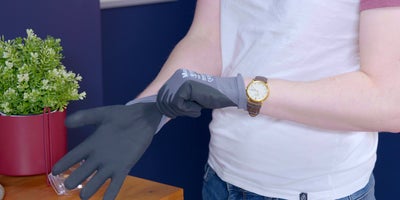
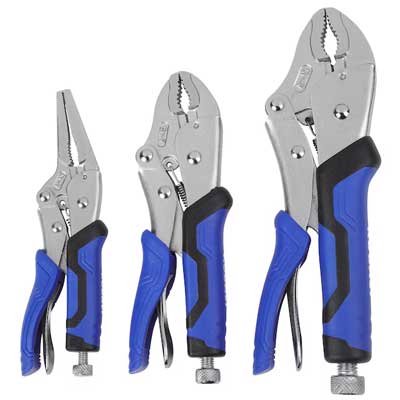
This article provides a comprehensive, step-by-step guide on how to repair old sash windows, offering a cost-effective alternative to professional services. It begins by highlighting that while old houses possess charming features, they often come with maintenance challenges, such as deteriorating 100-year-old sash windows with broken sashes and glass panes. The guide emphasizes that with the correct tools and knowledge, homeowners can undertake these repairs themselves. A detailed list of necessary supplies is provided, including contact paper, a 3mm glass pane cut to order, framing pins, putty, 8mm x 15m sash cord, 30mm screws, and 40mm bullet nails. Essential tools for the job are also listed, such as a utility knife, paint scraper, chisel, pincers, odd screws, drill, pliers, safety eyewear, sharp-proof gloves, a mask, tape measure, WD40, lightweight string, nail punch, wood filler, 80-grit sandpaper, a sash paintbrush, and primer and paint to match the window.
The repair process starts with Step 1, which involves cutting the paint in the groove between the stop bead and the frame with a utility knife, then prying the stop bead away. Step 2 instructs on bending the bead to remove it from the mitred cut and using pincers to extract old nails from the sash and stop bead. Step 3 details the removal of the stop bead from the other side and the lower sash window, cautioning to cut the cord while supporting the window's weight if it's still attached. Step 4 covers scoring paint around pocket covers and the parting bead with a utility knife, then loosening and prying off the parting bead separating the upper and lower sashes.
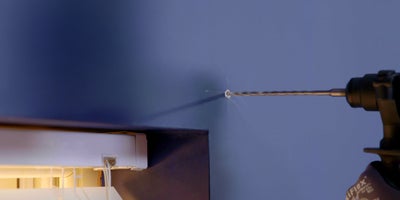
Step 5 addresses jammed pocket covers, advising to drill a small screw halfway in and use pliers to pull it out. Step 6 focuses on removing the weights from inside the pockets, ensuring to note which weight corresponds to which sash, and then removing old cord and nails. Step 7 transitions to preparing the window on a workbench, taping up the glass with contact paper for safety, and removing old putty with a scraper and chisel. Step 8 involves using pincers to remove old nails around the glass, cutting paint from the underside of the window, and carefully disposing of the old glass.
Step 9 and 10 outline cleaning the sash frame and measuring the new window pane, respectively, specifying to deduct 5mm from the width and length for a proper fit. Step 11 guides the insertion of the new glass pane into the bottom window slot and securing it with framing pins. Step 12 describes applying and smoothing putty around the frame. Step 13 explains oiling the pulley with WD40, feeding new cord through the pulley using a screw and string, and cutting it to 1.5 times the window height. Step 14 advises repeating steps 4-13 for the upper sash if necessary and reinstalling the parting bead.
Step 15 instructs on securing the new cord to the weight with a figure-eight knot and reinserting the weight and pocket covers. Step 16 details raising the weight, standing the sash upright, inserting the cord into grooves, and securing it with six screws. Finally, Step 17 discusses checking sash movement and reattaching stop beads, filling holes and gaps with wood filler. Step 18 concludes the repair process by recommending a six-week curing period for the putty before scraping, sanding, priming, and painting the frame and sash to complete the restoration.
#SashWindowRepair #DIYHomeImprovement #WindowRestoration #HomeMaintenance #PeriodHomeFeatures #GlassReplacement #PuttyApplication #CordReplacement #SashWindowRepair #DIYHomeImprovement #WindowRestoration #HomeMaintenance #PeriodHomeFeatures #GlassReplacement #PuttyApplication #CordReplacement
0 comment in total
 No comments yet
You may also like
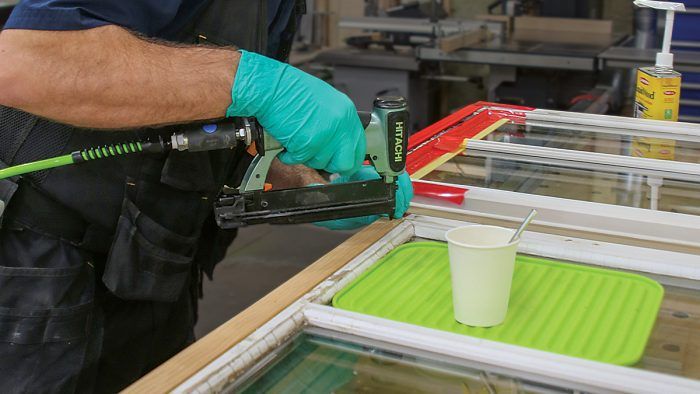
How to Repair a Modern Window Sash with Shop-Made Parts


The great sash-window debate: Repair, replace or drag them into the 21st century

How to Clean Lampshades in Less Than 10 Minutes

Ask Veronica: Is there a workaround for installing window shades when the casings are too shallow for the hardware?

Home Window Installation, Parts and Repair


8 budget fixes for drafty windows — including a $2.99 beauty product I use every single day

How to Trim an Exterior Window
How to hang a curtain pole

Sash windows – what to do when choosing, restoring or replacing your frames and glass

3 Retrofit Windows That Avoid the High Cost of Replacement

Compare the 5 Best Window Replacement Companies of 2026

7 Best Window Well Covers
7 Things Your Windows Are Trying to Tell You

Renewal by Andersen Window Review (2025)

Top 5 Best Window Replacement Companies in Texas (Review) (2026)

Fixing a garage door yourself vs calling the pros

How to Seal Your Drafty Windows for Less Than $50

The best window replacement companies in Houston

Surprisingly, Our Favorite Window Insulation Isn’t the Thickest

We Asked Window Pros How Long Windows Last—and When It's Definitely Time to Replace