1/2
Skip The Paint & Use David Bromstad's Clever Tip To Lighten Up Dark Cabinets Instead
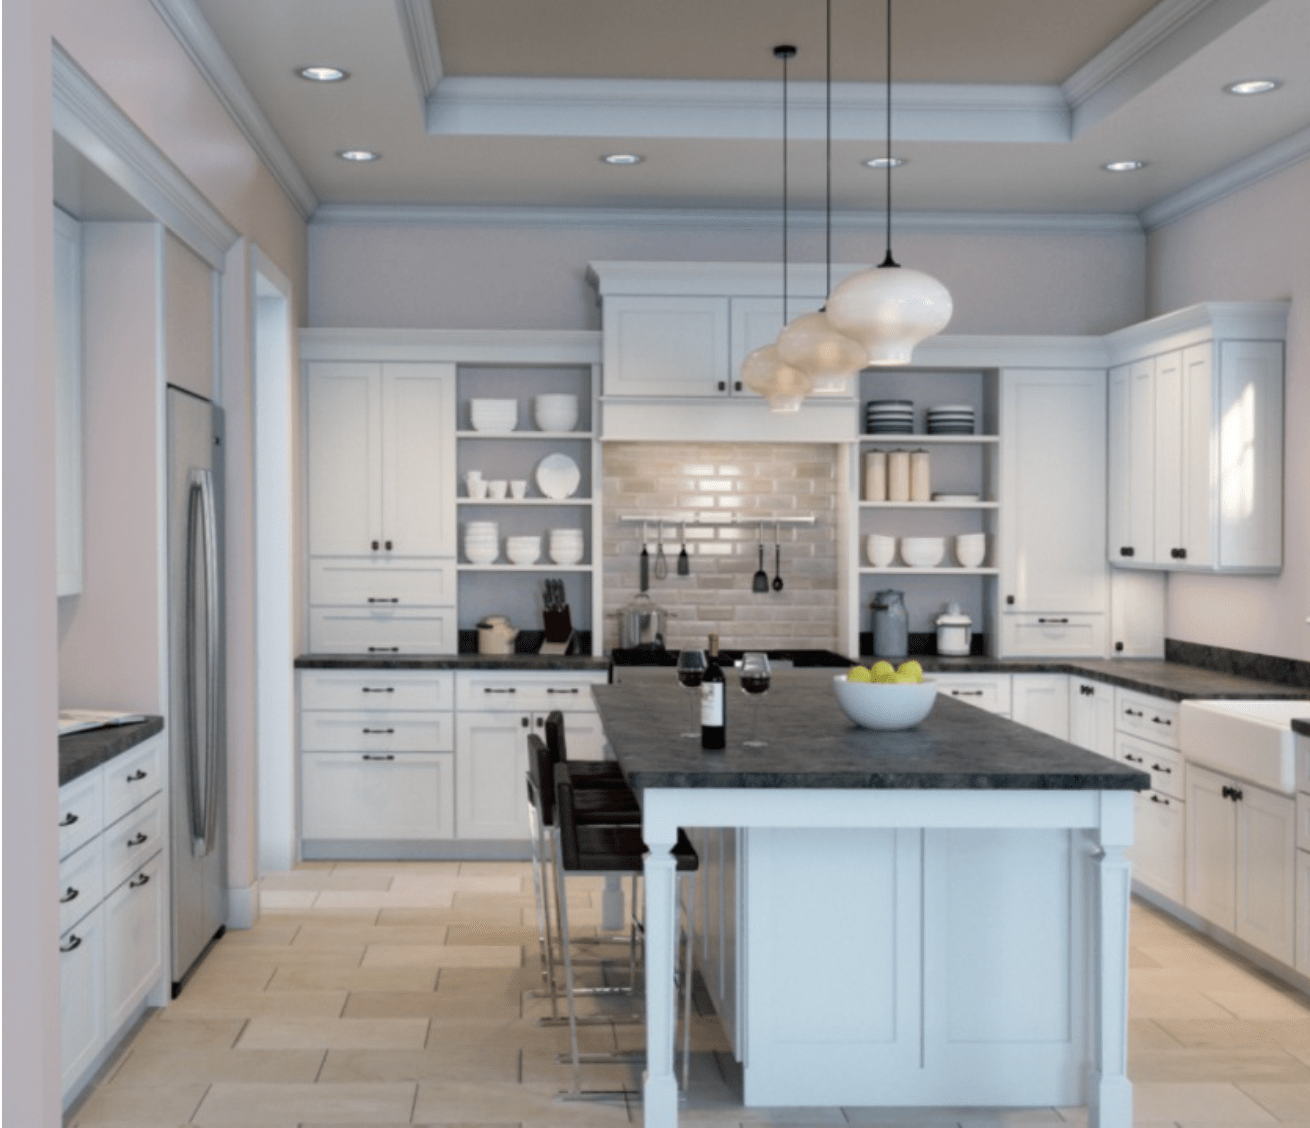
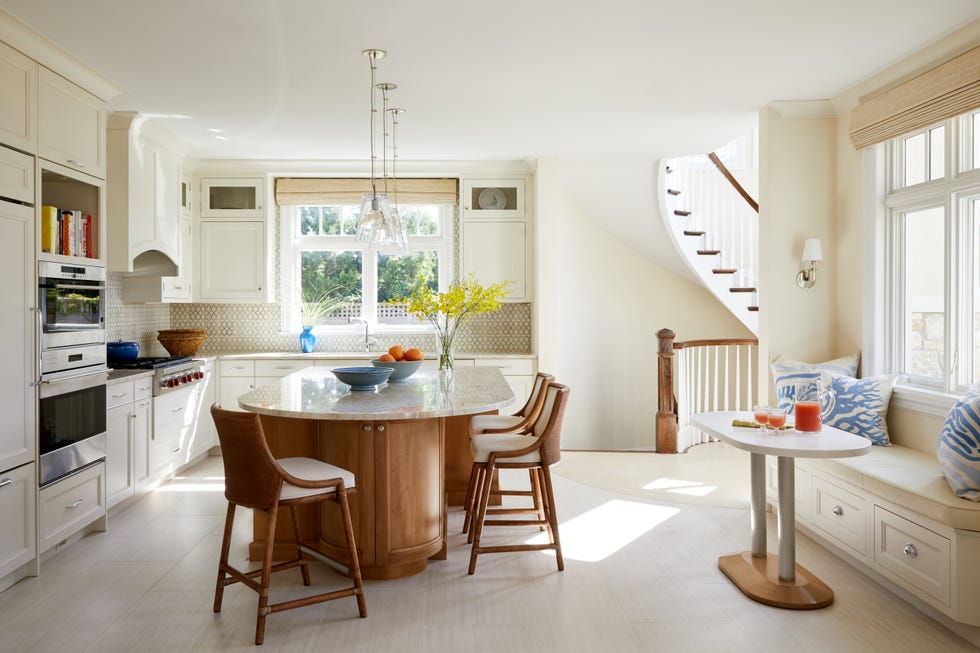
Kitchen design trends are continuously evolving, and currently, lighter kitchen cabinets are in vogue, often replacing darker wooden finishes. Achieving this brightened look typically involves painting, which can be a messy and time-consuming process. However, HGTV star David Bromstad proposes an alternative method for homeowners looking to update their kitchens without the hassle of painting: wood bleaching. This technique allows for the lightening of wood surfaces while preserving their natural character, making it a budget-friendly and less labor-intensive solution than a full cabinet replacement or repaint.
Bromstad’s method involves stripping down the existing finish of dark cabinets and then bleaching the wood. This process results in an almost white, natural appearance that highlights the wood grain, offering a casual and stunning aesthetic. Unlike painting, which conceals the wood's natural lines and patterns, bleaching enhances them, making the wood appear naturally whiter. This approach is particularly effective in kitchens with limited natural light, as the lighter bleached wood can significantly brighten the space, similar to how lighter paint shades operate. The technique is considered one of the best ways to modernize dated wood cabinets without resorting to paint, offering a fresh update that embraces the wood’s inherent beauty.
For those interested in a DIY approach, wood bleaching presents an ideal middle ground between keeping outdated dark cabinets and undergoing a costly remodel. The process is manageable for a weekend project and requires only a few essential supplies. Key materials include gloves, sanding tools to remove the existing finish, and a bleaching agent. Homeowners have several options for bleaching agents: common household bleach, oxalic acid, or a two-part bleach. While household bleach and oxalic acid can lighten wood and remove stains, a two-part bleach, such as Zinsser Wood Bleach, is recommended for effectively bleaching darker-toned wood and revealing its natural grain.
To execute the wood bleaching process, the first step involves removing the existing cabinet finish using an electric sander. Once the surface is prepared, the two-part bleach is applied according to the manufacturer’s instructions. This typically entails applying solution A, allowing it to set for approximately five minutes, and then following up with solution B. The full lightening effect of the bleach becomes apparent after several hours of drying. To ensure the longevity of the new, lighter look, the bleached wood should be sealed with a clear finish. This method not only bypasses the need to decide between refacing or completely replacing cabinets but also offers an inexpensive and effective way to achieve a modern, bright kitchen aesthetic.
#CabinetRefinishing #KitchenDesign #WoodBleaching #DIYHomeImprovement #DavidBromstad #InteriorDesign #HomeRenovation #BudgetFriendlyDesign #CabinetRefinishing #KitchenDesign #WoodBleaching #DIYHomeImprovement #DavidBromstad #InteriorDesign #HomeRenovation #BudgetFriendlyDesign
0 comment in total
 No comments yet
You may also like
An interior designer reveals the 5 mistakes to avoid when painting with dark colours

Let There Be Light — 10 Lighting Tricks That Will Transform Any Dark Room Into A Warm and Inviting Space

9 Kitchens With Dark Cabinets That Are Cozy, Not Cave-Like
10 Ways to Brighten a Dark Room, According to Interior Designers


David Bromstad-Inspired Paint Rules To Follow When Updating Your Home

8 of the best dark paint colours for your home and how to use them


How HGTV's David Bromstad Updates Kitchen Cabinets Without Replacing Them

This Design Element Instantly Brightens a Dark Room

This Is the Best Paint for Dark Rooms — 6 Shades Interior Designers Swear By for Light-Limited Spaces
These Simple Paint Tricks Can Make Even the Darkest Hallway Feel Bright

This DIY Lighting Solution is Perfect for Closets and Other Dark Spaces

Should you paint dark ceilings with light walls? Experts weigh in on the pros and cons

Tired Of Basic White Trim? David Bromstad Shares A Stylish Alternative To Try Instead
Forget painting your walls grey, it’s time to sparkle
The 13 Best Paint Colors for Low-Light Rooms
The 8 Rules for Dark Entryways — How Designers Perfect the Art of the Moody First Impression

10 Easy And Renter-Friendly Ways To Add Lighting To Your Dark Closet
8 dark trim paint color schemes from interior designers that nail the look - 'they're cozy, cocooning and dramatic'
Lighting a dark room – 10 top tips from experts

An interior expert reveals the one thing you should never do when painting your walls