1/7
An easy guide to the charming scalloped walls trend
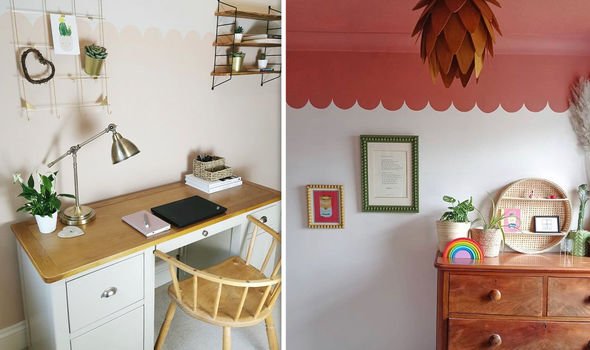
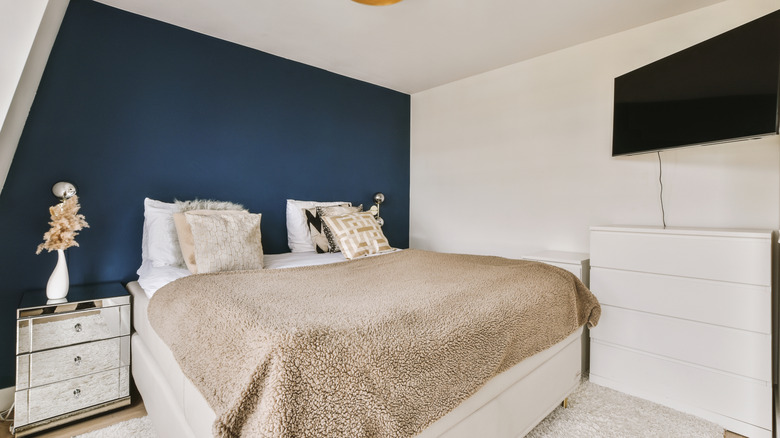
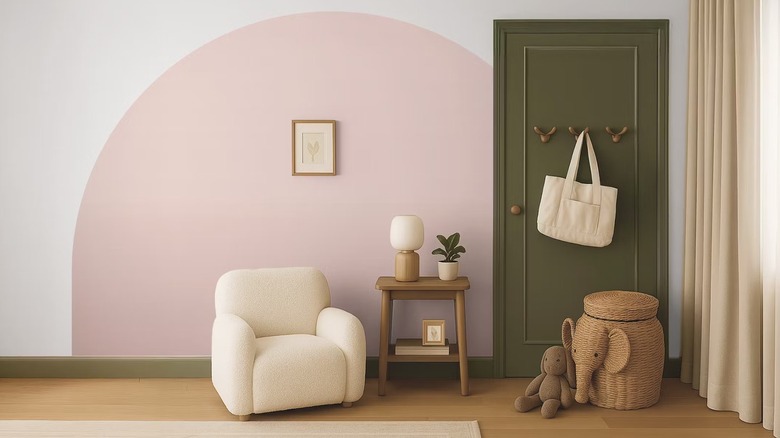
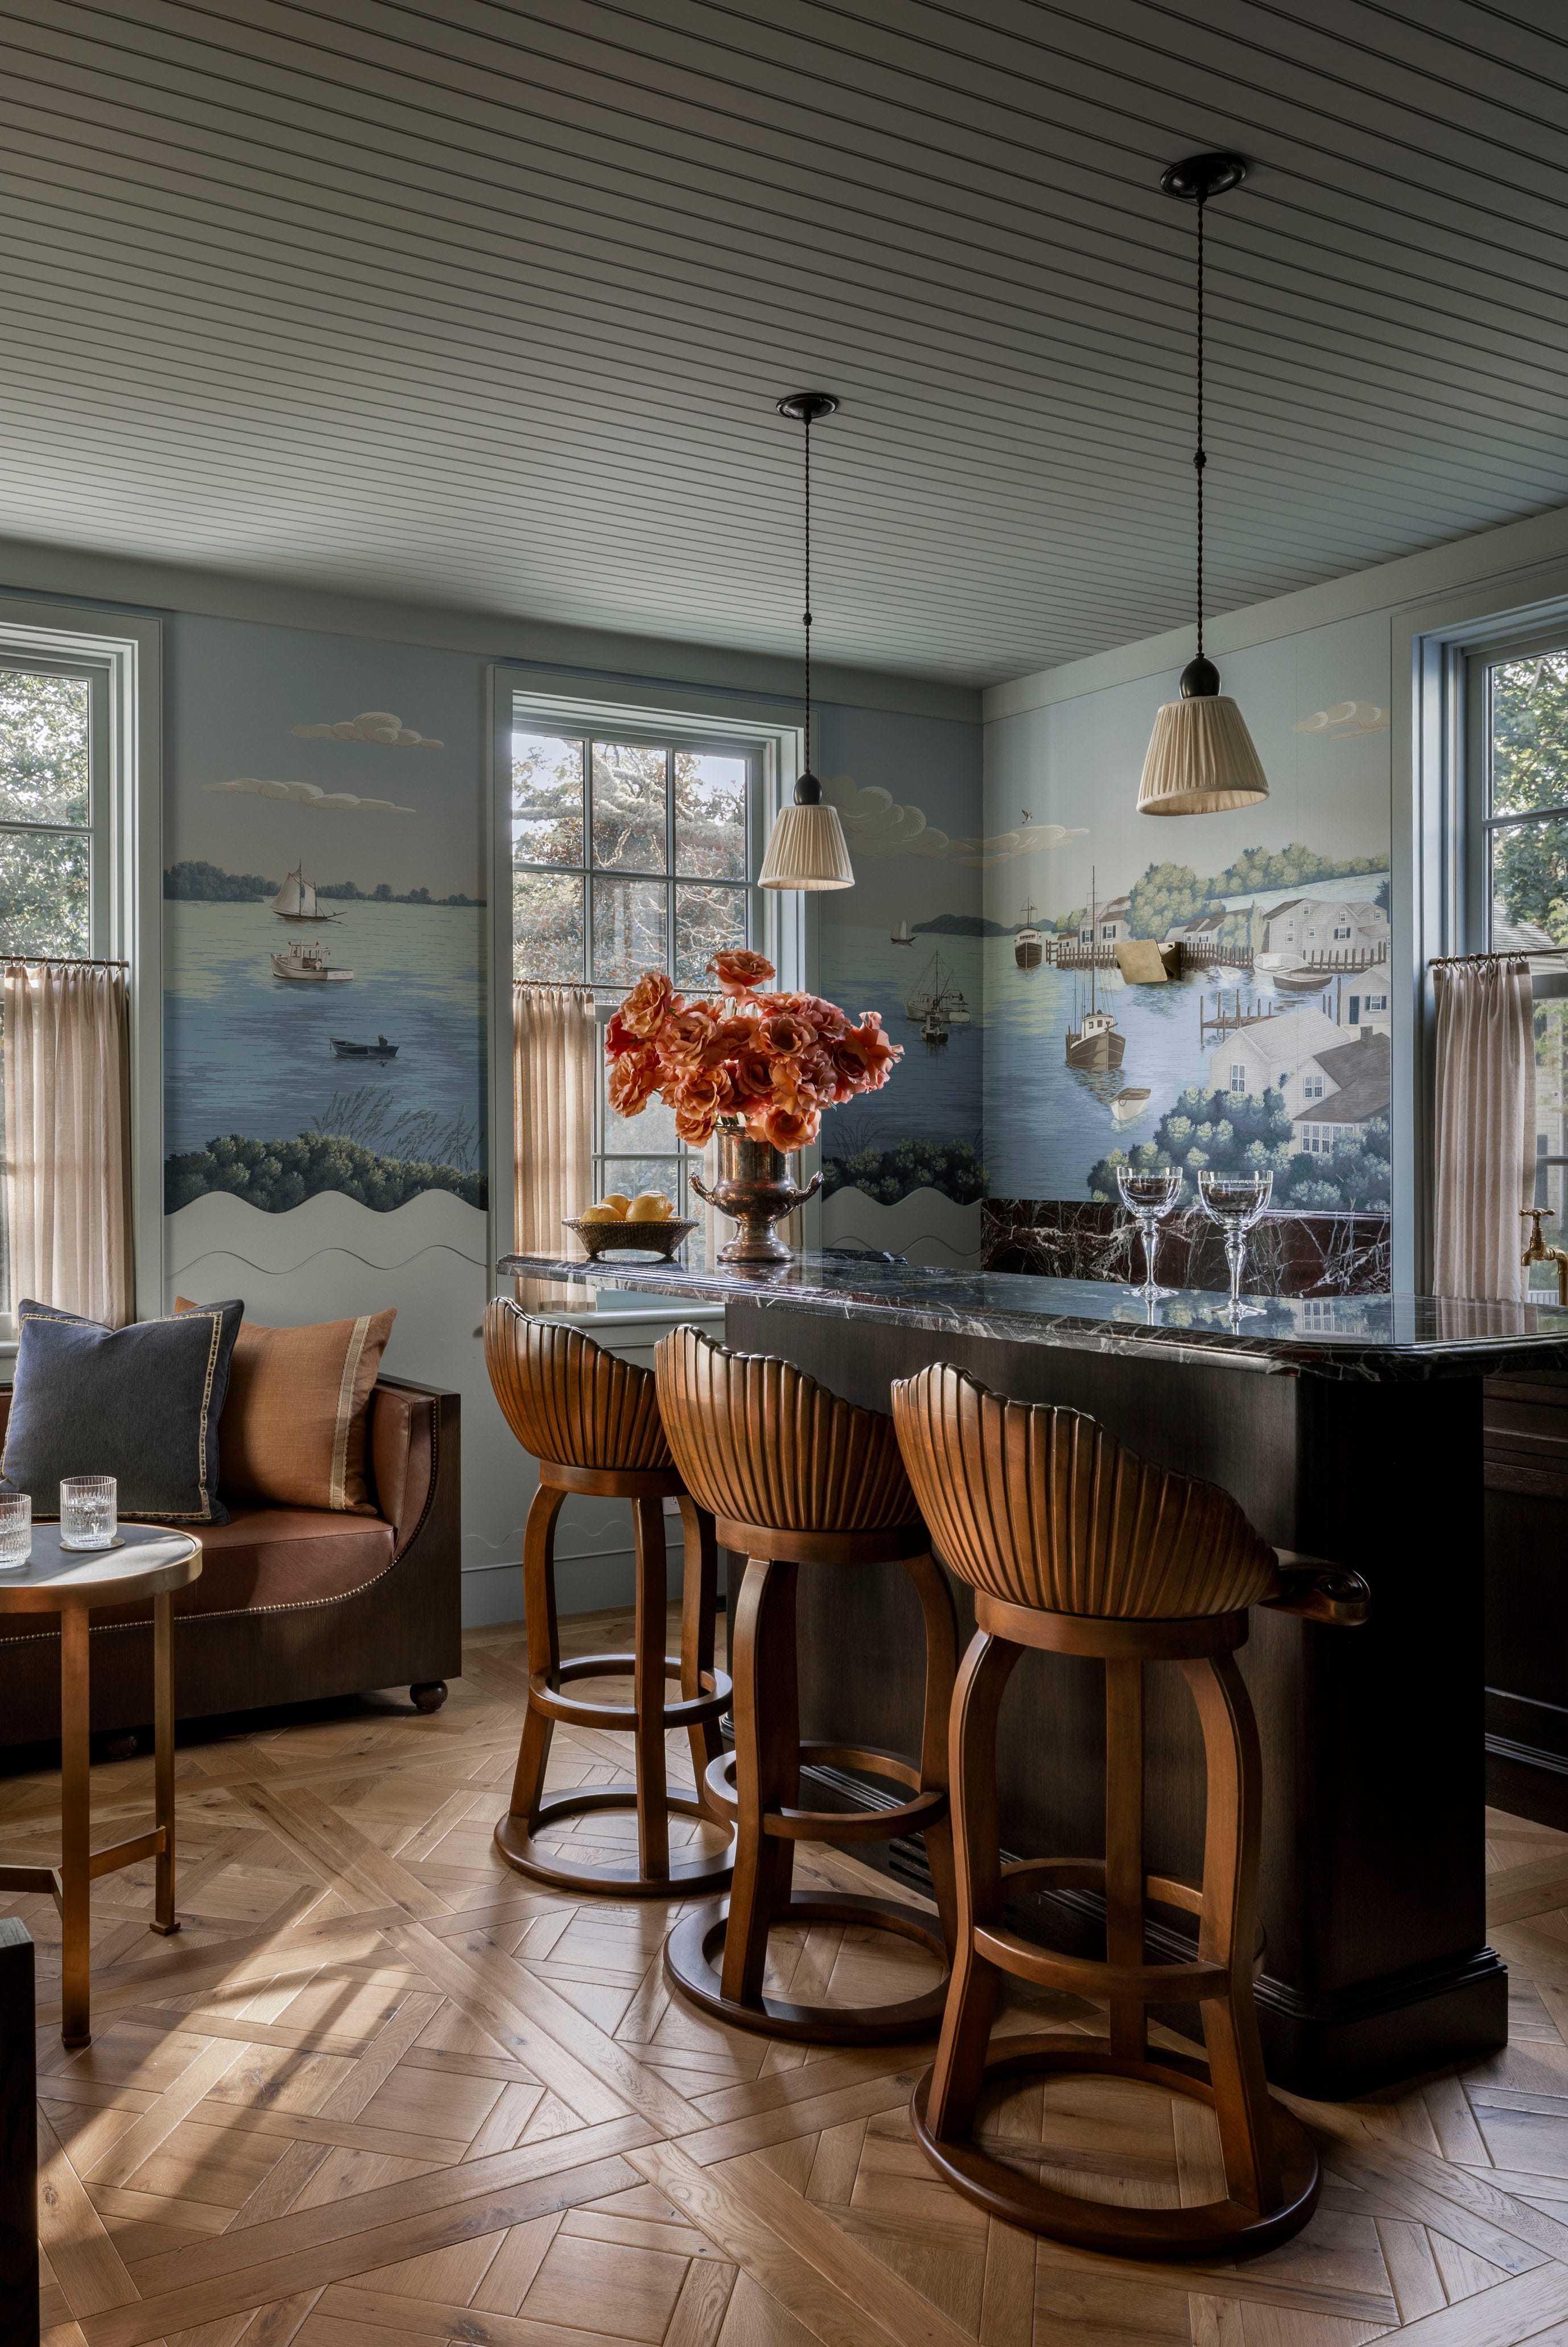
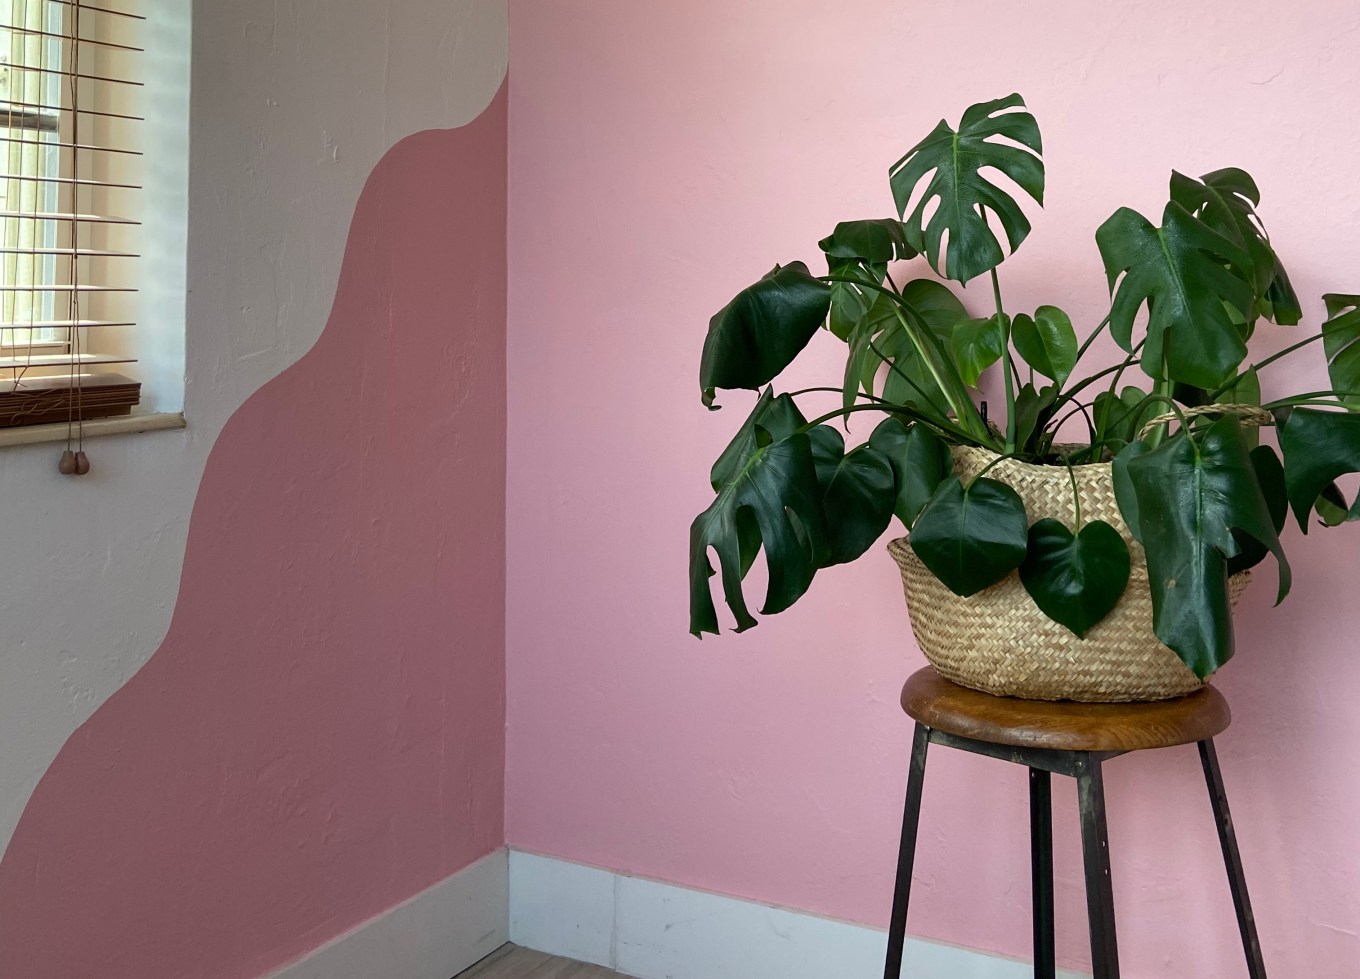
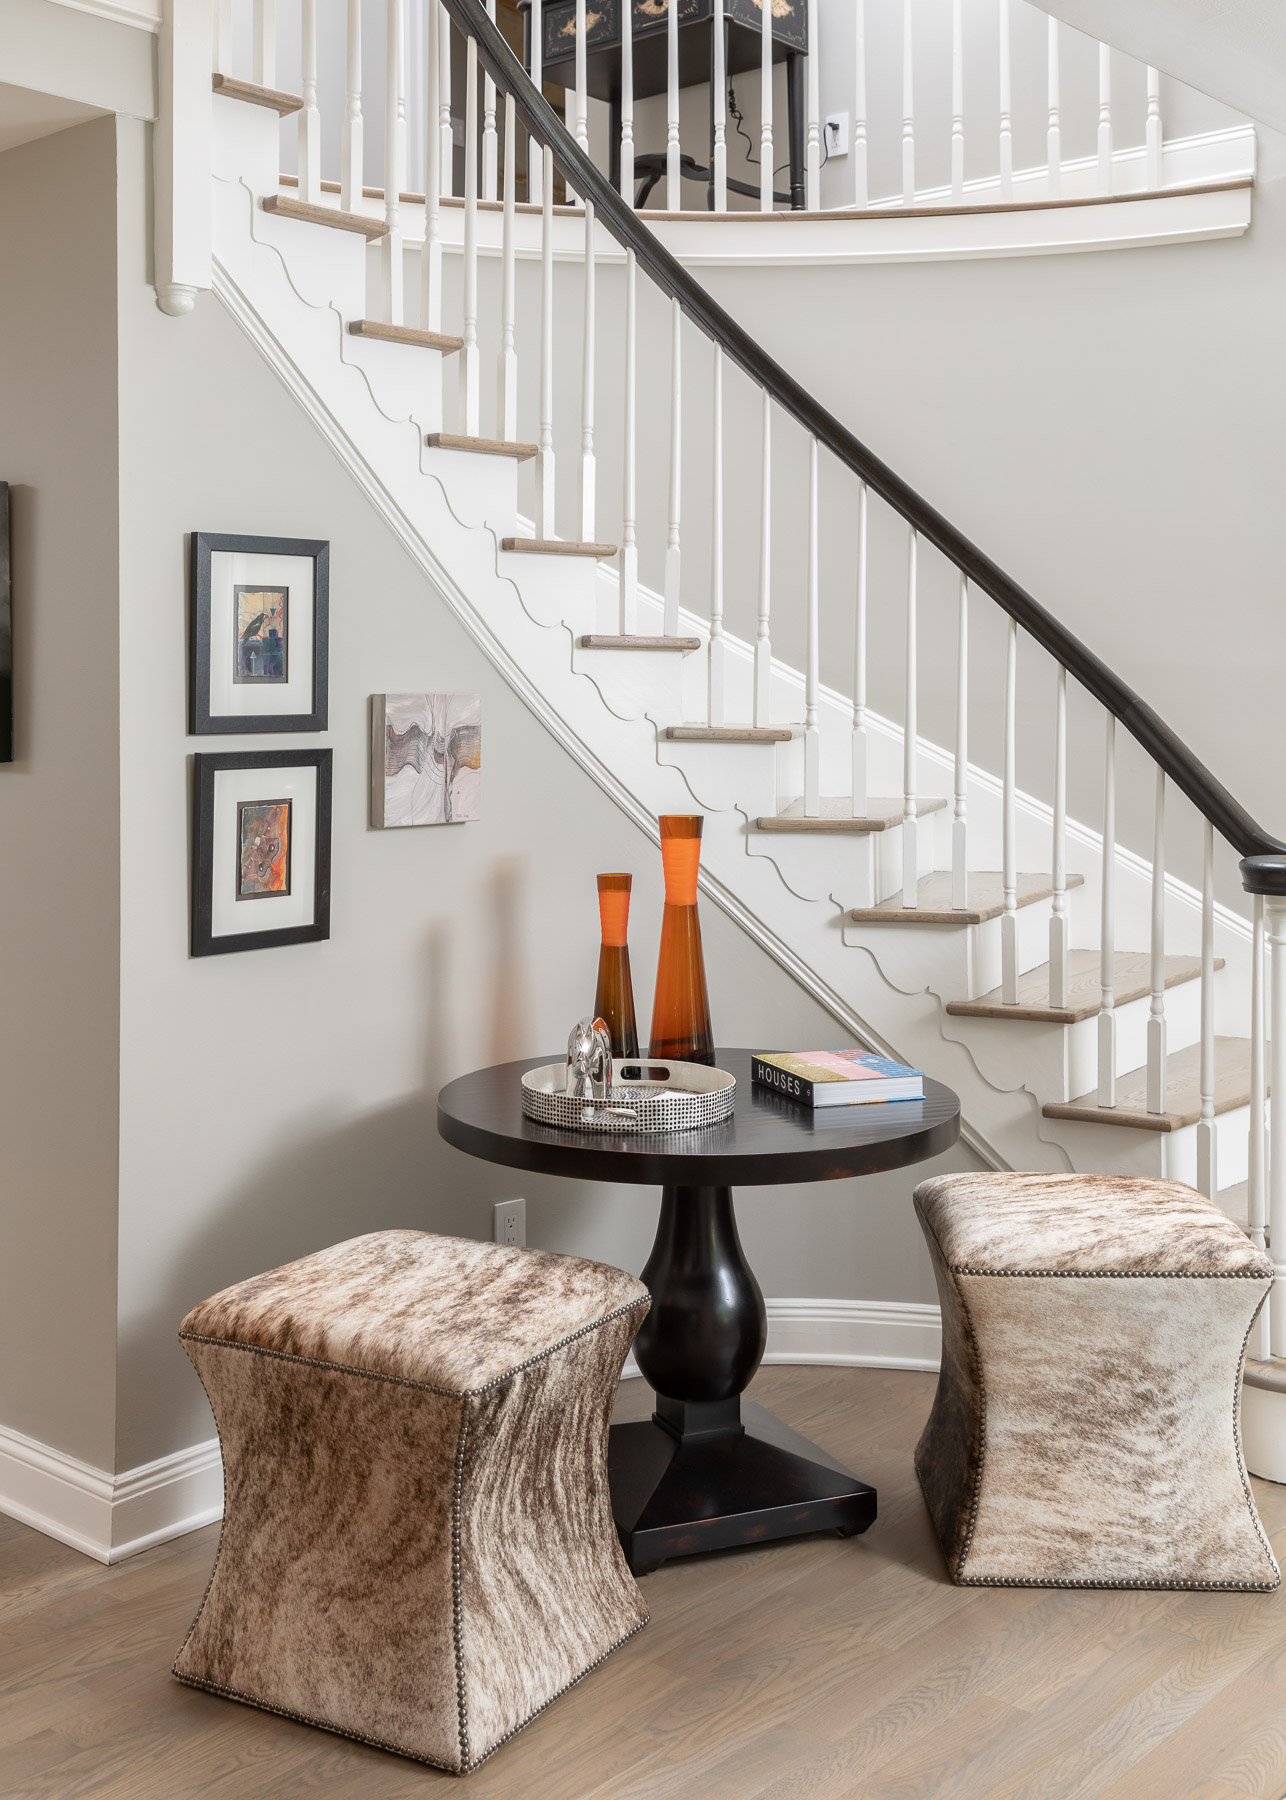
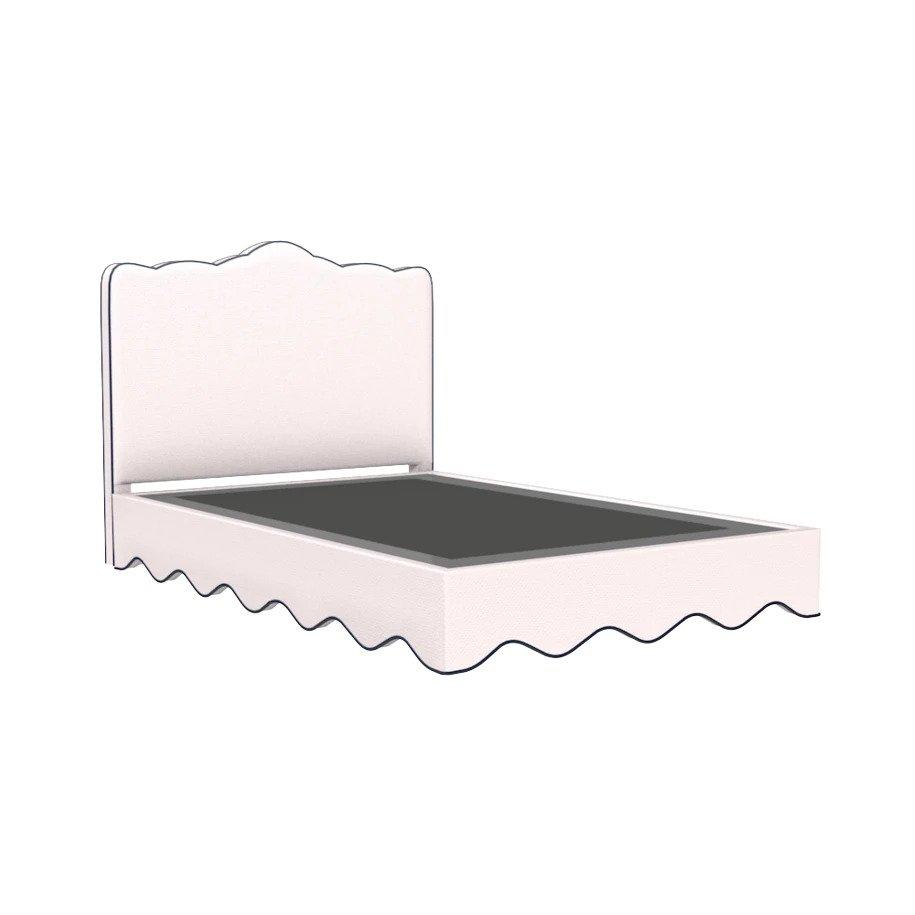
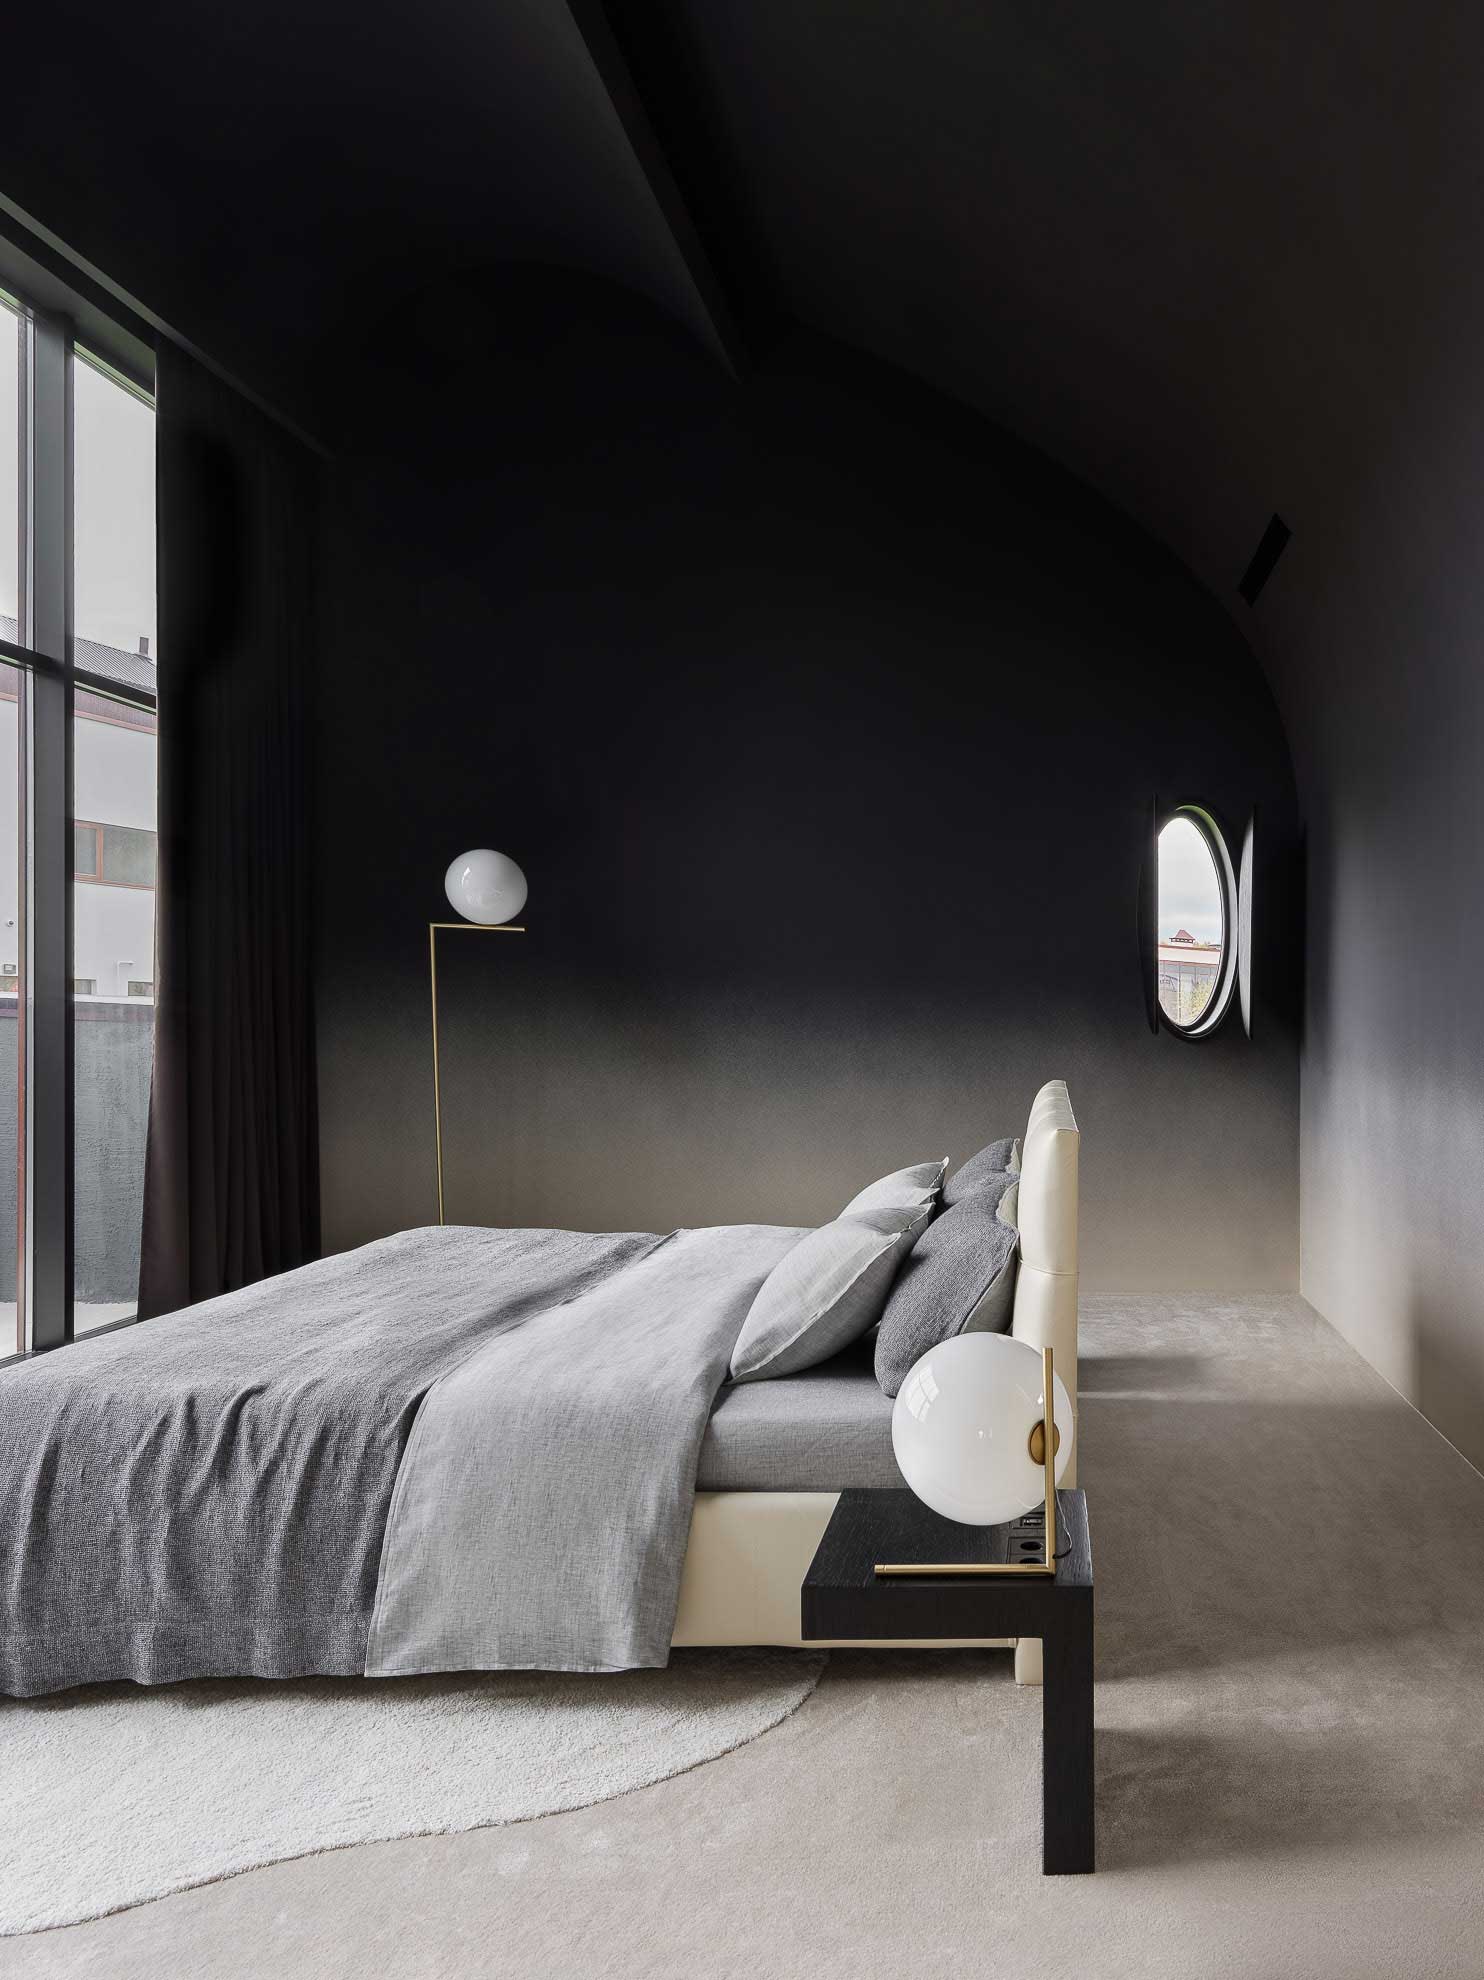
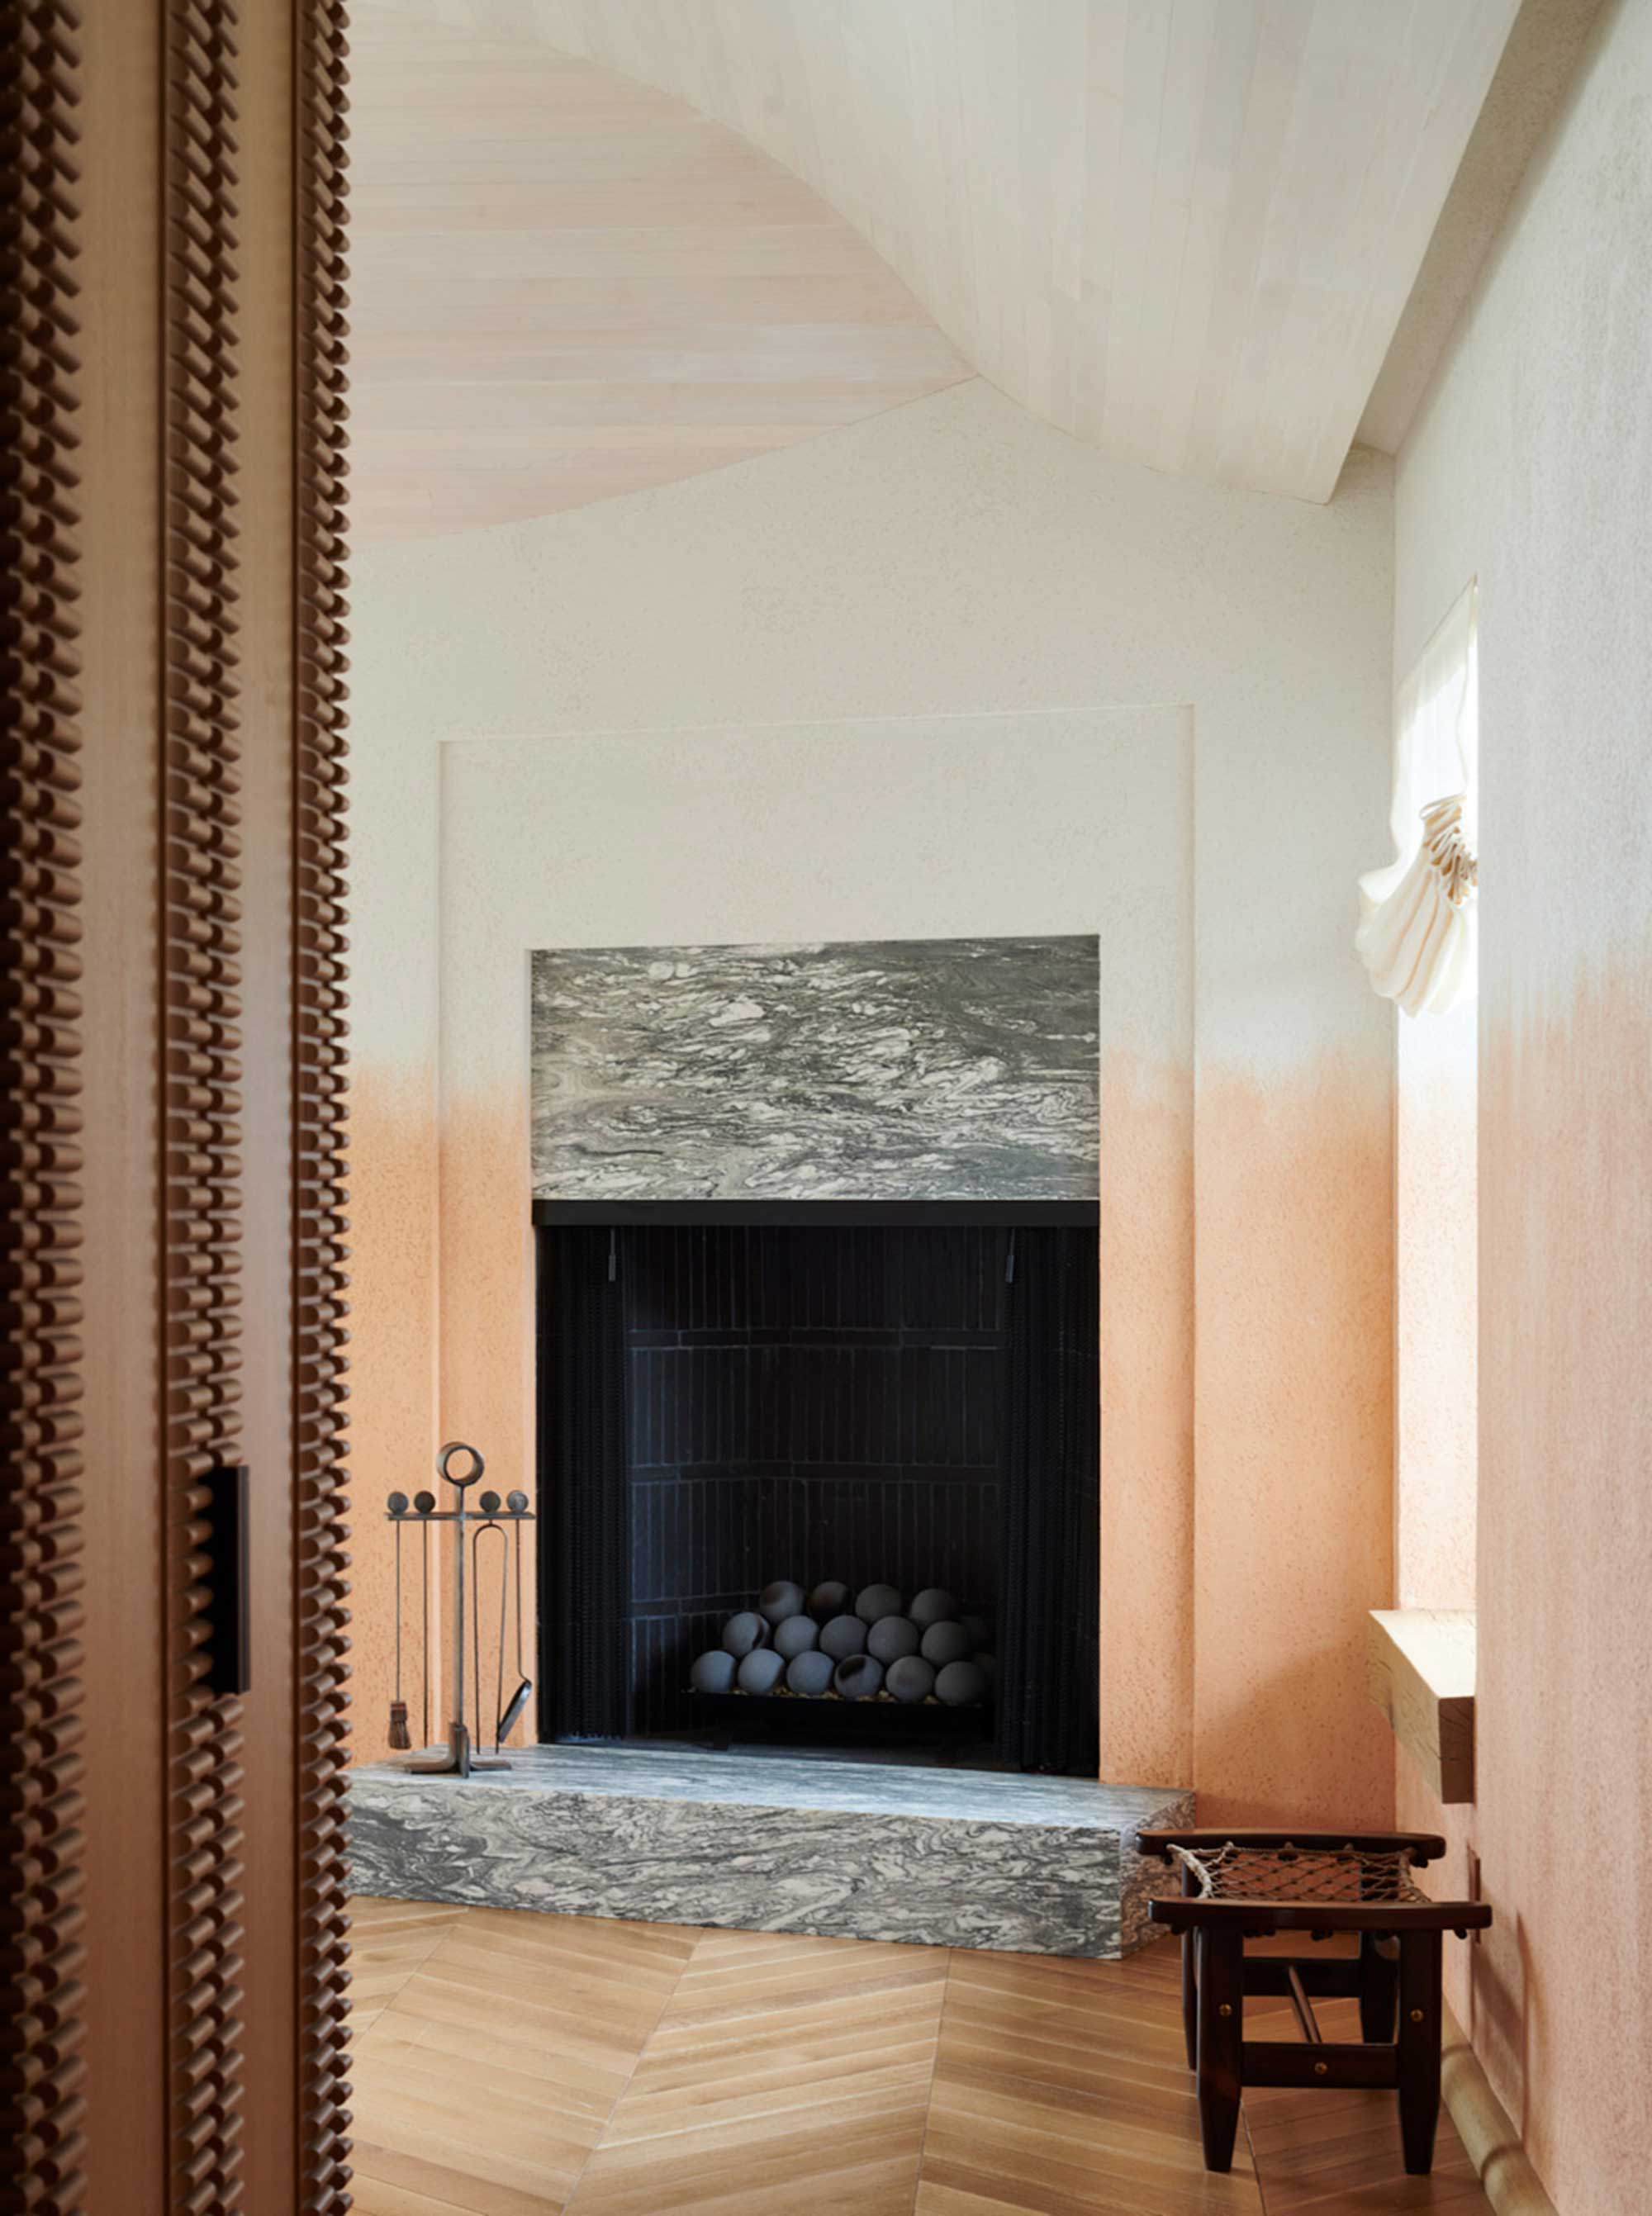
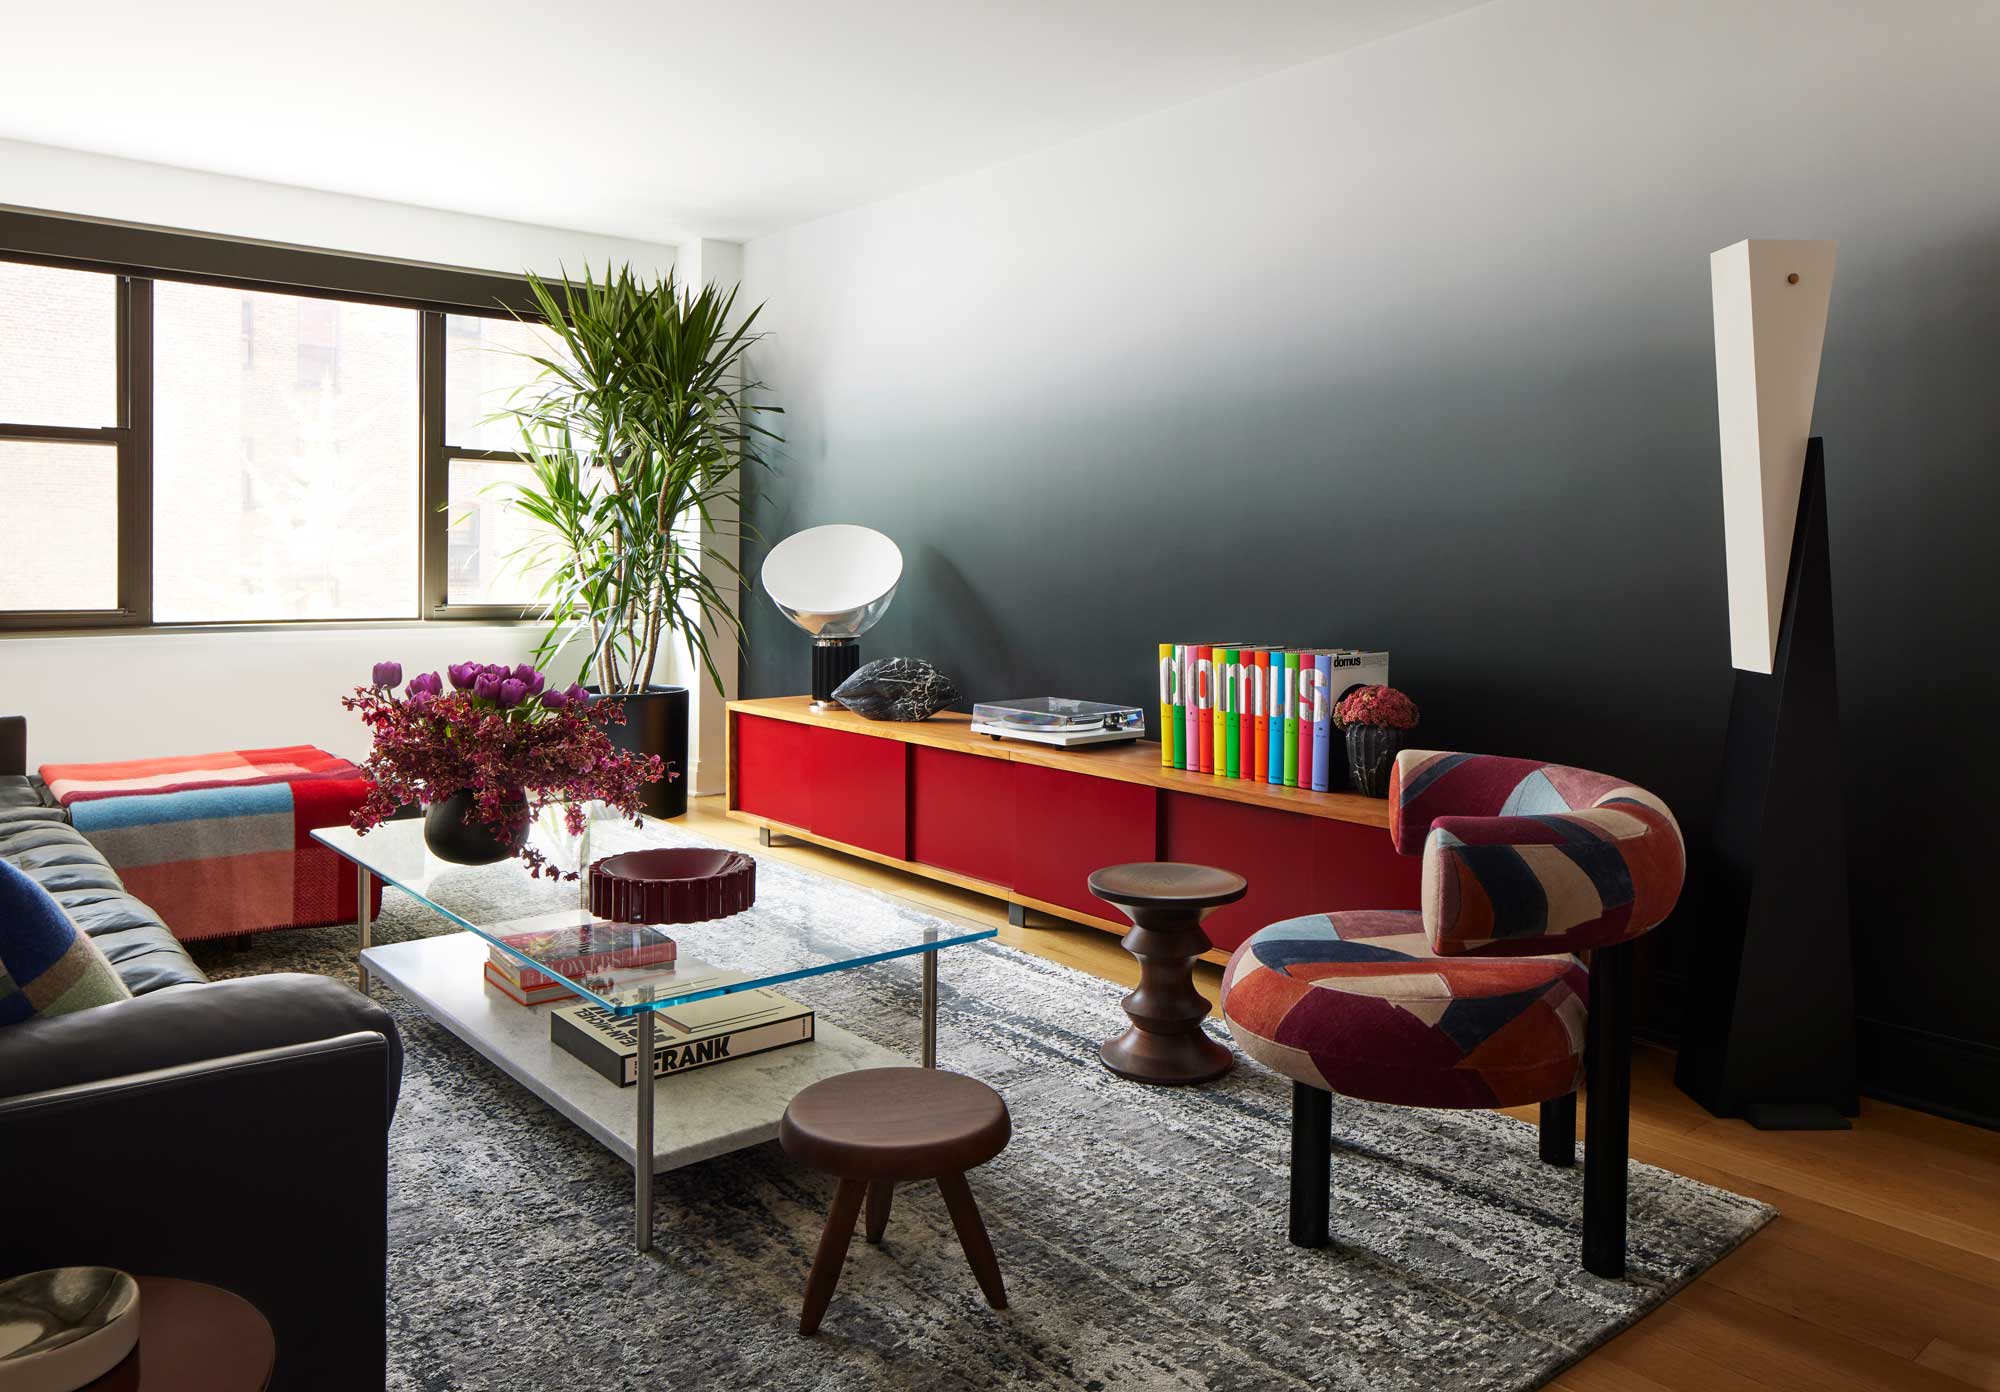
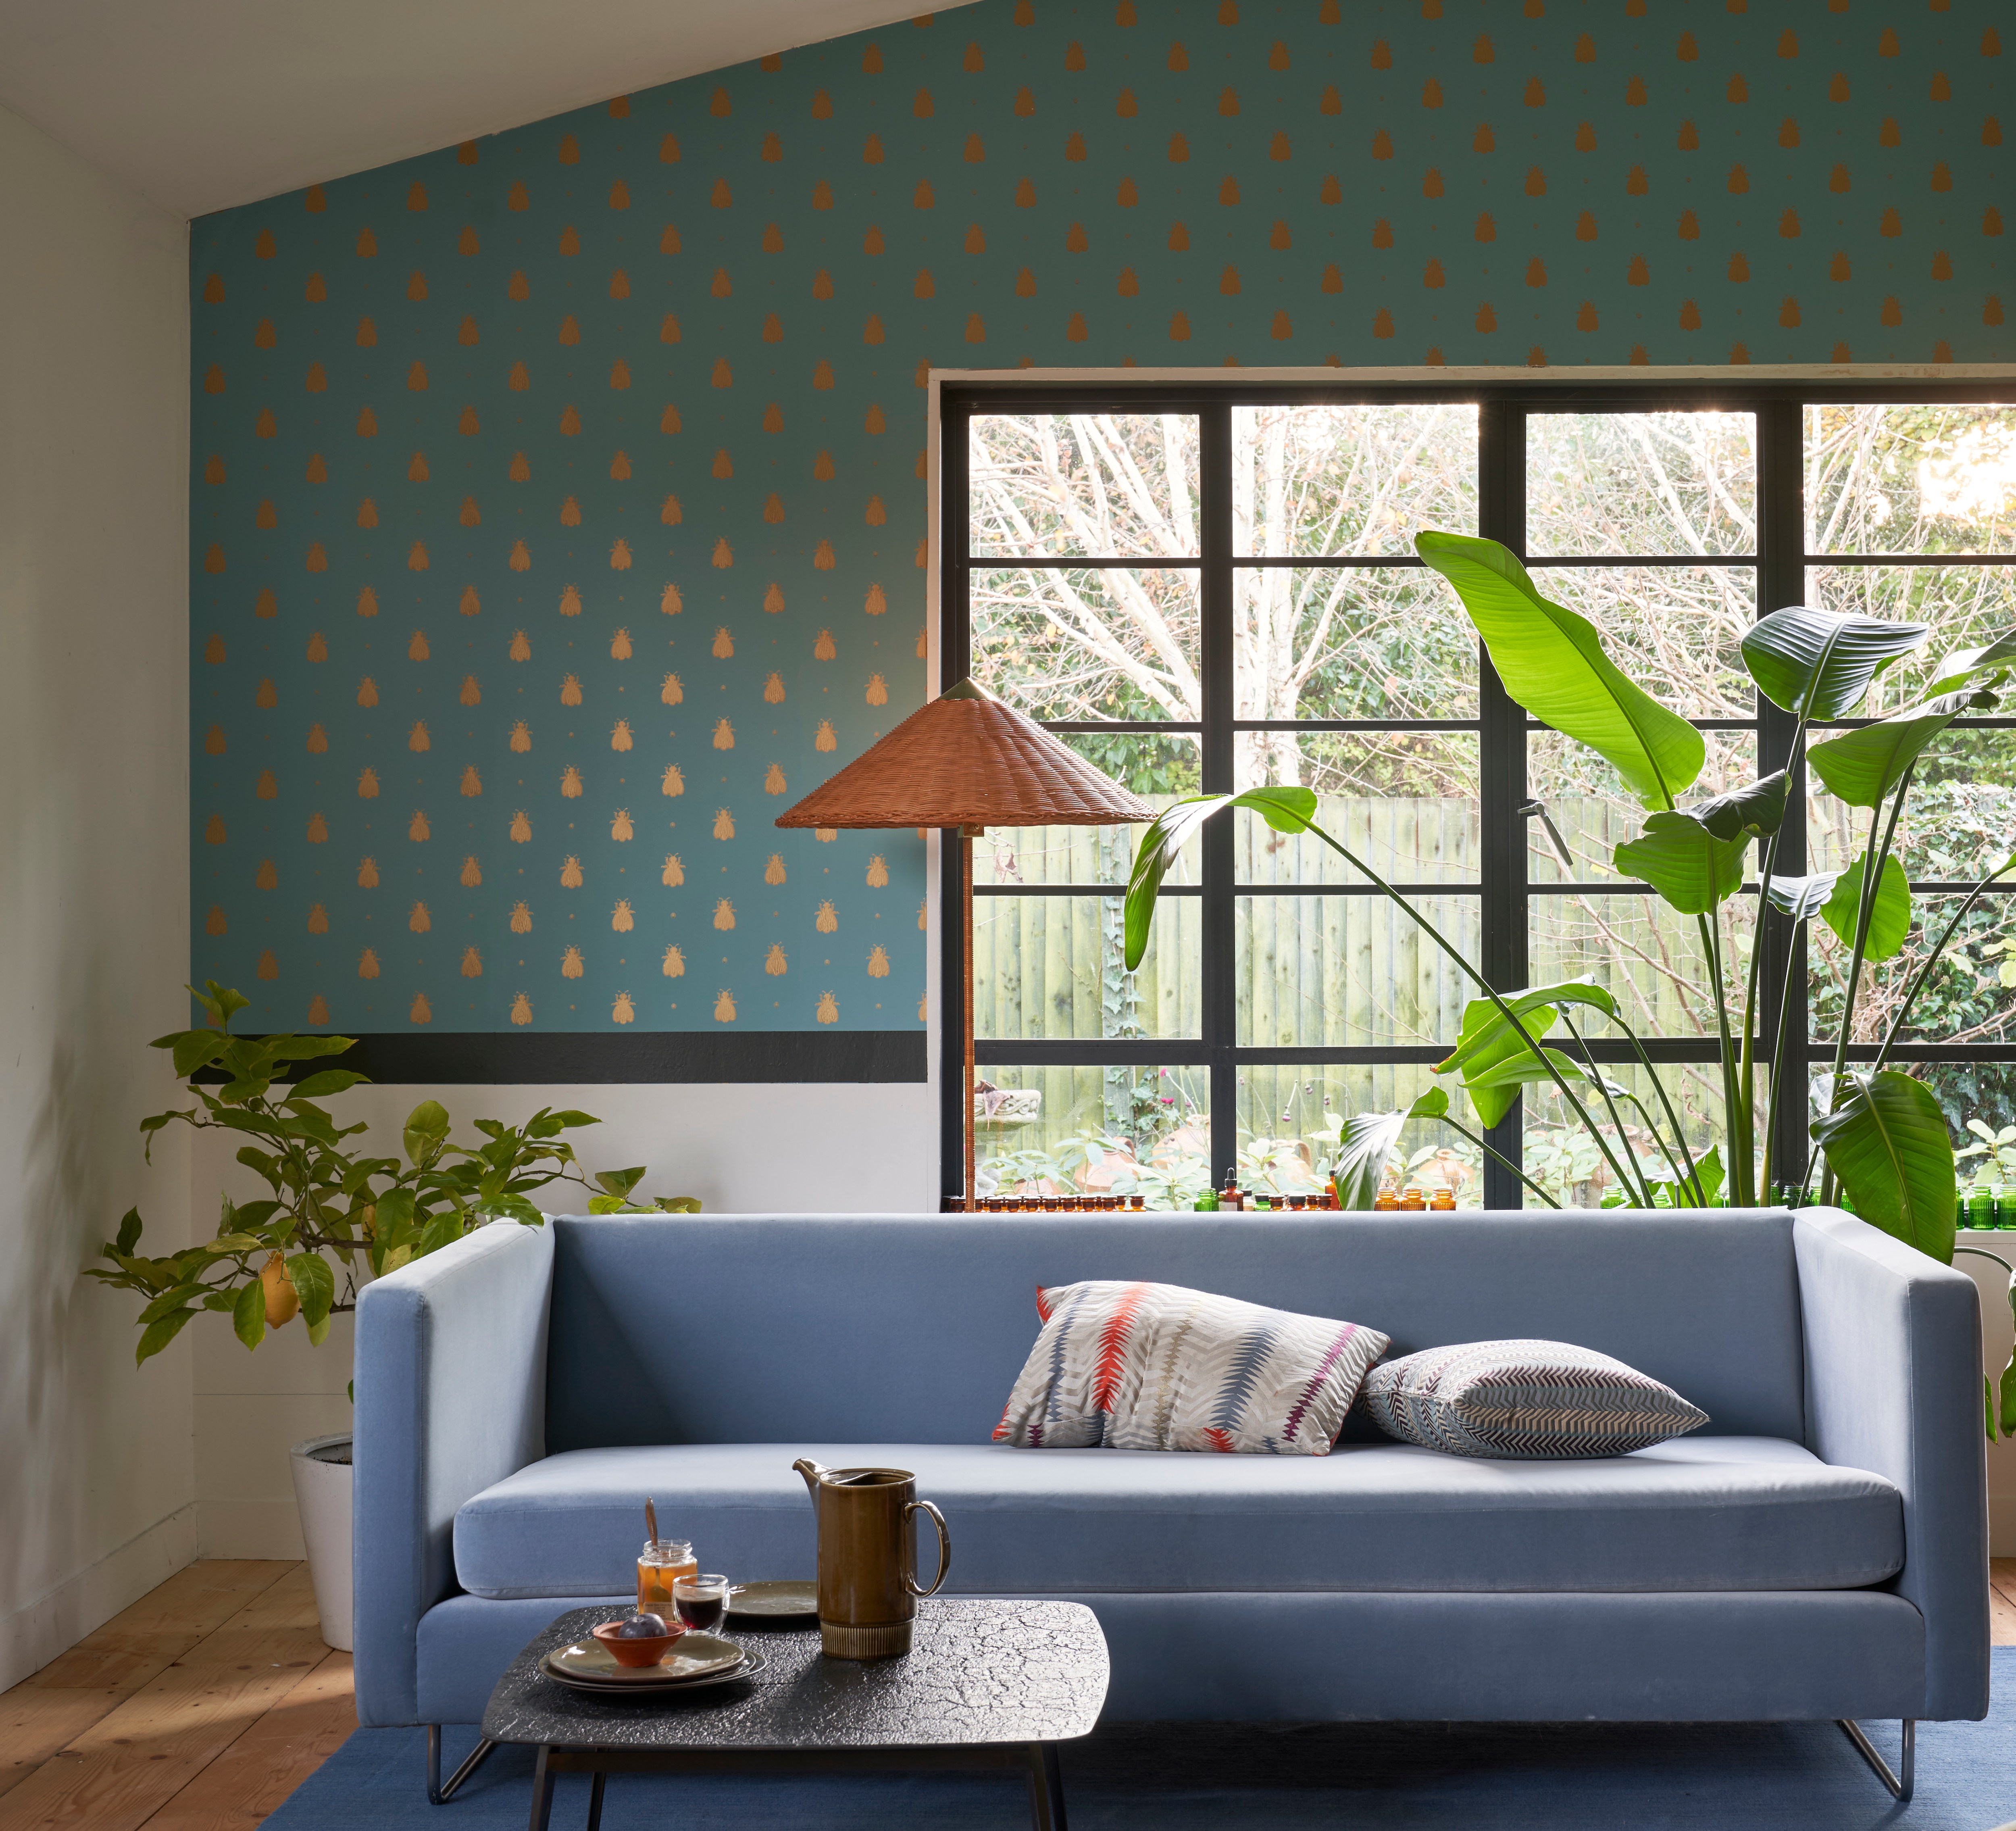
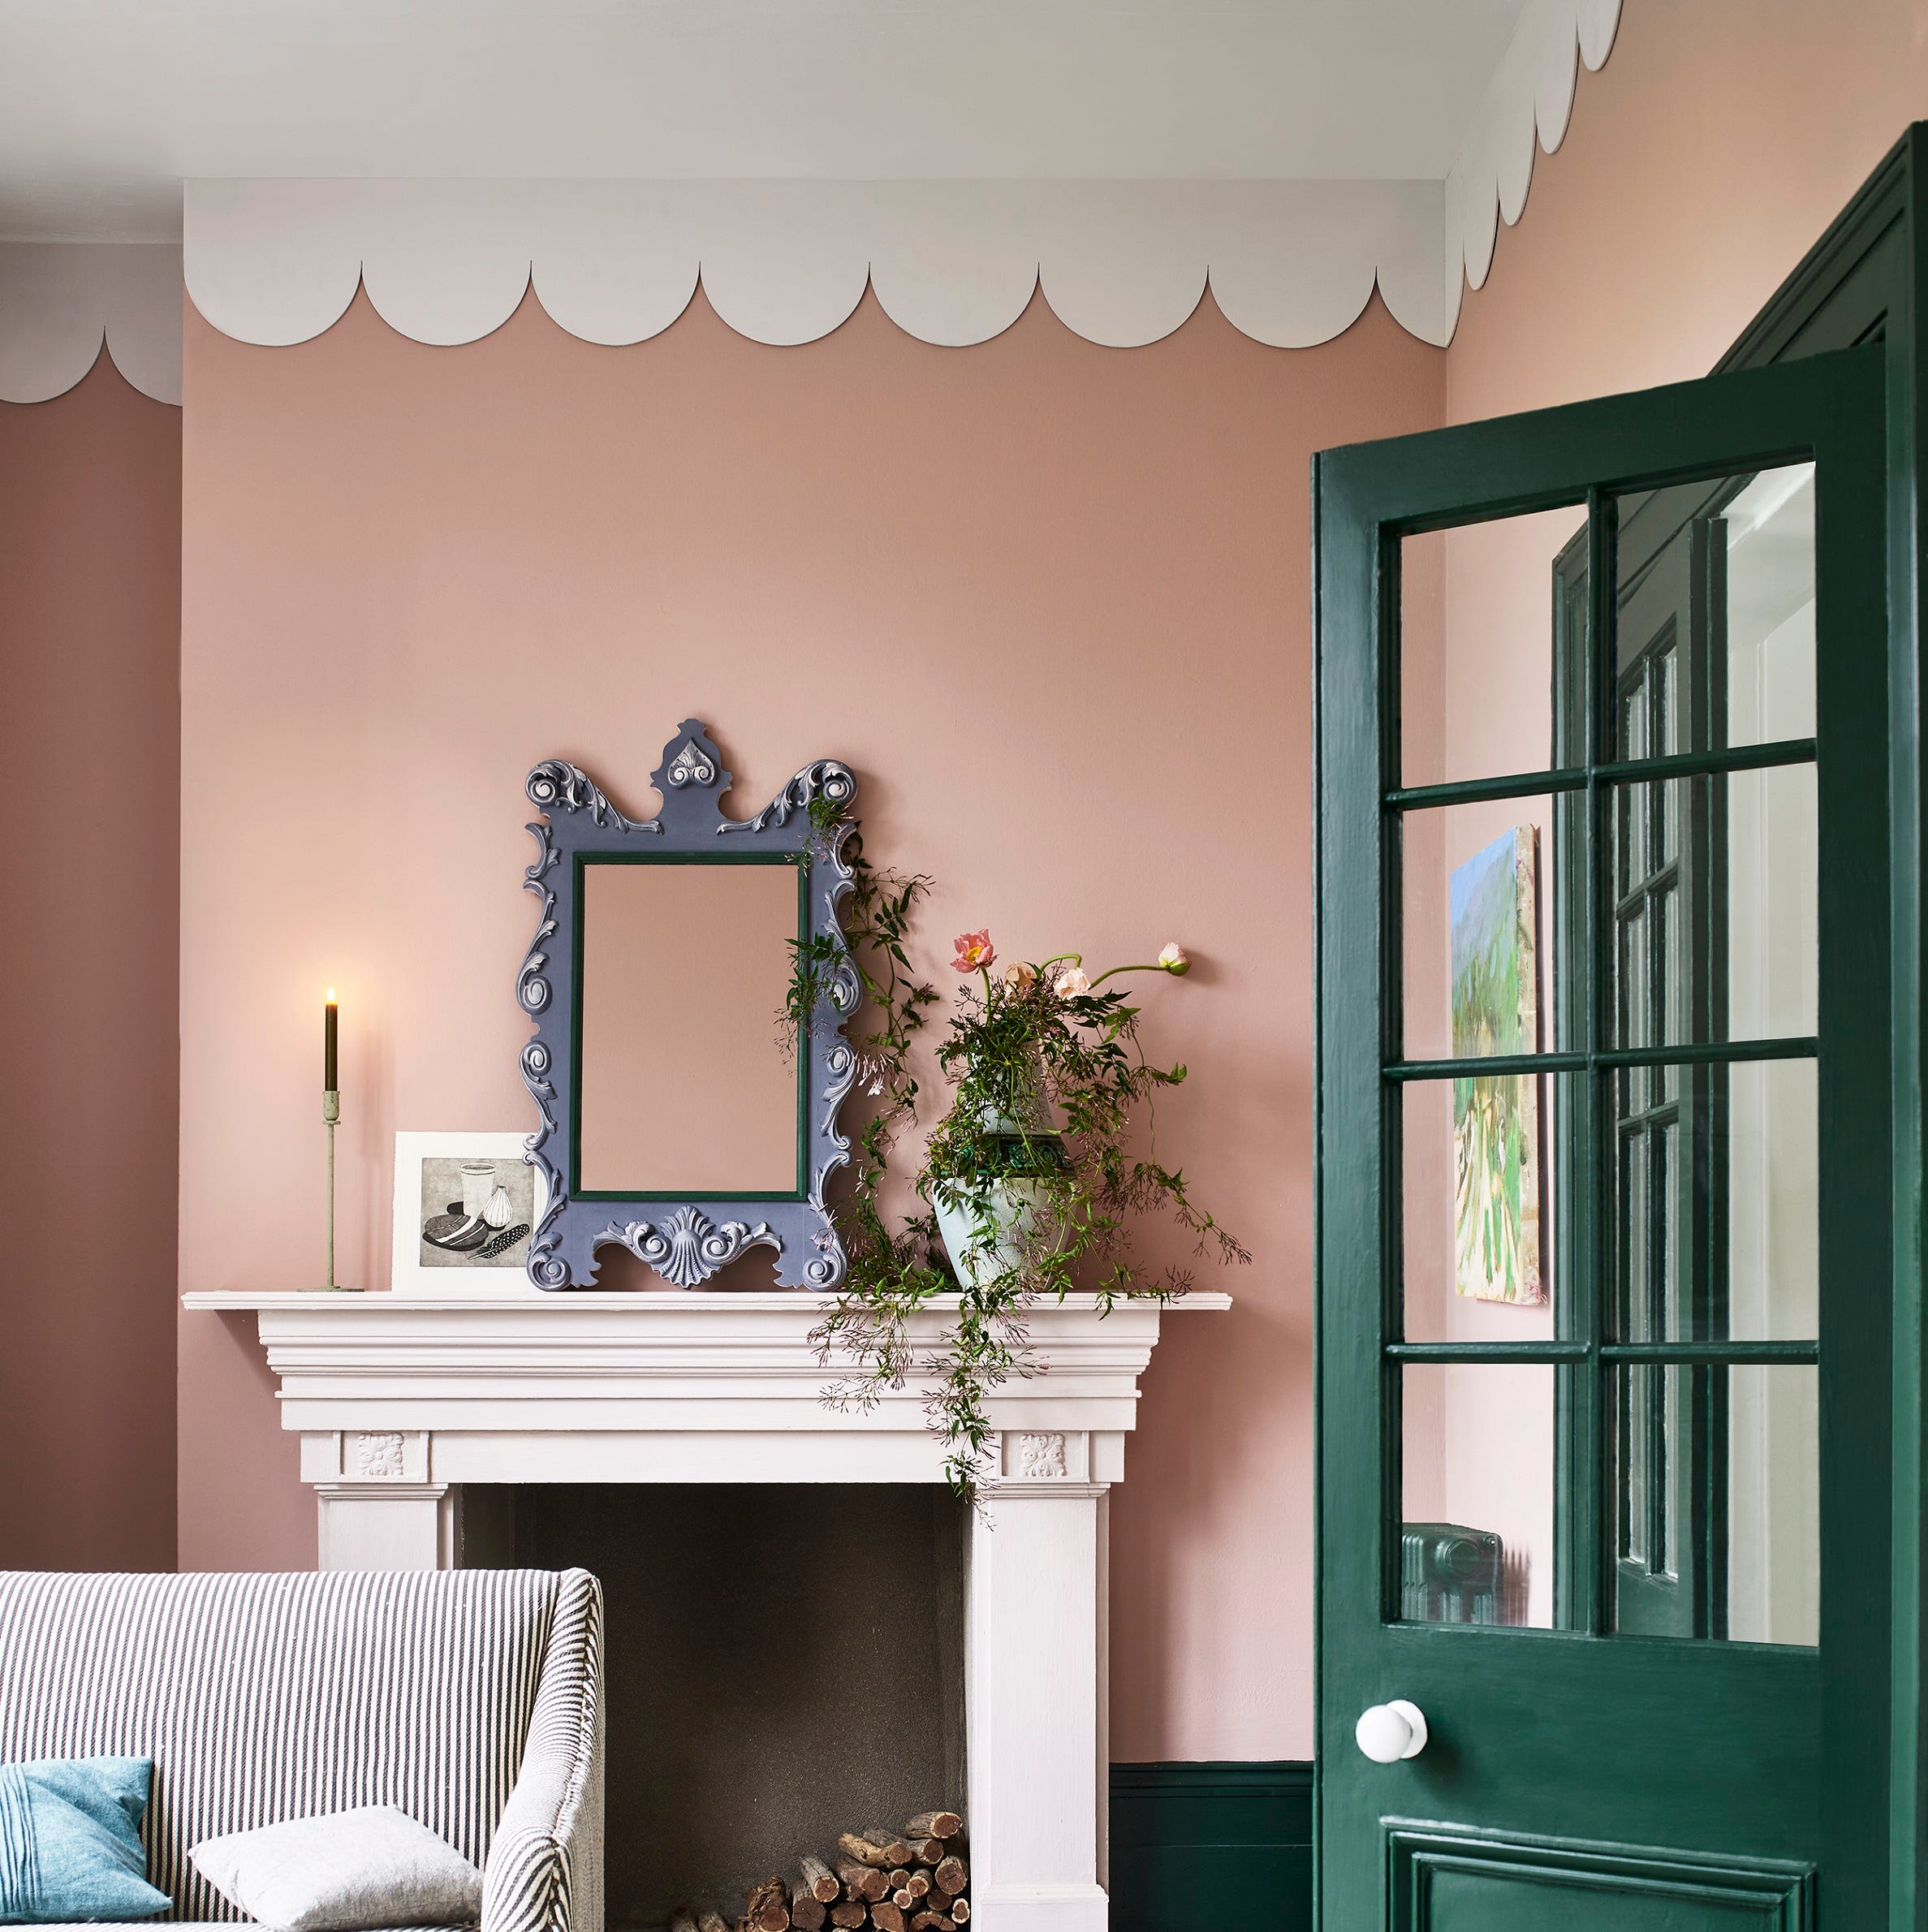
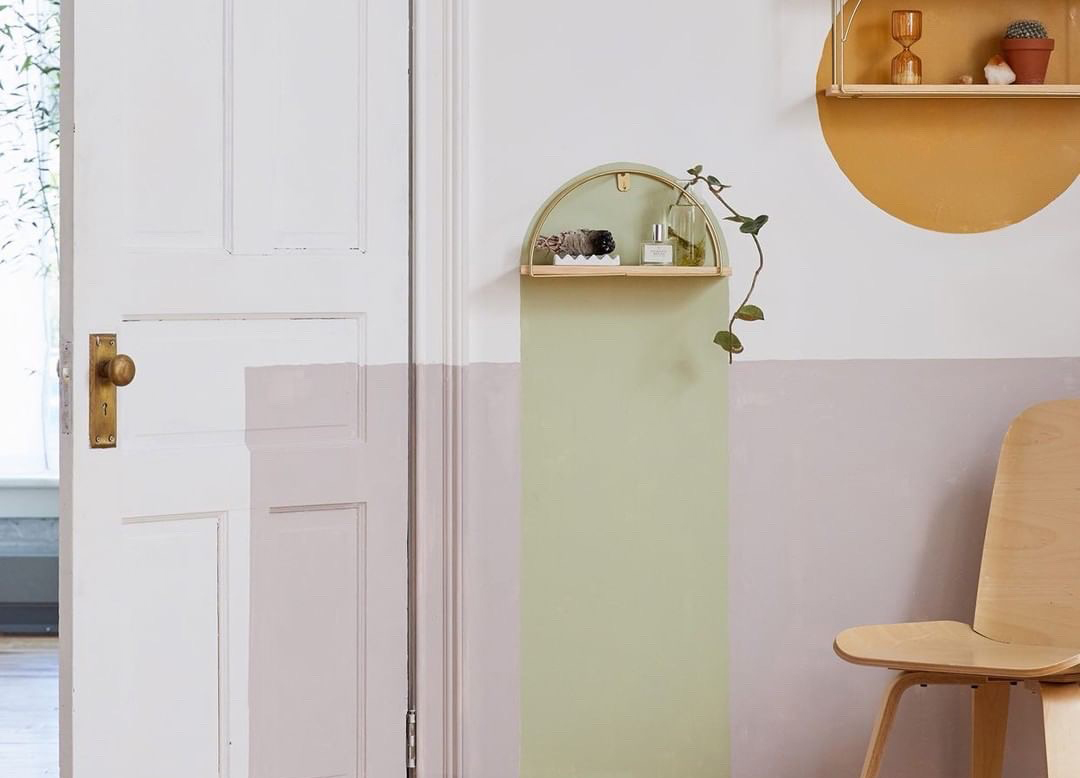
Scalloped walls represent a versatile and appealing DIY decorating trend that is gaining traction for its ability to transform spaces without significant investment in time, money, or specialized skills. Initially popular in children's rooms, nurseries, and playrooms, this design is increasingly being adopted in adult living areas due to its creative potential. The trend allows for various applications, such as a 'half-wall' feature where scallops can face upwards or downwards, as a full feature wall, or even as a ceiling trim to create a cozy atmosphere. The impact of scalloped walls differs depending on the setting; in children's spaces, they can introduce a fun and attractive element, especially when calming colors are chosen. In adult spaces, they serve as a striking feature that can spark conversation and bring a sense of joy to the room.
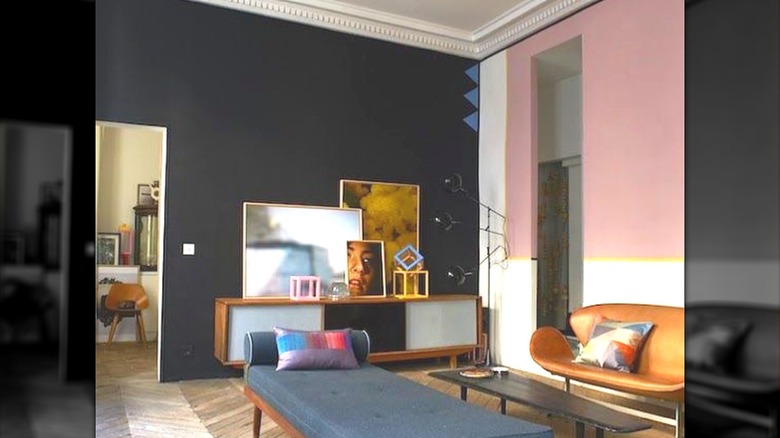
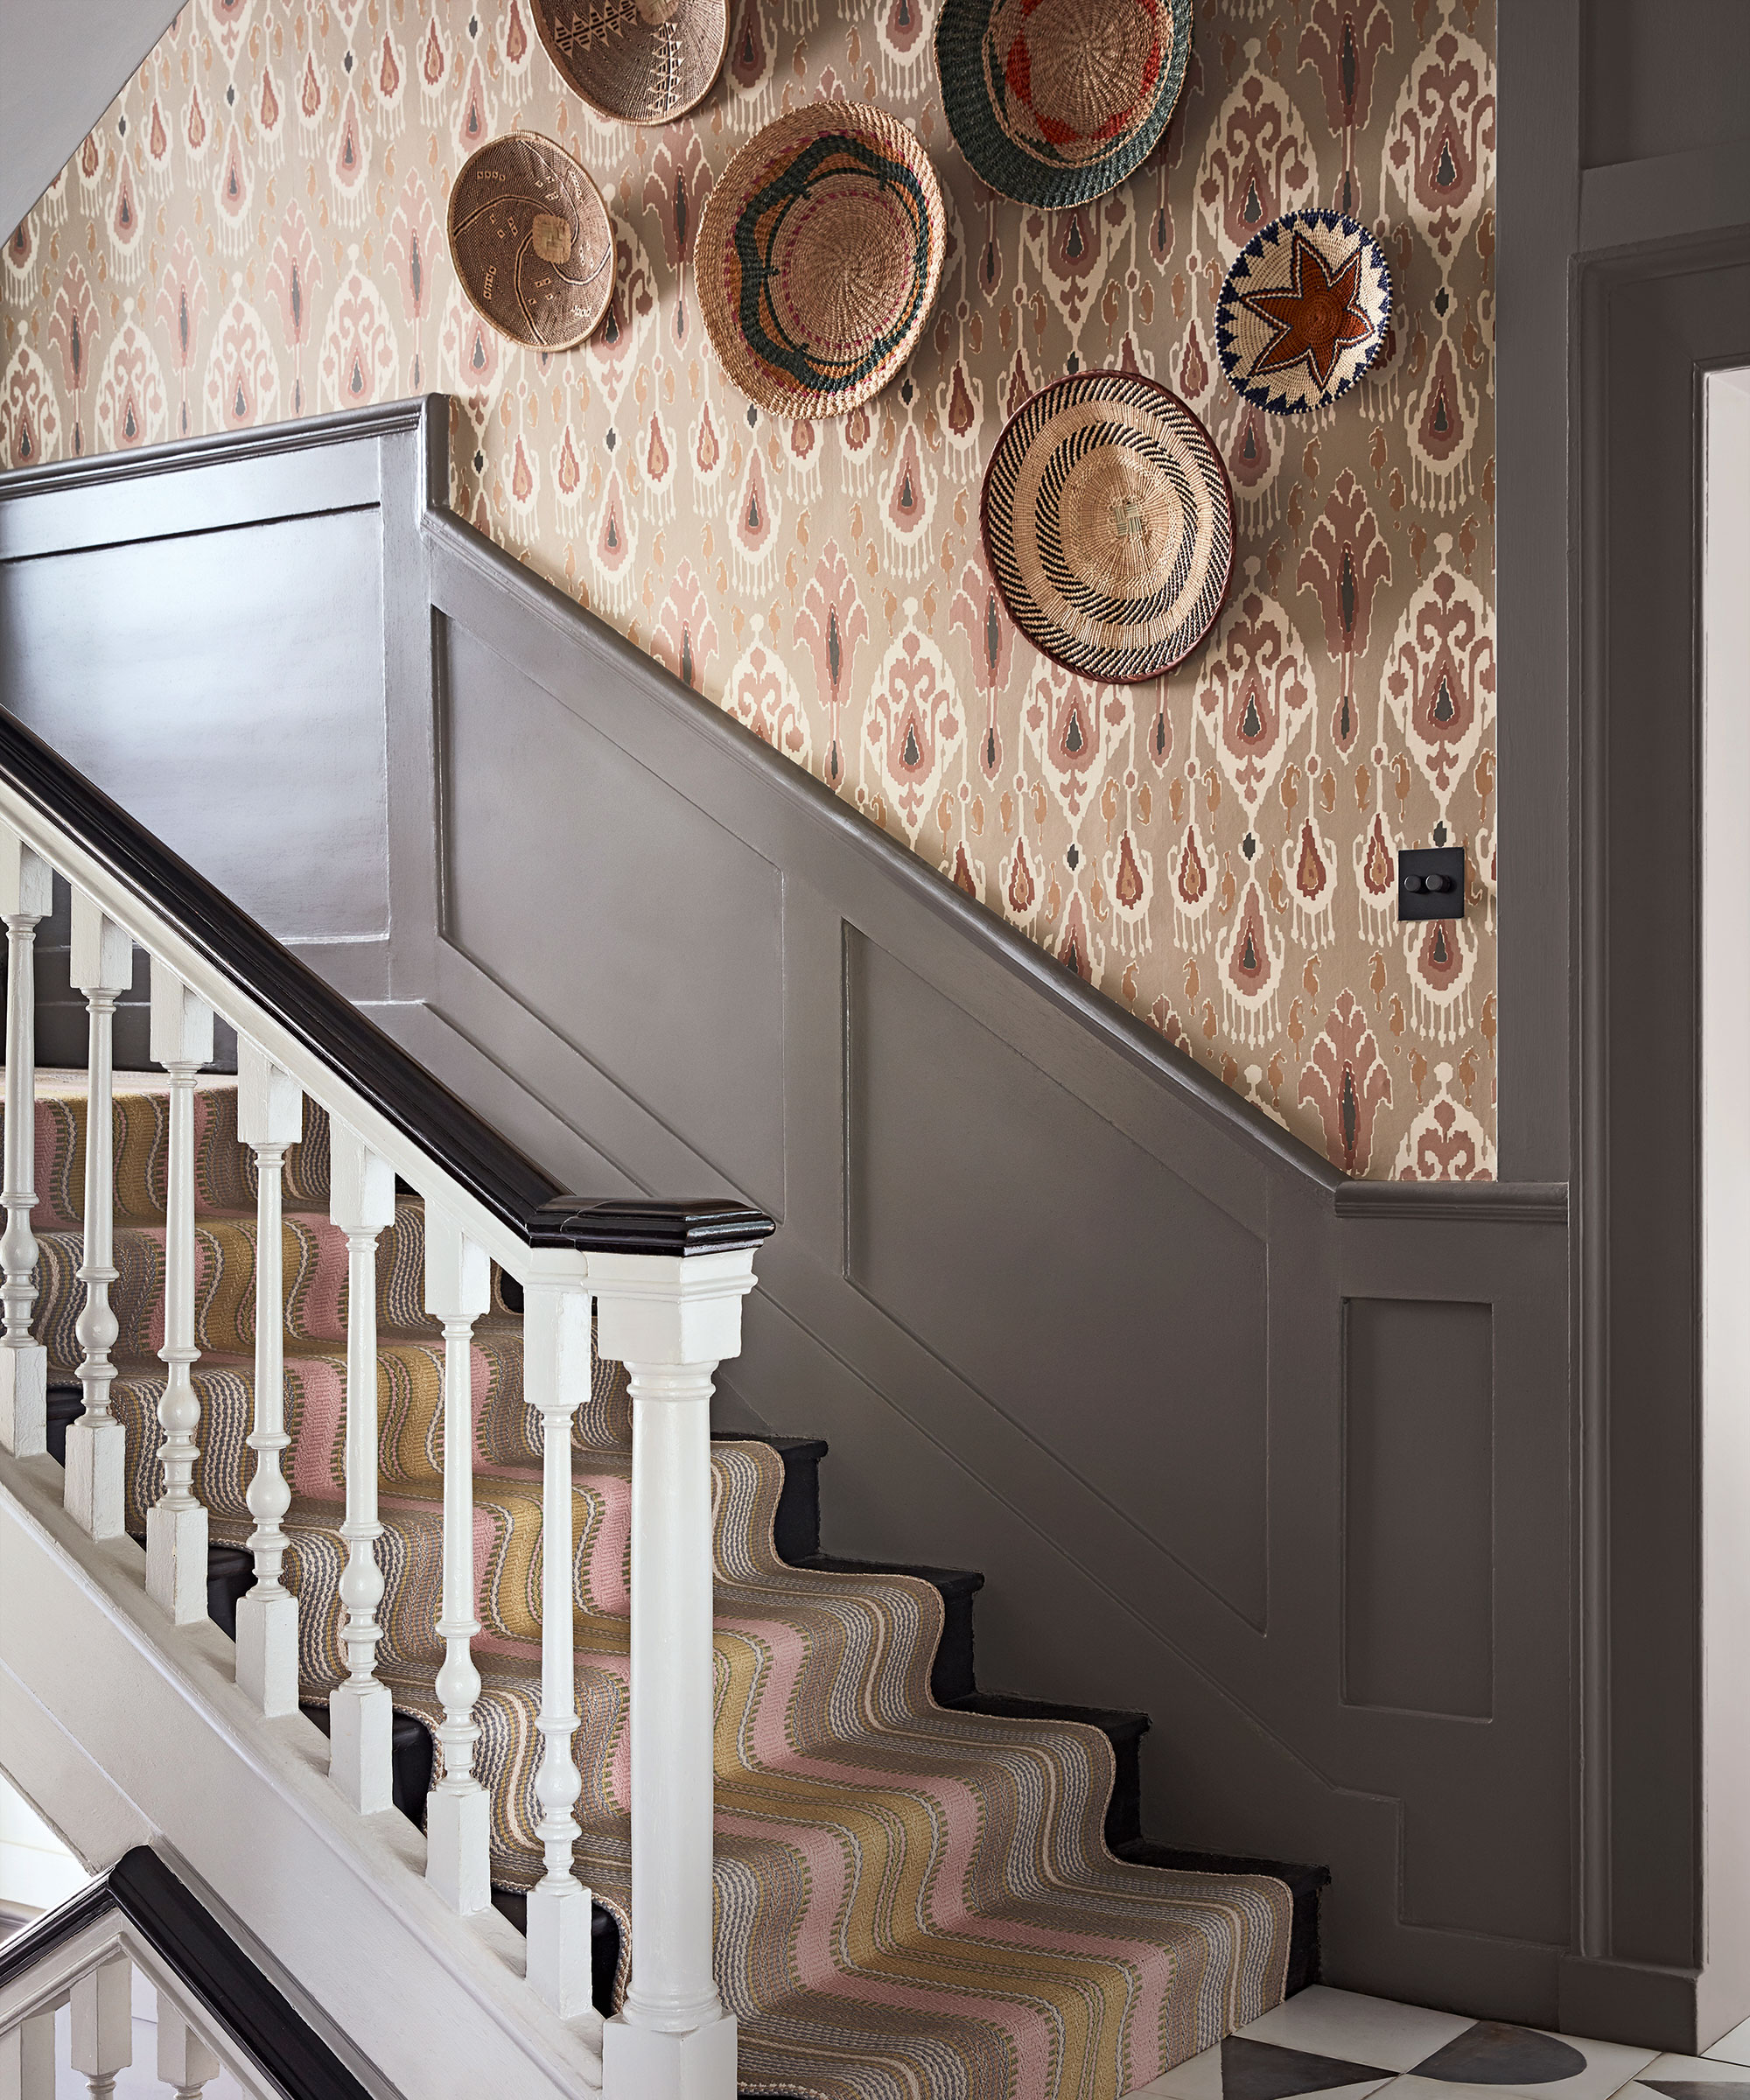
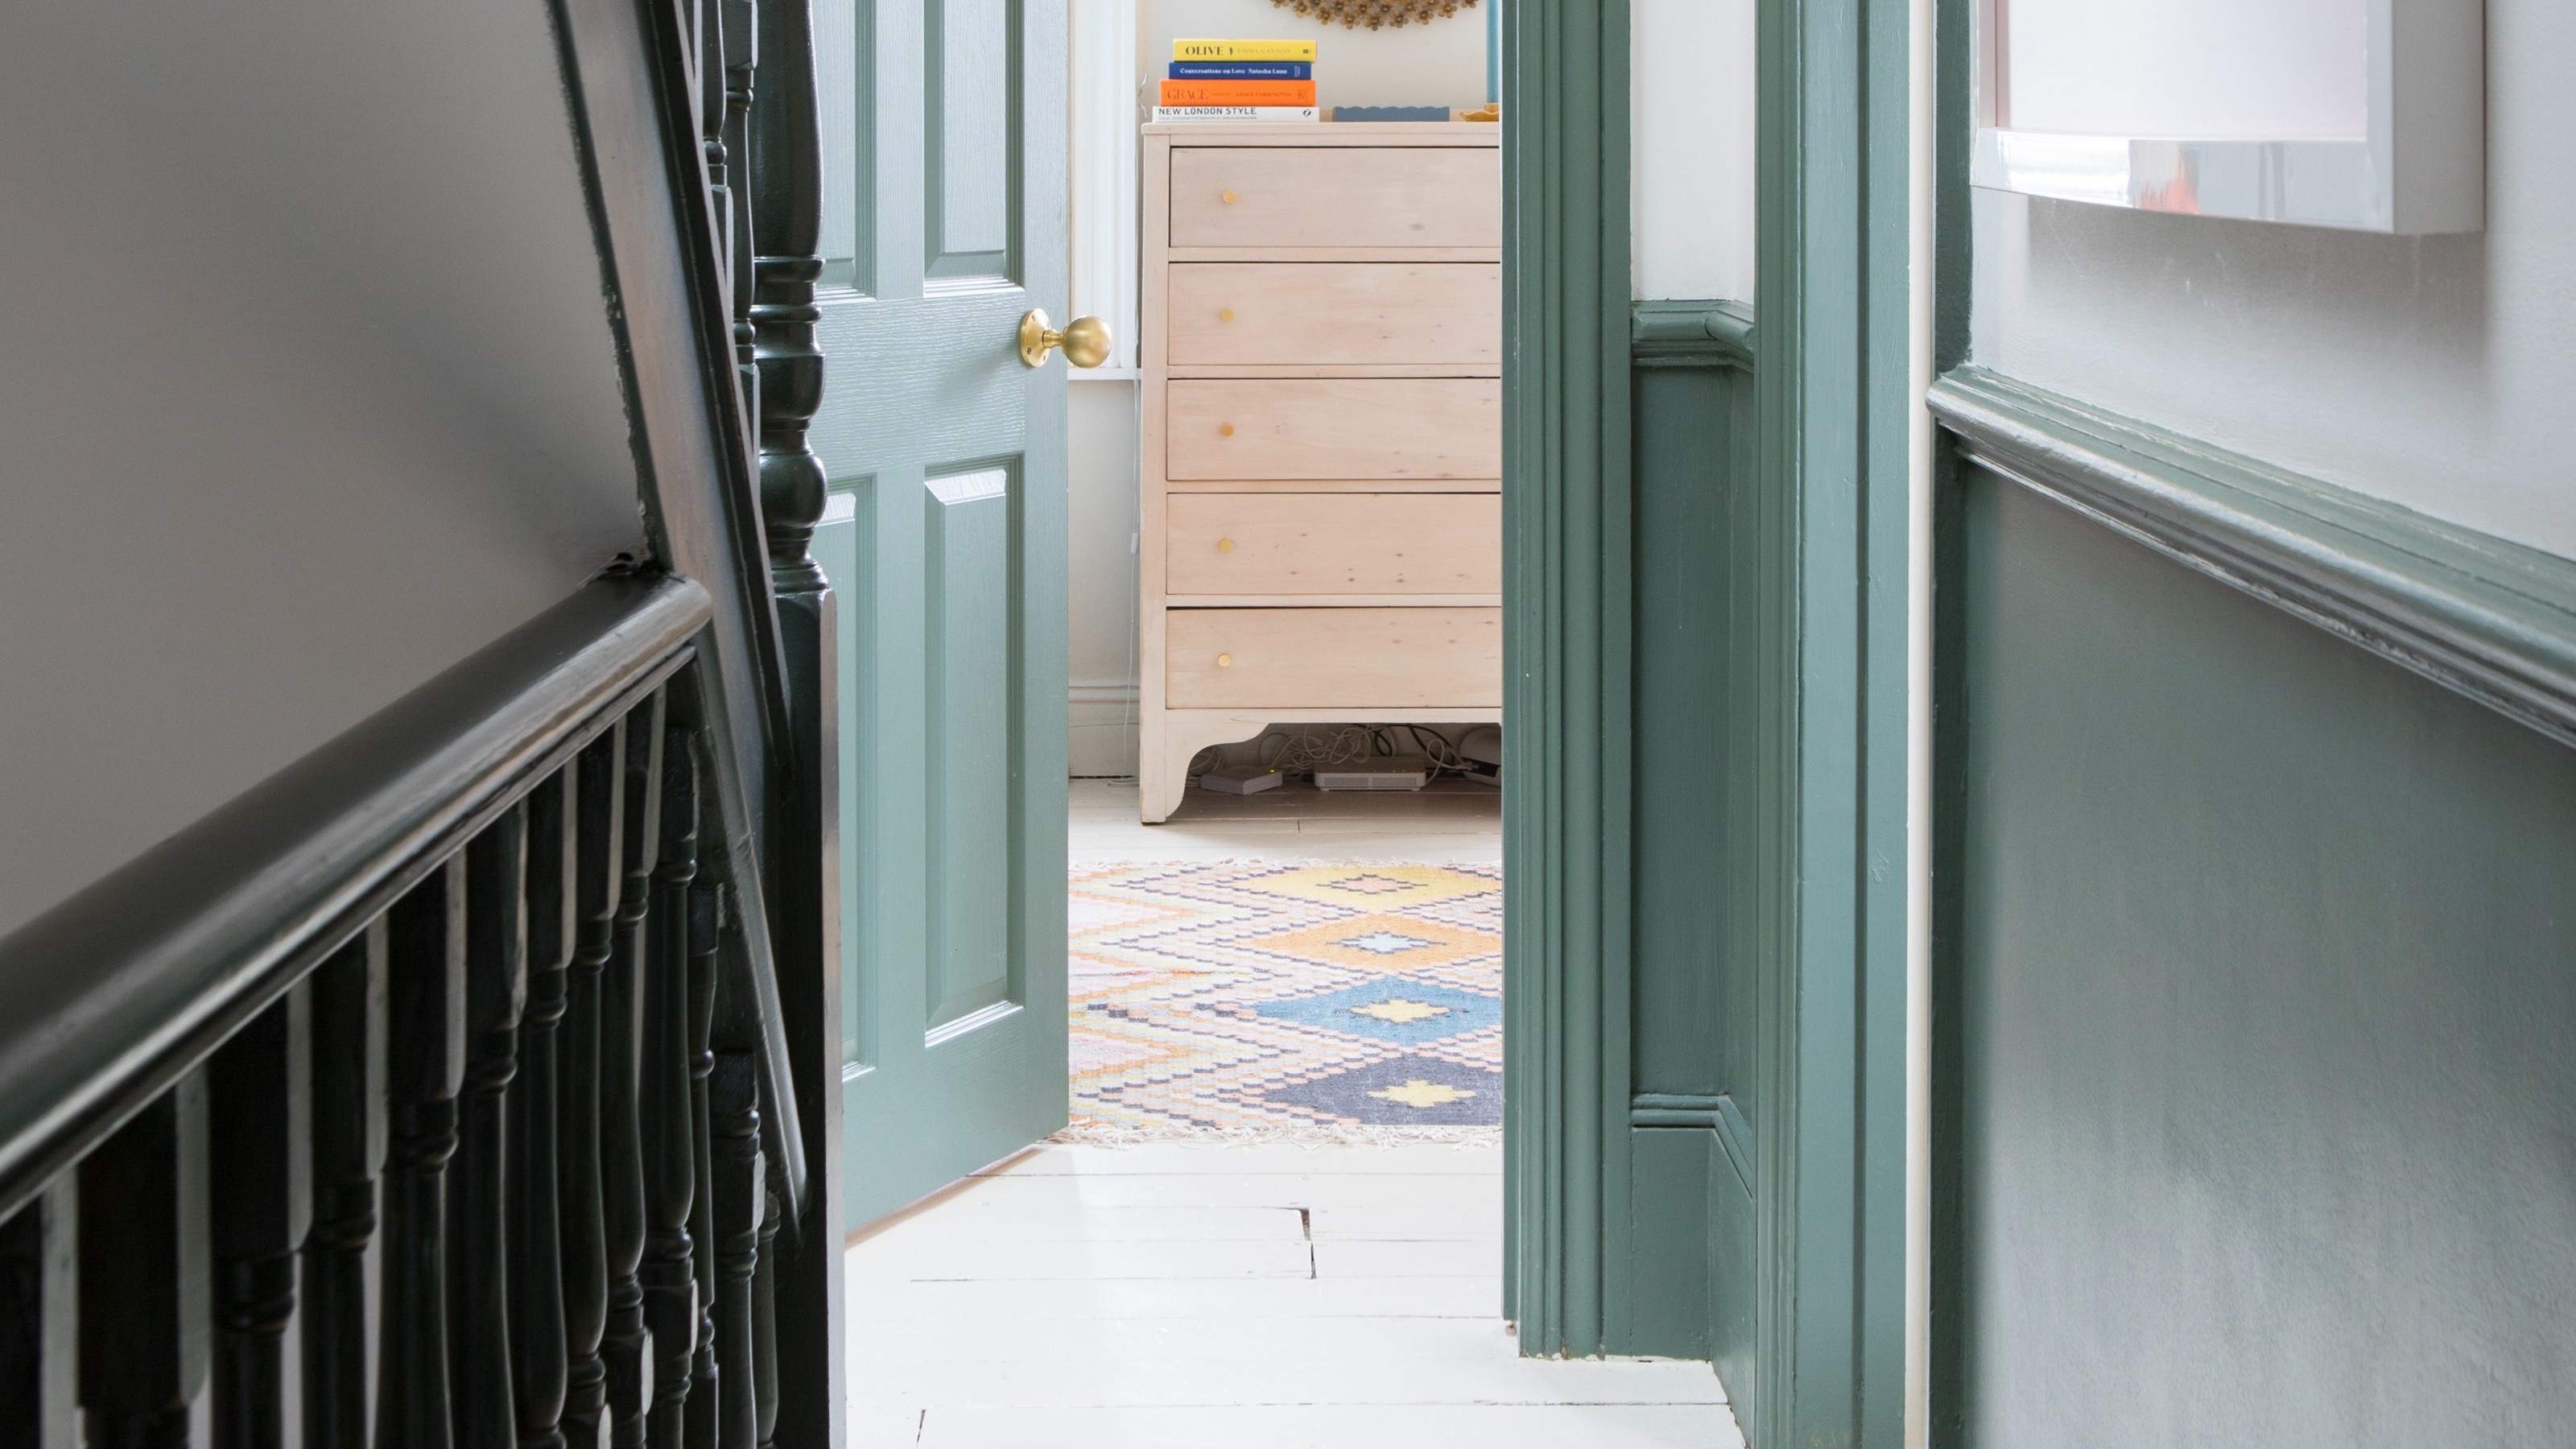
Selecting the right paint colors is crucial for achieving the desired effect. The color wheel serves as a fundamental guide, incorporating color theory to help in choosing harmonious combinations. When pairing colors, it is advisable to consider their undertones. By selecting a principal color and matching its undertone with other chosen colors, a cohesive and well-considered palette can be created. The placement of colors on the wall also plays a significant role; darker colors are generally preferred on the lower sections of a wall as they ground the scheme, allowing lighter colors to extend upwards, potentially even onto the ceiling. Painting skirting boards in the same color as the main wall and design enhances the overall look, preventing distractions from the scalloped pattern and emphasizing its role as a focal point. Strategic placement can also create visual illusions, such as a lowered ceiling if the scallops are placed higher, or increased height if placed lower.
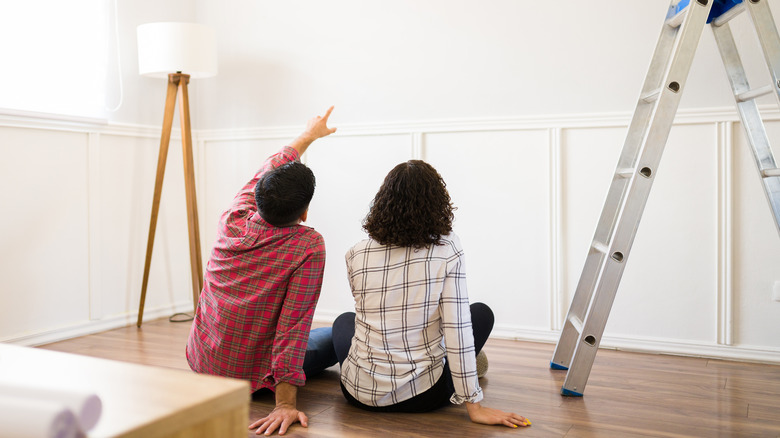
To successfully paint scalloped walls, several tools are required, including a long spirit level or laser spirit level for ensuring straight lines, a tape measure, and a pencil. A round object, such as a plate, is used to draw the scallop curves, along with a cardboard template made from this object for tricky areas. Masking tape and a good quality small paint brush are also essential. Proper wall preparation is key to achieving a flawless finish, which involves filling and sanding any holes and applying a base coat of paint if necessary to ensure a smooth and flat surface.
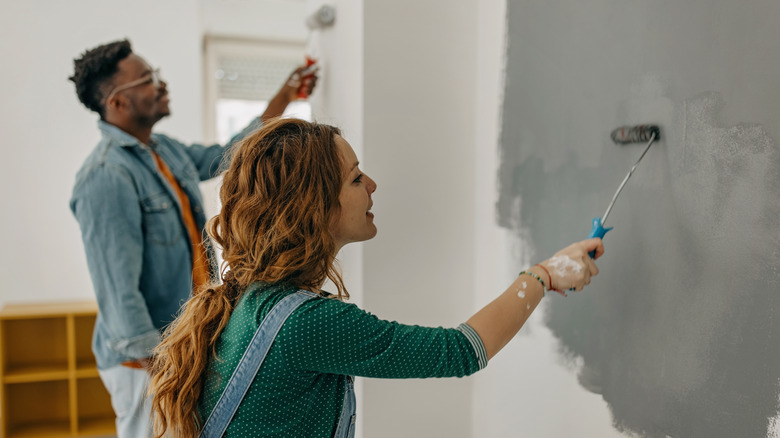
Executing the scalloped wall design involves a step-by-step process. First, determine the size of the scallops and their desired height. Then, use a pencil and spirit level to draw a straight line around the entire area where the scallops will be painted. A tape measure can help maintain consistent height. Next, mark the halfway point on the chosen round object with masking tape. Position this marker on the drawn line and trace the top curve of the object to create the scallop shape. This process is repeated along the line, using the cardboard template for corners or obstructed areas to ensure continuity. Once all scallops are drawn, carefully paint along the pencil lines, focusing on cutting in and tricky areas first before filling in the rest. After the first coat dries, a second coat is applied to neaten any imperfections and finalize the look.
Several recommendations are provided for a successful outcome: dedicate sufficient time, practice on a scrap surface if uncertain, and remember that paint mistakes are easily corrected. Avoid applying too much paint, which can lead to a bulbous border, and always use a spirit level or pencil line as a guide to prevent an uneven appearance. The process encourages creativity, offering a low-cost yet eye-catching method to refresh a room, fostering a sense of accomplishment upon completion.
#ScallopedWalls #DIYDecorating #HomeImprovement #InteriorDesign #PaintTechniques #CreativeWalls #HomeDecor #ScallopedWalls #DIYDecorating #HomeImprovement #InteriorDesign #PaintTechniques #CreativeWalls #HomeDecor
0 comment in total
 No comments yet
You may also like
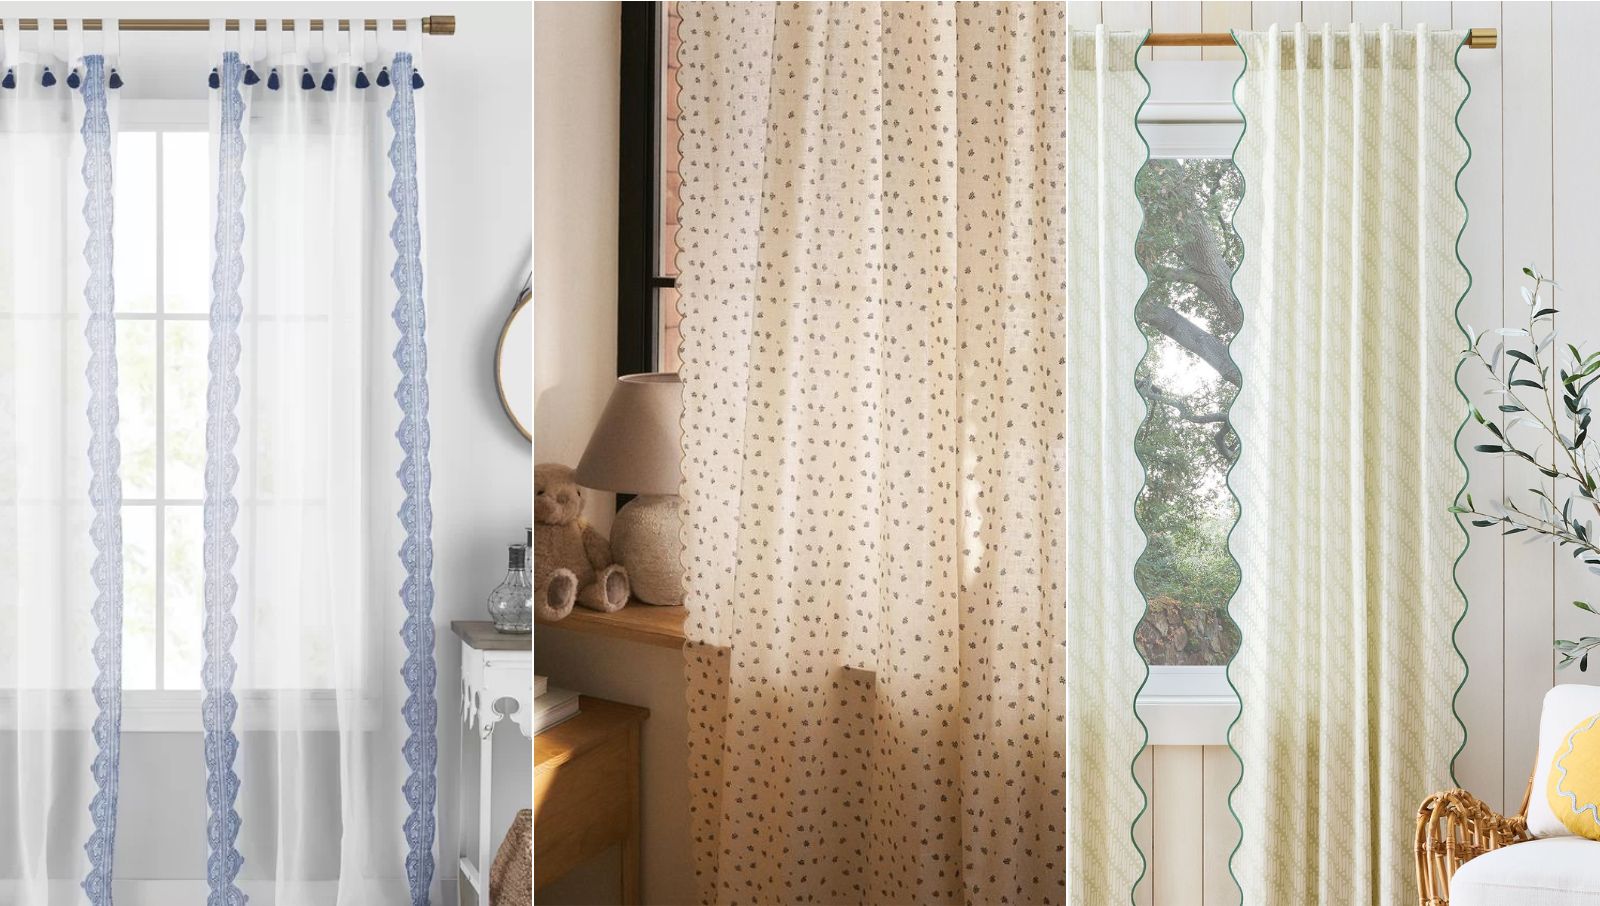
Scalloped shape curtains are on the rise – embrace this elegant window treatment trend and shop our favorites

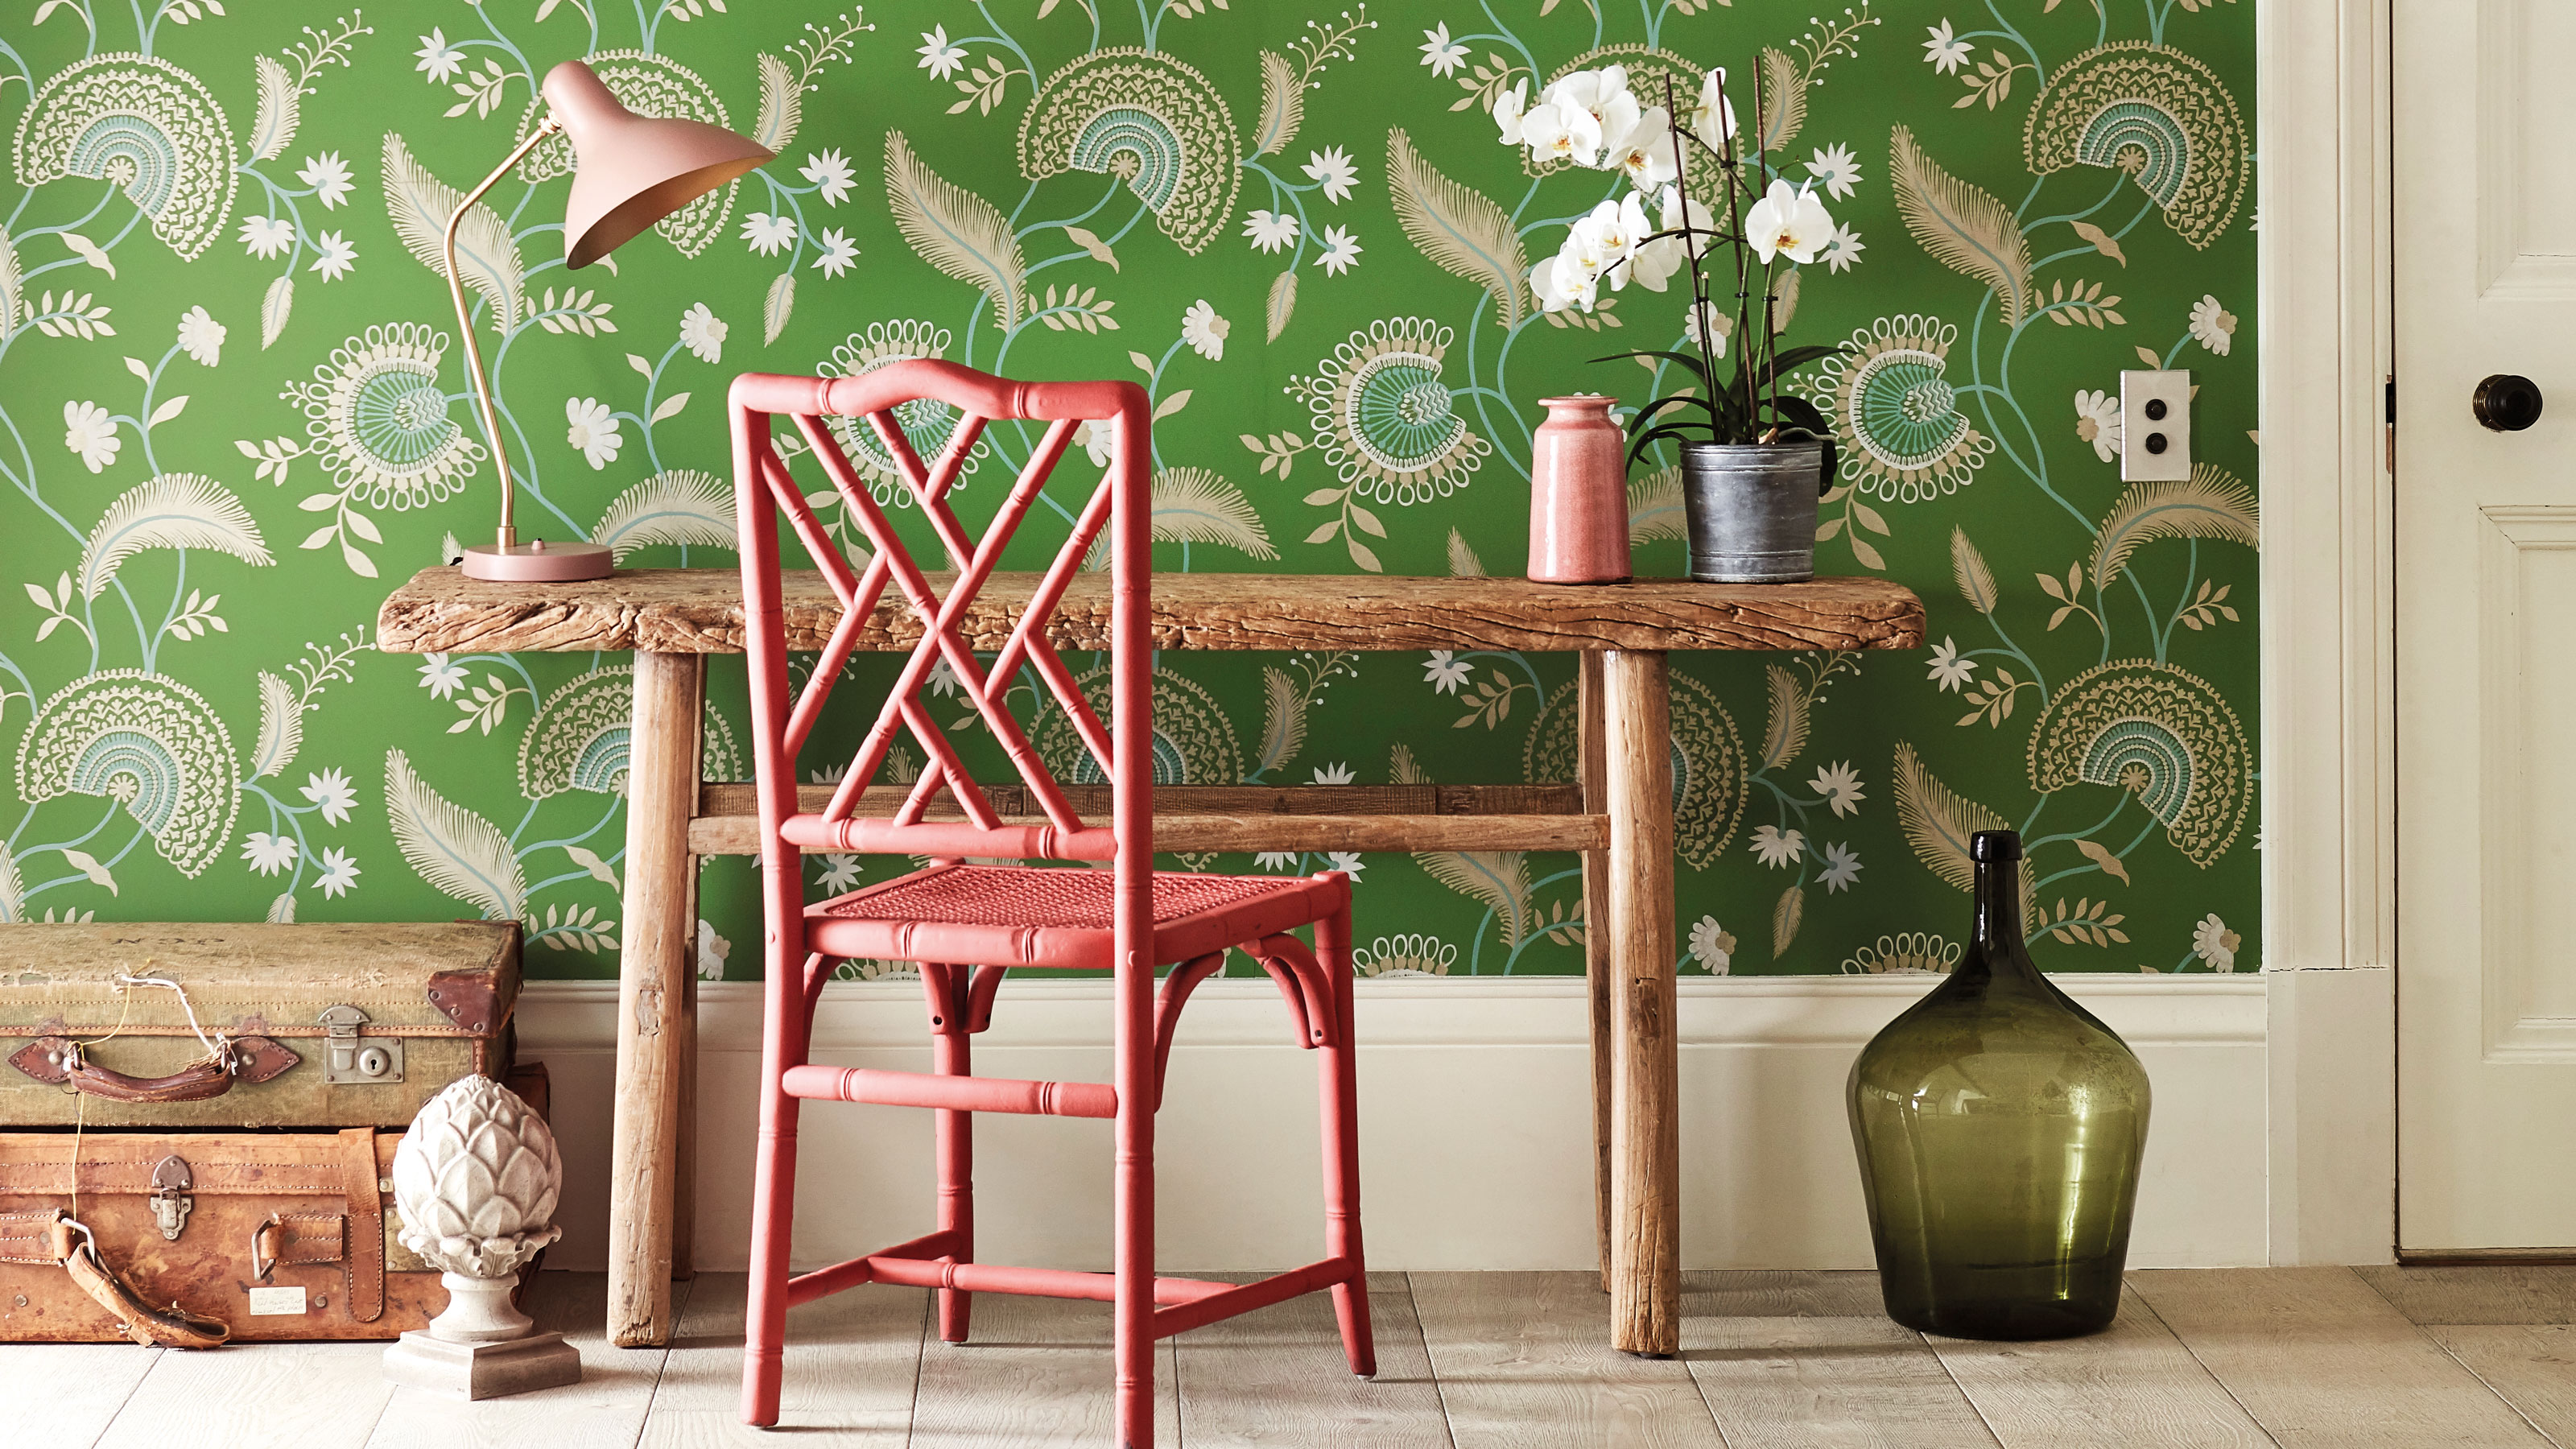
Accent wall ideas – 20 of the latest ways to create a statement feature
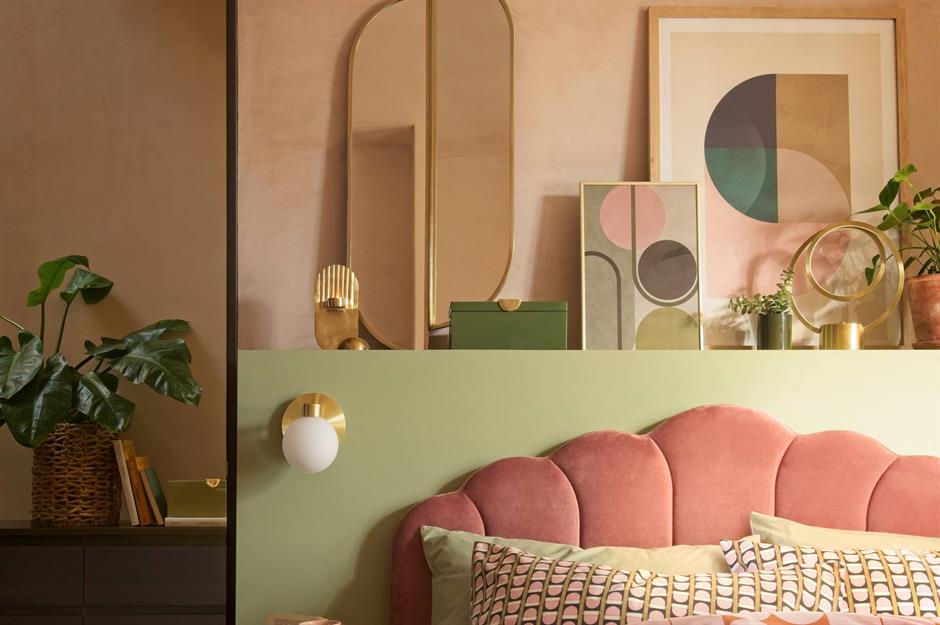
Curvy, wavy and arch decorating ideas for every room | loveproperty.com
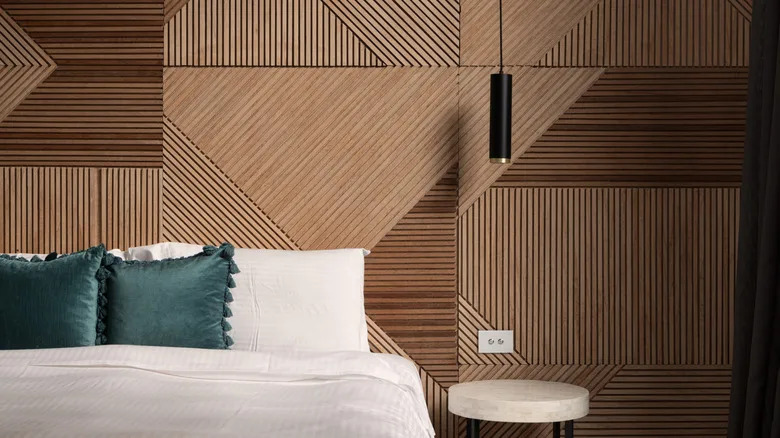
Geometric Accent Walls: Timeless Or Trendy? Here's The Difference

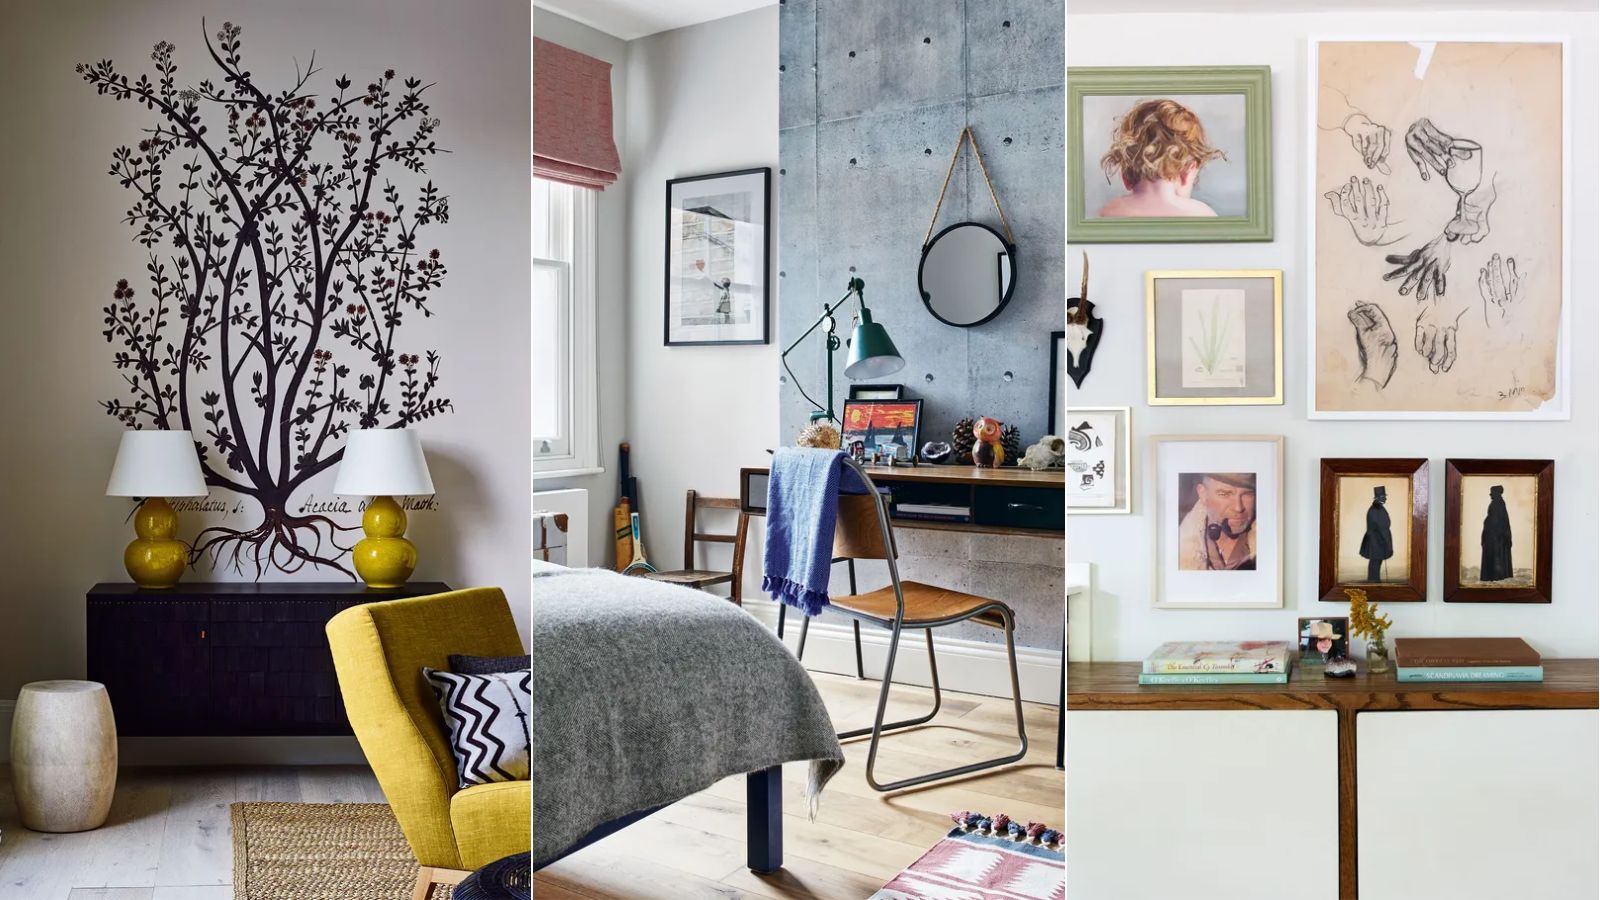
5 outdated wall decor trends designers warn to avoid – plus what we should be doing instead
10 Painted Accent Wall Trends That Are On Their Way Out, And What To Do Instead
The 3 Accent Wall Trends That Are Taking Over TikTok
This traditional wall feature is becoming a major hallway trend – and it’s perfect for narrow hallways
16 Accent Wall Ideas That You'll Start Seeing Everywhere In 2025
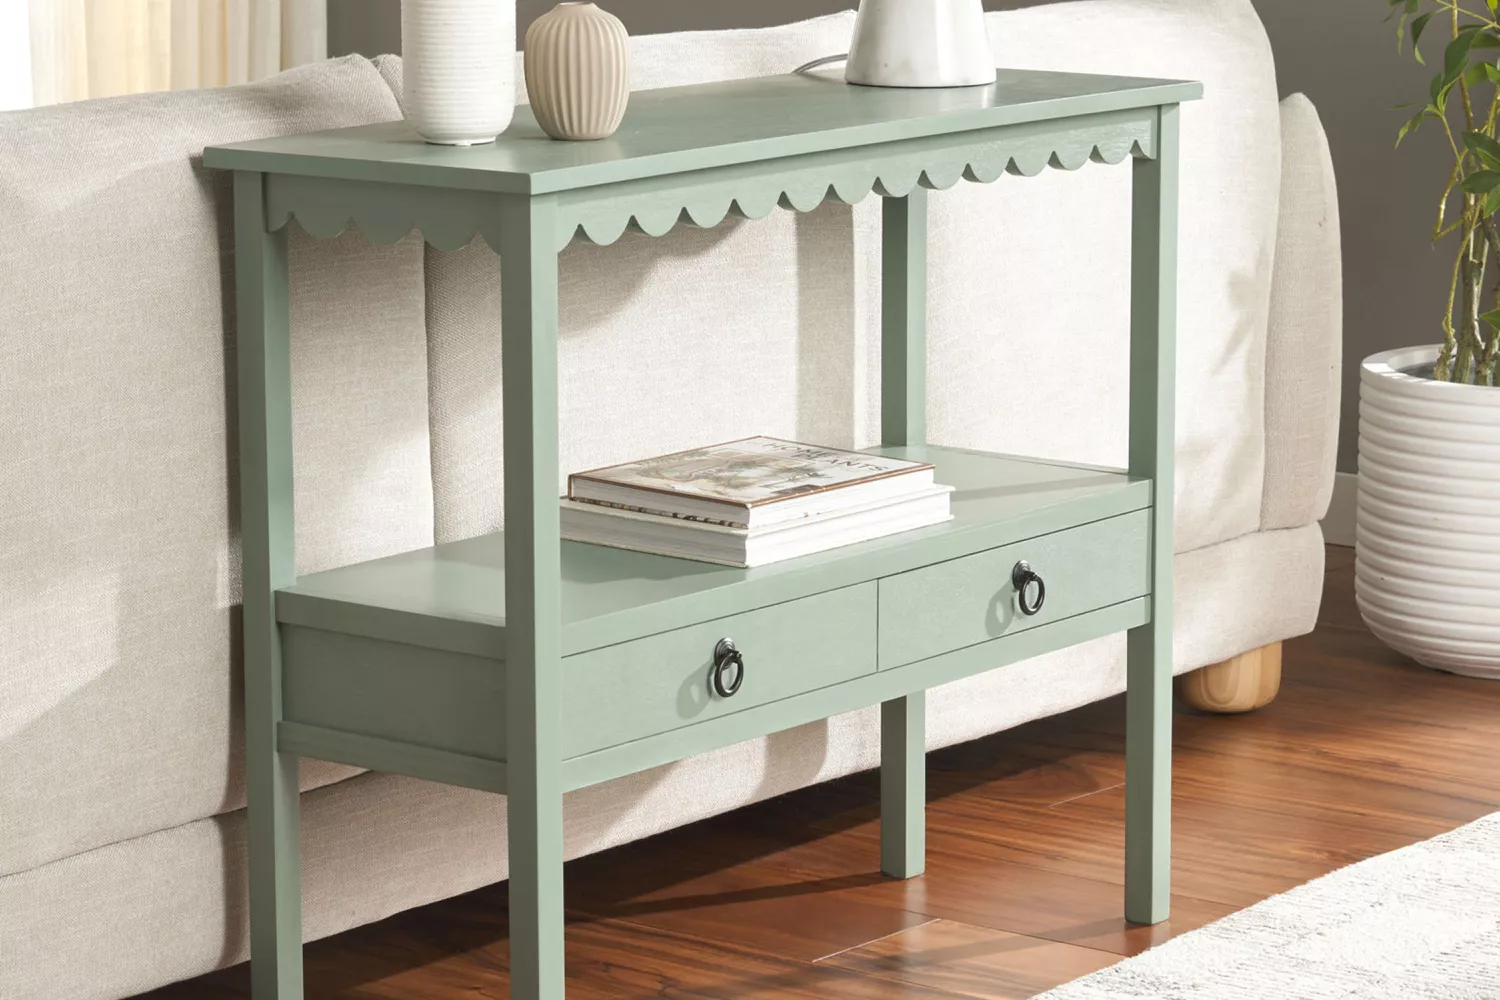
I’m an Interior Designer, and These 14 Scalloped Home Decor Picks Will Help You Get in on the Trend

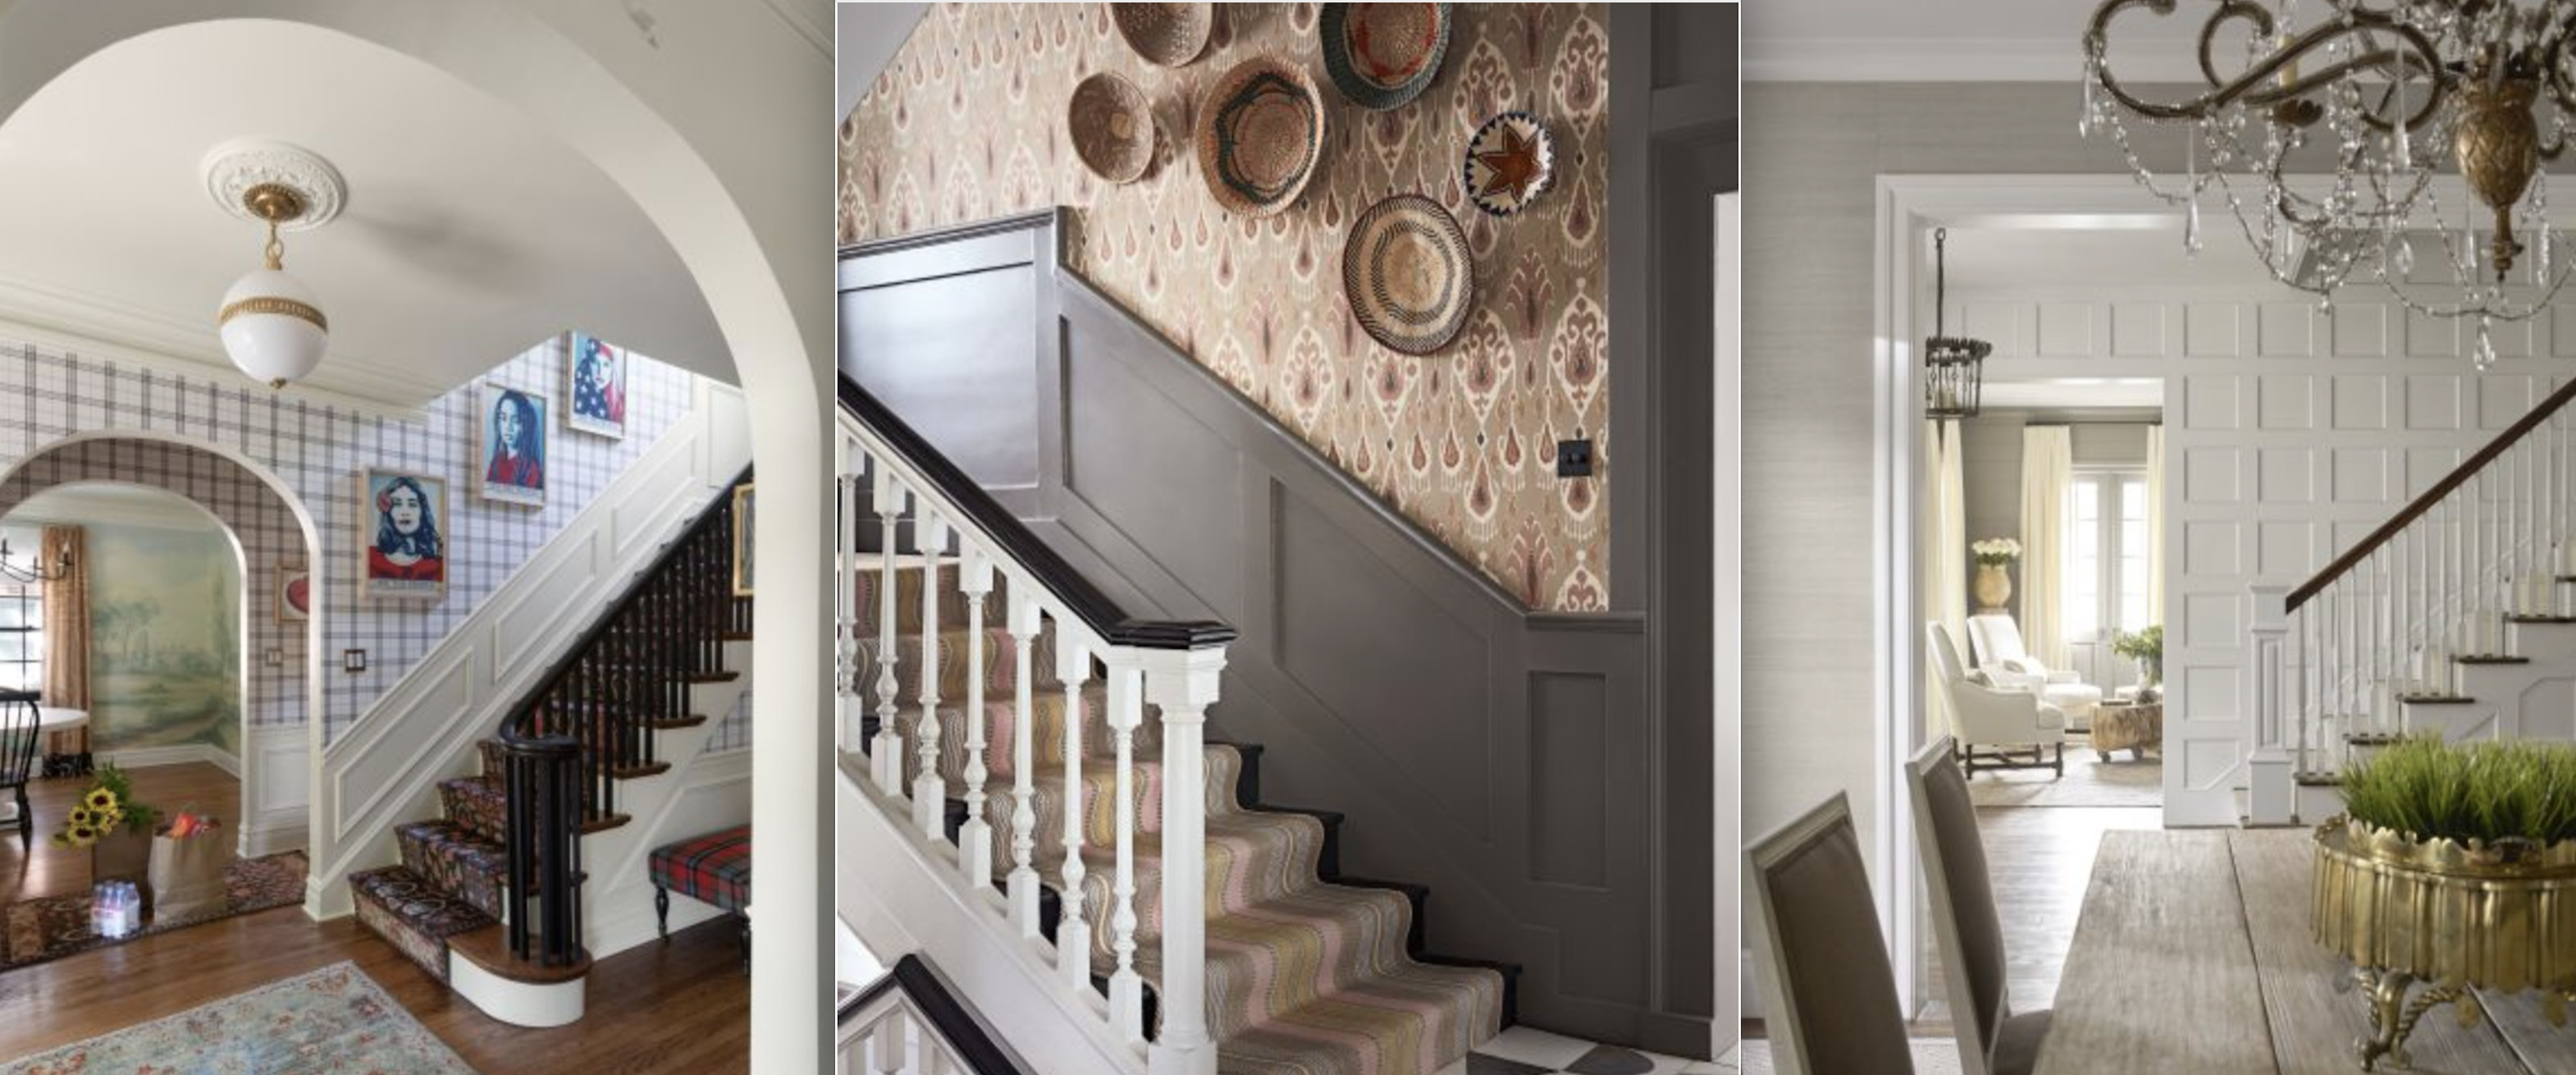
Staircase wall ideas – 10 ways to dress stair walls beautifully
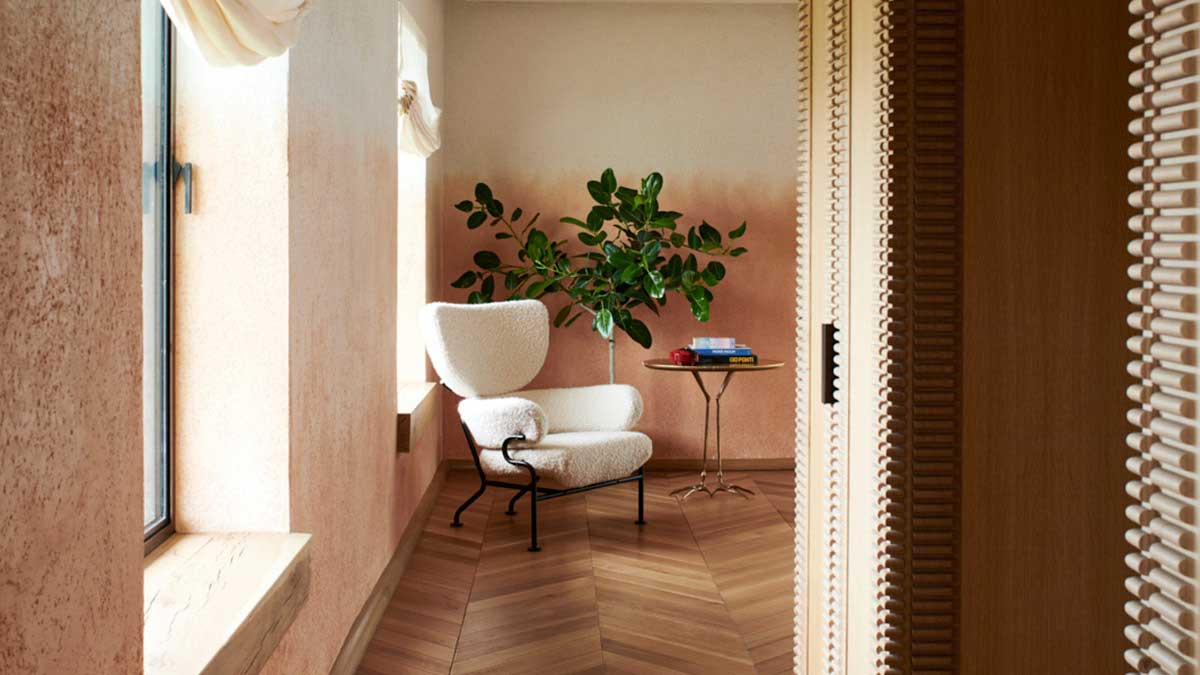
Ombre walls are having a moment – these 5 rooms have the best, most elevated versions of them

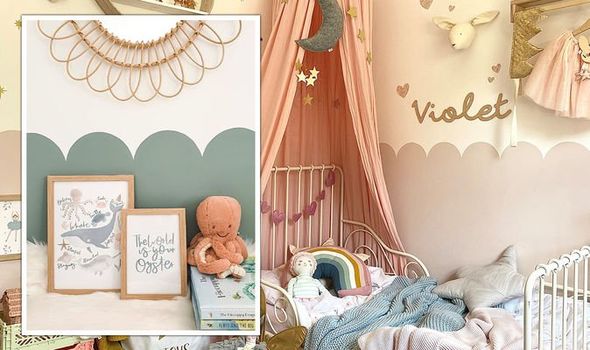
Interior hack: Expert shares how to create ‘popular’ scalloped wall trend
Step Aside, Paint: These Are the 10 Most Creative Wall Treatments We Saw This Year

Classic curves: 9 ways to decorate with scalloped edges

Feature walls are back, here’s 21 to try now
Are accent walls still on trend? Designers decide on what this love-hate style will look like in 2024
It’s not an accent wall anymore. It’s a ‘statement’ wall.

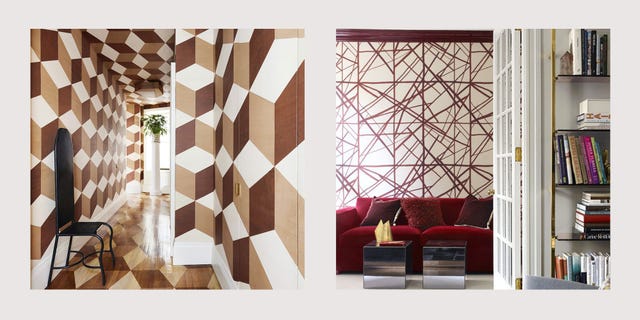
These Geometric Wall Ideas Are the Epitome of Cool

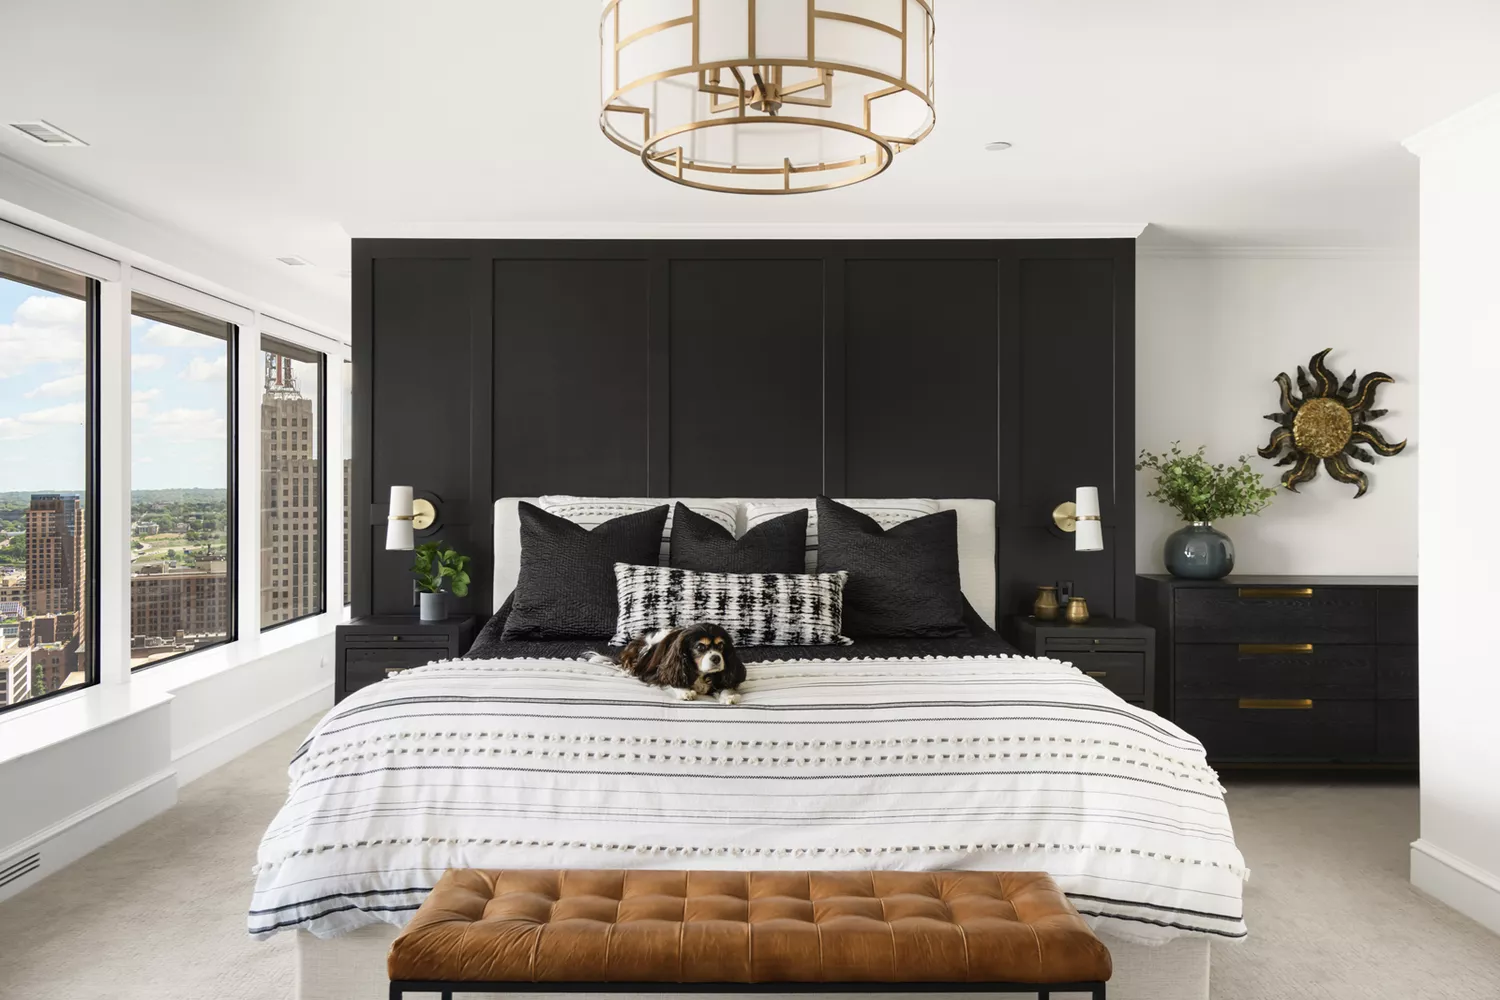
We Asked Designers If Accent Walls Make Your Home Look Tacky—and They Didn’t Hold Back