1/2
Interior hack: Expert shares how to create ‘popular’ scalloped wall trend
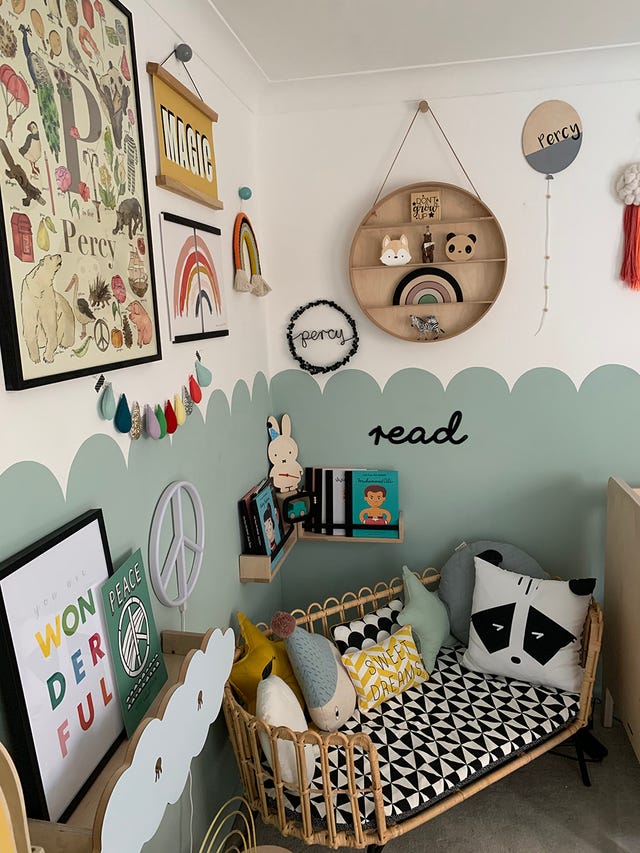
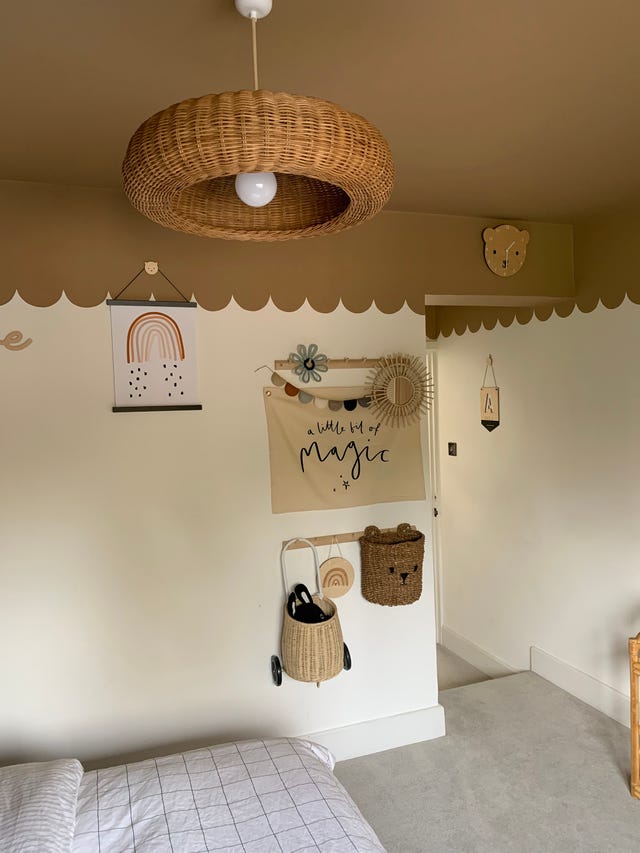
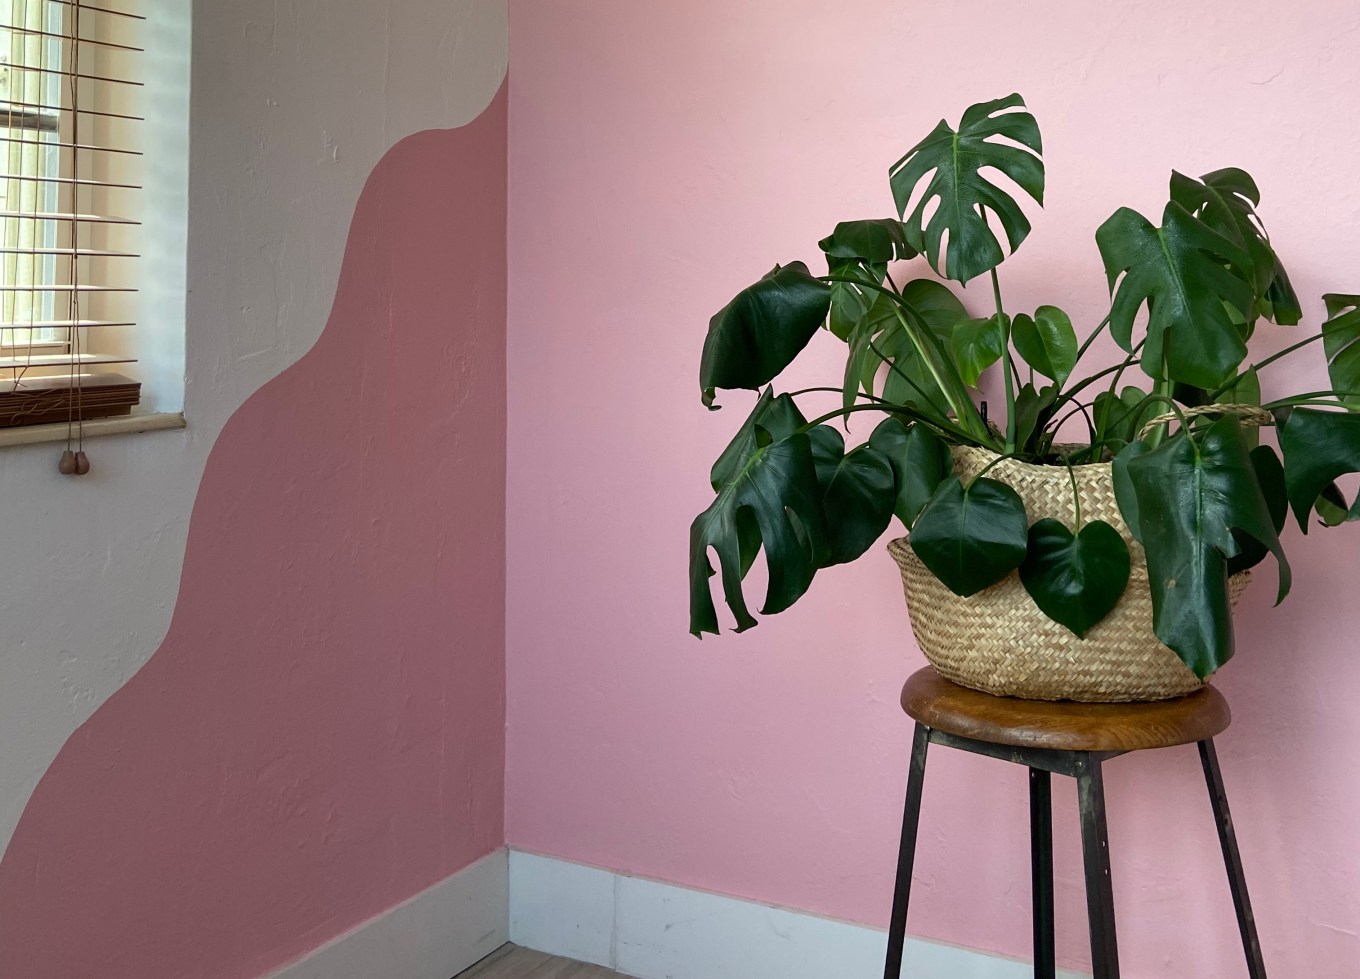
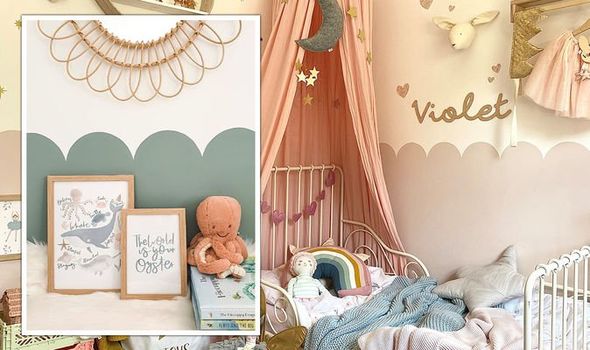
This article details how to create a scalloped wall effect, a popular interior design trend that adds charm and character to various rooms. Helen Goddard, owner of the Decorating Centre Online (DCO), provides an exclusive step-by-step guide. The scalloped wall trend is notably prevalent in children's bedrooms but is also gaining traction in other spaces like bathrooms and home offices. The versatility of this design allows for different aesthetics, ranging from half-wall features to ceiling accents, and can incorporate bold contrasts or subtle blends, as well as longer 'art deco-style' arches or smaller frills.
To achieve this look, several materials are required: a sharp pencil, scissors, a piece of card, a round utensil (such as a dish or lid) for shaping the scallops, a small good-quality cutting-in brush (e.g., Axus precision brush), a larger brush (e.g., ProDec synthetic brush), a roller (e.g., Axus blue mini roller kit) for block areas, paint, a paint container, and painters’ tape. The Decorating Centre Online offers color matching services, with pastel shades, sage greens, earthy tones, and baby blues being particularly favored for this trend.
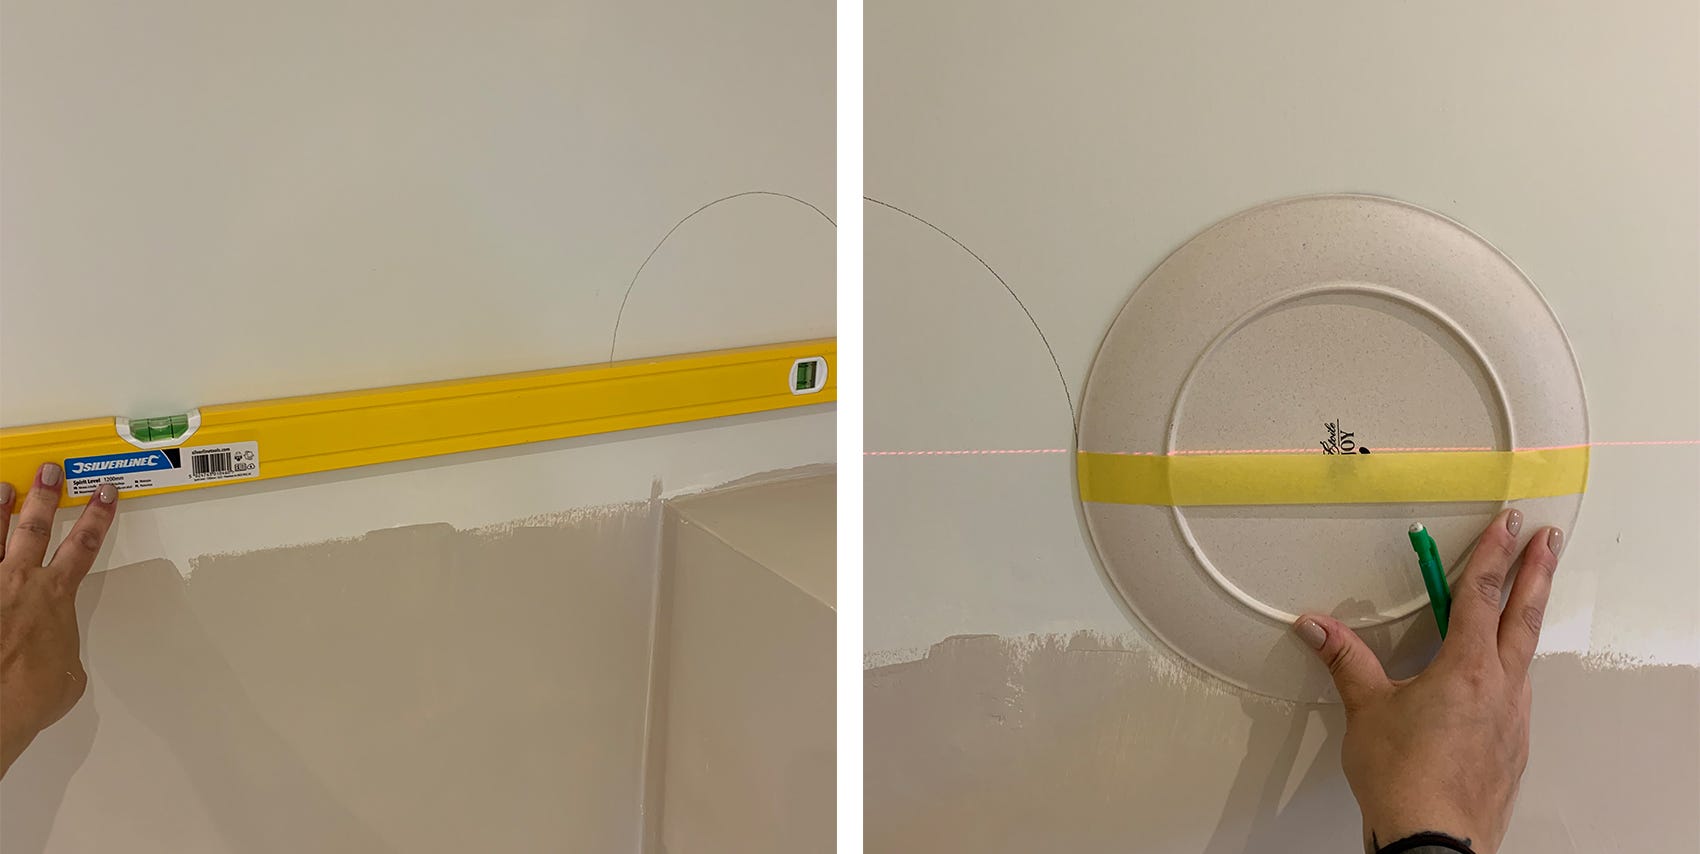
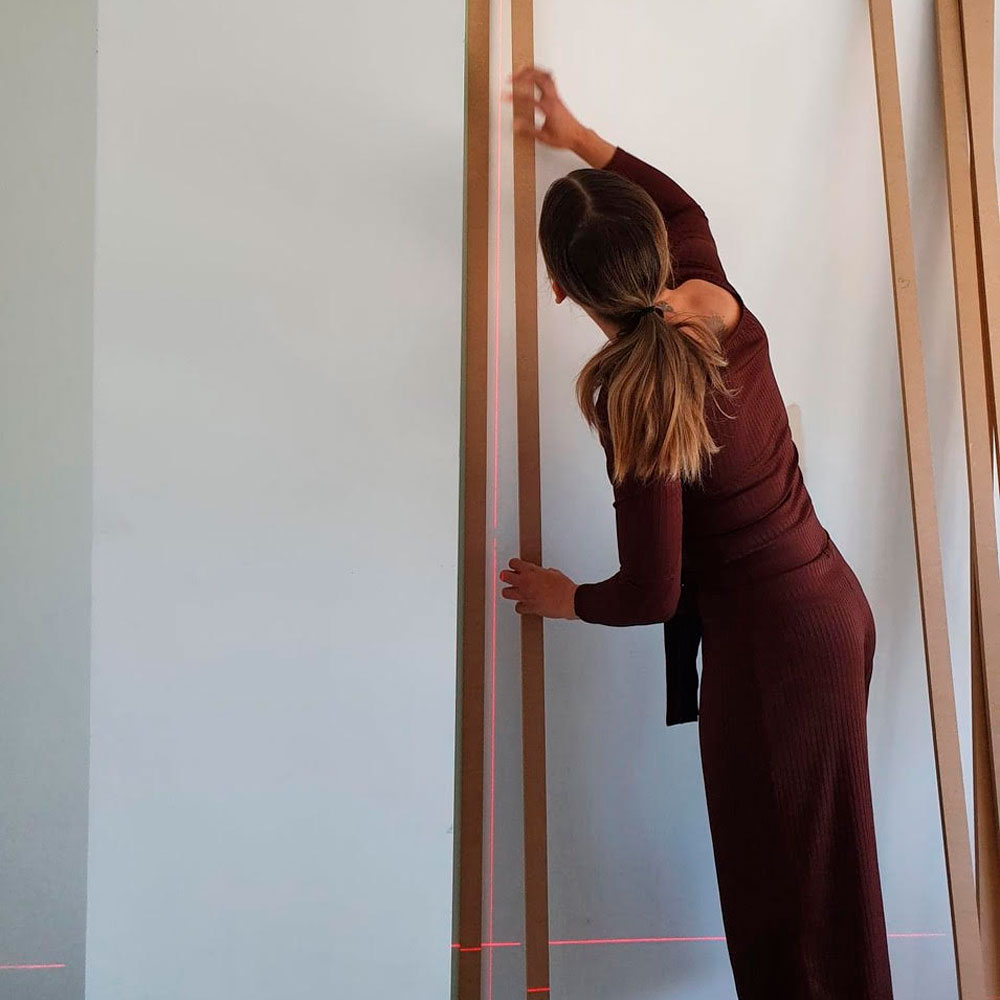
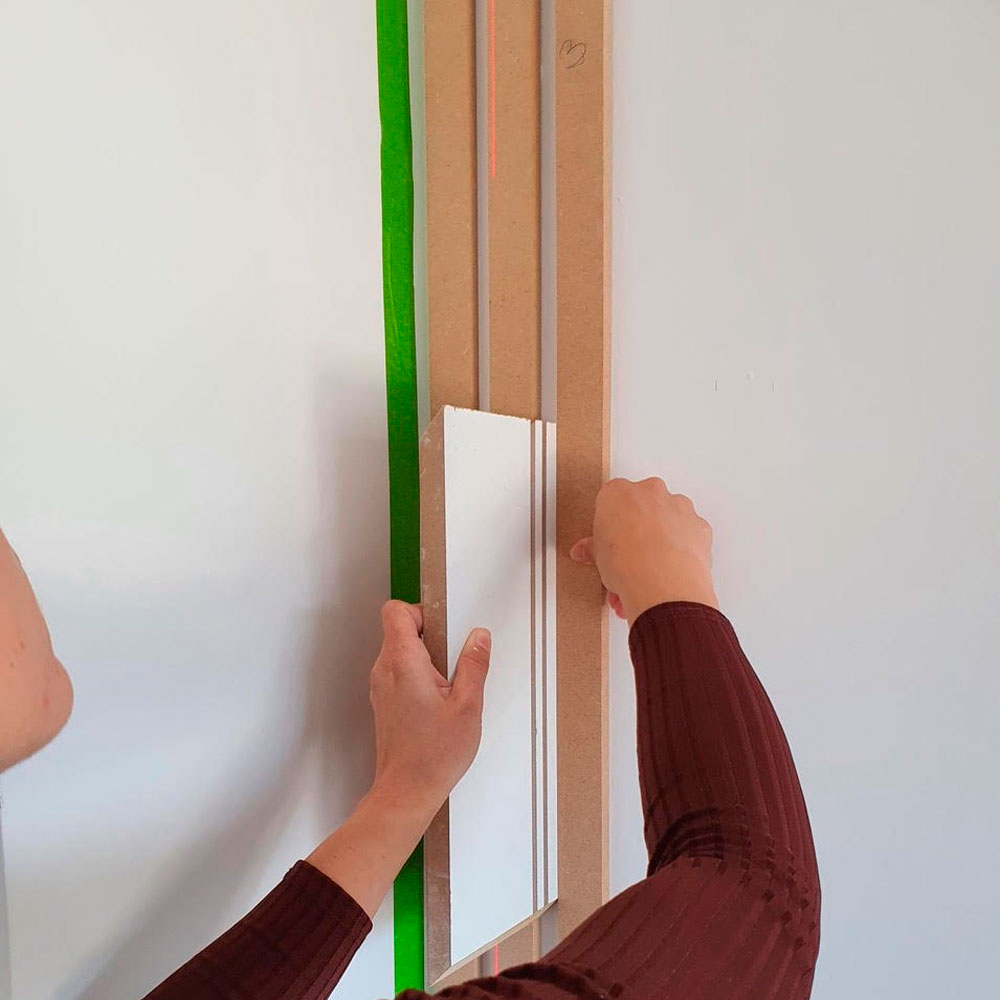
Preparation involves ensuring the wall has a dry base color before applying the scalloped effect. A line is then marked with a pencil, using a measuring tape and a leveler to ensure evenness. For creating the scallop stencil, individuals can either cut a cardboard stencil or use the base of an old paint tin or an embroidery hoop. Goddard recommends attaching tape to the stencil with a small portion extending below to maintain consistent scallop depth by aligning it with the straight edge on the wall. For corners, the cardboard stencil can be bent to fit.
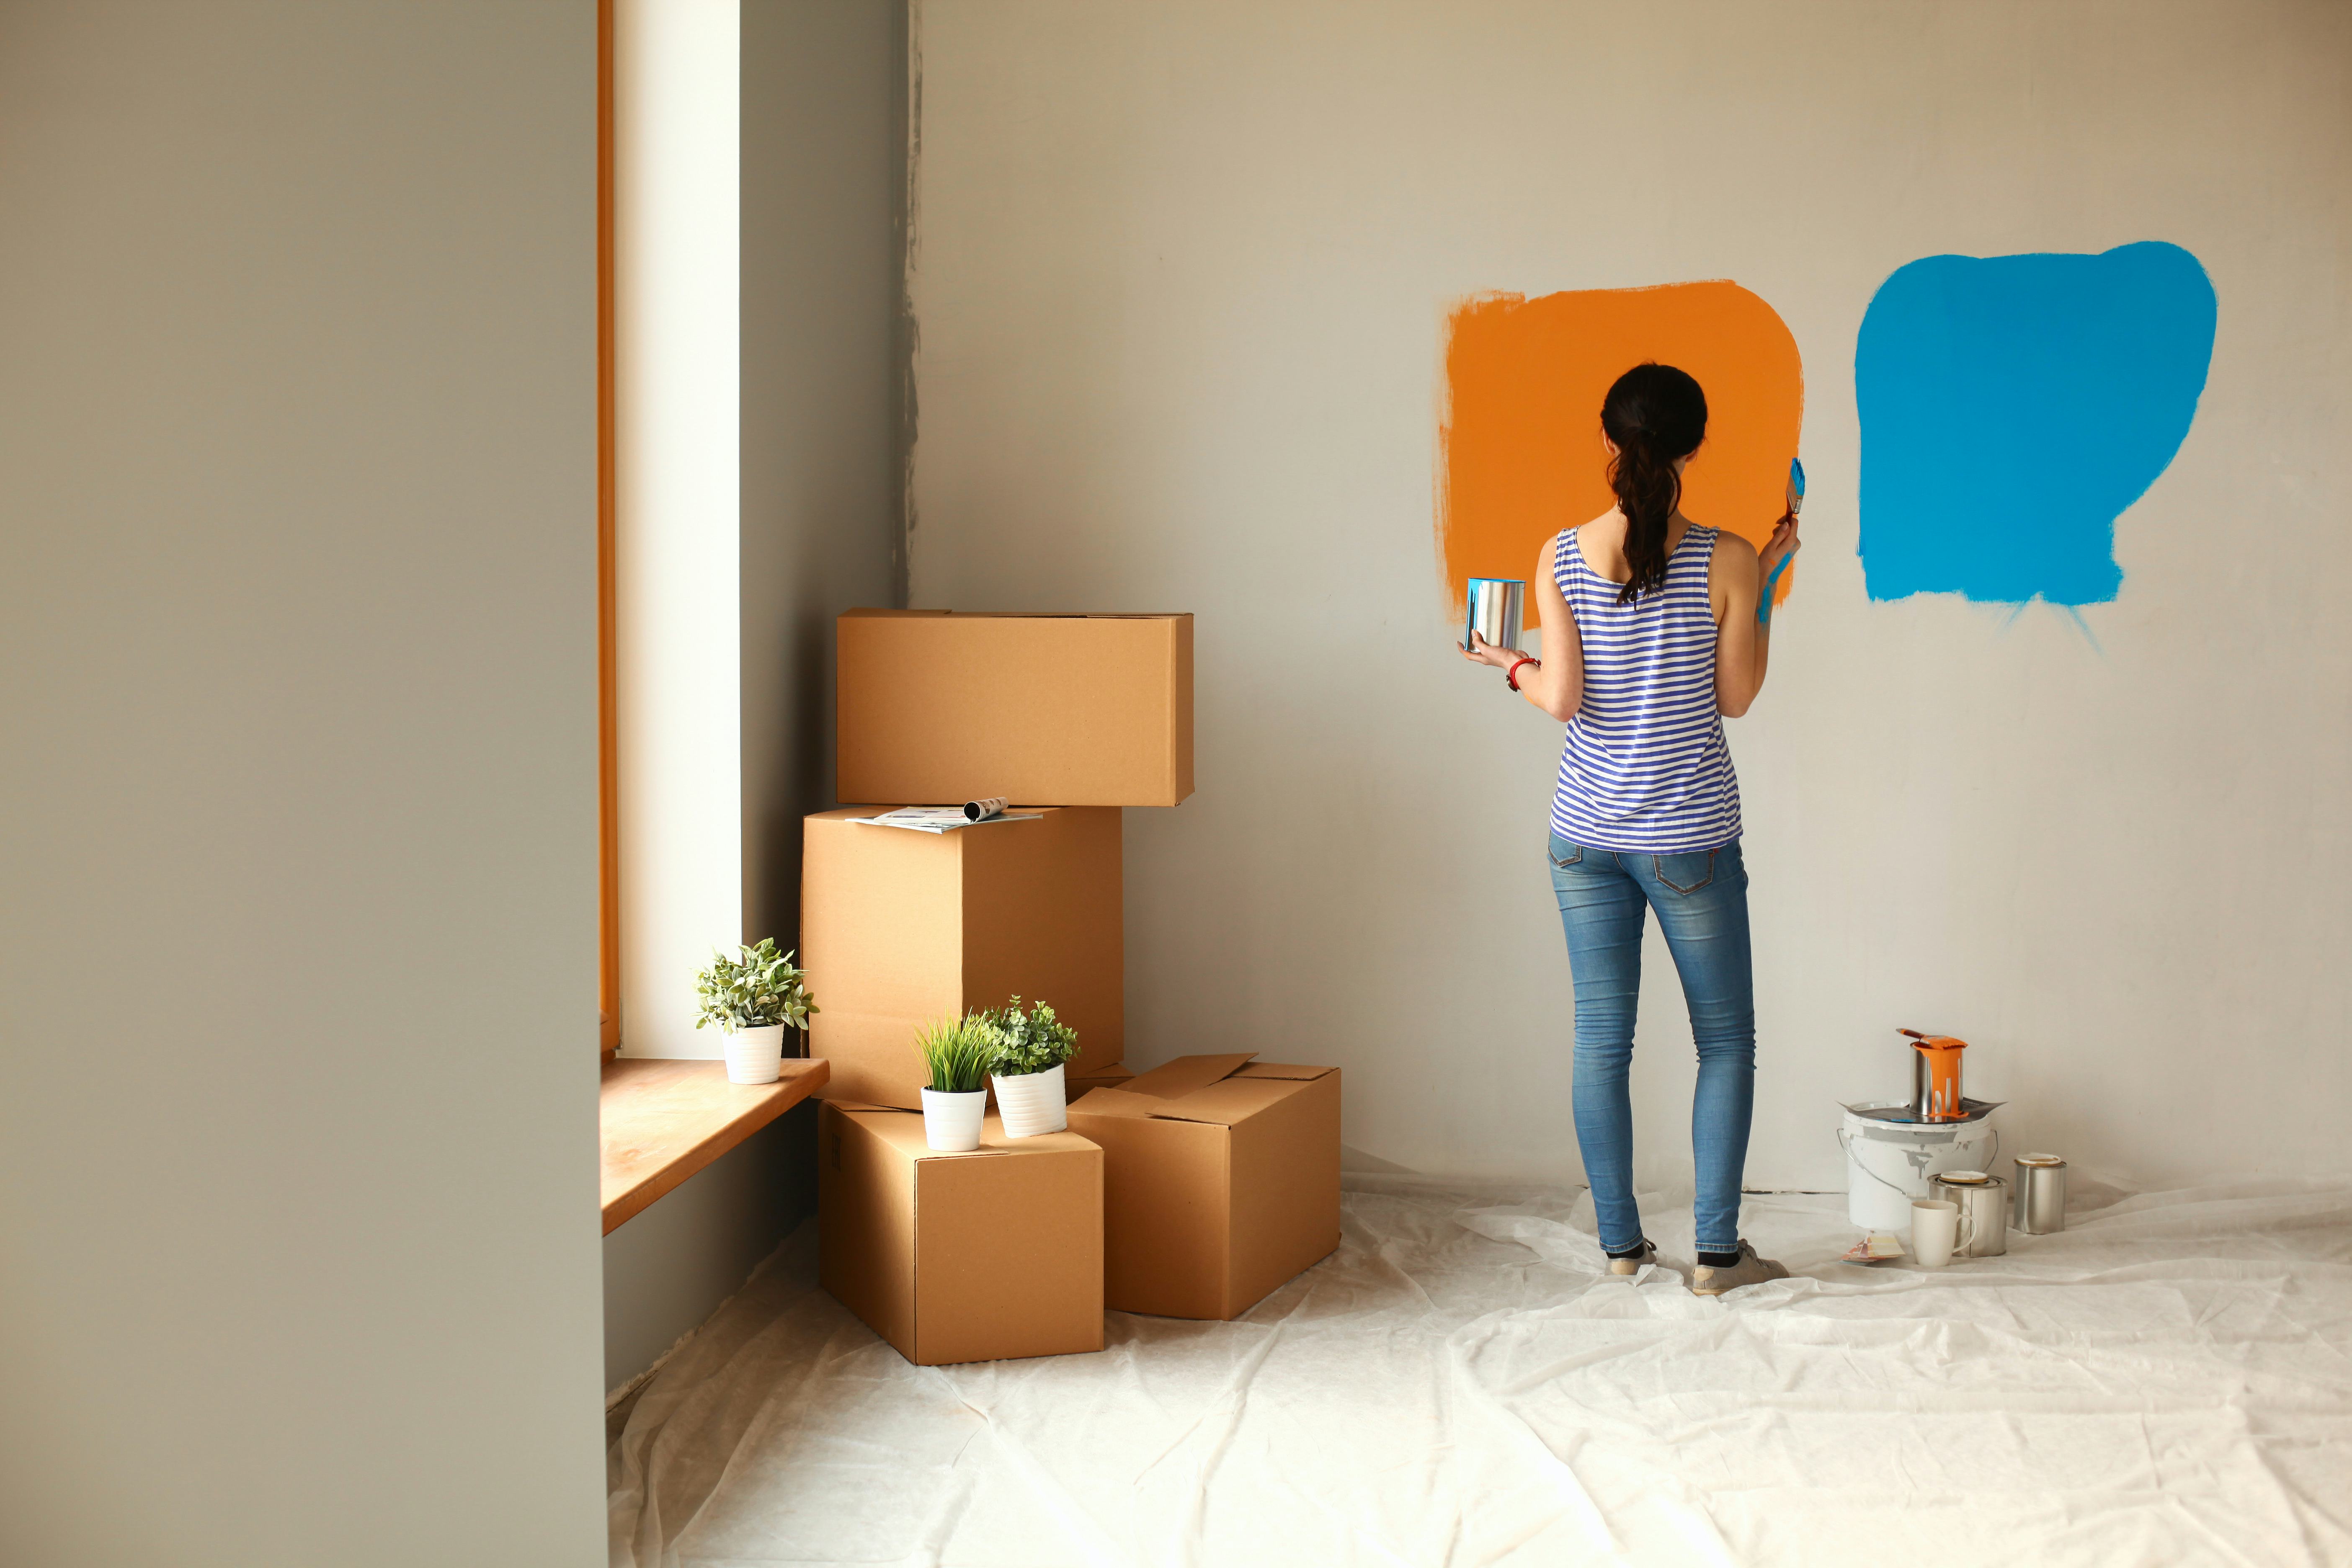
The application process begins by taping the area designated for the scalloped design and painting a rectangular color block. Once this block is dry, its top line should be lightly sanded to prevent raised edges, ensuring the scallops blend seamlessly. The next step involves marking out the scallop shapes around the room using the stencil and a sharp pencil. A cutting-in paintbrush is then used to paint along the inside edges of these drawn lines. For larger rooms, working in sections is advised. The larger brush is then employed to fill in the scallop shapes, blending them with the color block. A second coat, applied after the first has dried, helps to even out any imperfections and finalize the look. The article concludes by inviting readers to visit @decoratingcentreonline for further inspiration and advice, and to order supplies from their website.
#InteriorDesign #HomeDecor #DIYHacks #ScallopedWall #PaintingTechniques #KidsBedroomIdeas #HomeImprovement #DecoratingTips #AccentWall #InteriorDesign #HomeDecor #DIYHacks #ScallopedWall #PaintingTechniques #KidsBedroomIdeas #HomeImprovement #DecoratingTips #AccentWall
0 comment in total
 No comments yet
You may also like
An easy guide to the charming scalloped walls trend

These are the interior trends to leave behind in 2023, according to experts
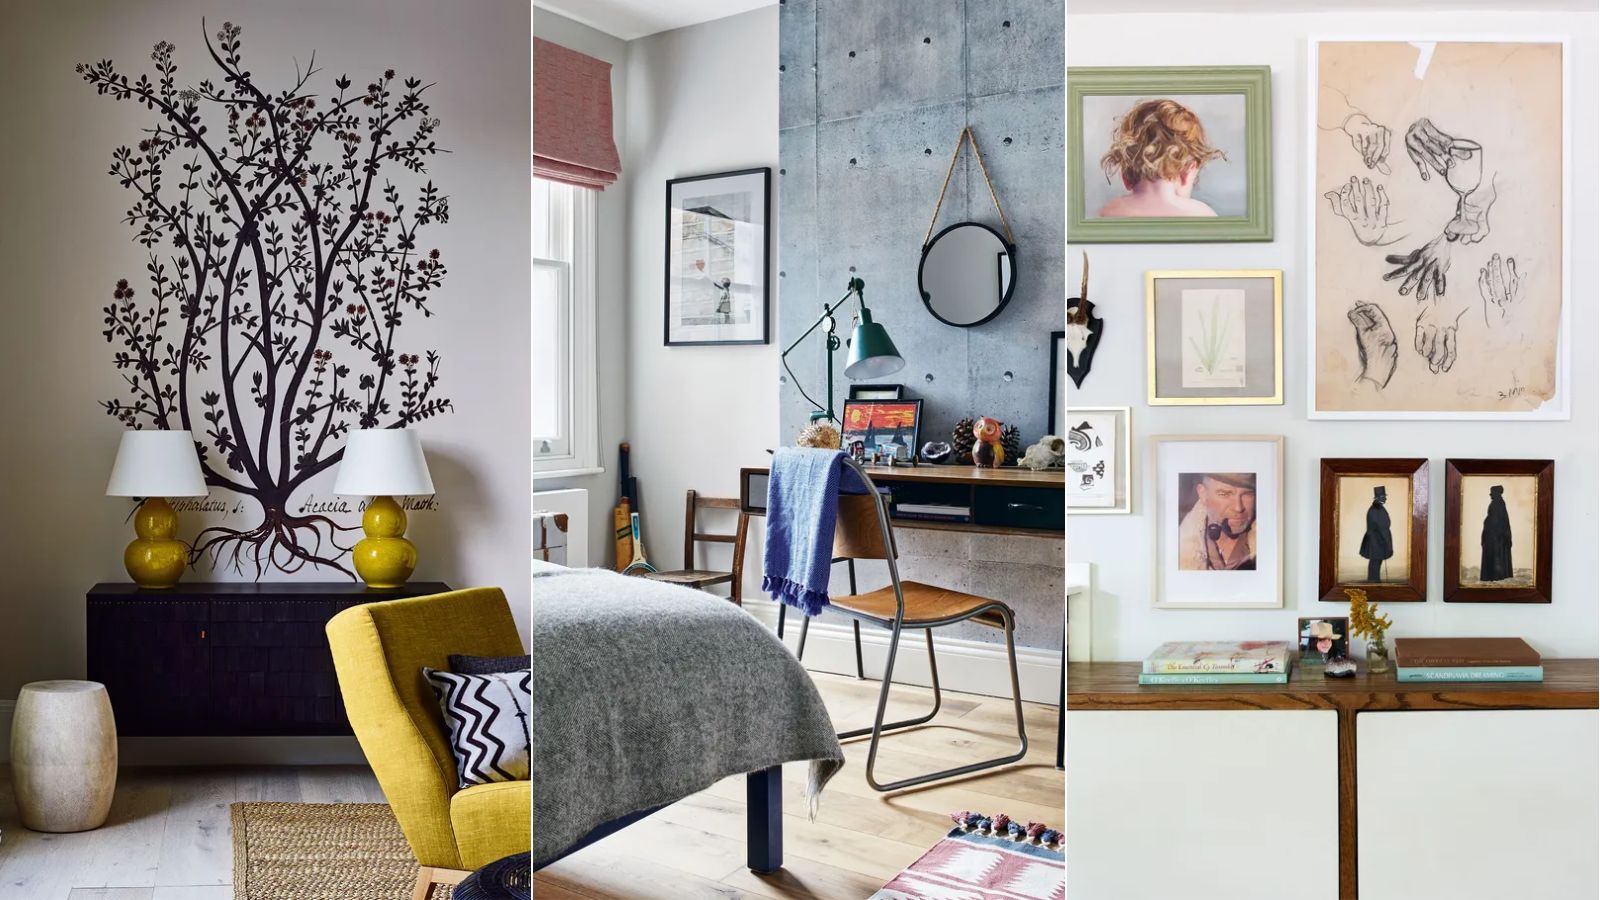
5 outdated wall decor trends designers warn to avoid – plus what we should be doing instead

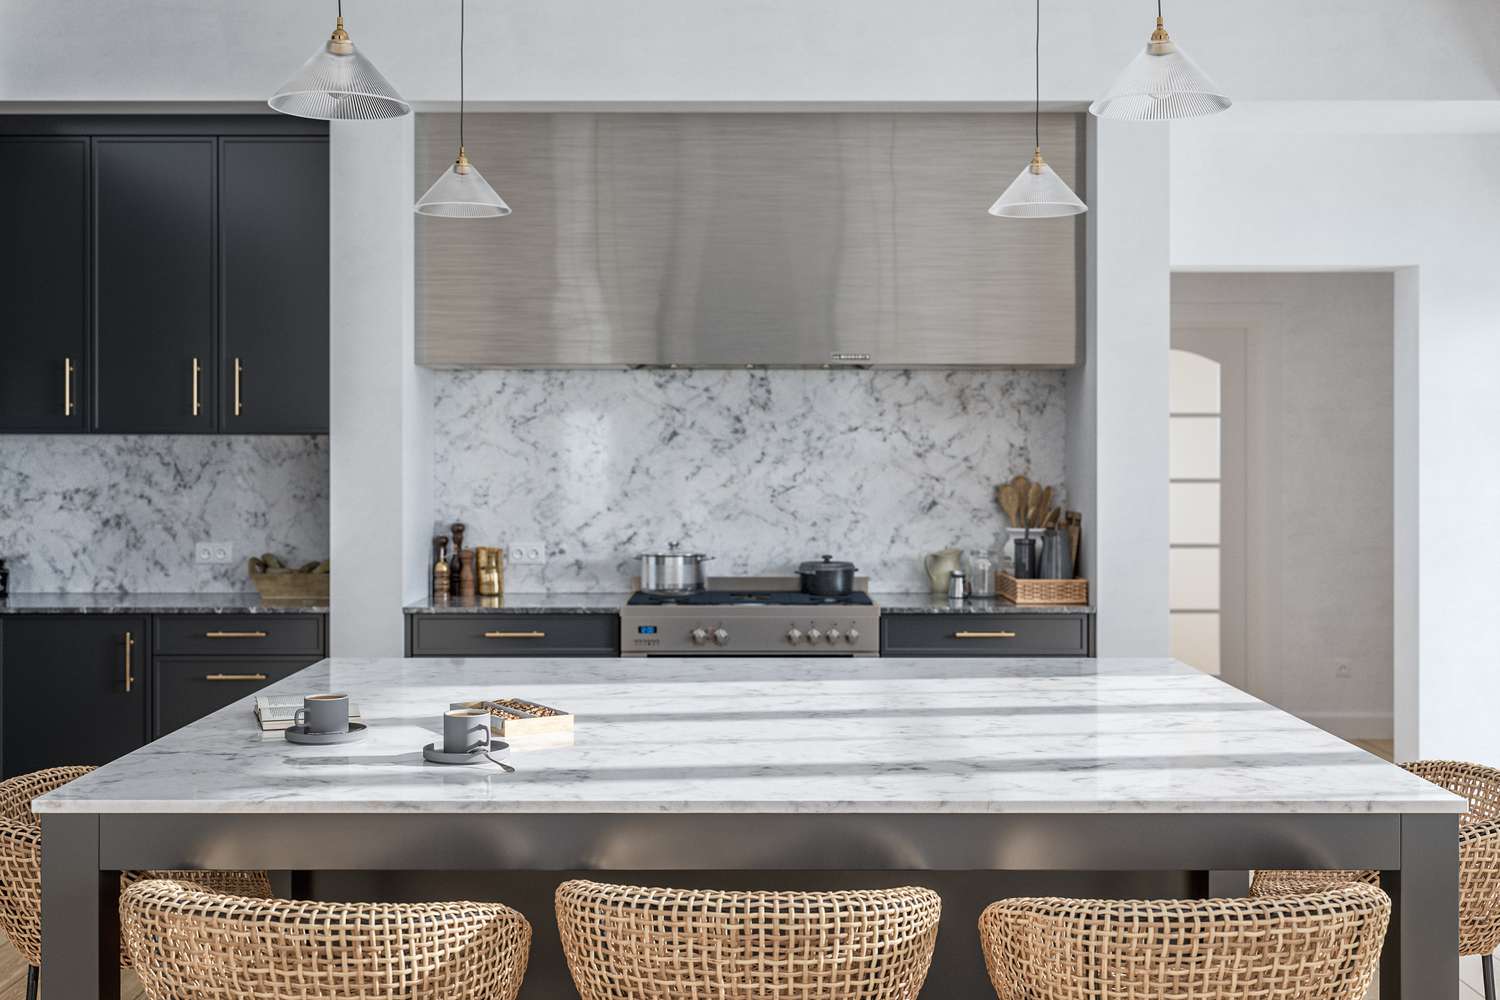
6 Popular Design Choices Designers Would Never Put in Their Own Homes

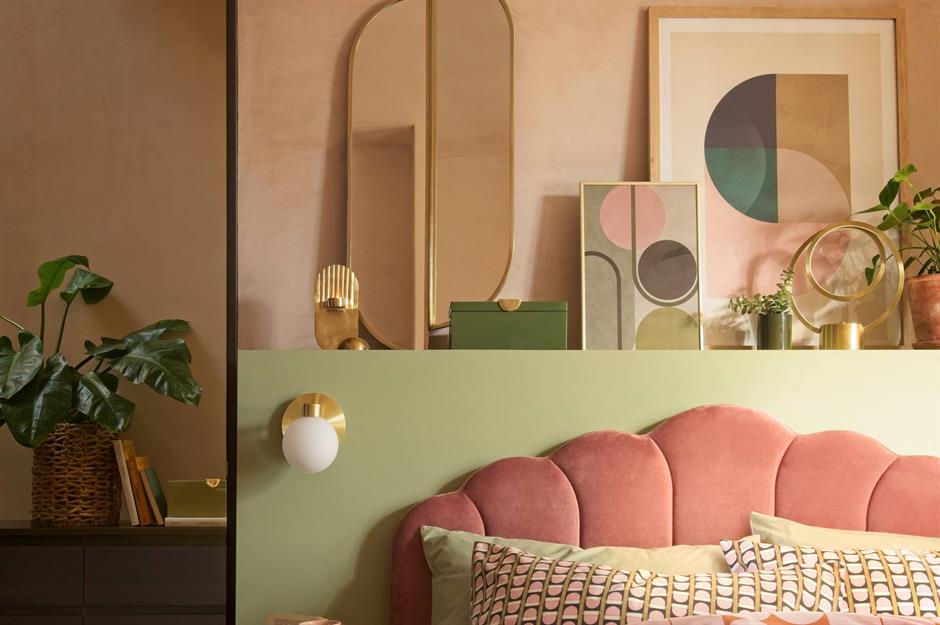
Curvy, wavy and arch decorating ideas for every room | loveproperty.com
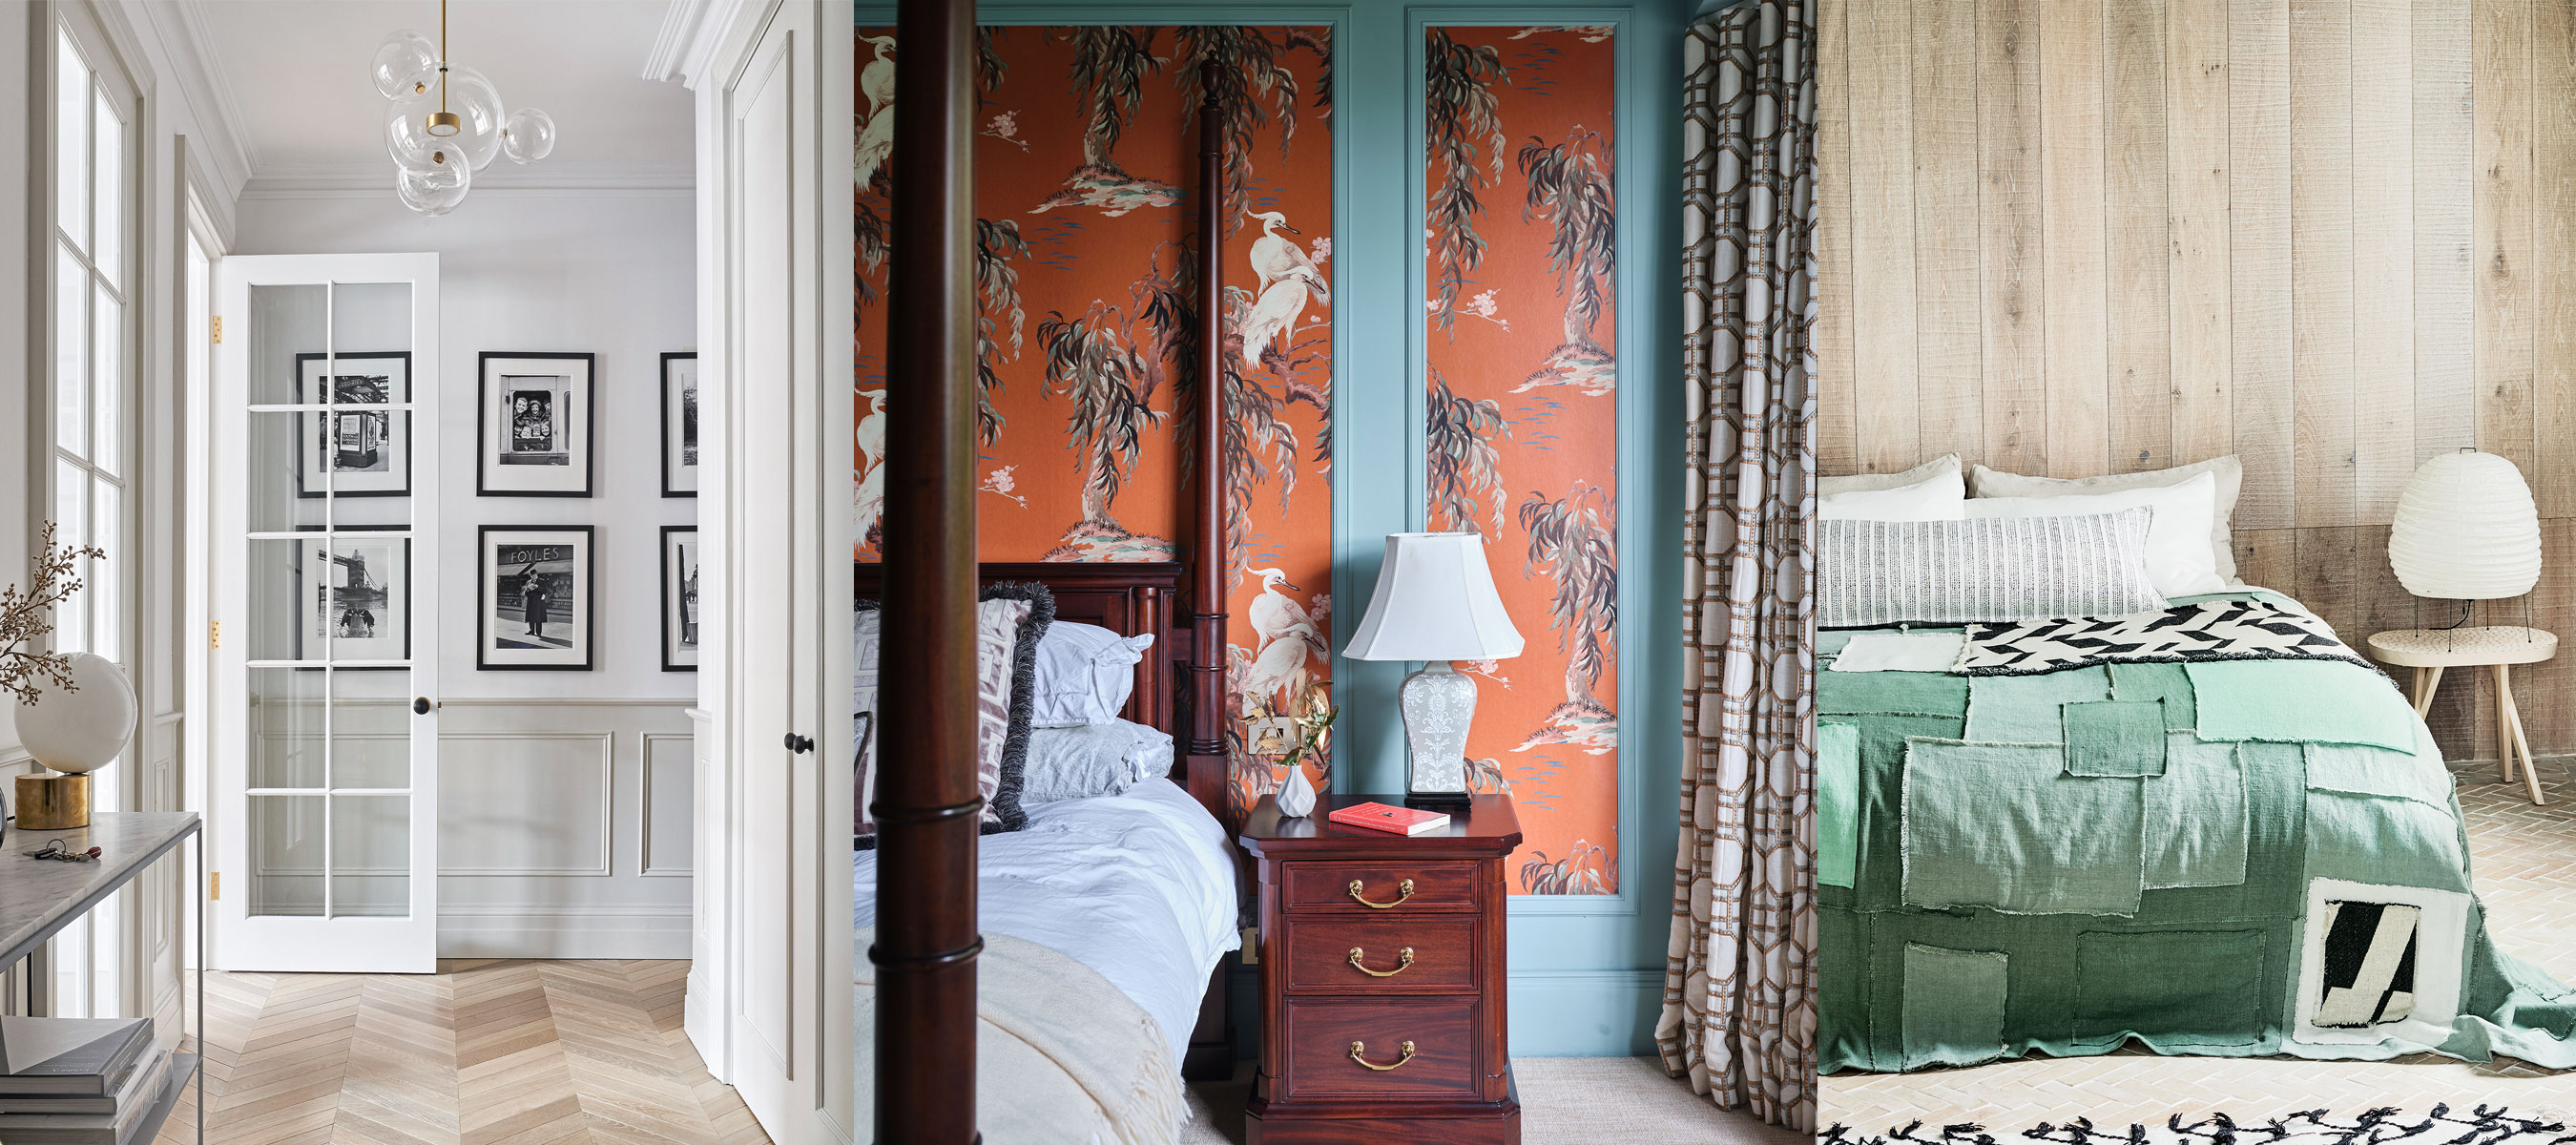
Wall paneling ideas – 18 ways to add decorative cladding and moulding
7 Wall Art Styles That Designers Are Leaving Behind This Year For Good
The writing is on the wall(paper) for this rising interior design trend
Homeowner wows with DIY version of latest feature wall trend – and the results are stunning!
Patterns on paper and tile: Visually compelling designs lead the way in wallcoverings

16 Accent Wall Ideas That You'll Start Seeing Everywhere In 2025
Etsy’s controversial trend report for 2024 predicts gallery walls are on their way out – but are they really?
Kelly Hoppen's unconventional advice for painting skirting boards is a game changer
Are accent walls out of style? This is how designers are using them now and beyond

It’s not an accent wall anymore. It’s a ‘statement’ wall.

This Surprising NEW Trend Is Replacing Accent Walls

28 wall panelling ideas to add depth and character to any room in your home
This Accent Wall Tip Will Make You Want To Redecorate
Bedroom wall panelling ideas – 13 ways to bring texture and interest to your bedroom walls
The 3 Accent Wall Trends That Are Taking Over TikTok