1/2
Fluted Cabinets Are In Style – Here’s How You Can Do It Yourself
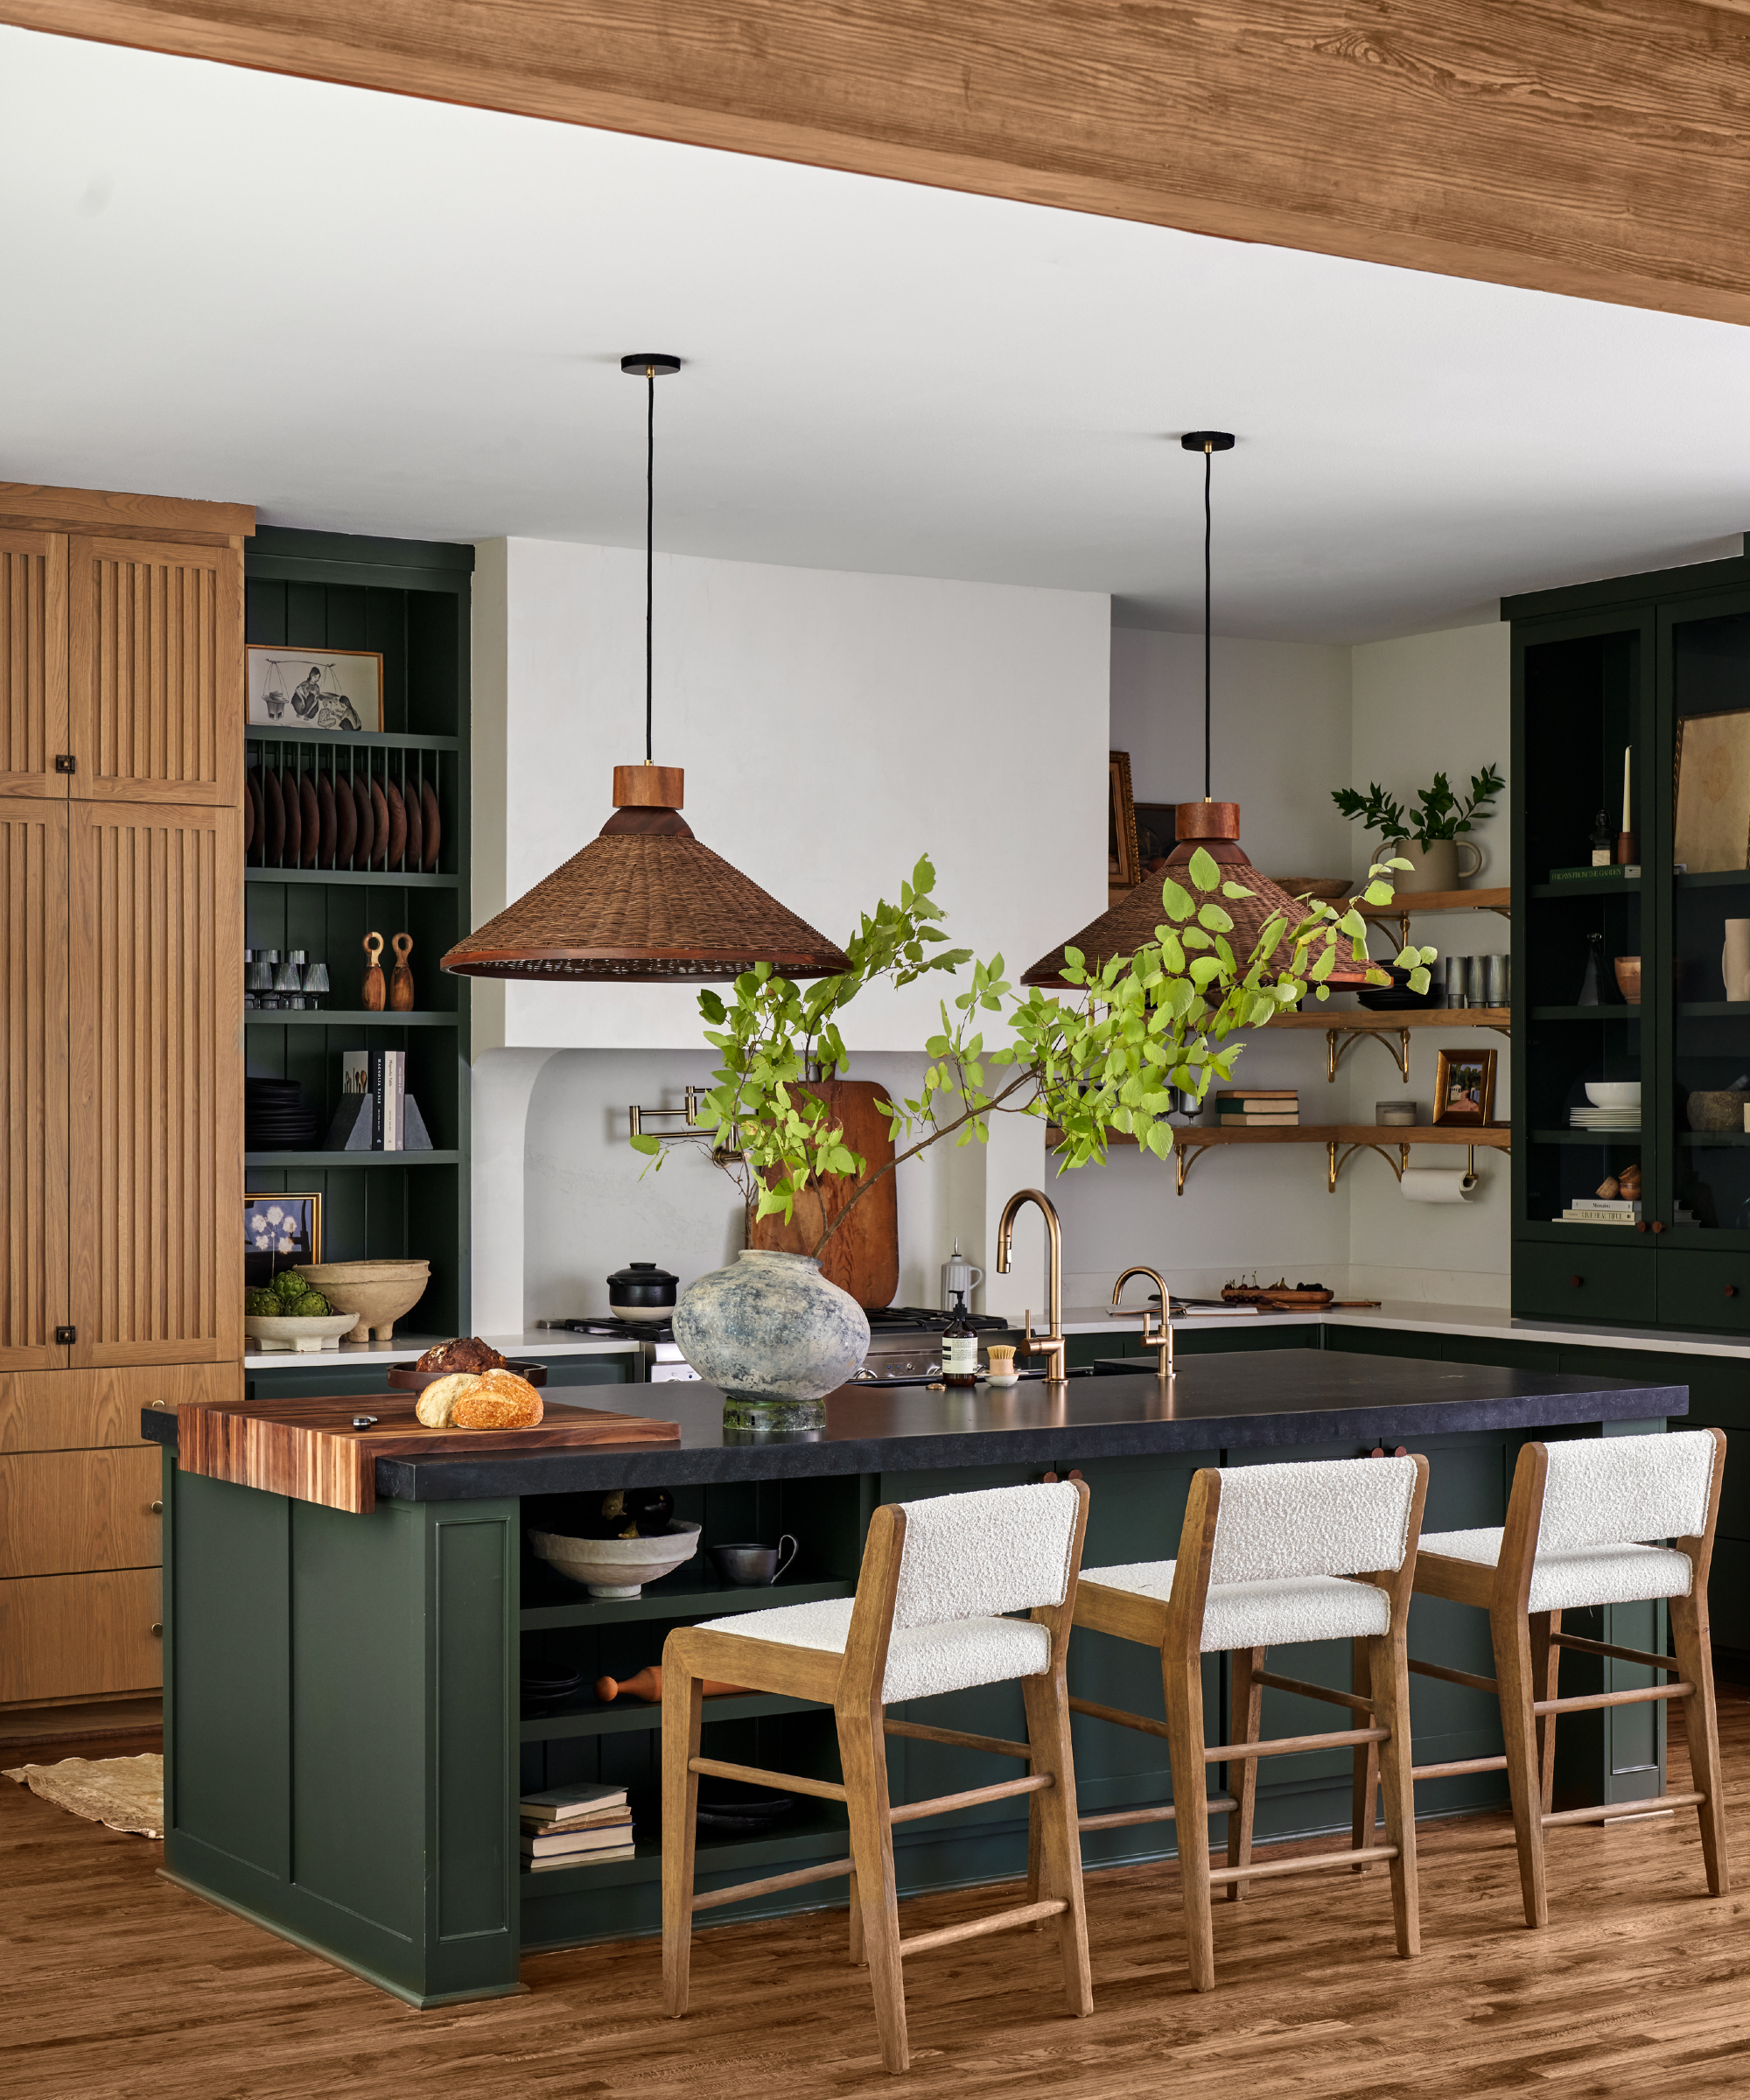
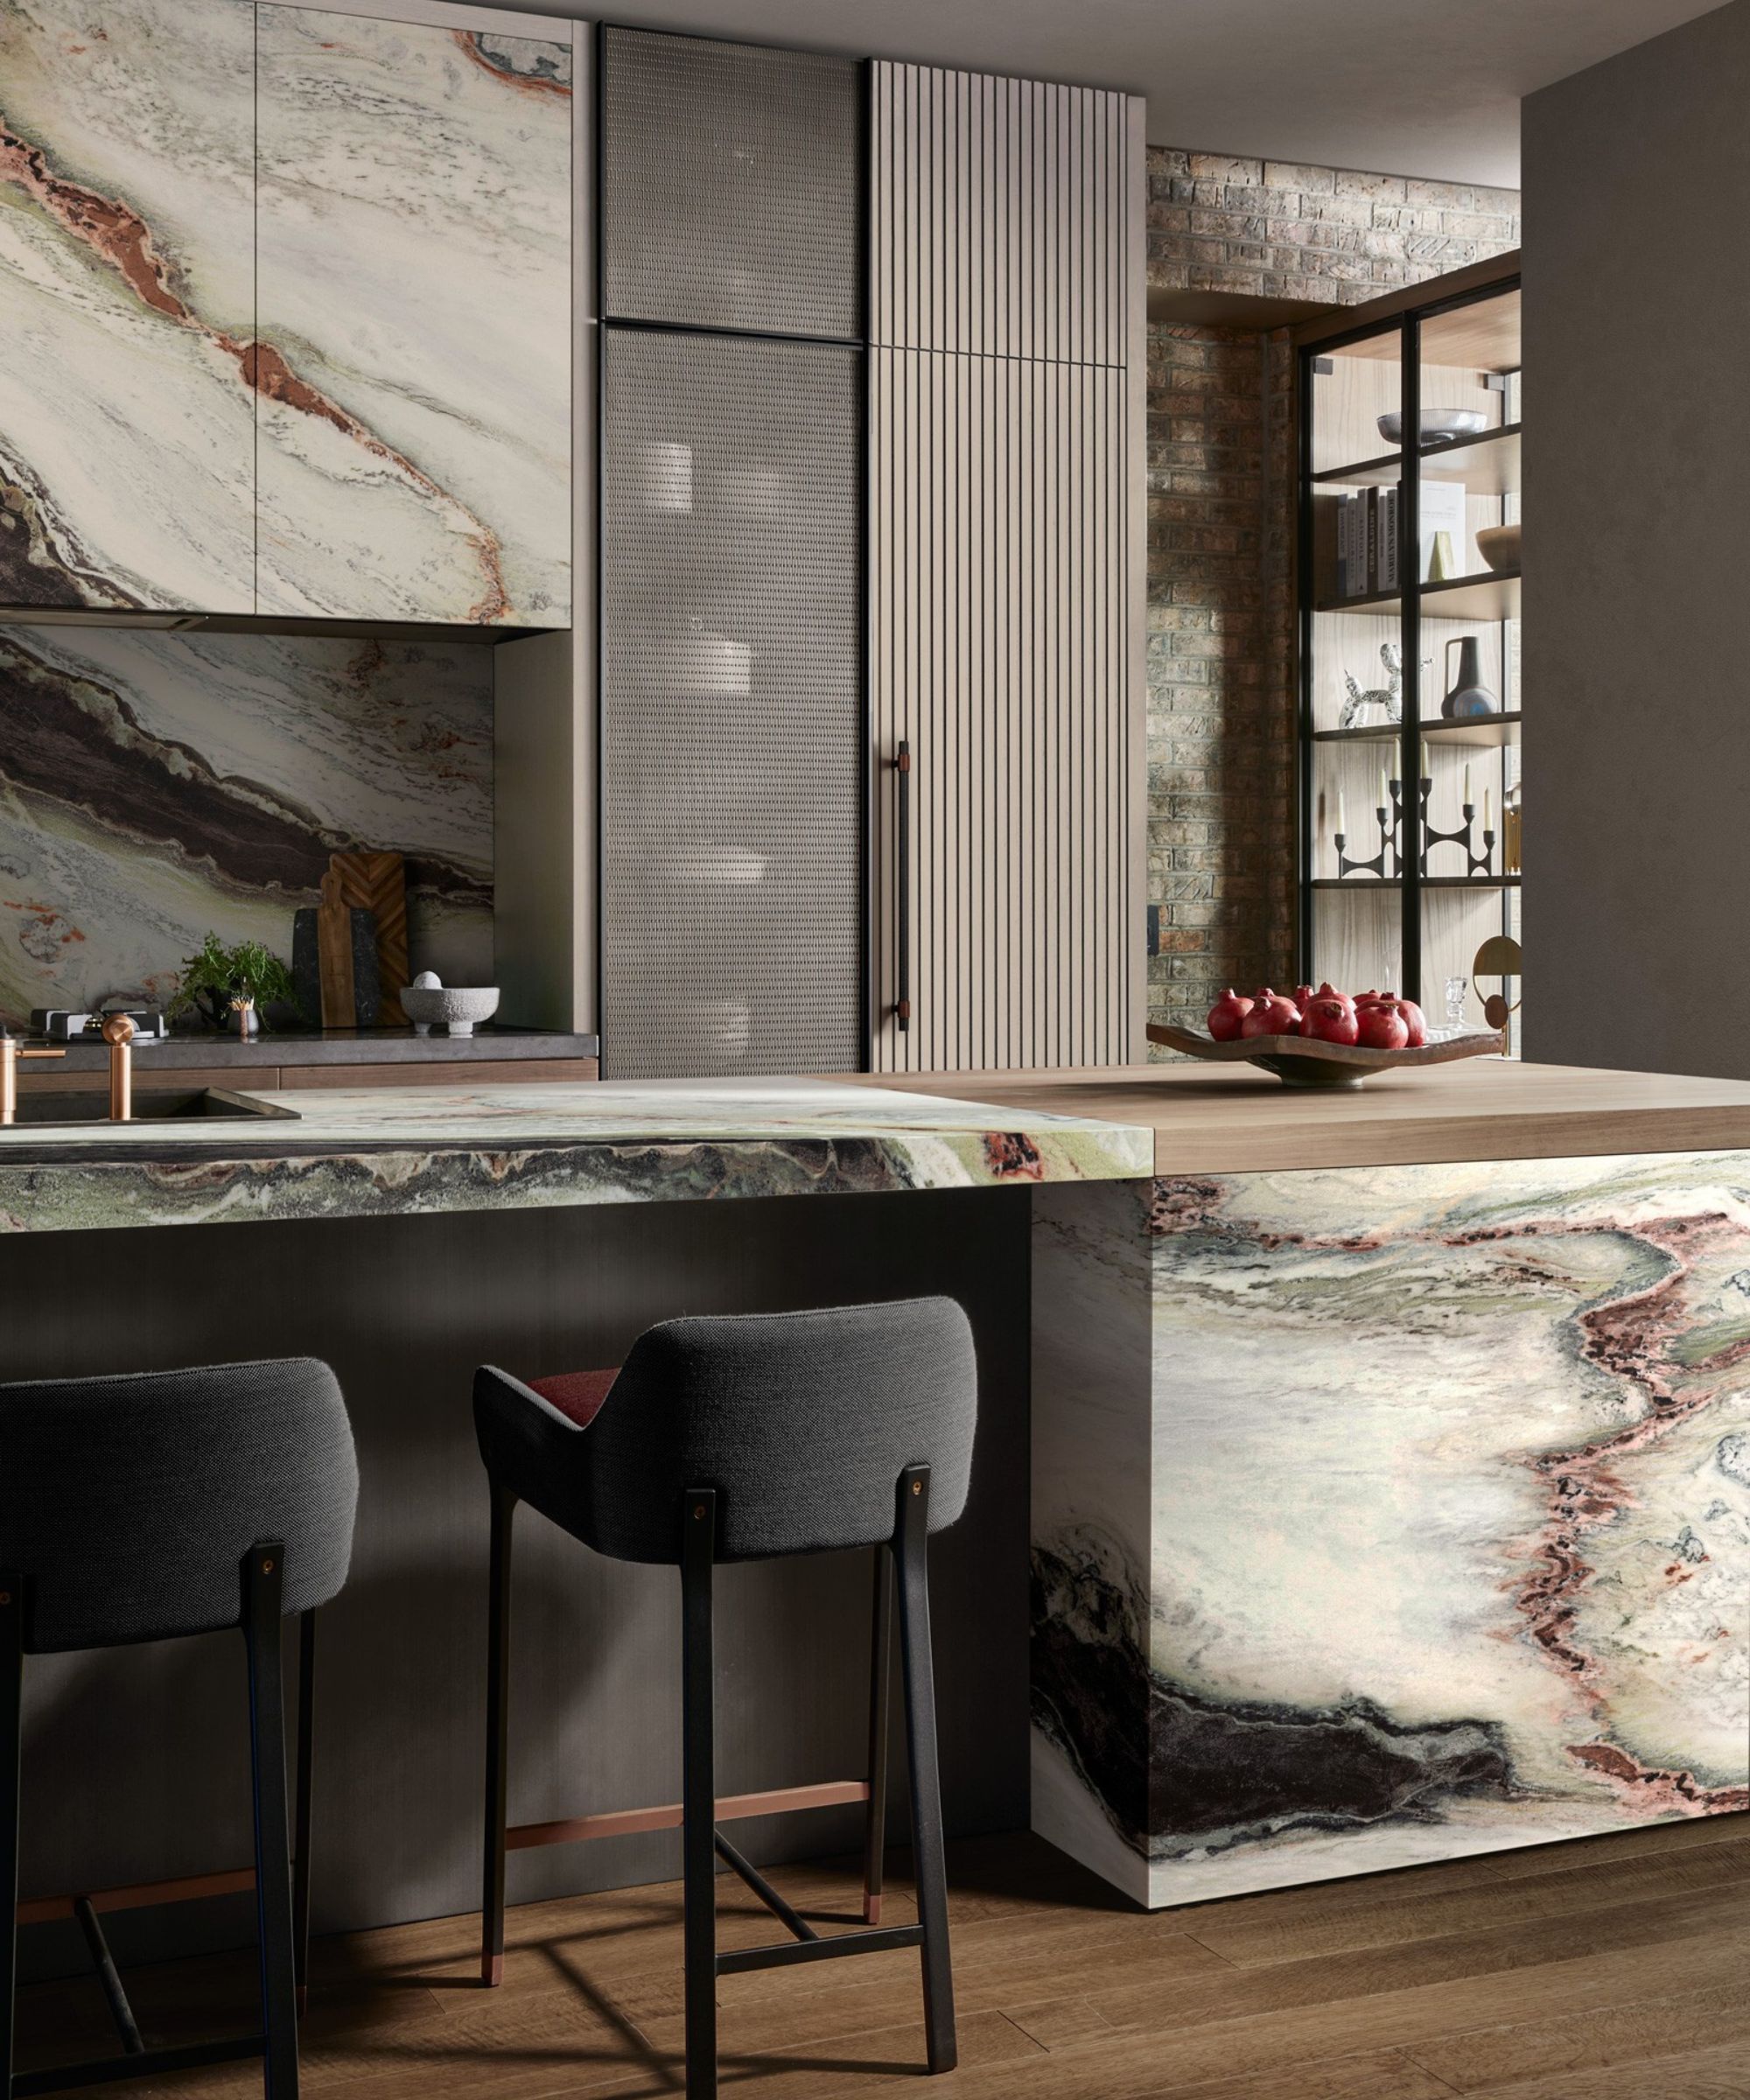
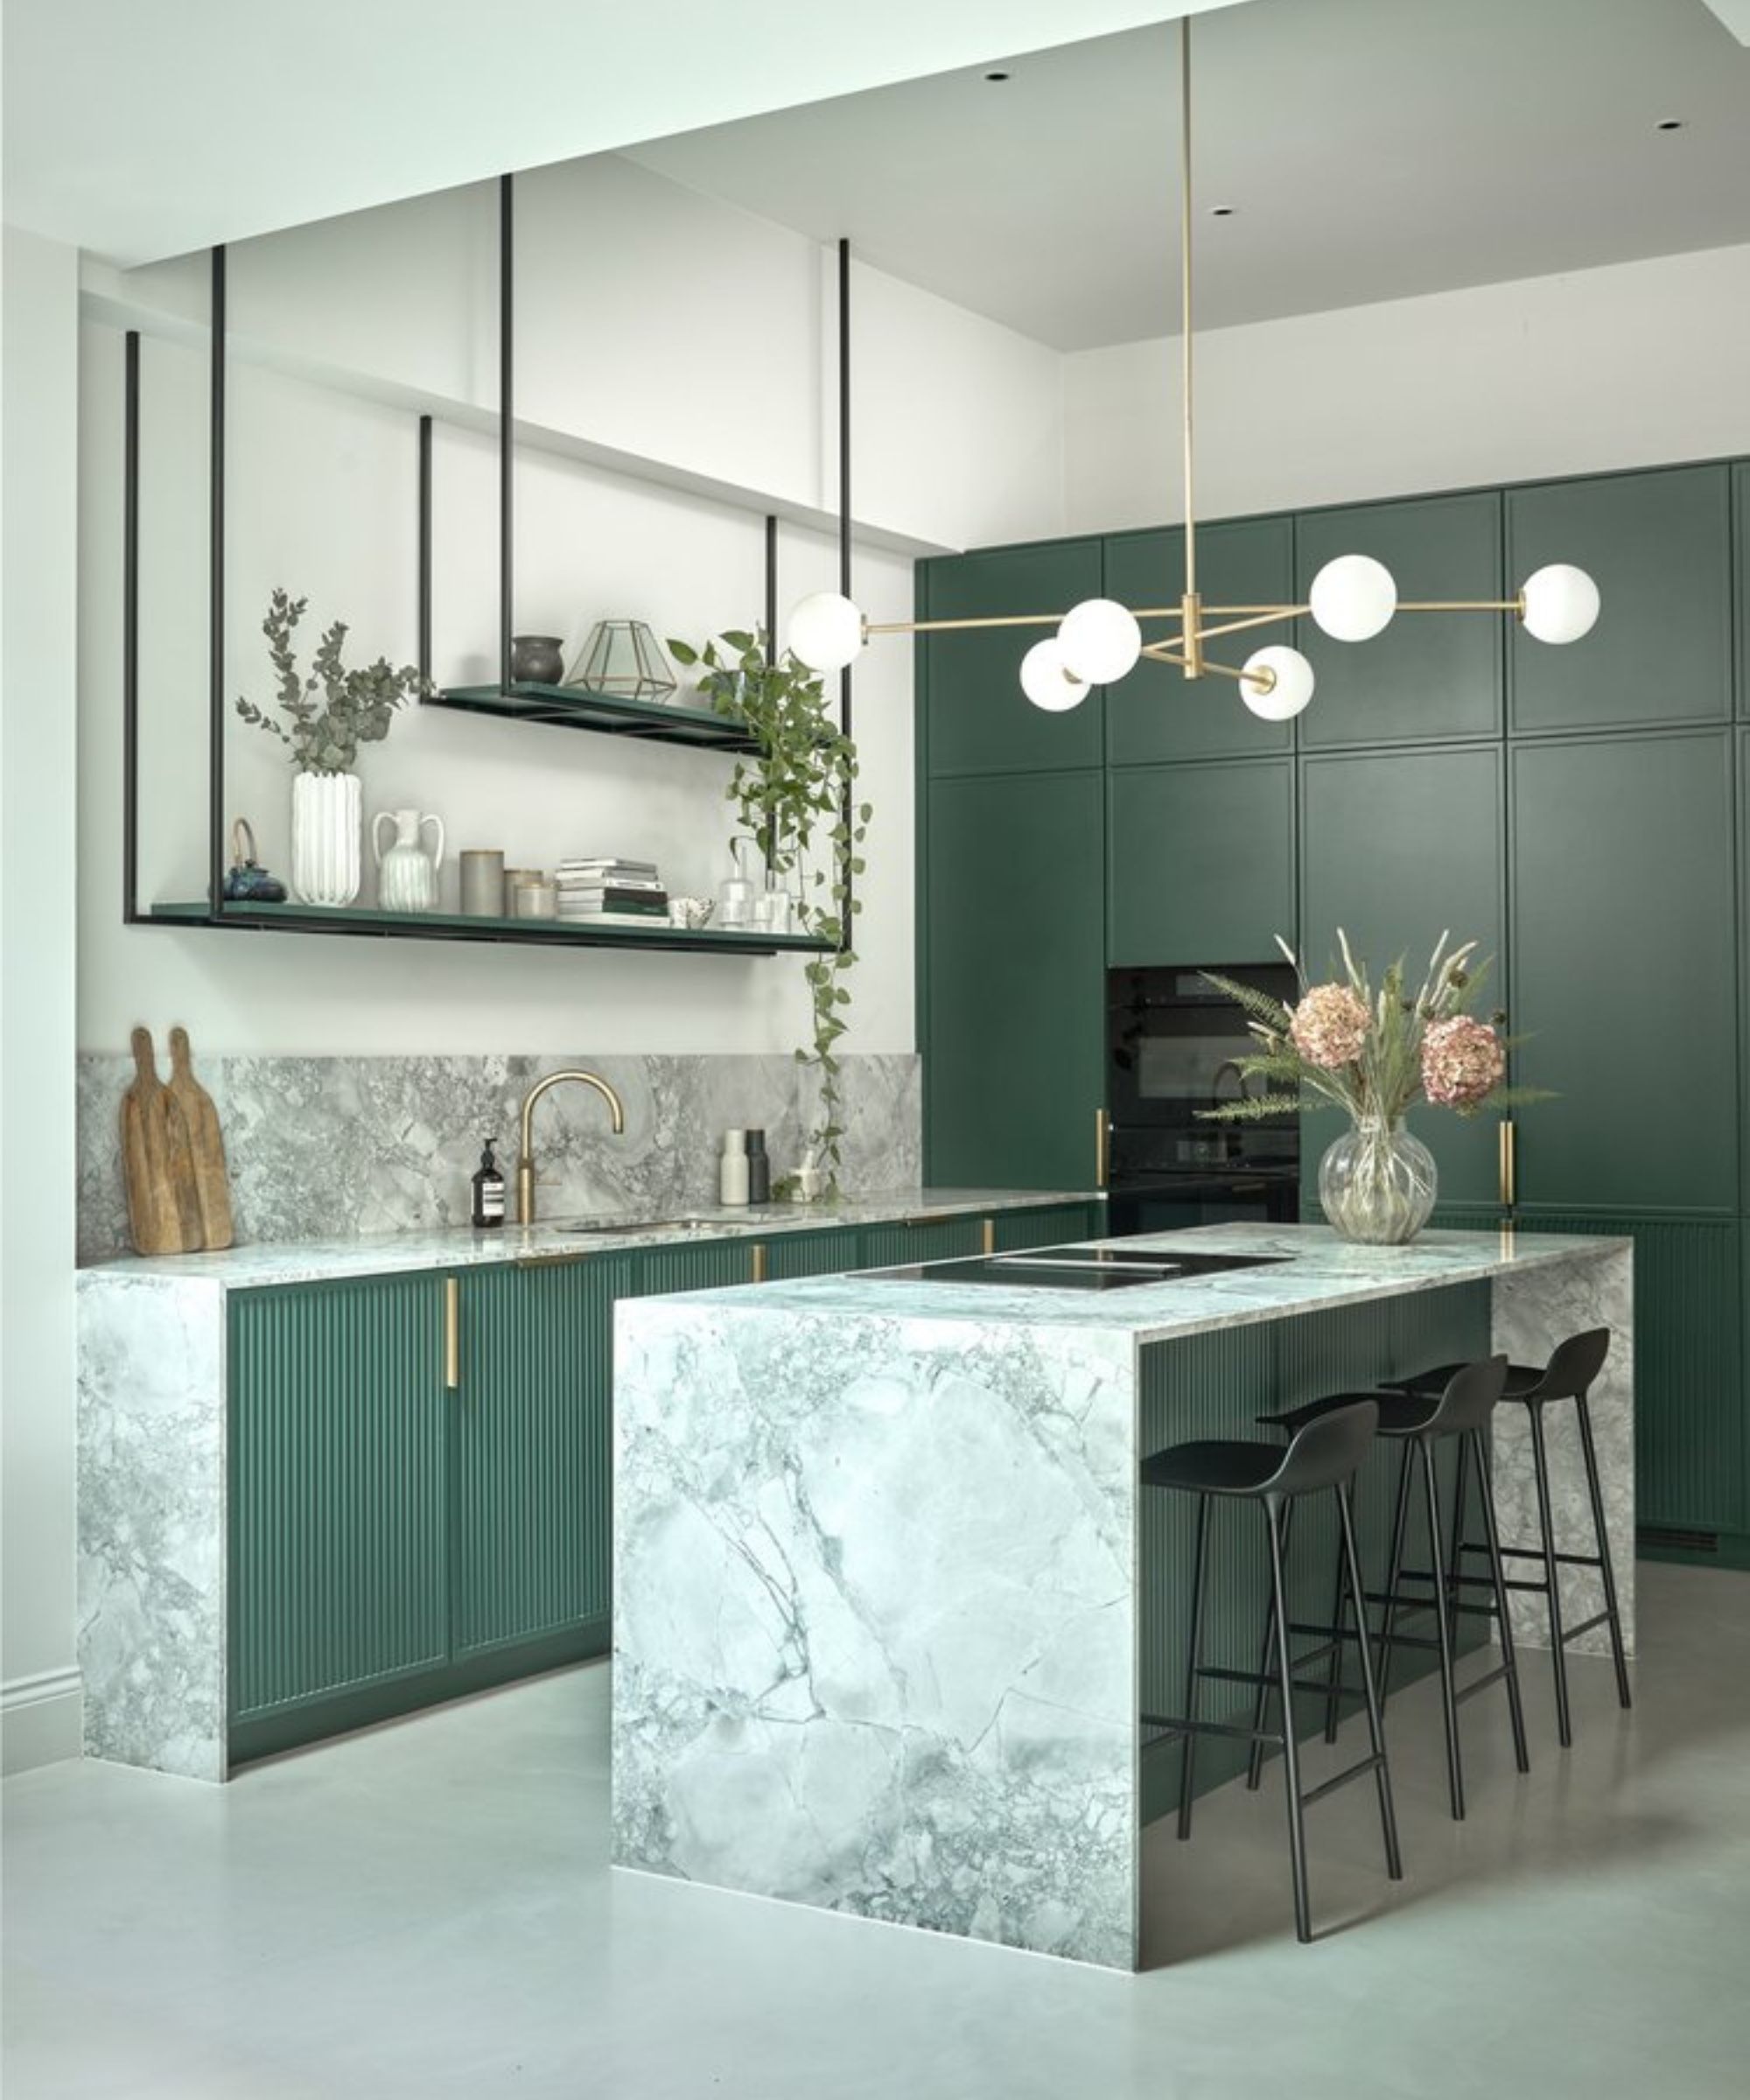
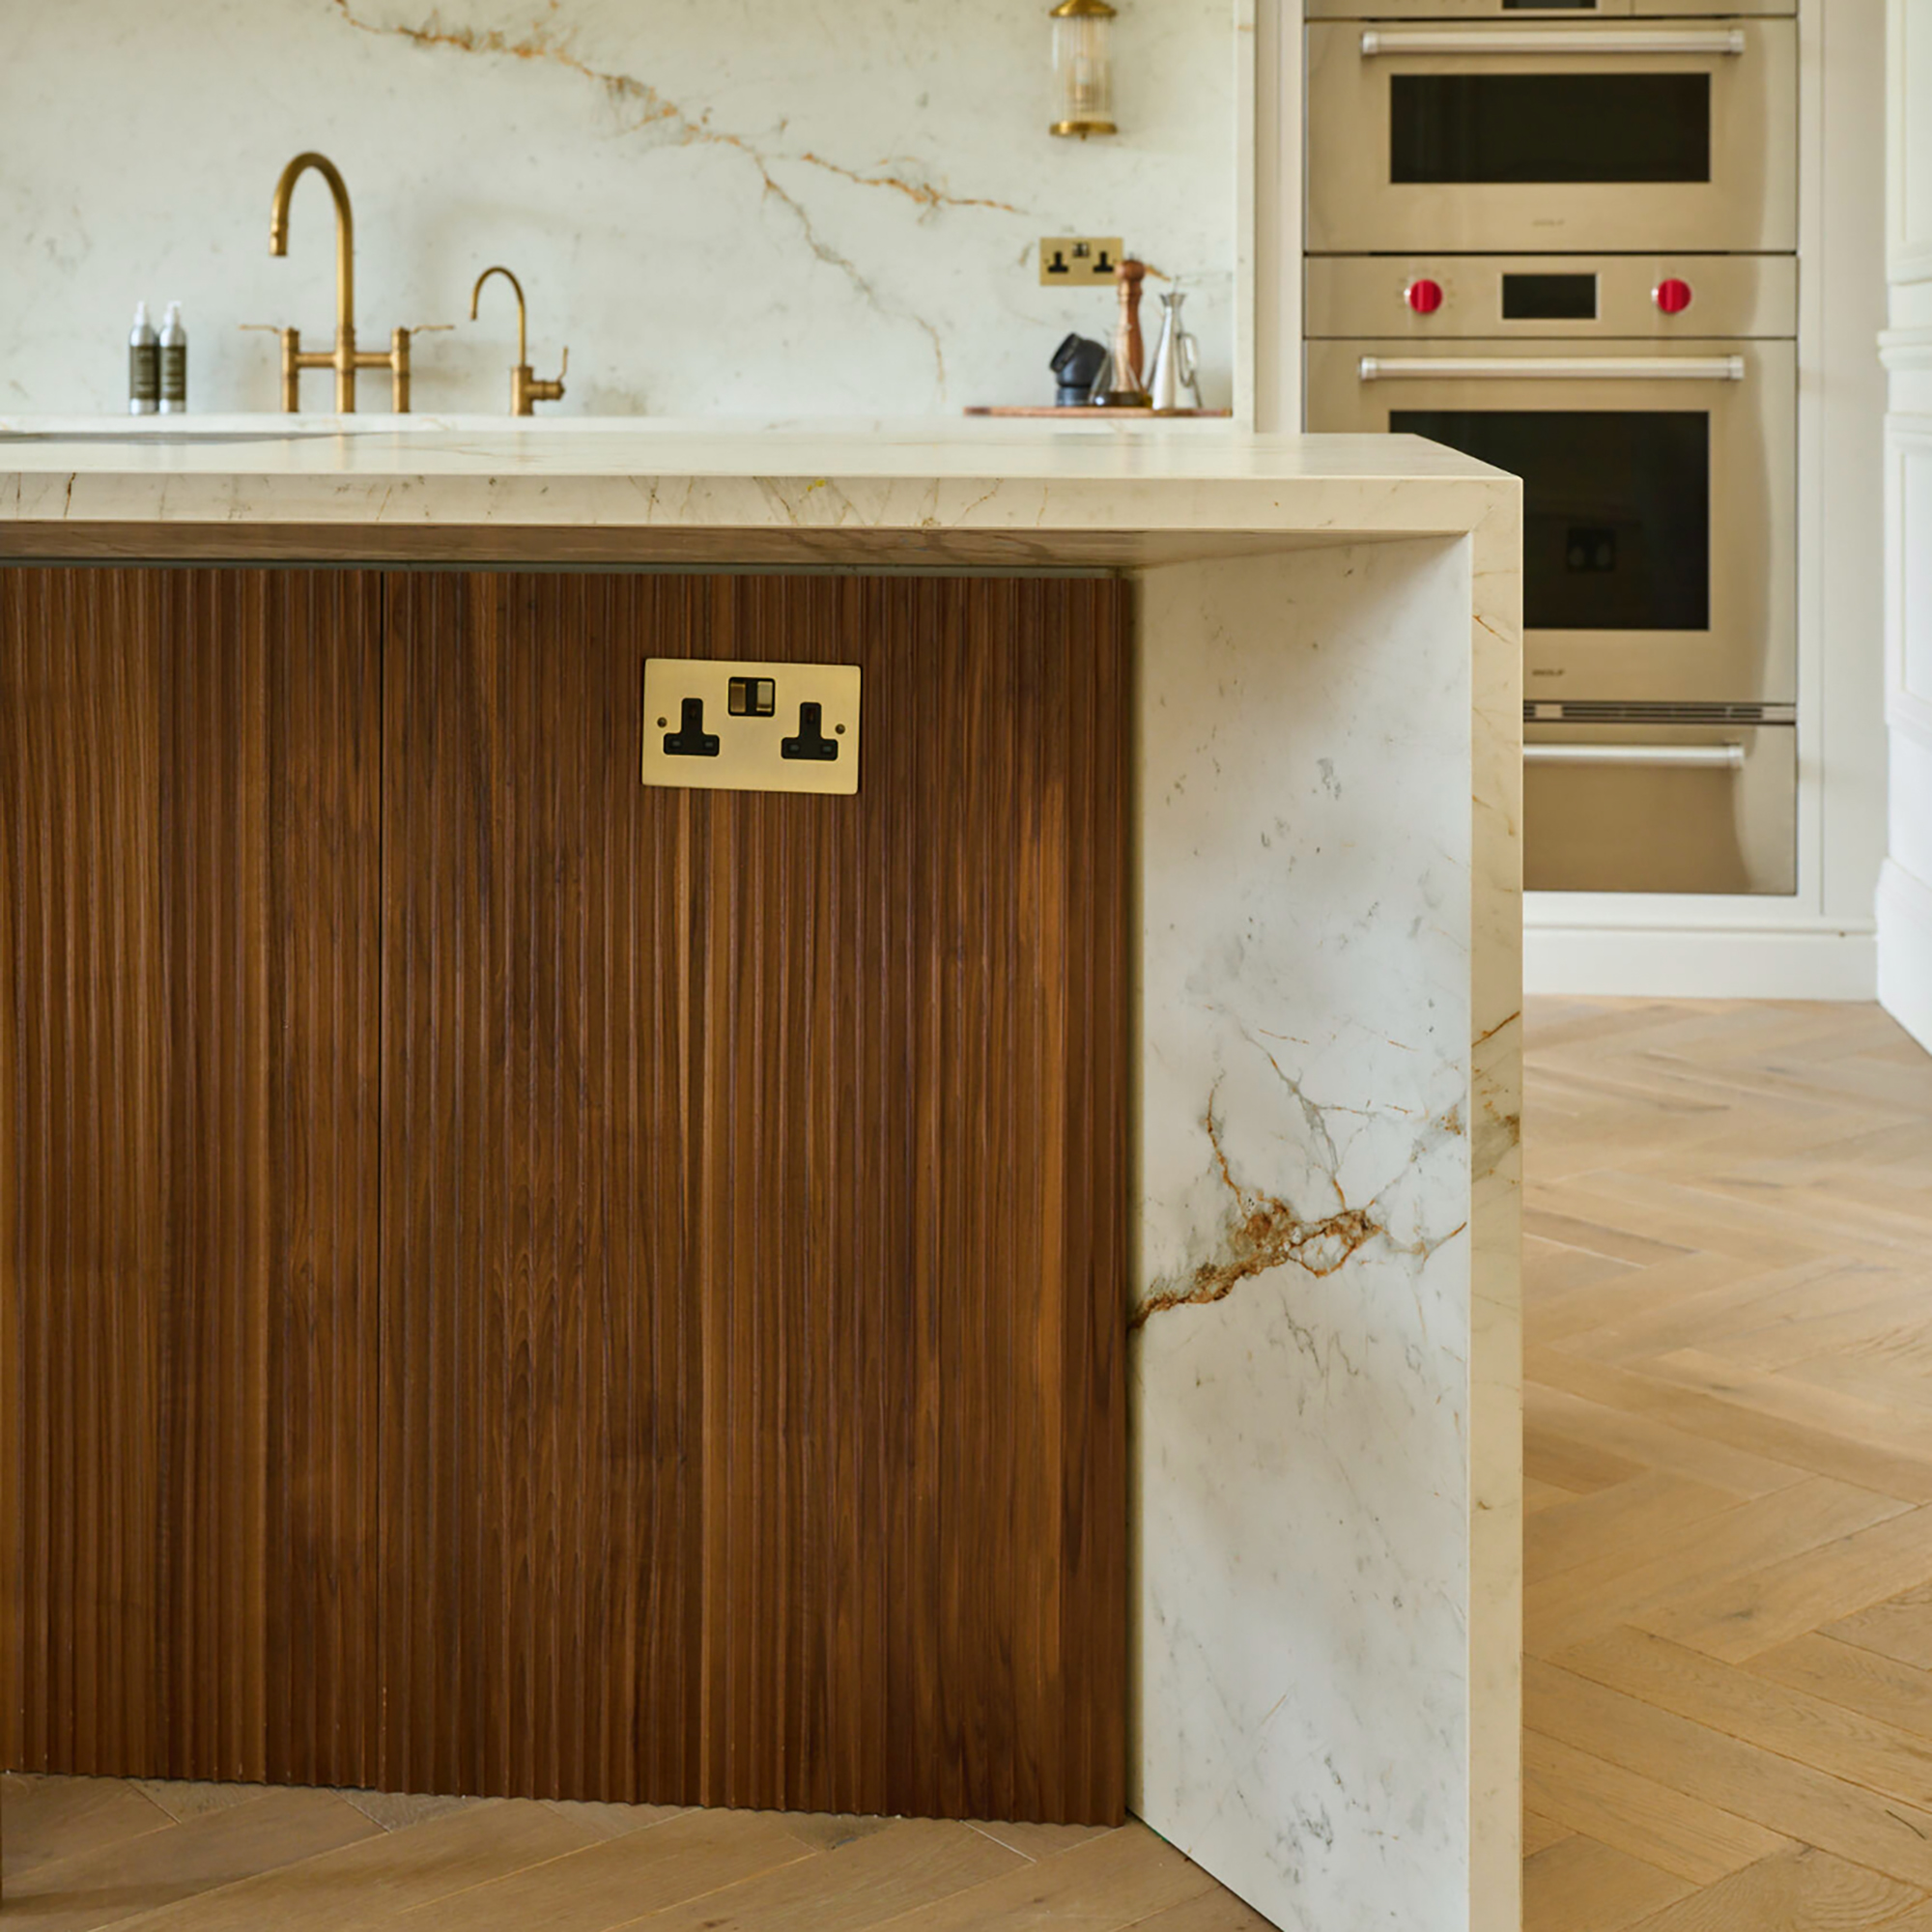
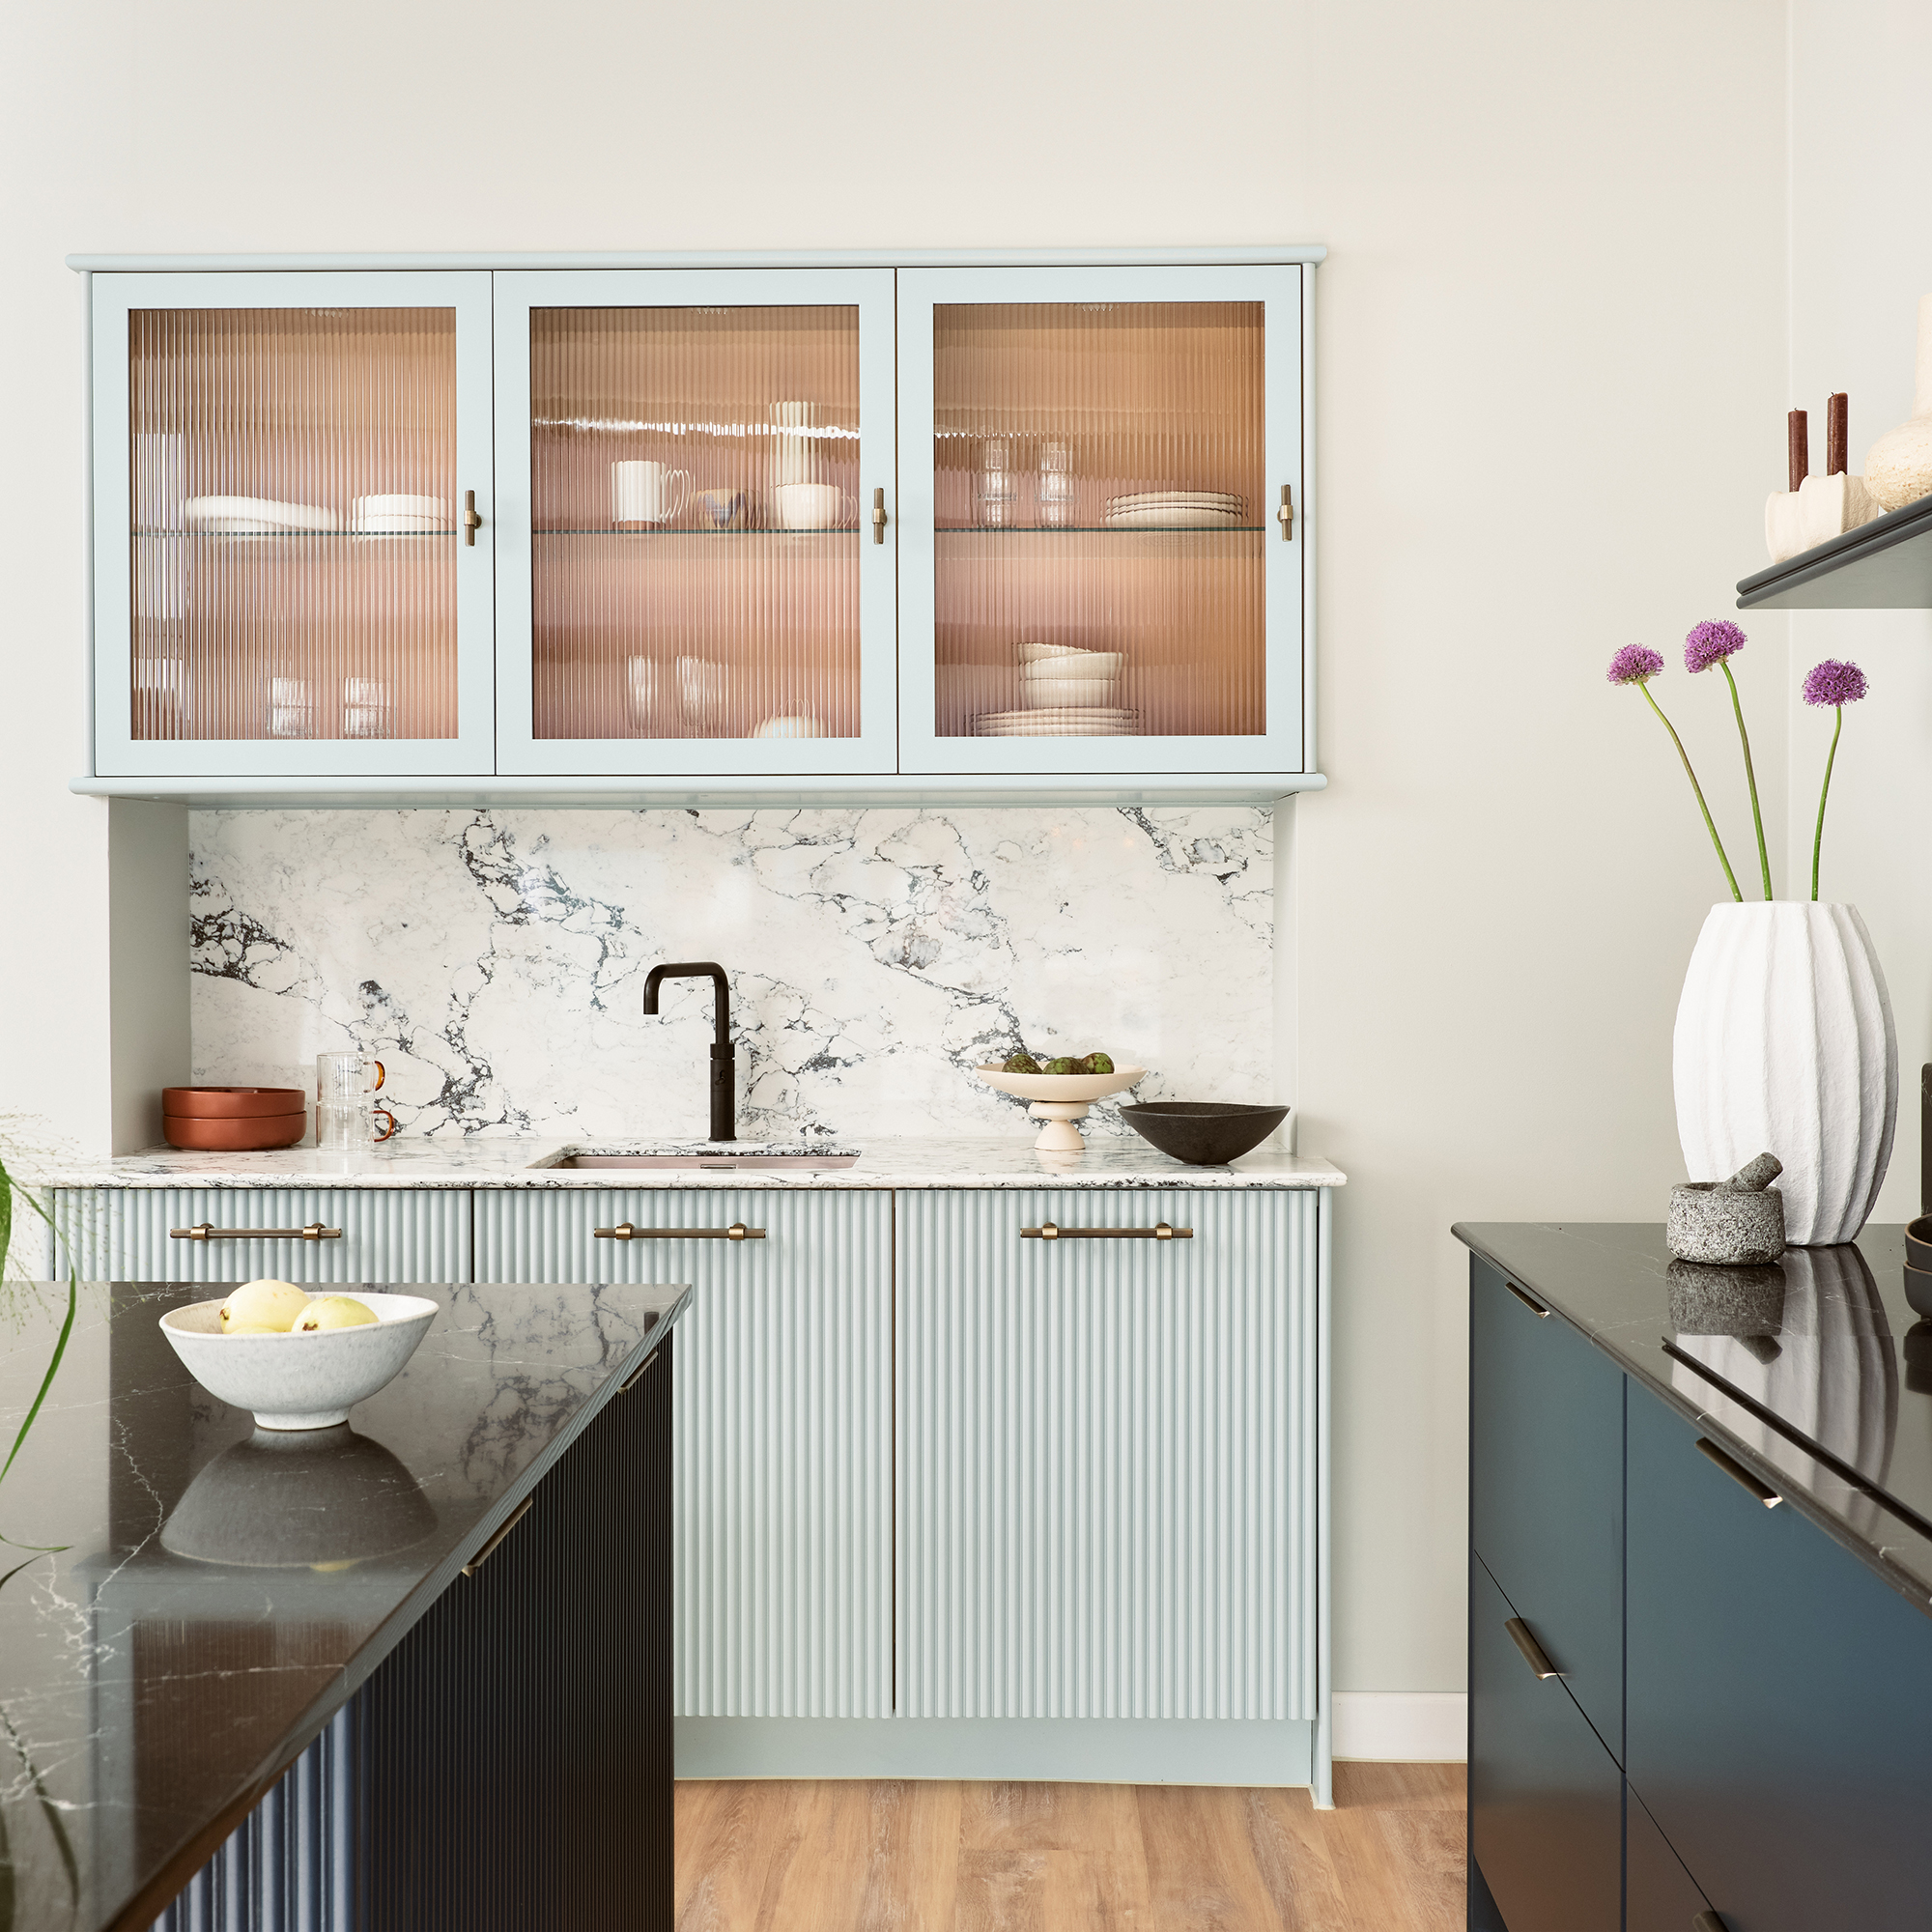
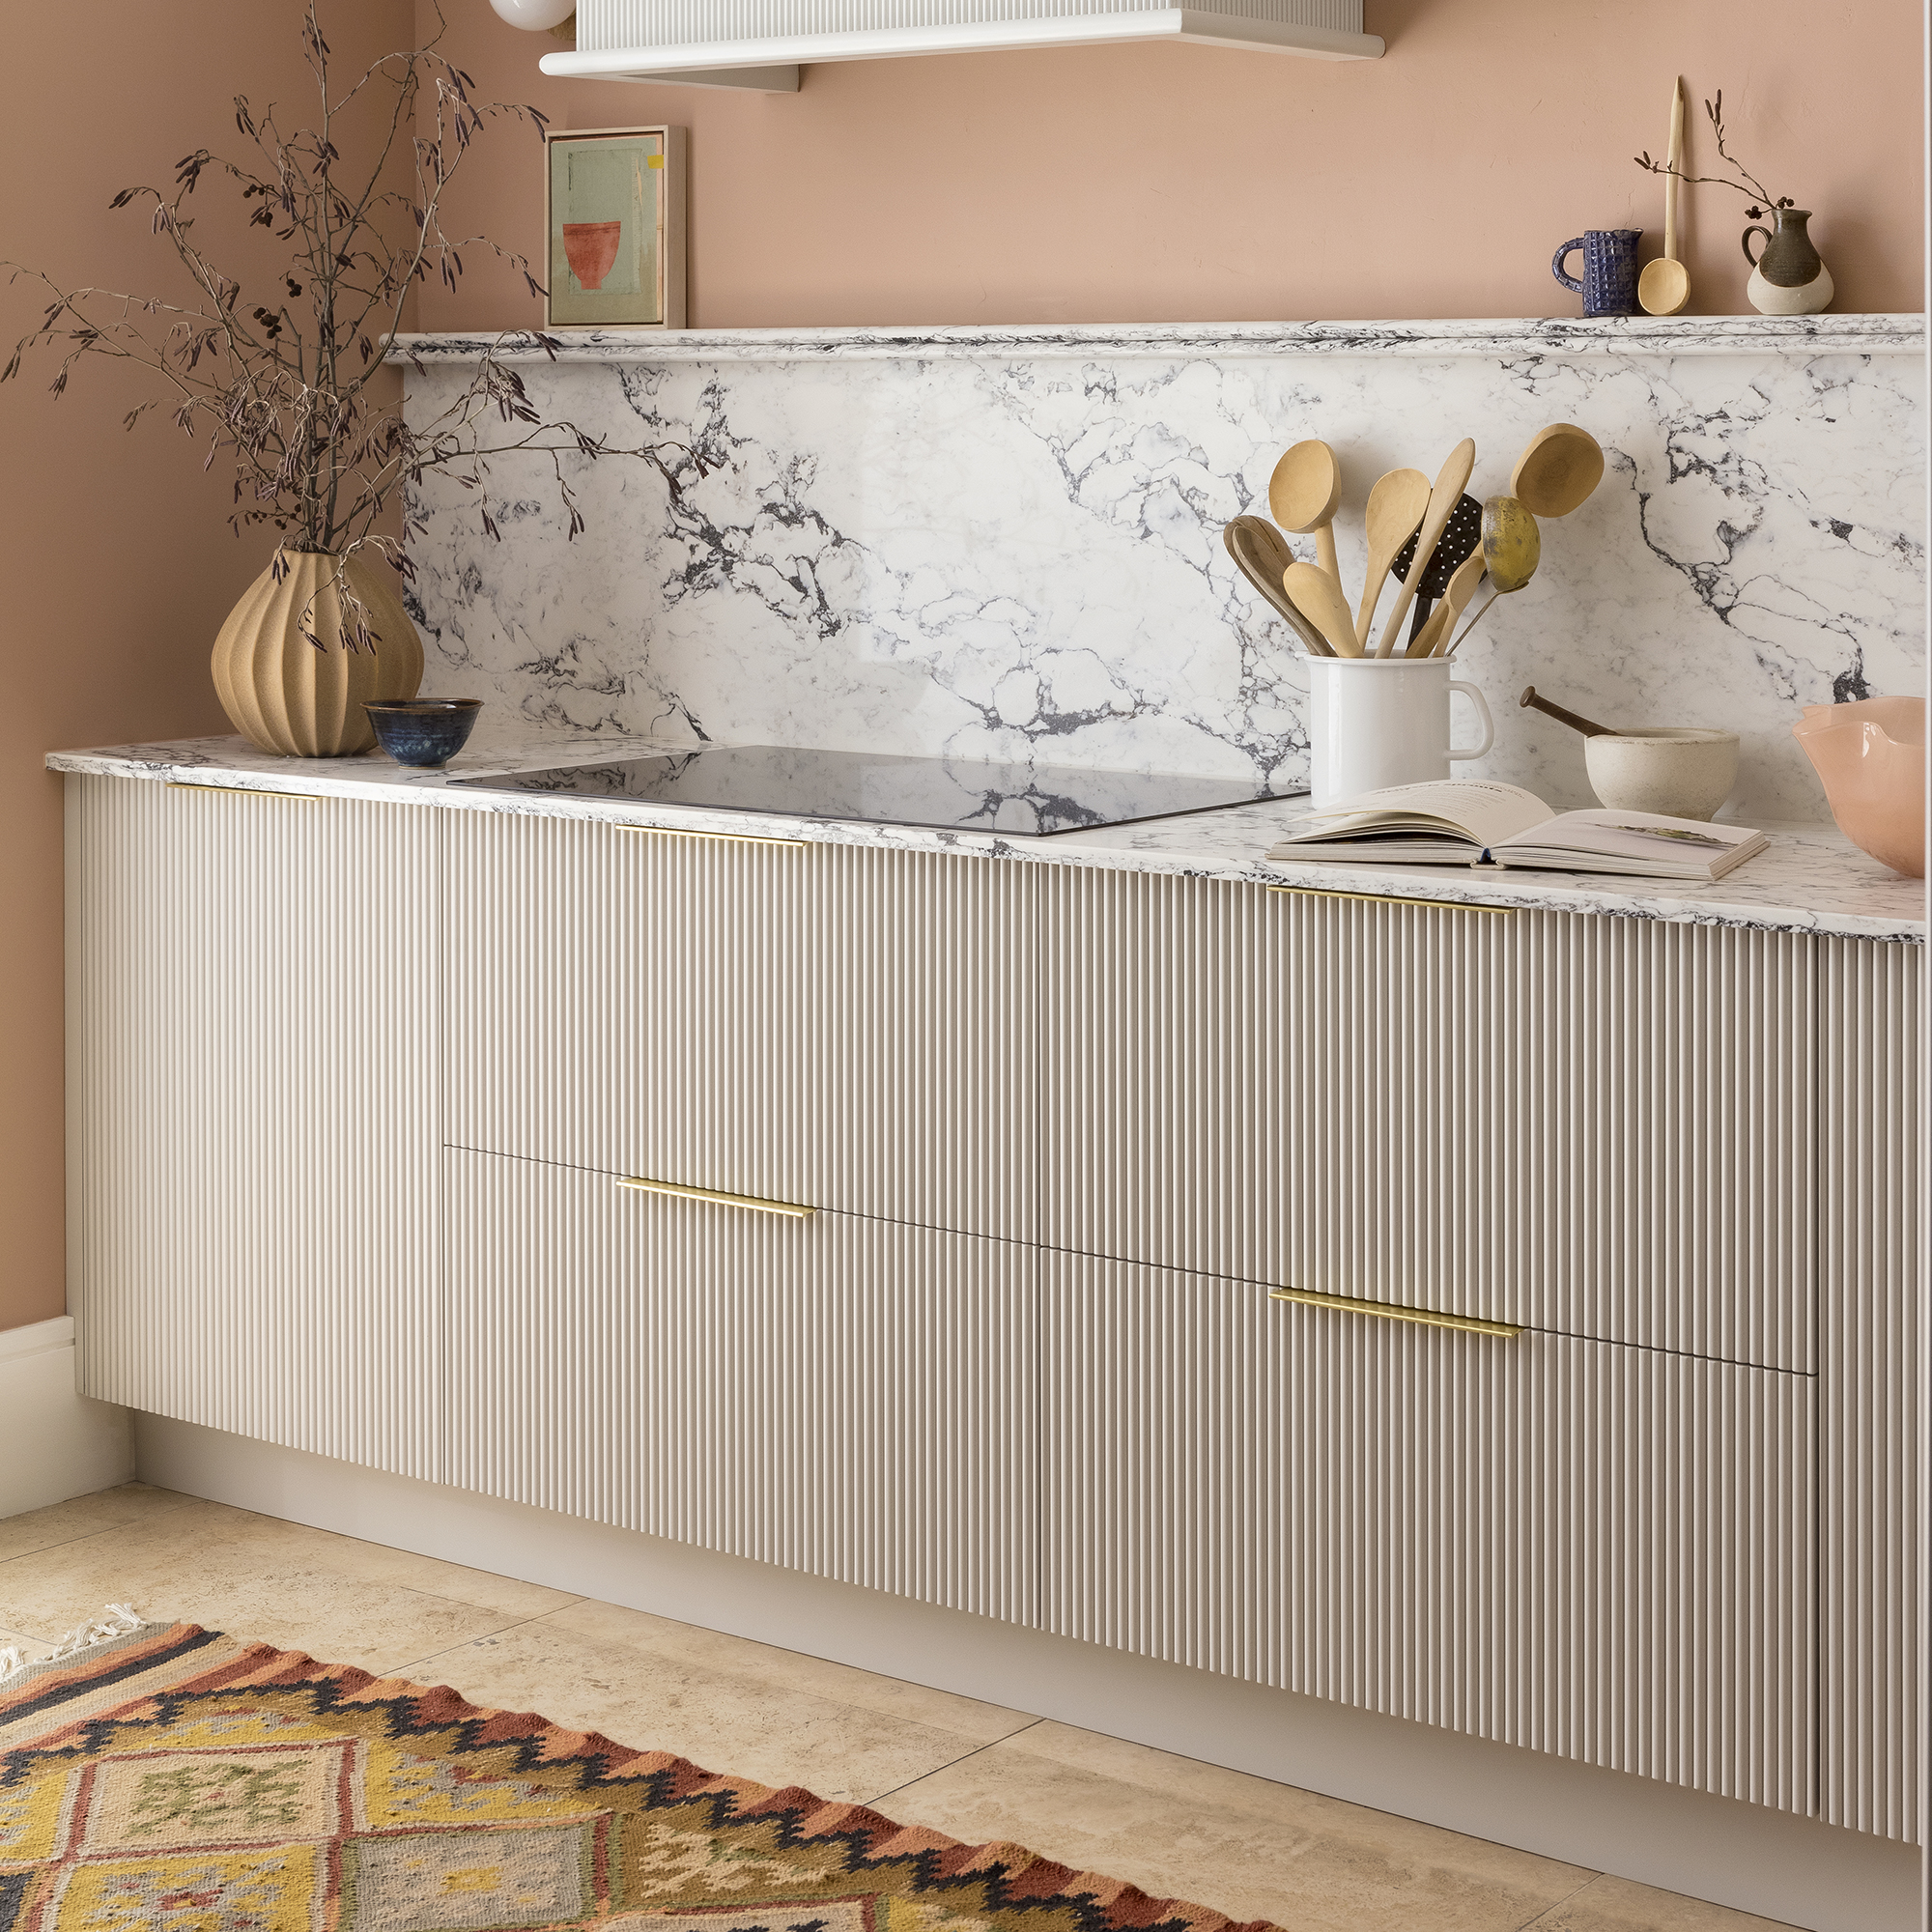
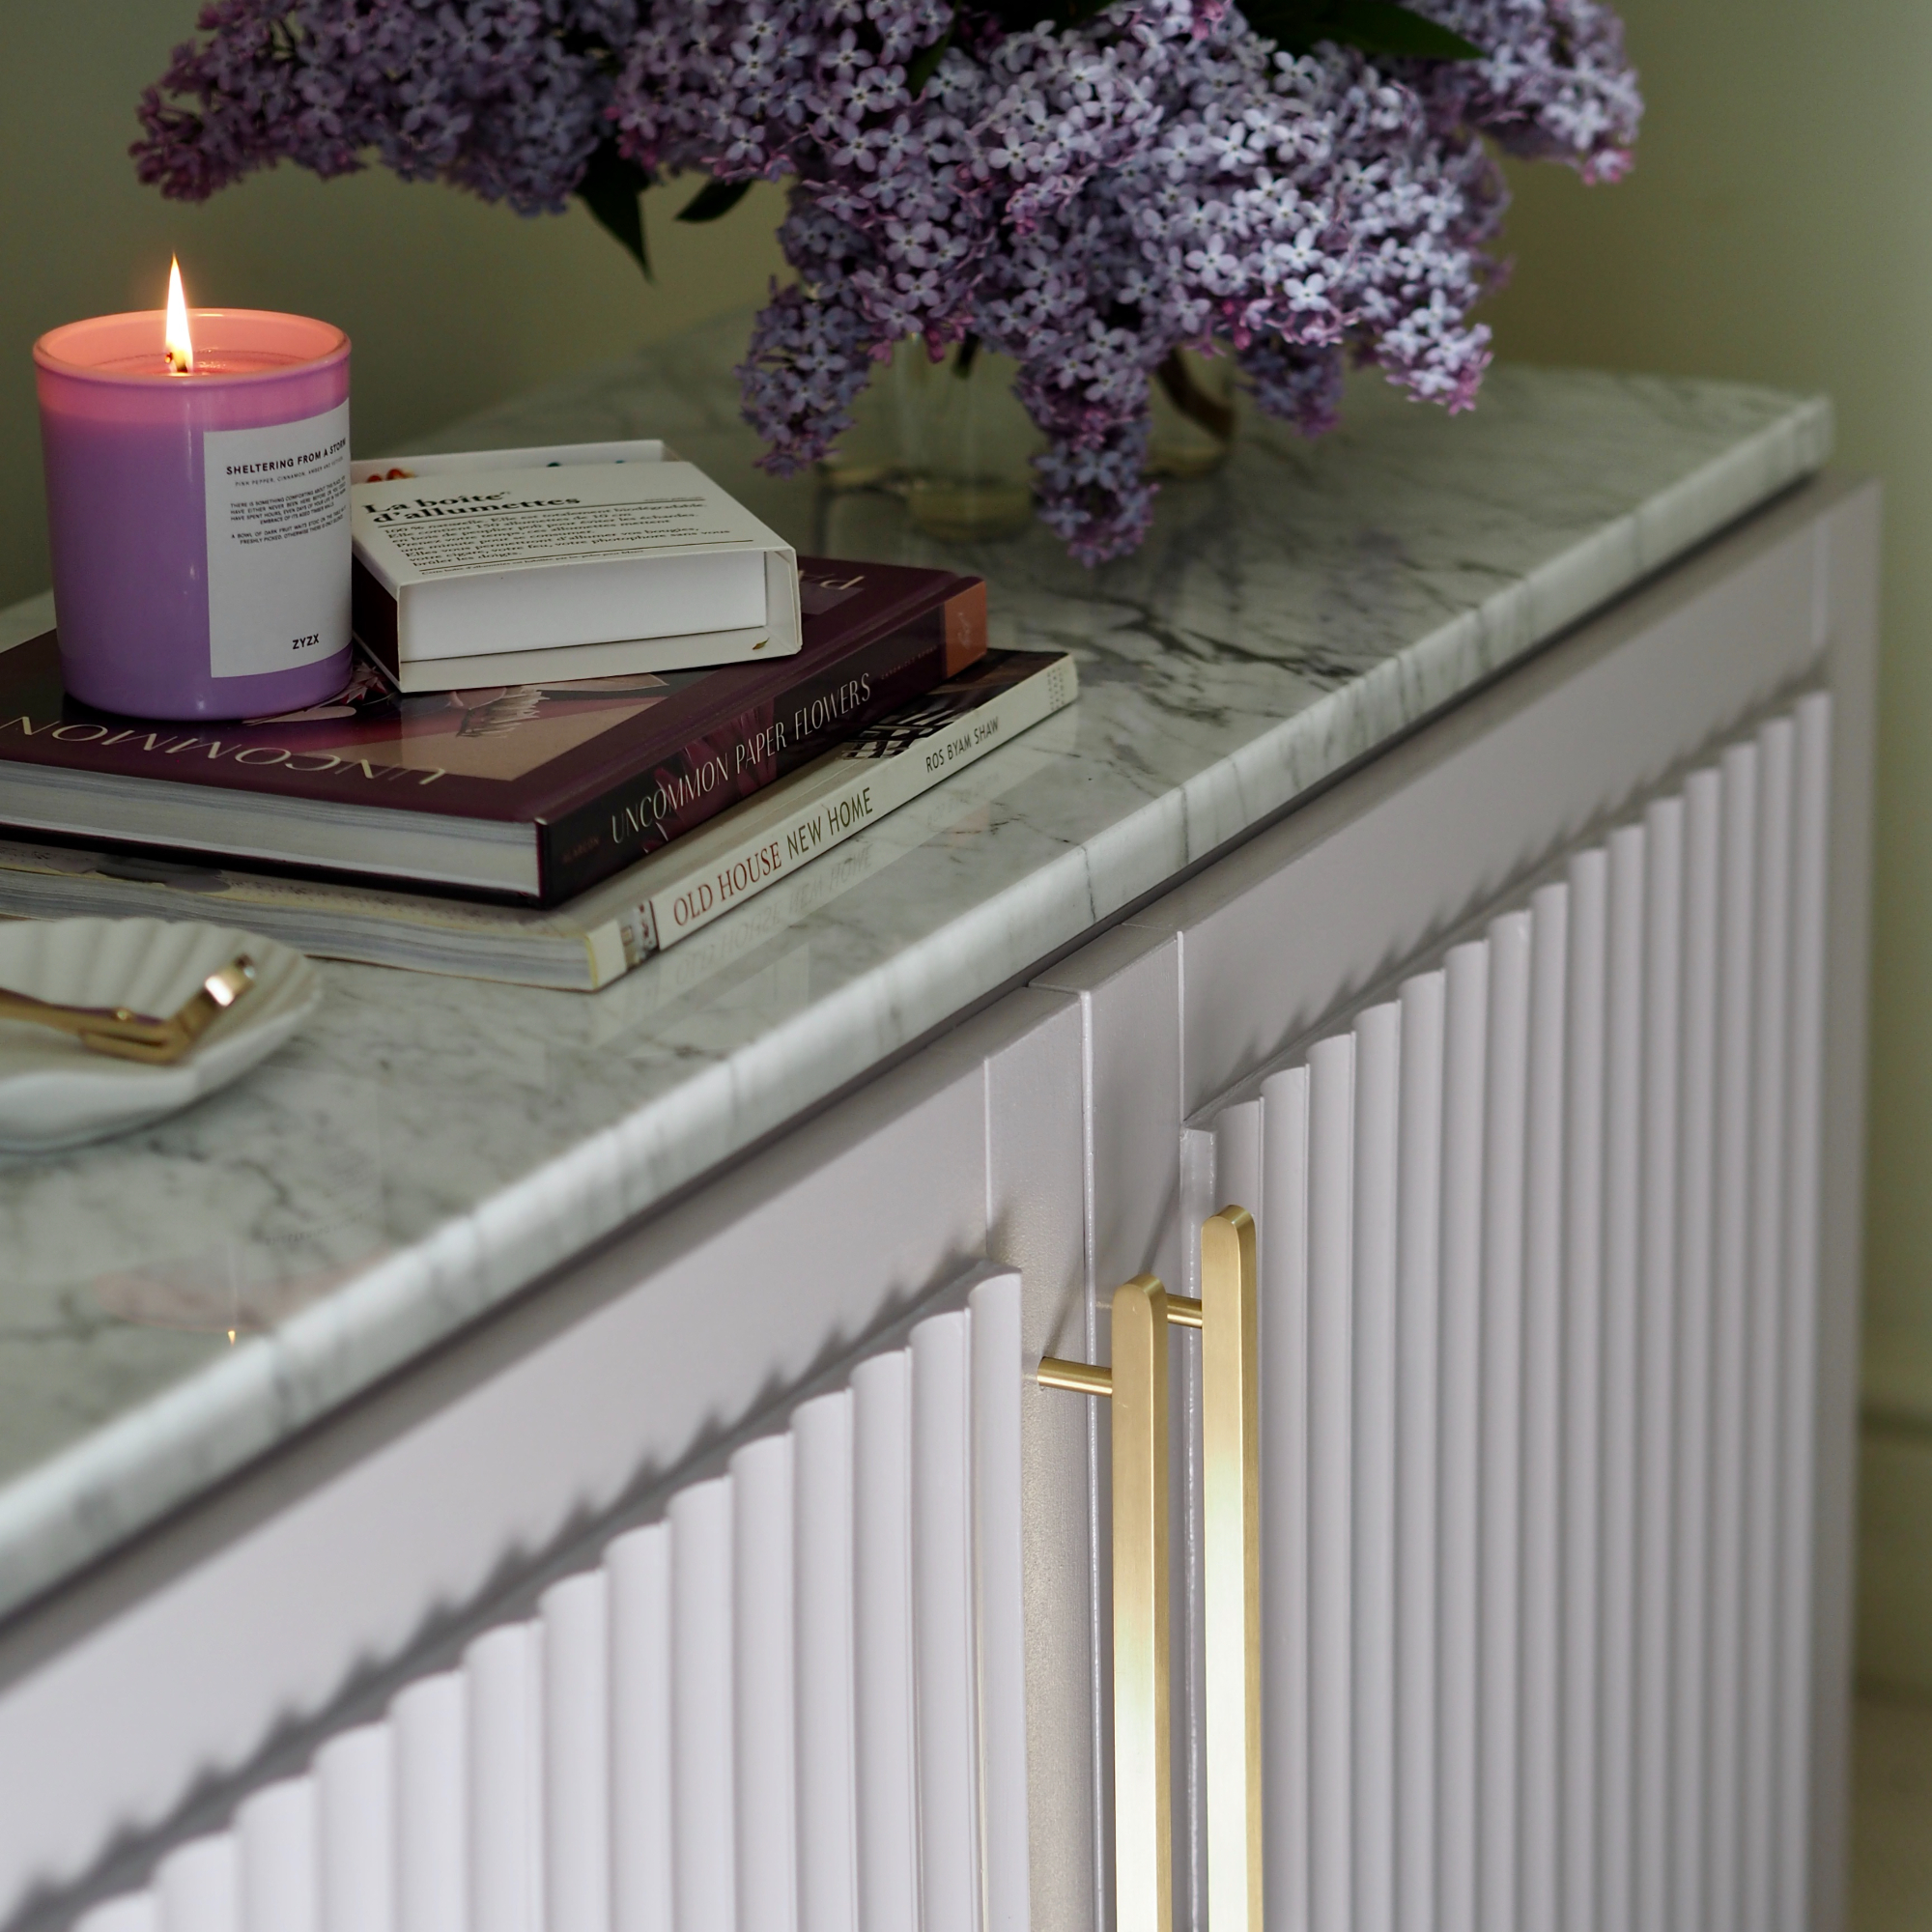
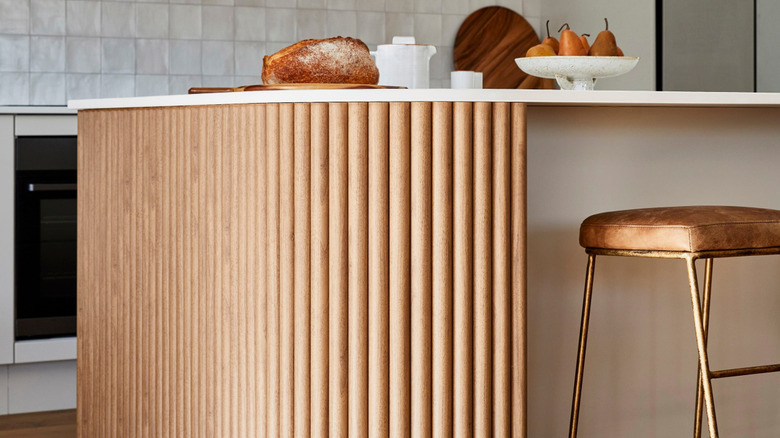
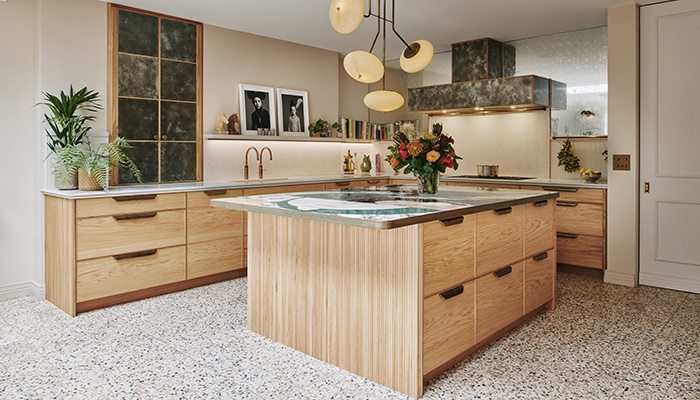
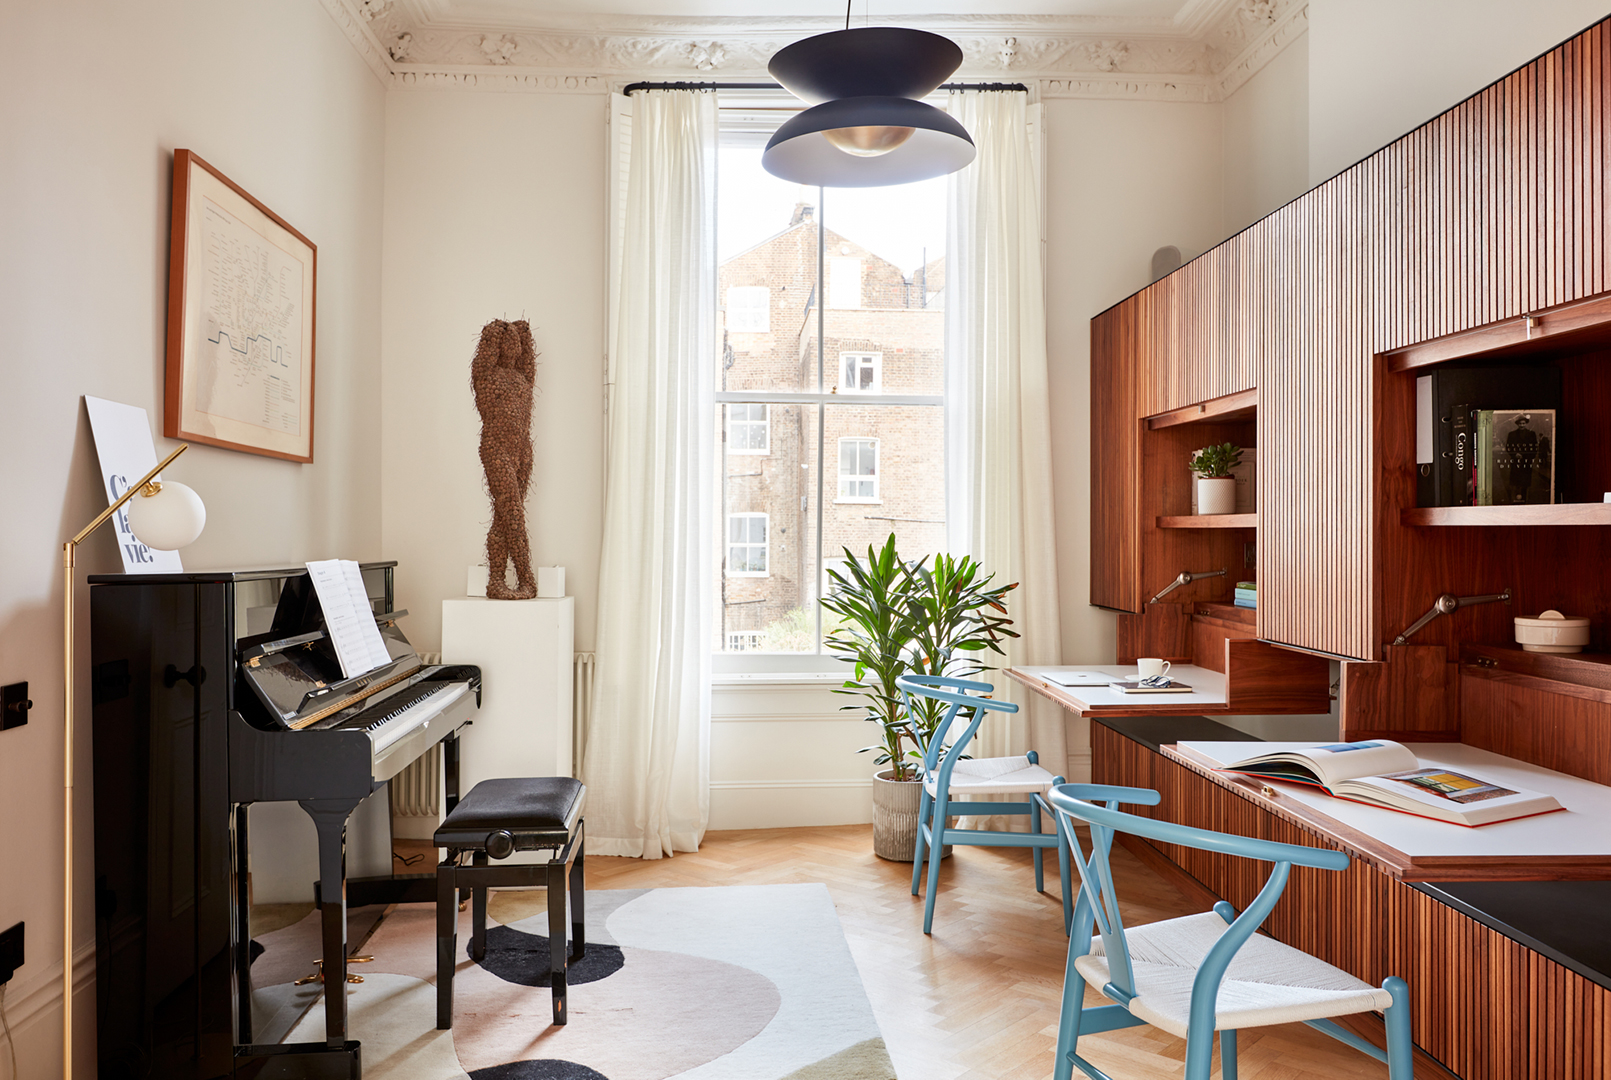
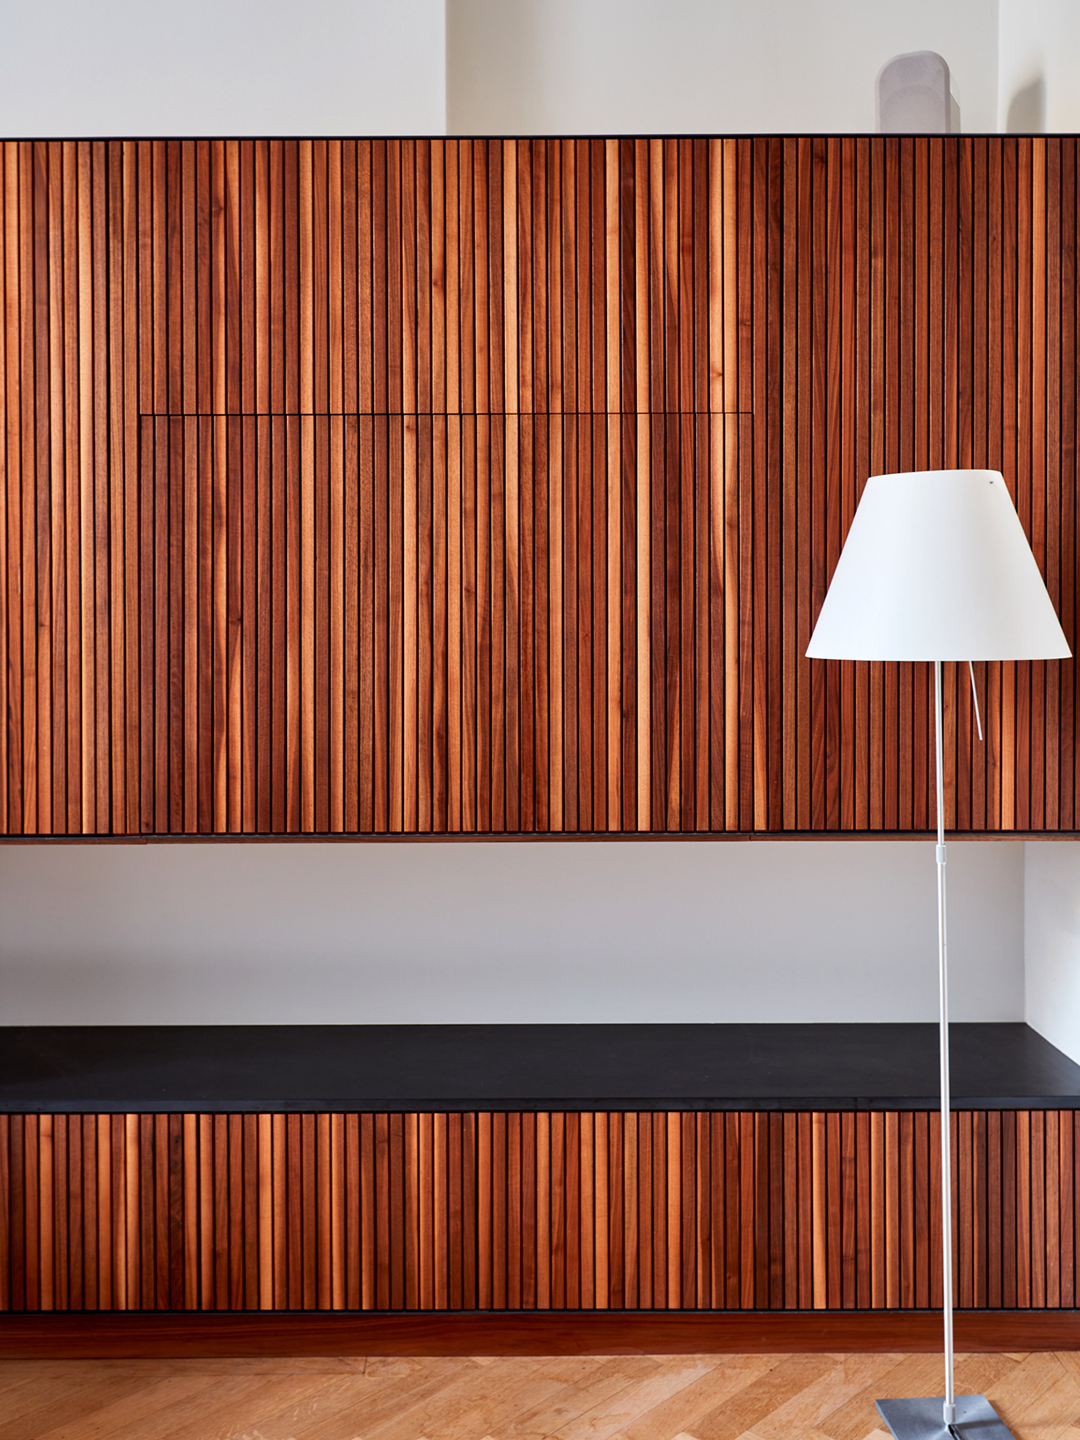
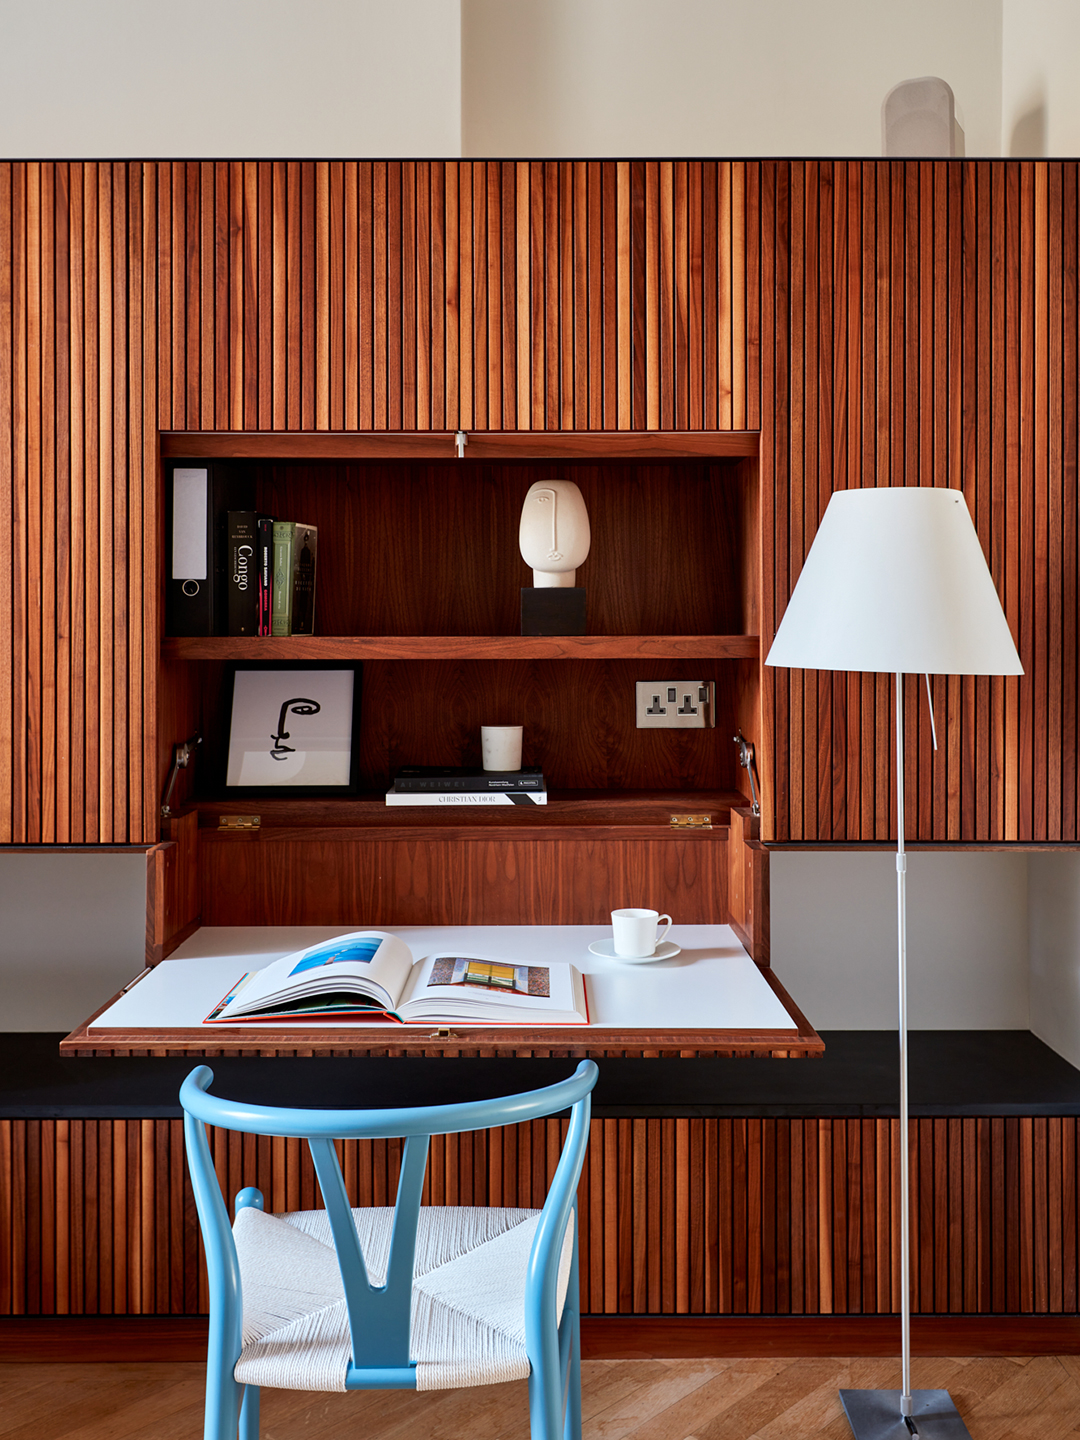
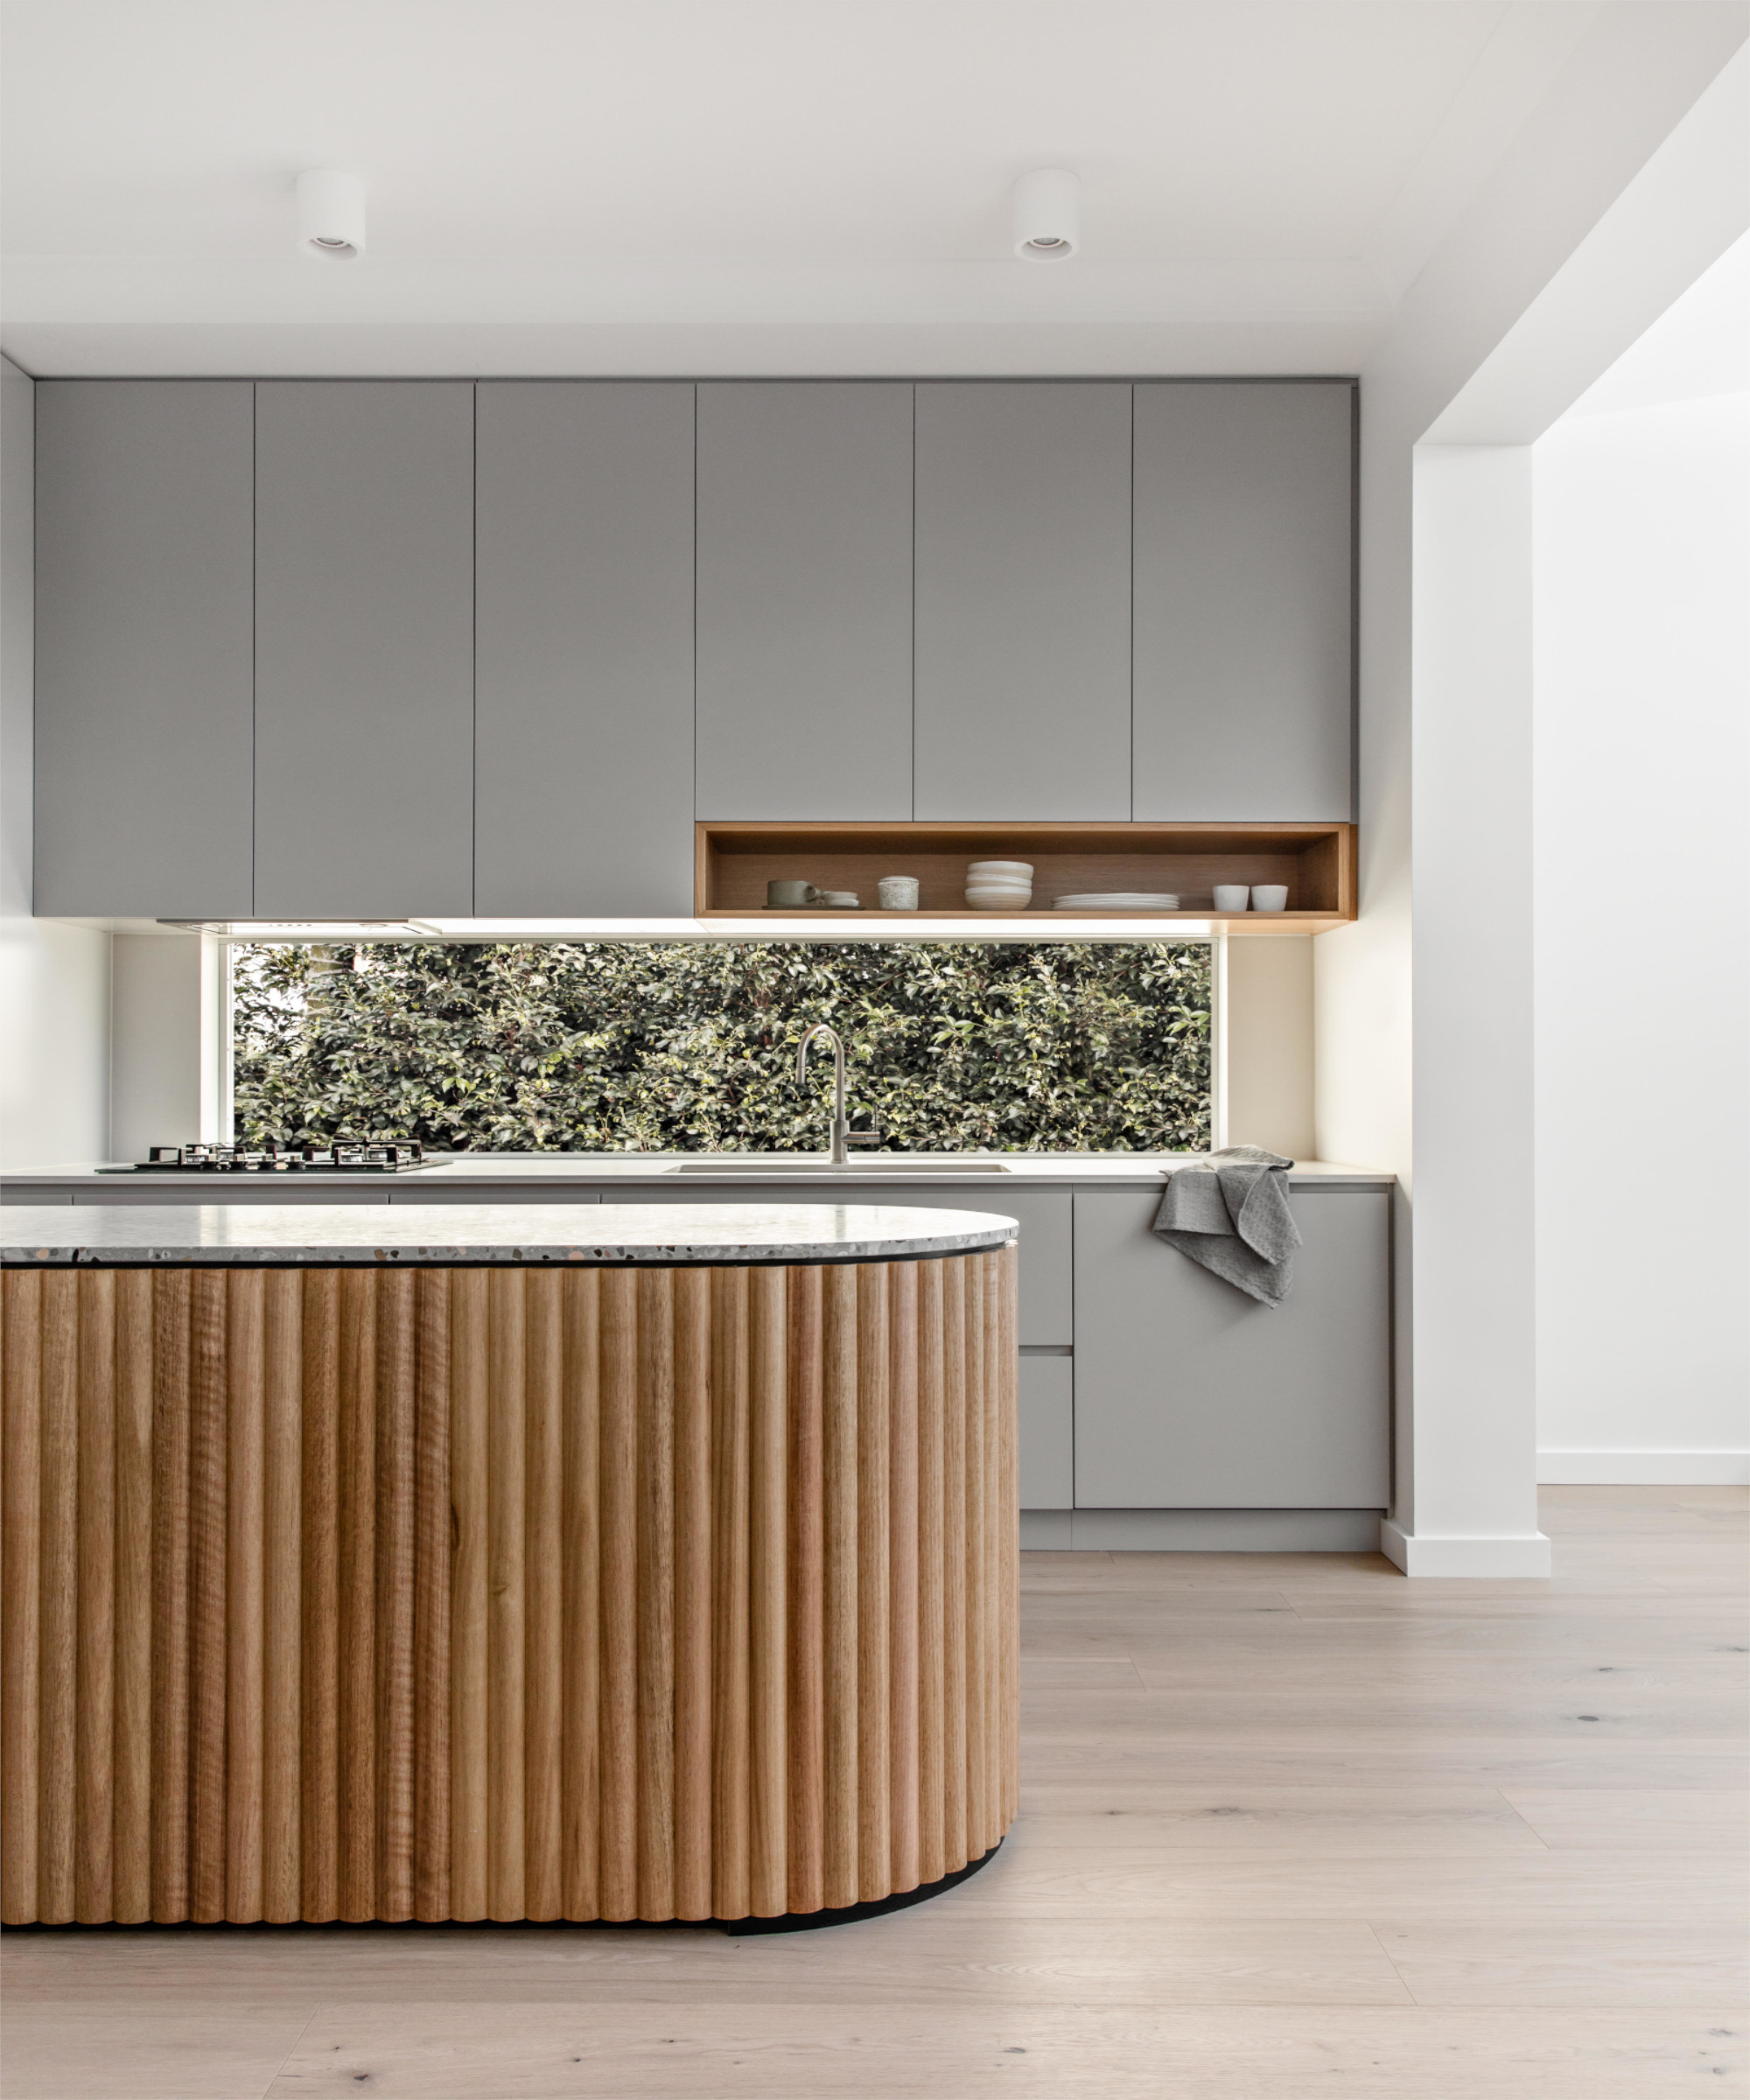
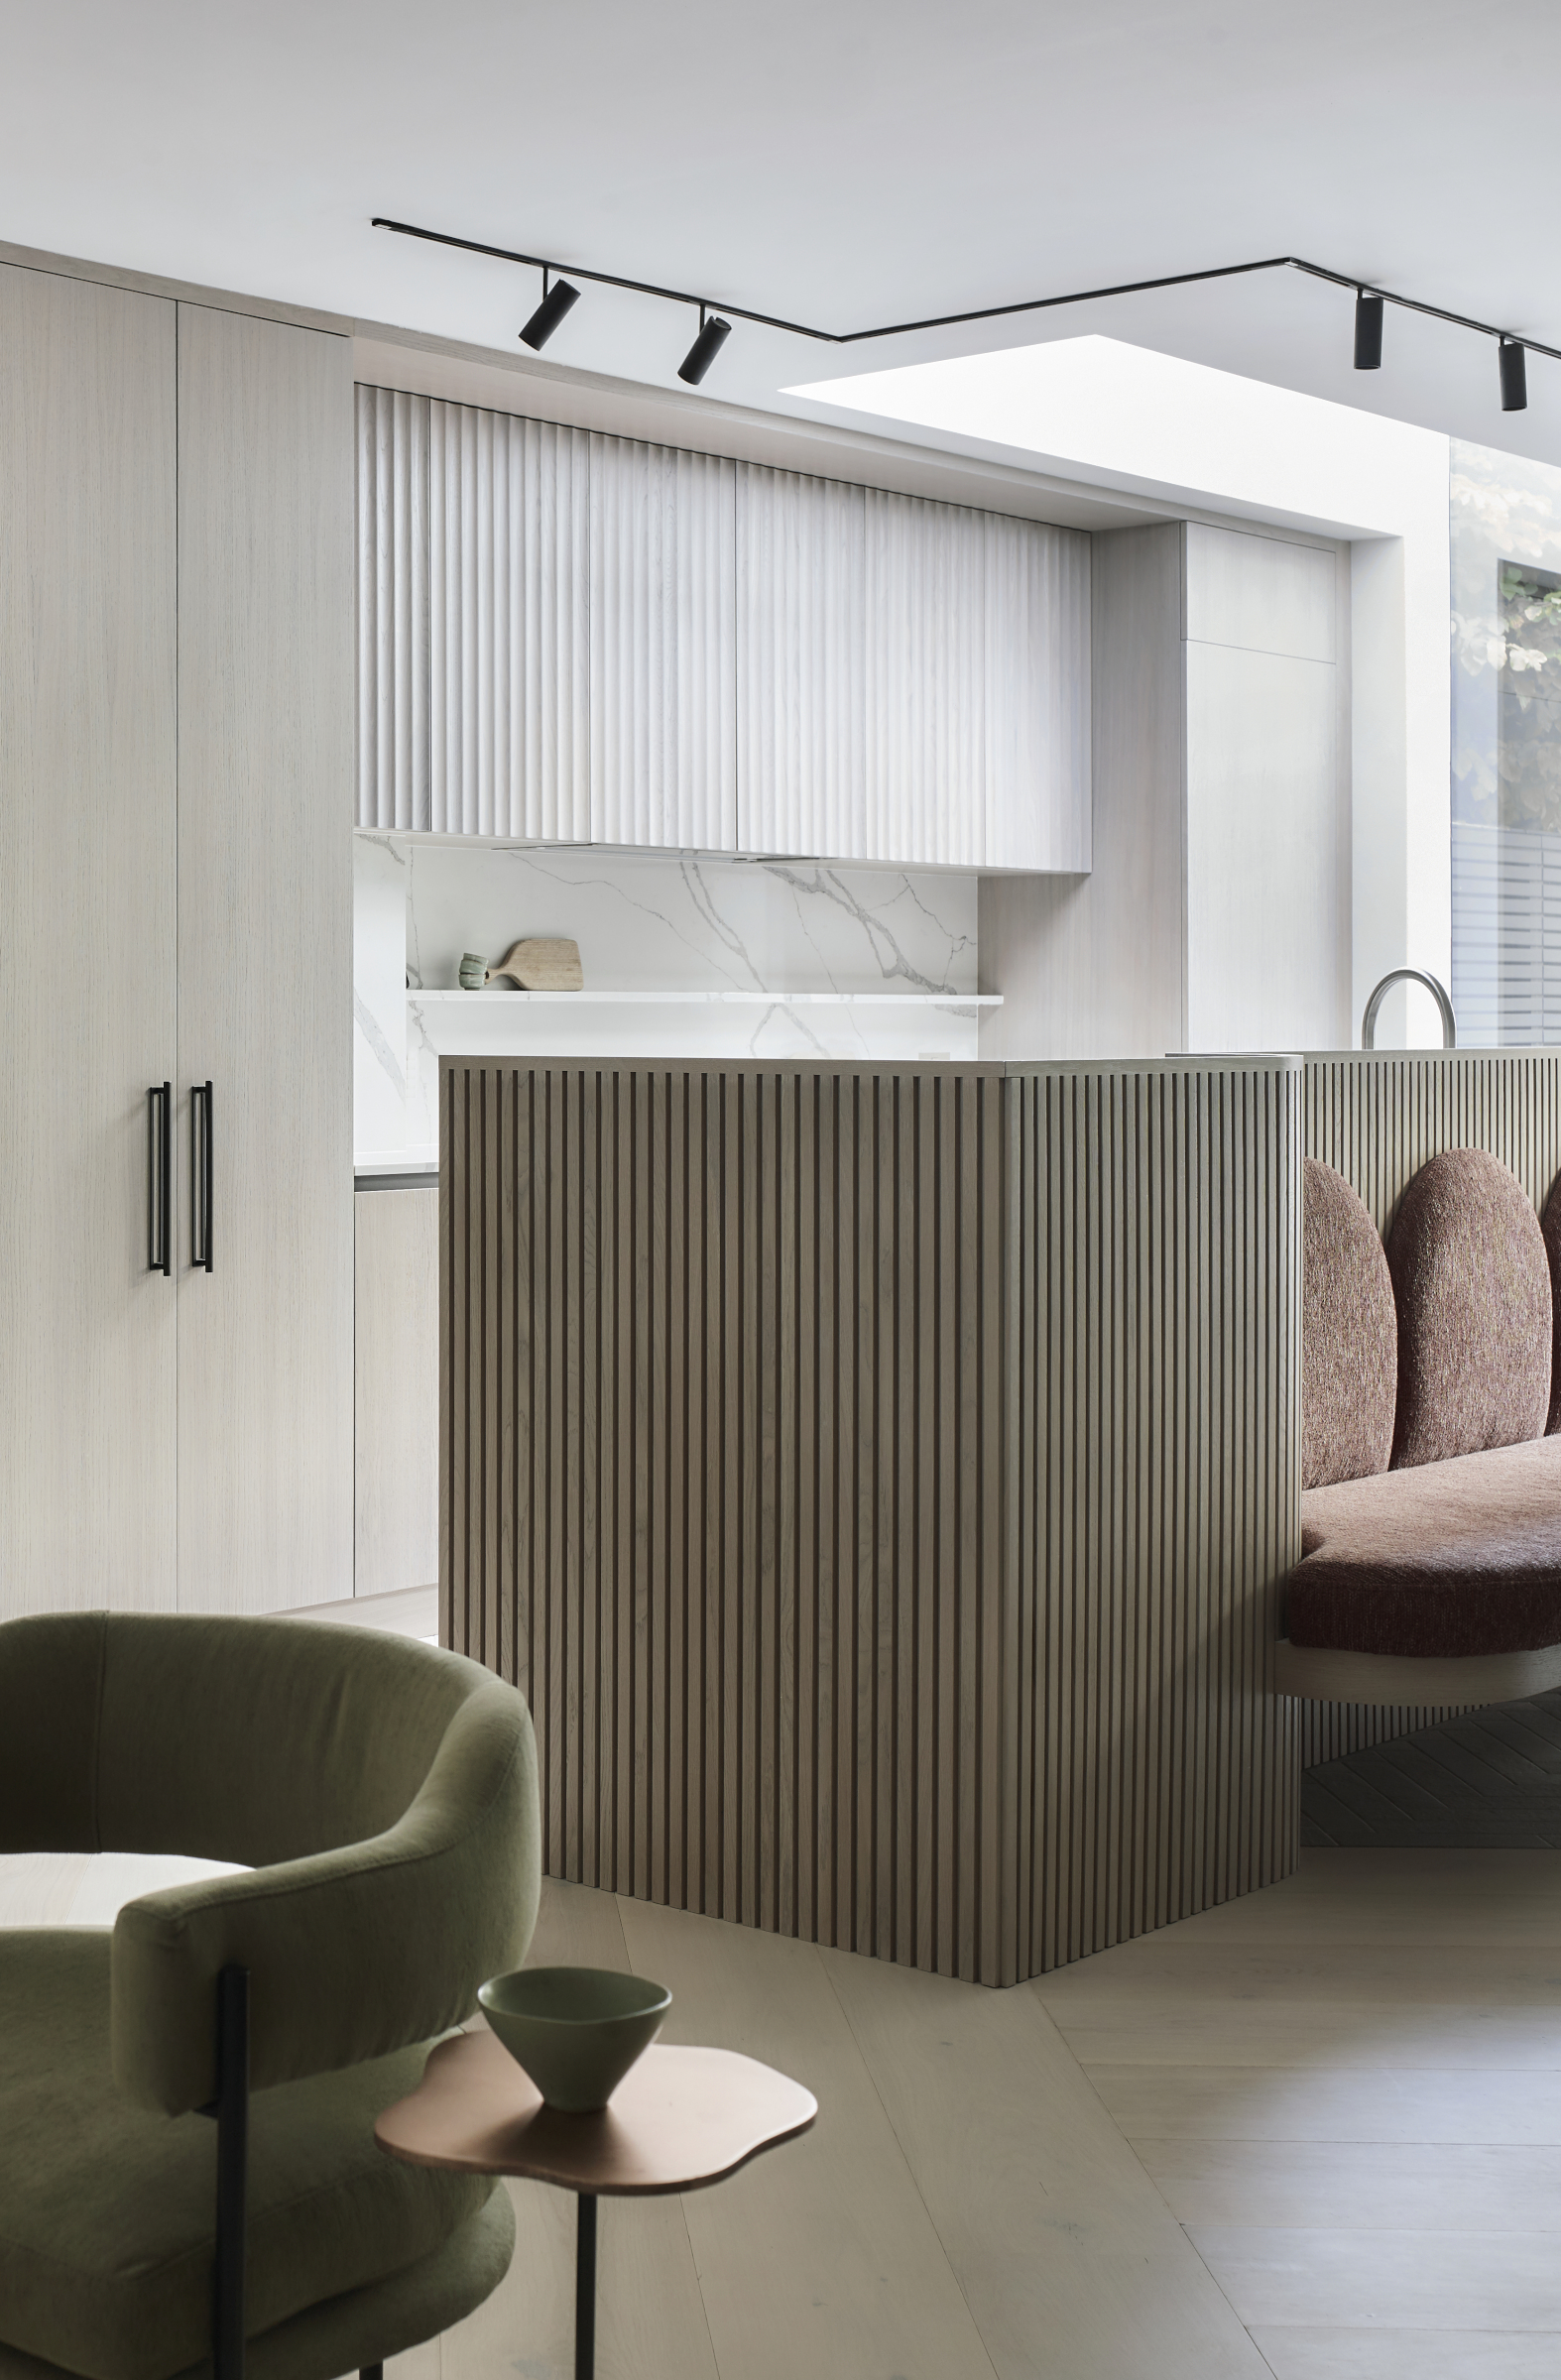
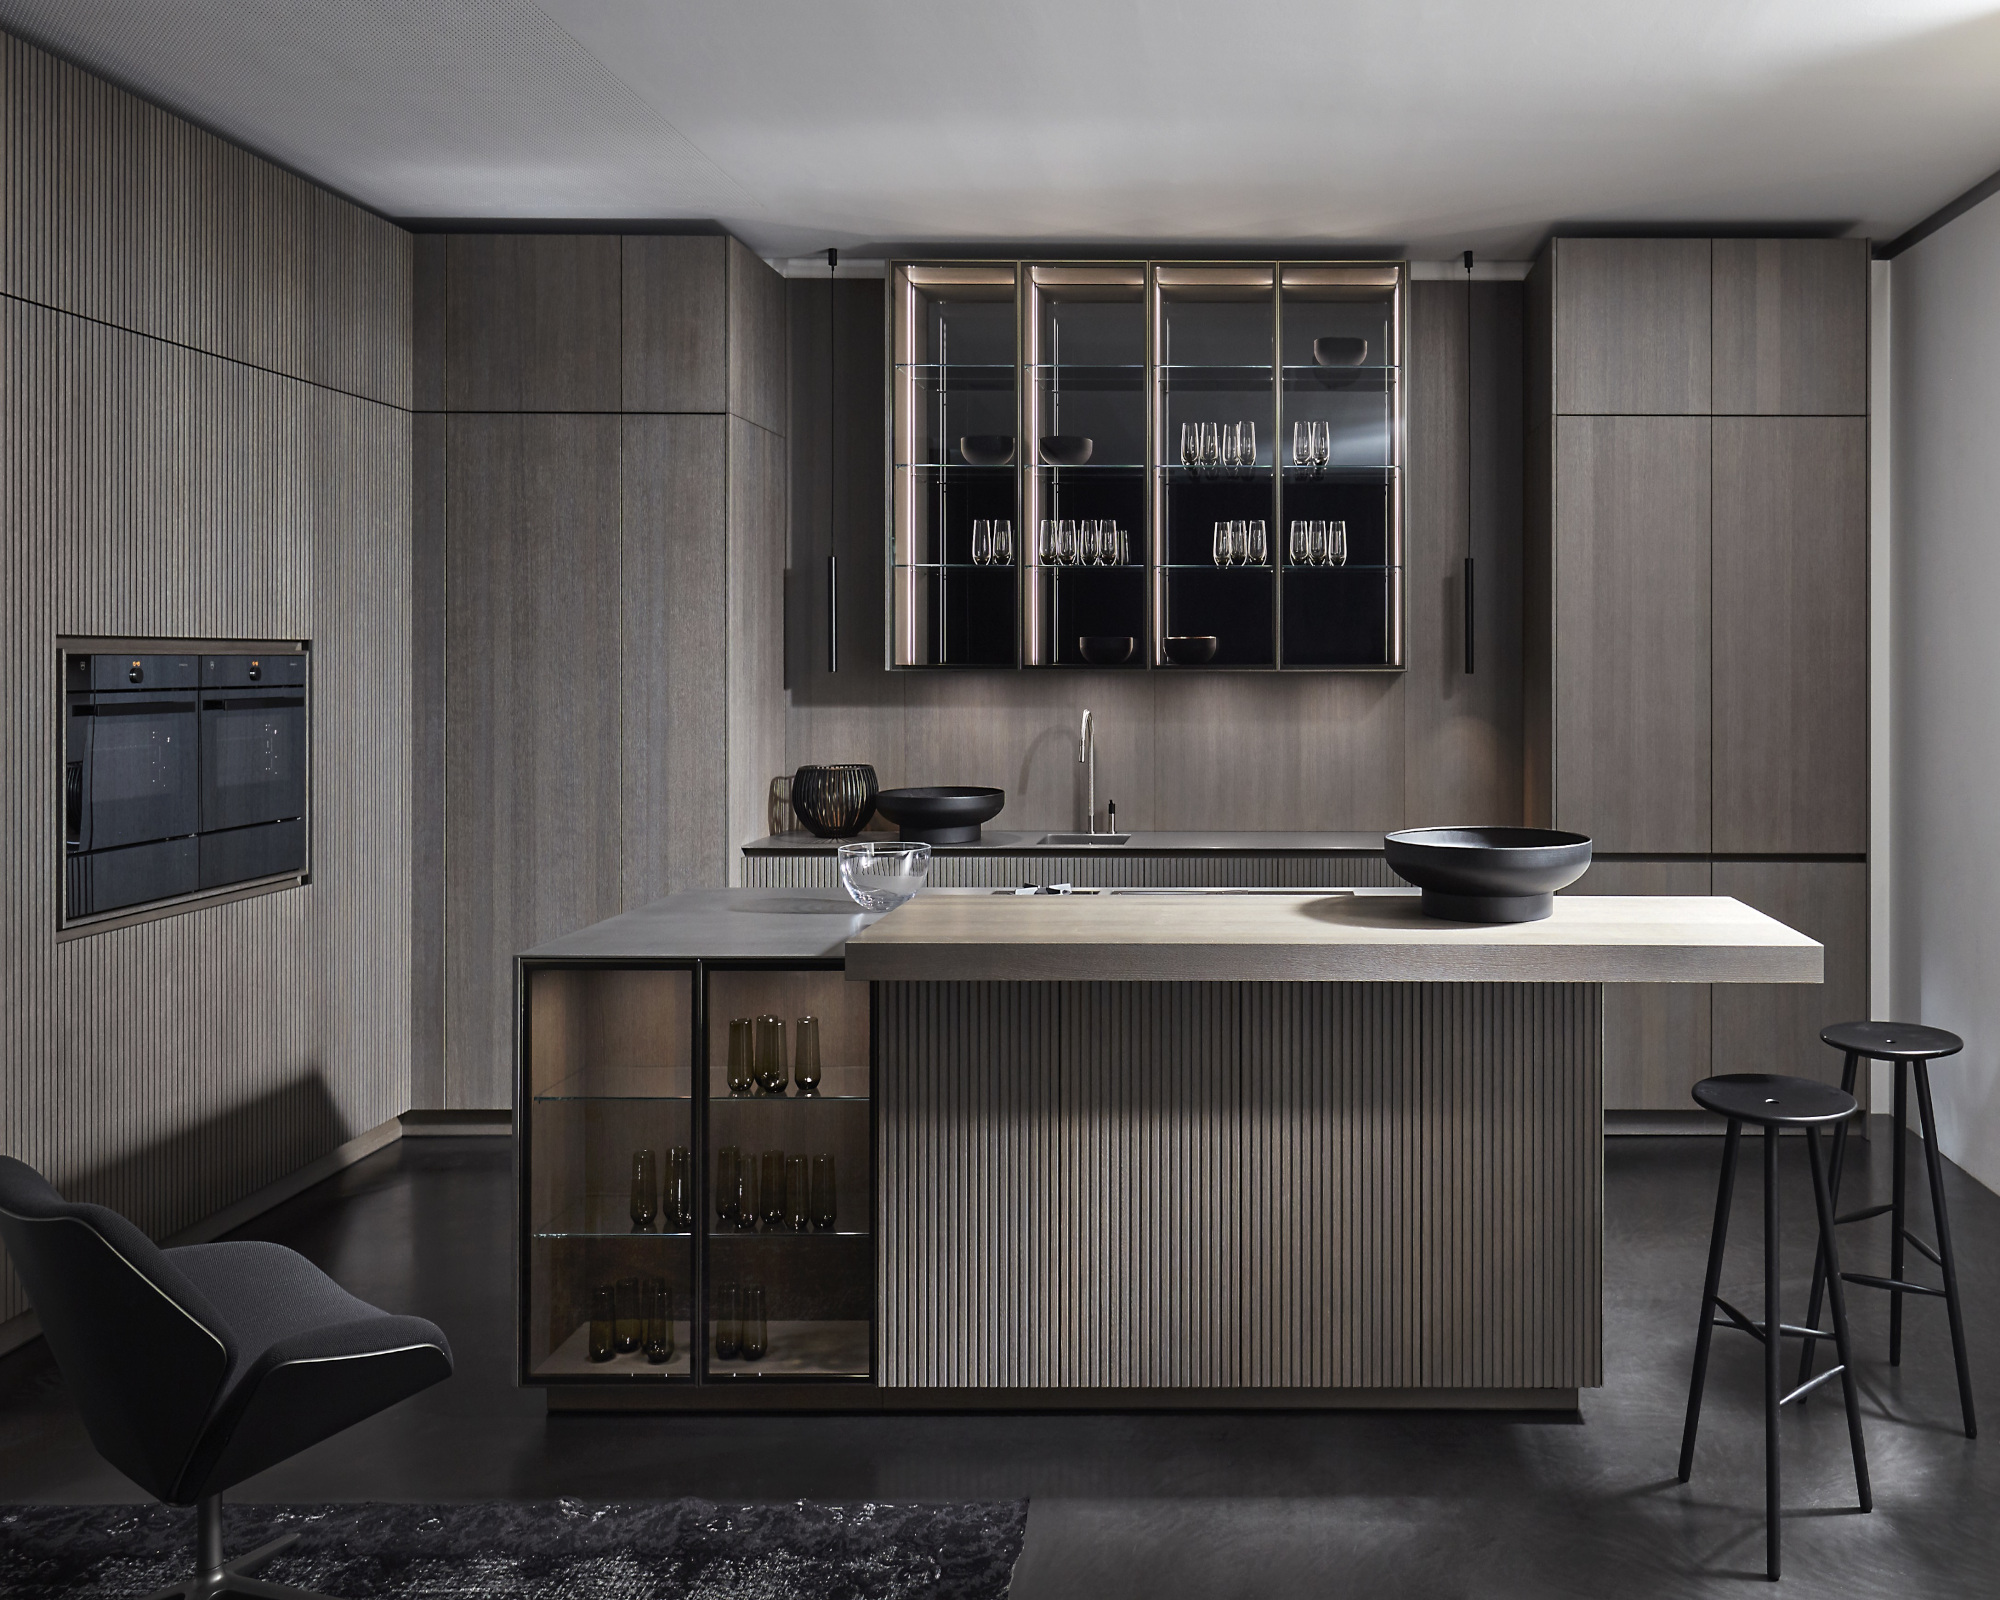
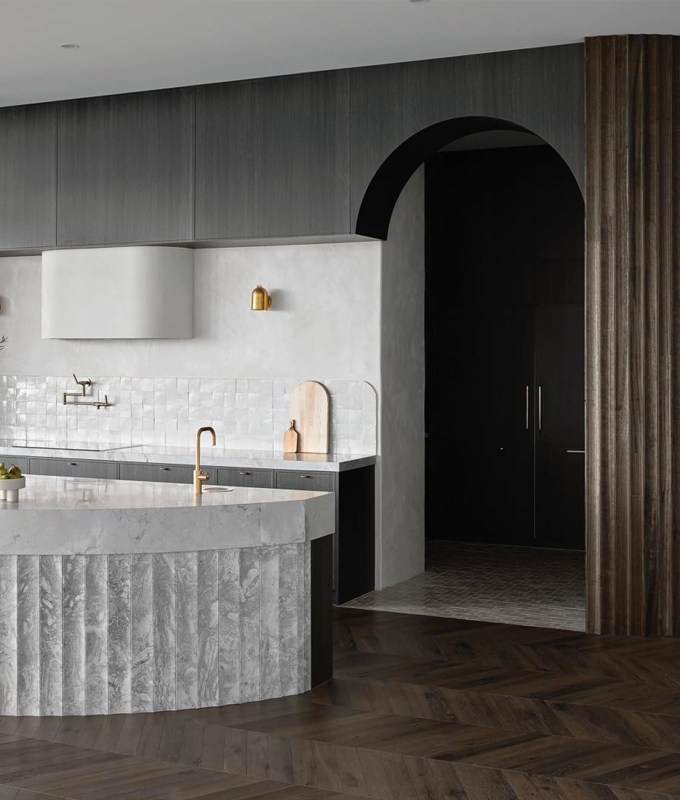
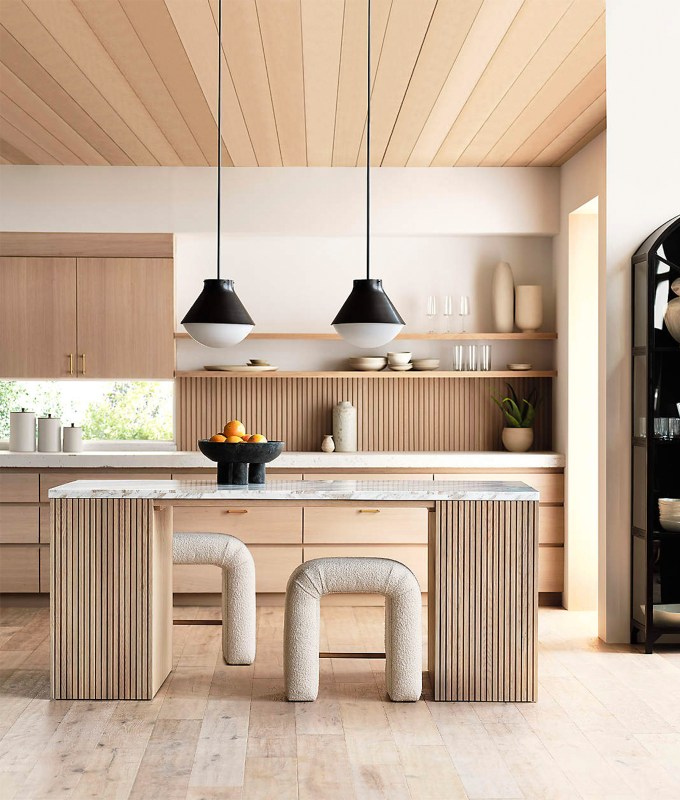
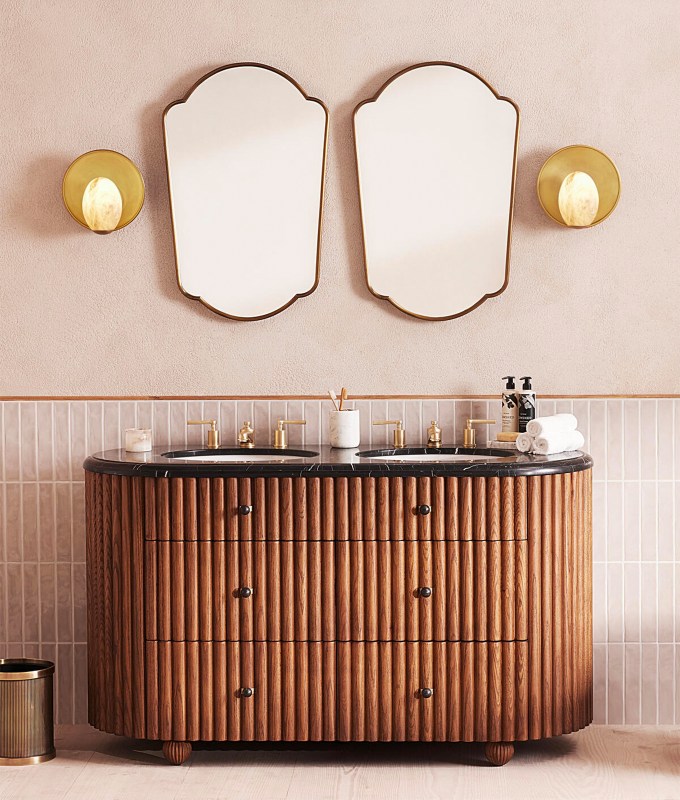
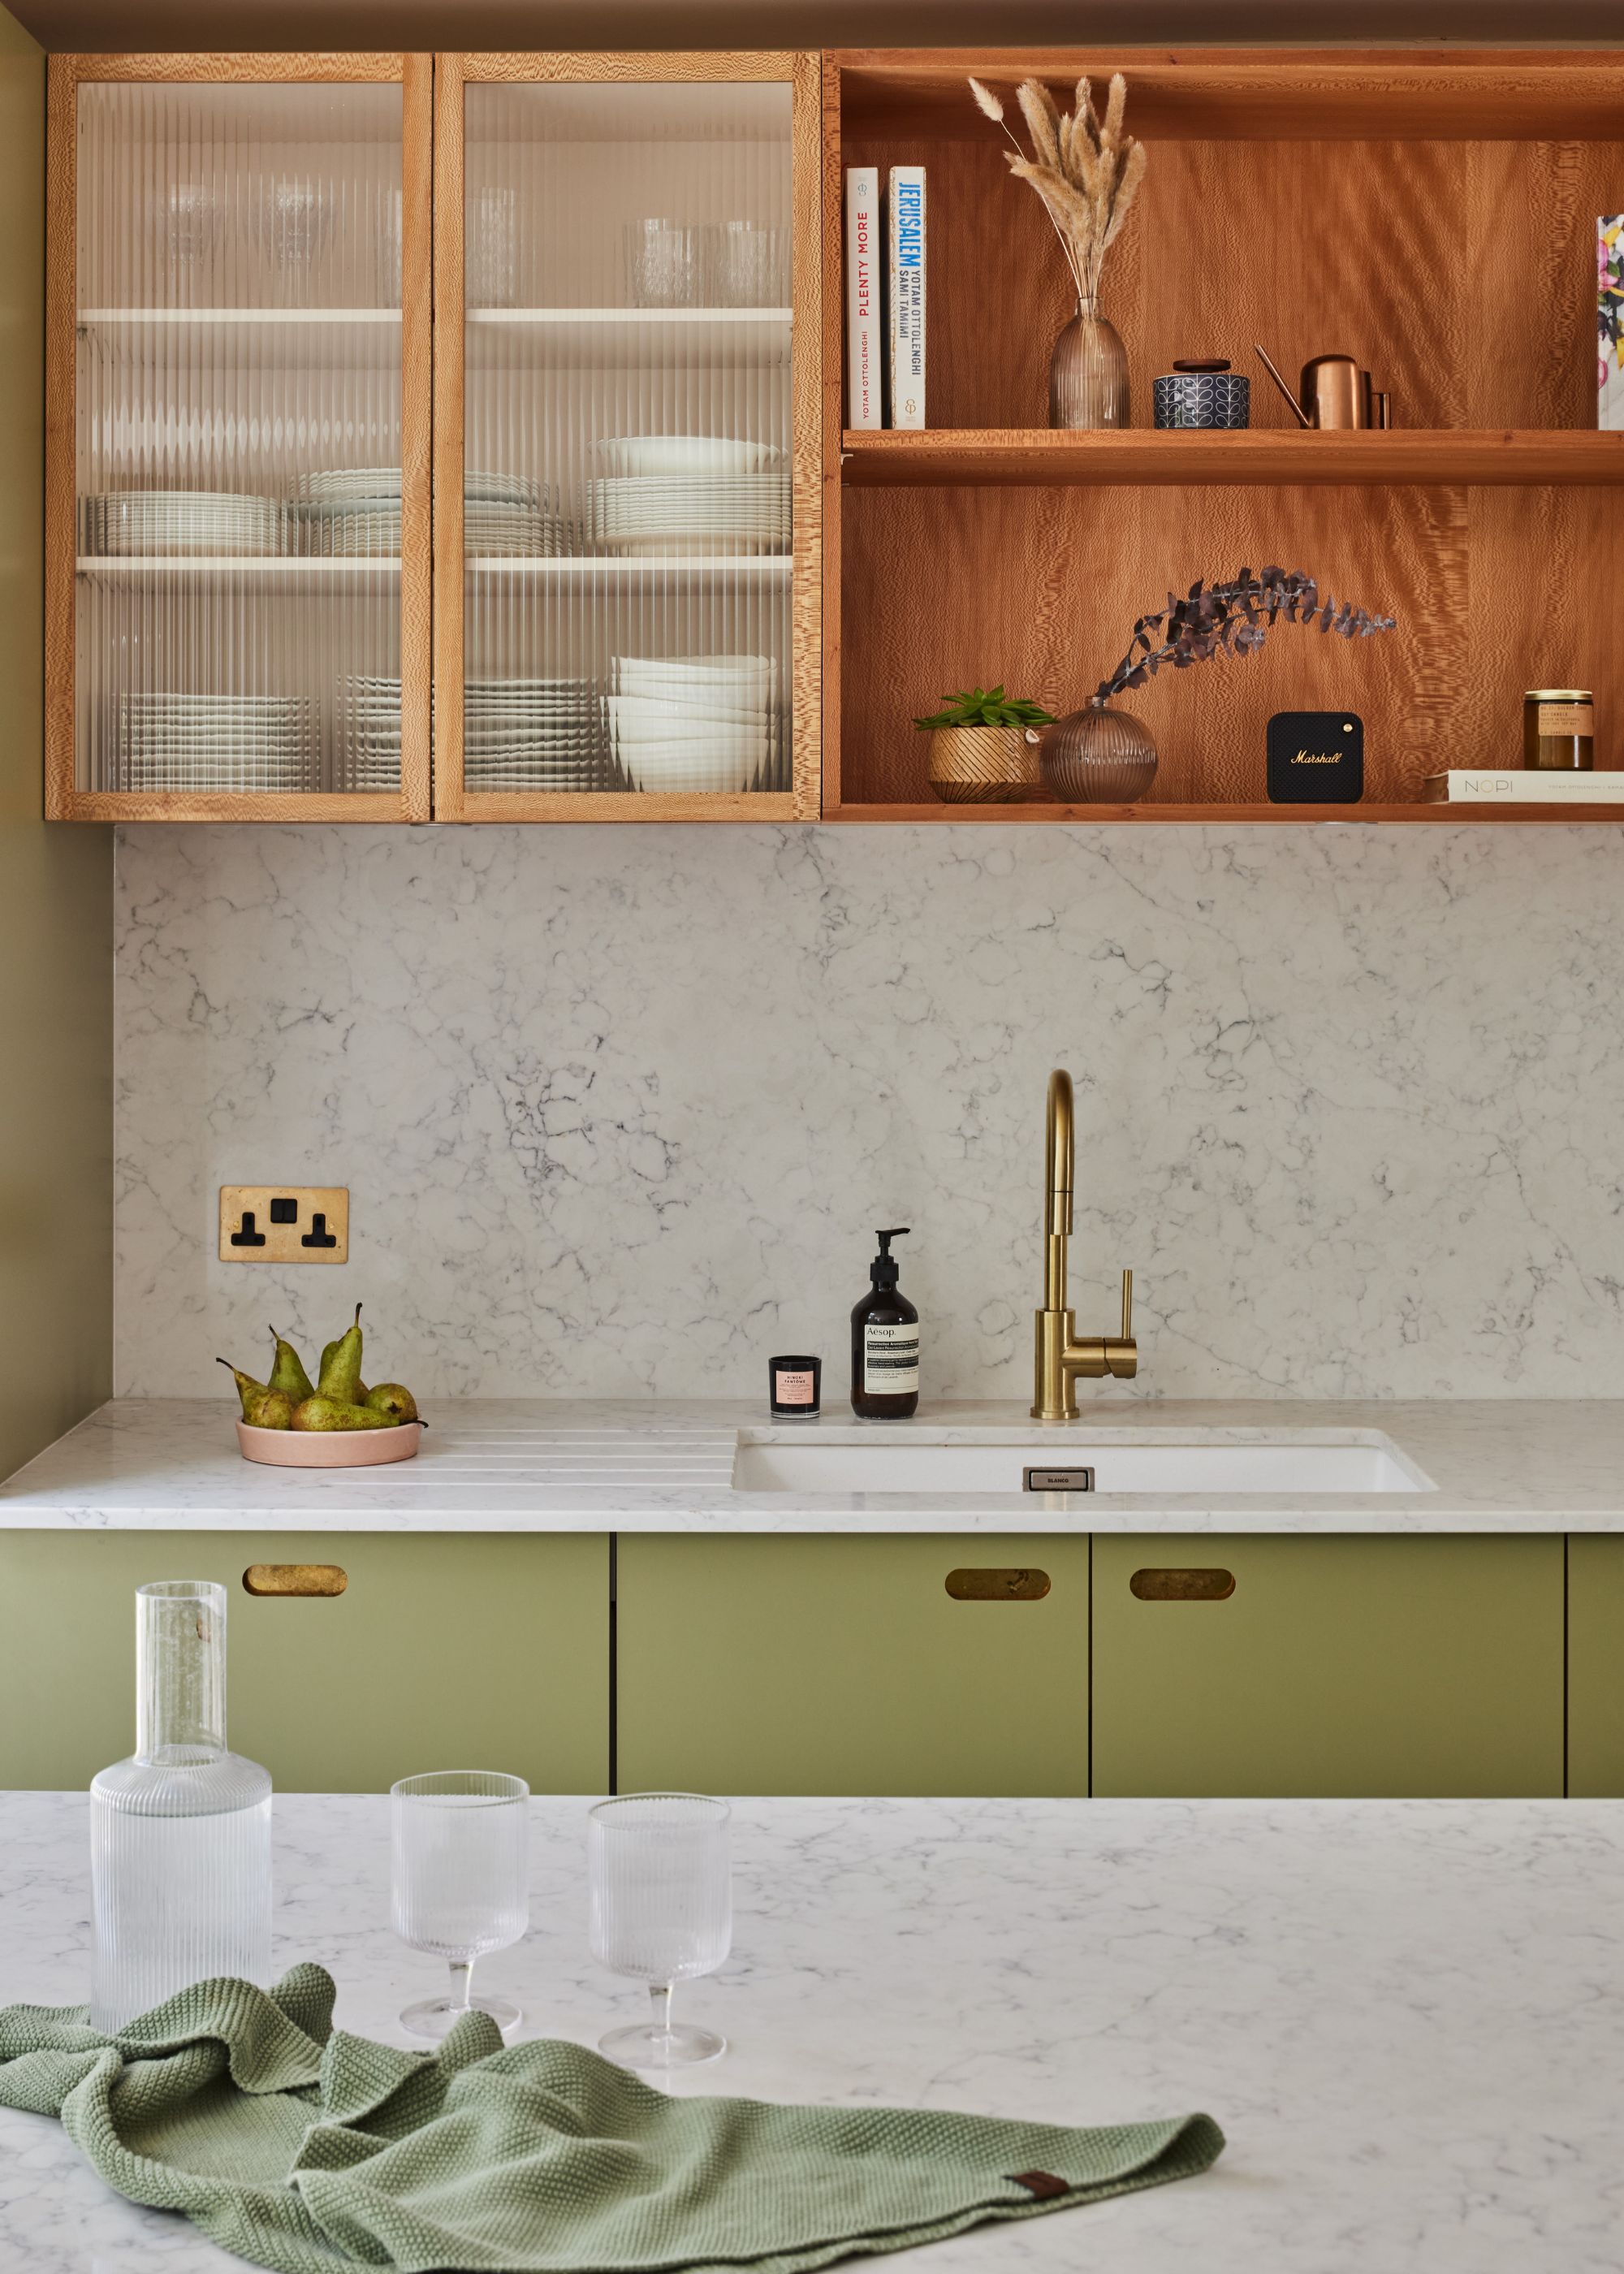
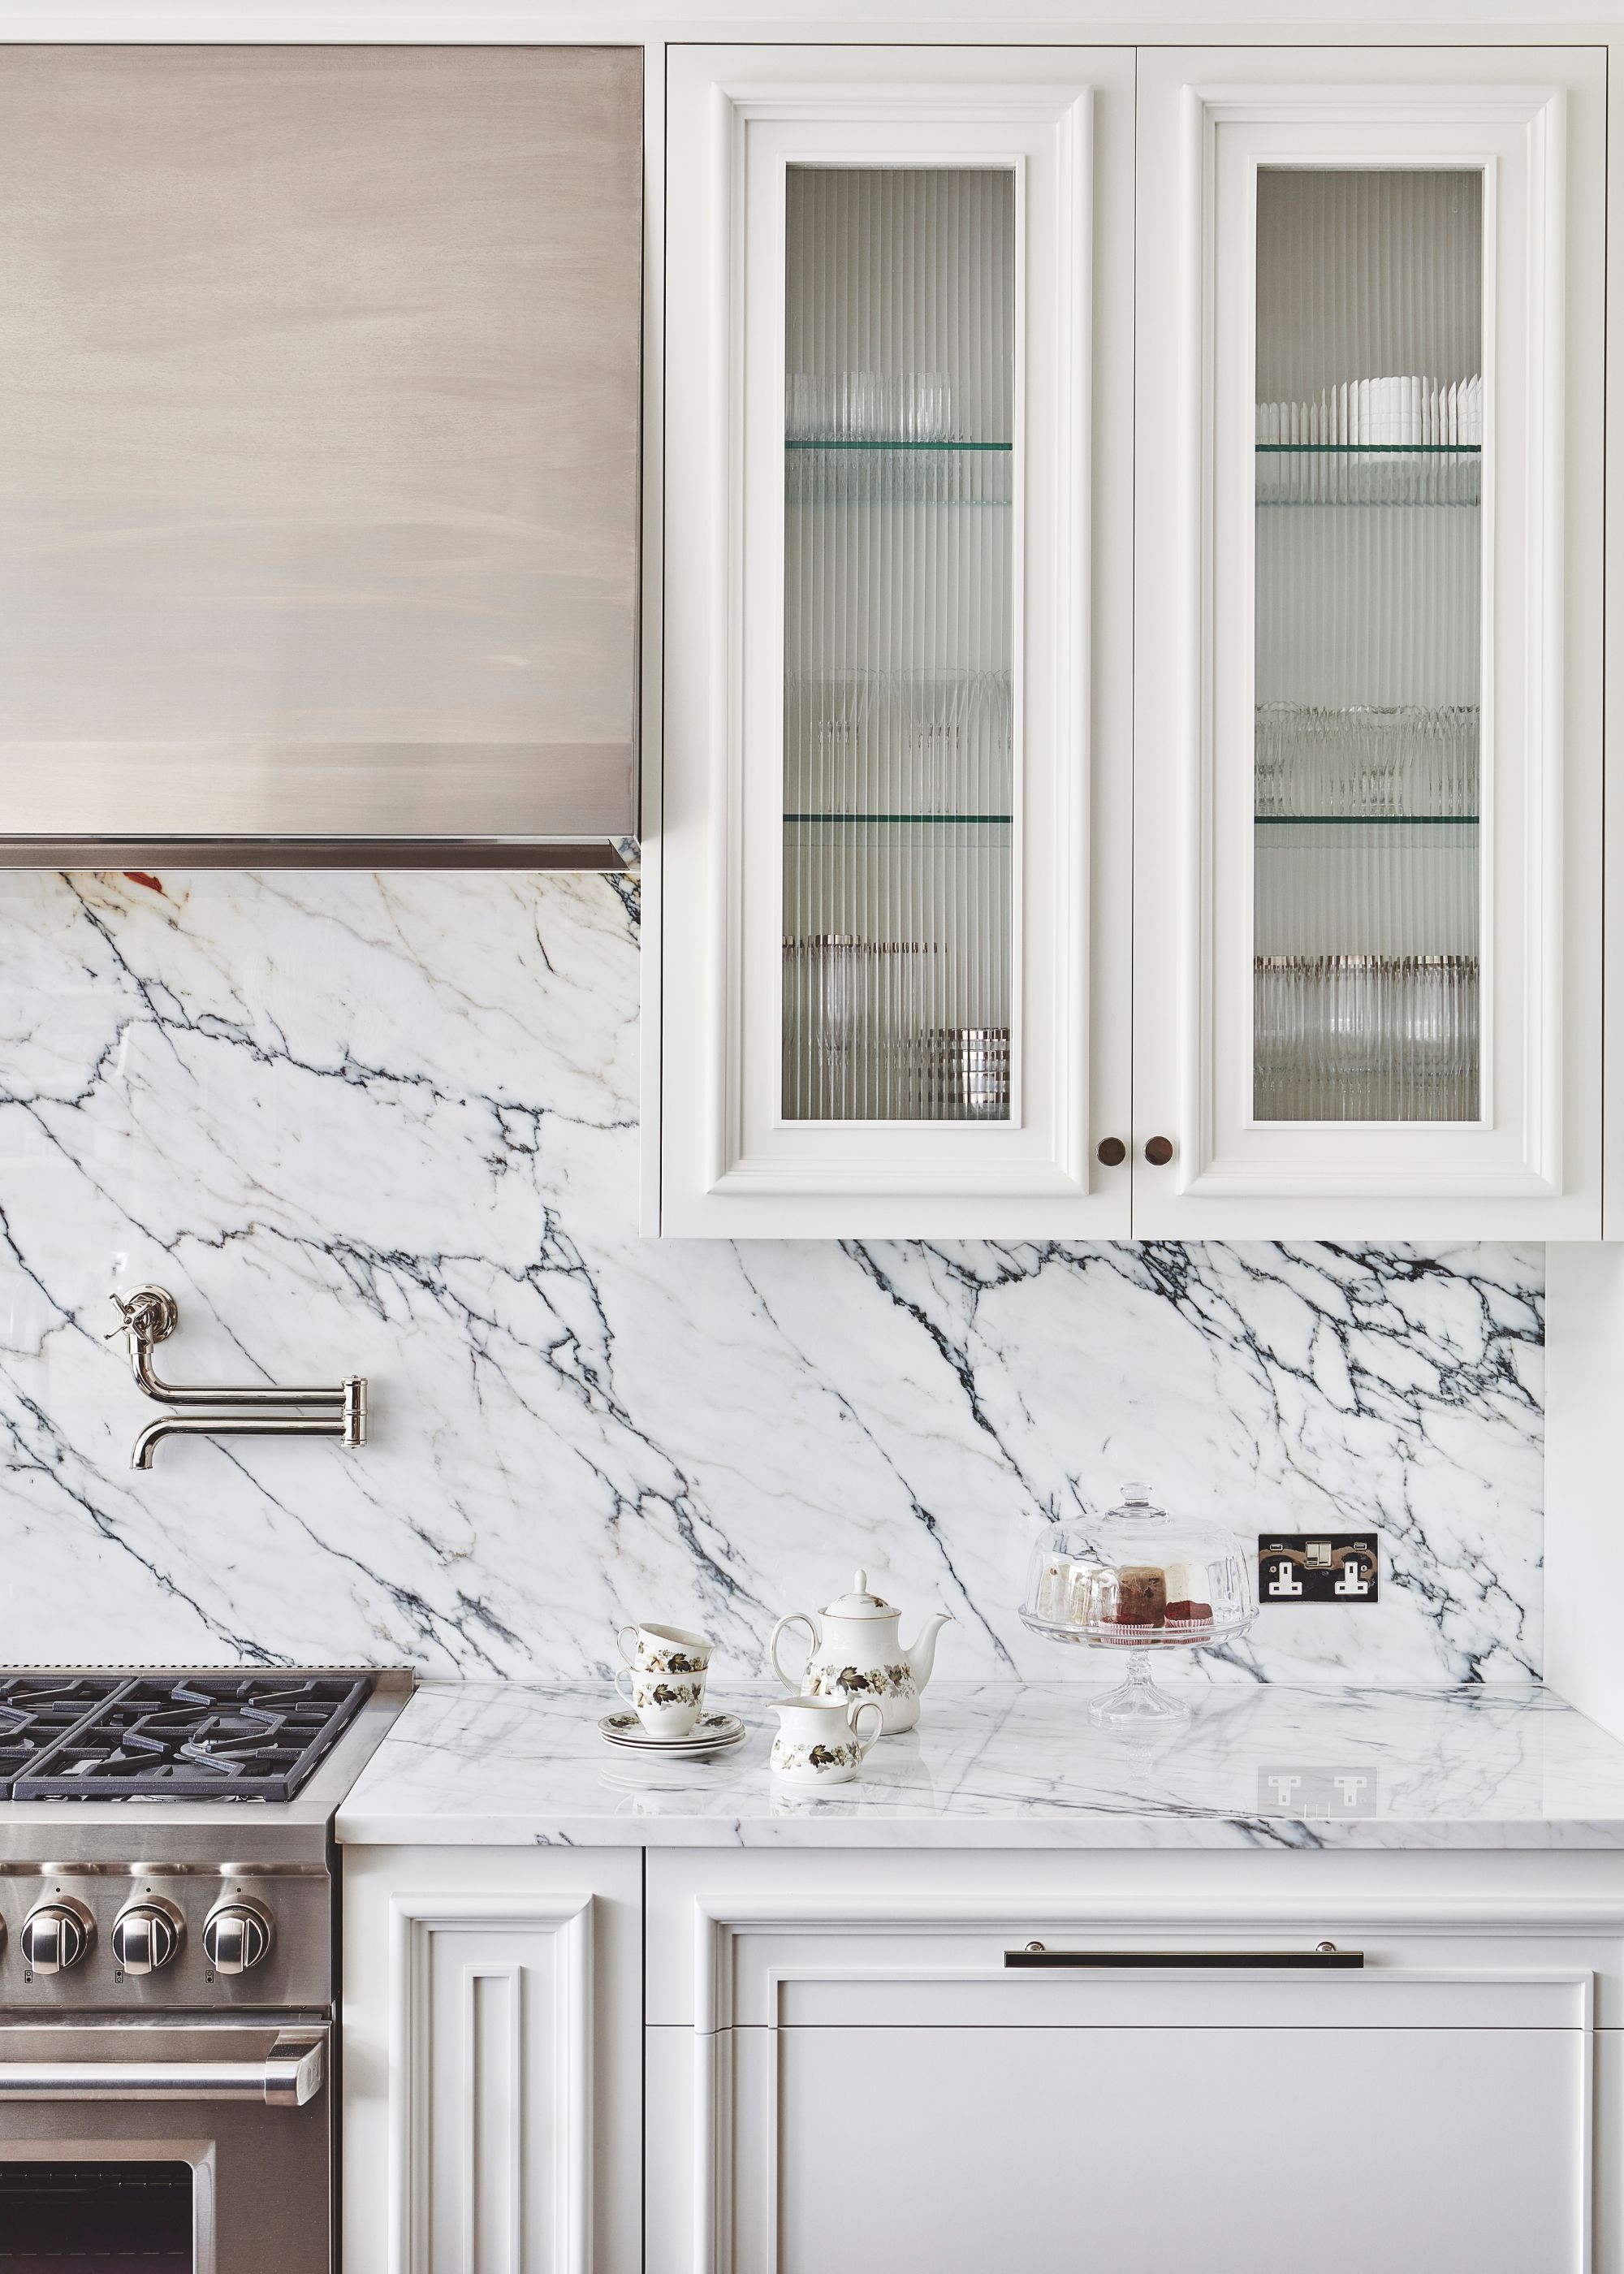
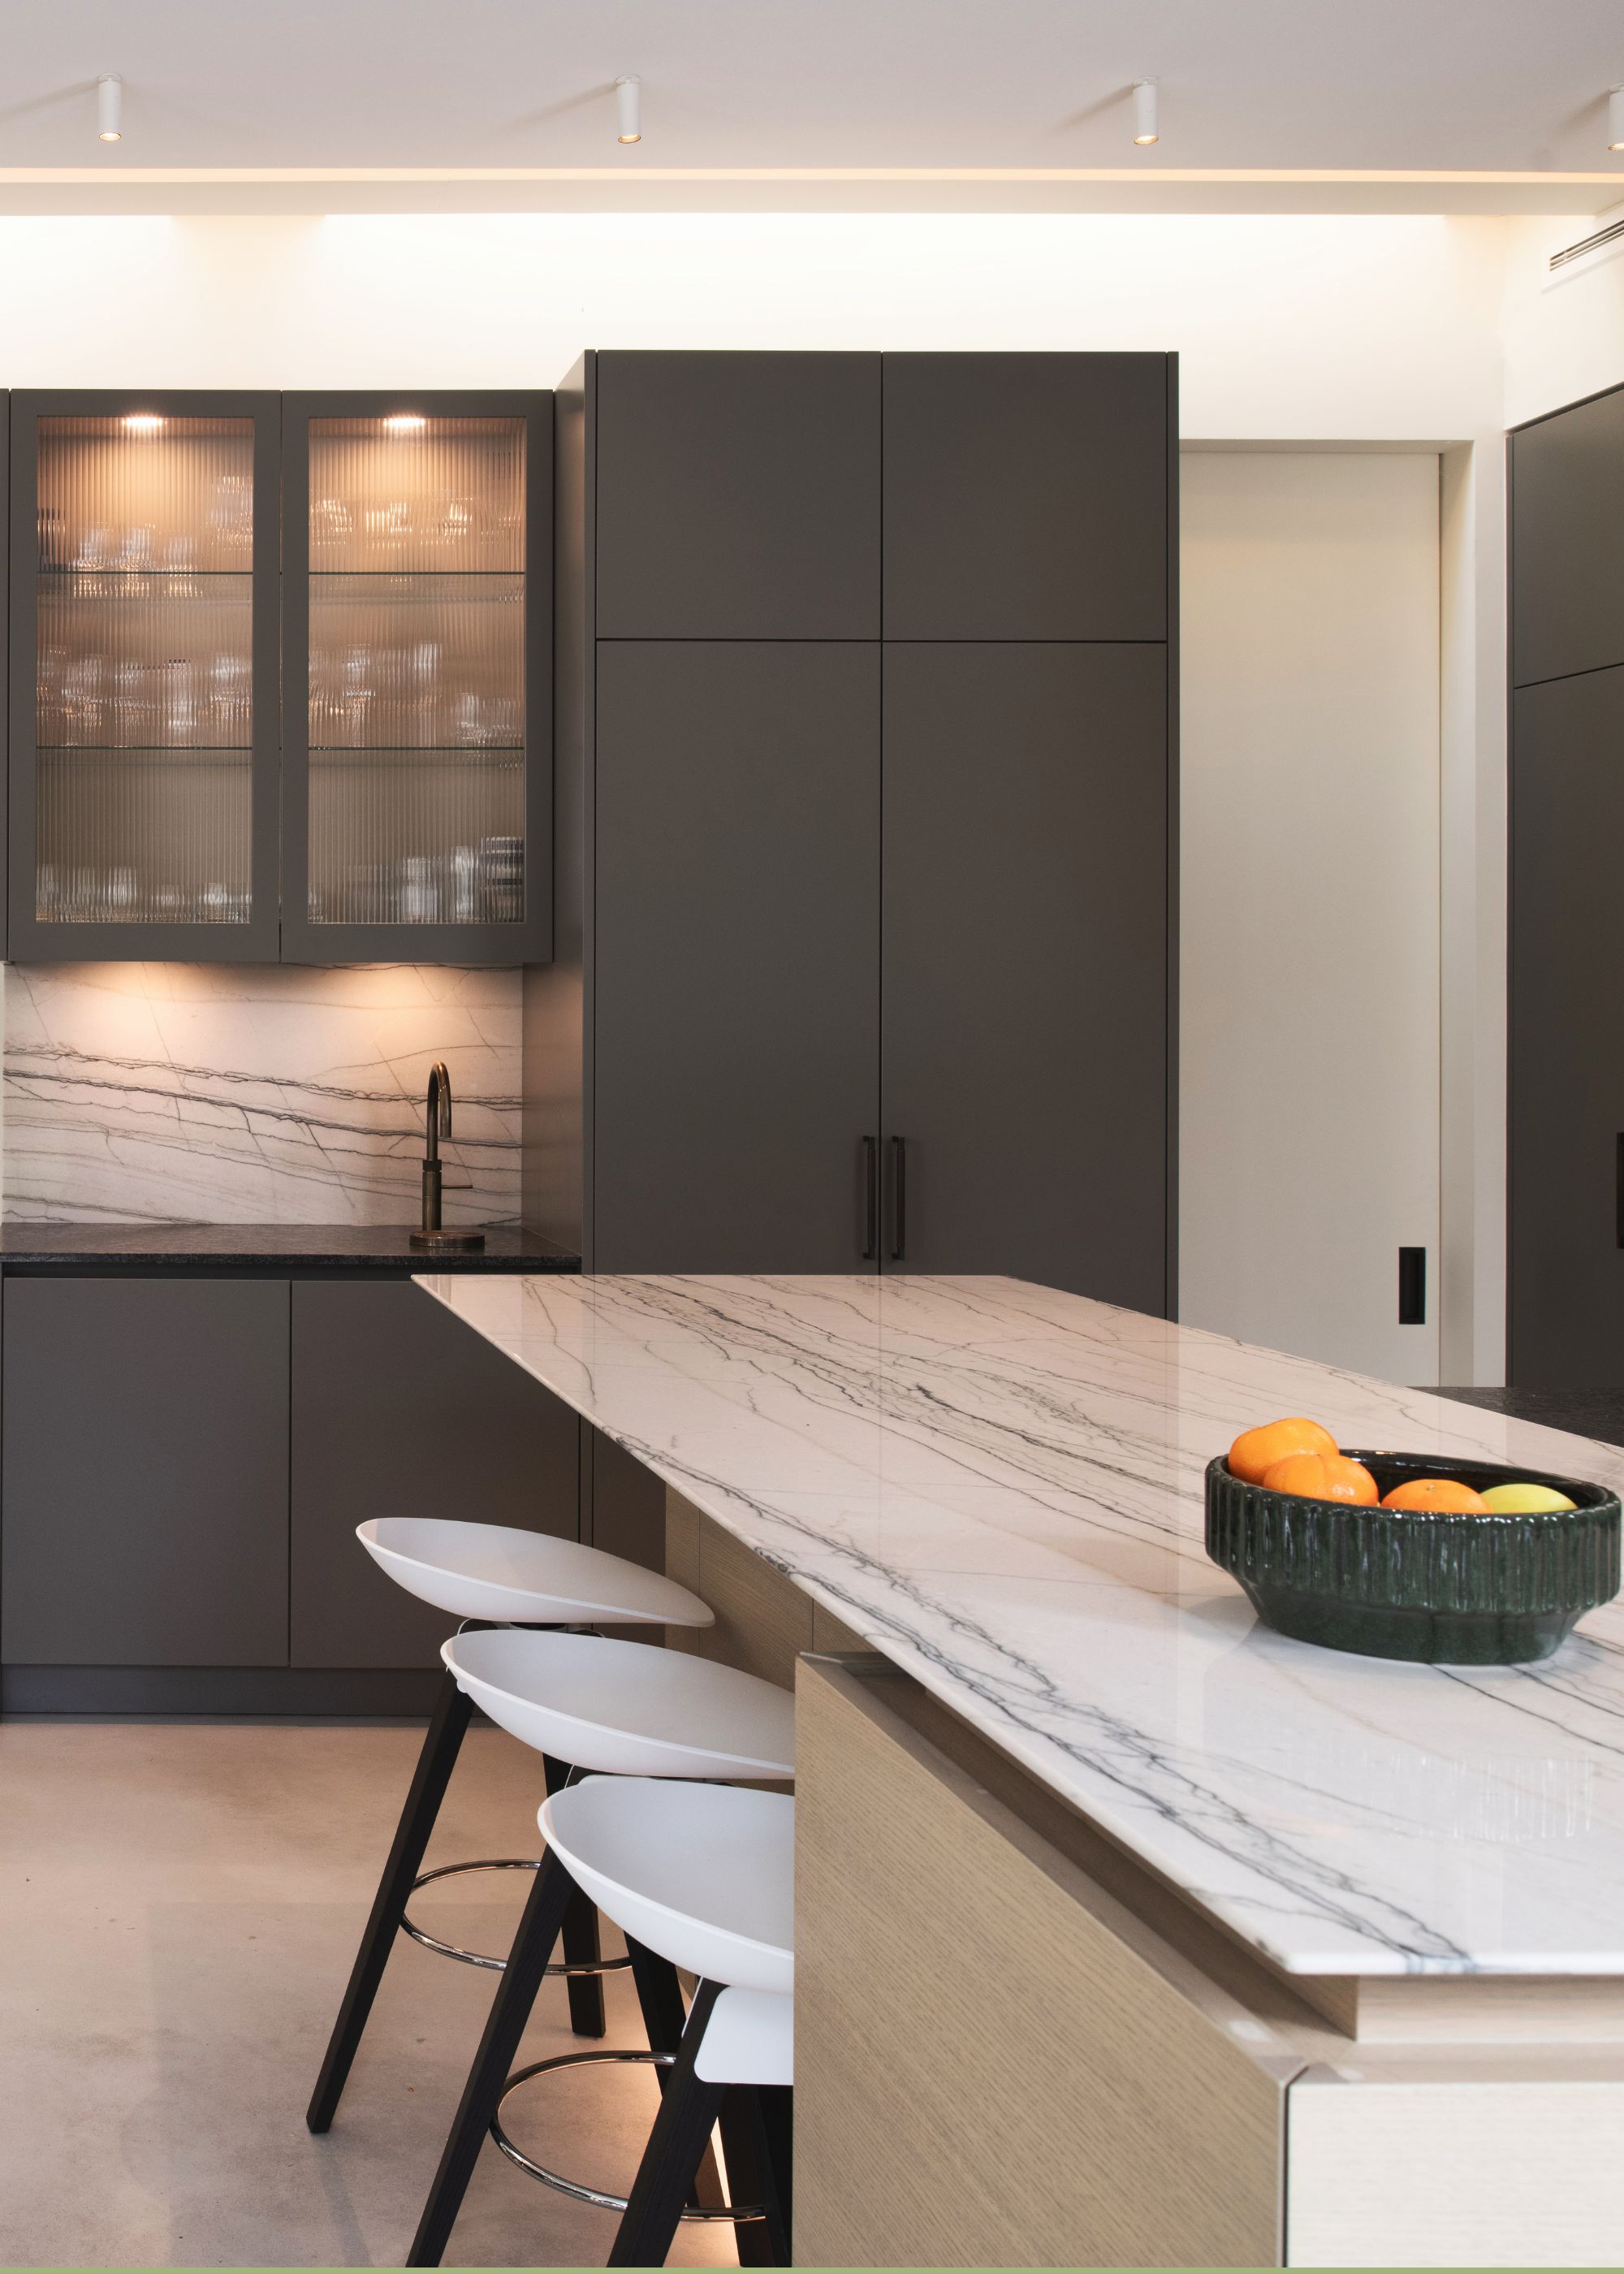
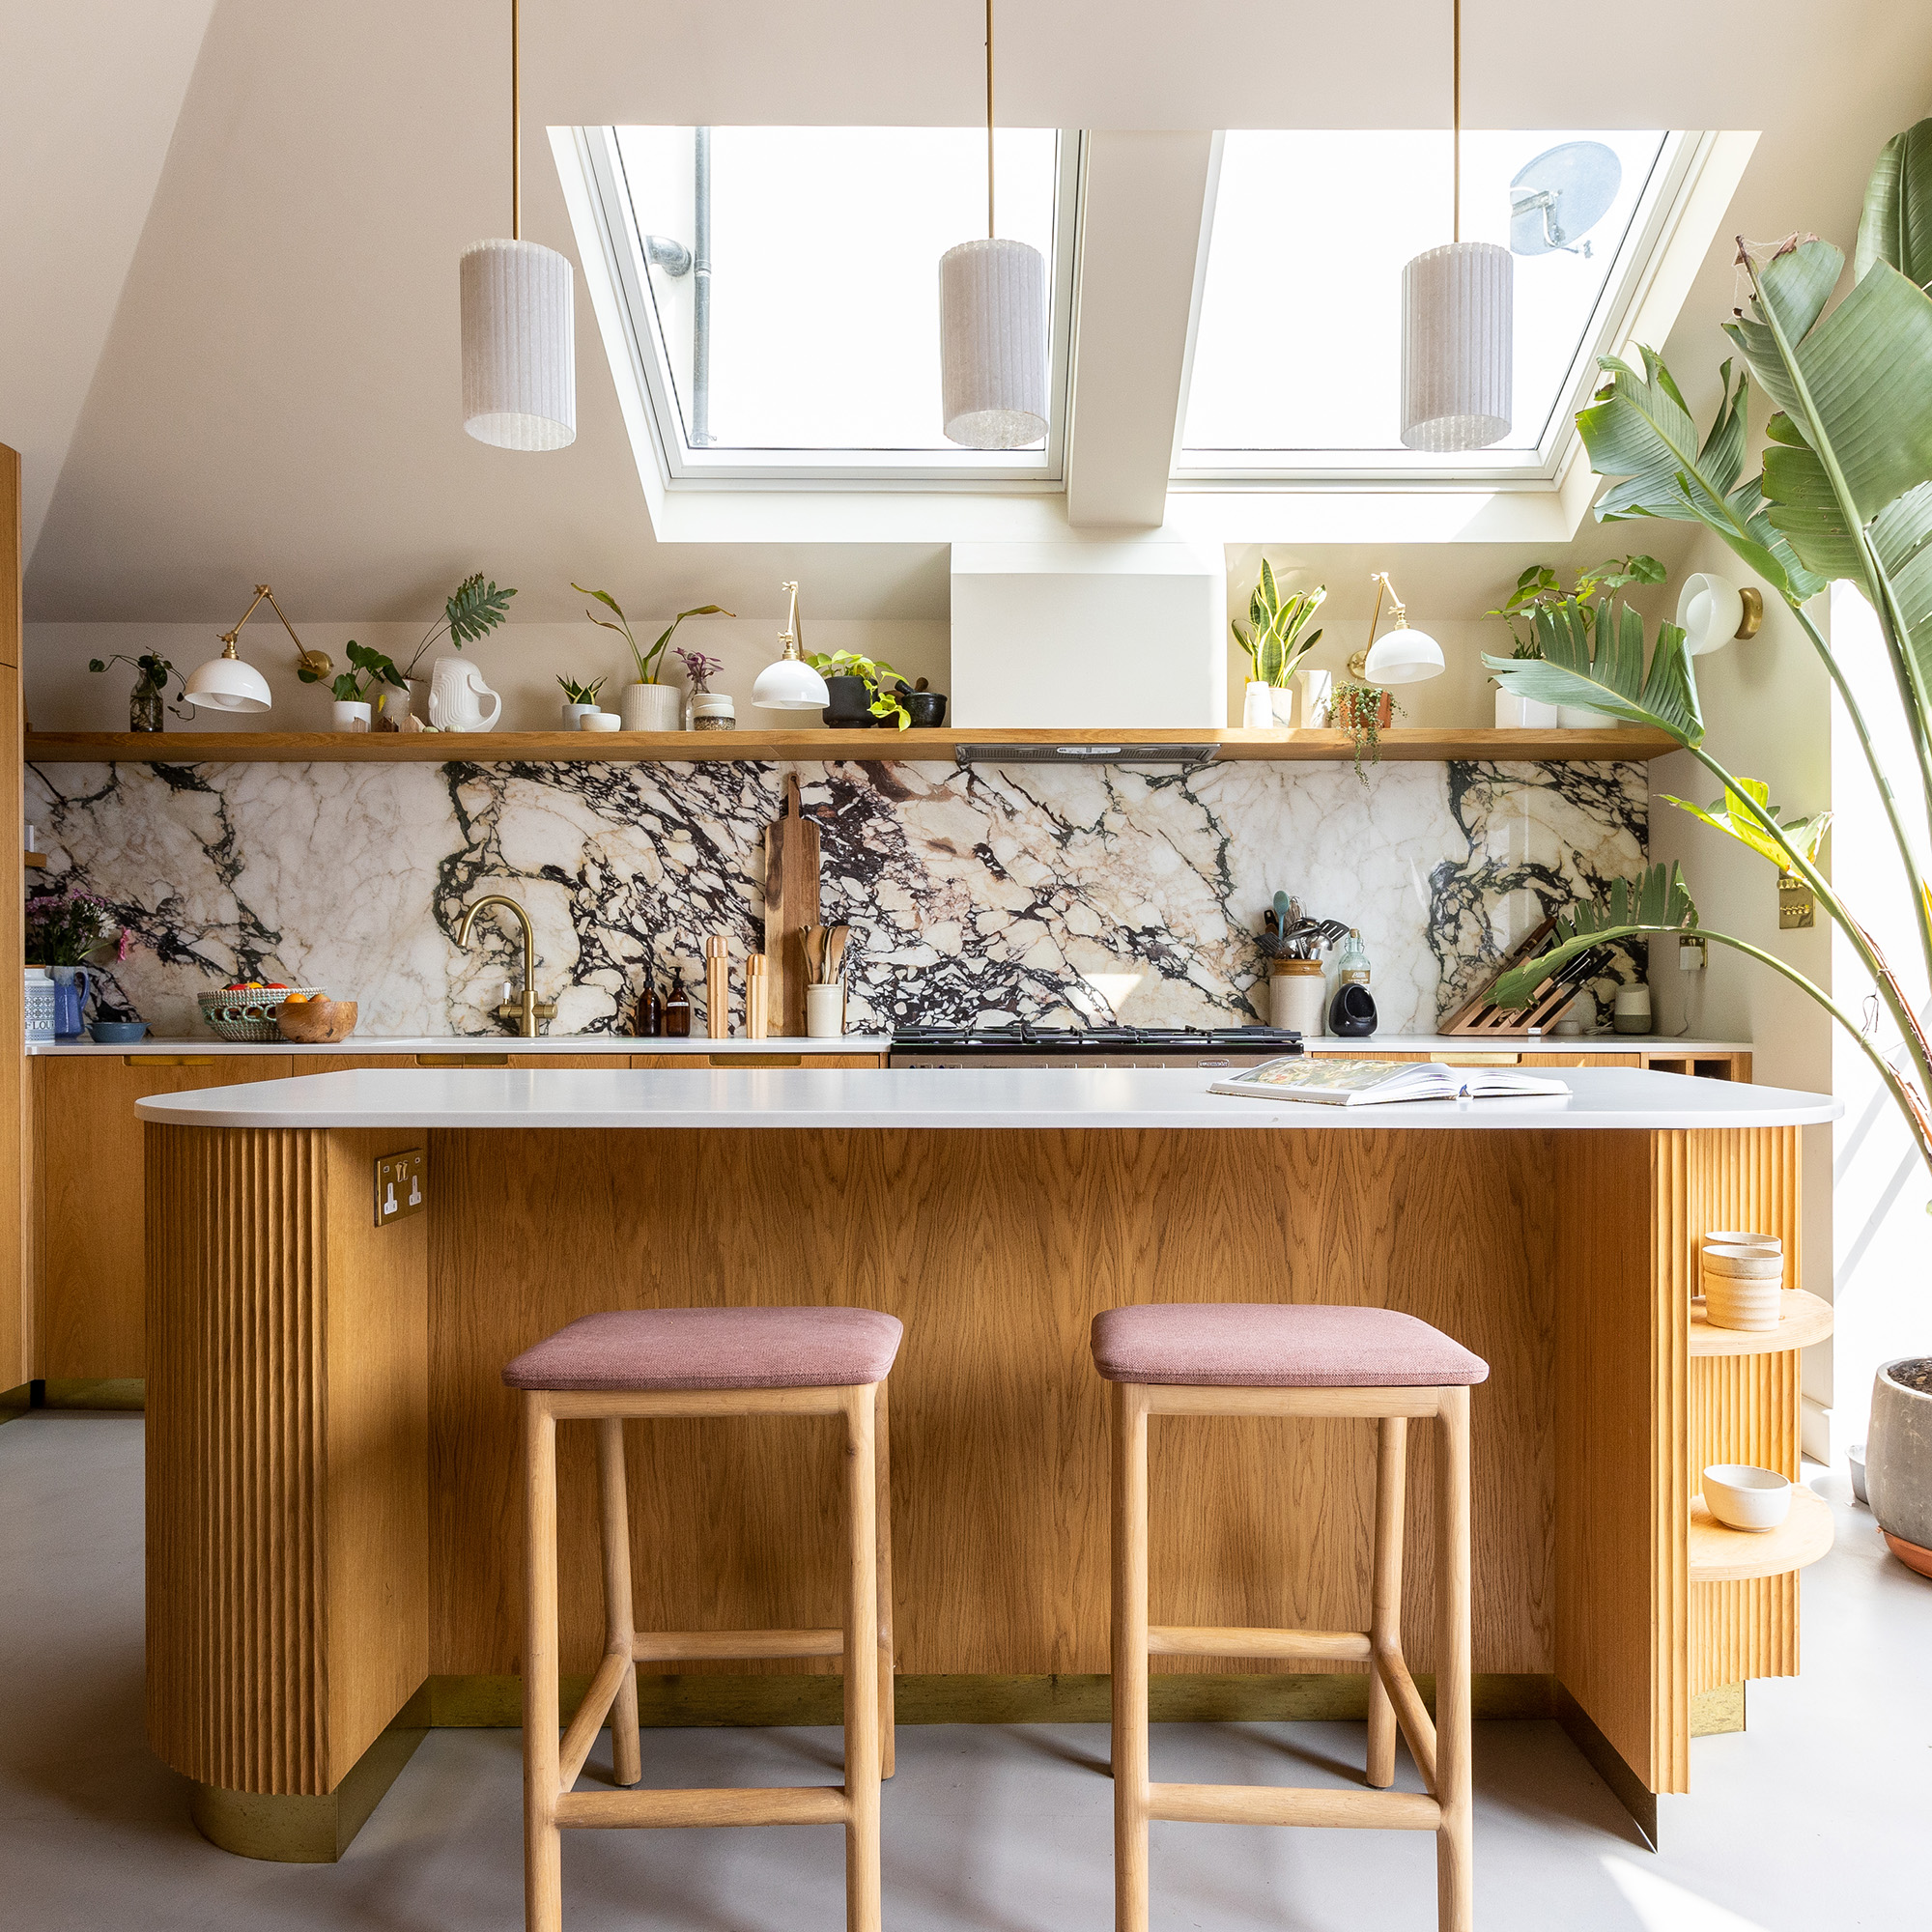
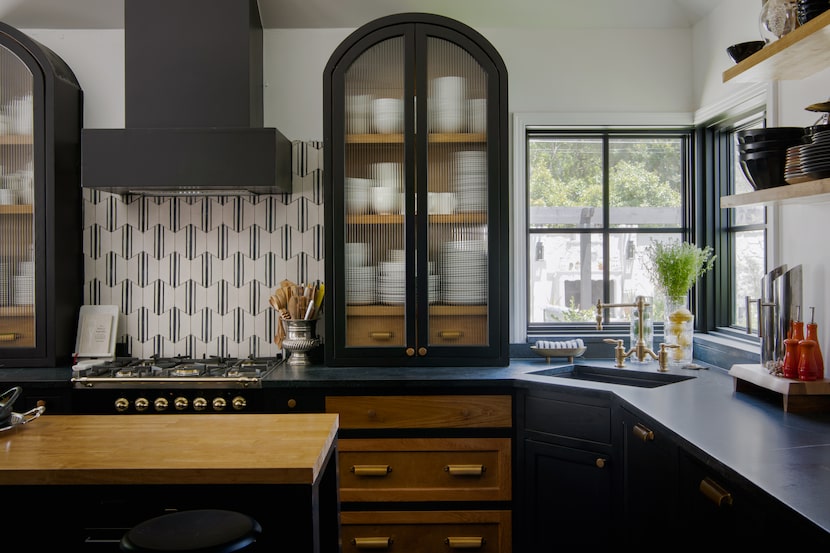
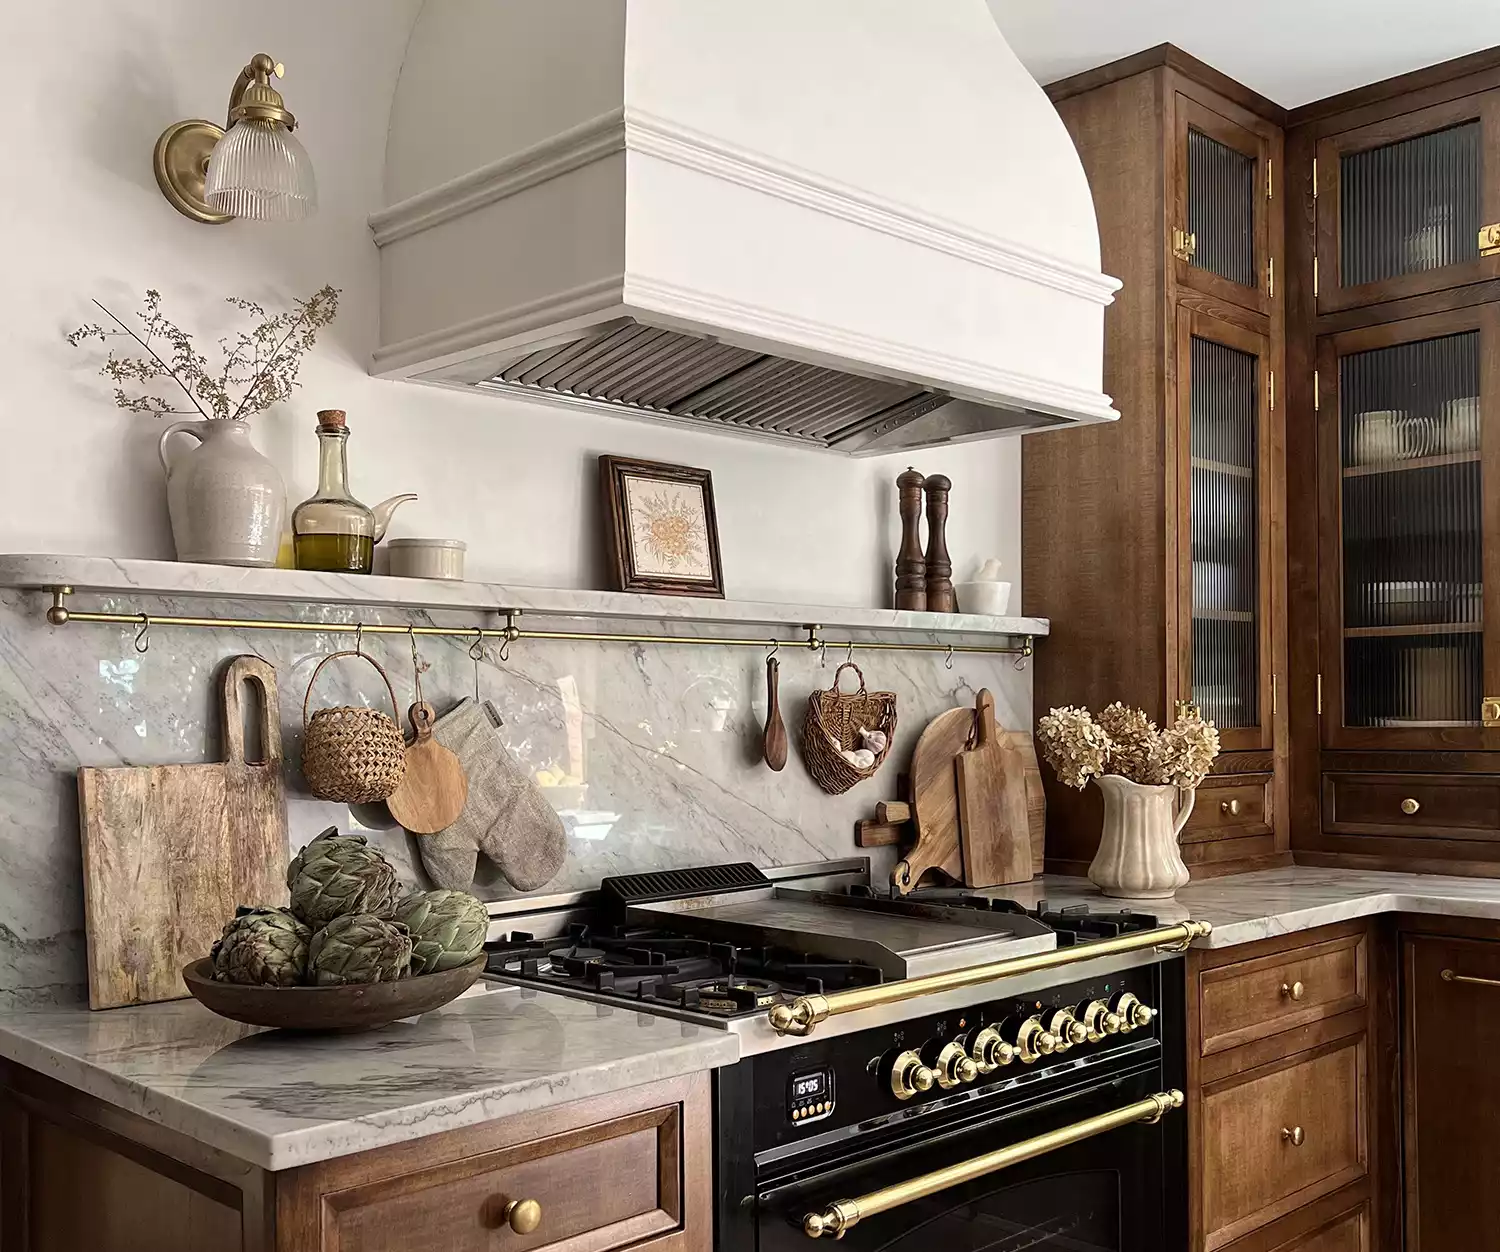
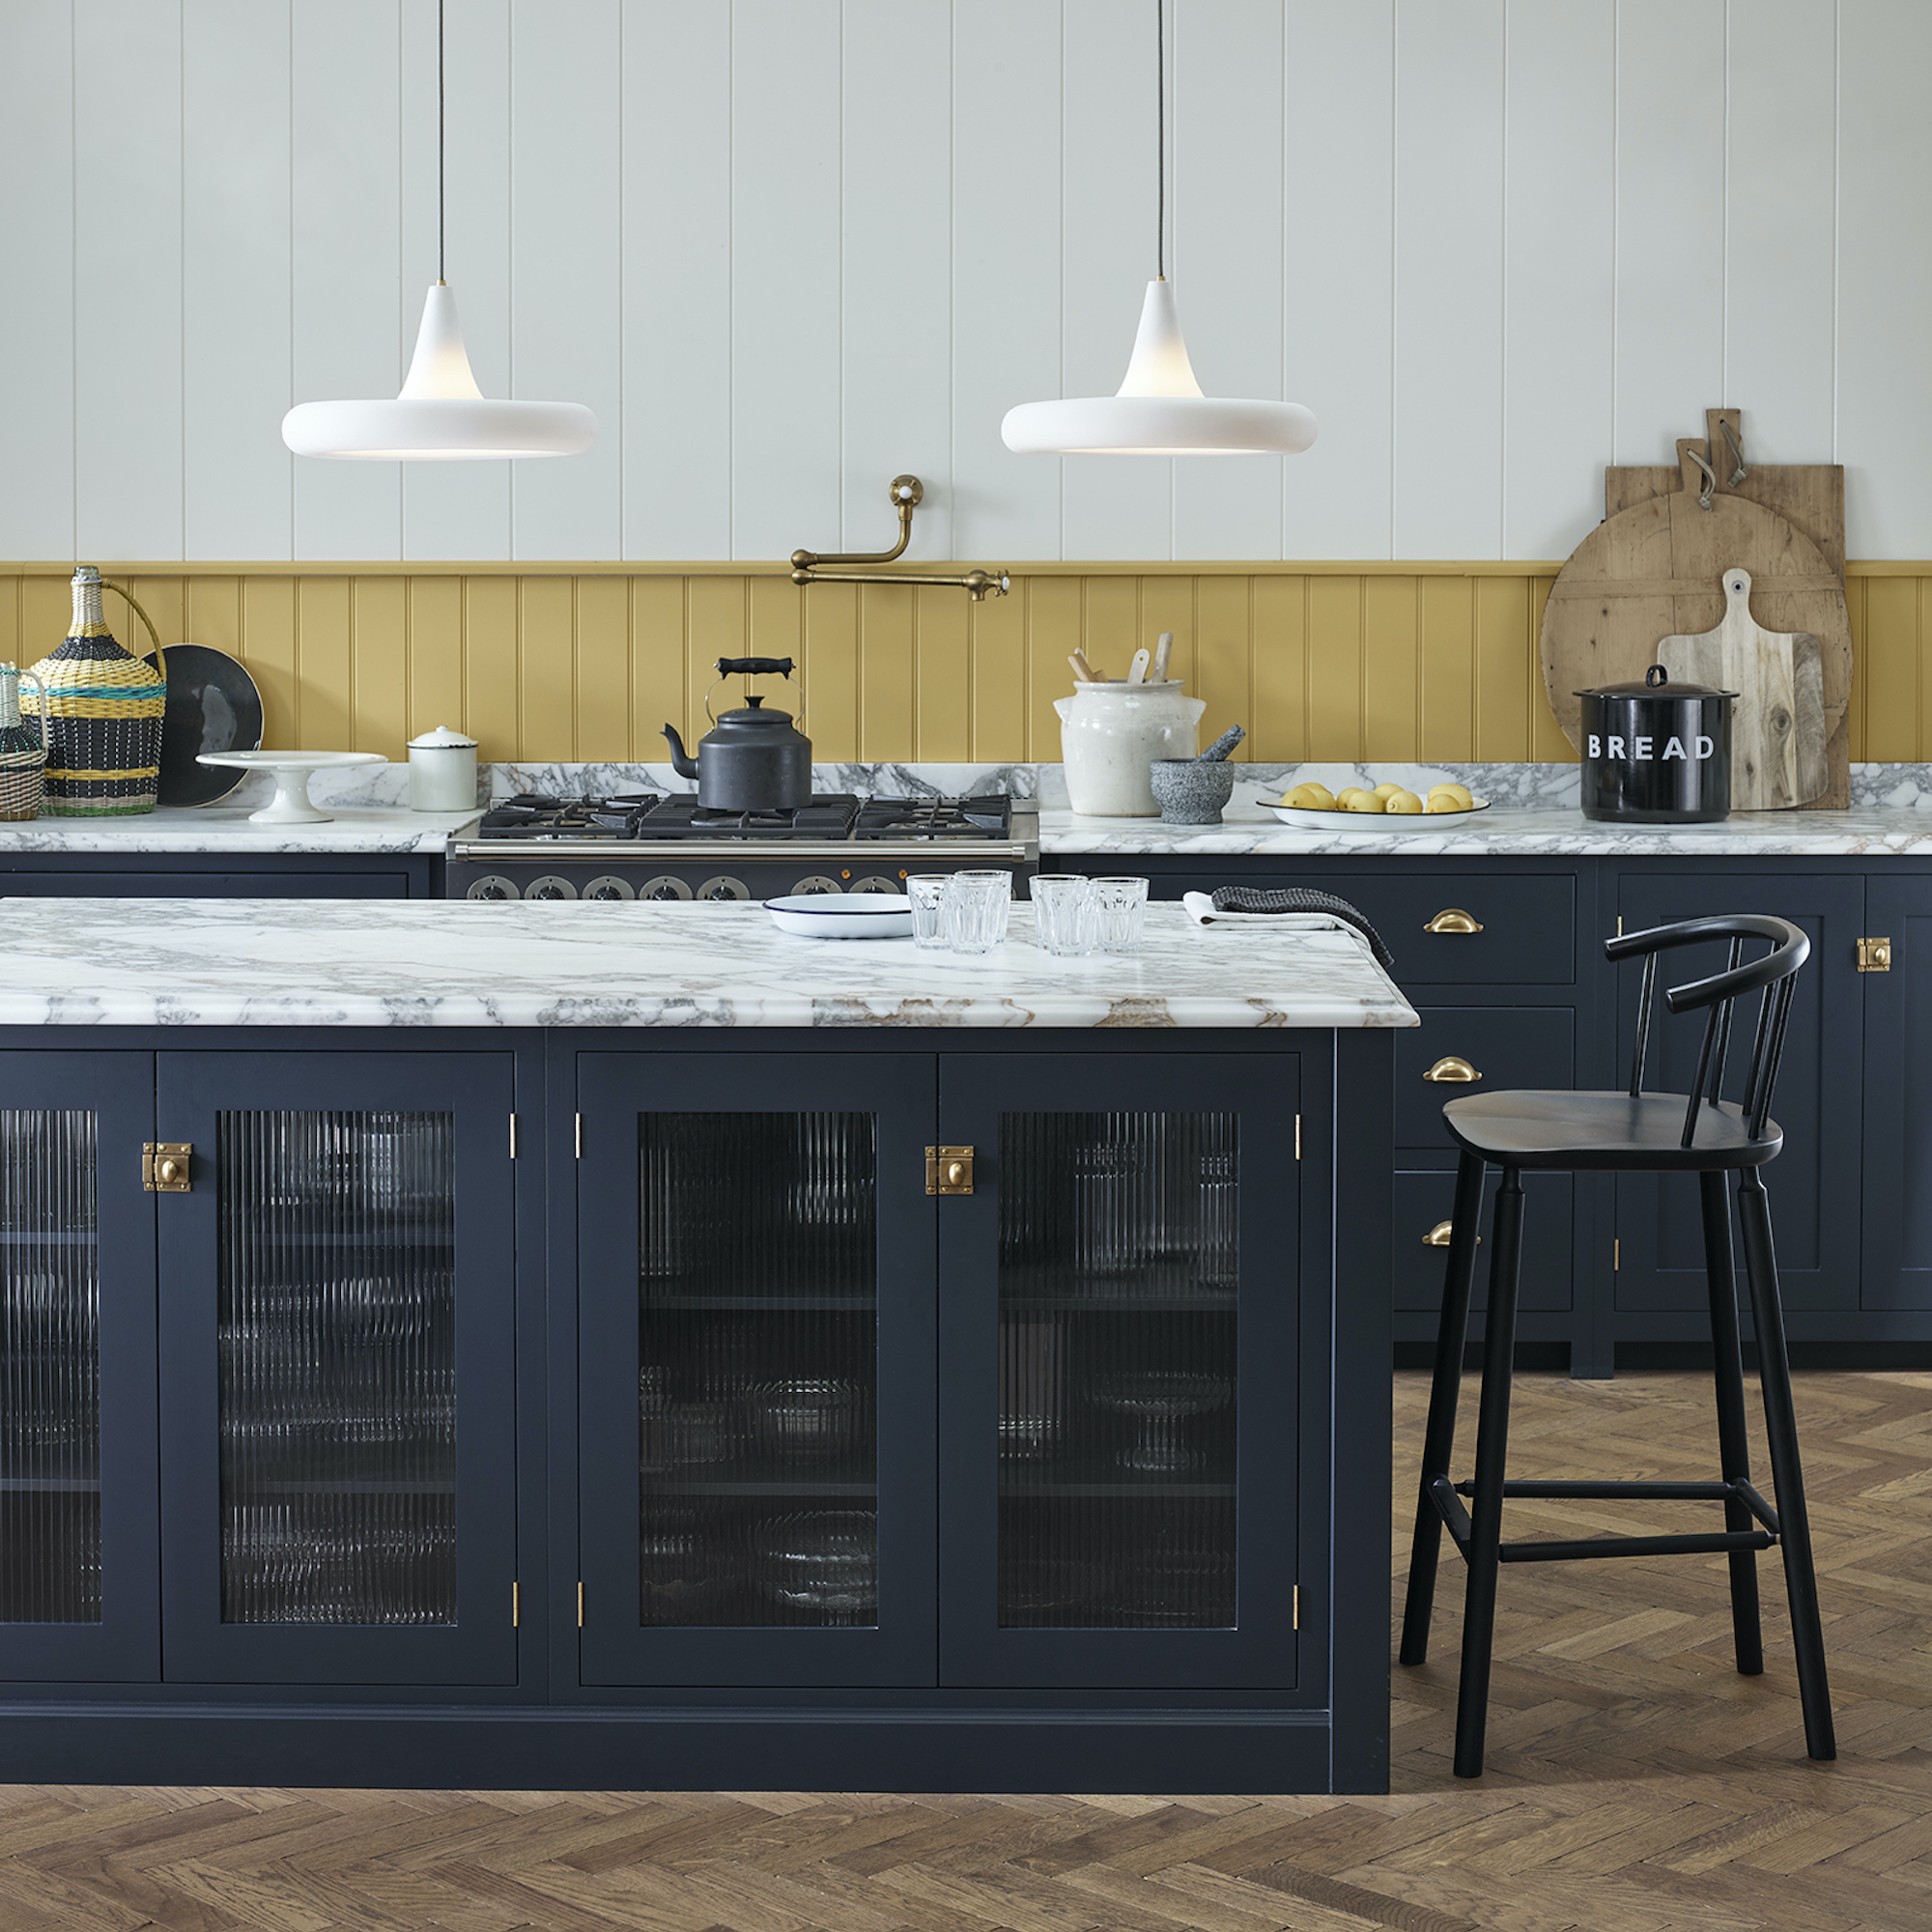
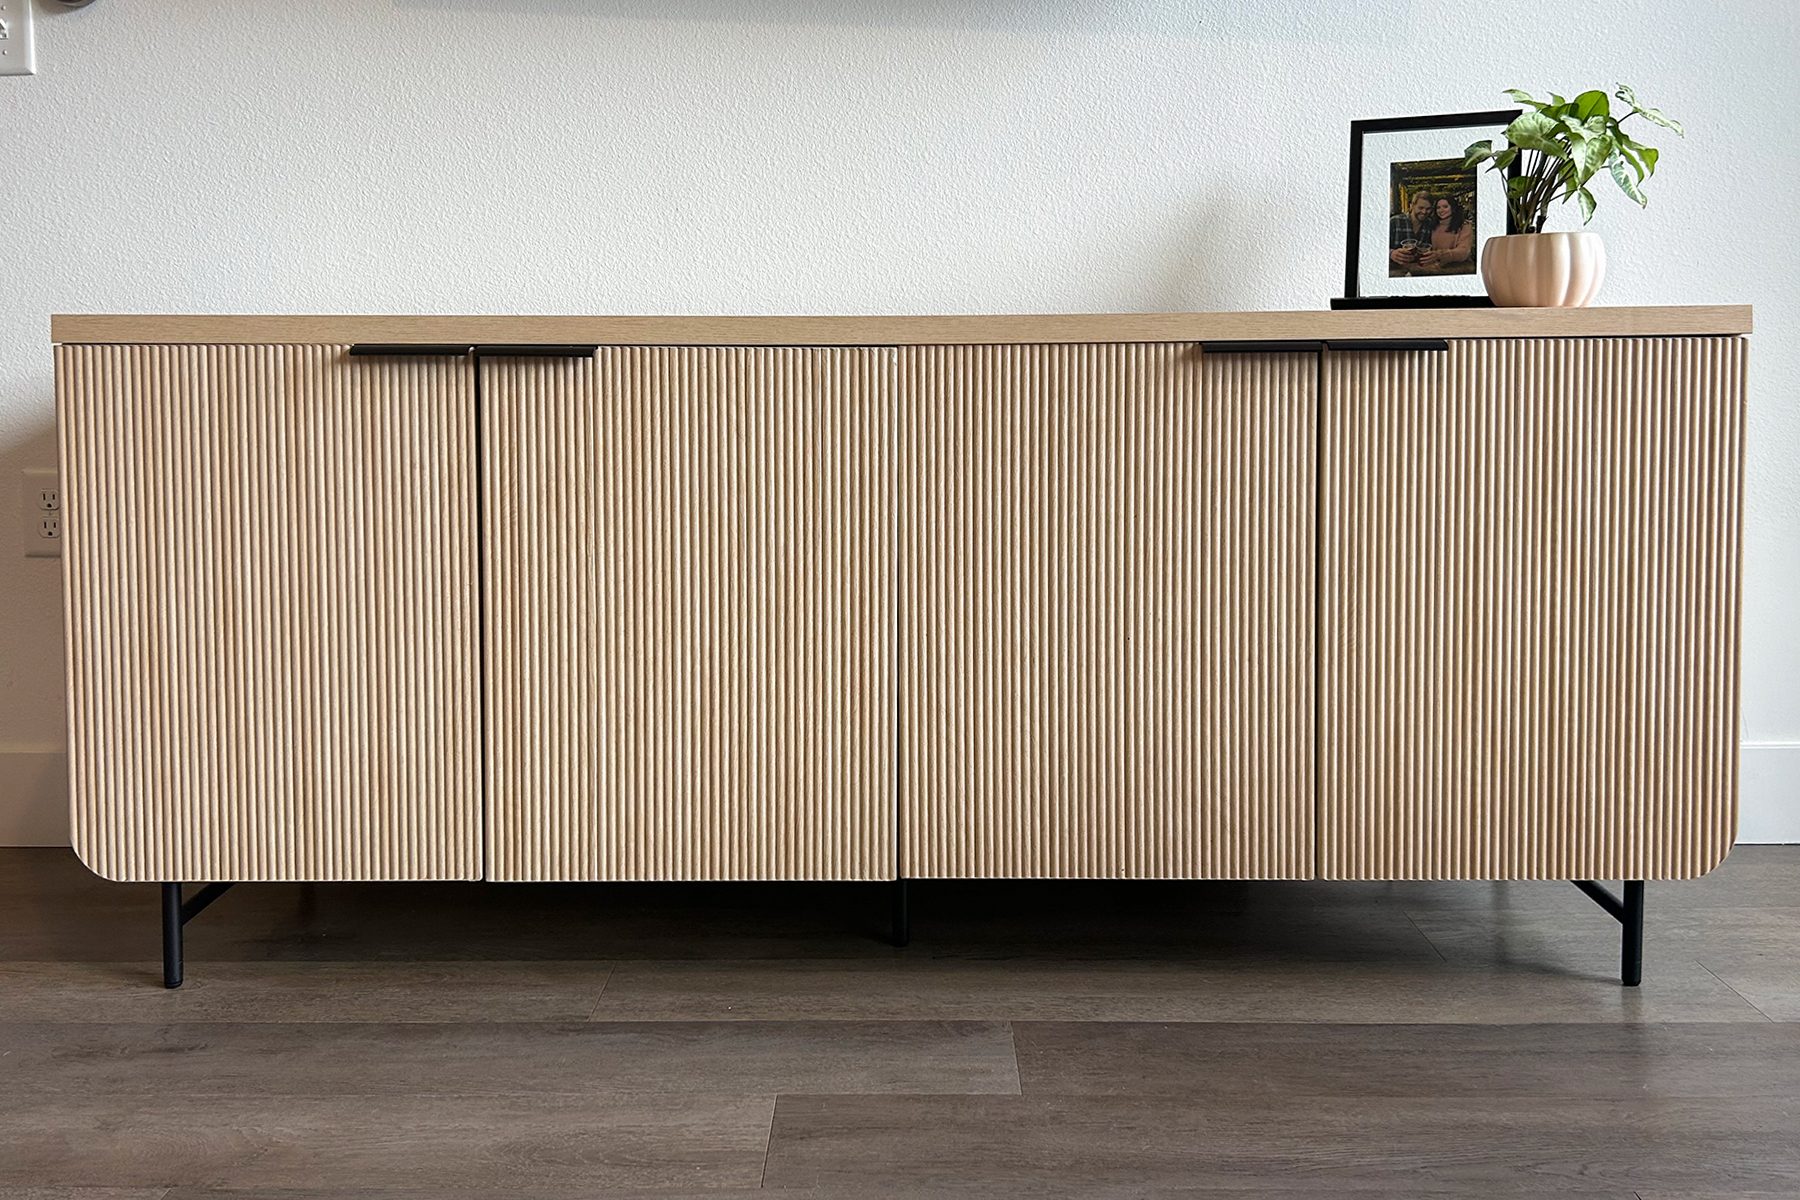
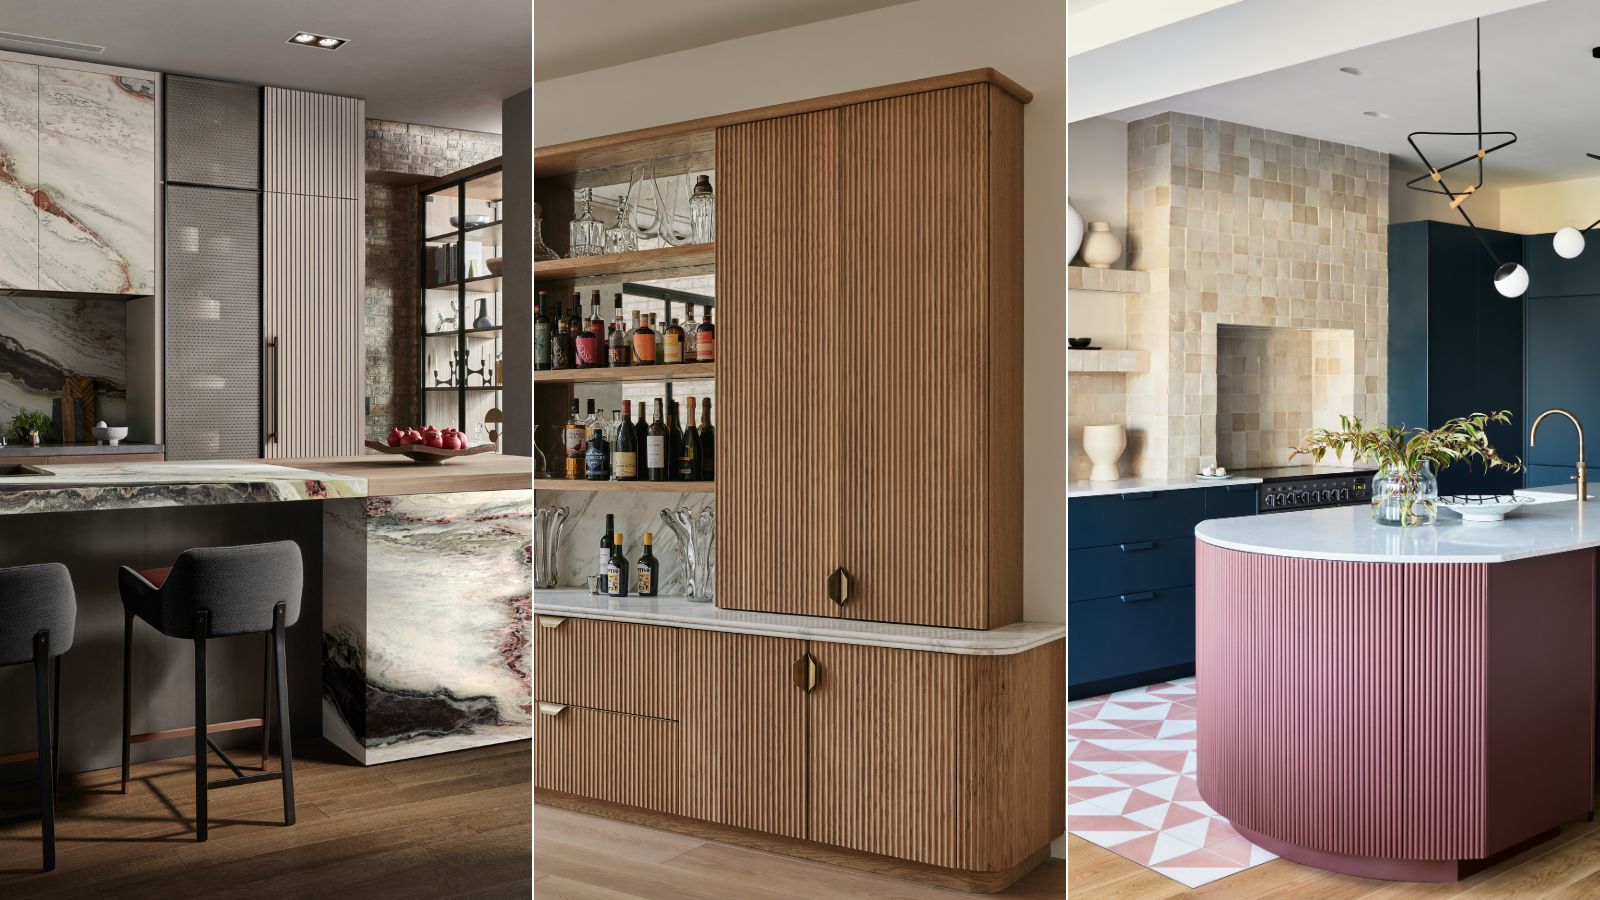
Fluted cabinets, characterized by smooth, rounded, often vertical grooves, are gaining popularity in home design as homeowners seek to personalize their spaces and move away from conventional aesthetics. This style, reminiscent of Mid-Century Modern or classical architecture, adds an artisanal and intricate touch to any room. While traditionally fluted cabinetry might be perceived as an expensive upgrade, this article details several DIY methods to achieve the same look on existing or new cabinets without a significant financial outlay.
The article outlines the concept of fluted cabinets, emphasizing their ability to introduce texture and visual interest. According to Josh Rudin, owner of ASAP Restoration, the trend is driven by the desire for unique, stylish kitchens that can be a conversation starter. Drew Mansur, director of TileCloud, highlights that fluted cabinets offer a modern aesthetic while adding an artisanal feel.
For those interested in undertaking this DIY project, the necessary tools include a miter saw, pencil, ruler or tape measure, clamps, half-round trim or dowels (or quality plywood), paint, paintbrush, primer, sandpaper, wood filler, and wood glue. The process is broken down into three main approaches, each with specific instructions.
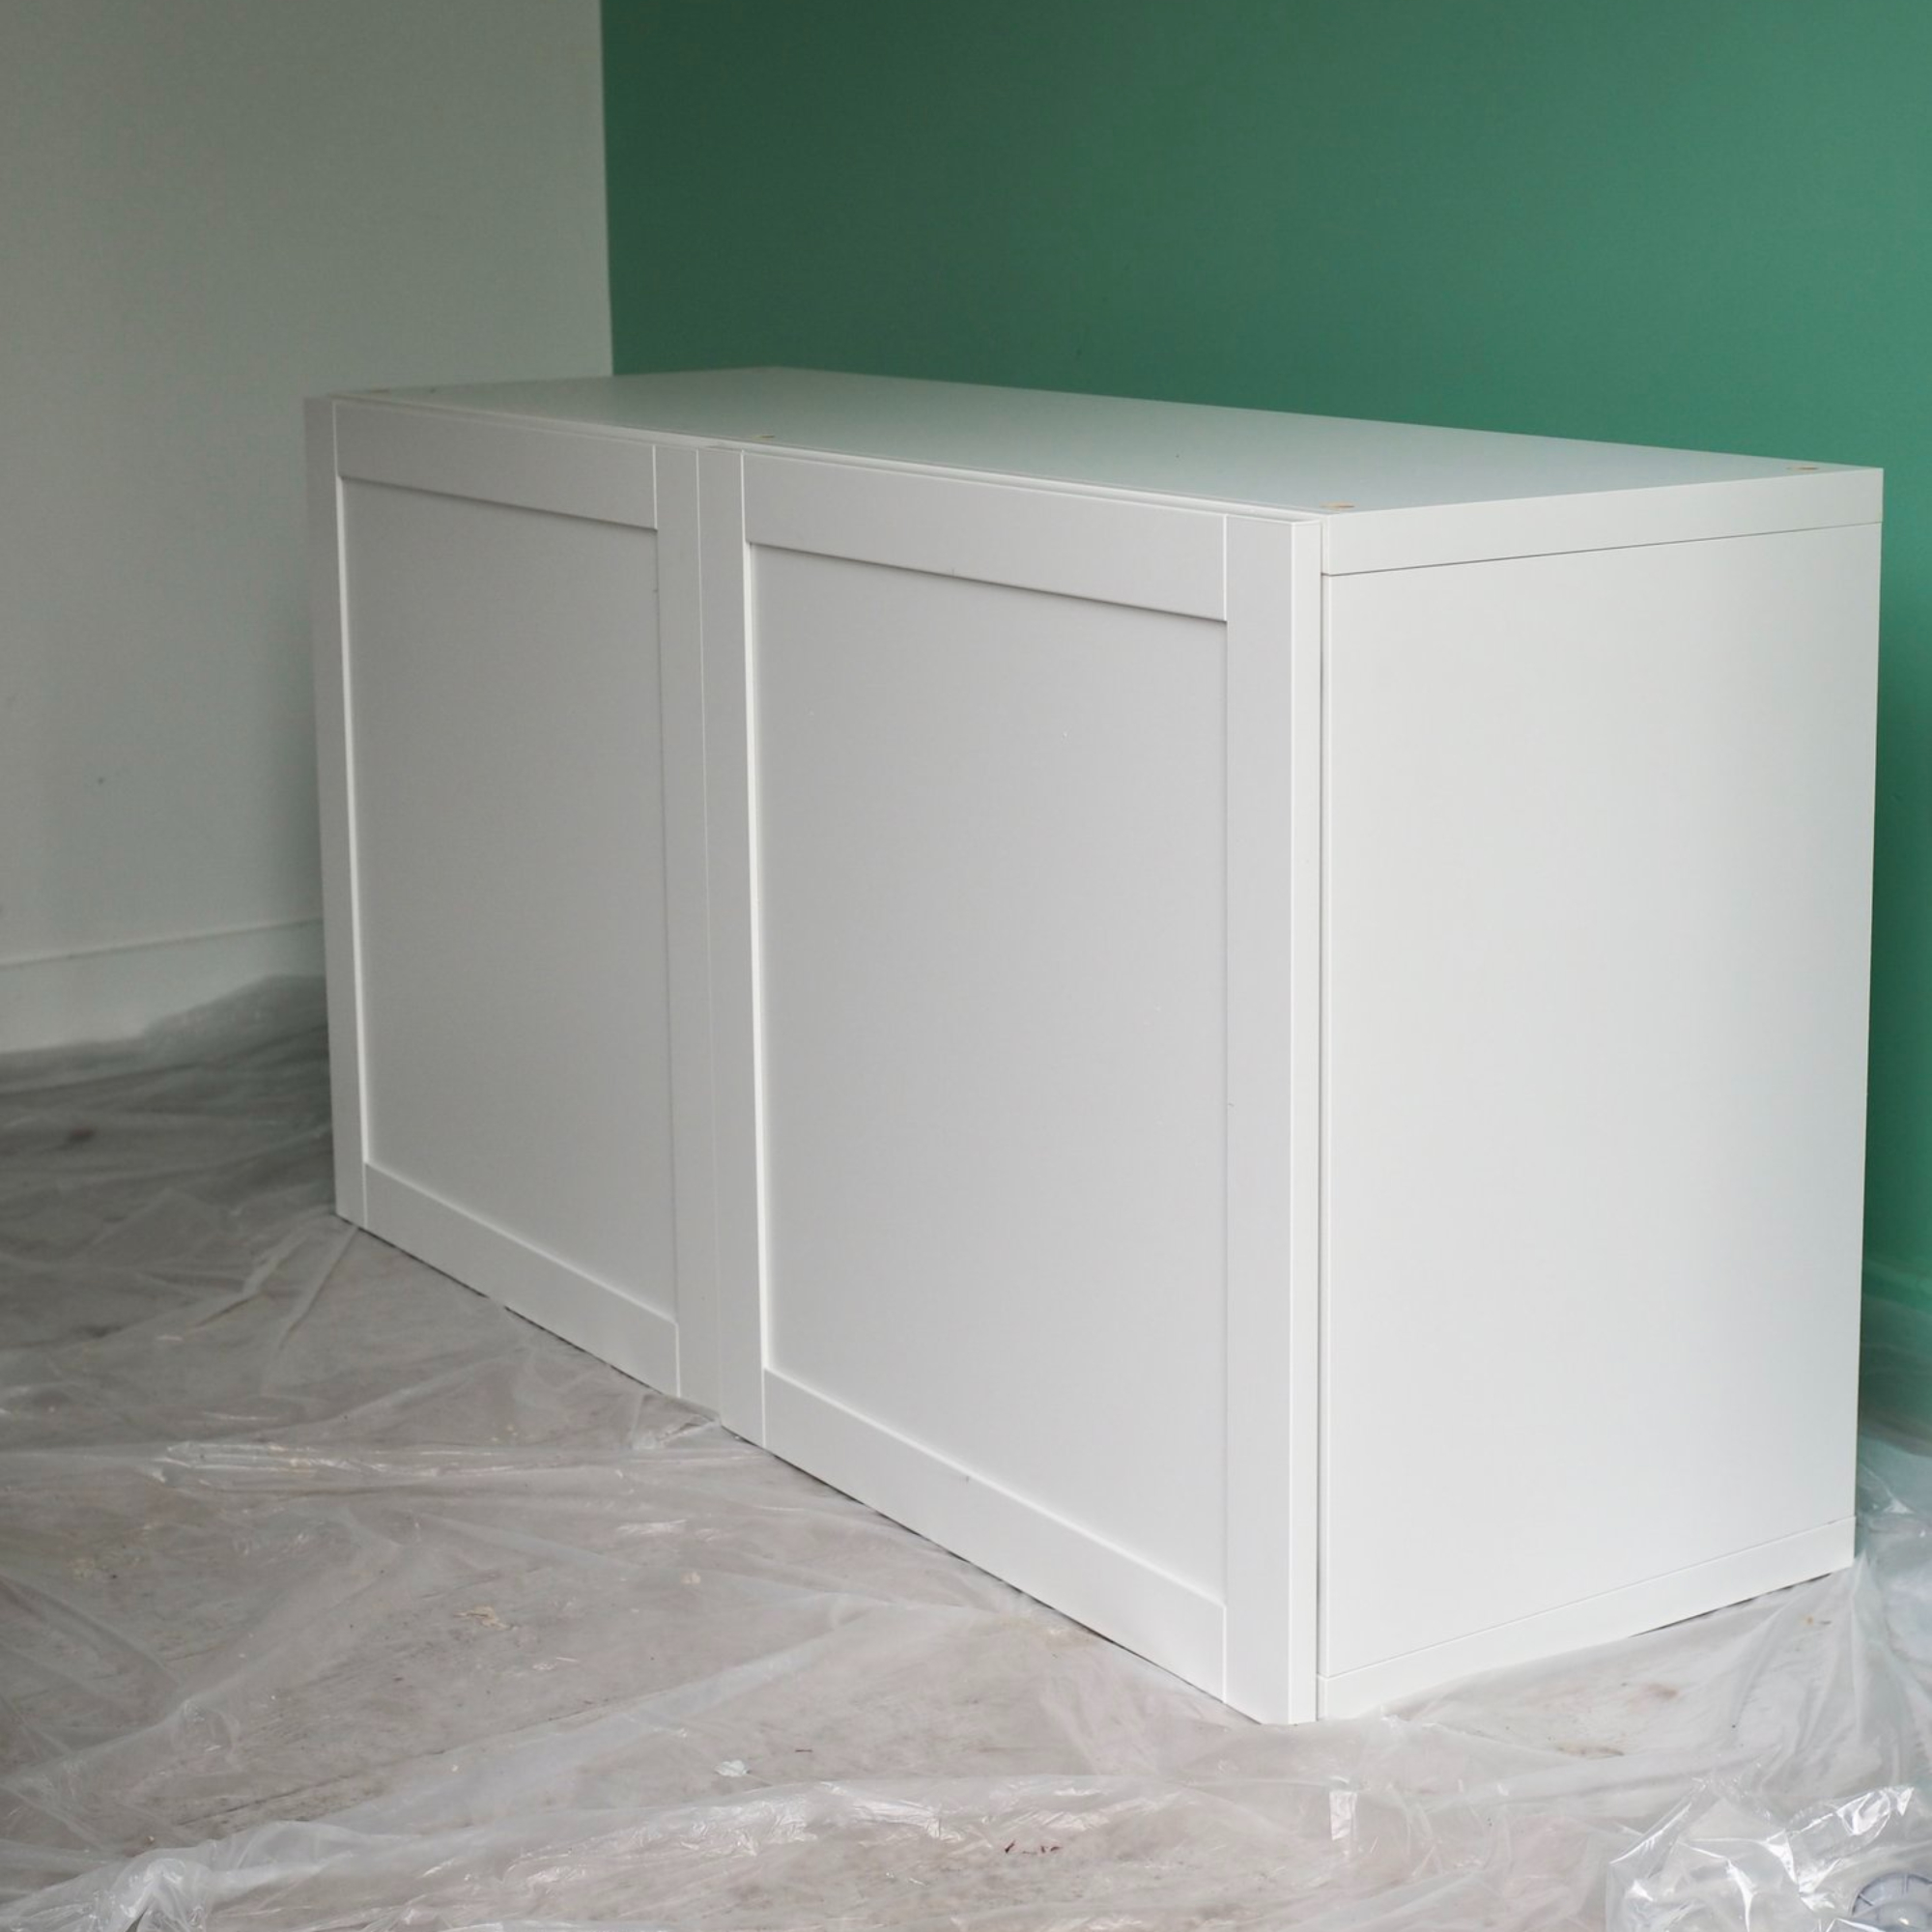
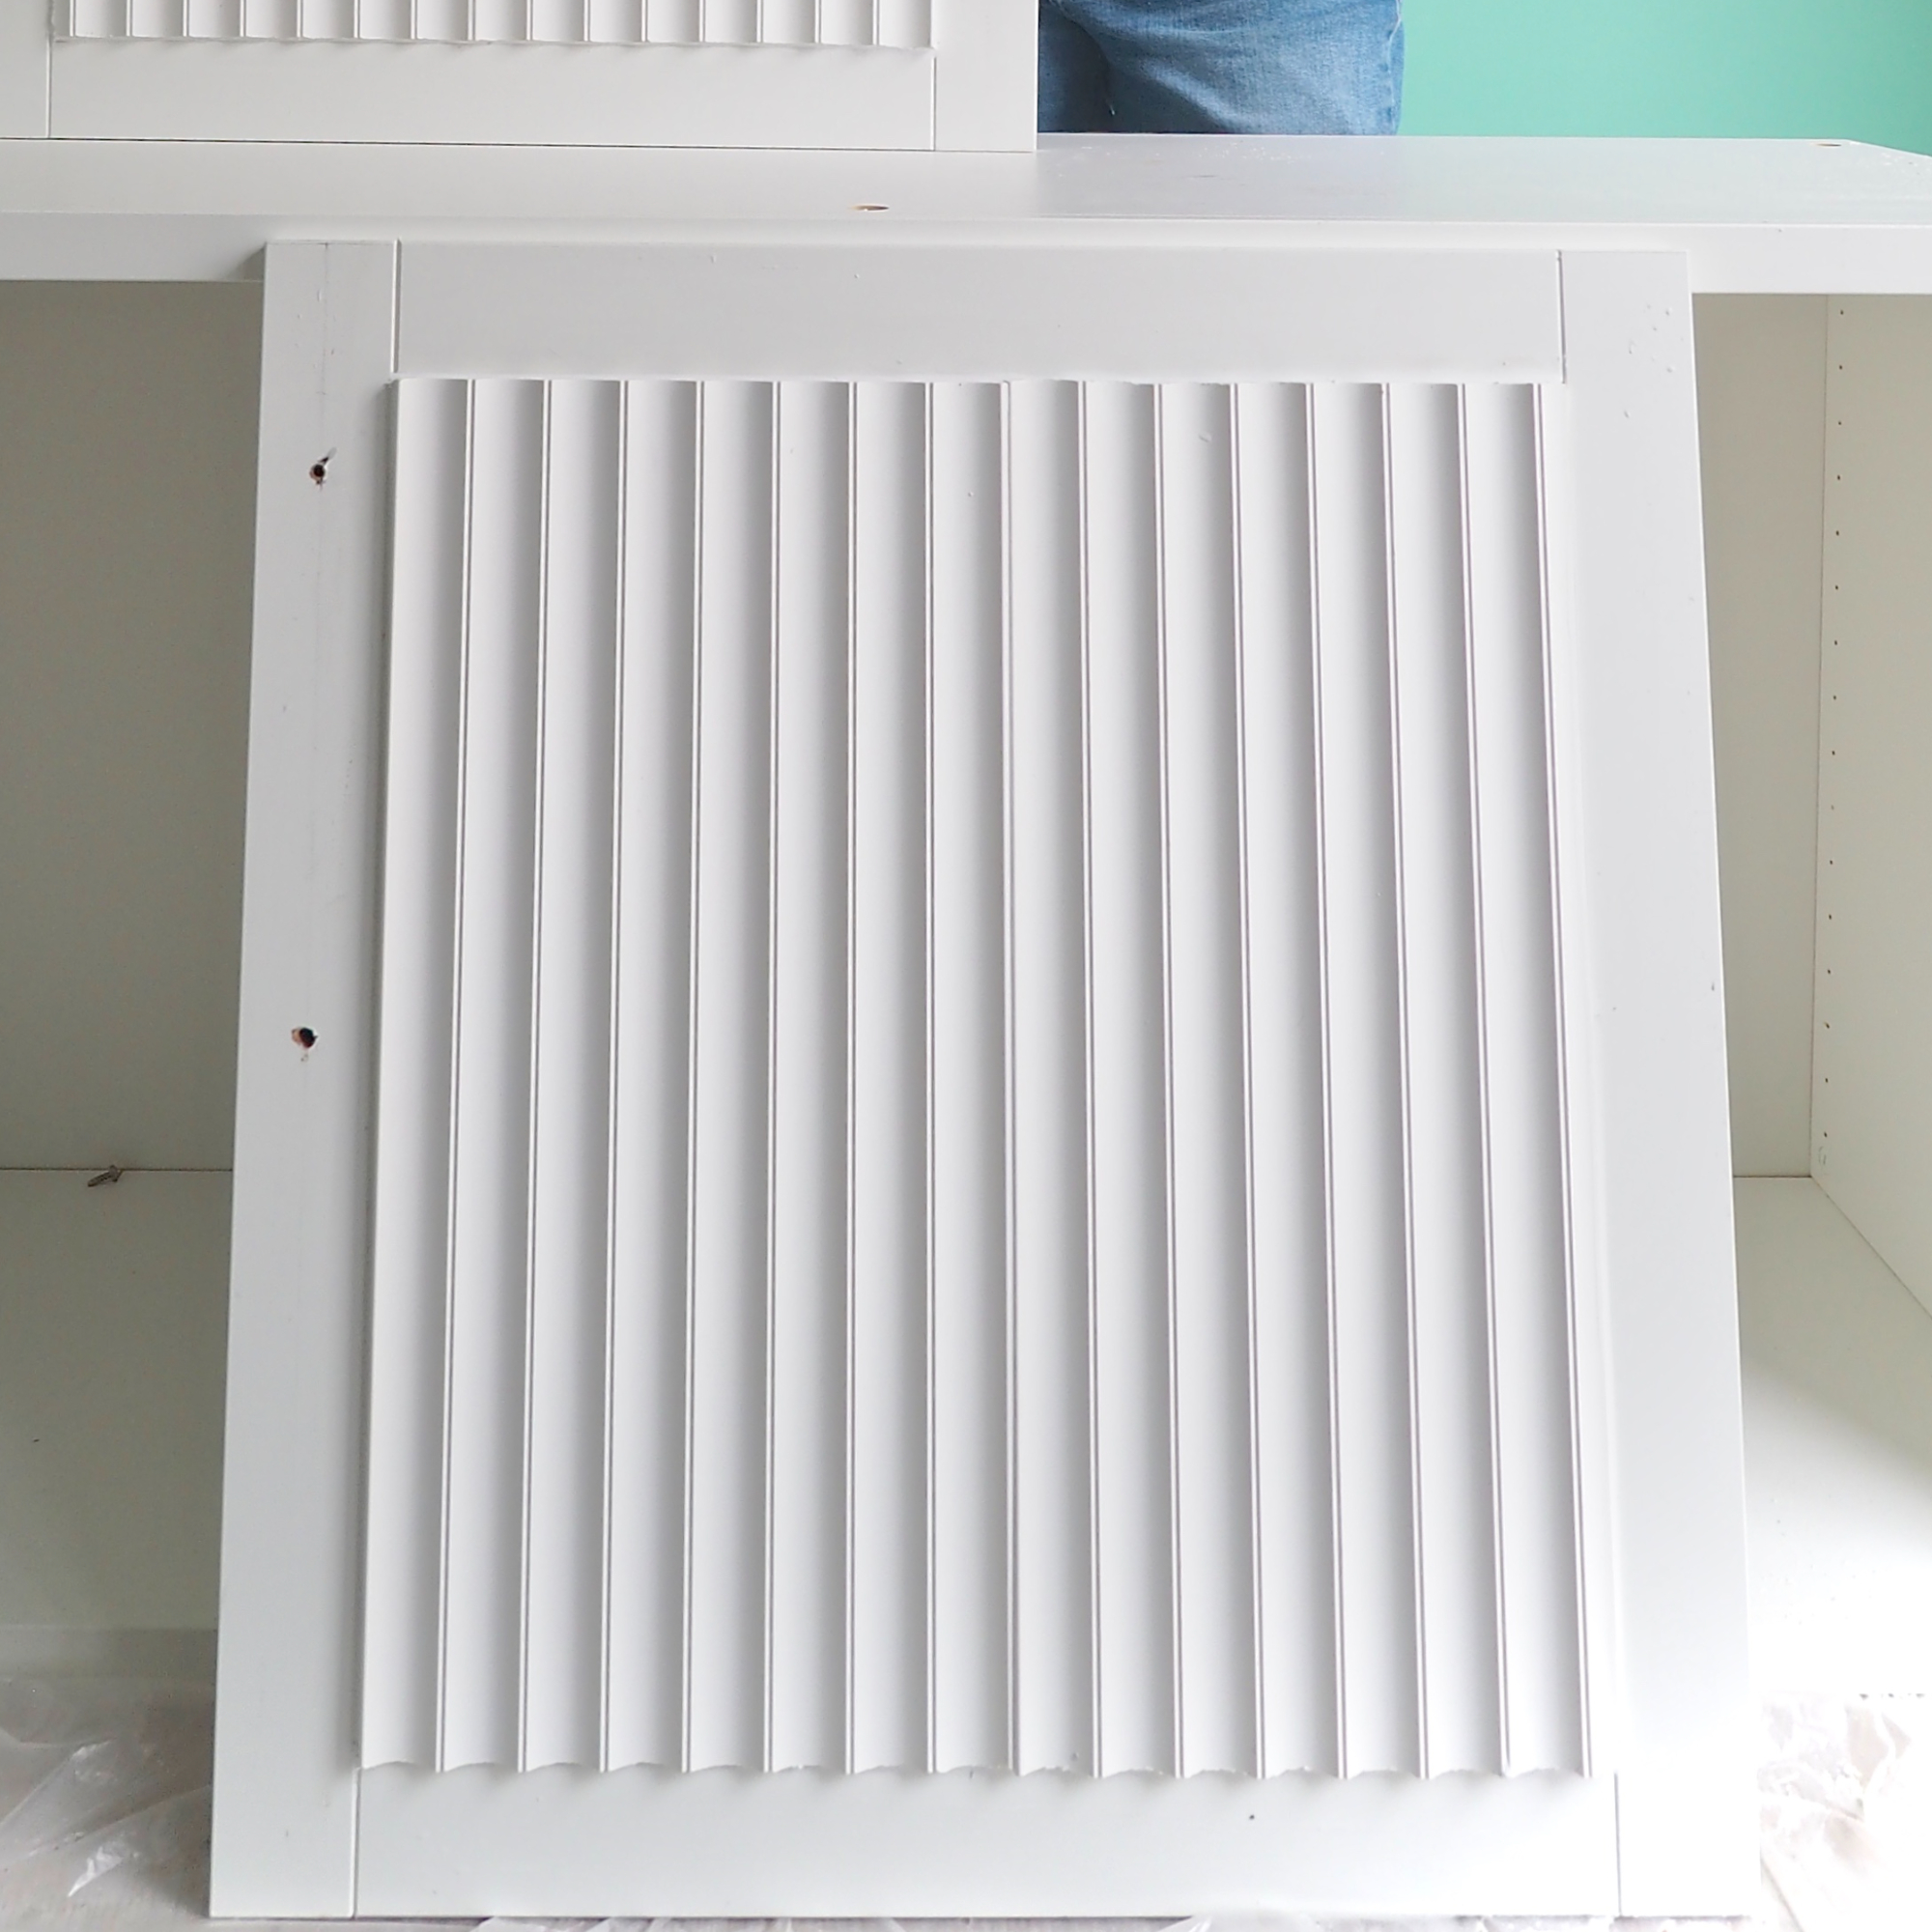
The first method involves gluing half-round trim or strips of plywood onto flat cabinet faces. This requires precise measurement of the cabinet panel, marking equal intervals for the flutes, cutting the flutes to the exact height of the doors, and then attaching them with wood glue. It is crucial to ensure even spacing and vertical alignment before clamping the pieces in place until the glue dries. After drying, any gaps should be filled with wood filler, and the surface should be lightly sanded before priming and painting, with a matte finish recommended for optimal results.
The second method utilizes a table saw to cut grooves directly into the existing cabinet face. If the current cabinet face is unsuitable, high-quality plywood, such as birch, can be grooved and then used to replace the original faces. This approach necessitates the use of a jig to ensure clean and consistent lines. When creating a jig, one must measure the available space, divide it by the material width, and account for the thickness of the table saw blade.
The third technique involves using a router with a jig to carve grooves into the cabinet face, similar to the table saw method. Rudin notes that a router allows for more stylized and intricate designs by simply changing the router bit. Regardless of the chosen method, consistency is paramount for a successful outcome. The article also cautions against common pitfalls, such as miscalculating blade thickness or router bit contours, and warns that over-cutting or wood tear-out may require starting the project over.
The expert insights from Josh Rudin, a disaster mitigation specialist, and Drew Mansur, co-founder of a tile and homewares store, underscore the practicality and aesthetic value of fluted cabinets.
#FlutedCabinets #DIYHomeImprovement #CabinetRemodel #HomeDesignTrends #Woodworking #InteriorDesign #KitchenCabinets #DIYProject #TextureInDesign #FlutedCabinets #DIYHomeImprovement #CabinetRemodel #HomeDesignTrends #Woodworking #InteriorDesign #KitchenCabinets #DIYProject #TextureInDesign
0 comment in total
 No comments yet
You may also like
Fluted kitchen cabinets are the trending way to add texture and interest to your space – here's how to get the look
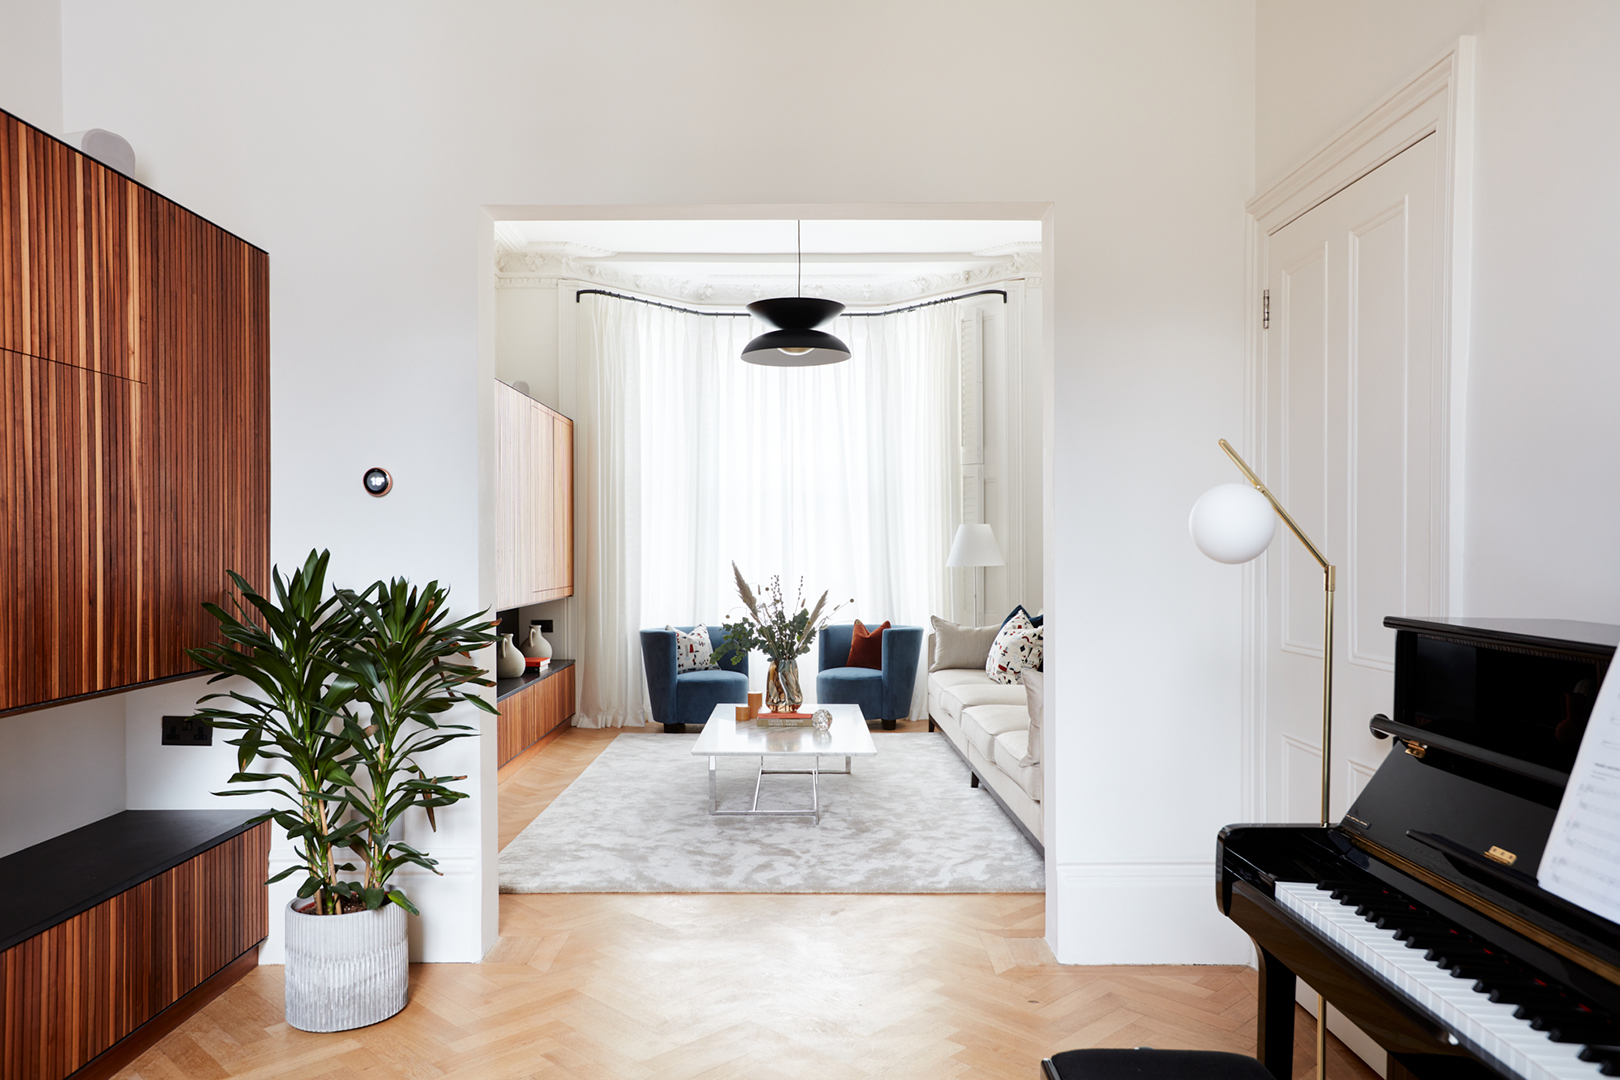
Desks Flip Out Like Airplane Tray Tables From This Home’s Fluted Wood Wall

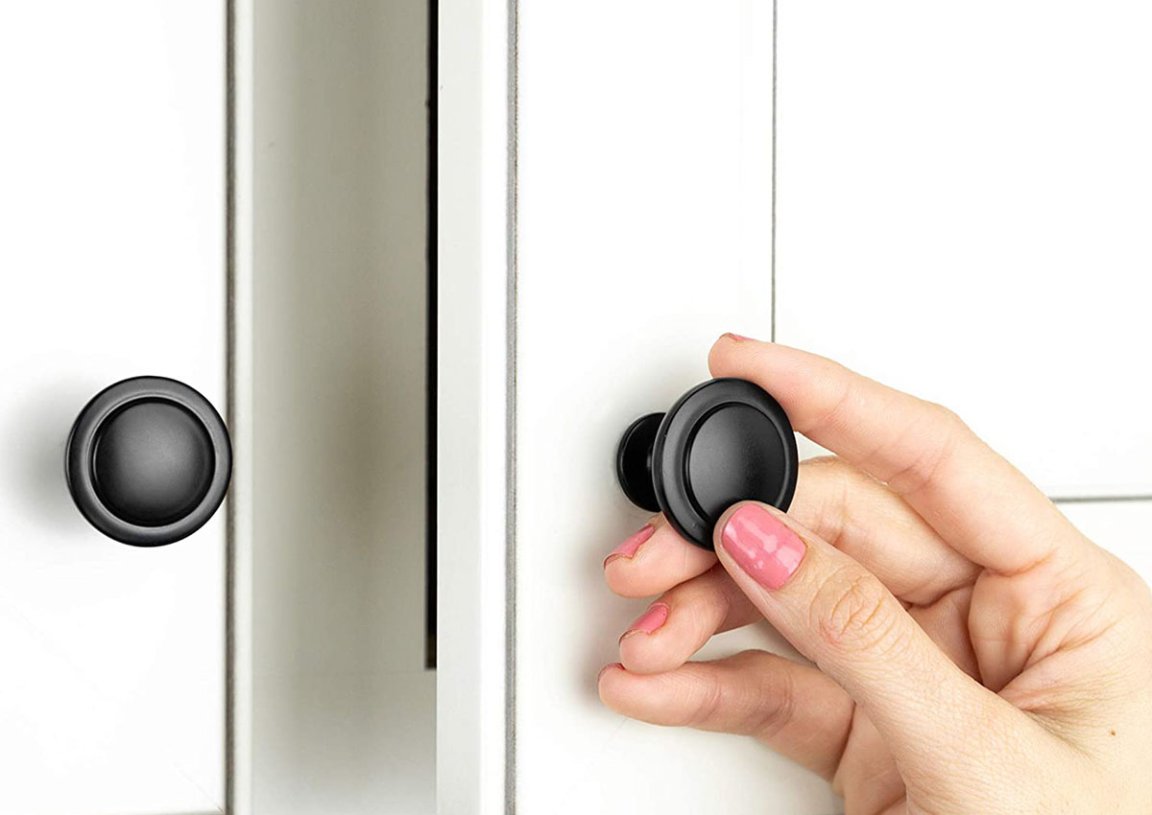
Transform Your Kitchen with the Best Cabinet Hardware

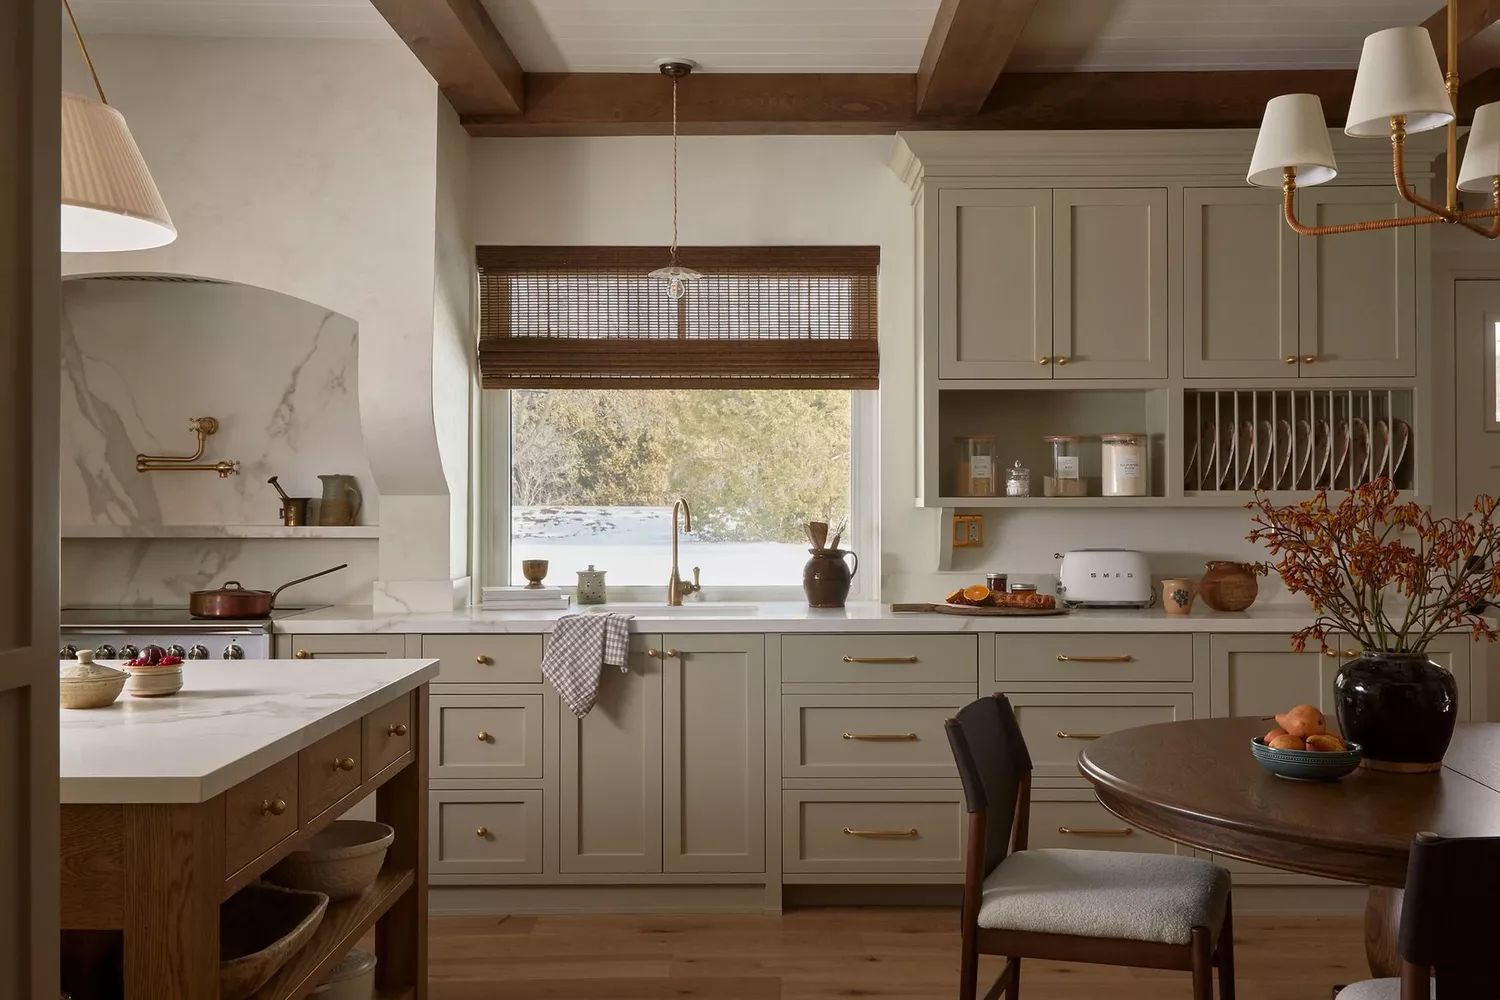
7 Designer-Approved Kitchen Cabinet Trends You'll See Everywhere in 2025

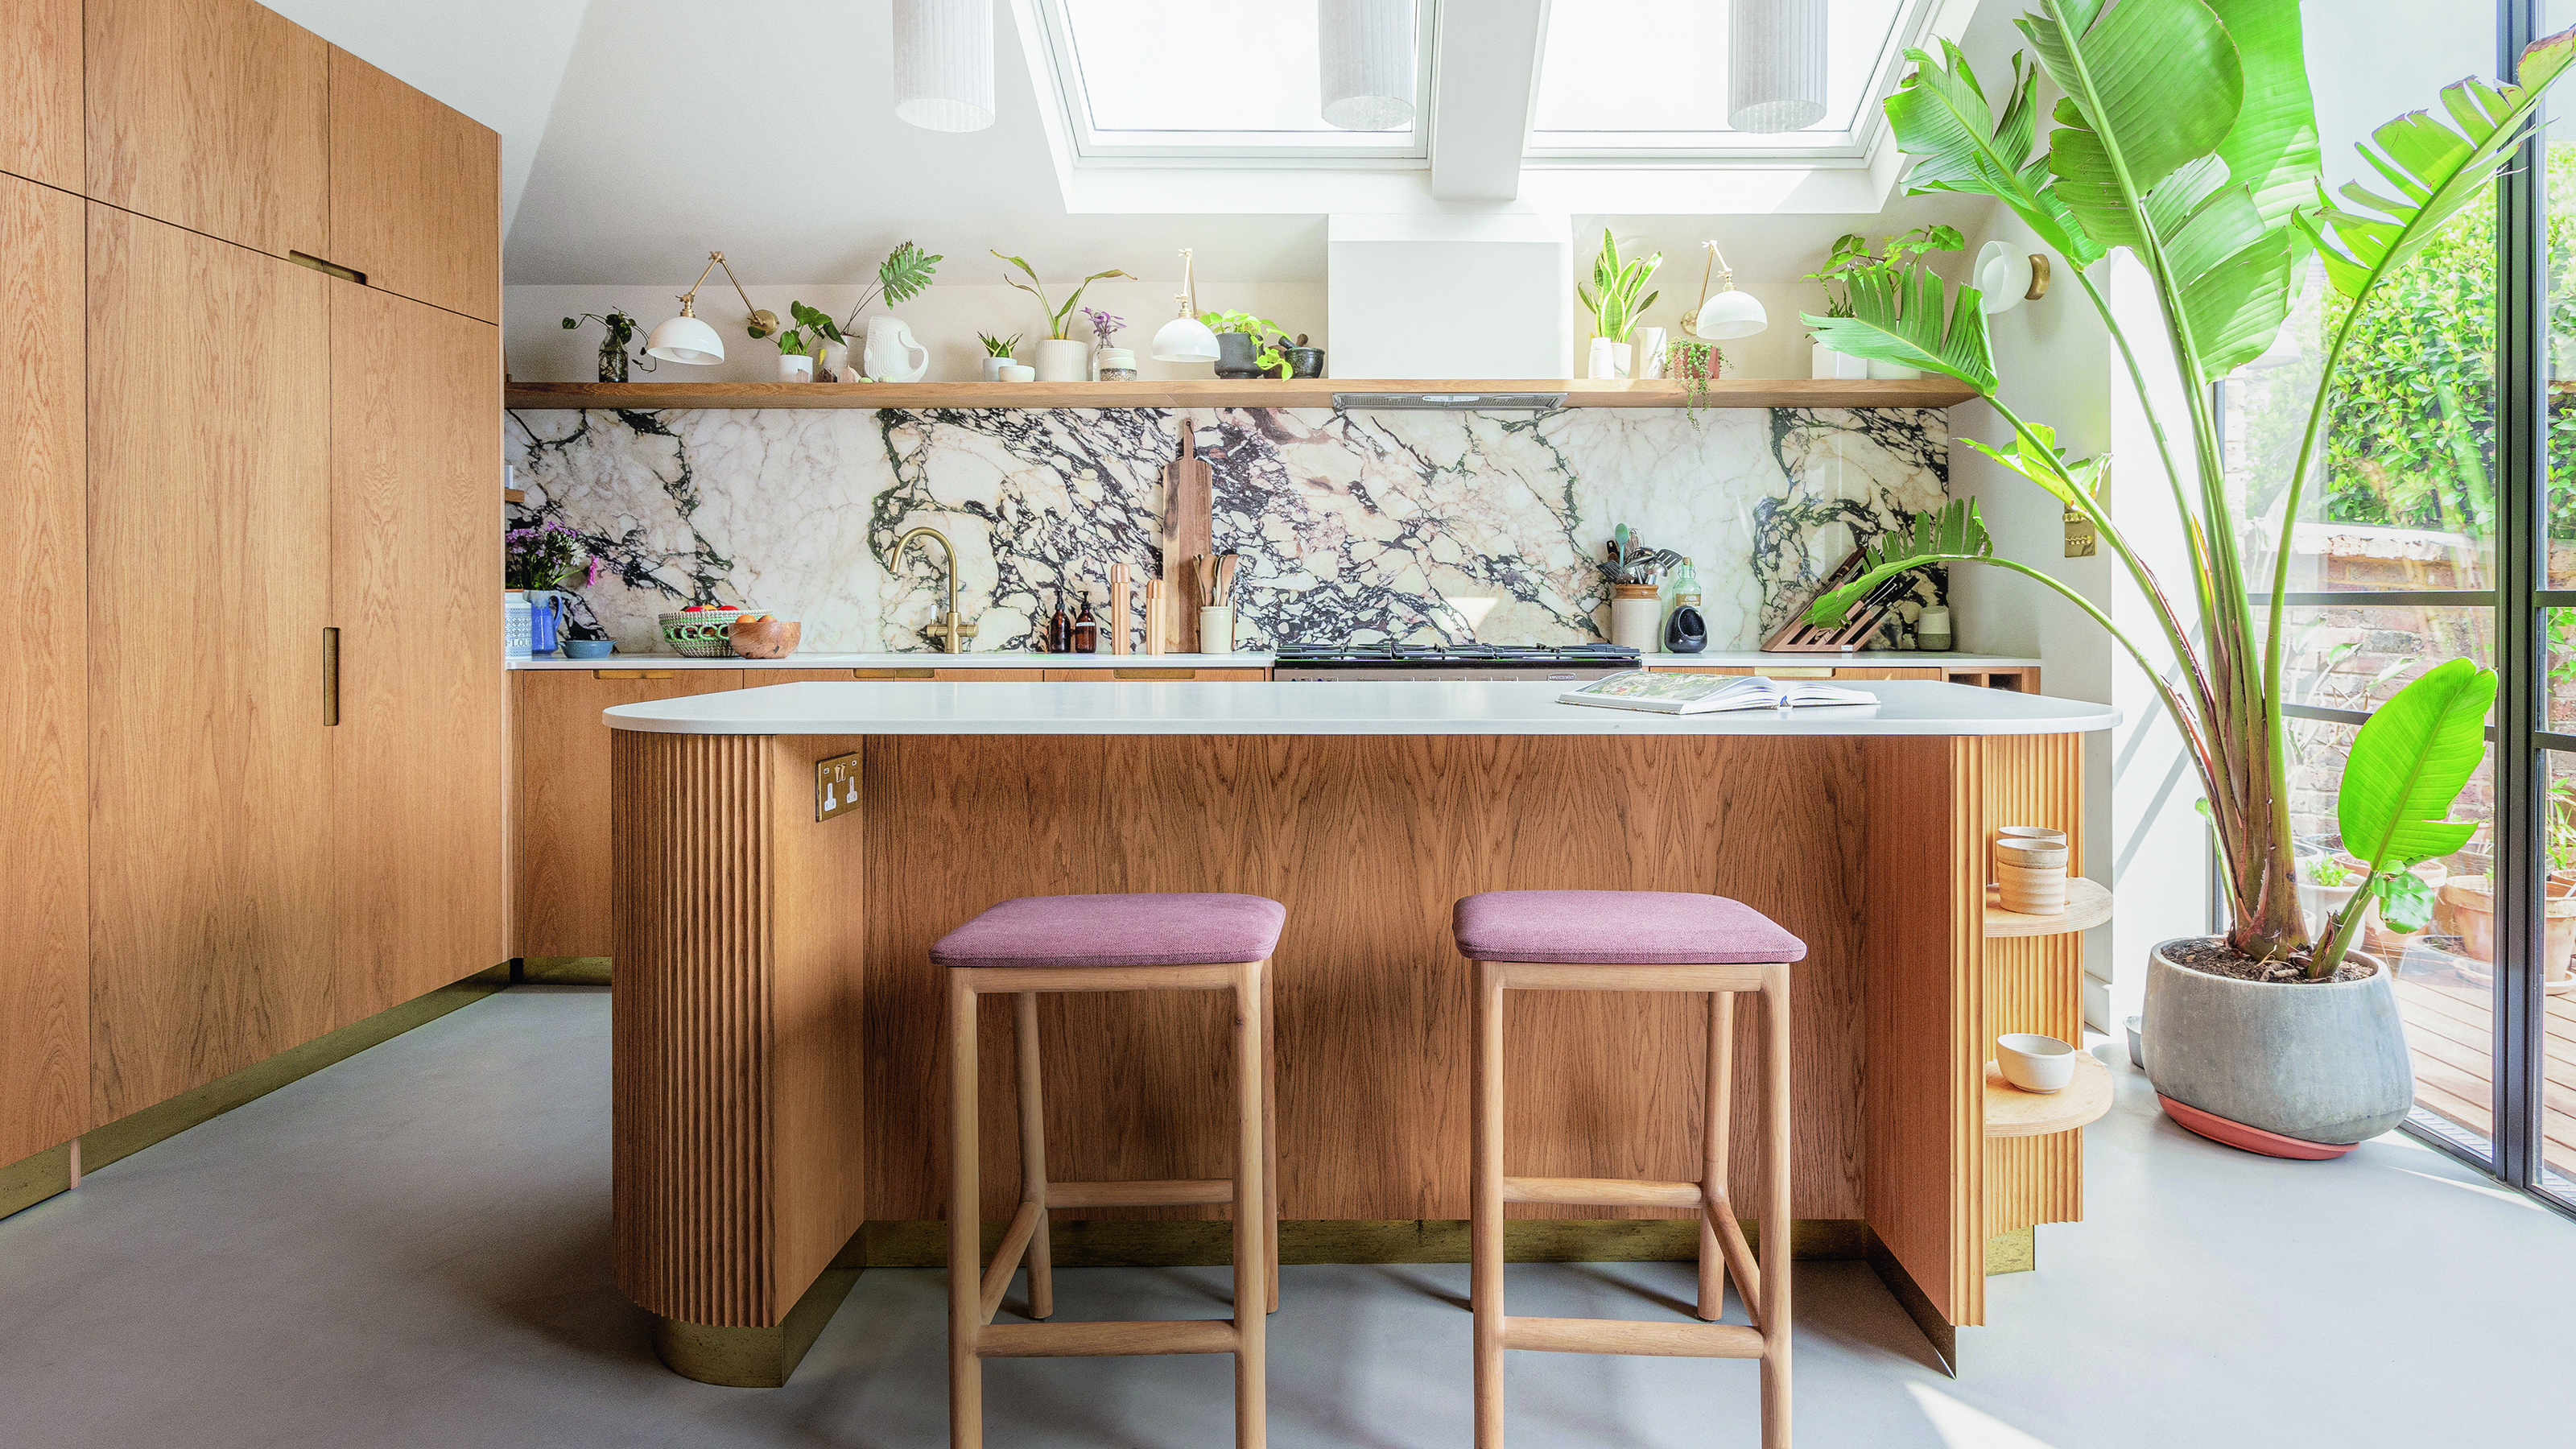
Fluted cabinets are set to be a huge kitchen trend in 2025 - this is how to make texture work in your cooking space
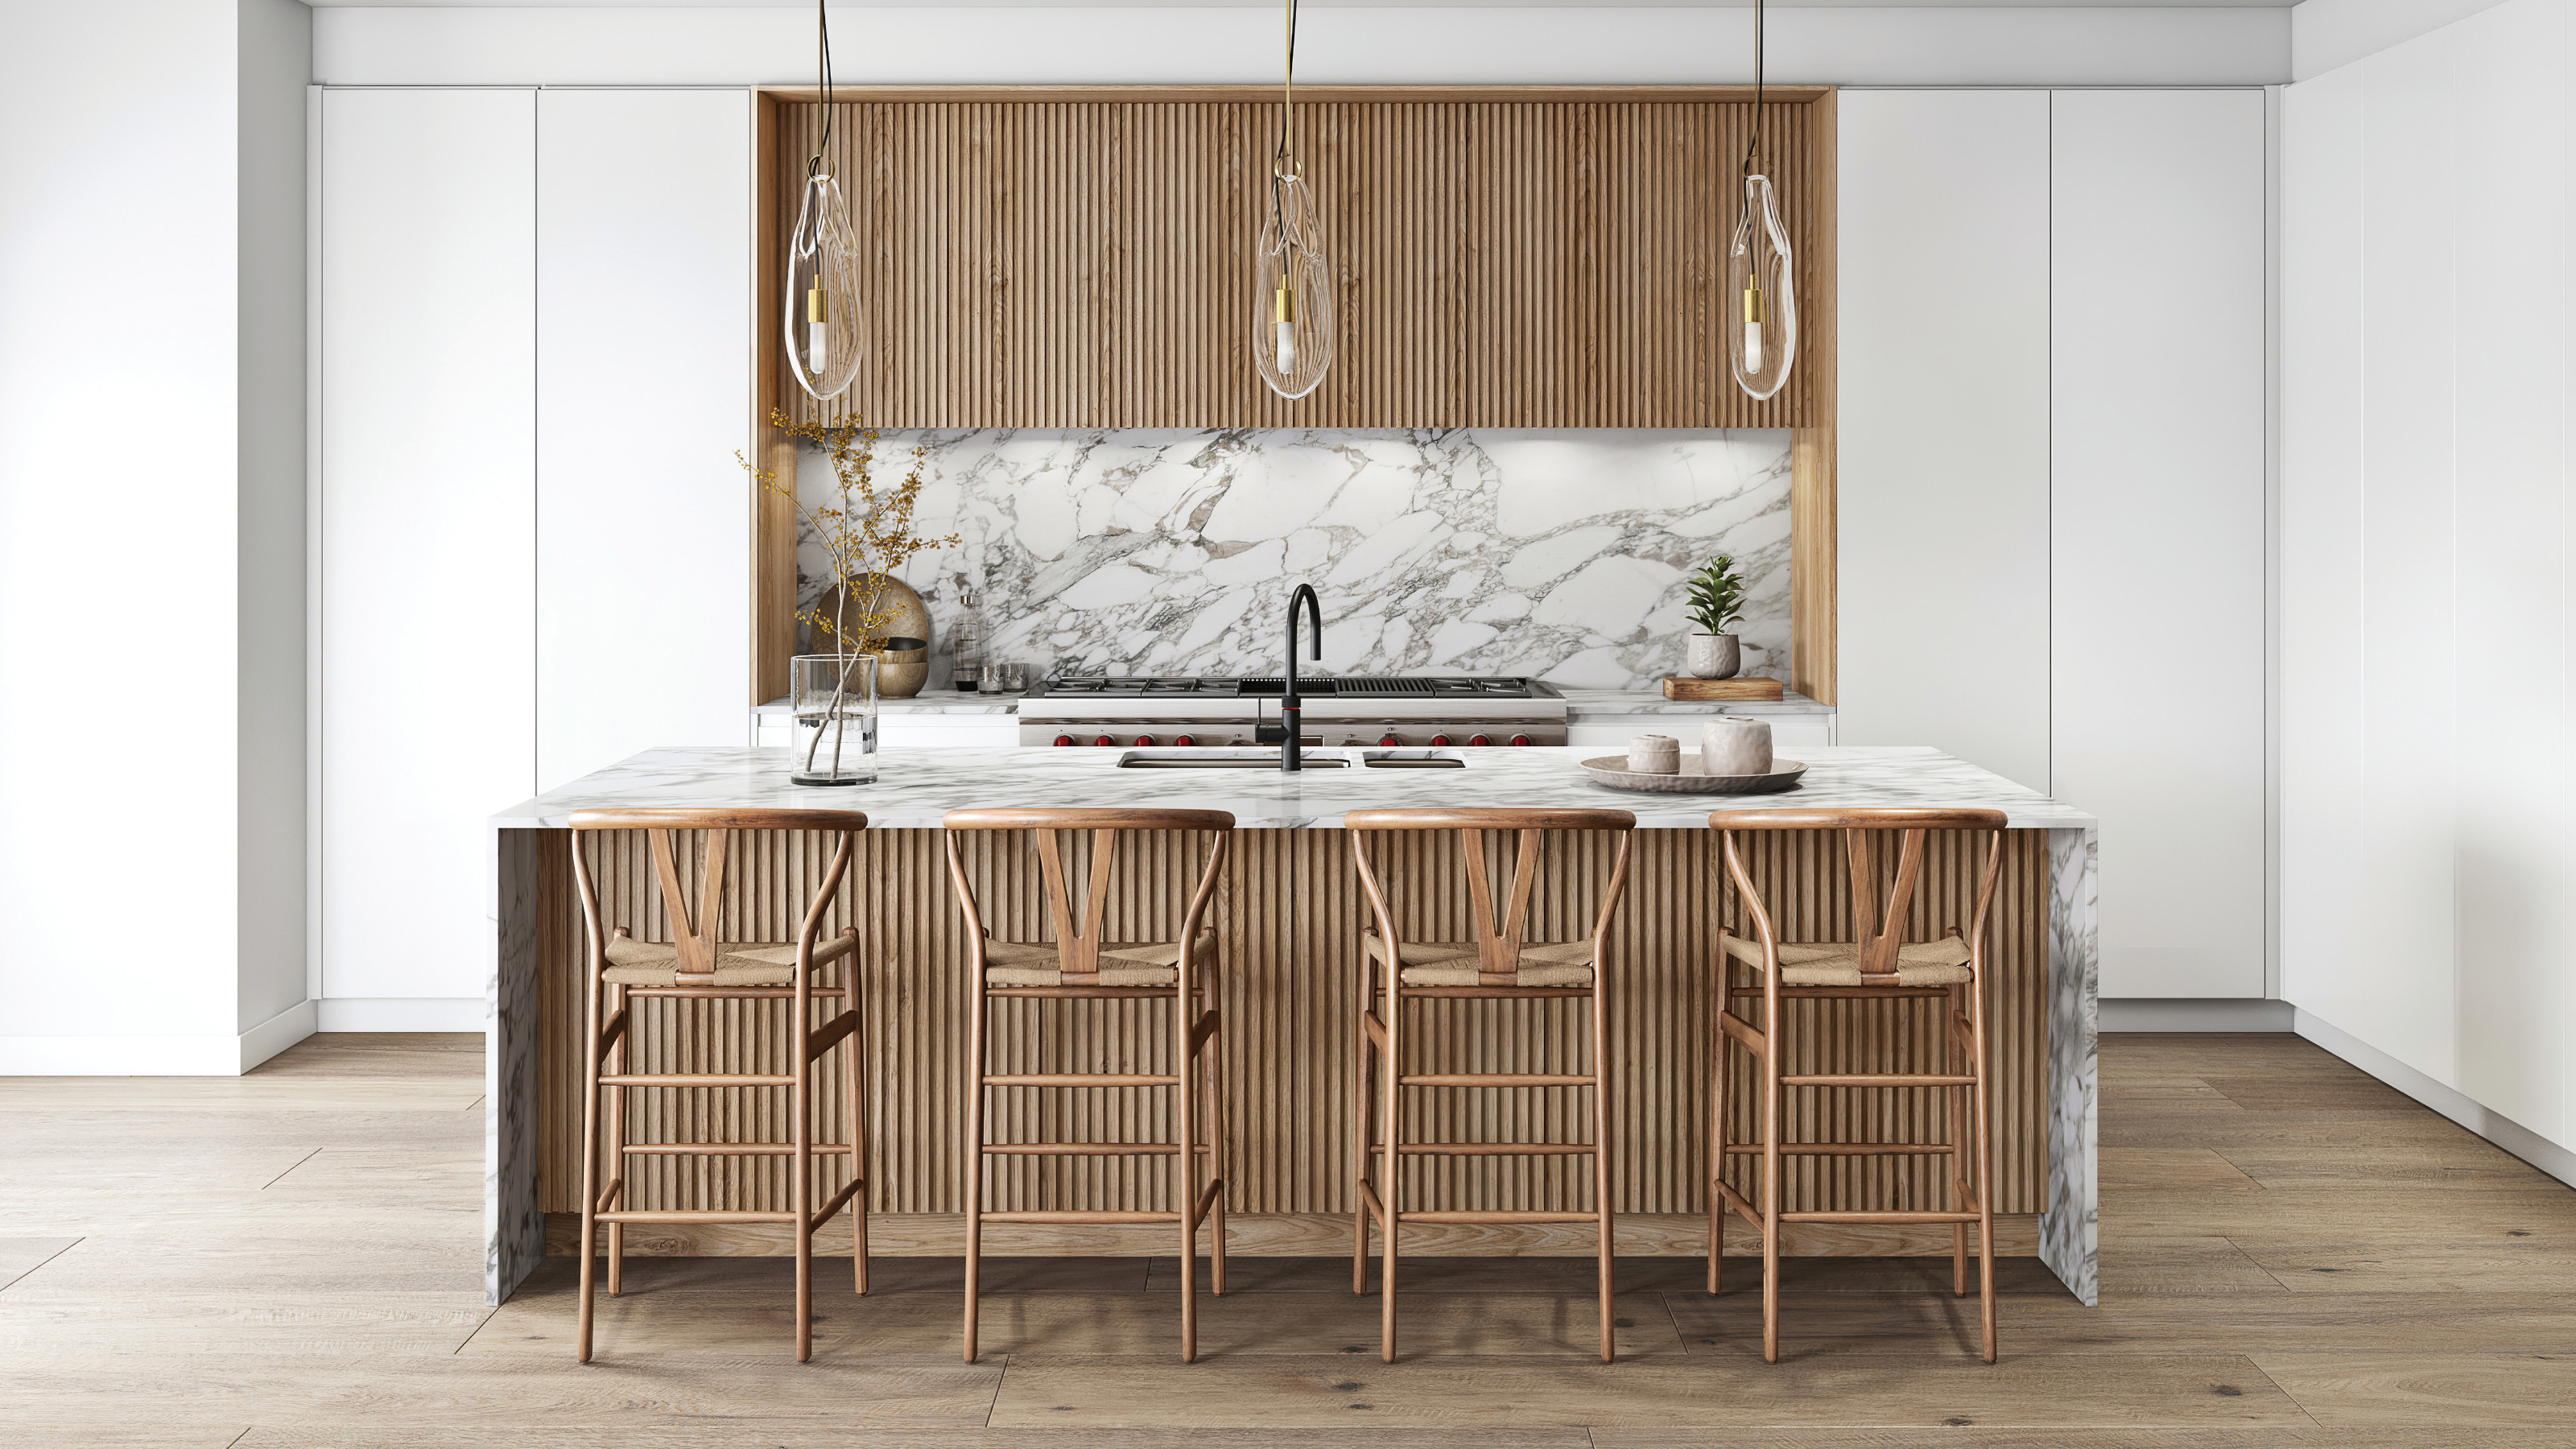
Fluted kitchen islands are the chicest new trend according to designers – here's how to get the look

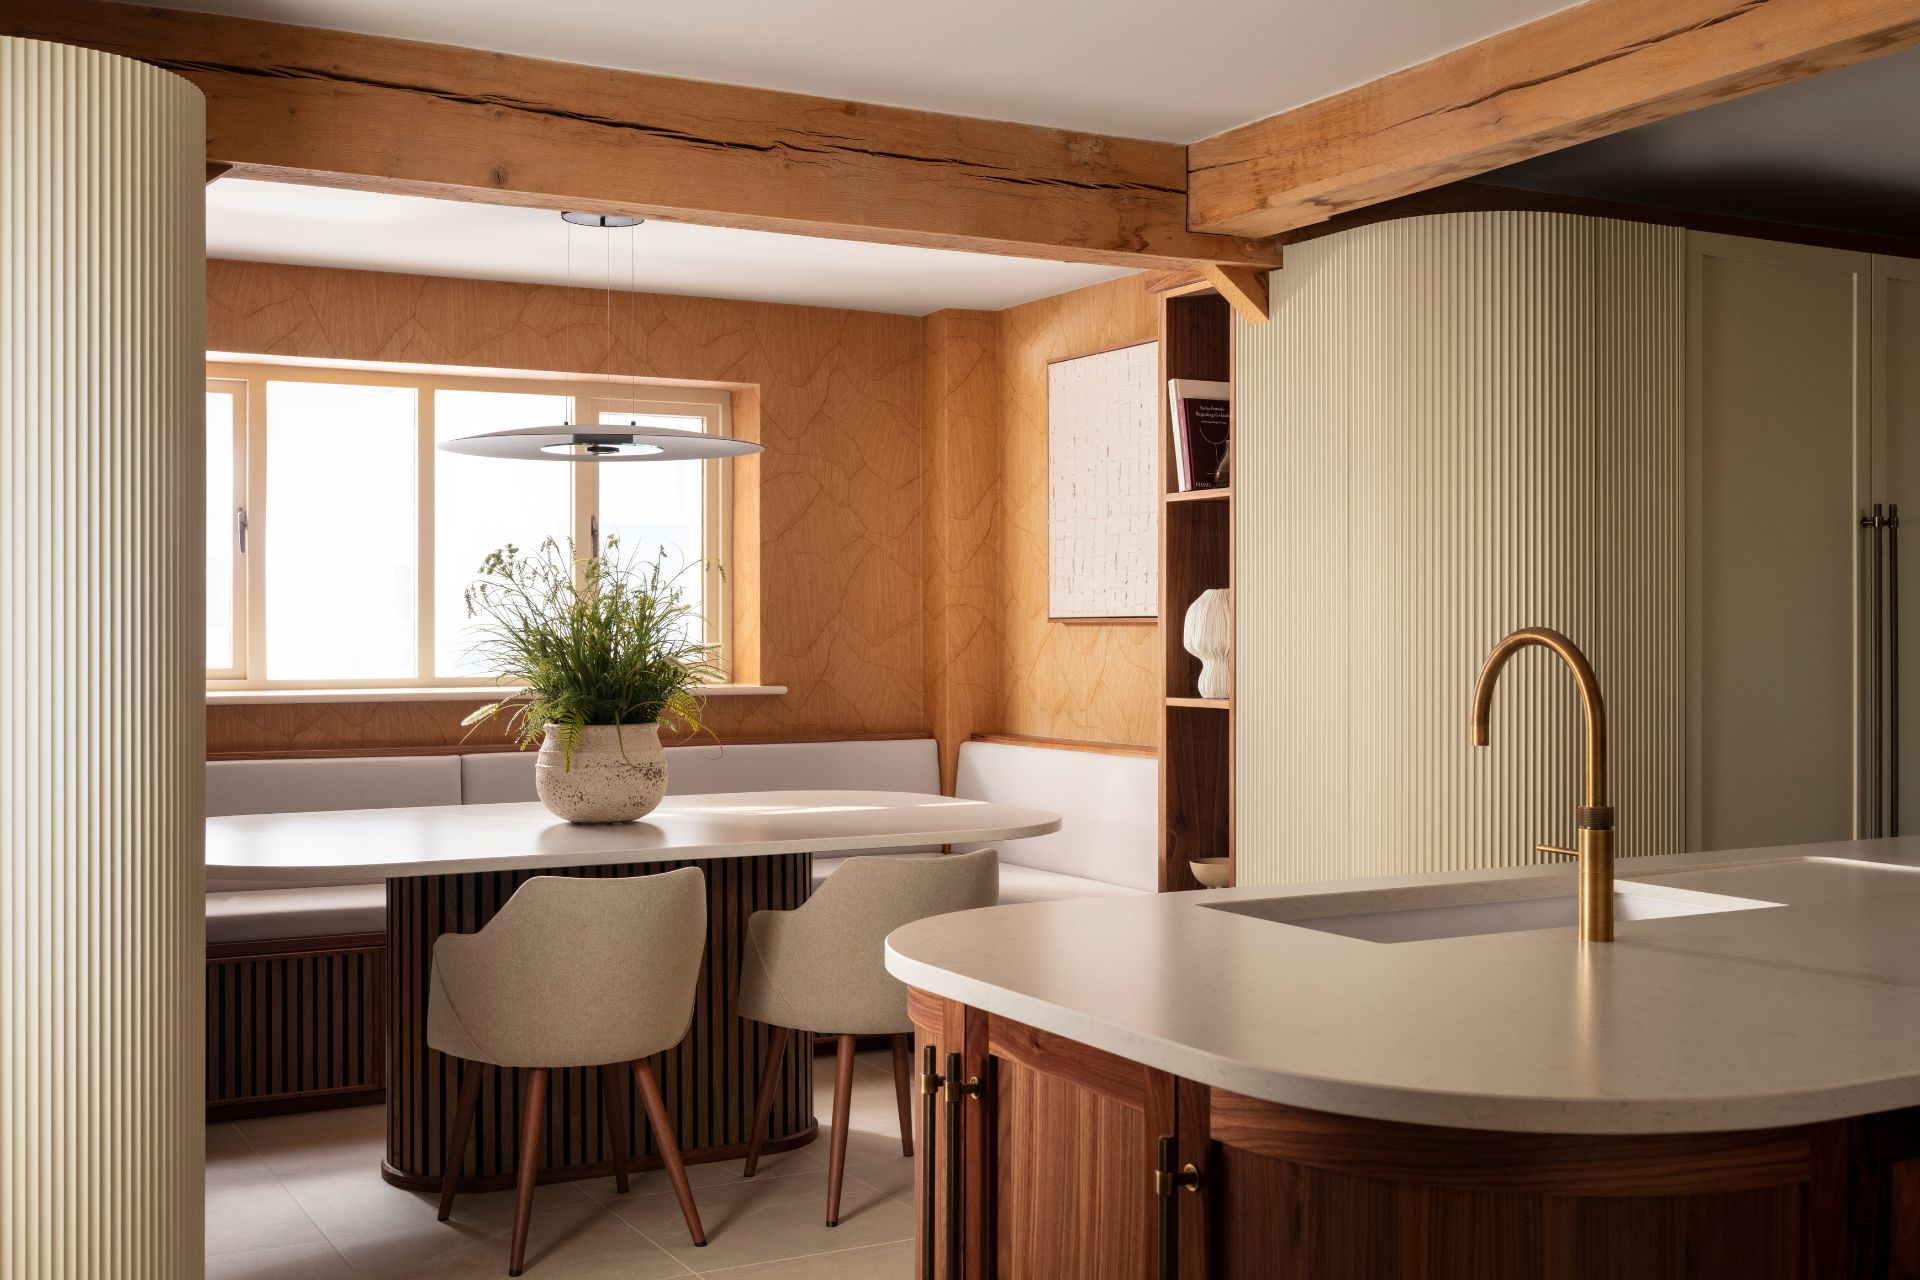
Are Fluted Kitchens Still On Trend?
14 kitchen cabinet ideas to inspire an on-trend yet practical cooking space in 2025
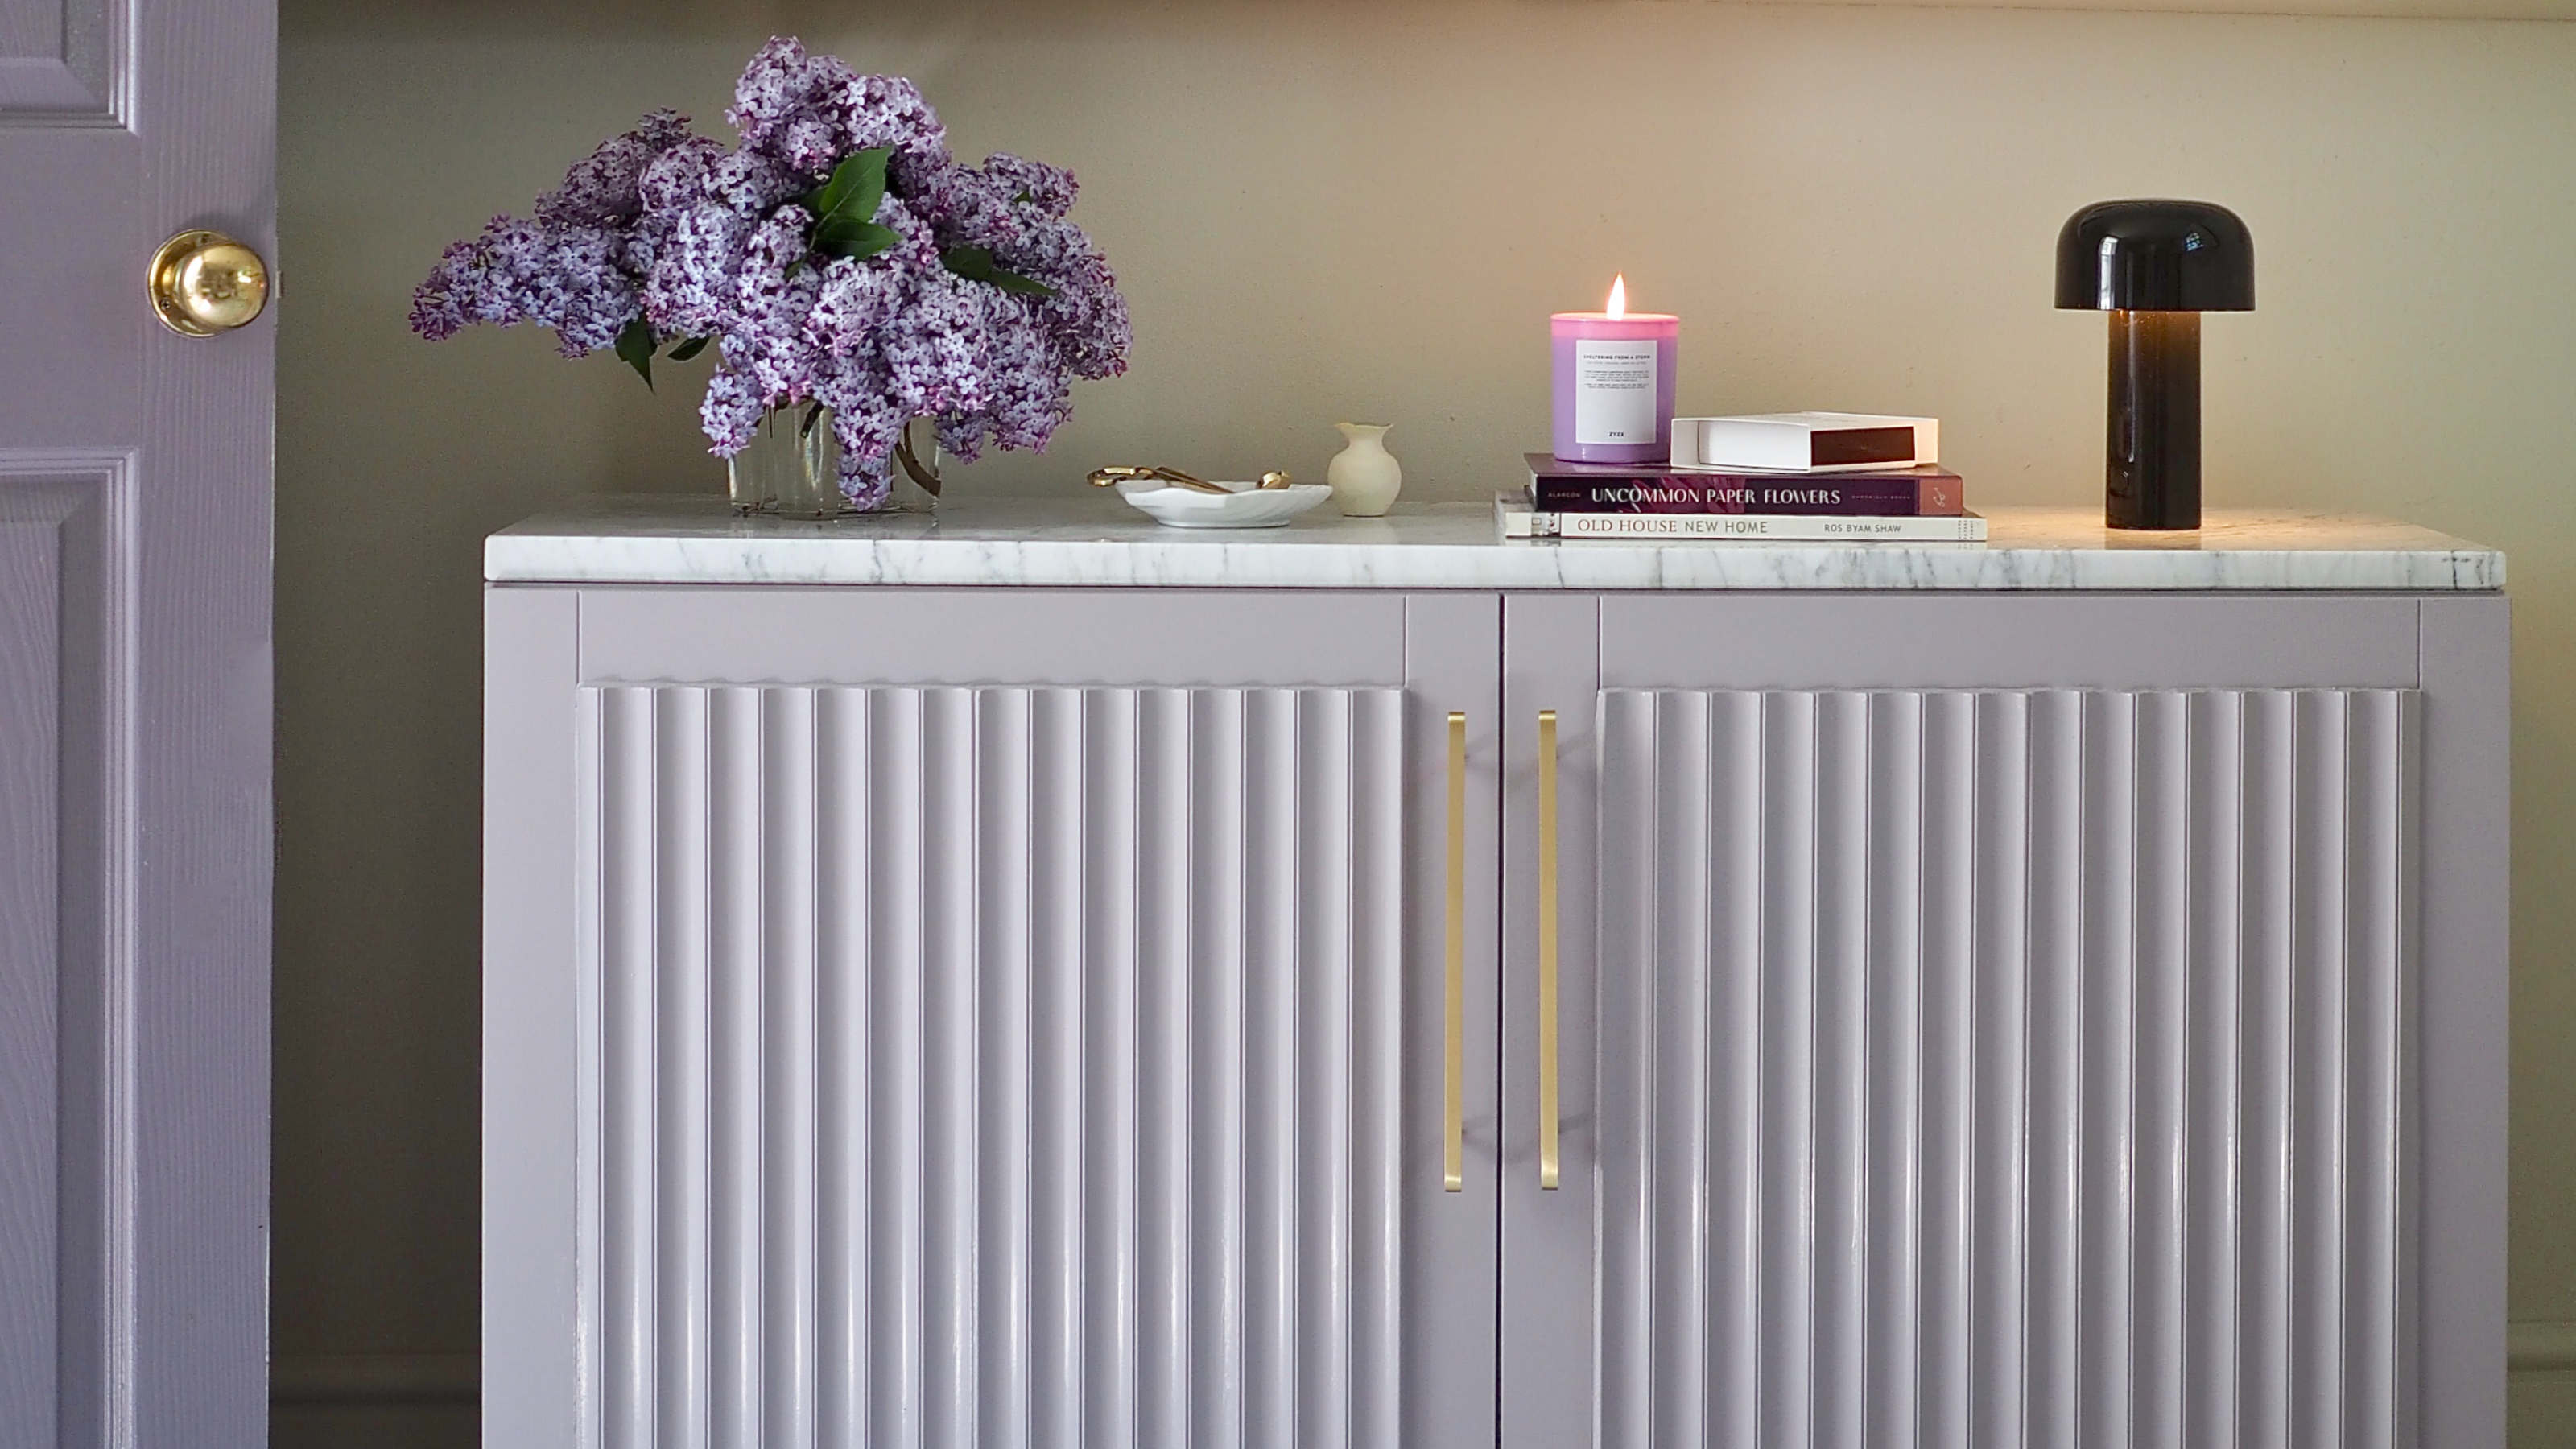
This genius hack turns a plain IKEA cabinet into a gorgeous, bespoke storage unit – it's nailing the fluted motif trend
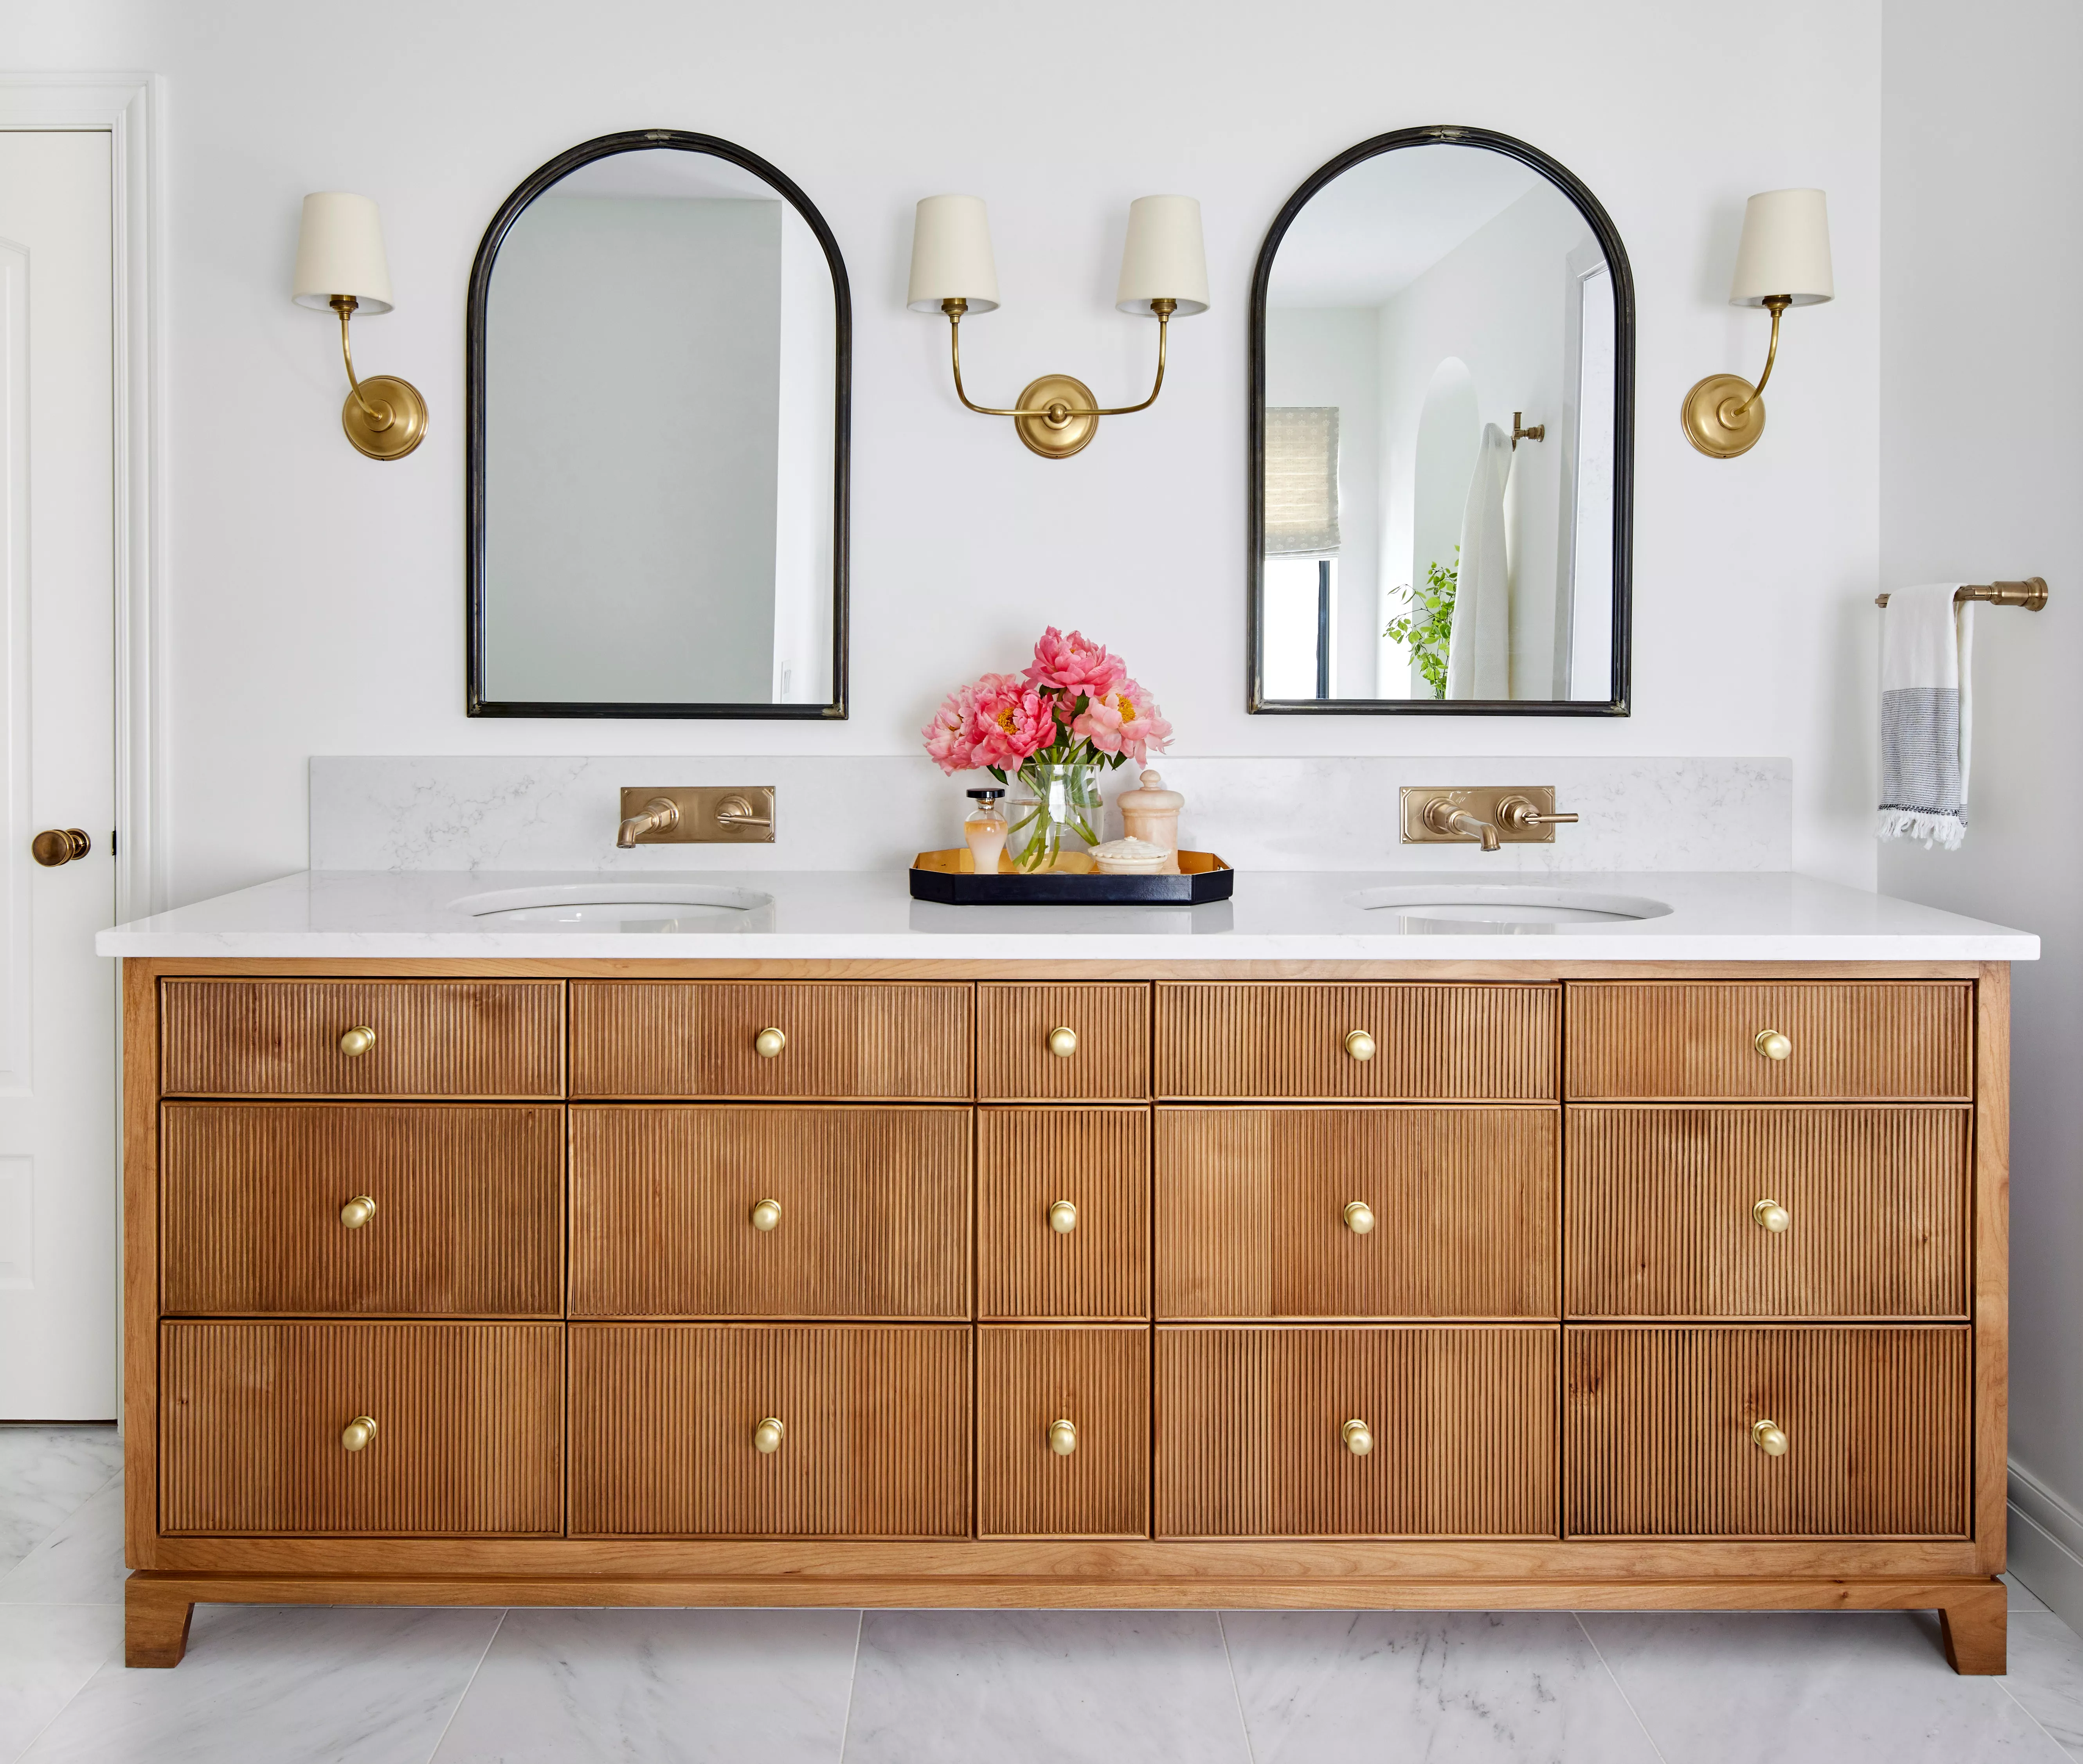
Fluted Furniture Is Everywhere Right Now—Here’s How to Make It Work In Your Space
10 kitchen trends we're seeing everywhere in 2025 - create a stylish cooking space with the latest styles
The Only Kitchen Cabinet Makers You Should Consider

How To DIY One Of 2025's Biggest Kitchen Cabinet Trends
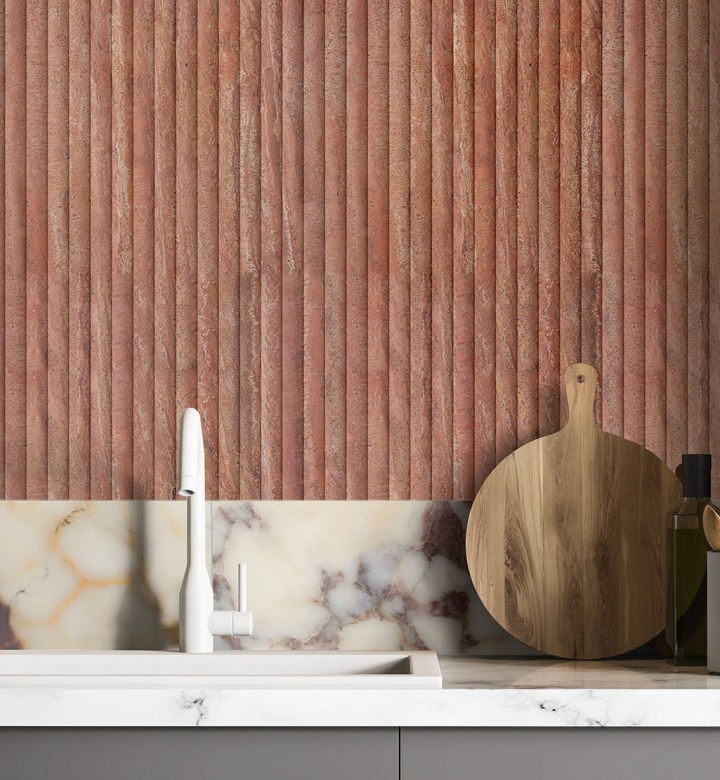
The Kitchen Trend We Called in 2021 Is Finally Going Mainstream, So Prepare to See It Everywhere
The $2 Ball Knobs on Every Door and Drawer in My House

What You Need To Know About Custom Cabinetry

The shape of things to come – 4 ways kitchen cabinetry is evolving
Are Fluted Glass Kitchen Cabinets Still on Trend? How to Make This Style Feel Right for Now
Skip the cookie-cutter cabinets and add pops of personality with these designer ideas

5 Kitchen Cabinet Trends on Their Way Out This Year (and 2 Taking Their Place)