1/4
This $150 DIY Backsplash Is a Made Entirely of Marble Remnants No One Else Wanted
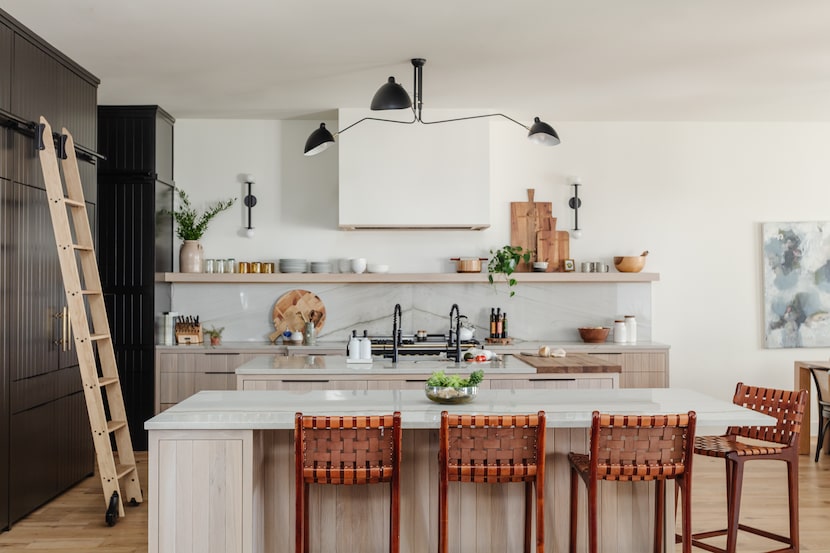
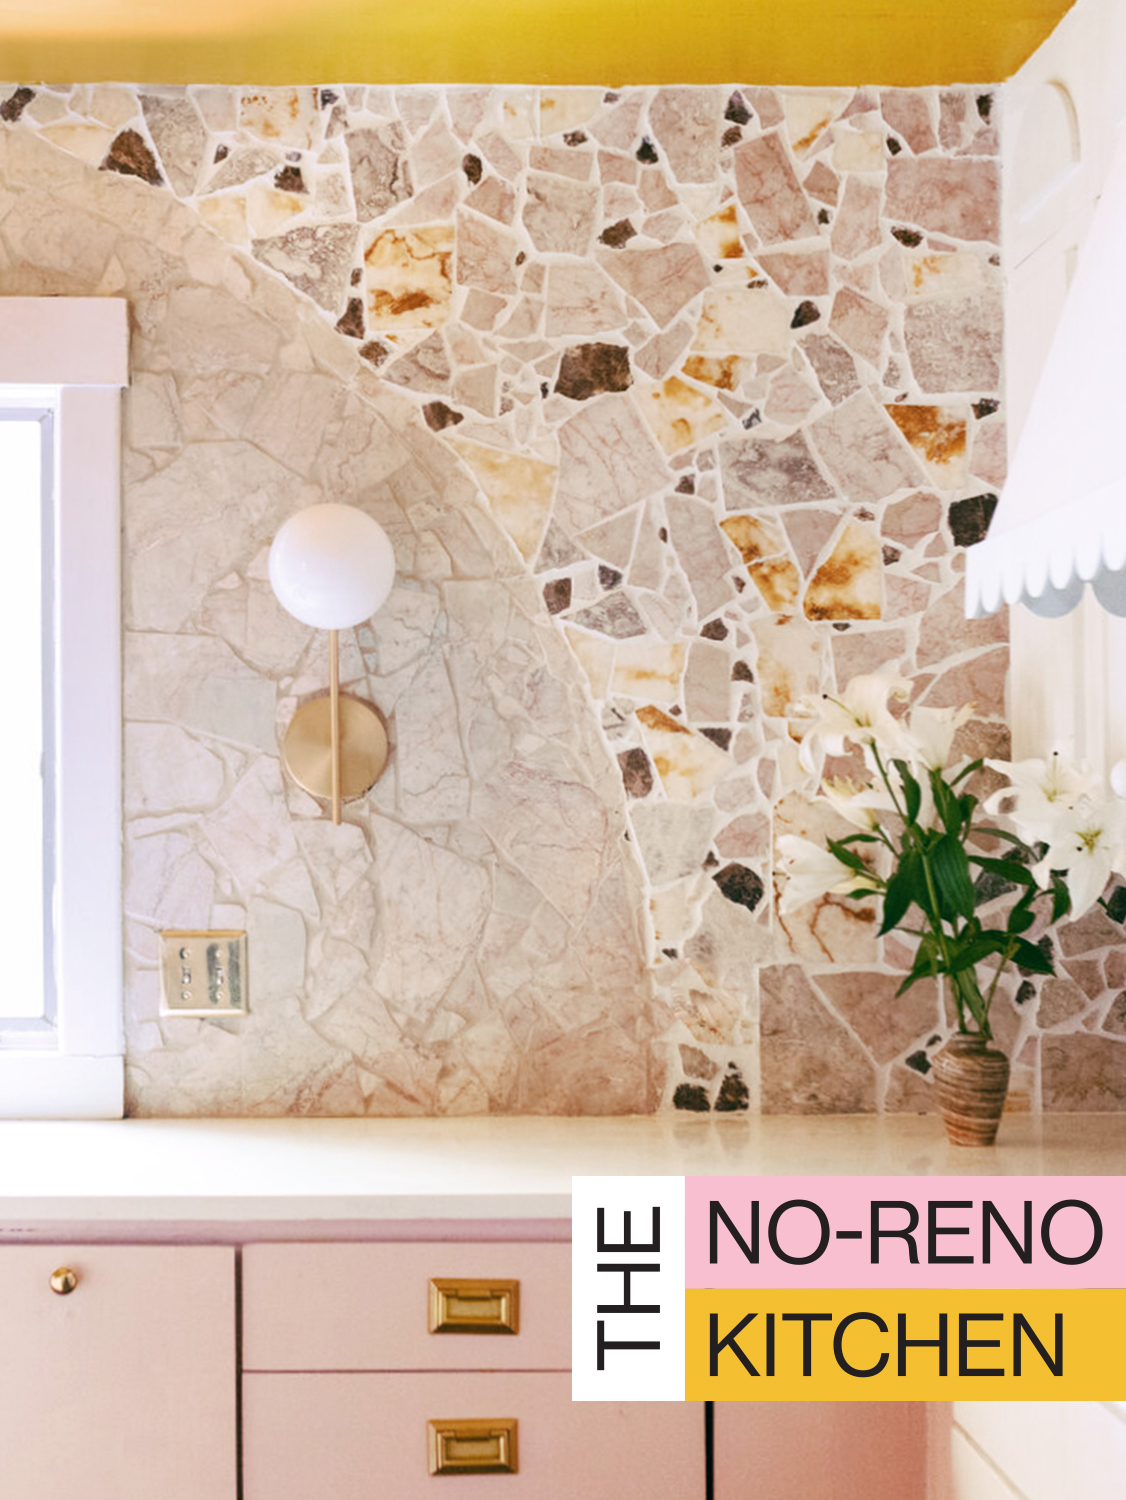
The article details a DIY kitchen backsplash project undertaken by Dallas-based designer Katie Sarokhanian for the One Room Challenge. The project aimed to create a mosaic backsplash using marble remnants, inspired by the Palladian terrazzo floors found in Italy, while adhering to a minimal budget. Sarokhanian successfully completed the entire backsplash, including mortar, for a total cost of $150. Her method involved sourcing marble remnants from previous design projects, as well as salvaging broken pieces from Facebook Marketplace and a local tile store, explicitly requesting anything with cracks.
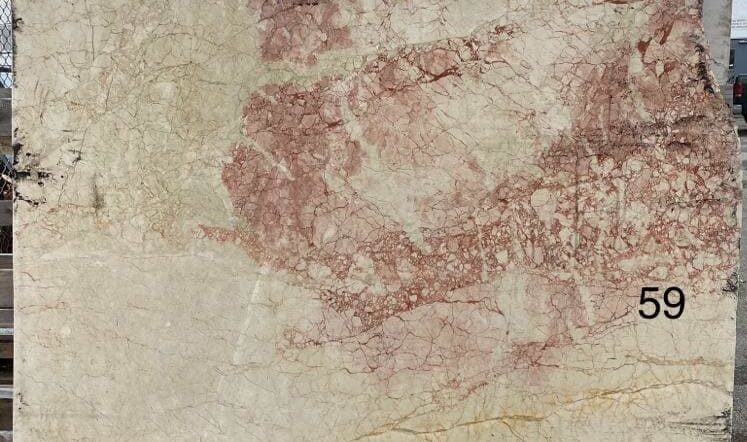
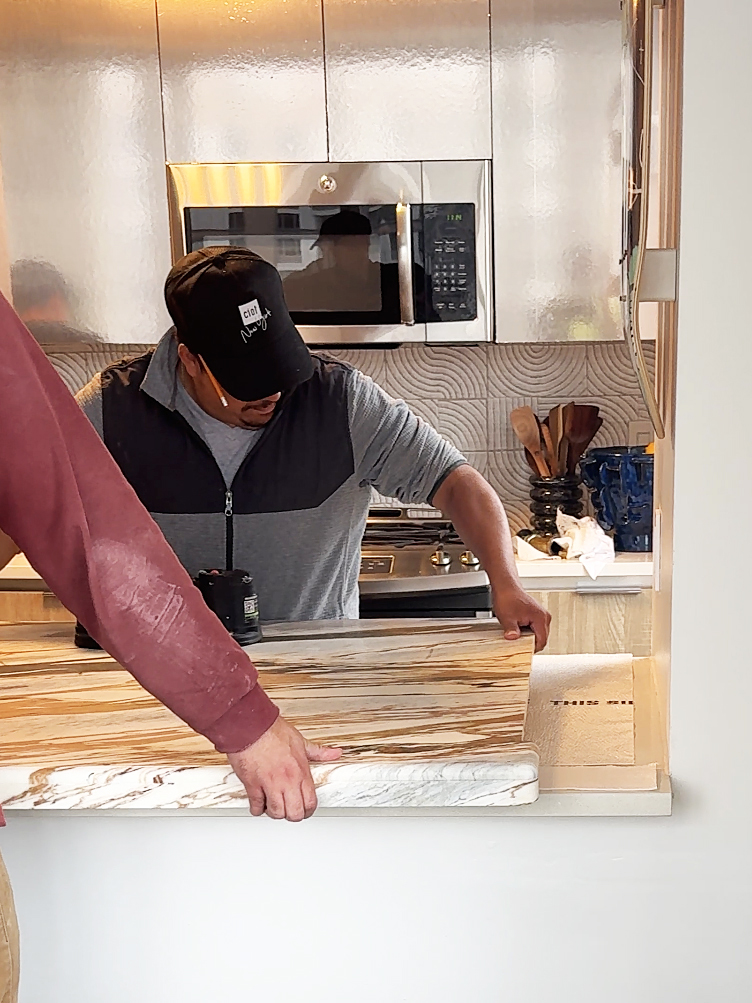
The 14-by-6-foot backsplash features a central arch composed of smashed-up pink marble pieces, surrounded by milky white, onyx, and Venetian gold marble. This combination imparts an old-world aesthetic to the 1980s house. Although the project was time-consuming, spanning a week, Sarokhanian described it as stress-free, emphasizing that tiling is more of an art than a traditional contractor's skill. The project is part of "The No-Reno Kitchen" series, which focuses on kitchen transformations achieved through paint, fixtures, and DIY efforts rather than extensive demolition.
Sarokhanian outlines a five-step process for replicating this mosaic backsplash. The necessary supplies include large-scale marble tiles, a mallet, a plastic bin, large stone mortar, sanded grout, an angle grinder, and a penetrating sealer. The first step involves preparing a moisture-resistant surface, such as green board, after removing old cabinets. She advises purchasing 30% less tile than usual due to the larger grout spaces in a mosaic design and ensuring all stone pieces have the same thickness to avoid an uneven appearance and dust accumulation.
The second step focuses on creating the mosaic pieces by breaking marble tiles into various large and small chunks using a rubber mallet and storing them in plastic bins for easy access. The third step, "Lay Away," involves outlining the desired arch shape on the wall with a pencil before applying mortar. Sarokhanian filled the gaps between larger pink marble chunks with 1-inch remnants, then applied sanded grout over the pink stone. For the white and yellow marble sections outside the arch, she opted to use more mortar instead of grout.
The fourth step addresses cleaning up the edges. Sarokhanian recommends using only natural stone for this project, as sanding ceramic tile can lead to a loss of its top coat color, whereas natural stone maintains its integrity even after breaking. After setting the stone and grouting, she used an angle grinder to buff out any rough edges. The final step involves applying a penetrating sealer with a pump sprayer, sponge, or brush, particularly important for areas not covered by grout, which contains a natural sealant. The sealer needs 24 hours to cure and dry, after which the unique mosaic is complete.
#KitchenRenovation #DIYBacksplash #MarbleRemnants #MosaicTile #HomeImprovement #BudgetDecor #OneRoomChallenge #InteriorDesign #KitchenDesign #KitchenRenovation #DIYBacksplash #MarbleRemnants #MosaicTile #HomeImprovement #BudgetDecor #OneRoomChallenge #InteriorDesign #KitchenDesign
0 comment in total
 No comments yet
You may also like
To Get the Look of a Marble Backsplash for Less, Shop the Bathroom Aisle
This dated granite countertop looks like marble now — just by using paint!

10 Faux Marble DIY Projects You Can Take On In A Weekend

Before You Splurge on Backsplash Tile, Consider This Clever Hack
This DIY Backsplash Is Even More Renter-Friendly Than Peel-and-Stick
From patchwork to parquet: 8 homes that do marble differently


Giada De Laurentiis's backsplash has a hidden benefit

Slabs Top the List of 2022’s Most Popular Kitchen Backsplashes

Our New Kitchen Backsplash Crush Is (Spoiler!) Not Tile
Reinvent Your Kitchen Backsplash On A Budget With This Affordable Material

A Marble Countertop on a Budget Is Possible—Here's This Designer's Secret Shopping Source

This Designer’s Hack for a Real Marble Countertop in a Rental: Make It Removable

DIY backsplash makes a big impact on a tight budget

Freshen up the look of your kitchen with a unique backsplash

5 Bathroom Backsplash Materials Designers Tend to Avoid for Practical Reasons — And What They're Choosing Instead When Renovating

Bathroom backsplash ideas - designers explain the best styles for behind baths and basins
This Marble Home Decor Looks So Luxe — And You’ll Never Guess Where It’s From
Forget the Tub—These Bathroom Backsplash Ideas Steal the Show
How This Tile Company Founder Landed on the Perfect Backsplash for His Own Kitchen
12 Gorgeous Kitchen Backsplash Trends Interior Designers Love