1/4
How to Apply Multi-Color Dyes to Polished Concrete
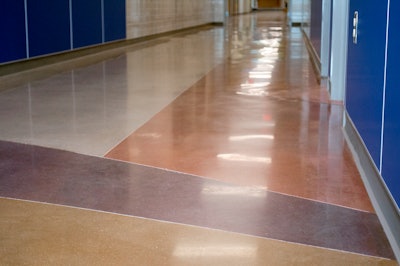
The article details the process and challenges of applying multi-color dyes to polished concrete floors, specifically focusing on a project undertaken by Texas Bomanite for Charter Oak Elementary School. This project involved dyeing 52,000 square feet of corridors and classrooms with four different colors, a task that required precise application techniques and careful management of expectations.
Traditional acid-based concrete stains are noted for their unpredictability due to chemical reactions with the concrete. In contrast, dyes, particularly solvent-based ones like those from Ameripolish, offer predictable and vibrant colors. Solvent-based dyes also penetrate concrete surfaces more effectively, allowing for use on harder floors and application later in the polishing process. The article highlights that dyes facilitate multi-color designs, which is a growing trend in architectural concrete finishes.
Texas Bomanite's approach to the multi-color project involved creating decorative saw cuts and applying each color one at a time. The saw cuts, typically 1/8-inch wide and 1/8-inch deep, served as essential barriers to prevent colors from bleeding into each other, creating crisp lines. This technique is crucial for achieving clean color transitions in complex designs. The contractor also noted the importance of filling any controlled joints or cracks with polyurea joint filler.
The dye application process begins with densifying the concrete floor. Densifiers fill the pores of the slab, which are opened during the initial polishing cuts, and prepare the surface for proper polishing and dye absorption. This step is also vital for protecting the concrete by tightening its pore structure, making it less susceptible to moisture and spills. The project utilized a Class A no-aggregate exposure, meaning the existing concrete surface was polished without exposing underlying aggregate, requiring densification directly on the slab's cap.
Following densification, a resibond diamond grinder is used to polish and hone the floor. For this project, Texas Bomanite started with a 100-grit resin polishing pad, progressed to 200-grit, applied the dye, then used a 400-grit resin, applied a guard, and finished by varnishing the floors. The article emphasizes the importance of applying dyes within a specific window of opportunity during the polishing process. Applying too early can lead to the dye being cut out by subsequent polishing steps, while applying too late can prevent proper absorption. Texas Bomanite used a two-coat method, applying dye after 200-grit and again after 400-grit resins, to ensure uniform coverage and prevent bald spots.
The final step involves applying a stain protectant, or guard, which is then heated with a high-speed propane varnisher. This protective layer enhances the concrete's durability and longevity. The article also addresses the challenge of managing expectations, especially with a Class A finish that retains existing slab imperfections. Pre-construction meetings and mockups are deemed essential to inform clients about potential variations, such as chattermarks from finishing blades and slight waves in the floor due to high and low spots, ensuring all parties have a clear understanding of the final aesthetic.
#ConcreteDyes #PolishedConcrete #DecorativeConcrete #ConcreteFinishes #ConstructionTechniques #ArchitecturalConcrete #ConcreteApplication #Flooring #ConcreteDyes #PolishedConcrete #DecorativeConcrete #ConcreteFinishes #ConstructionTechniques #ArchitecturalConcrete #ConcreteApplication #Flooring
0 comment in total
 No comments yet
You may also like
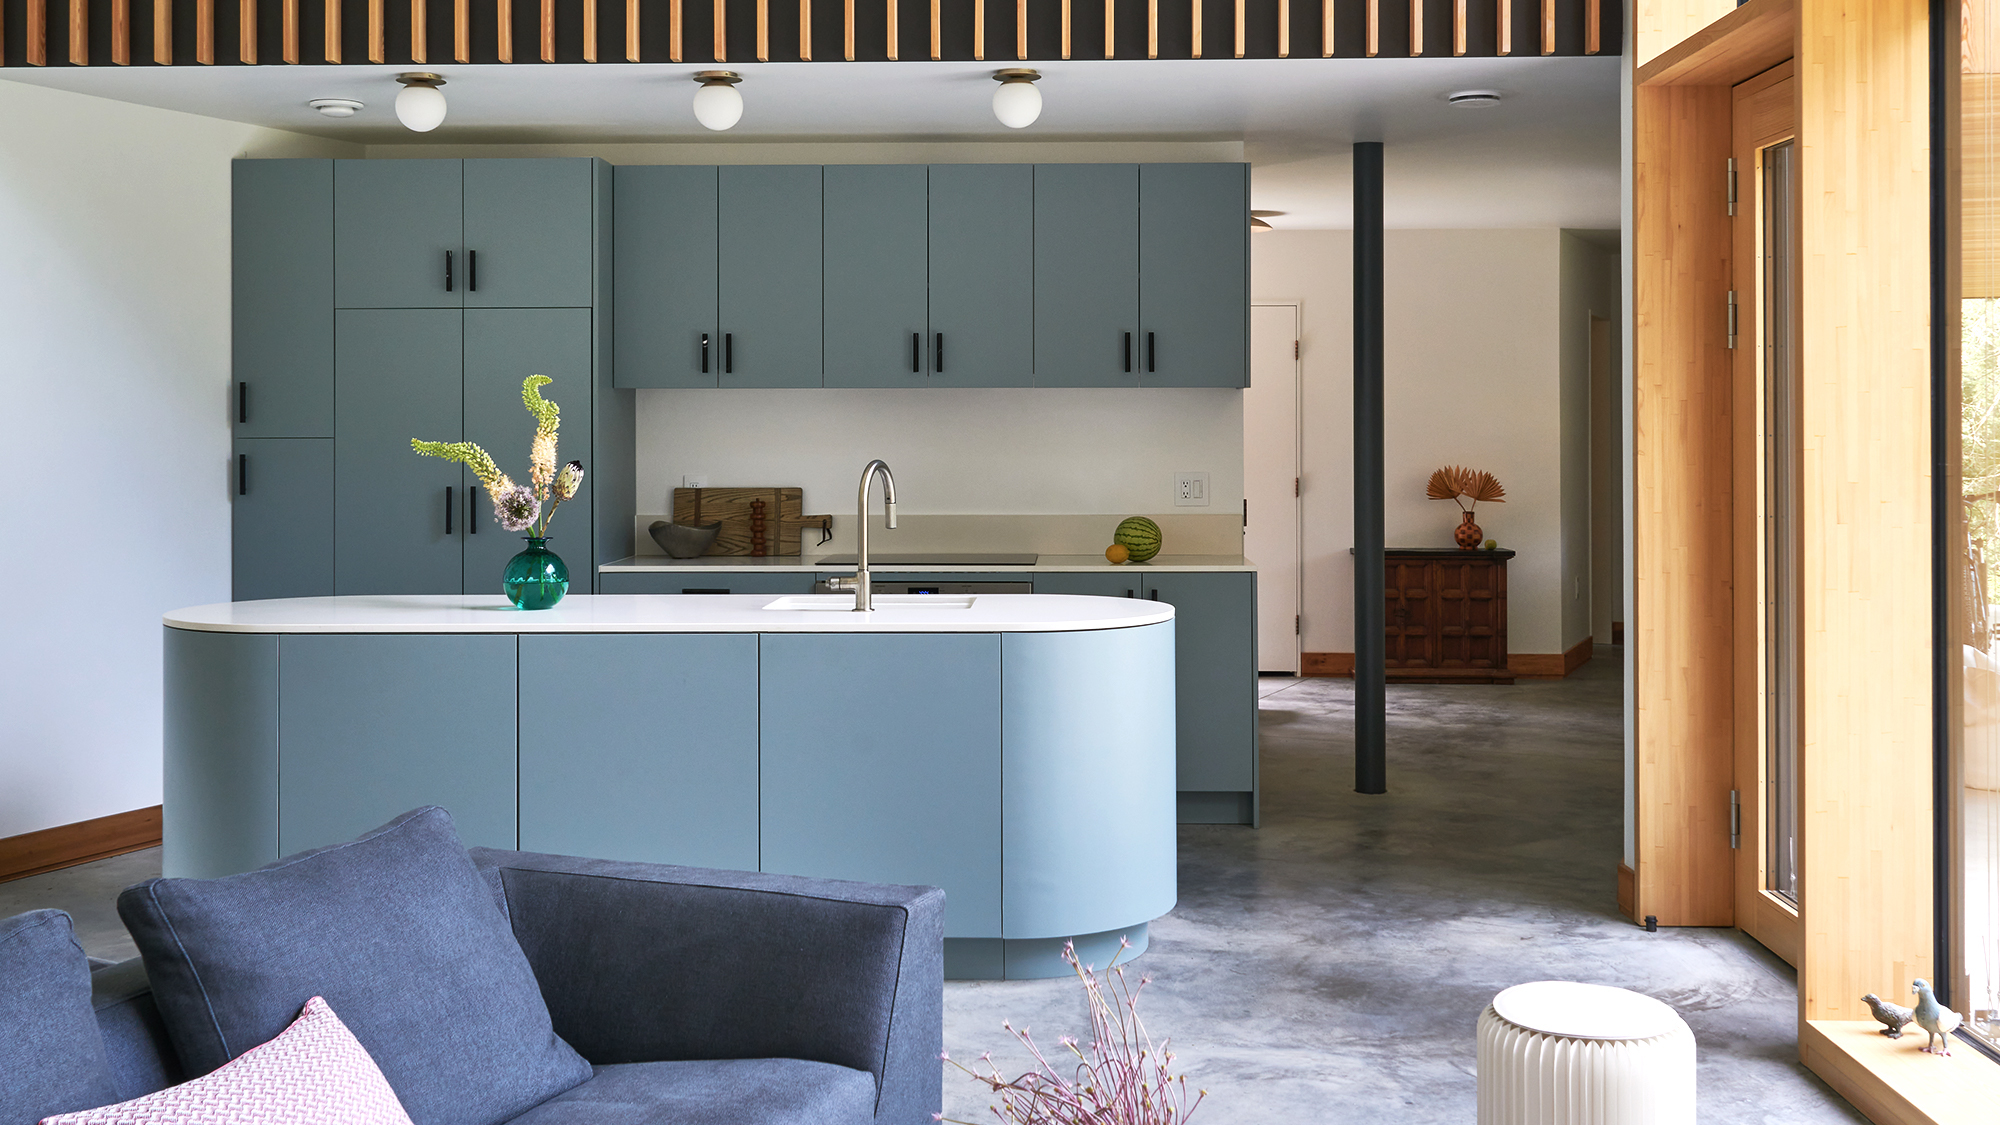
Which wall colors work best with concrete floors? Pairings to complement and elevate this industrial finish
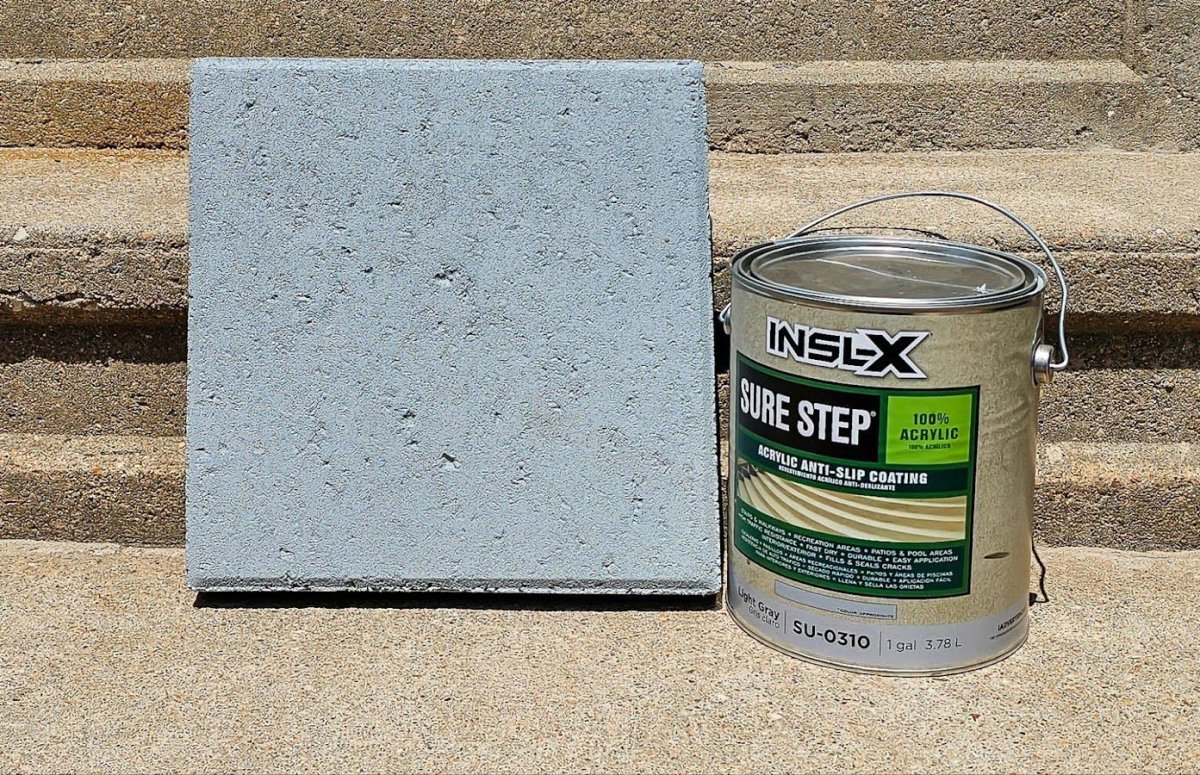
How Good Is INSL-X Paint by Benjamin Moore? A Tested Review

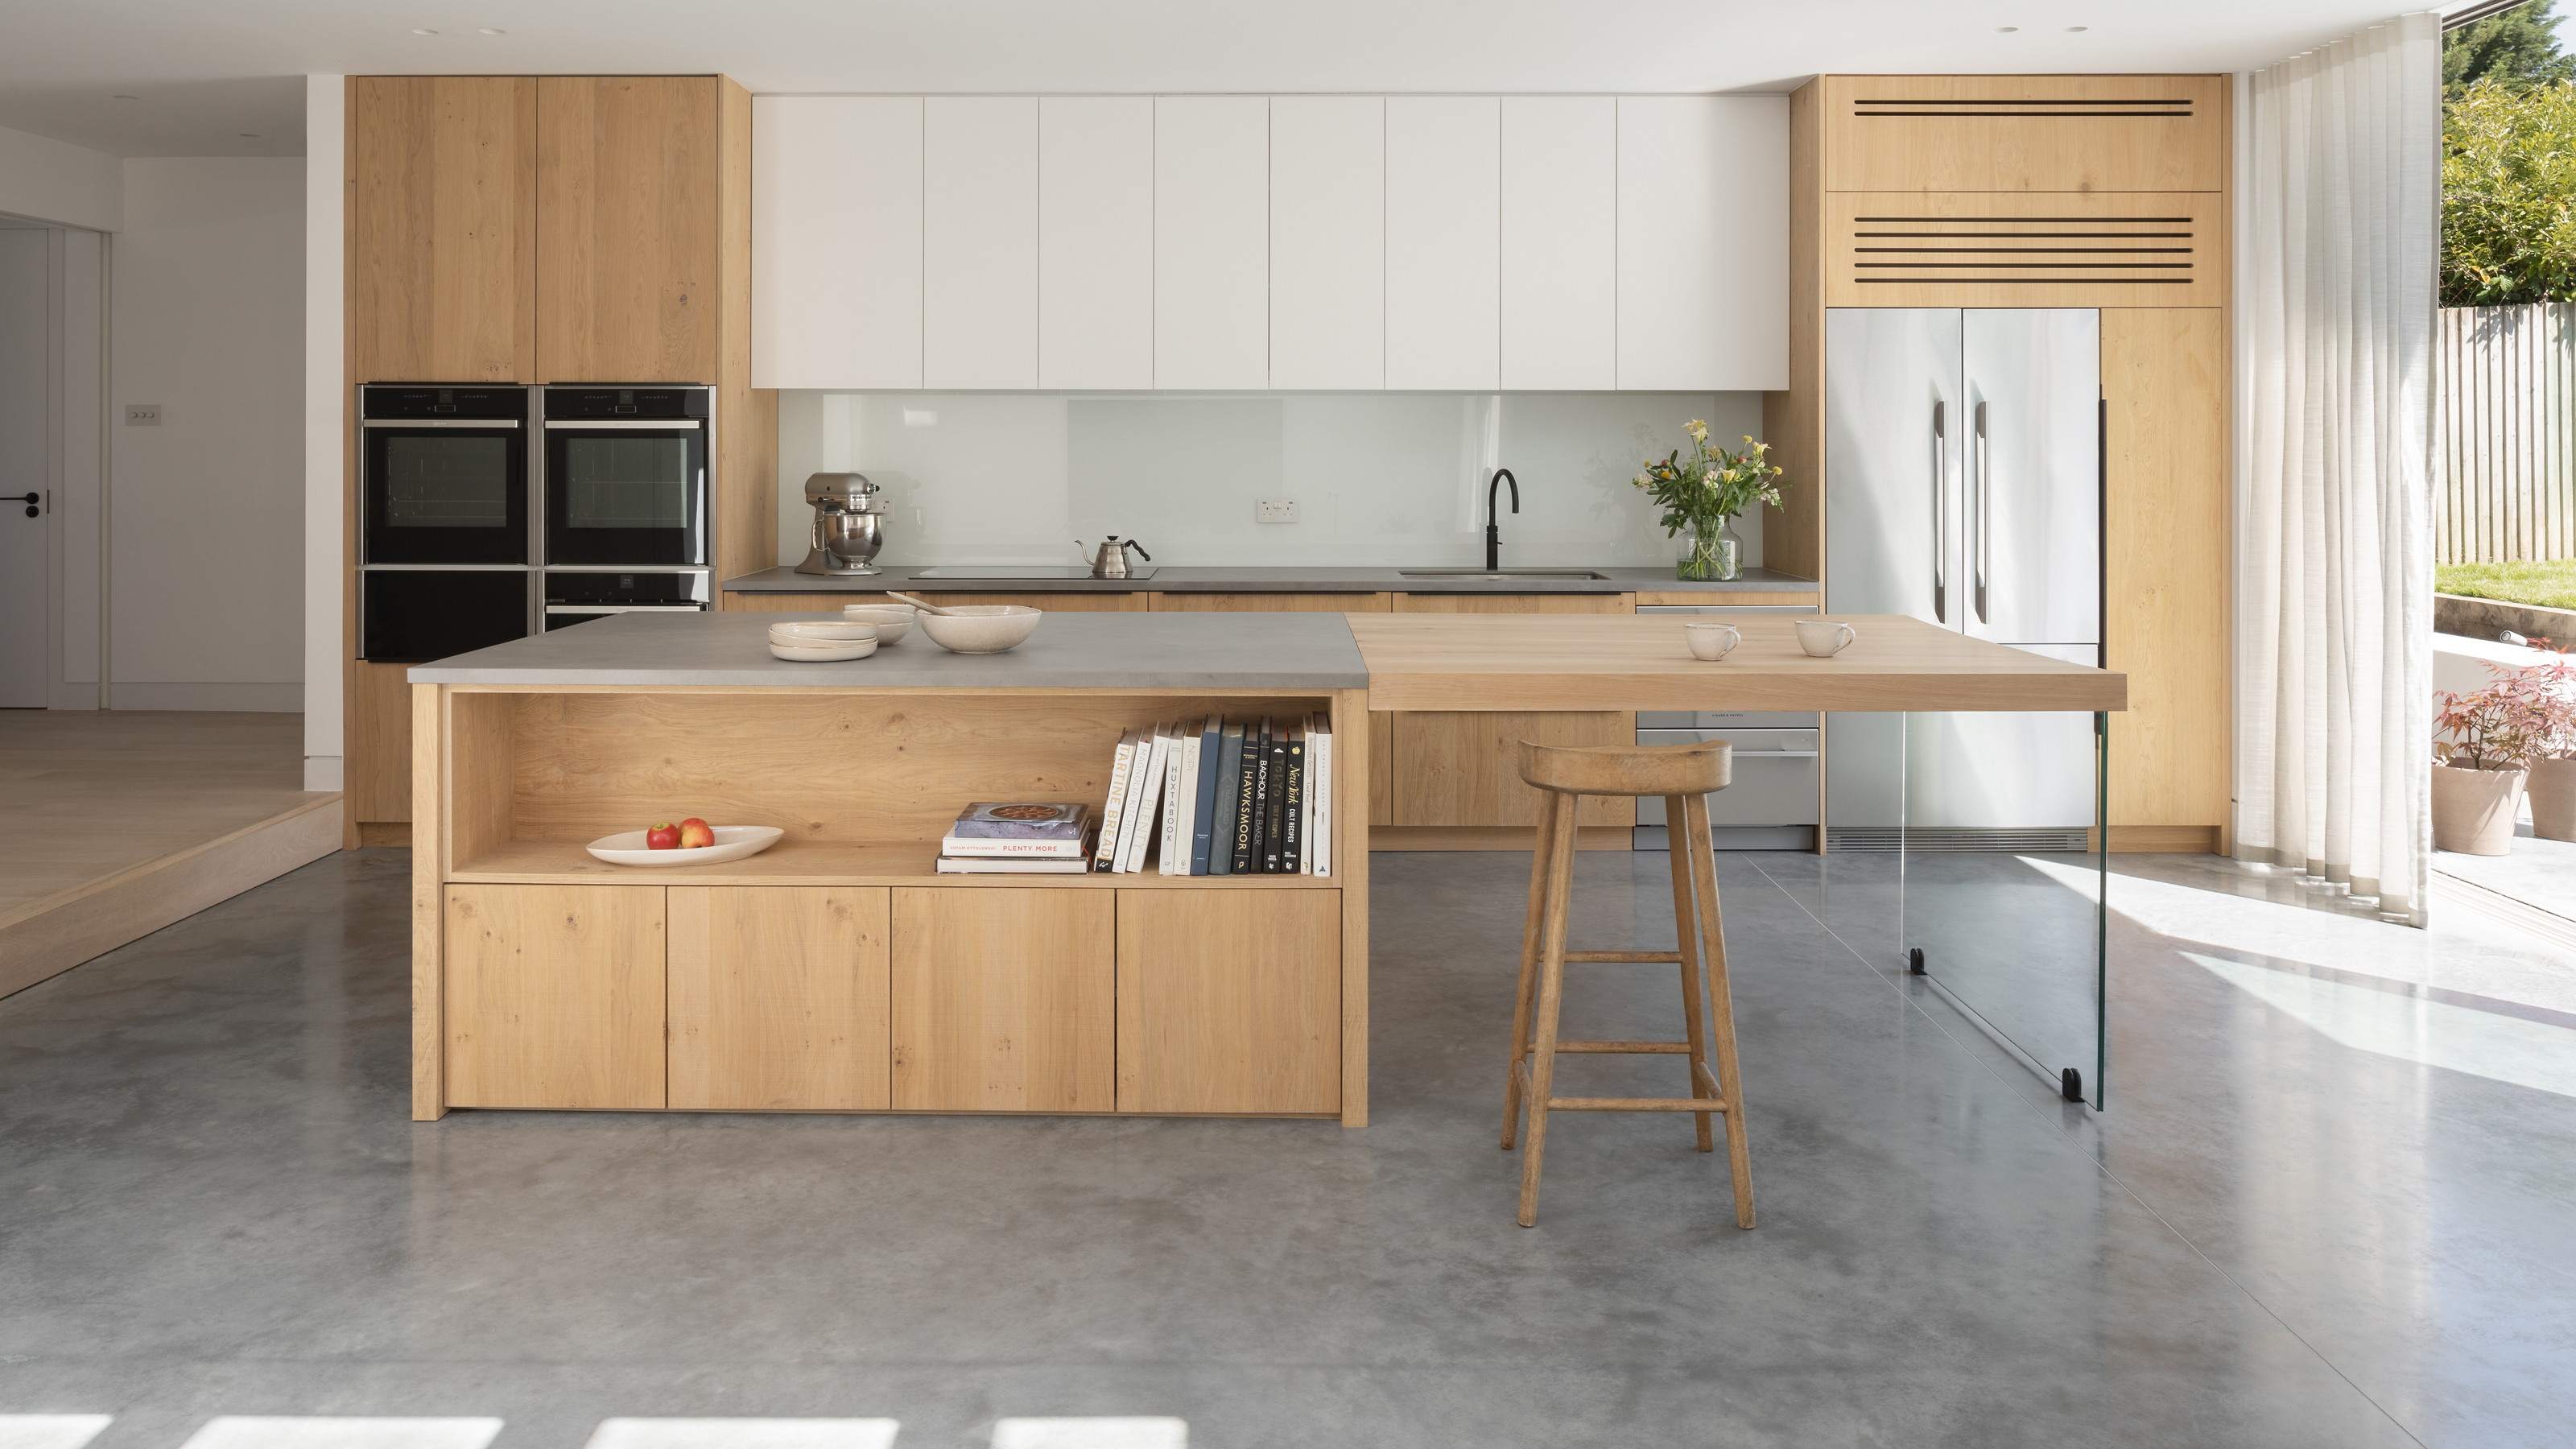
Polished concrete floors – experts explain what you need to know about this modern flooring type

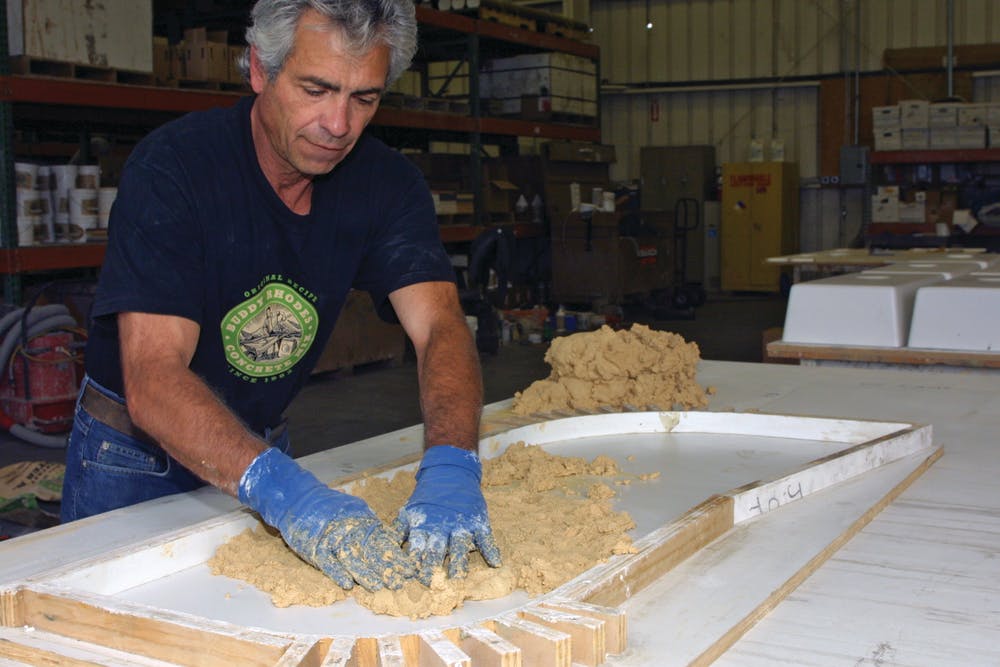
How to Choose a Concrete Countertop Mix Design
Which wall colors work best with concrete floors? Pairings to complement and elevate this industrial finish
The 10 Best Concrete Paints That Seal the Deal

Concrete solutions for attractive, durable finishes

Transform Plain Concrete Floors with Just a Stencil and Paint

The Best Concrete Paints for Masonry Surfaces, Tested

Successful Staining
Designing the Appearance of Rammed Earth Walls: The Interplay Between Natural Clay Colors and Pigmentation

Transforming Ordinary to Art with Epoxy Flooring Systems
These Concrete Paints Will Give Your Patio, Driveway, or Pool Deck An Instant Makeover

5 Products To Inject Cavern Clay Color Into Your Decor

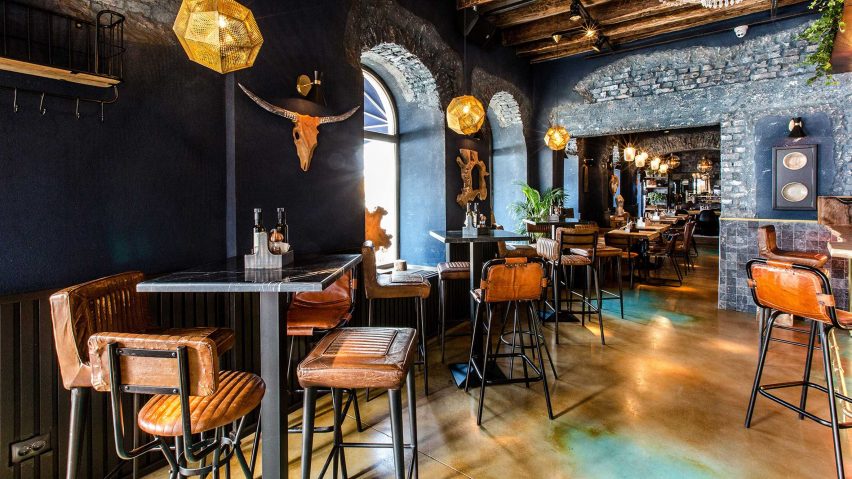
Acid Stain finish by Ideal Work

A Closer Look at L&M Construction Chemicals
Layer These Paint Colors for the Ultimate "Concrete" Fireplace
Grout Expectations: Ways to Play With Tinted Paste

A Concrete Oasis
Polished Concrete Plus Creates Wood Grain Finishes