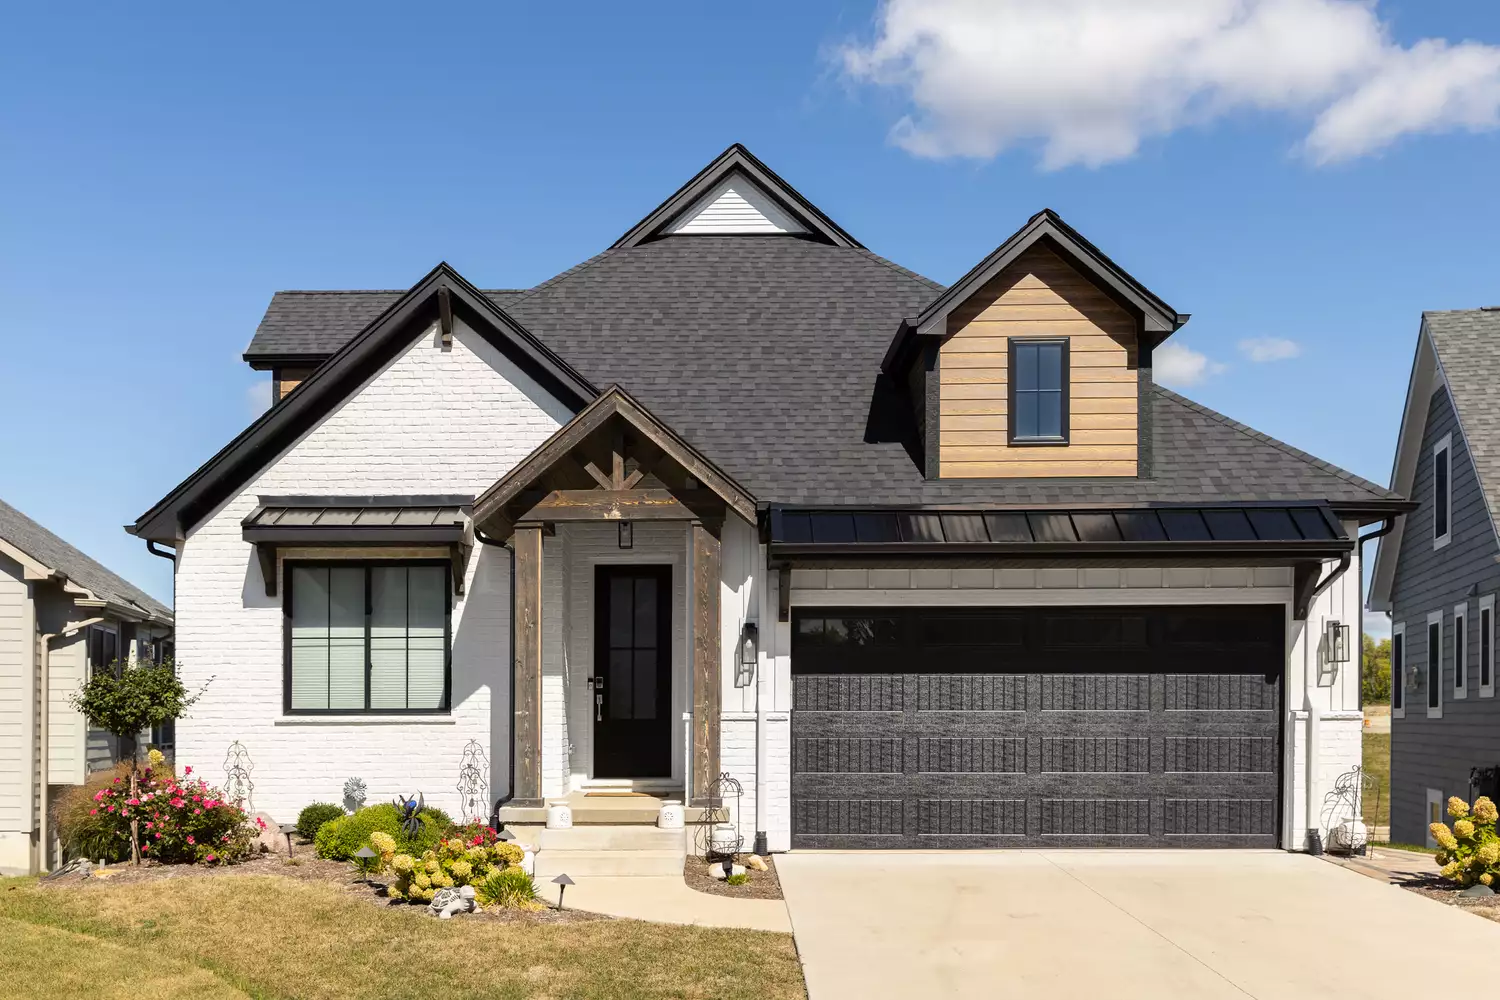
Painting Your Brick House Might Be Controversial, But It's Not Hard—How to Do It Right
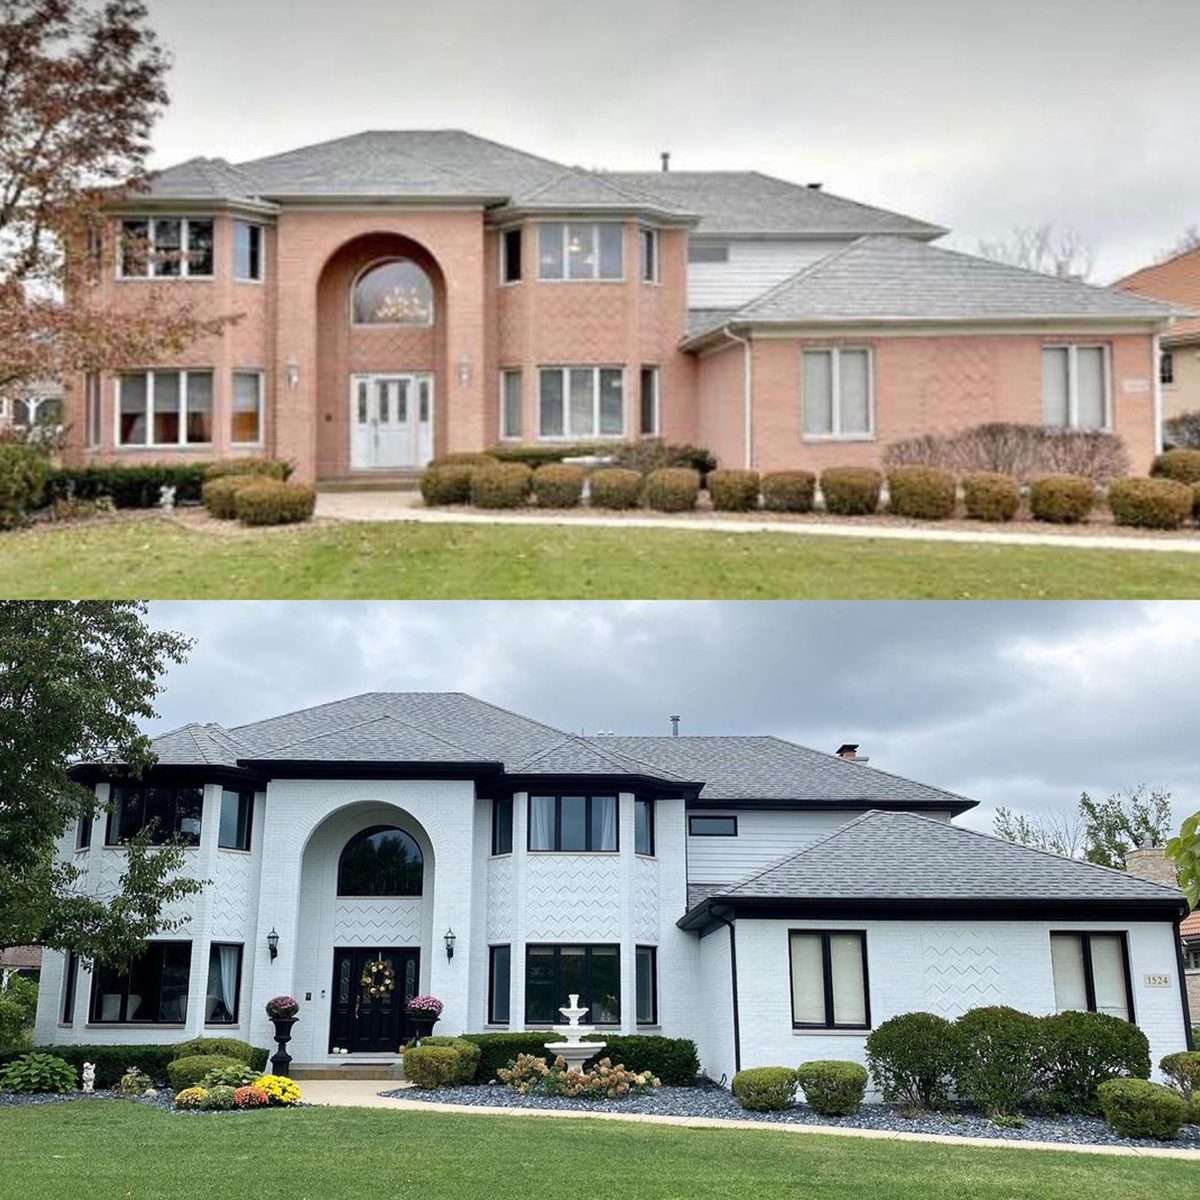
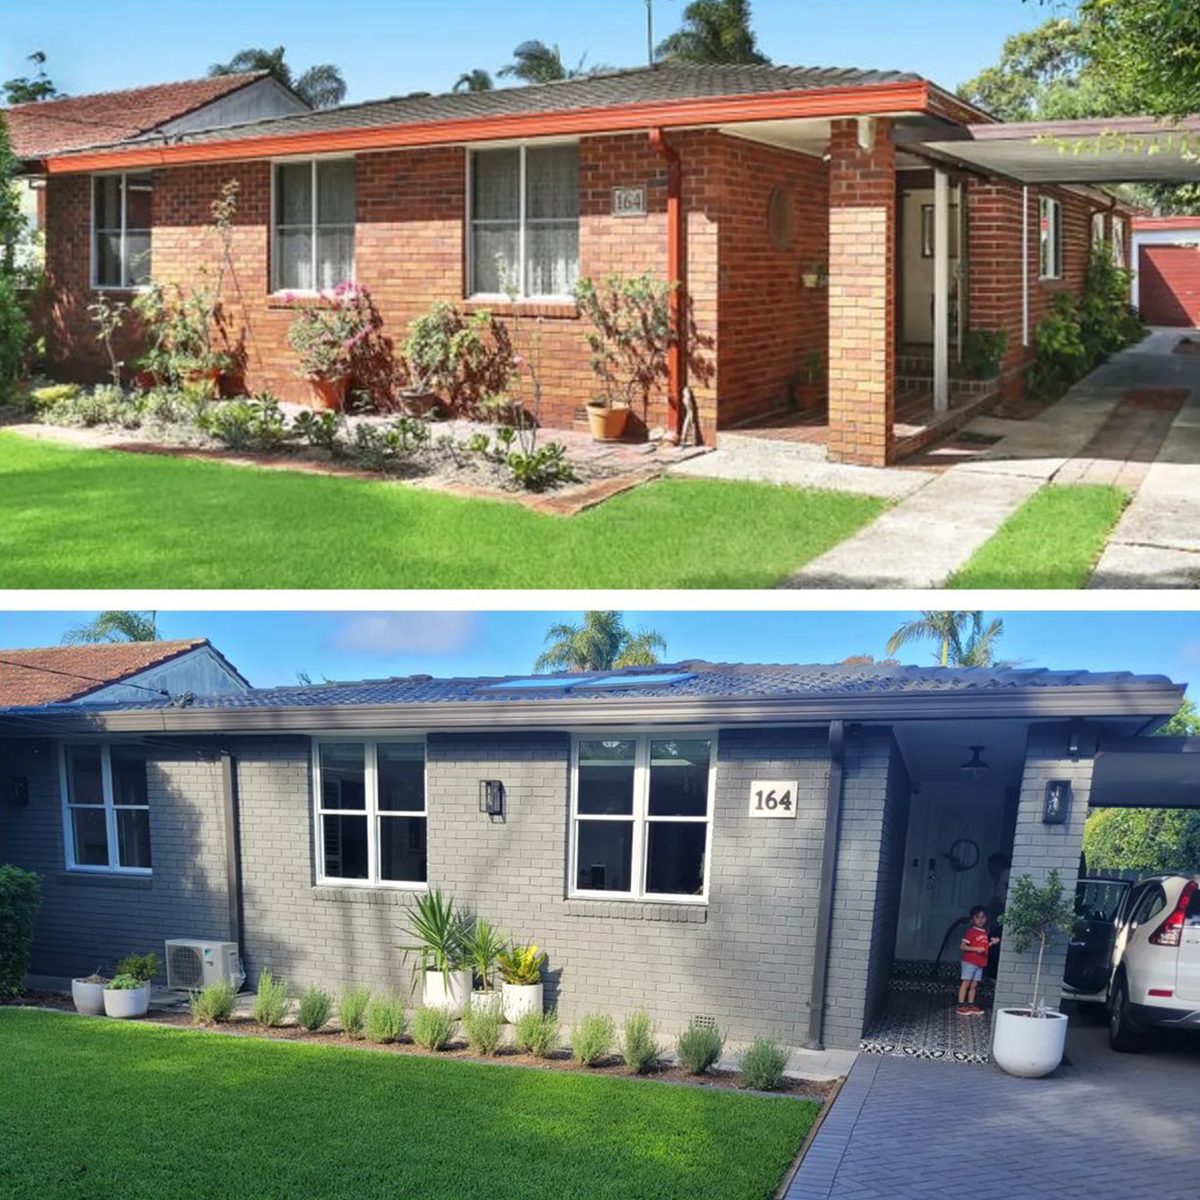
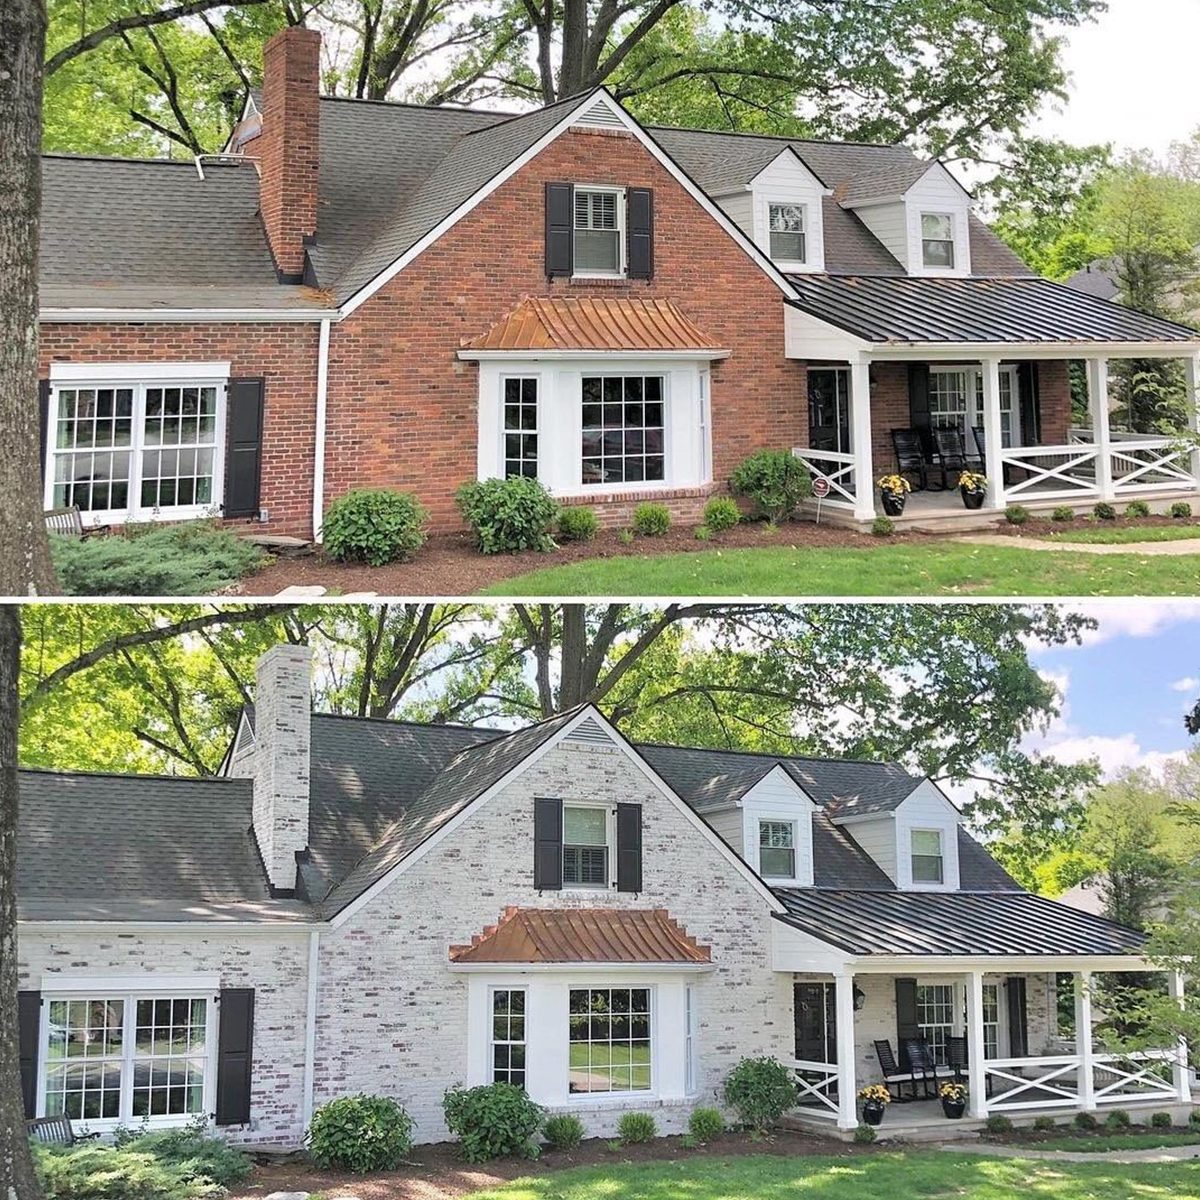
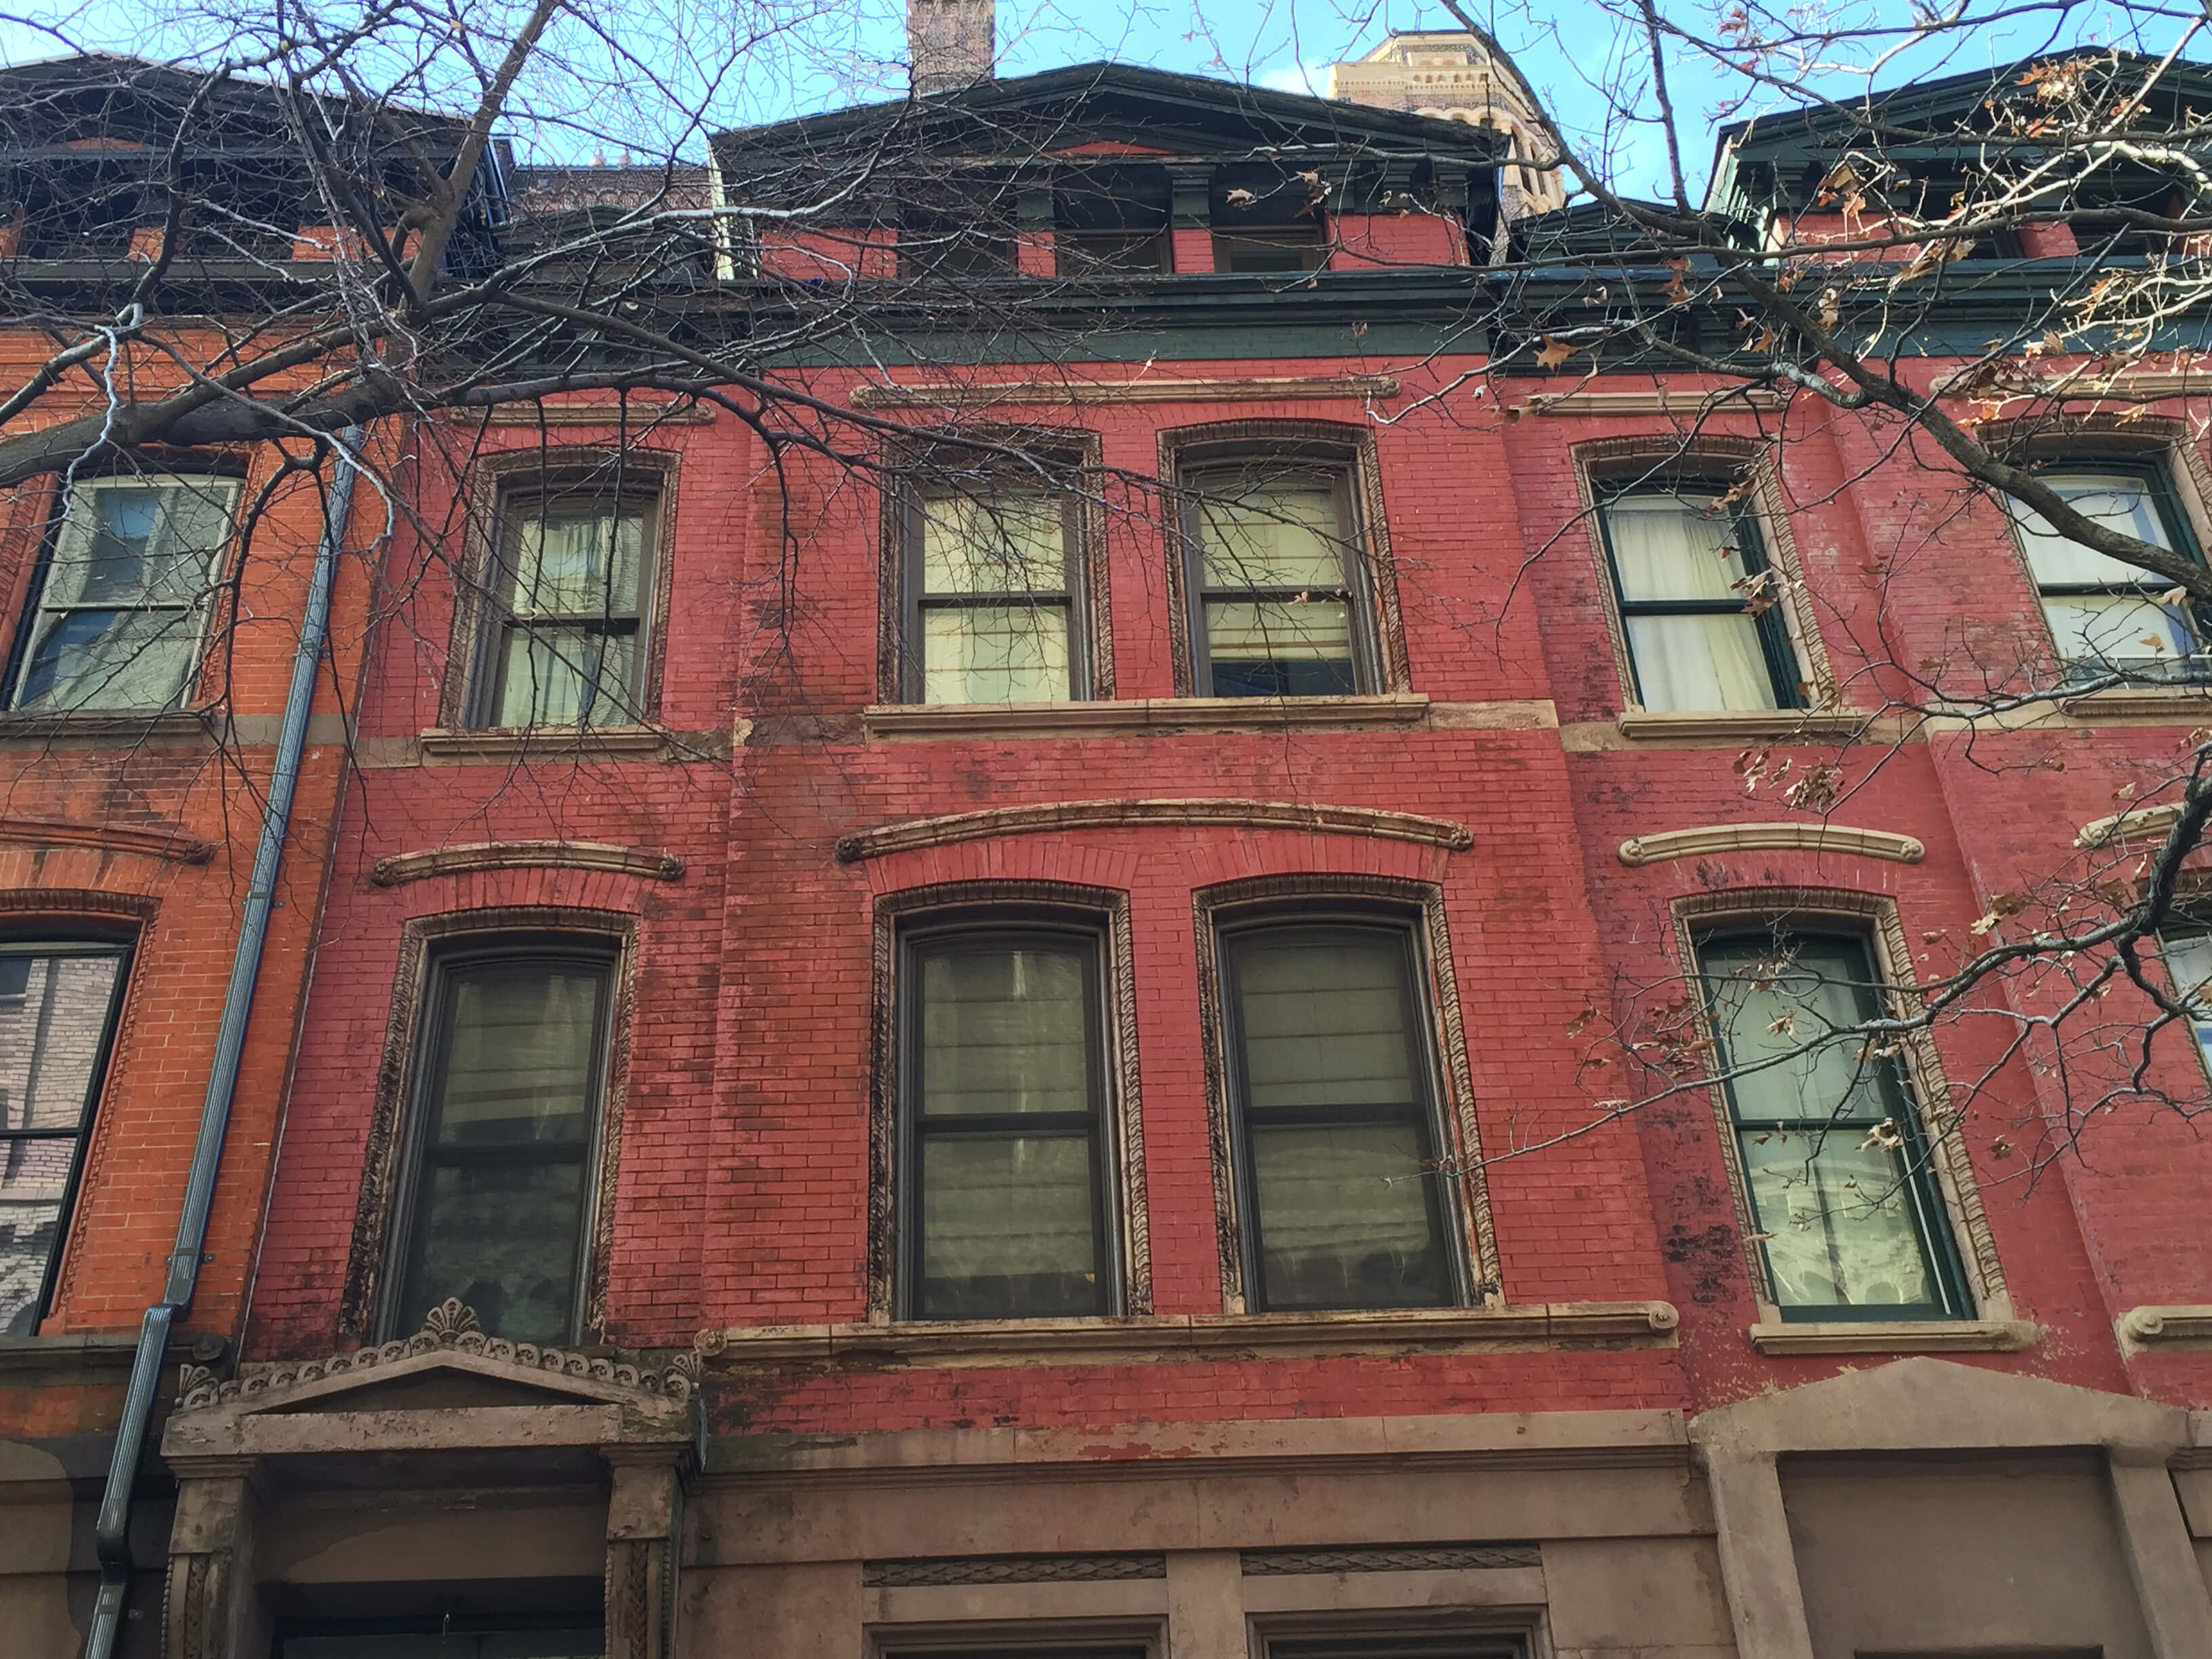
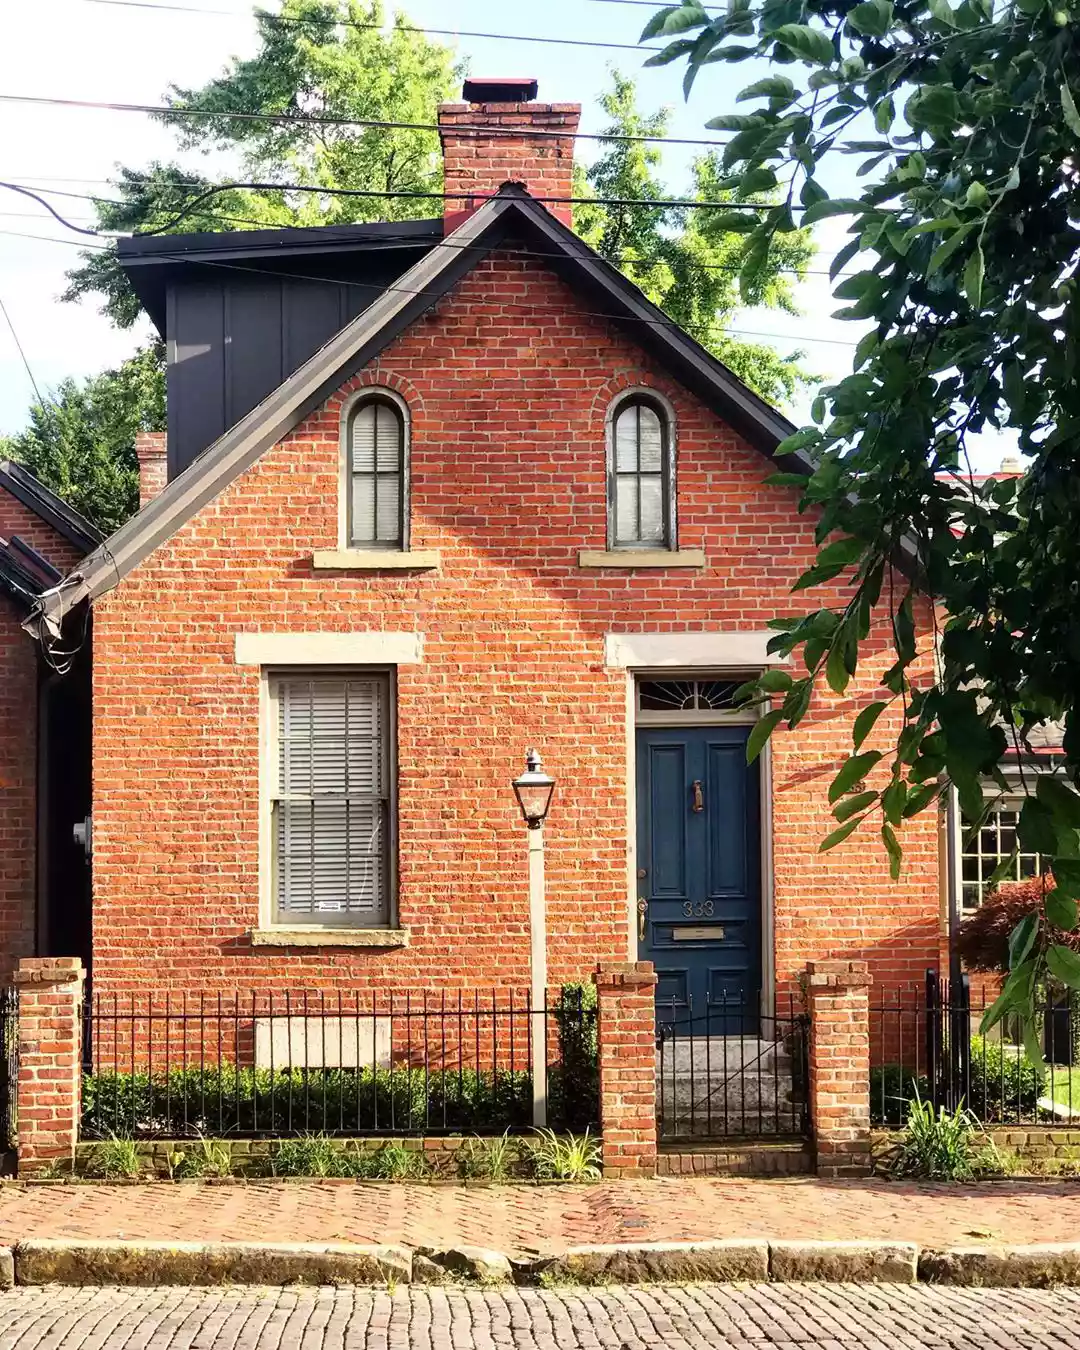
Painting a brick home can significantly enhance its aesthetic appeal and is a project many homeowners can undertake, often completing it within a weekend. This process, while seemingly straightforward, requires meticulous preparation and the right materials to ensure a long-lasting and high-quality finish. The first critical step involves a thorough inspection of the home's exterior, focusing on the bricks and mortar. Any cracks, damage, or structural issues must be identified and addressed before painting. Consulting a repair professional for significant damage is advised, as painting over compromised surfaces can lead to further problems like bubbling and peeling paint.
Once the structural integrity is confirmed, the bricks need to be thoroughly cleaned. A pressure washer, set below 1,500 PSI to protect the mortar, is effective for removing dirt, grime, mold, and mildew. Using a suitable detergent can aid in this cleaning process. It is crucial to allow the brick surface to dry completely for several days after washing, as brick is a porous material that retains moisture. Painting over wet brick traps this moisture, which can cause paint failure. Following cleaning, sanding the brick with an 80-grit sandpaper using a palm or circular sander helps create a surface that allows paint to adhere better. All dust generated from sanding must be removed using a broom or vacuum to prevent it from mixing with the paint and creating imperfections.
Repairing the mortar is the next essential phase. Minor cracks and holes can be patched using premixed acrylic mortar patch kits, which allow for quicker priming and painting compared to powder-based mixes that require longer drying times. After mortar repairs, sealing and caulking any remaining cracks around the bricks, windows, trim, doors, and chimneys is vital. Even small cracks can allow water intrusion, so using 100% acrylic caulk and foam backer rods for larger gaps is recommended.
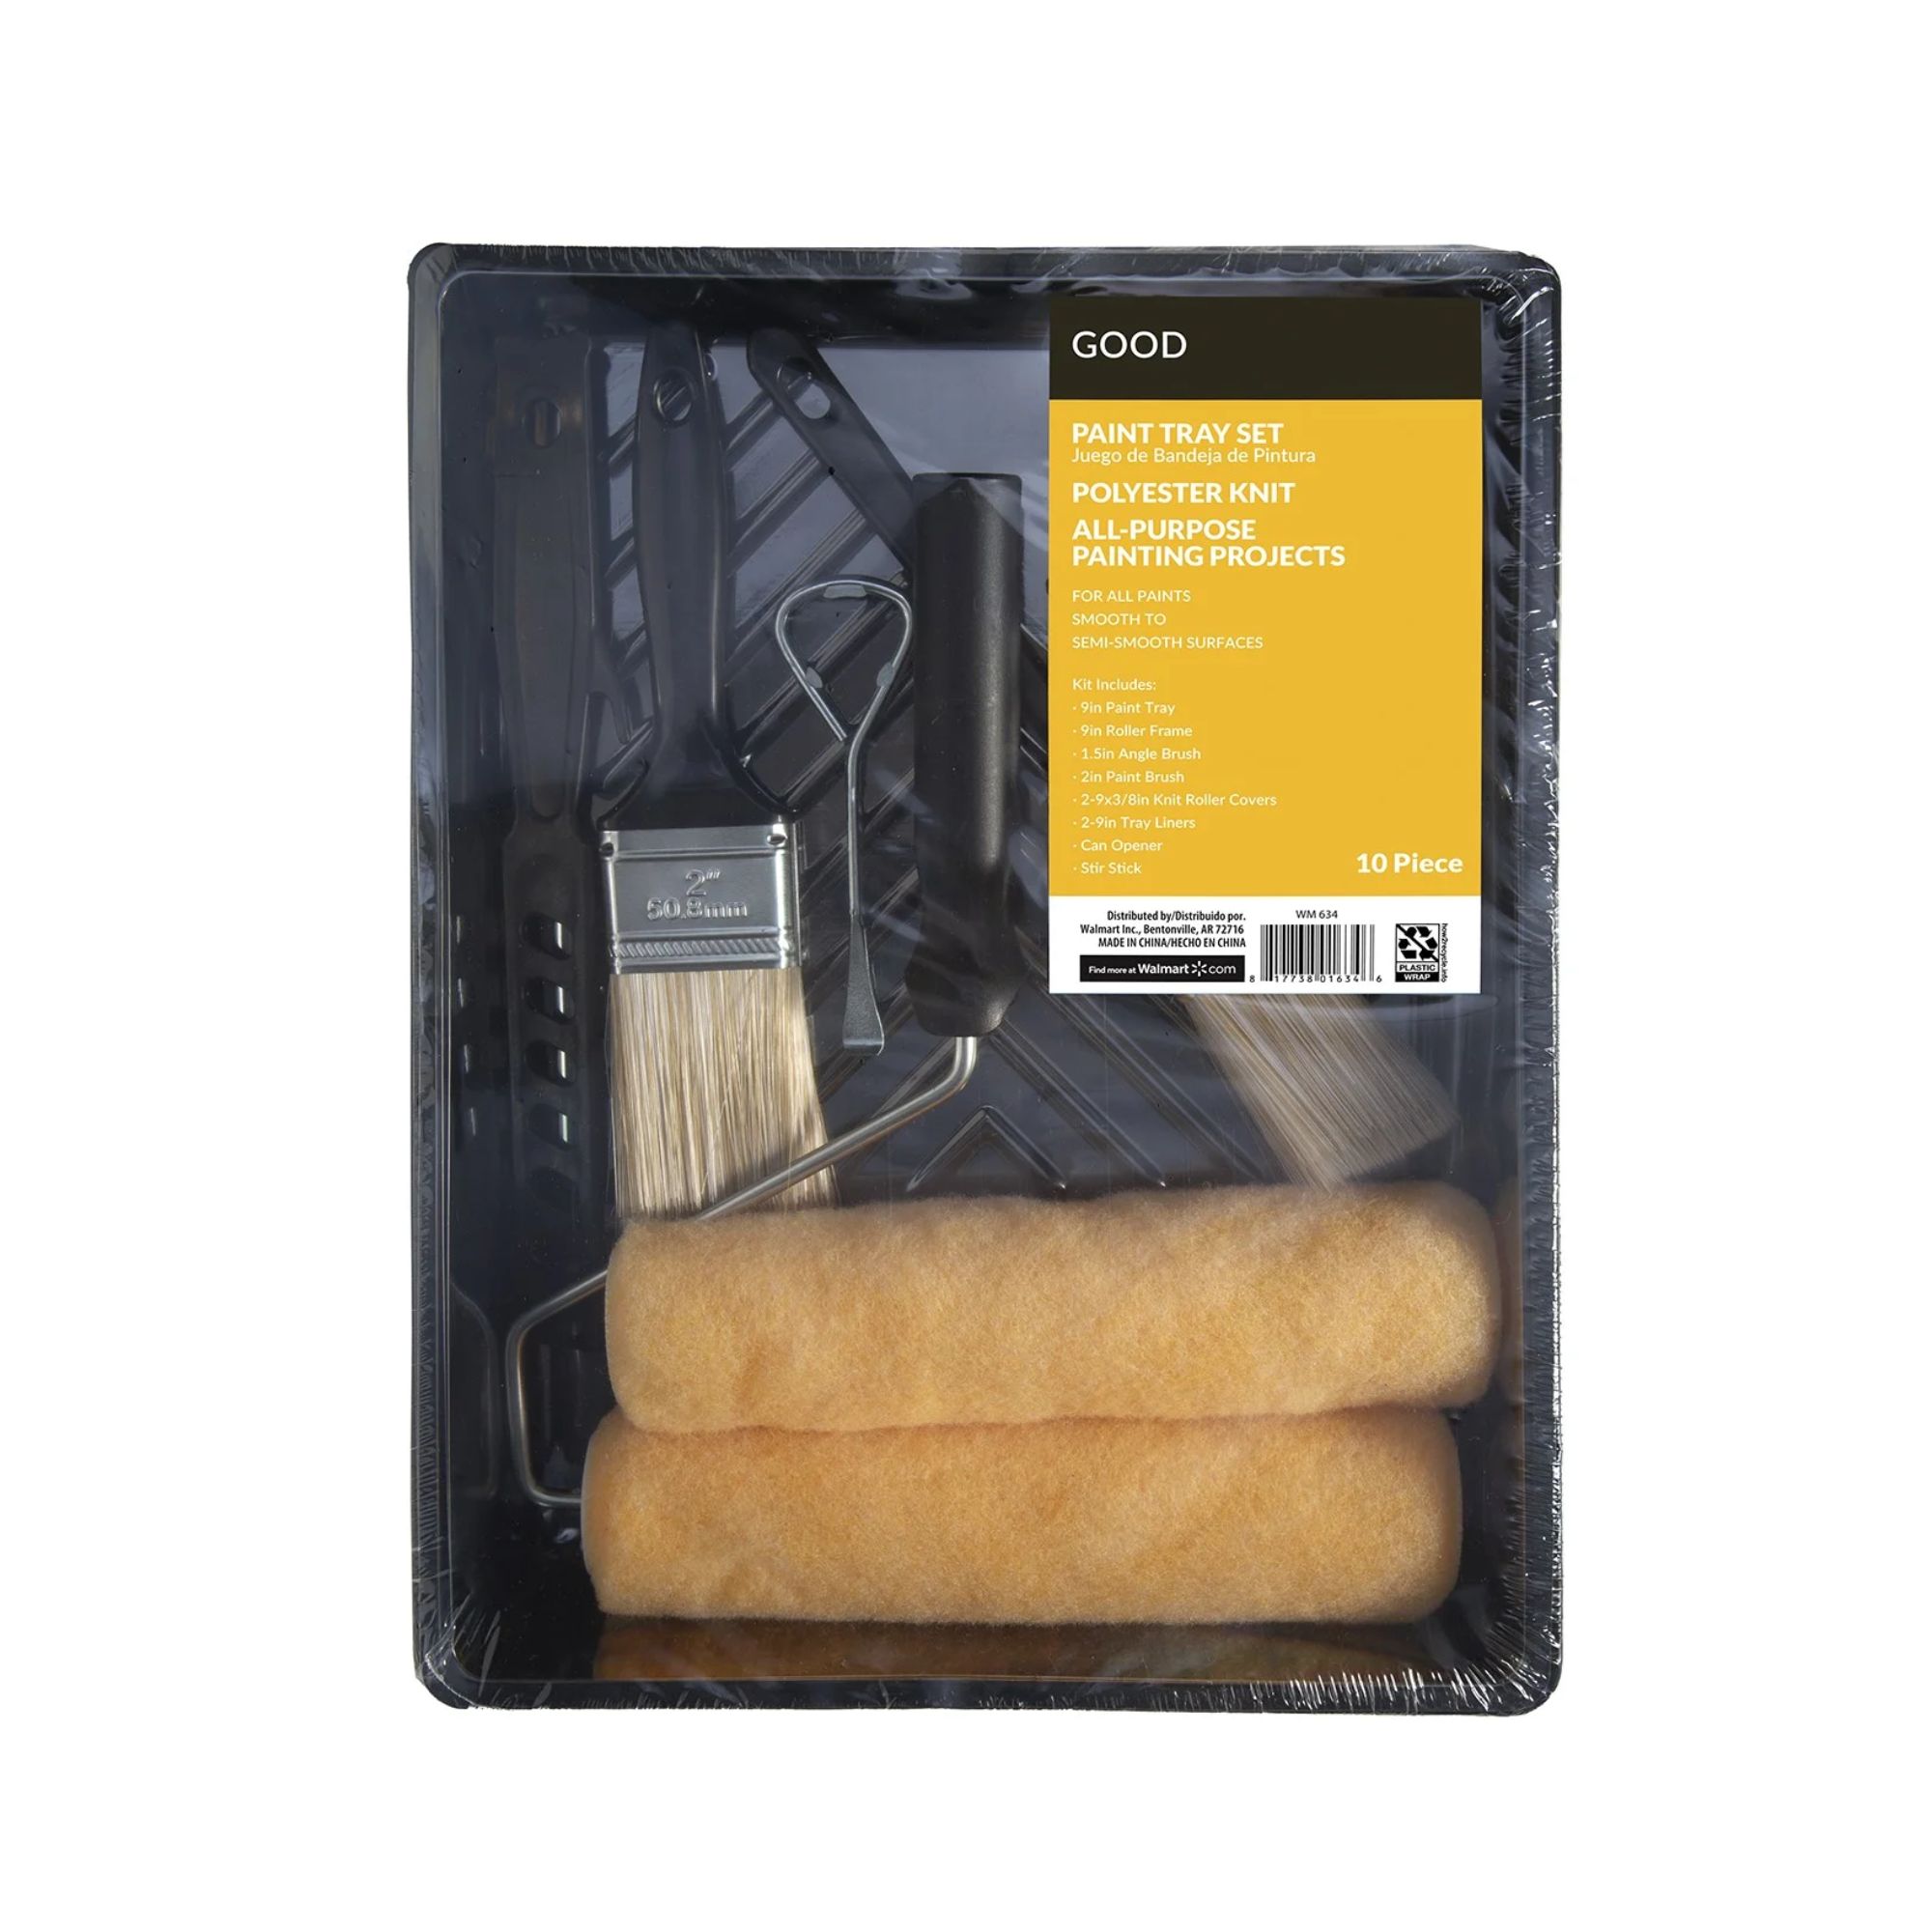
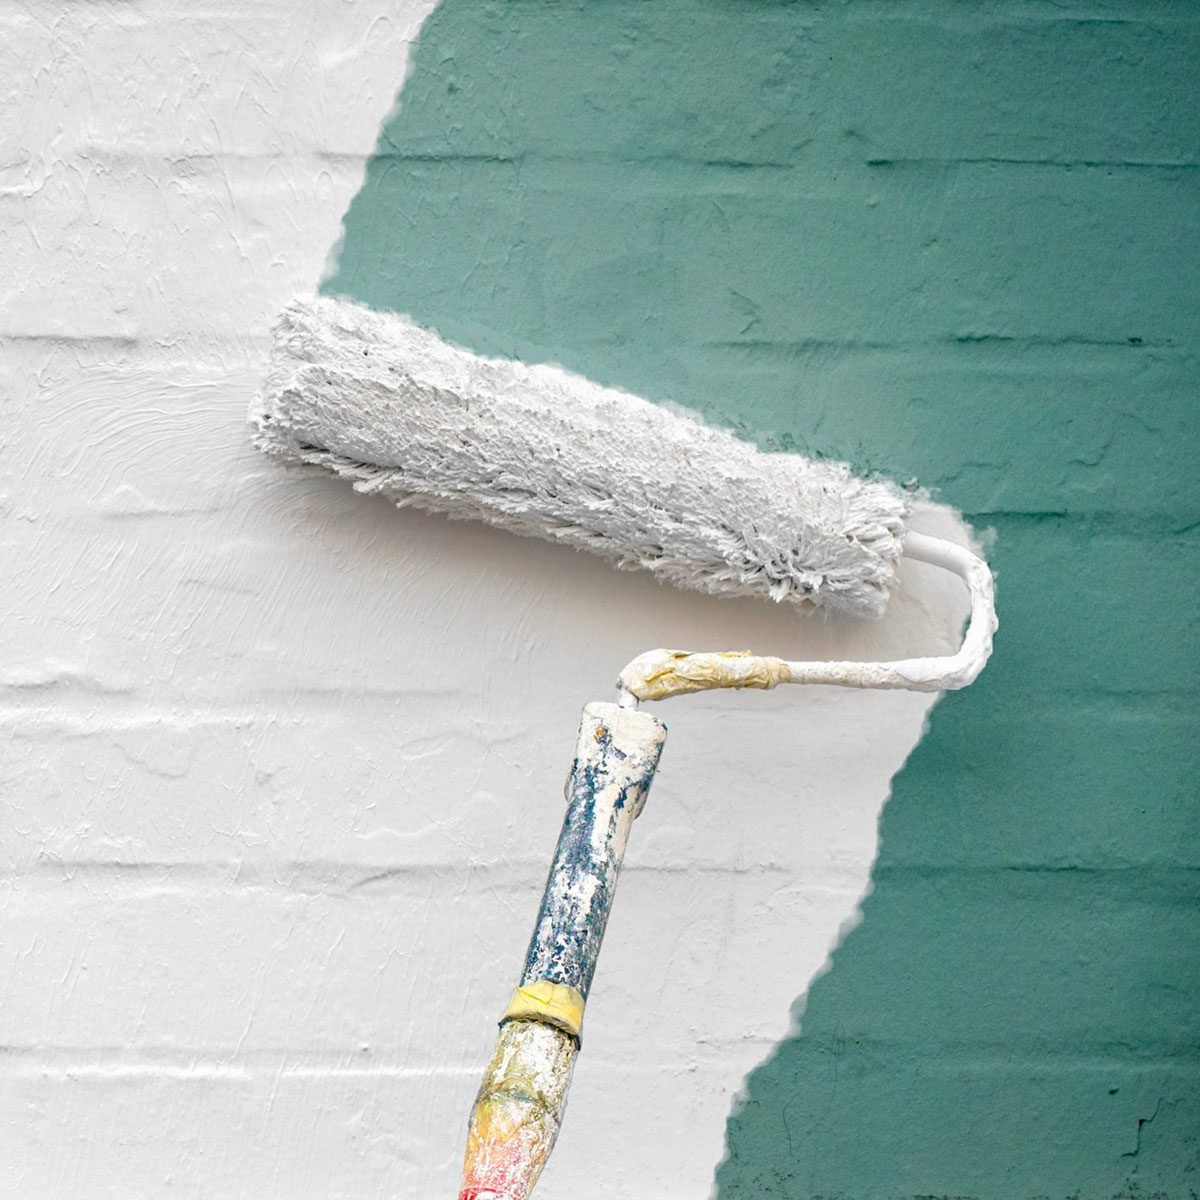
Applying a primer is a non-negotiable step for durable results. An acrylic or latex masonry primer helps the paint bond securely to both the bricks and mortar, significantly reducing the risk of peeling. If efflorescence or mildew is present, a second coat of primer may be necessary. The primer typically dries within a few hours, preparing the surface for painting. For the final coats, an elastomeric or 100 percent acrylic latex paint is recommended. These paints are designed for masonry and offer durability and a wide range of color options. A roller with a ¾-inch nap or thicker is ideal for ensuring the paint penetrates all the crevices of the brick. Applying two coats of paint, with adequate drying time between them (typically a couple of hours), enhances the durability and longevity of the painted surface.
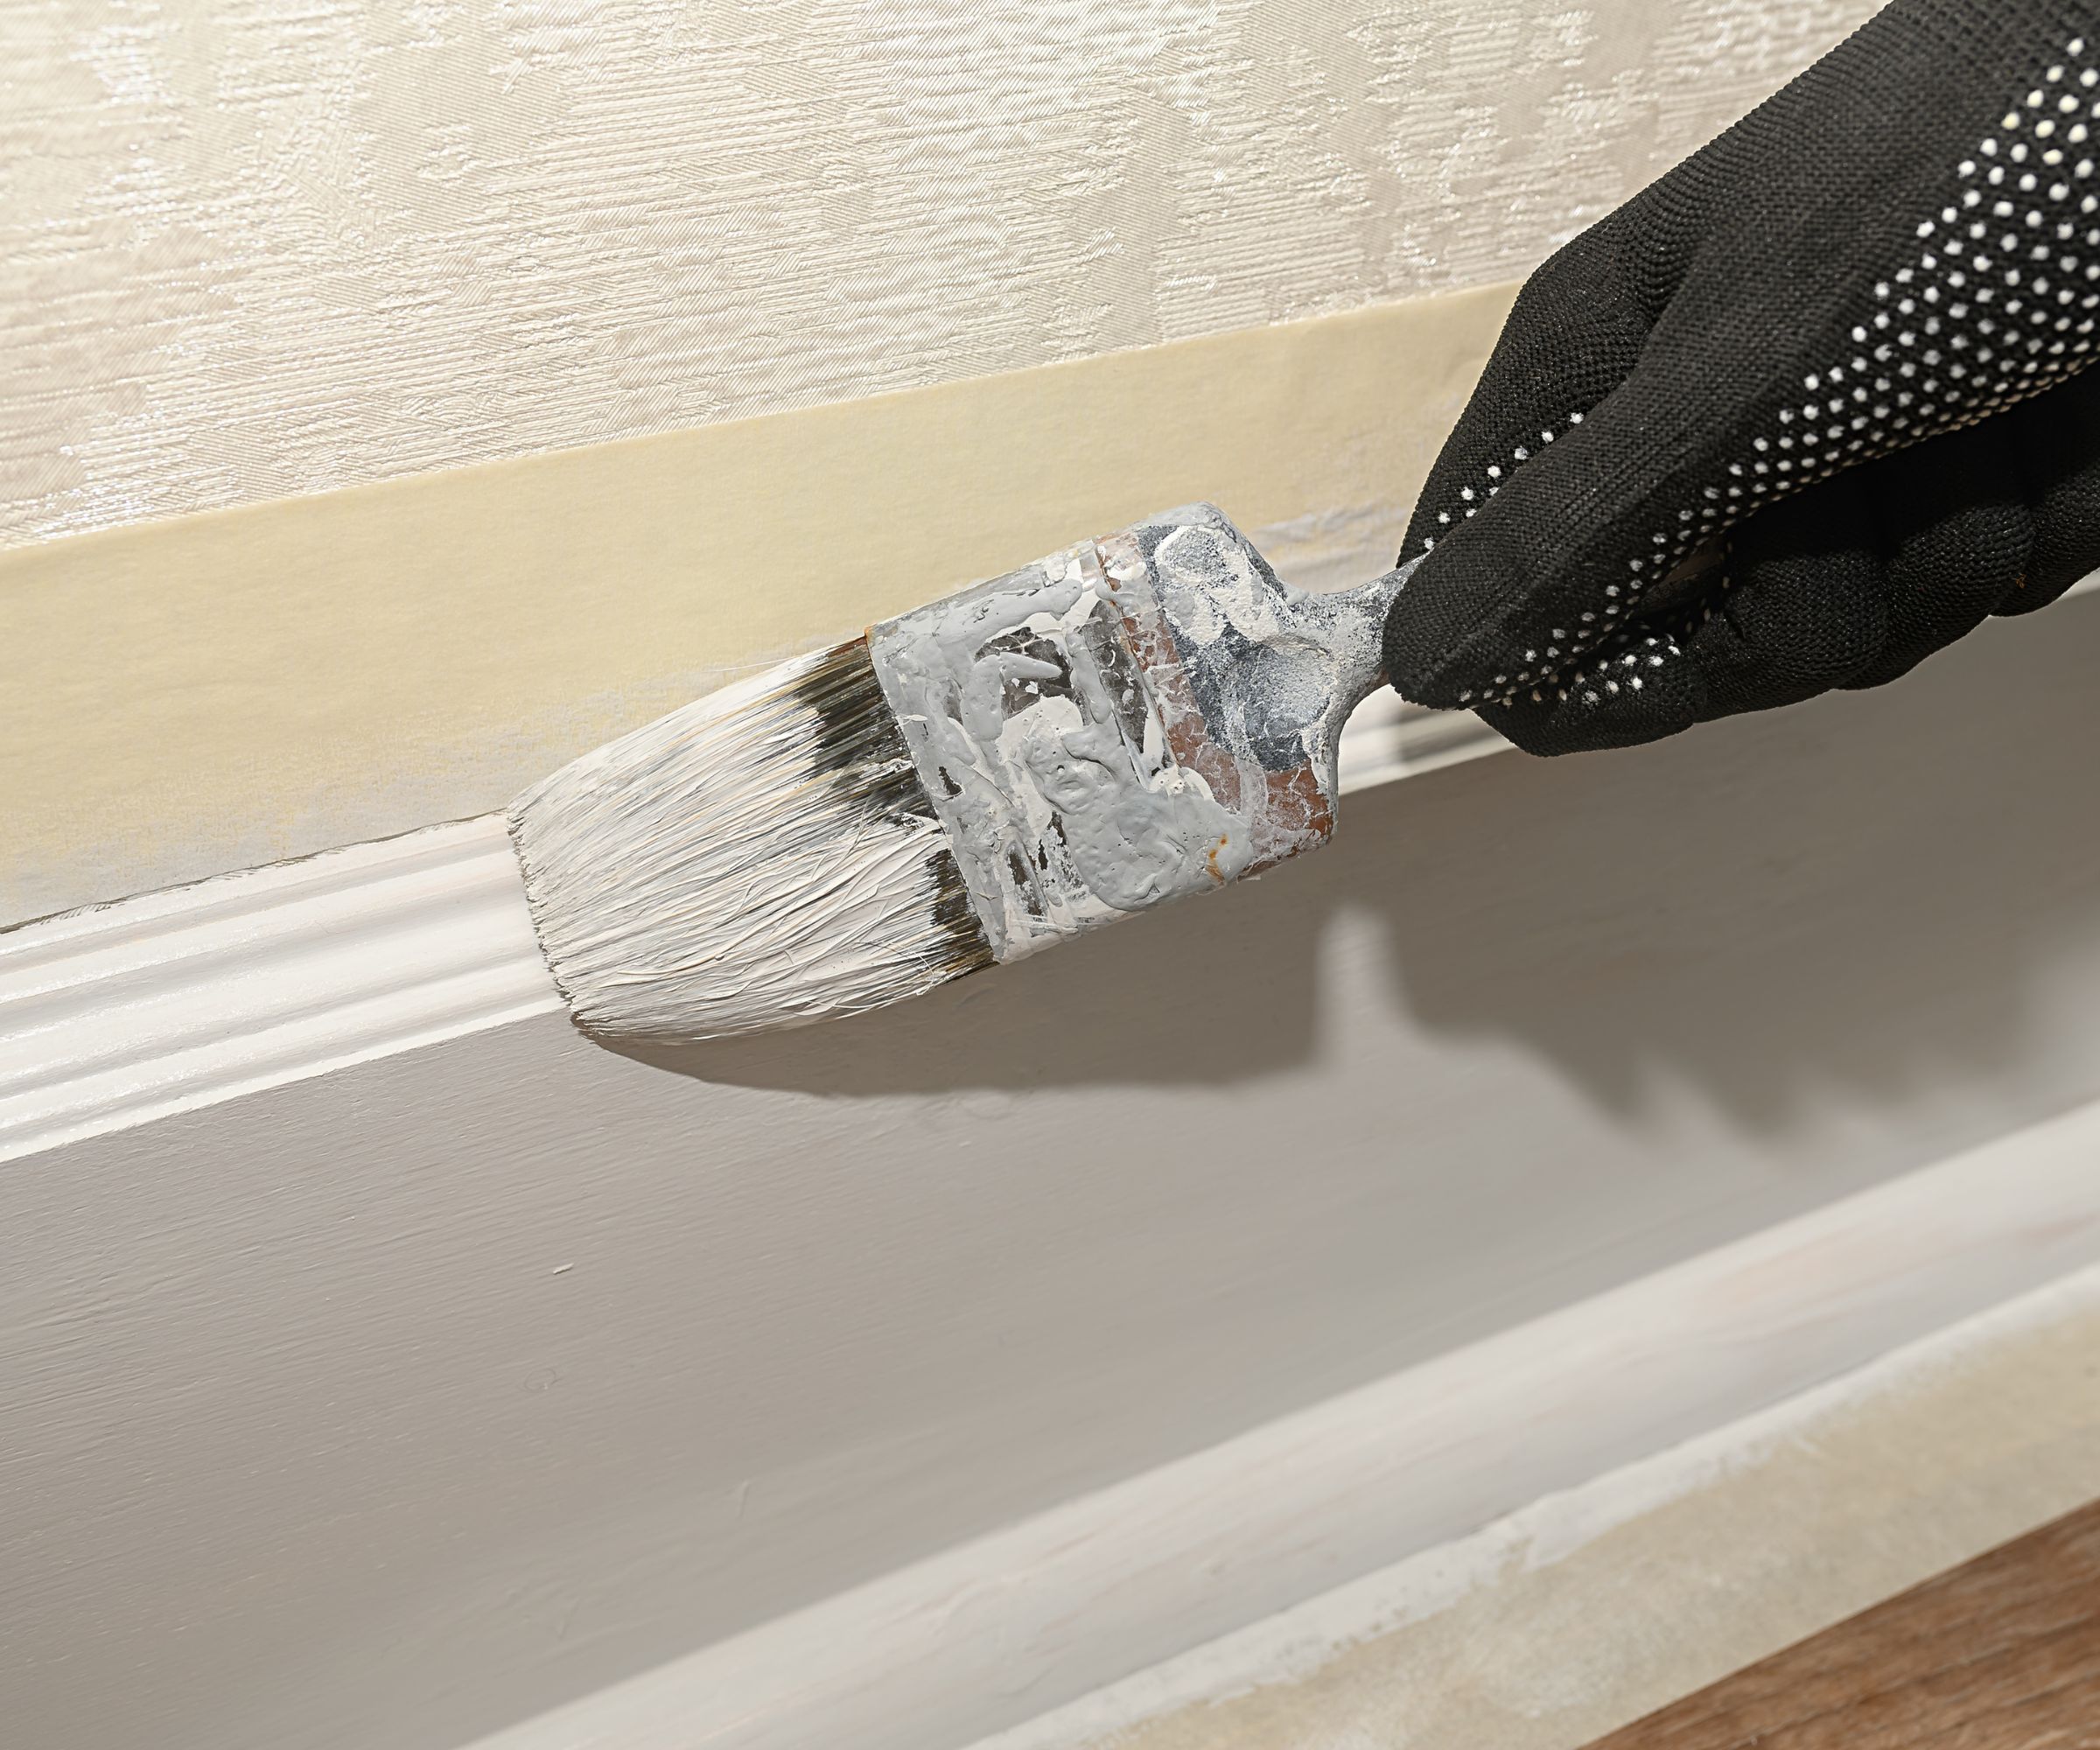
Additional tips for a successful project include wearing appropriate protective gear such as gloves, safety glasses, and long clothing. Painting in long, vertical strokes, working from top to bottom, and addressing small sections at a time helps prevent streaks and drips. Protecting nearby plants with drop cloths and using painter's tape to shield windows, trim, and other obstacles are also crucial for a clean and professional finish. By following these steps, homeowners can achieve a refreshed exterior that significantly improves their home's curb appeal.
#HomeImprovement #ExteriorPainting #DIY #BrickHome #PaintingTips #WeekendProject #HomeRenovation #HousePainting #HomeImprovement #ExteriorPainting #DIY #BrickHome #PaintingTips #WeekendProject #HomeRenovation #HousePainting
0 comment in total
 No comments yet
You may also like
8 Exterior Brick Paint Color Ideas To Transform Your Home

Here's What Colorists Want You to Know About Picking House Paint

8 Paint Mistakes That Make Your House Look Dingy (and How to Fix Them)

10 Great Front Door Colors for Your Brick House
How to Use One of the Trickiest Paint Colors in Your Home

There's still time! I’m a painting expert and it's the best month to paint inside your home for a silky-smooth finish

Have We Gone Too Far With Painting Our Brick Houses White?
5 Exterior Paint Mistakes to Avoid If You Don't Want Your House to Become the Worst-Looking on the Street


A Homeowner’s Guide to Maintaining and Restoring a Brick Facade

10 Exterior Brick Paint Color Ideas the Pros Swear By


10 baseboard painting mistakes to avoid – and what experts say to do instead
How to create an exposed brick feature wall or fireplace - and clean and maintain it like an expert
5 Reasons You Should Think Twice Before Painting Brick, Pros Say
The Number-One Rule of Decorating a Space With Exposed Brick

10 Painting Tips The Stars Of HGTV's Unsellable Houses Swear By
DIY fan shares easy way she paints high ceiling corners WITHOUT using a ladder

Update your home with these paint tips!

Decorating expert reveals this is the best time of year to paint your home

How to tile over a brick fireplace – An inexpensive DIY job with dramatic results


From the Forum: Choosing a Finish for a Rear Brick Wall