1/2
Give Your Plastic Folding Tables A Makeover With A DIY Wood Topper
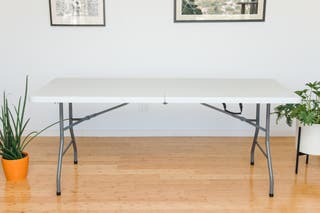
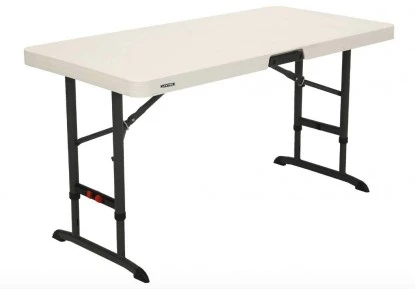
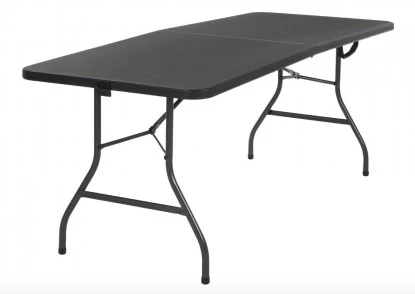
Plastic folding tables, while practical for events, often lack aesthetic appeal. This article explores a DIY solution to elevate their appearance: a custom-built wood topper. Drawing inspiration from a TikTok video showcasing a farmhouse-style wood topper, the article delves into the feasibility and construction of such a project, with insights from an expert carpenter and remodeler, Bob Beacham.
The core concept involves creating a wooden surface that rests on top of the existing plastic table, transforming its look to resemble a more traditional wooden table. While a simple tablecloth can hide the plastic, a wood topper offers a more substantial and design-oriented upgrade. Beacham, the expert consulted, acknowledges the appeal of such a project for those who enjoy DIY and wish to significantly enhance the table's appearance. However, he also points out that for simply concealing the tabletop, a tablecloth is a much easier alternative. He further suggests that if significant effort is to be invested, building a complete outdoor table from scratch might be a more satisfying and enduring project, especially if it can remain outdoors year-round.
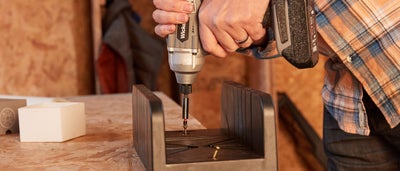
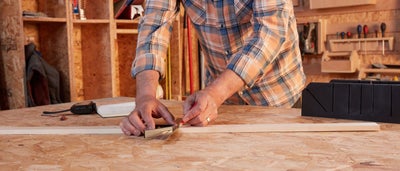
For those determined to create a wood topper, the article provides guidance on construction methods. Since the original TikTok video lacked instructions, Beacham outlines the necessary tools and steps. He recommends using a biscuit joiner along with glue to assemble the wood pieces. A biscuit joiner cuts slots into adjacent wood pieces, into which glue and oval-shaped wooden 'biscuits' are inserted to secure the boards. Clamps are then used to hold the pieces together until the glue dries. An alternative, albeit slower and requiring more precision, is to drill and dowel the wood. The article notes that the TikTok example uses butt-joining techniques for the corners, which simplifies the process, though Beacham suggests mitered 45-degree corners for a more refined look. He also addresses the level of finish, questioning whether a perfectly planed and sanded surface is necessary for a rustic piece.
After the wooden top is assembled, applying a finish is the next step. For outdoor use, it is crucial to select a preservative specifically designed for exterior conditions. The budget for this DIY project is also considered, with Beacham suggesting 1-by-6-inch pressure-treated lumber due to its durability against outdoor exposure, similar to material used for decks. He estimates the cost for a 6-by-3-foot table to be around $30 for the lumber, plus additional costs for glue, stains, and finishes. Titebond III Wood Glue is specifically recommended for its quality and suitability for outdoor use, available for approximately $10 for 16 ounces. The dimensions of the topper should ideally match the plastic table to prevent sliding, though a larger topper could be made with an underside retaining border, with caution exercised to prevent tipping.
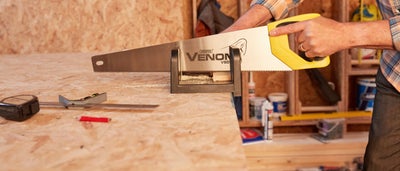
Finally, safety is emphasized, with recommendations to wear eye protection when cutting wood and a mask when applying finishes. Proper ventilation is also essential when working with finishes to ensure safety. The overall article provides a comprehensive overview for individuals considering a DIY wood topper for their plastic folding tables, covering design considerations, construction techniques, material choices, cost estimates, and crucial safety precautions.
#DIYWoodTopper #HomeImprovement #FoldingTableMakeover #Woodworking #OutdoorFurniture #HomeDesign #FarmhouseStyle #WoodCrafts #DIYWoodTopper #HomeImprovement #FoldingTableMakeover #Woodworking #OutdoorFurniture #HomeDesign #FarmhouseStyle #WoodCrafts
0 ความคิดเห็นรวม
 ยังไม่มีความคิดเห็น
คุณอาจจะชอบอีกด้วย

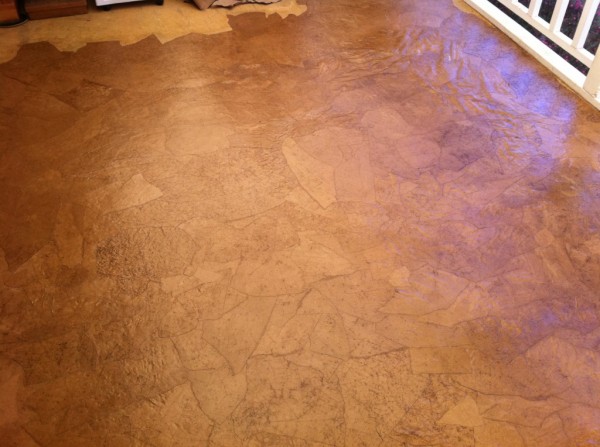
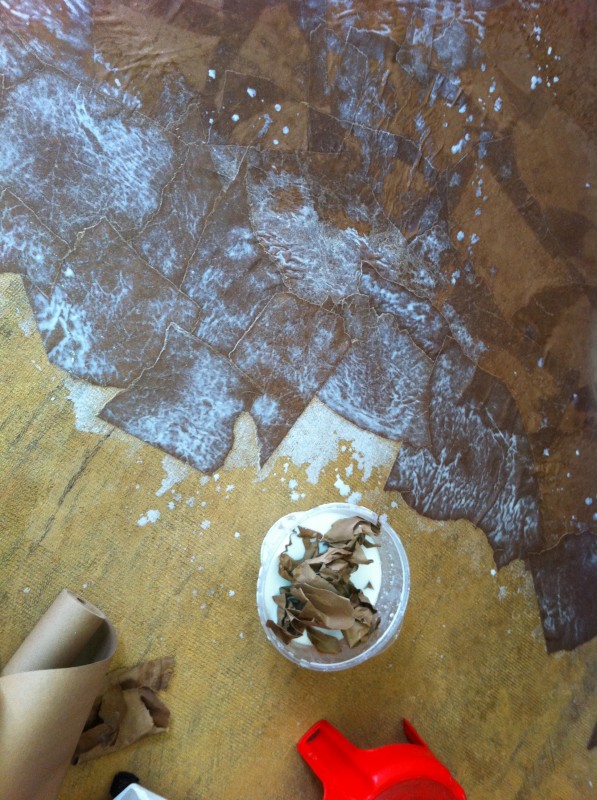
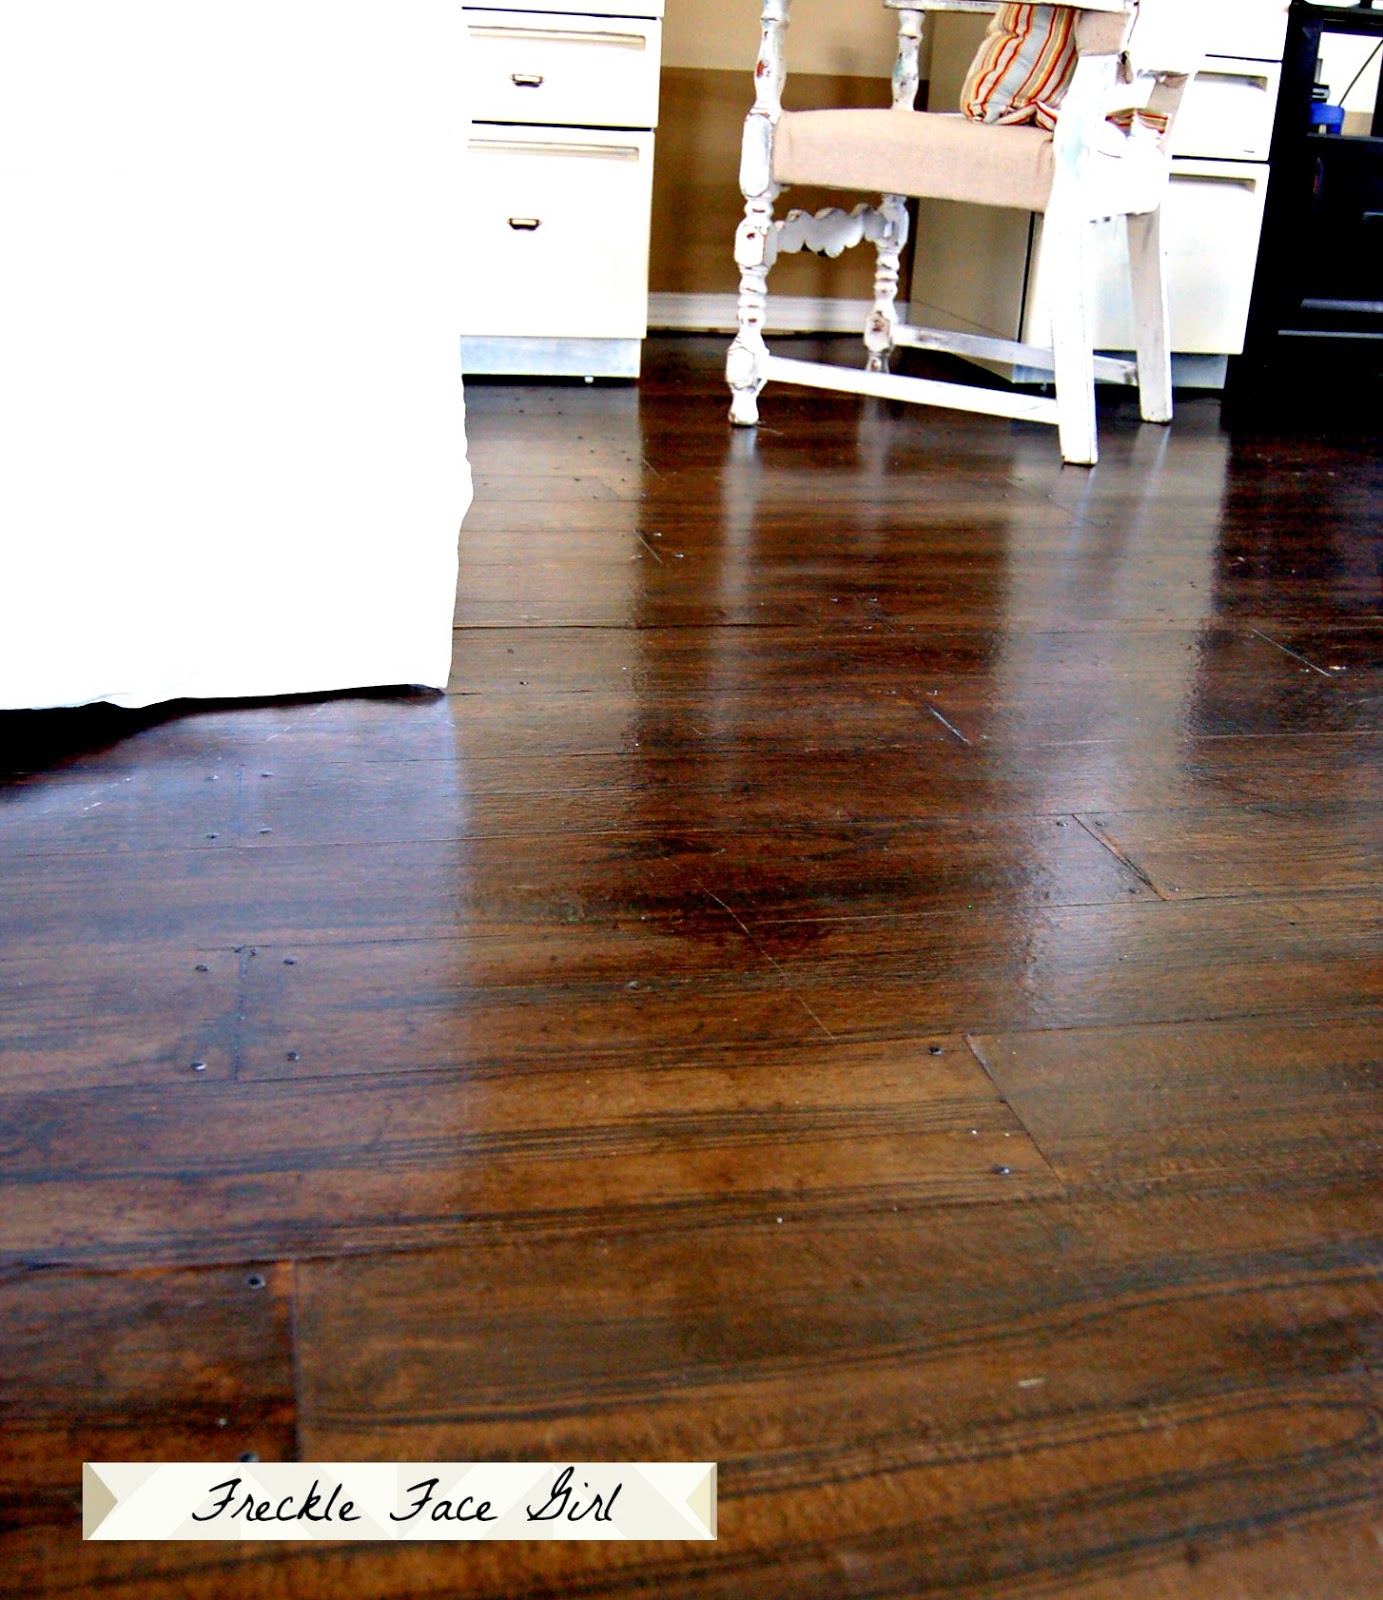
It's Only a Paper Floor, But You'd Believe It's Real -Wood Planks

Beautiful, Potentially Short-Lived Tabletop Made from Pallet Wood

Mouldings | Decorative Moulding


Transform An Ordinary IKEA Planter Into A Trendy End Table With A Simple DIY
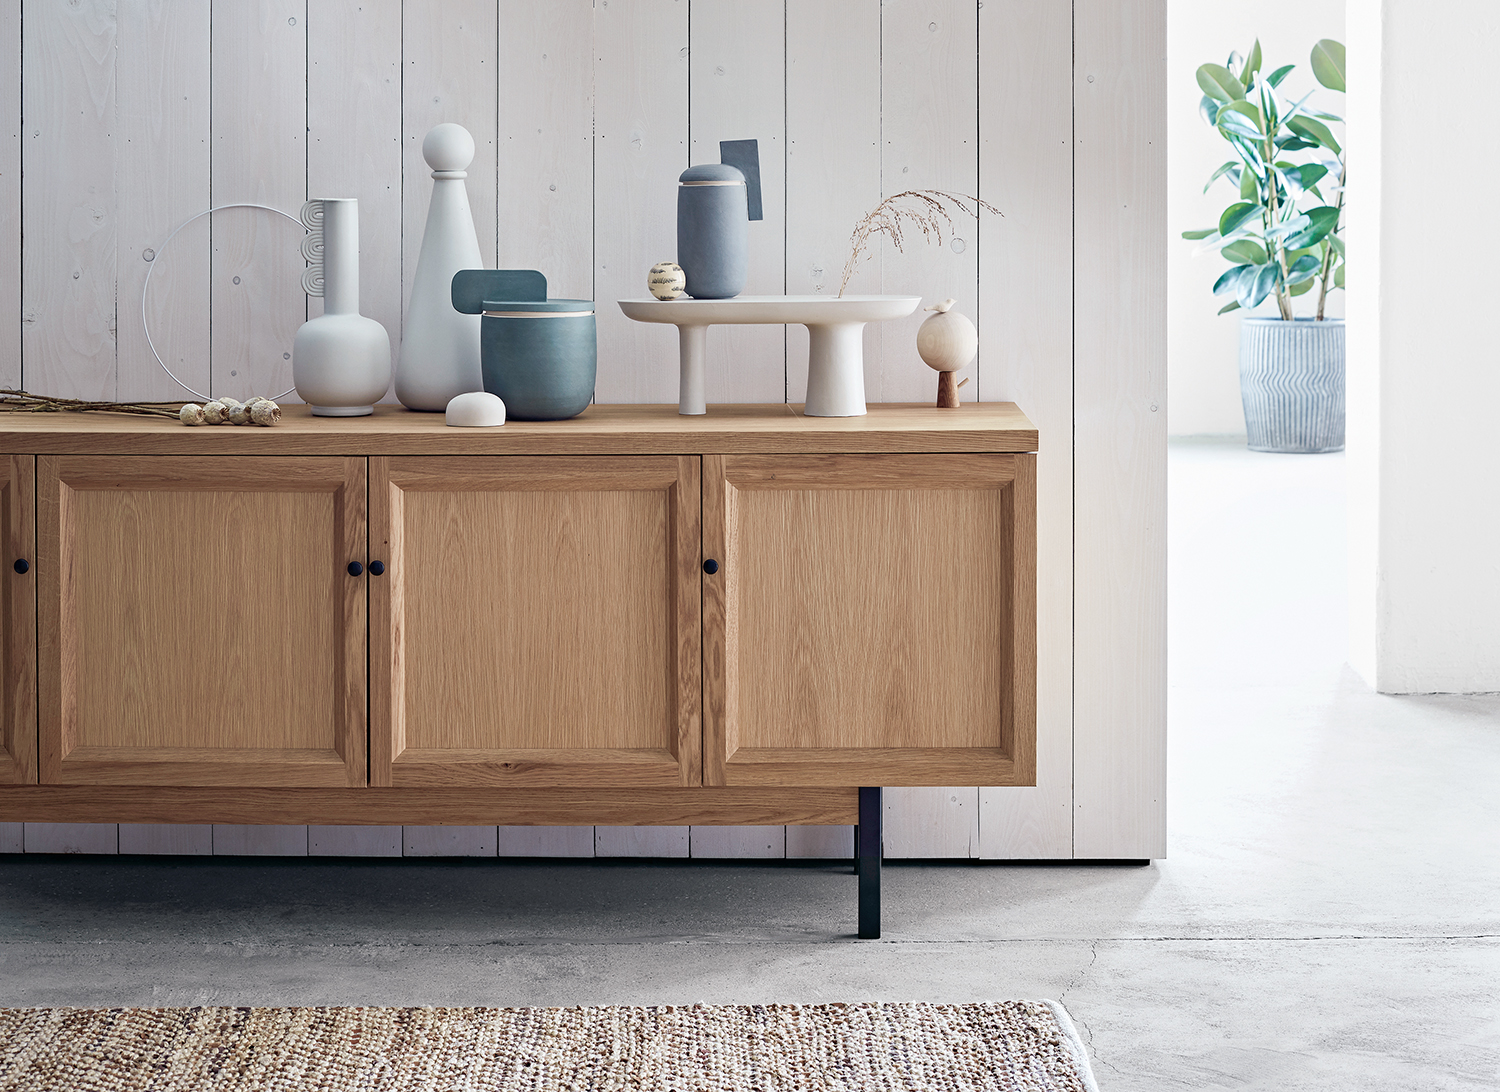
How to refinish wood furniture - easy ways to totally overhaul your decor

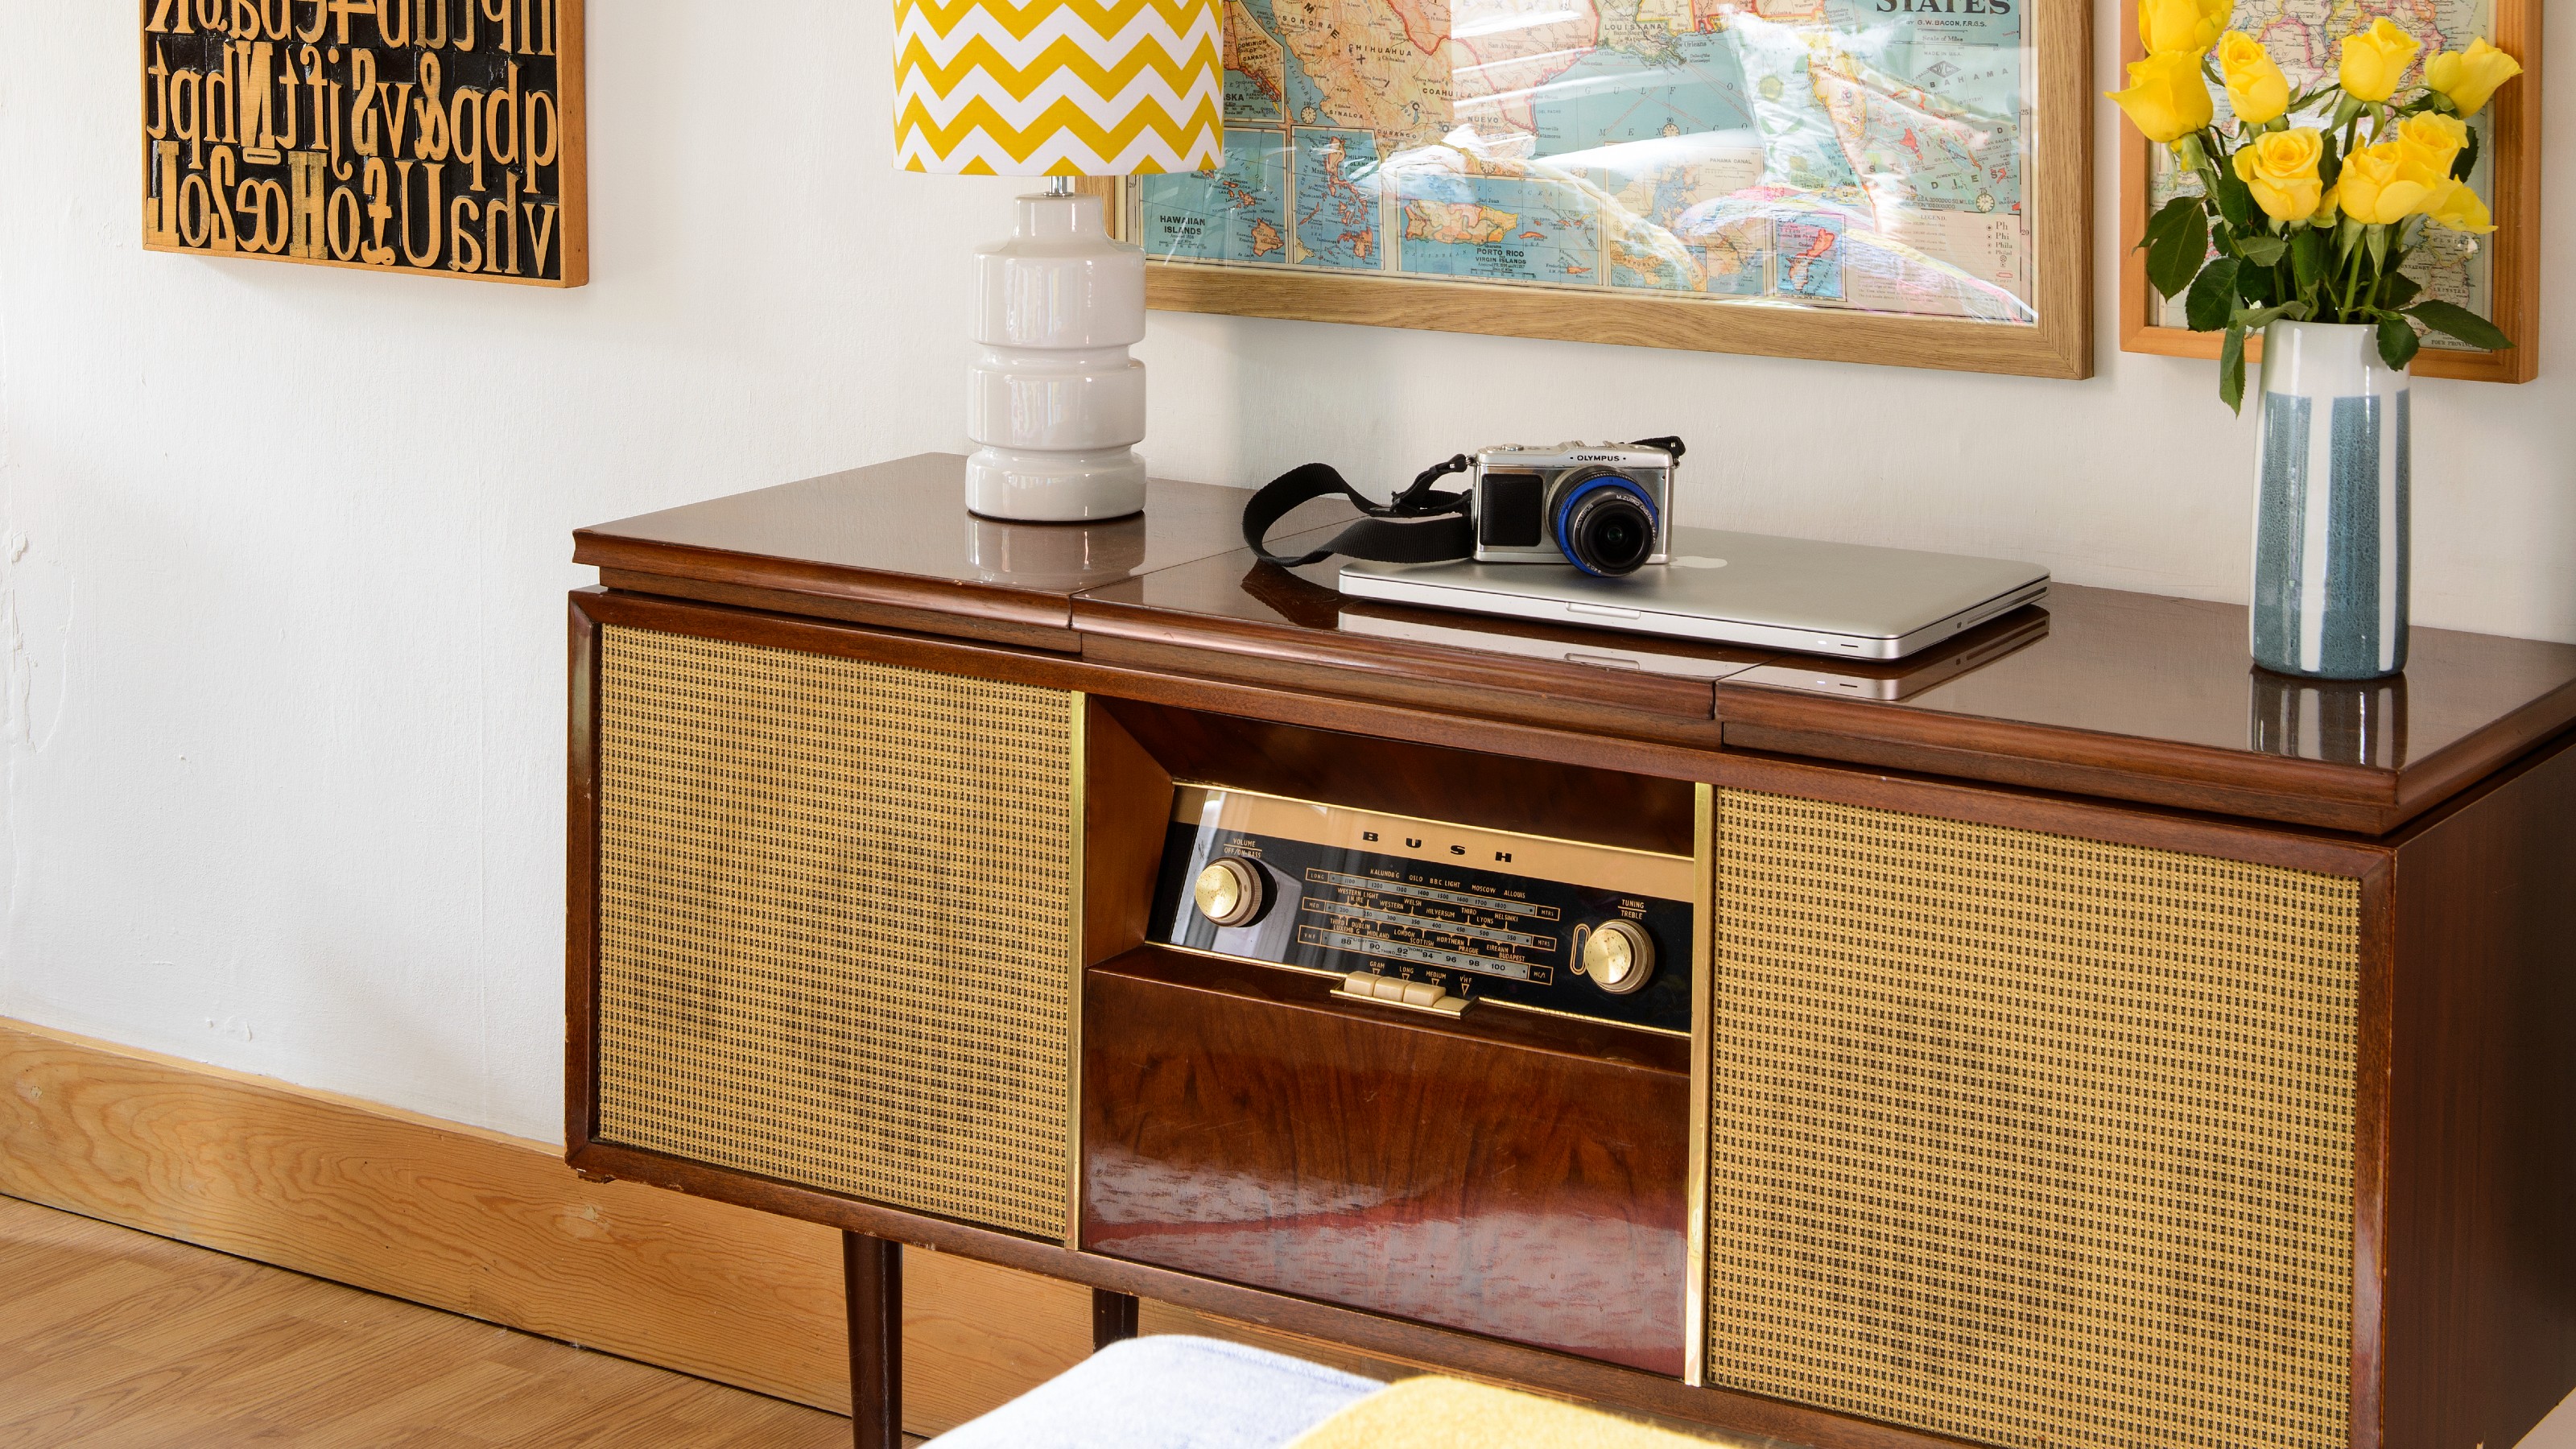
Got chipped wood veneer furniture on your hands? 3 easy ways to restore it to its former glory


Home Help: 3 ways to turn discarded wood into beautiful home decor

Expert tips for styling a beautiful tablescape

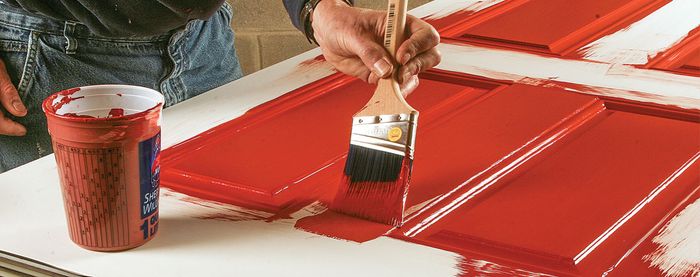
Deciding on Wood Fillers

Glue-Laminated Timbers

This Luxurious Tablescaping Trick Will Add Fashionable Flair to Your Alfresco Dining — And Offers the Ultimate Personalized Finishing Touch


How to install wooden panelling
mottled side tables shaped from recycled paper emulate durability and textures of wood
The Very Best Folding Tables
How to Paint Wood-Paneling

This Under-the-Radar Hack Company Makes Customizing Your IKEA Furniture Easier Than Ever

Wood Treatments
Pallet coffee table ideas – 11 ways to flip wooden crates into furniture


The Best Folding Table

BE Furniture 60cm Round Table Top – Mid Wood Effect Replacement Top For Cafe, Bistro & Home