1/2
7 expert tips for hanging plates on a wall – perfectly
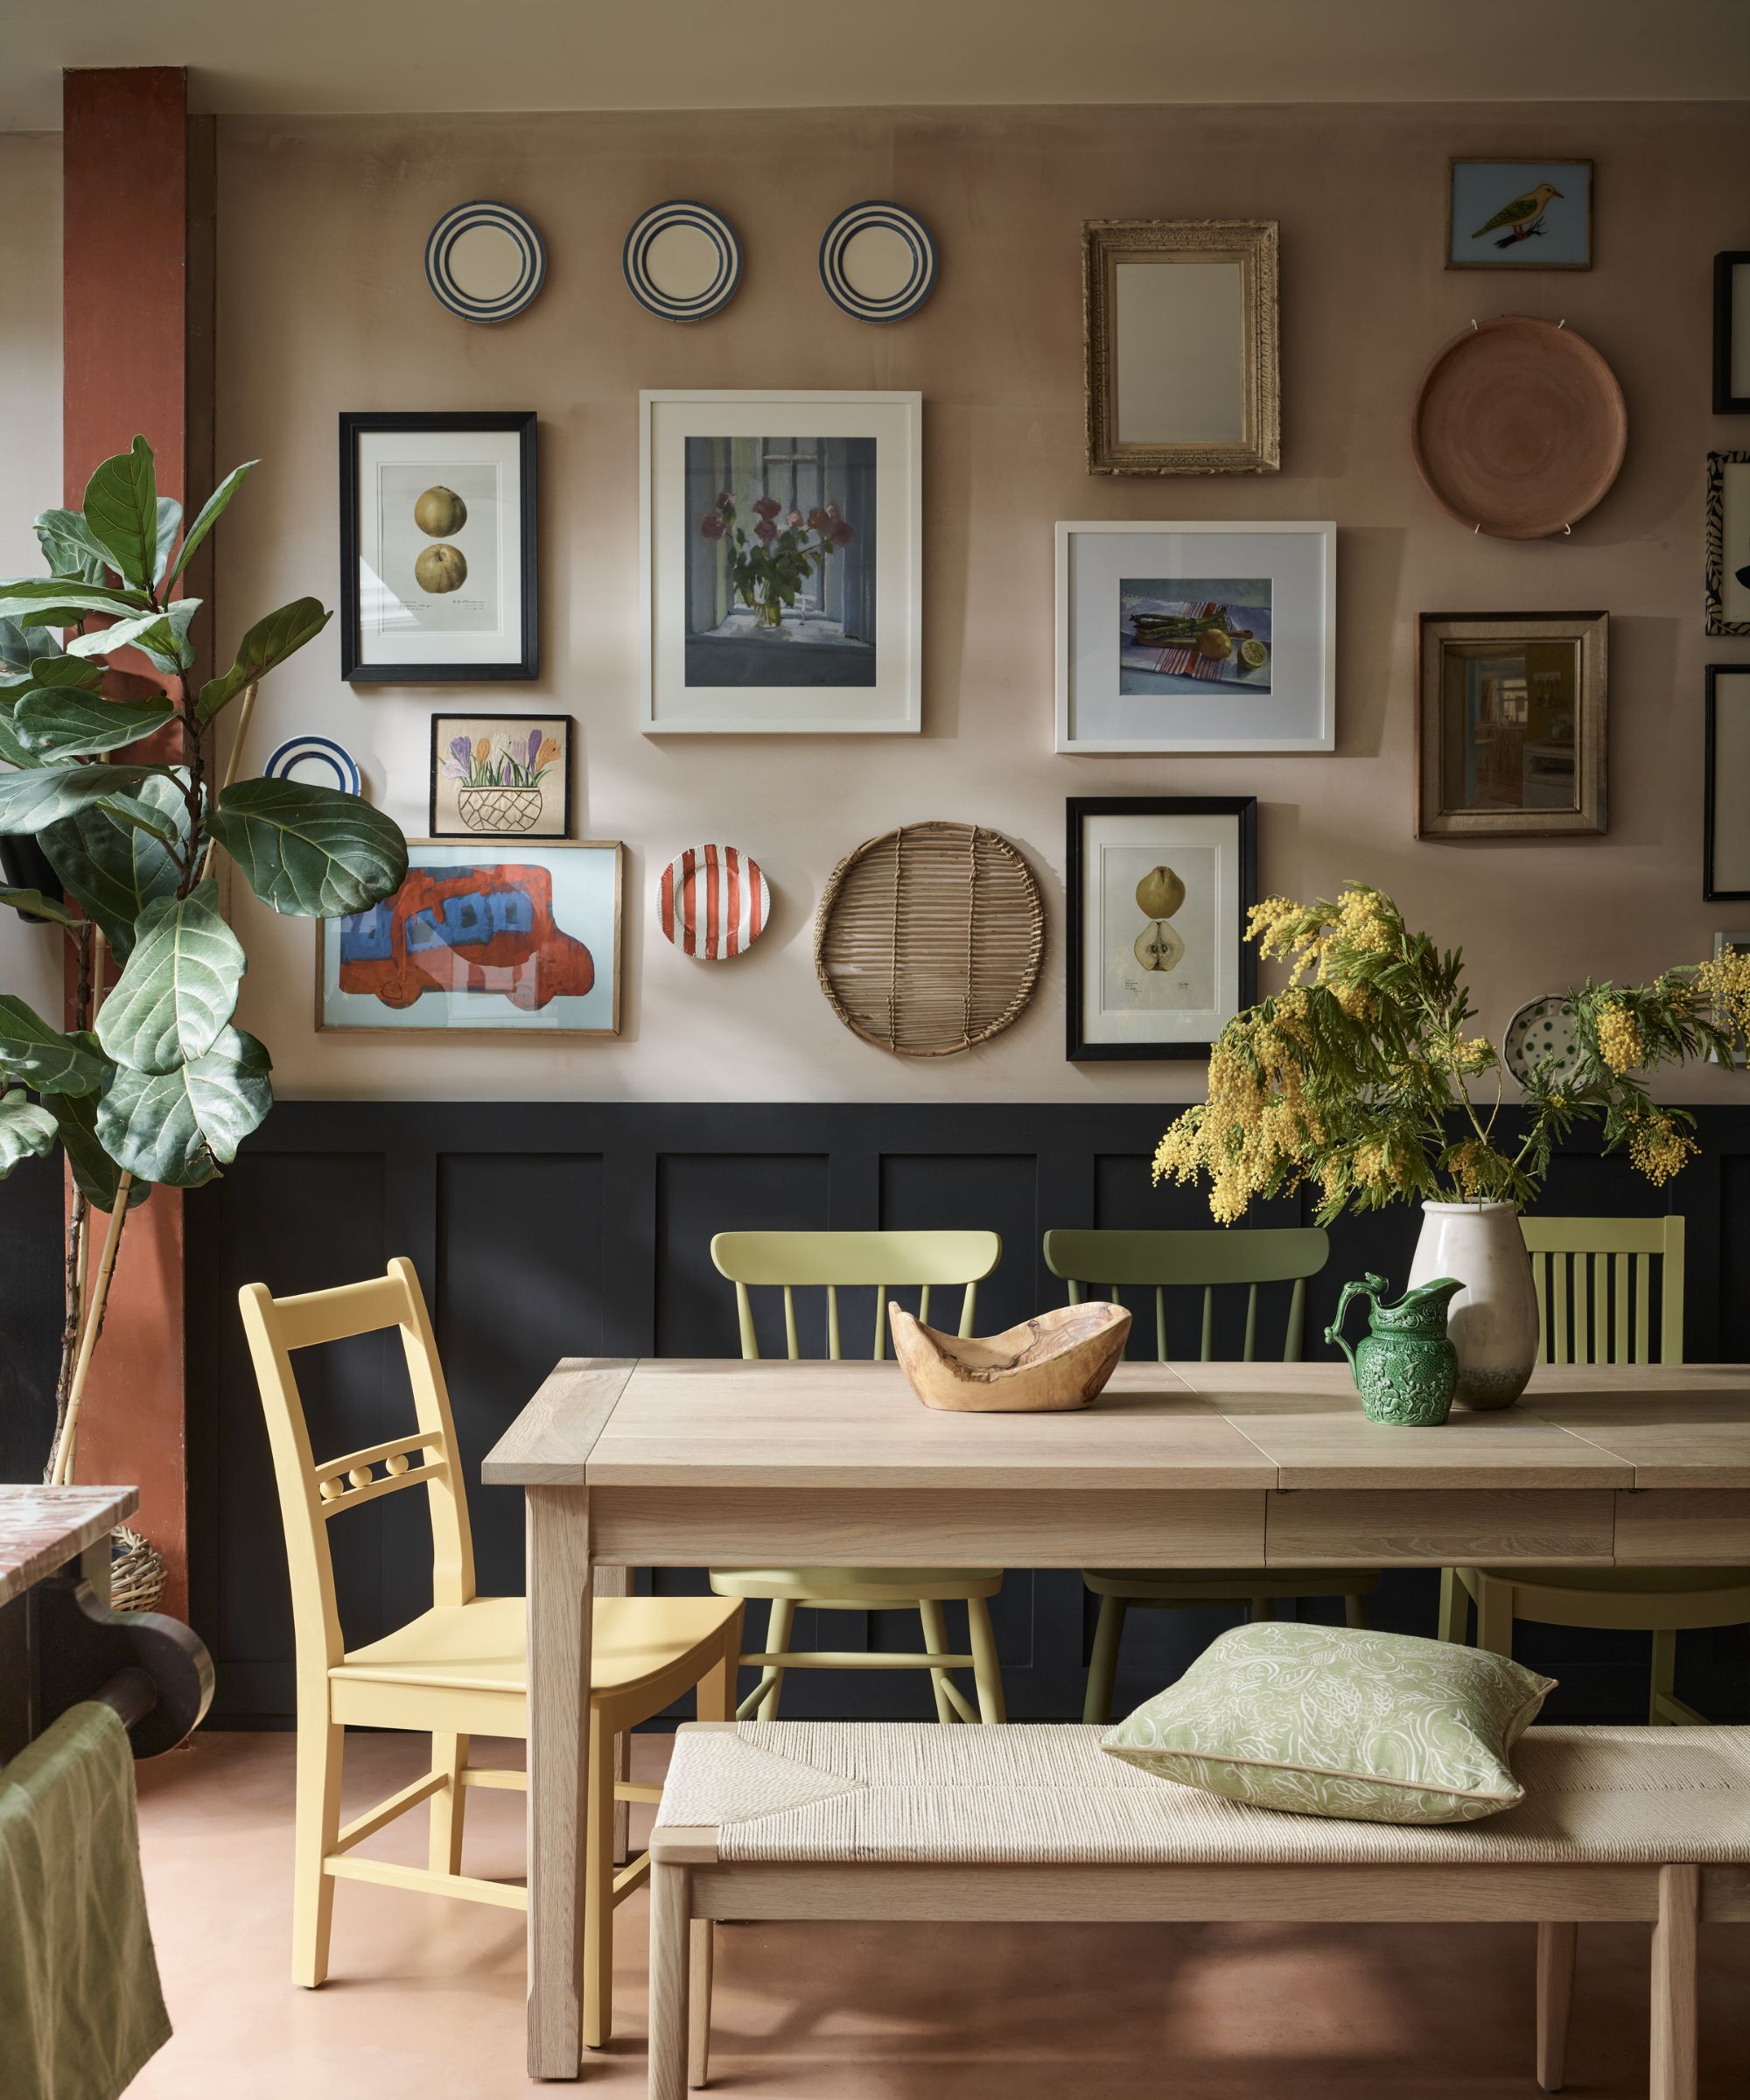
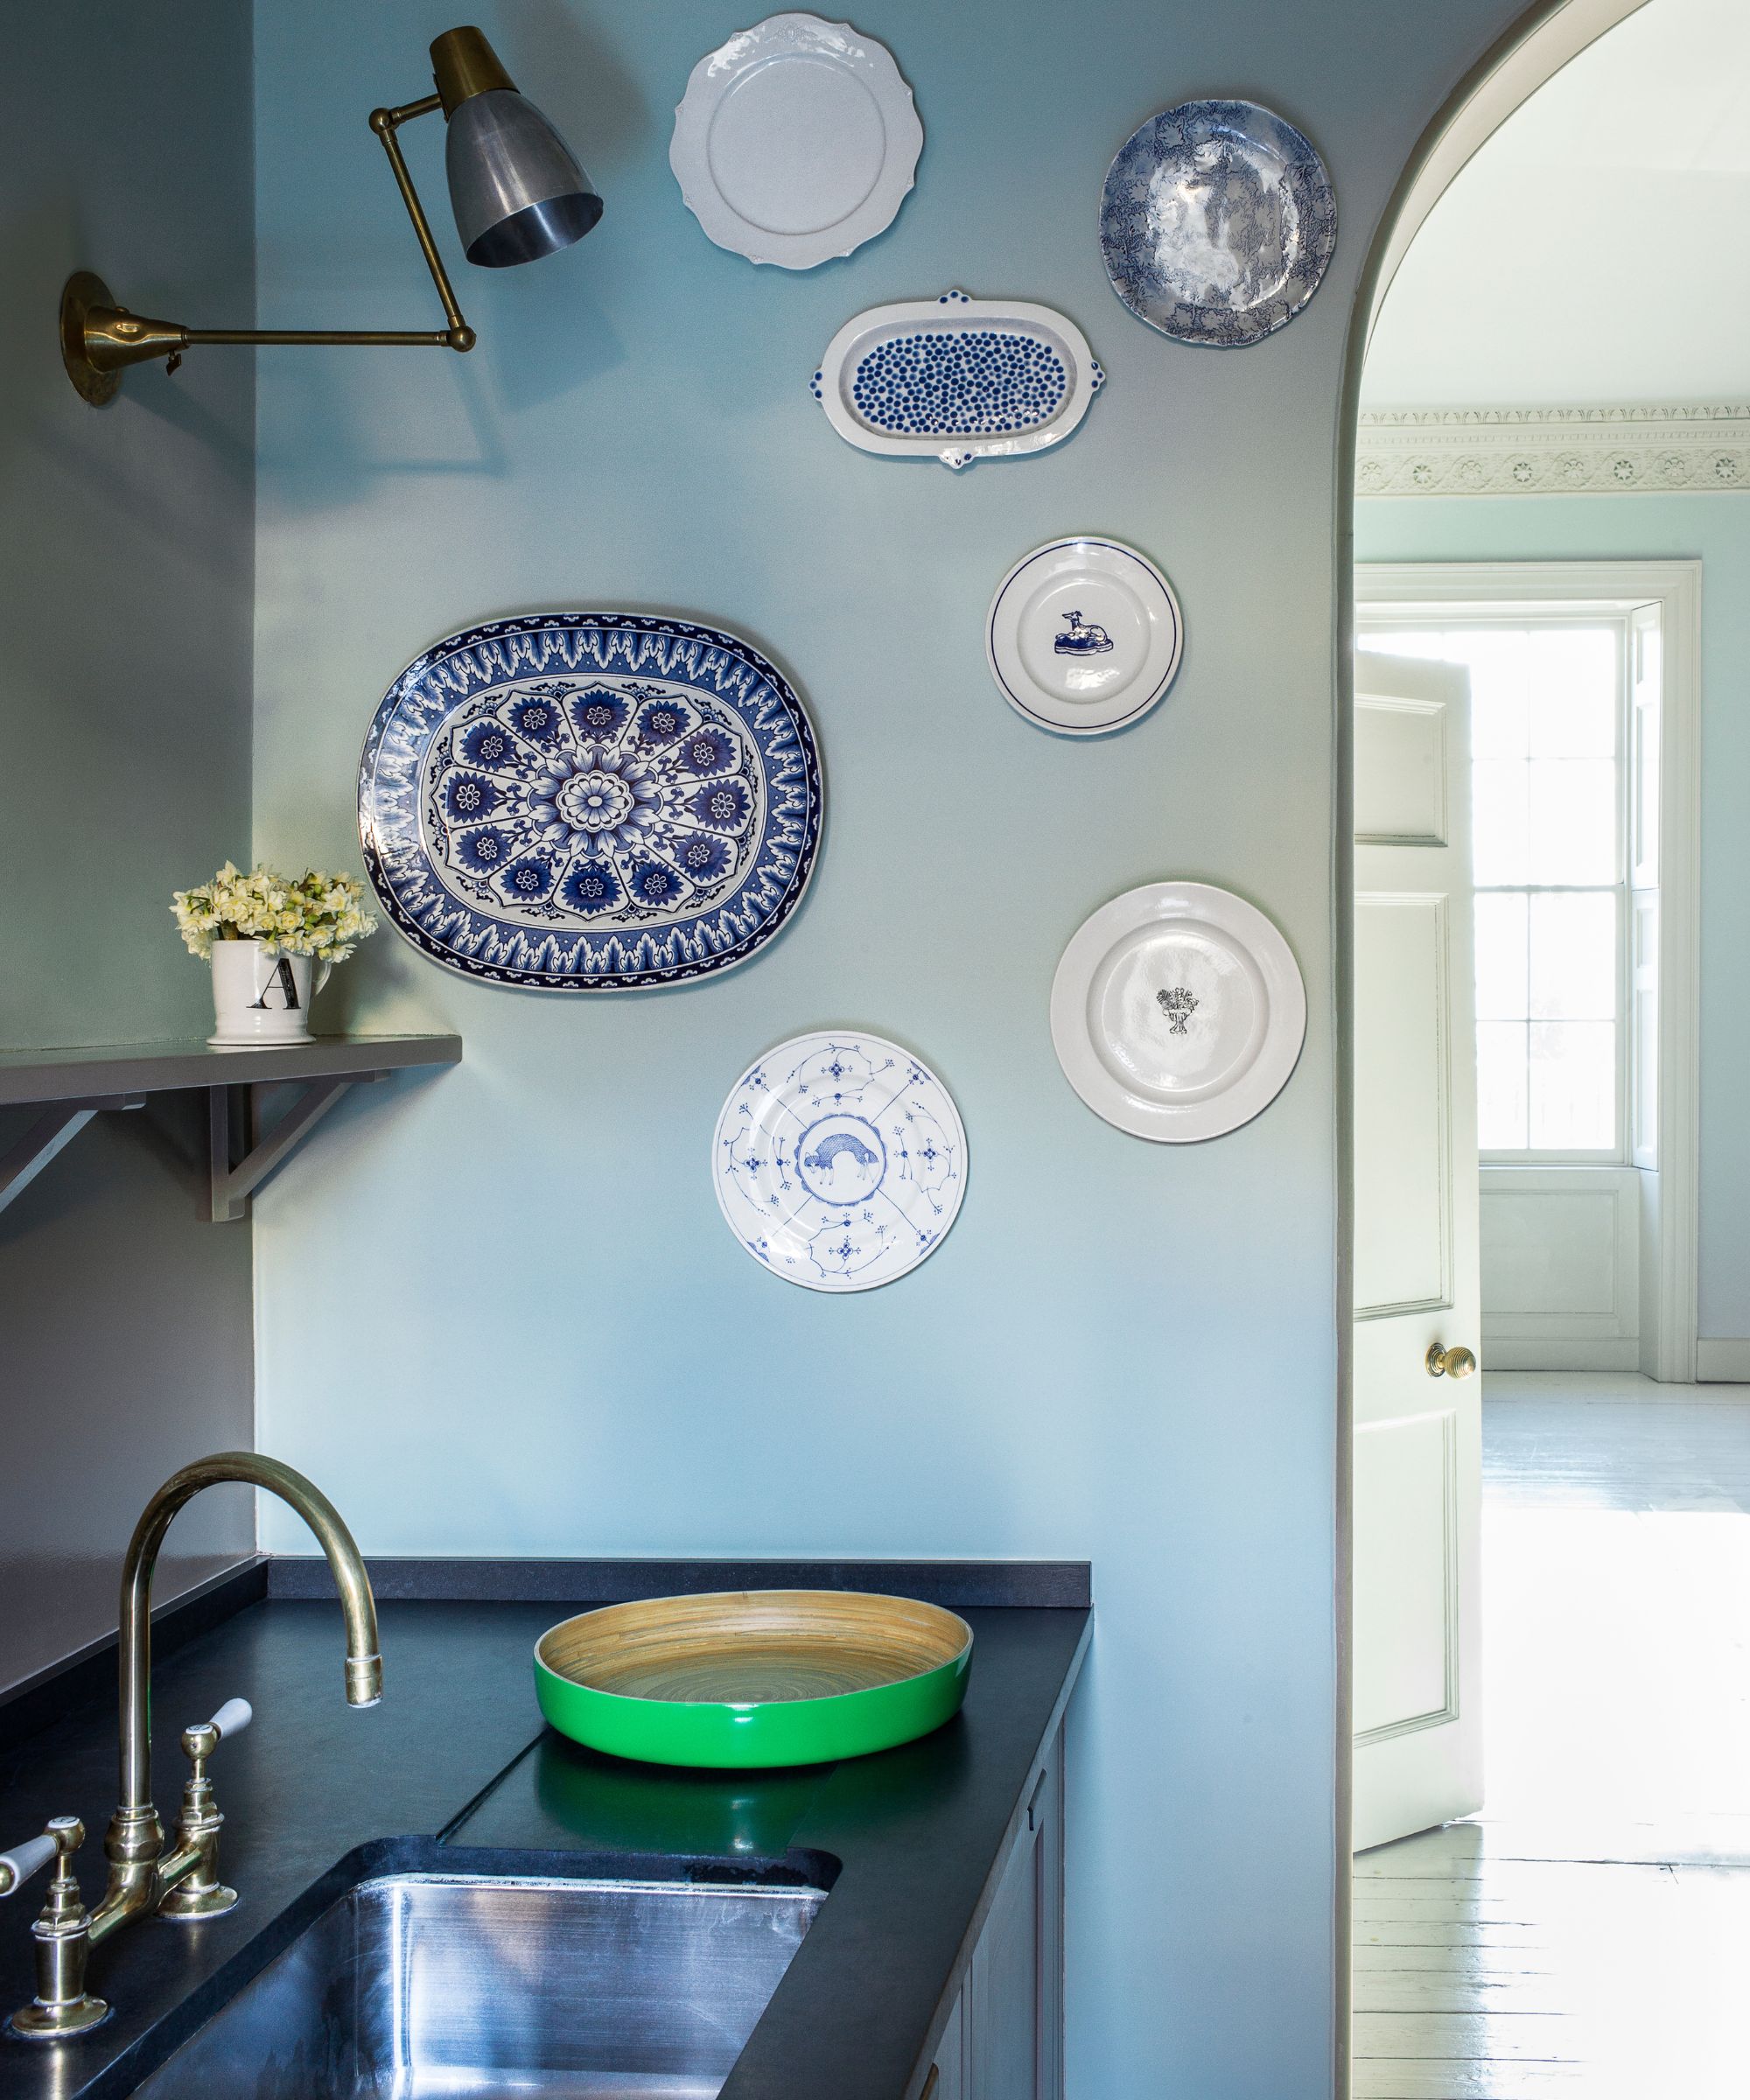
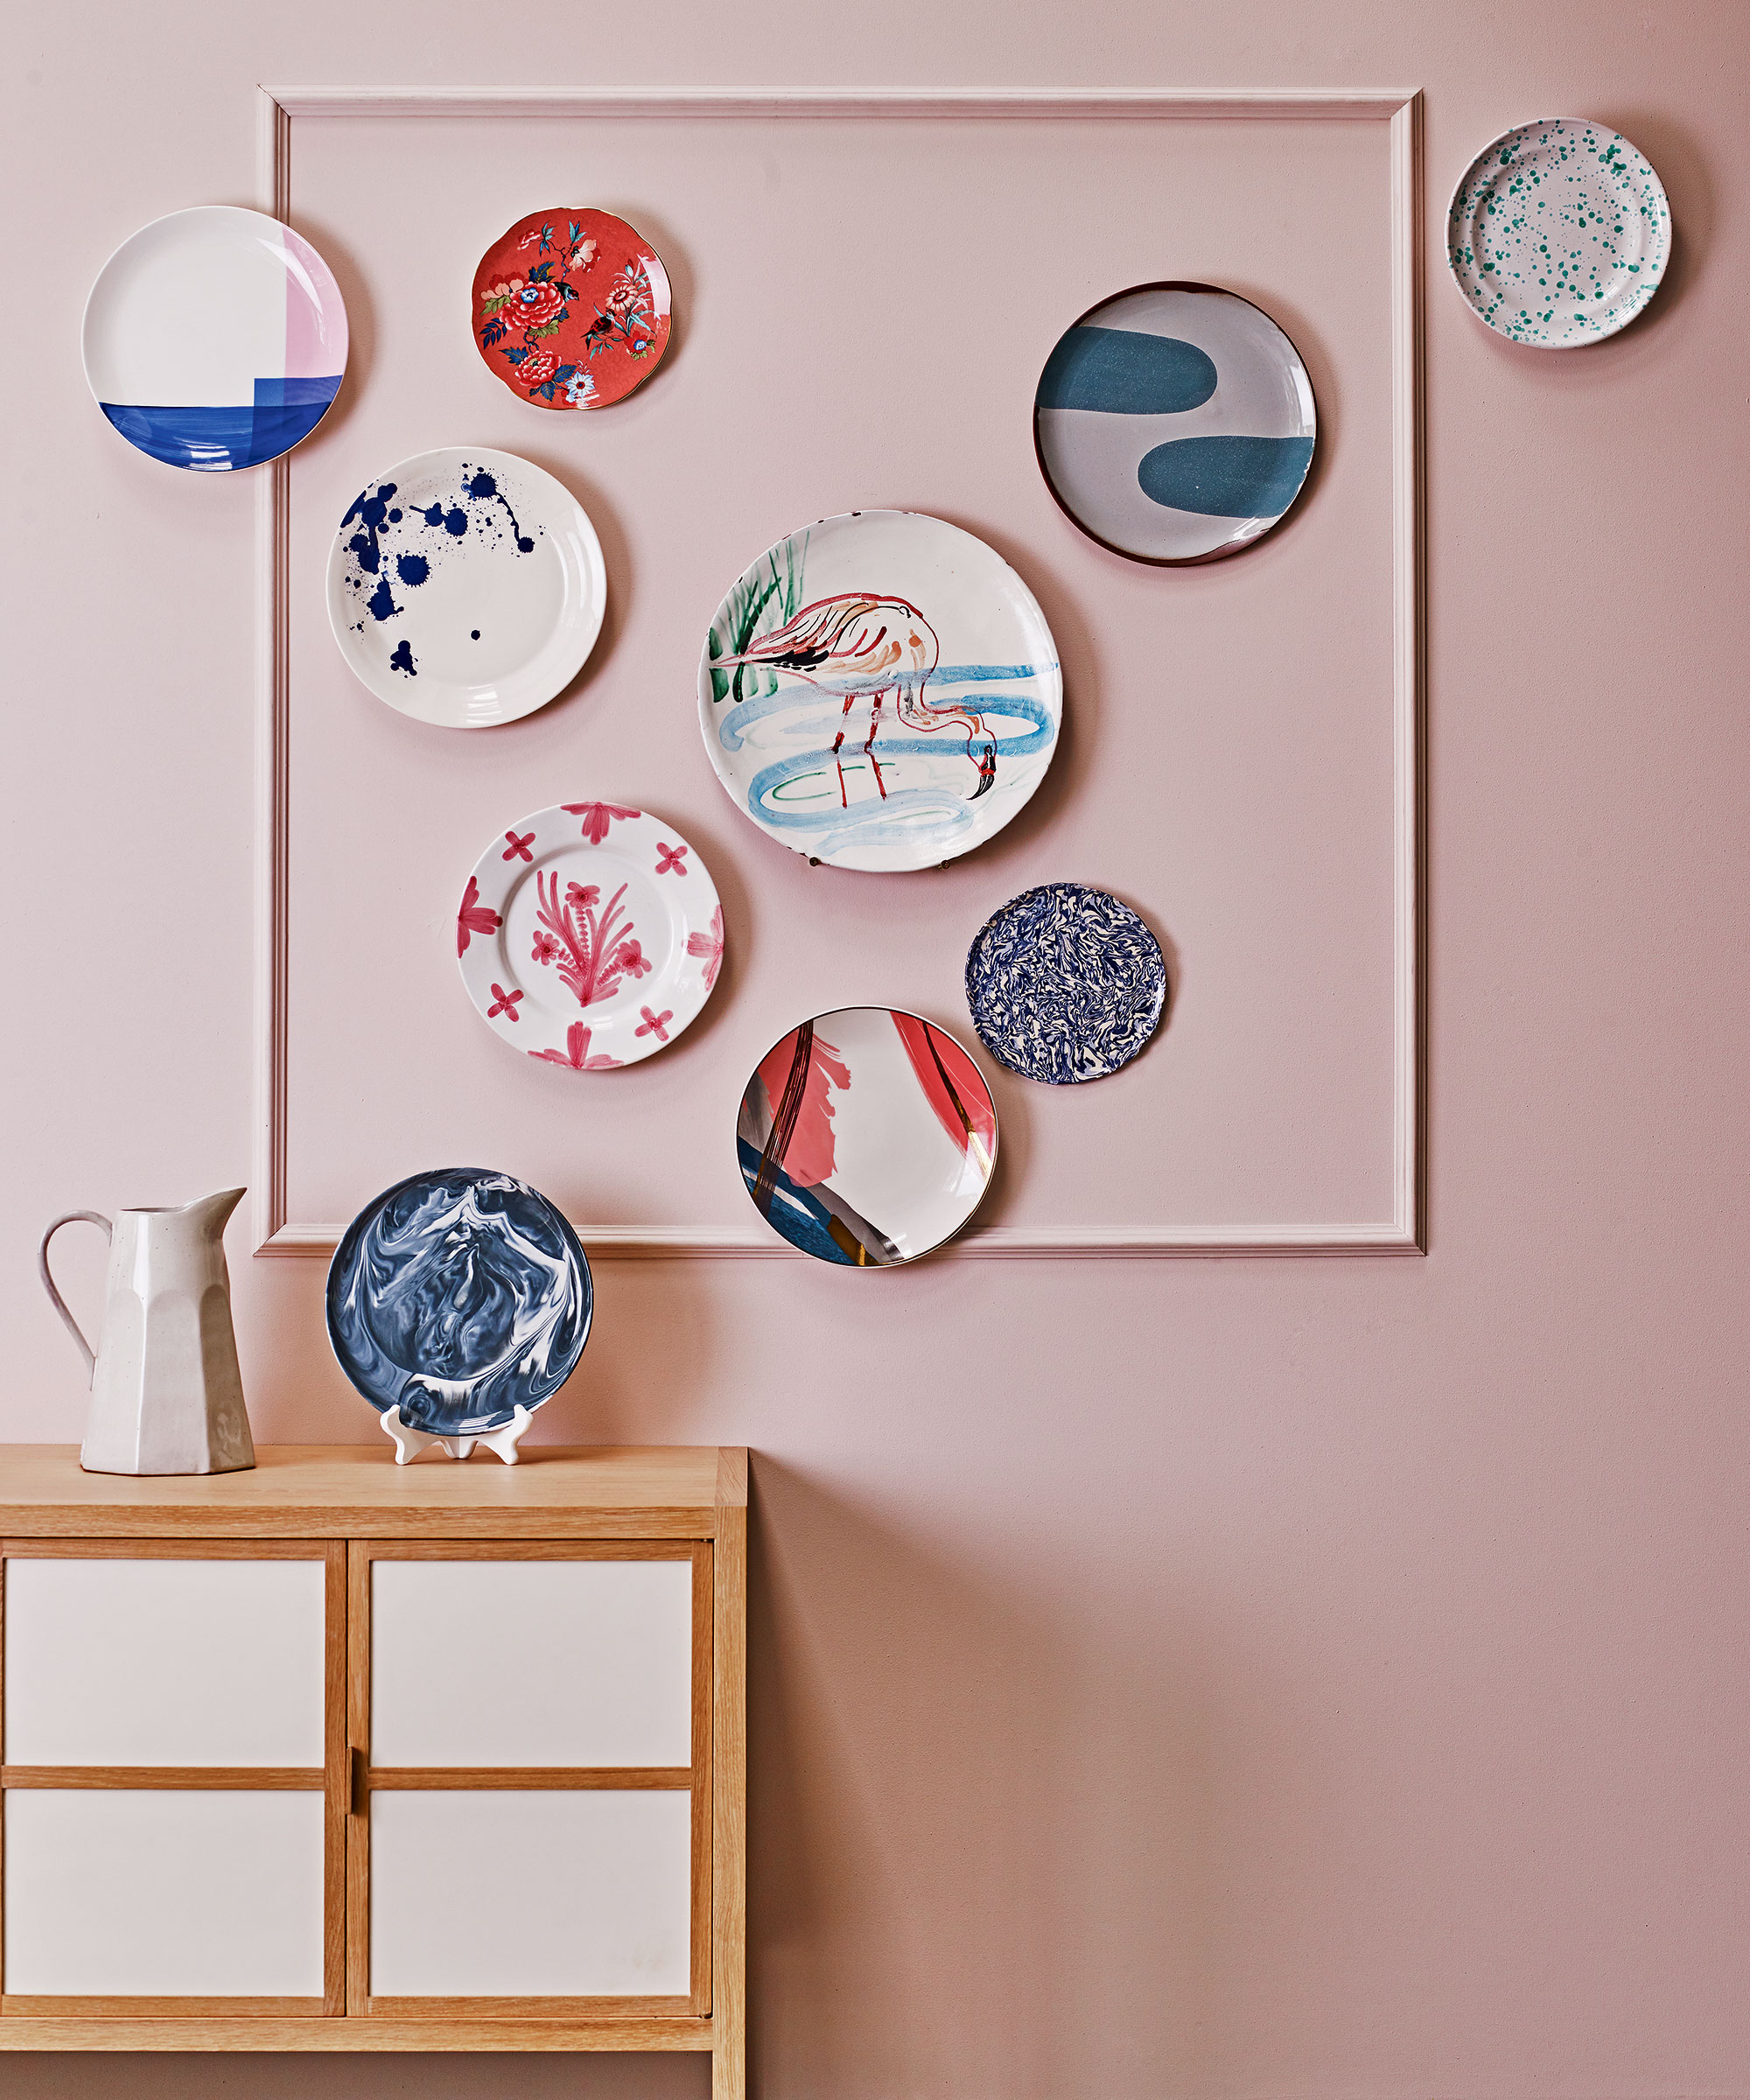
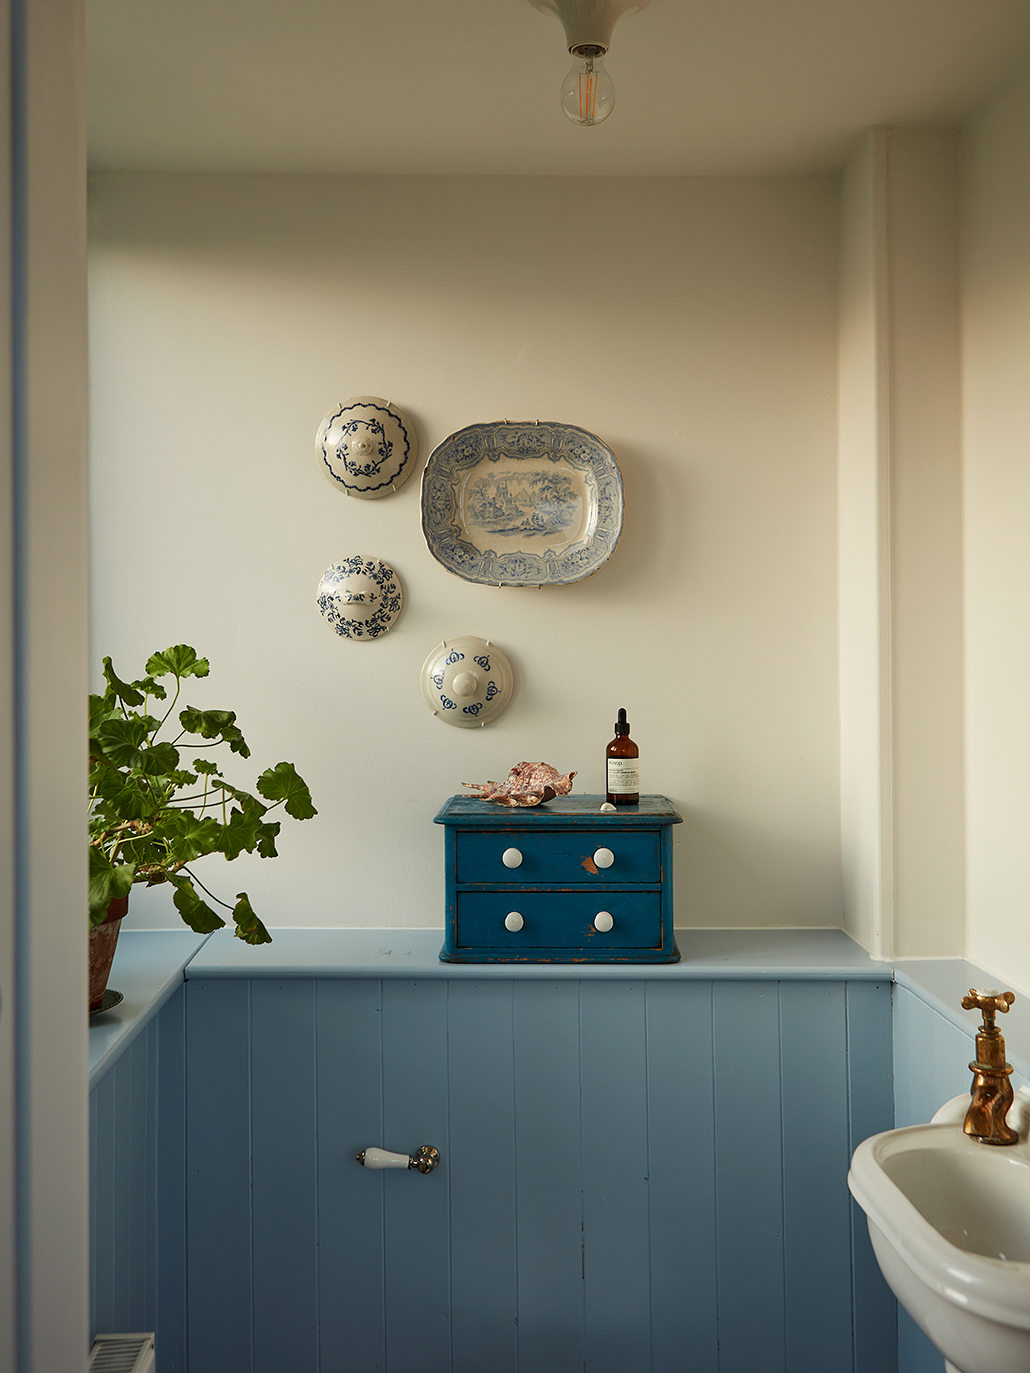
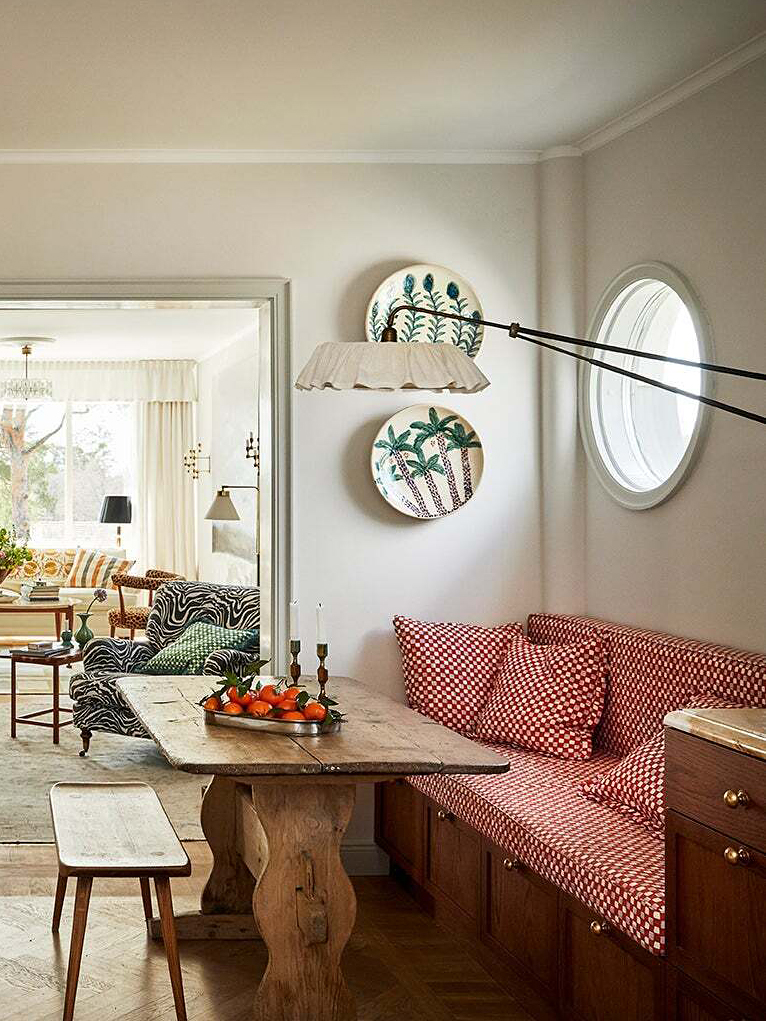
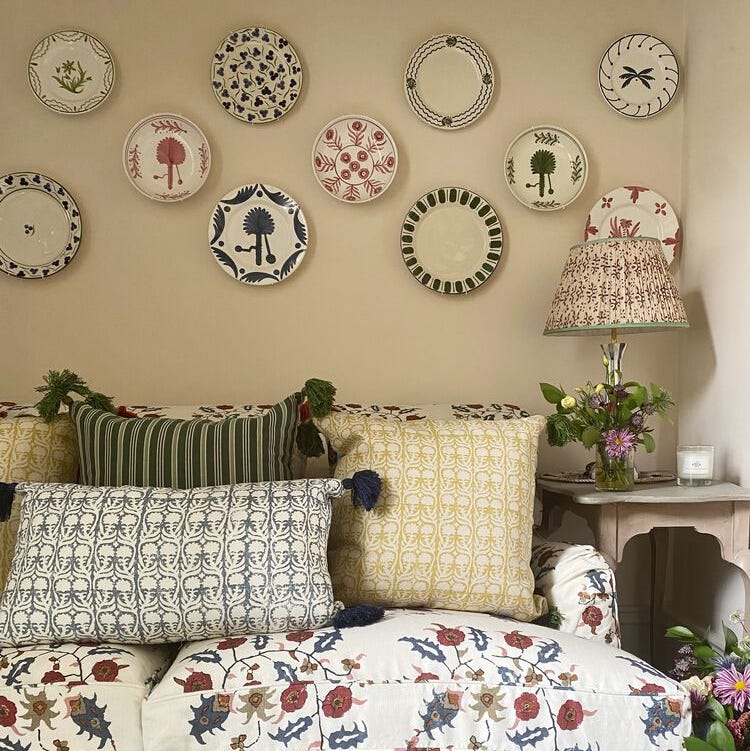
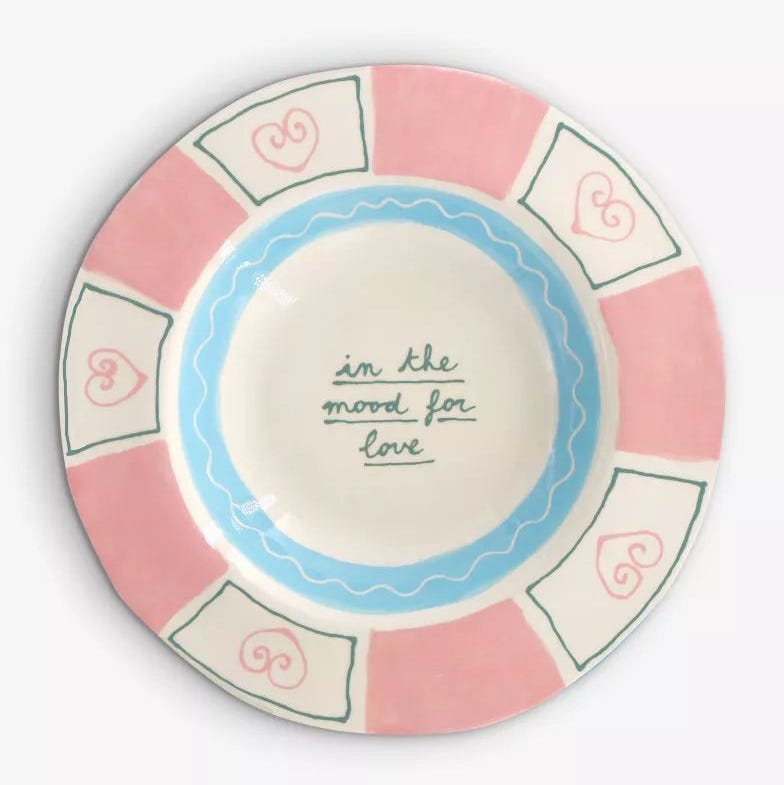
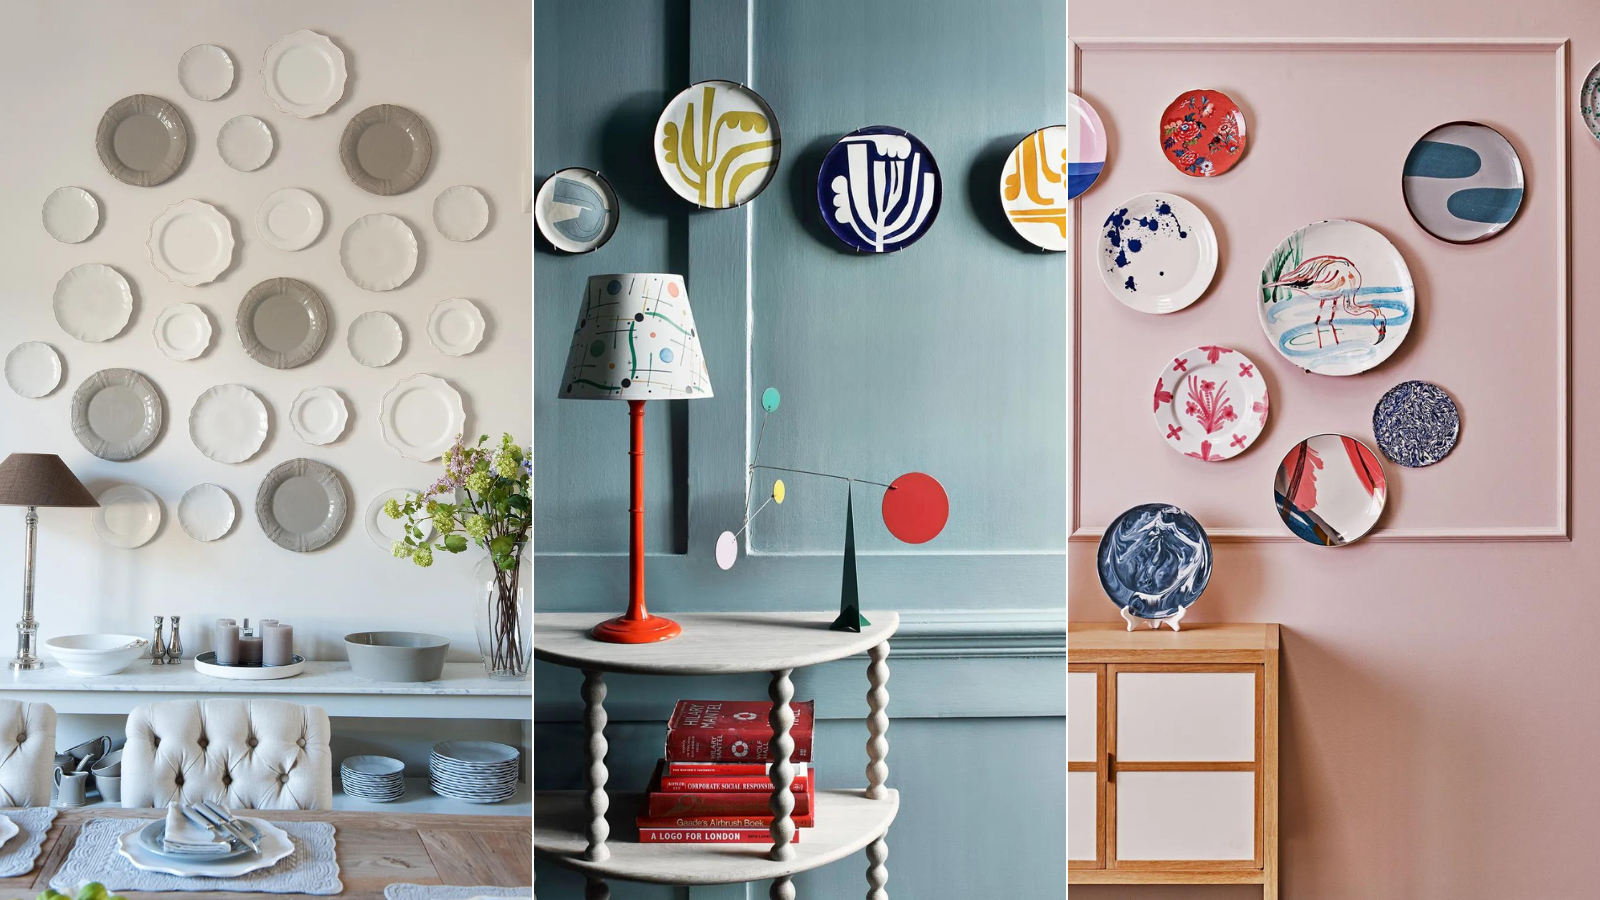
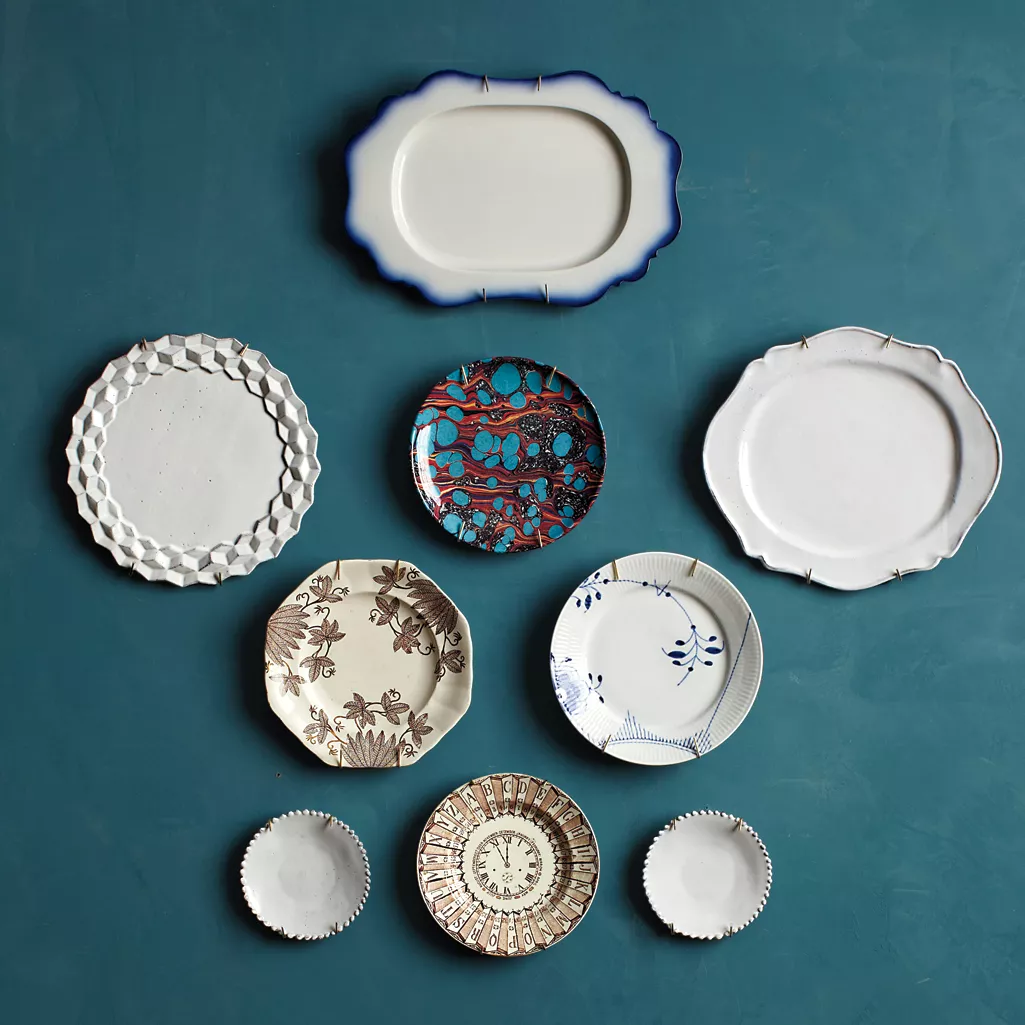

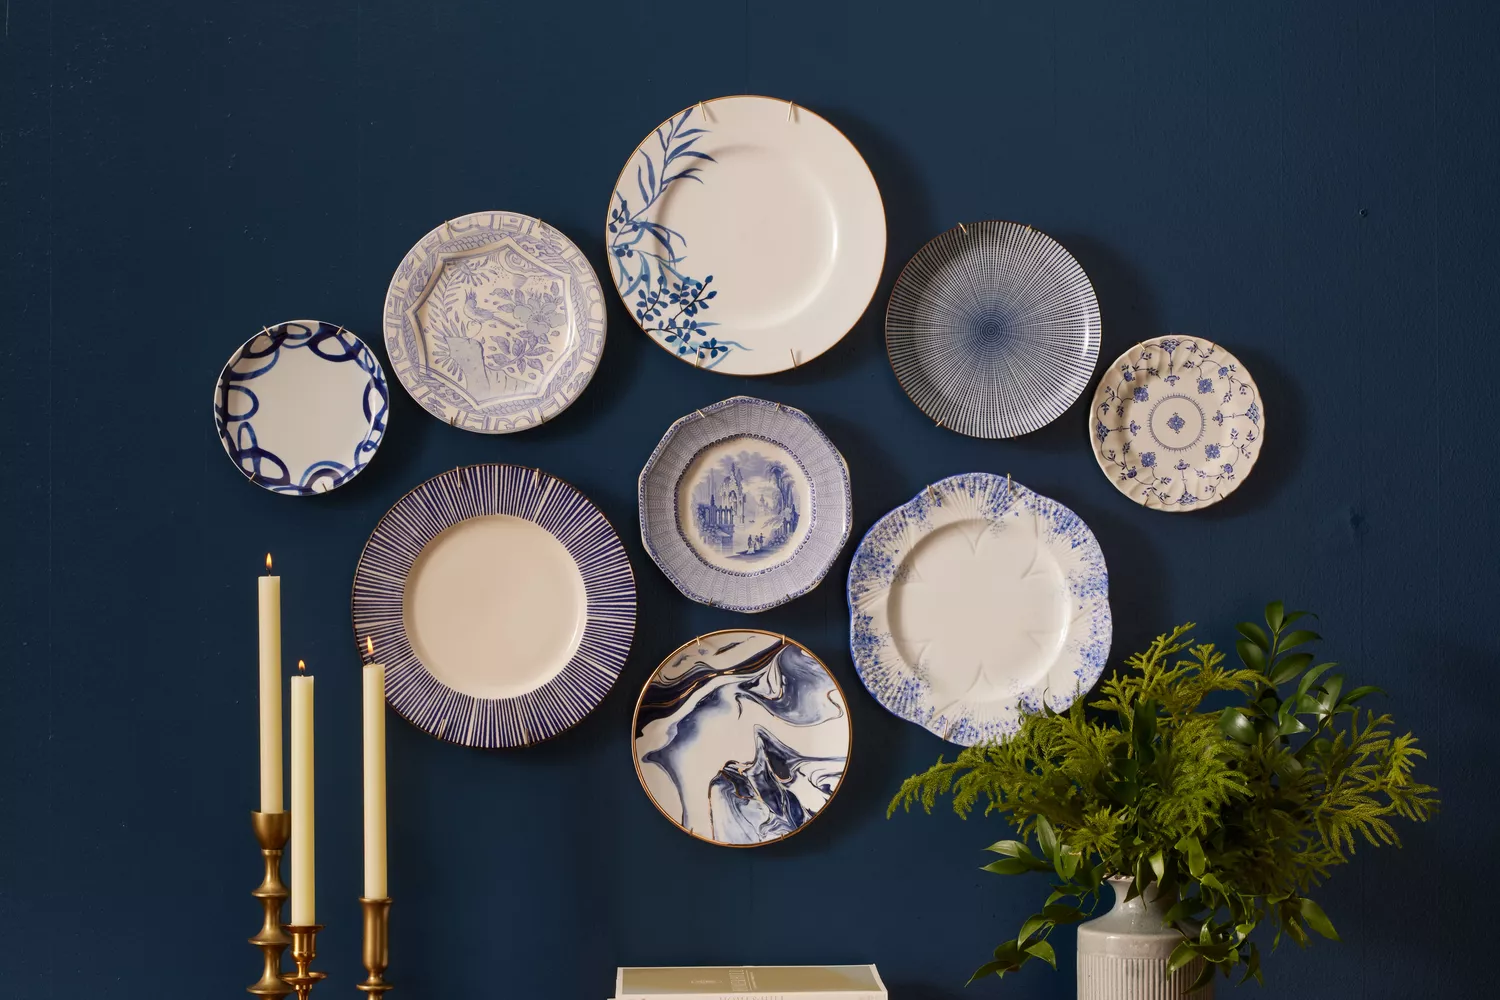
Hanging plates on a wall offers a unique and economical alternative to traditional artwork, providing a visually appealing accent feature that can personalize a room. While seemingly intricate due to plates' fragility, varying shapes, sizes, and weights, the process is achievable with careful planning and execution. Emma Sims Hilditch, a renowned interior designer, provides a step-by-step guide to successfully create a plate wall display.
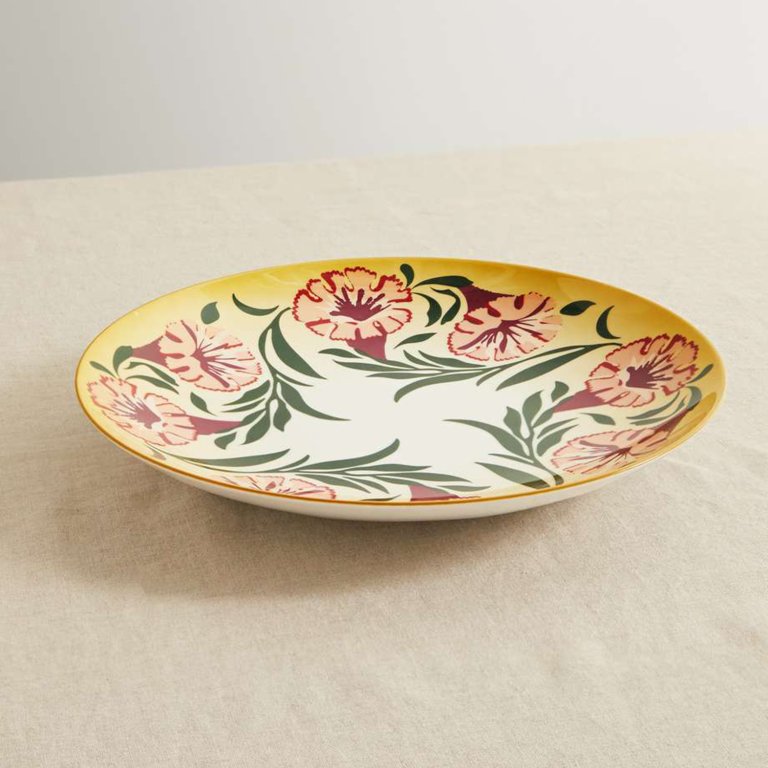
The initial step involves measuring the wall space designated for the plate display. This includes determining the overall dimensions and marking the central point where the first plate will be positioned. To refine the layout, it is beneficial to use low-tack masking tape to delineate the boundaries of the display on the wall. Replicating this boundary on a flat surface like a table or floor allows for a preliminary arrangement of plates, ensuring the planned display fits comfortably within the chosen space. Sims Hilditch emphasizes the importance of selecting a diverse range of plates in terms of size and origin, suggesting that plates with personal meaning can enhance the display's connection to the home.
Once the wall space is defined, a rough sketch of the plate arrangement should be drawn, and measurements recorded. This sketch serves as a guide for arranging the actual plates on the floor within the taped boundaries. Adjustments can be made until the desired aesthetic is achieved. Following this, the distance from the highest point of the display to the top of each plate is measured, with the topmost plate designated as '0.' These measurements are then marked on the wall to guide subsequent steps.
To accurately transfer the floor arrangement to the wall, templates of each plate are created by tracing them onto paper and cutting them out. These paper templates are then temporarily adhered to the wall according to the planned arrangement. This allows for a final visual assessment and any necessary adjustments to ensure a balanced and appealing composition. While adhering to measurements is crucial, Sims Hilditch encourages a degree of artistic flexibility to inject creative flair into the display.
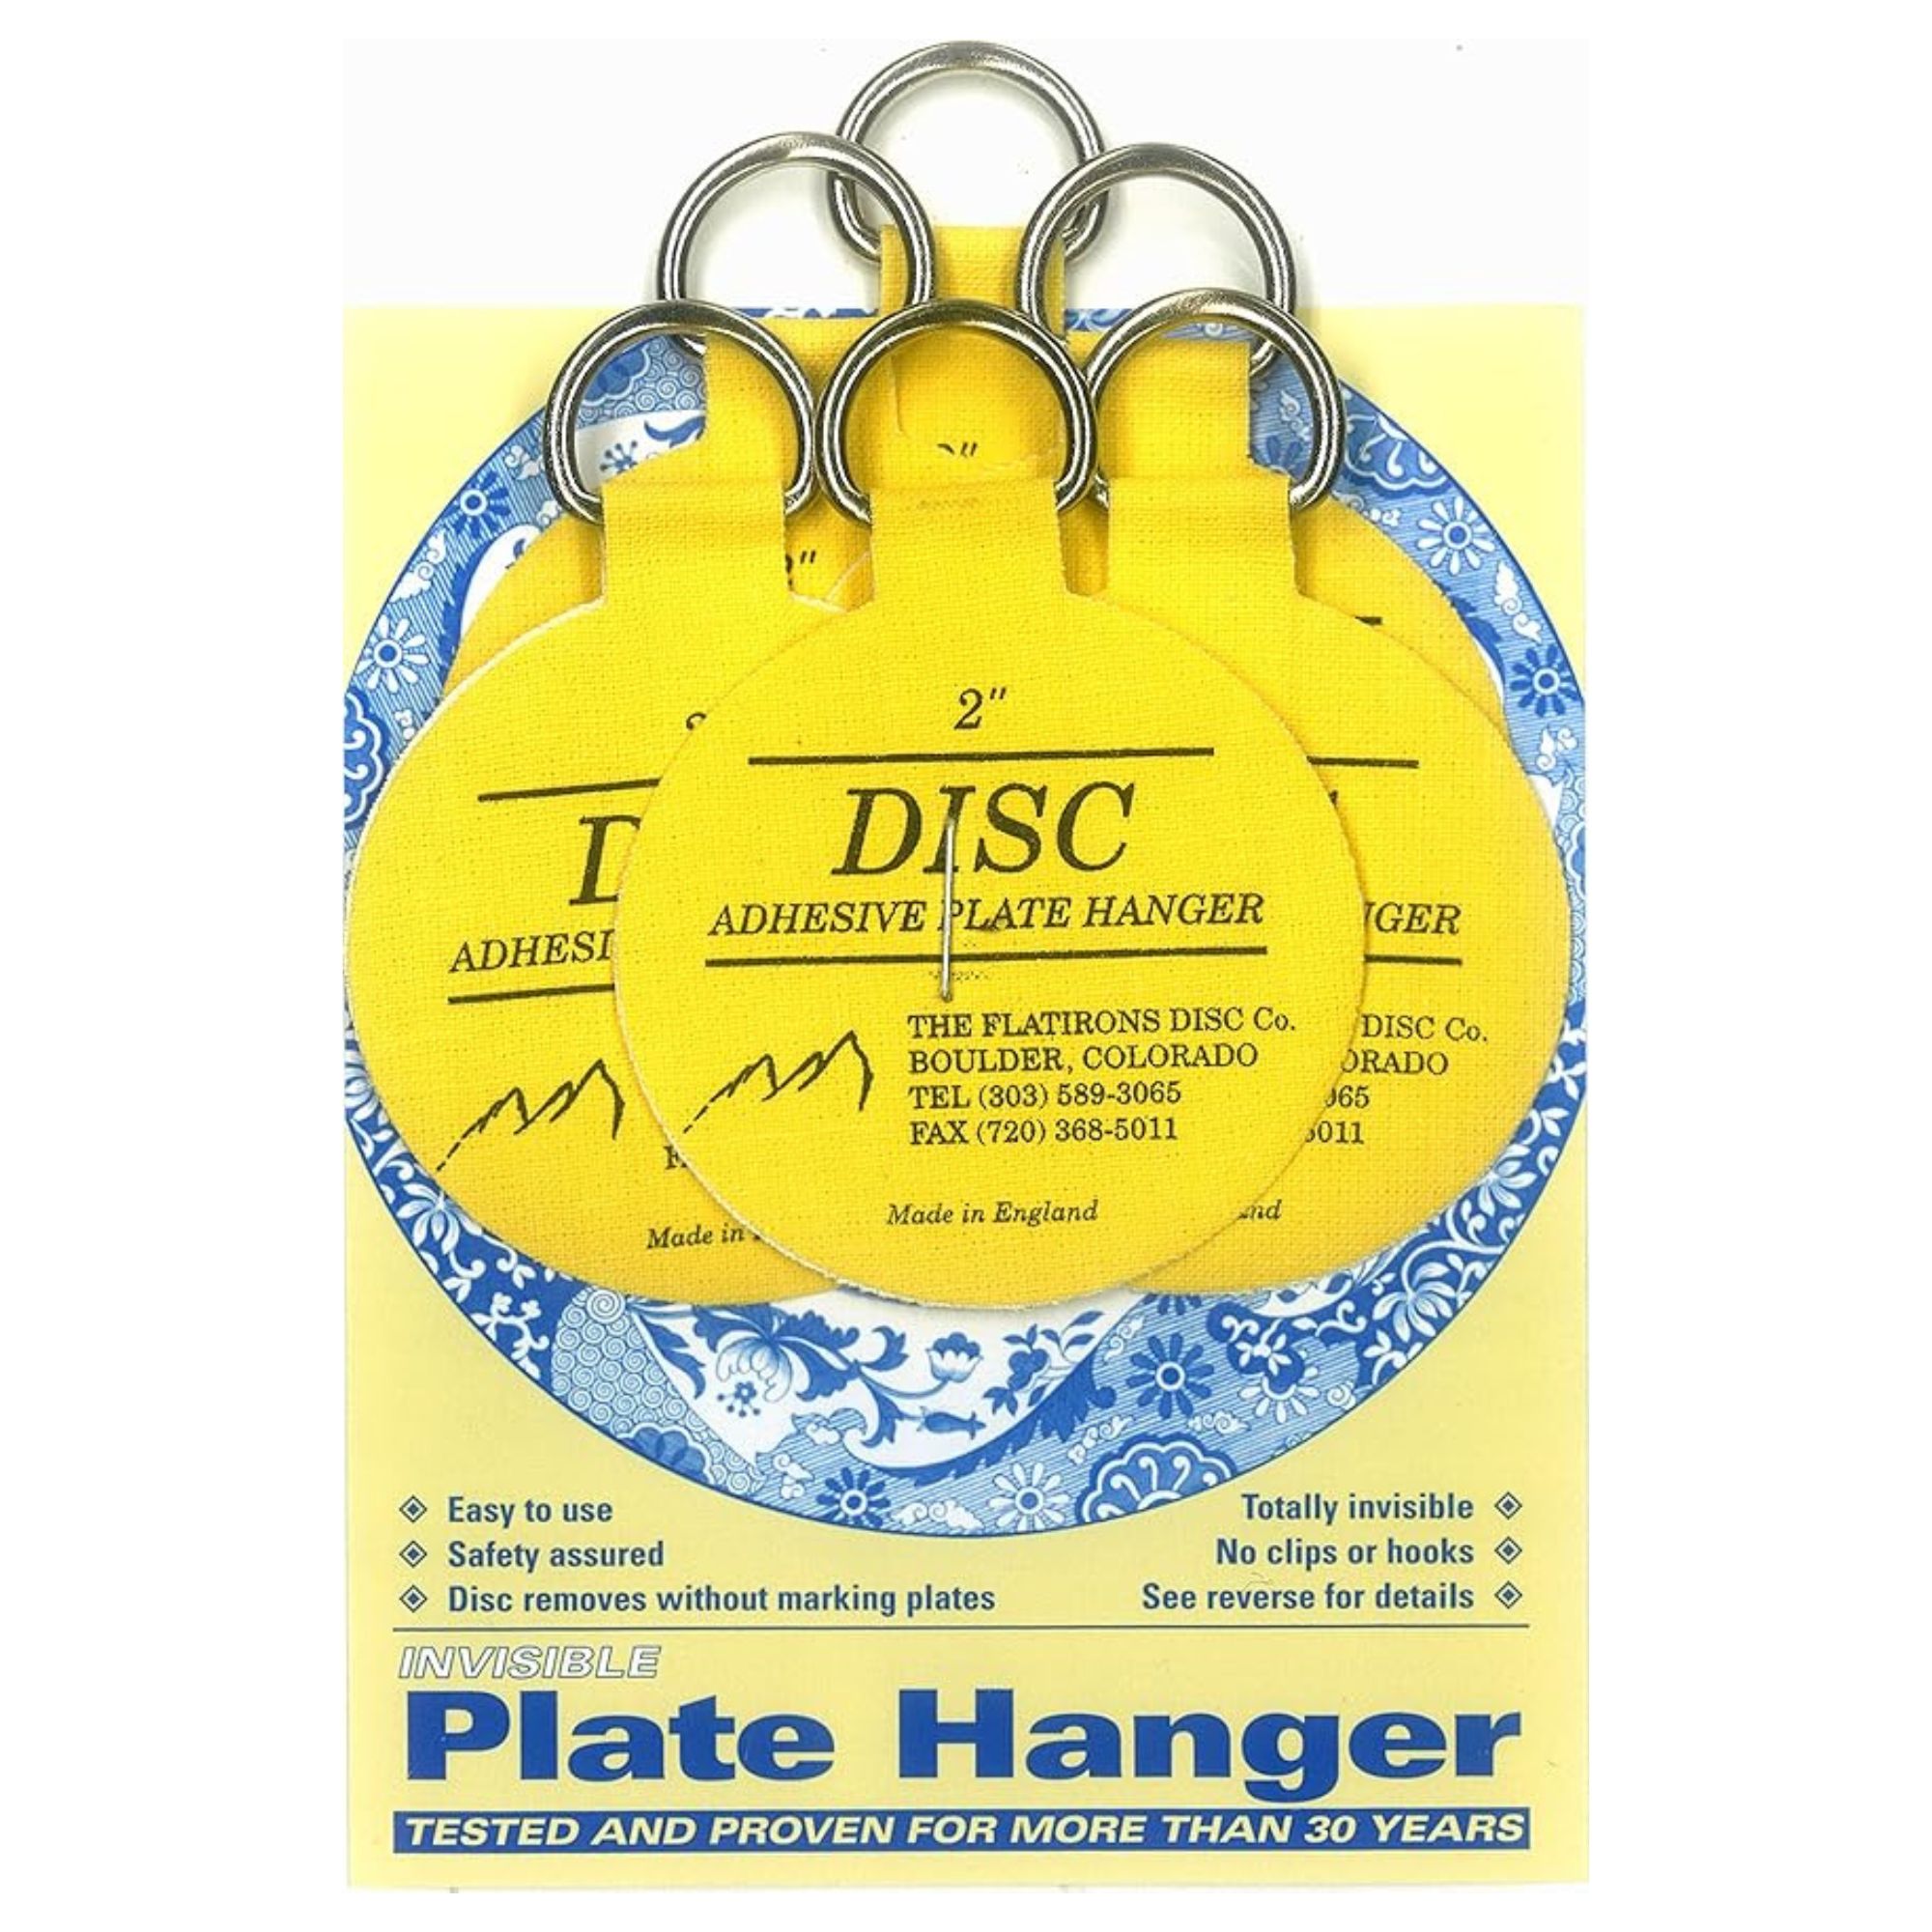
Before hanging, the back of each plate needs to be thoroughly cleaned, particularly where an adhesive disk with a hook will be applied. The front of the plates should also be cleaned to avoid fingerprints on the finished display. For hanging, an adhesive disk, such as 'The Original Invisible Plate Hanger,' is prepared by moistening its back and rubbing it for five to ten minutes. This disk is then applied to the underside of the plate and left to bond for 24 hours. After this bonding period, the central point on the wall is located, and hook points are marked using the pre-recorded measurements or templates. Finally, the prepared plates are hung according to the design.
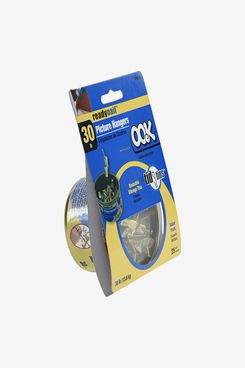
Alternative hanging methods include Command Strips and traditional plate hangers. Command Strips offer a nail and screw-free option, allowing for easy repositioning without wall damage. However, this method requires plates to have a flat back surface. If a plate has a lip, Command Hooks can be used if there's a hole to thread a string through. For Command Strips, both the plate and wall surfaces need to be clean, with adhesive strips applied to both and then pressed together. Traditional plate hangers grip the plate's rim and attach to a nail. The critical aspect here is selecting the correct size of hanger to prevent plates from falling and ensuring the nail is securely fixed. A minor drawback of plate hangers is that their grips can be visible, which can be remedied by touching them up with paint or nail varnish matching the plate's color for a seamless look.
#InteriorDesign #HomeDecor #PlateWall #DIYHomeDecor #WallDecor #DesignTips #EmmaSimsHilditch #InteriorDesign #HomeDecor #PlateWall #DIYHomeDecor #WallDecor #DesignTips #EmmaSimsHilditch
0 ความคิดเห็นรวม
 ยังไม่มีความคิดเห็น
คุณอาจจะชอบอีกด้วย
This 1 thing helped me hang a stunning plate wall in less than 10 minutes
Gallery Walls Are Cool, But Do You Have a Plate Wall?

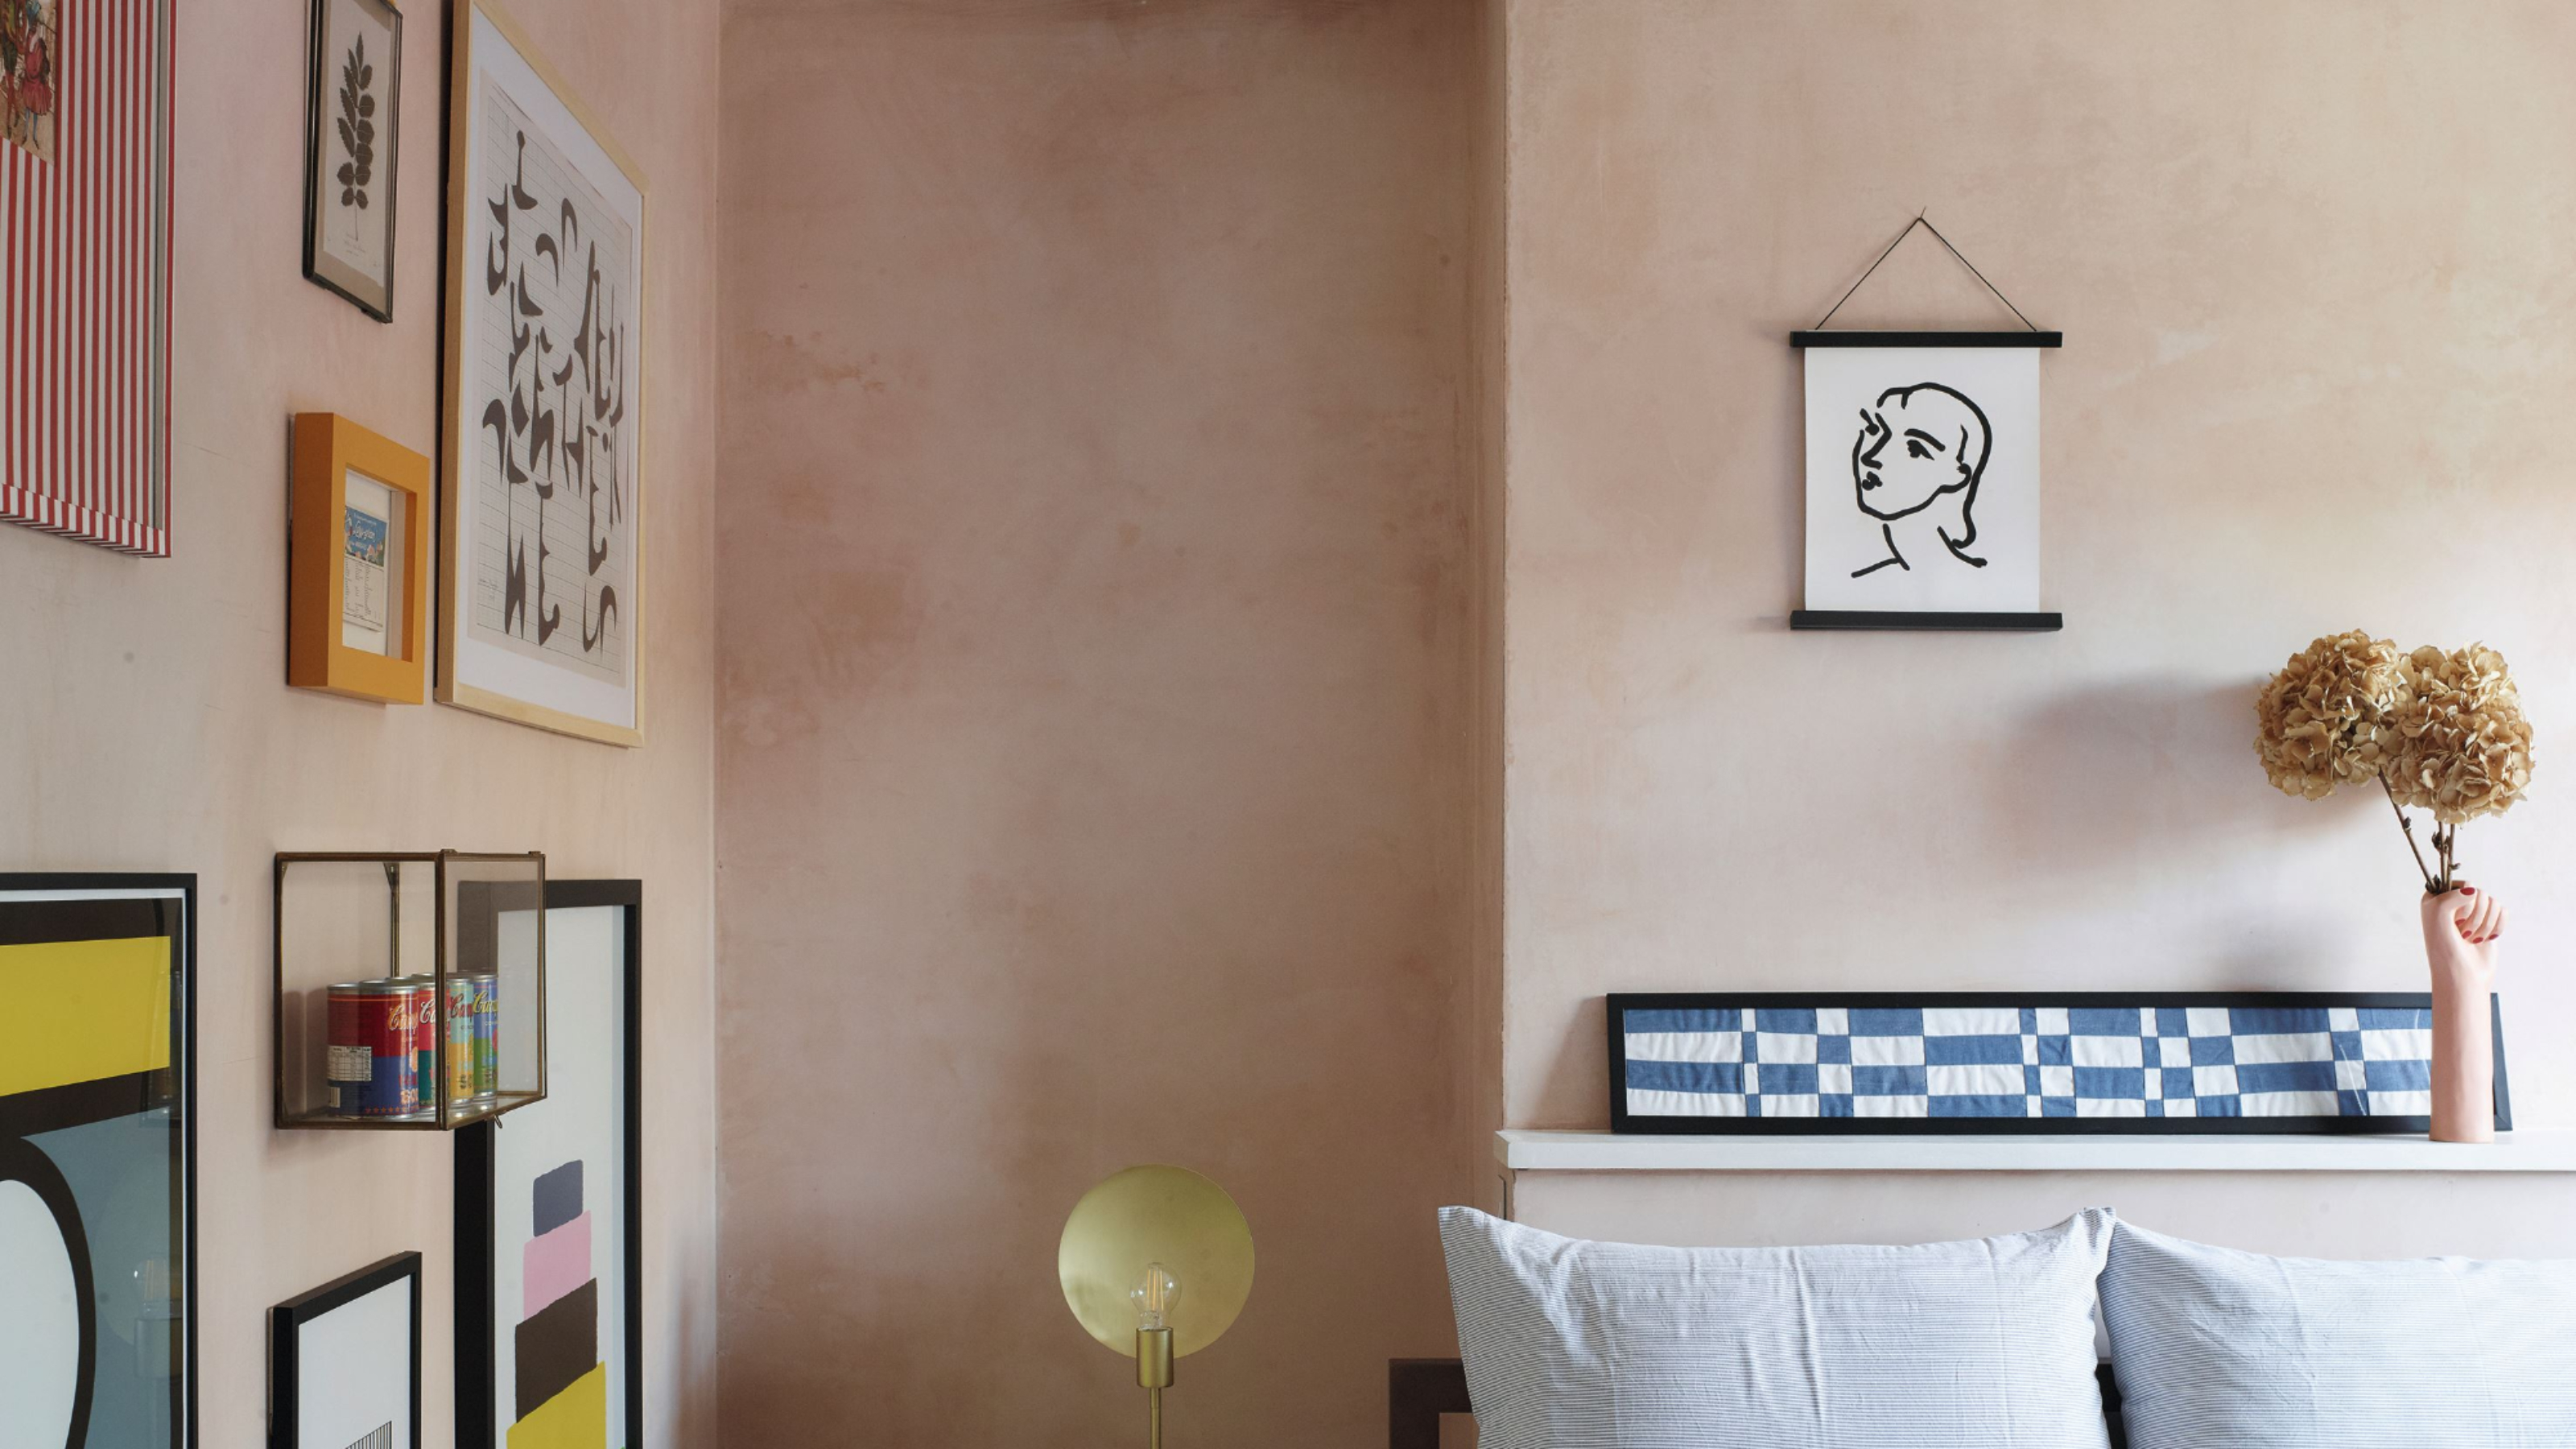
'No forking way!' – this genius hack might have just solved our biggest problem with hanging art on a wall
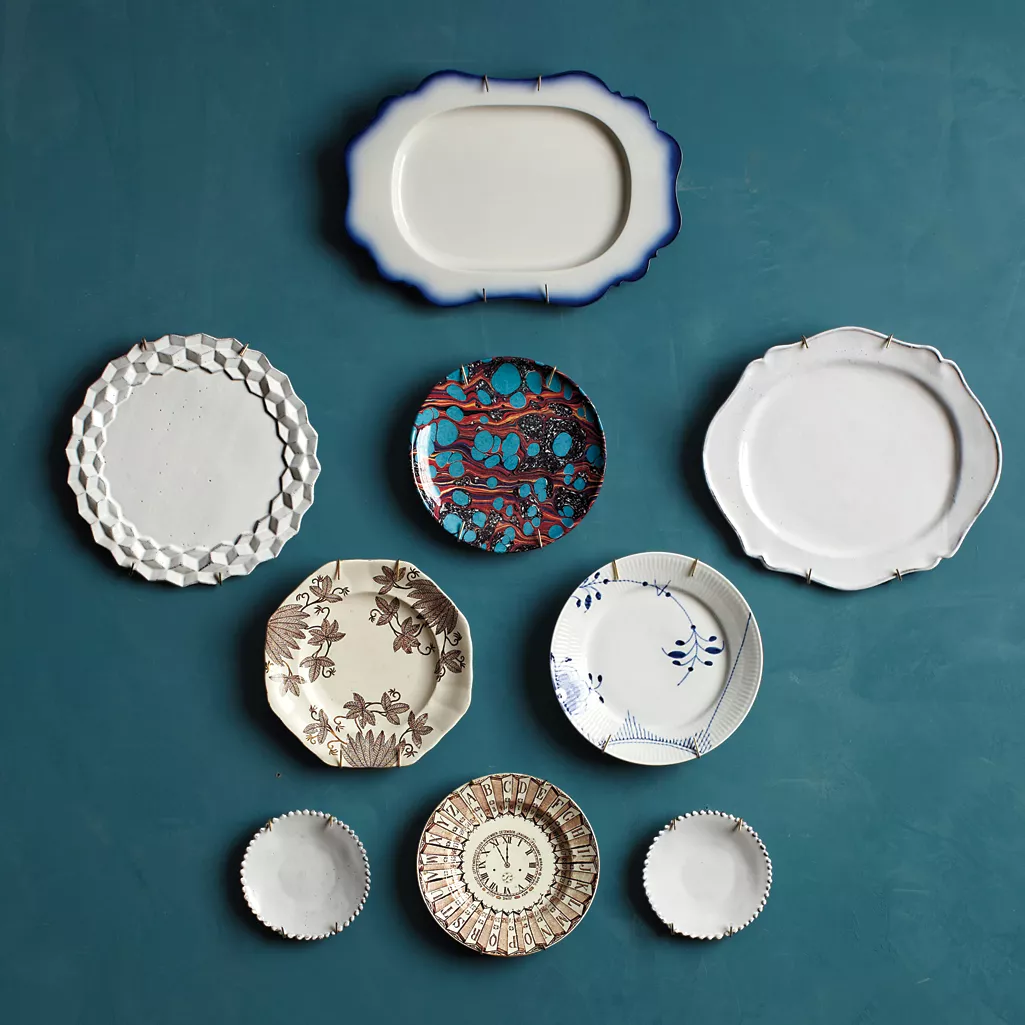
6 Plate Wall Ideas That Bring a Fresh Twist to the Classic Display
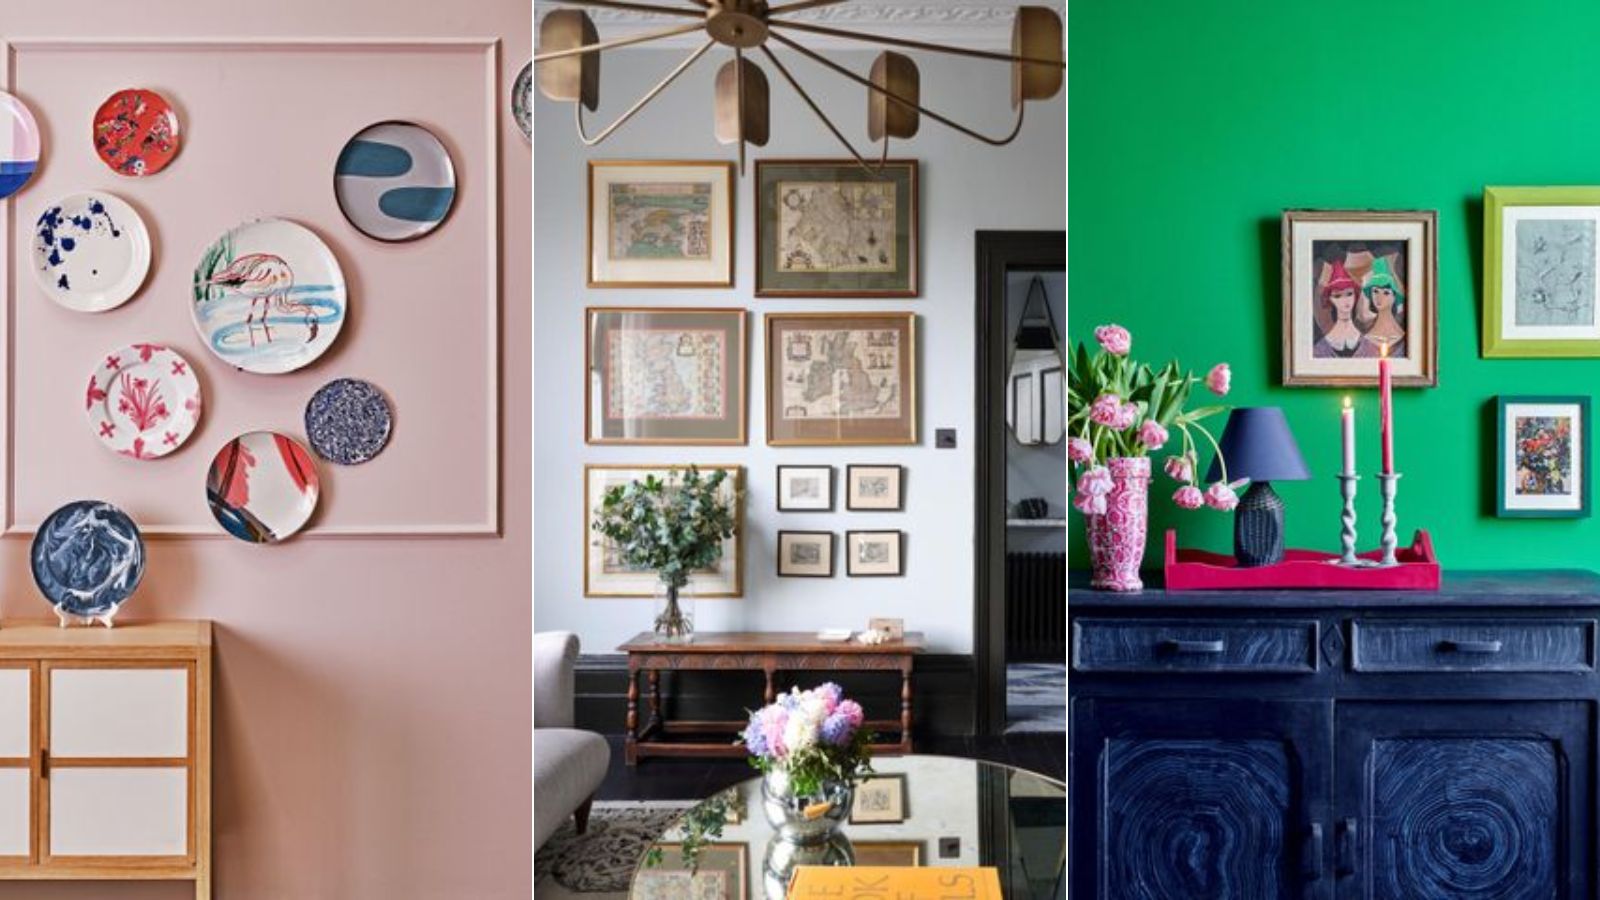
7 DIY tips for how to hang a gallery wall from experts

Wall Hooks We Love

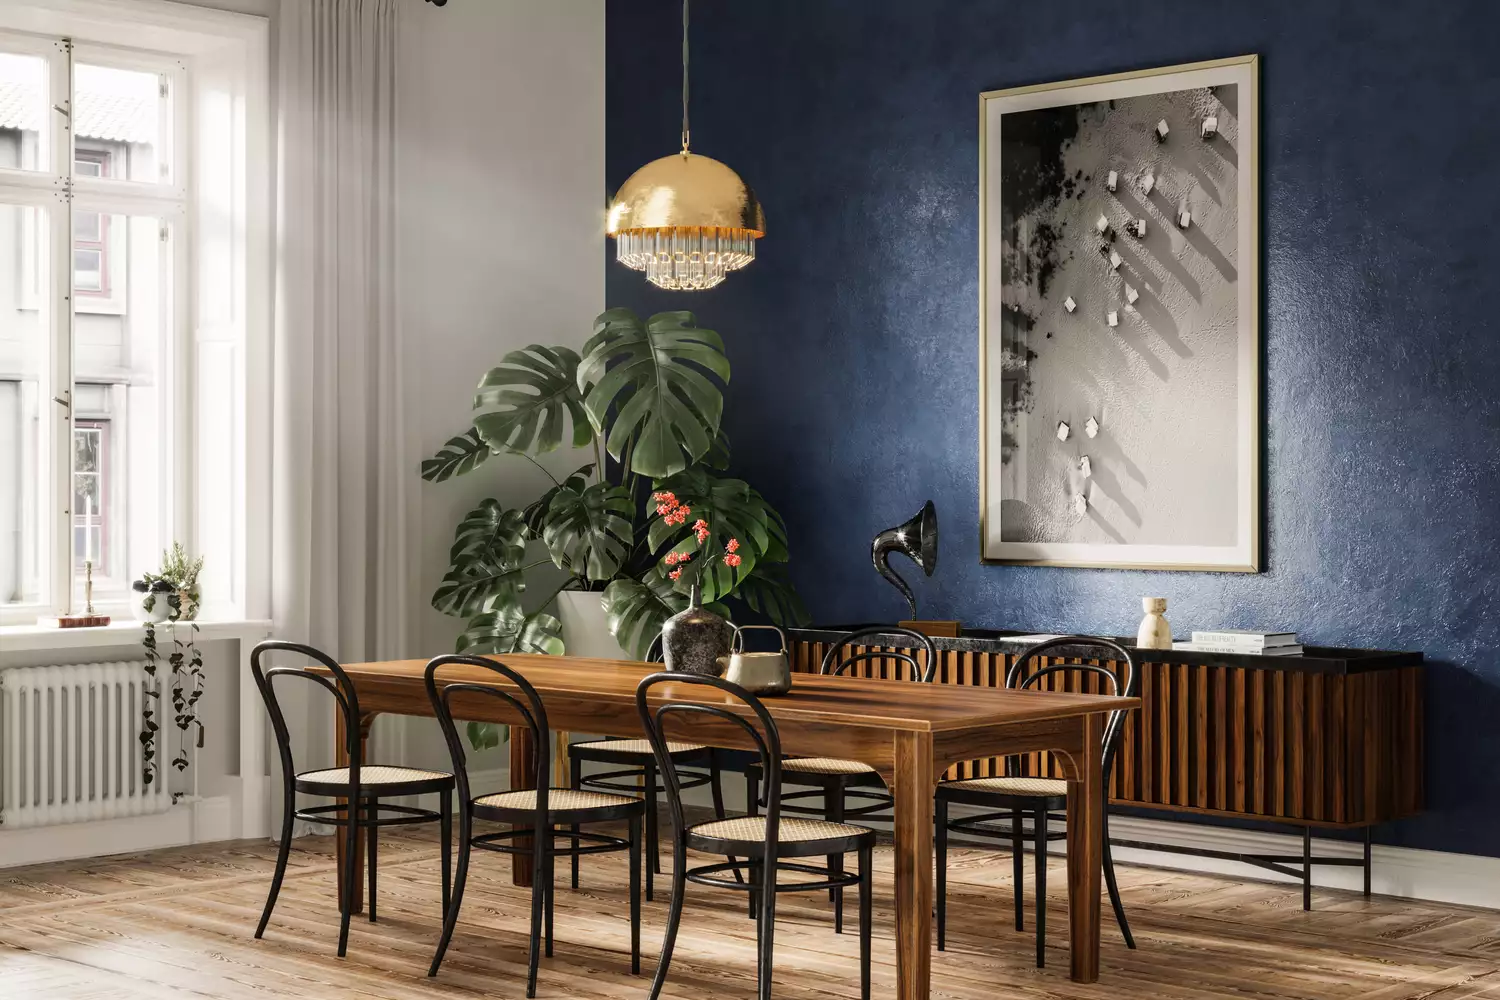
The Best (and Easiest!) Ways To Hang Pictures, According to Art Pros

4 Common Wall Hanging Myths, Busted

How to hang wall perfectly: Use a fork

How to Create a Plate Wall Just Like an Interior Designer

Thought Decorative Wall Plates Were Old-Fashioned? Think Again


RS Recommends: The Best Hanging Kits Will Make Your Gallery Wall Dreams Come True

Hanging A Plate Wall Is Easier Than You Think, Thanks To This Pantry Staple

Yes, You Can Hang Art Like a Pro | Reviews by Wirecutter
How to Hang Wallpaper (the Permanent Kind!)
5 Stylish Ways Designers Store Plates To Keep Your Drying Rack Clutter-Free
How to Hang Pictures, Mirrors, and Plates, According to an Expert
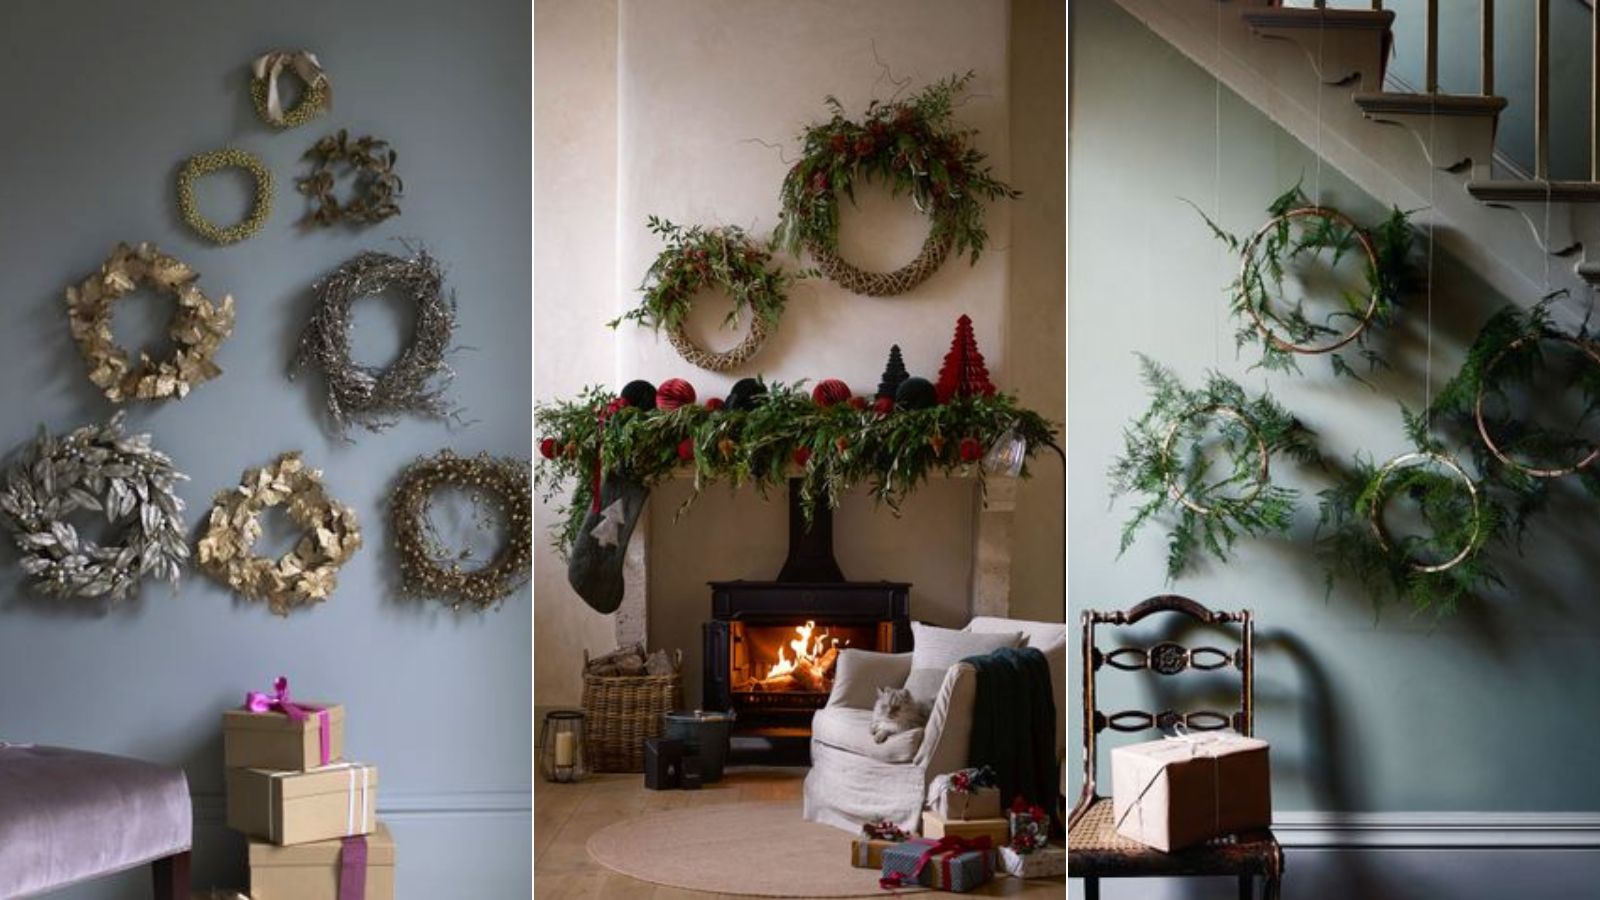
How to make a wall display with wreaths – 7 expert tips
How to Hang Wallpaper (the Permanent Kind!)

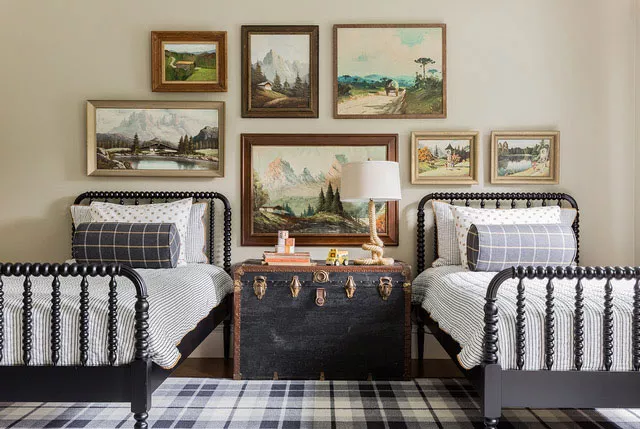
This Is The Best Way To Hang Pictures, According To An Expert