1/3
How to remove popcorn ceilings
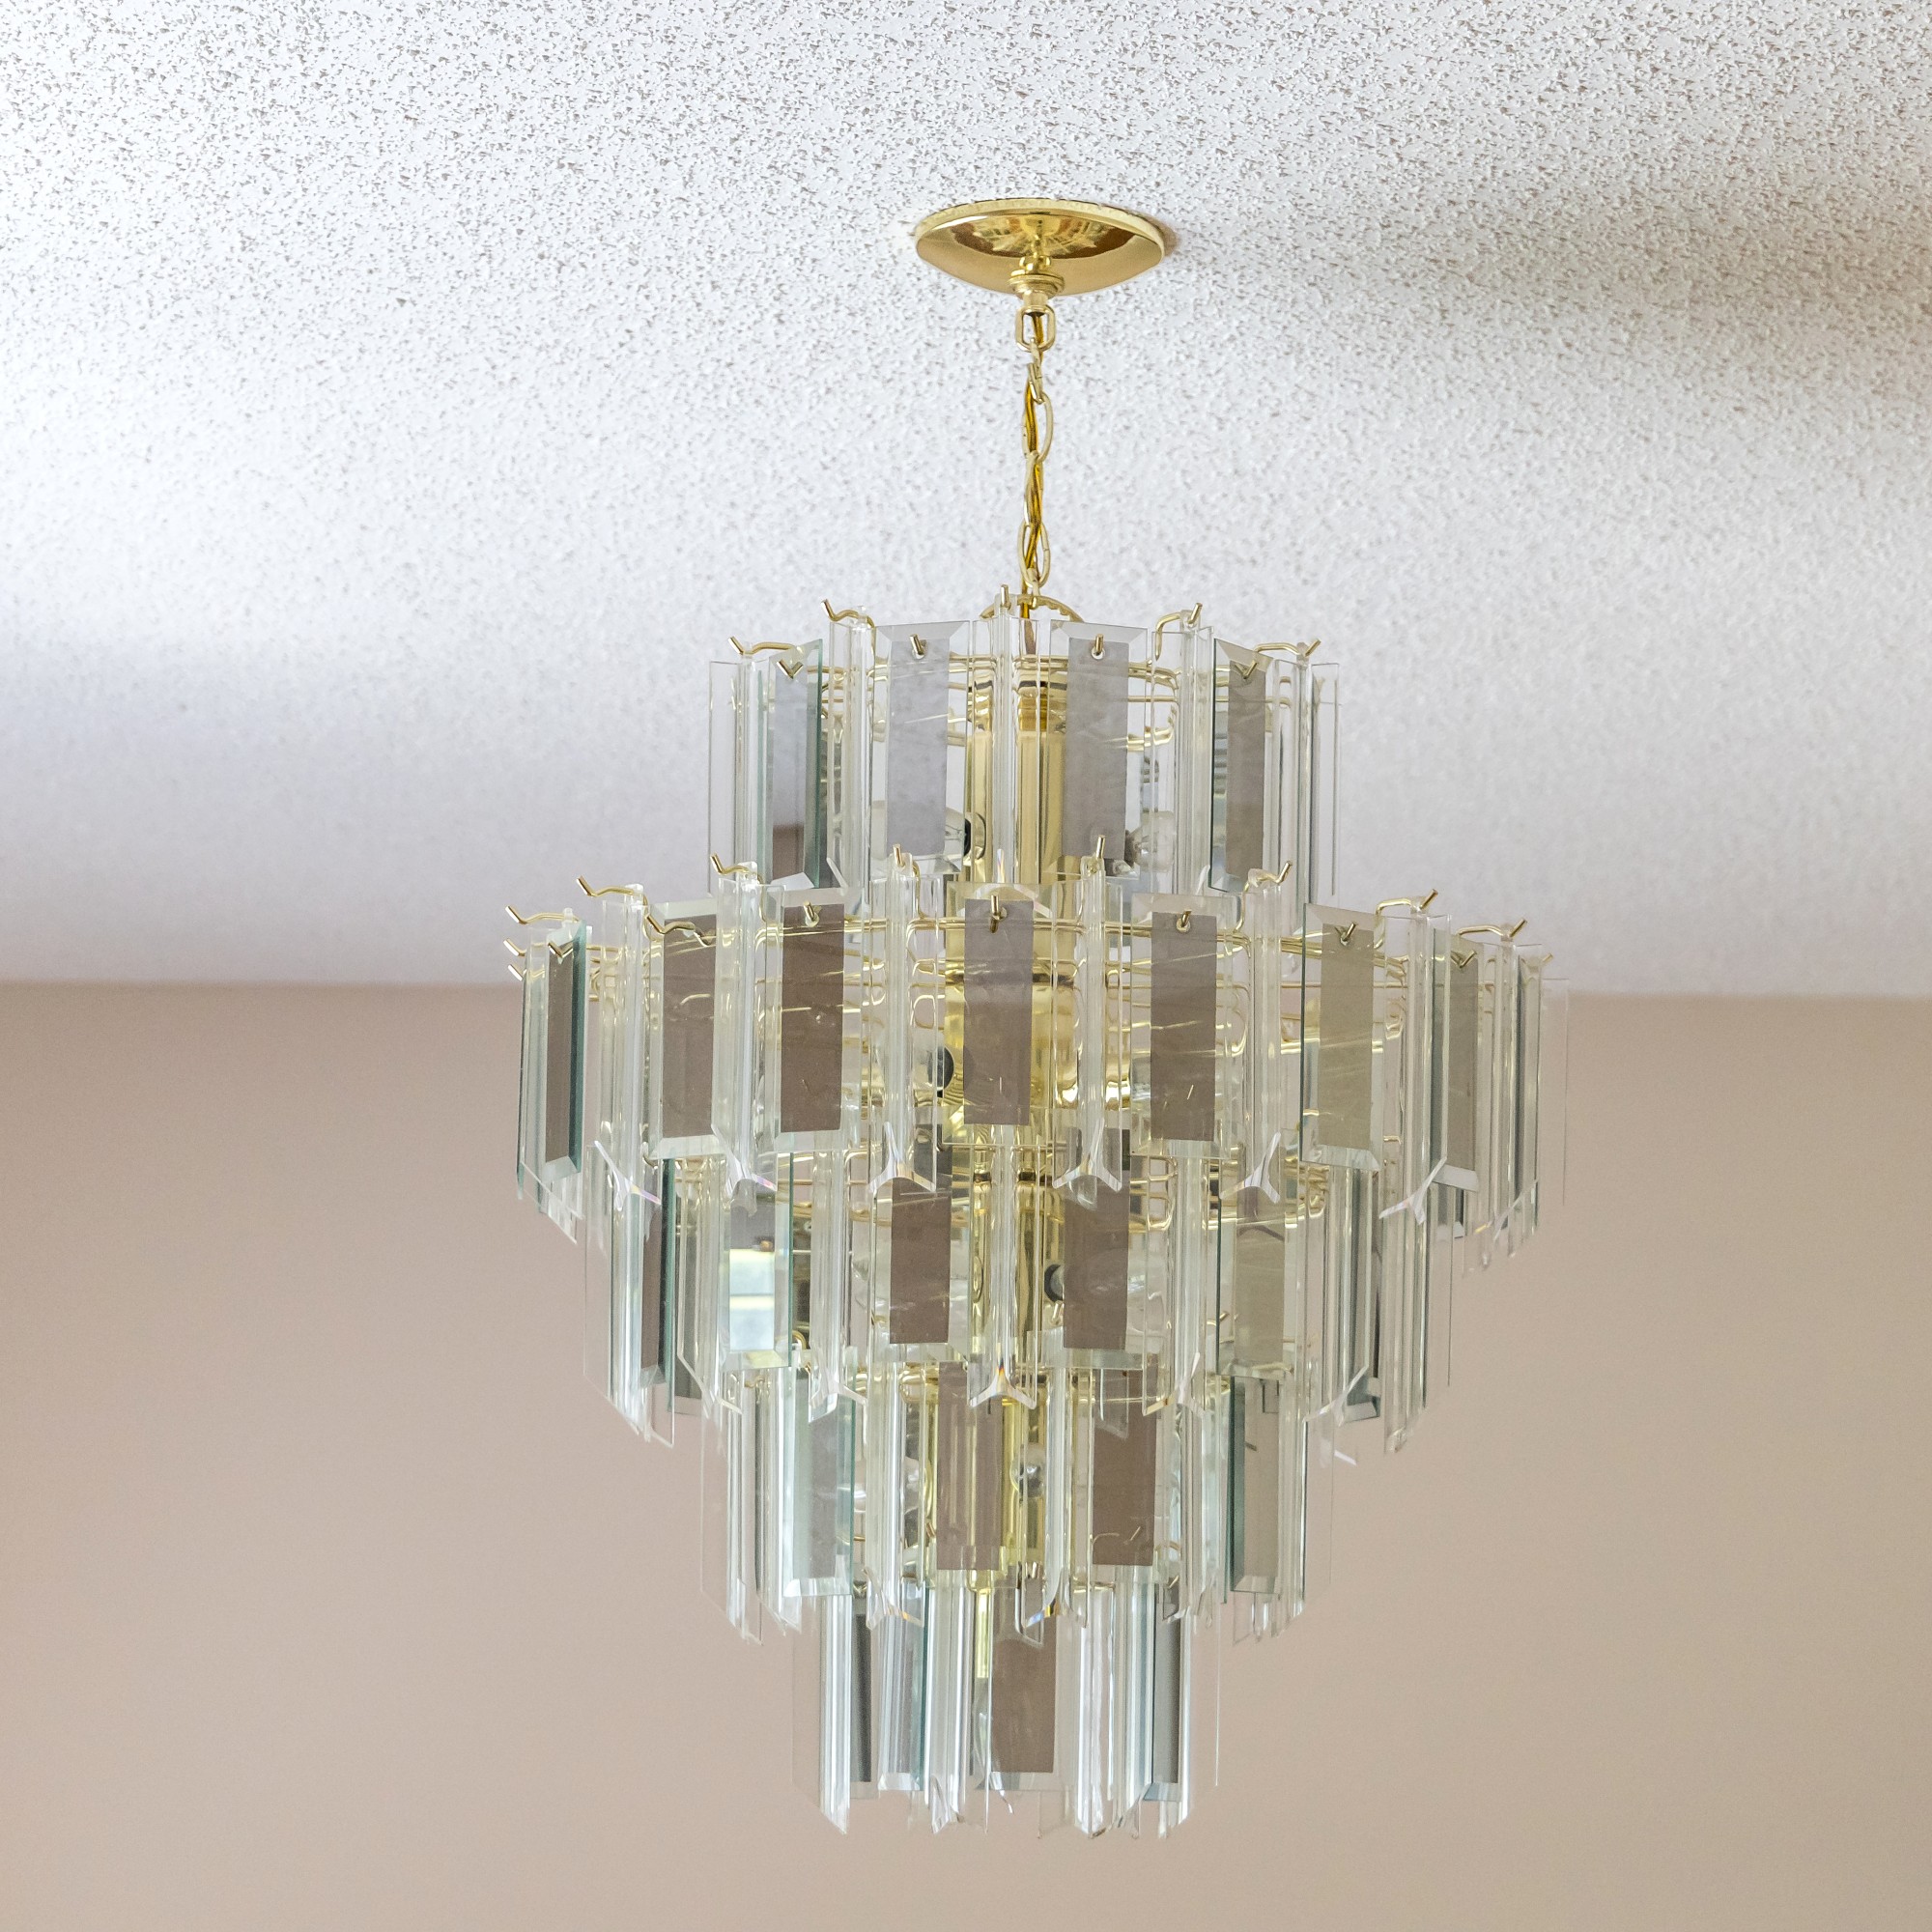
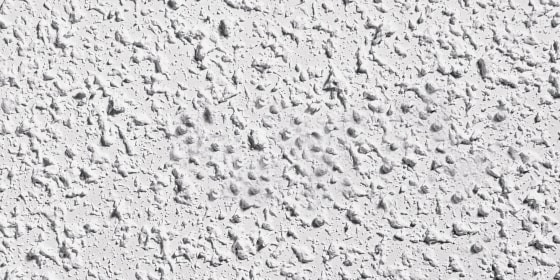
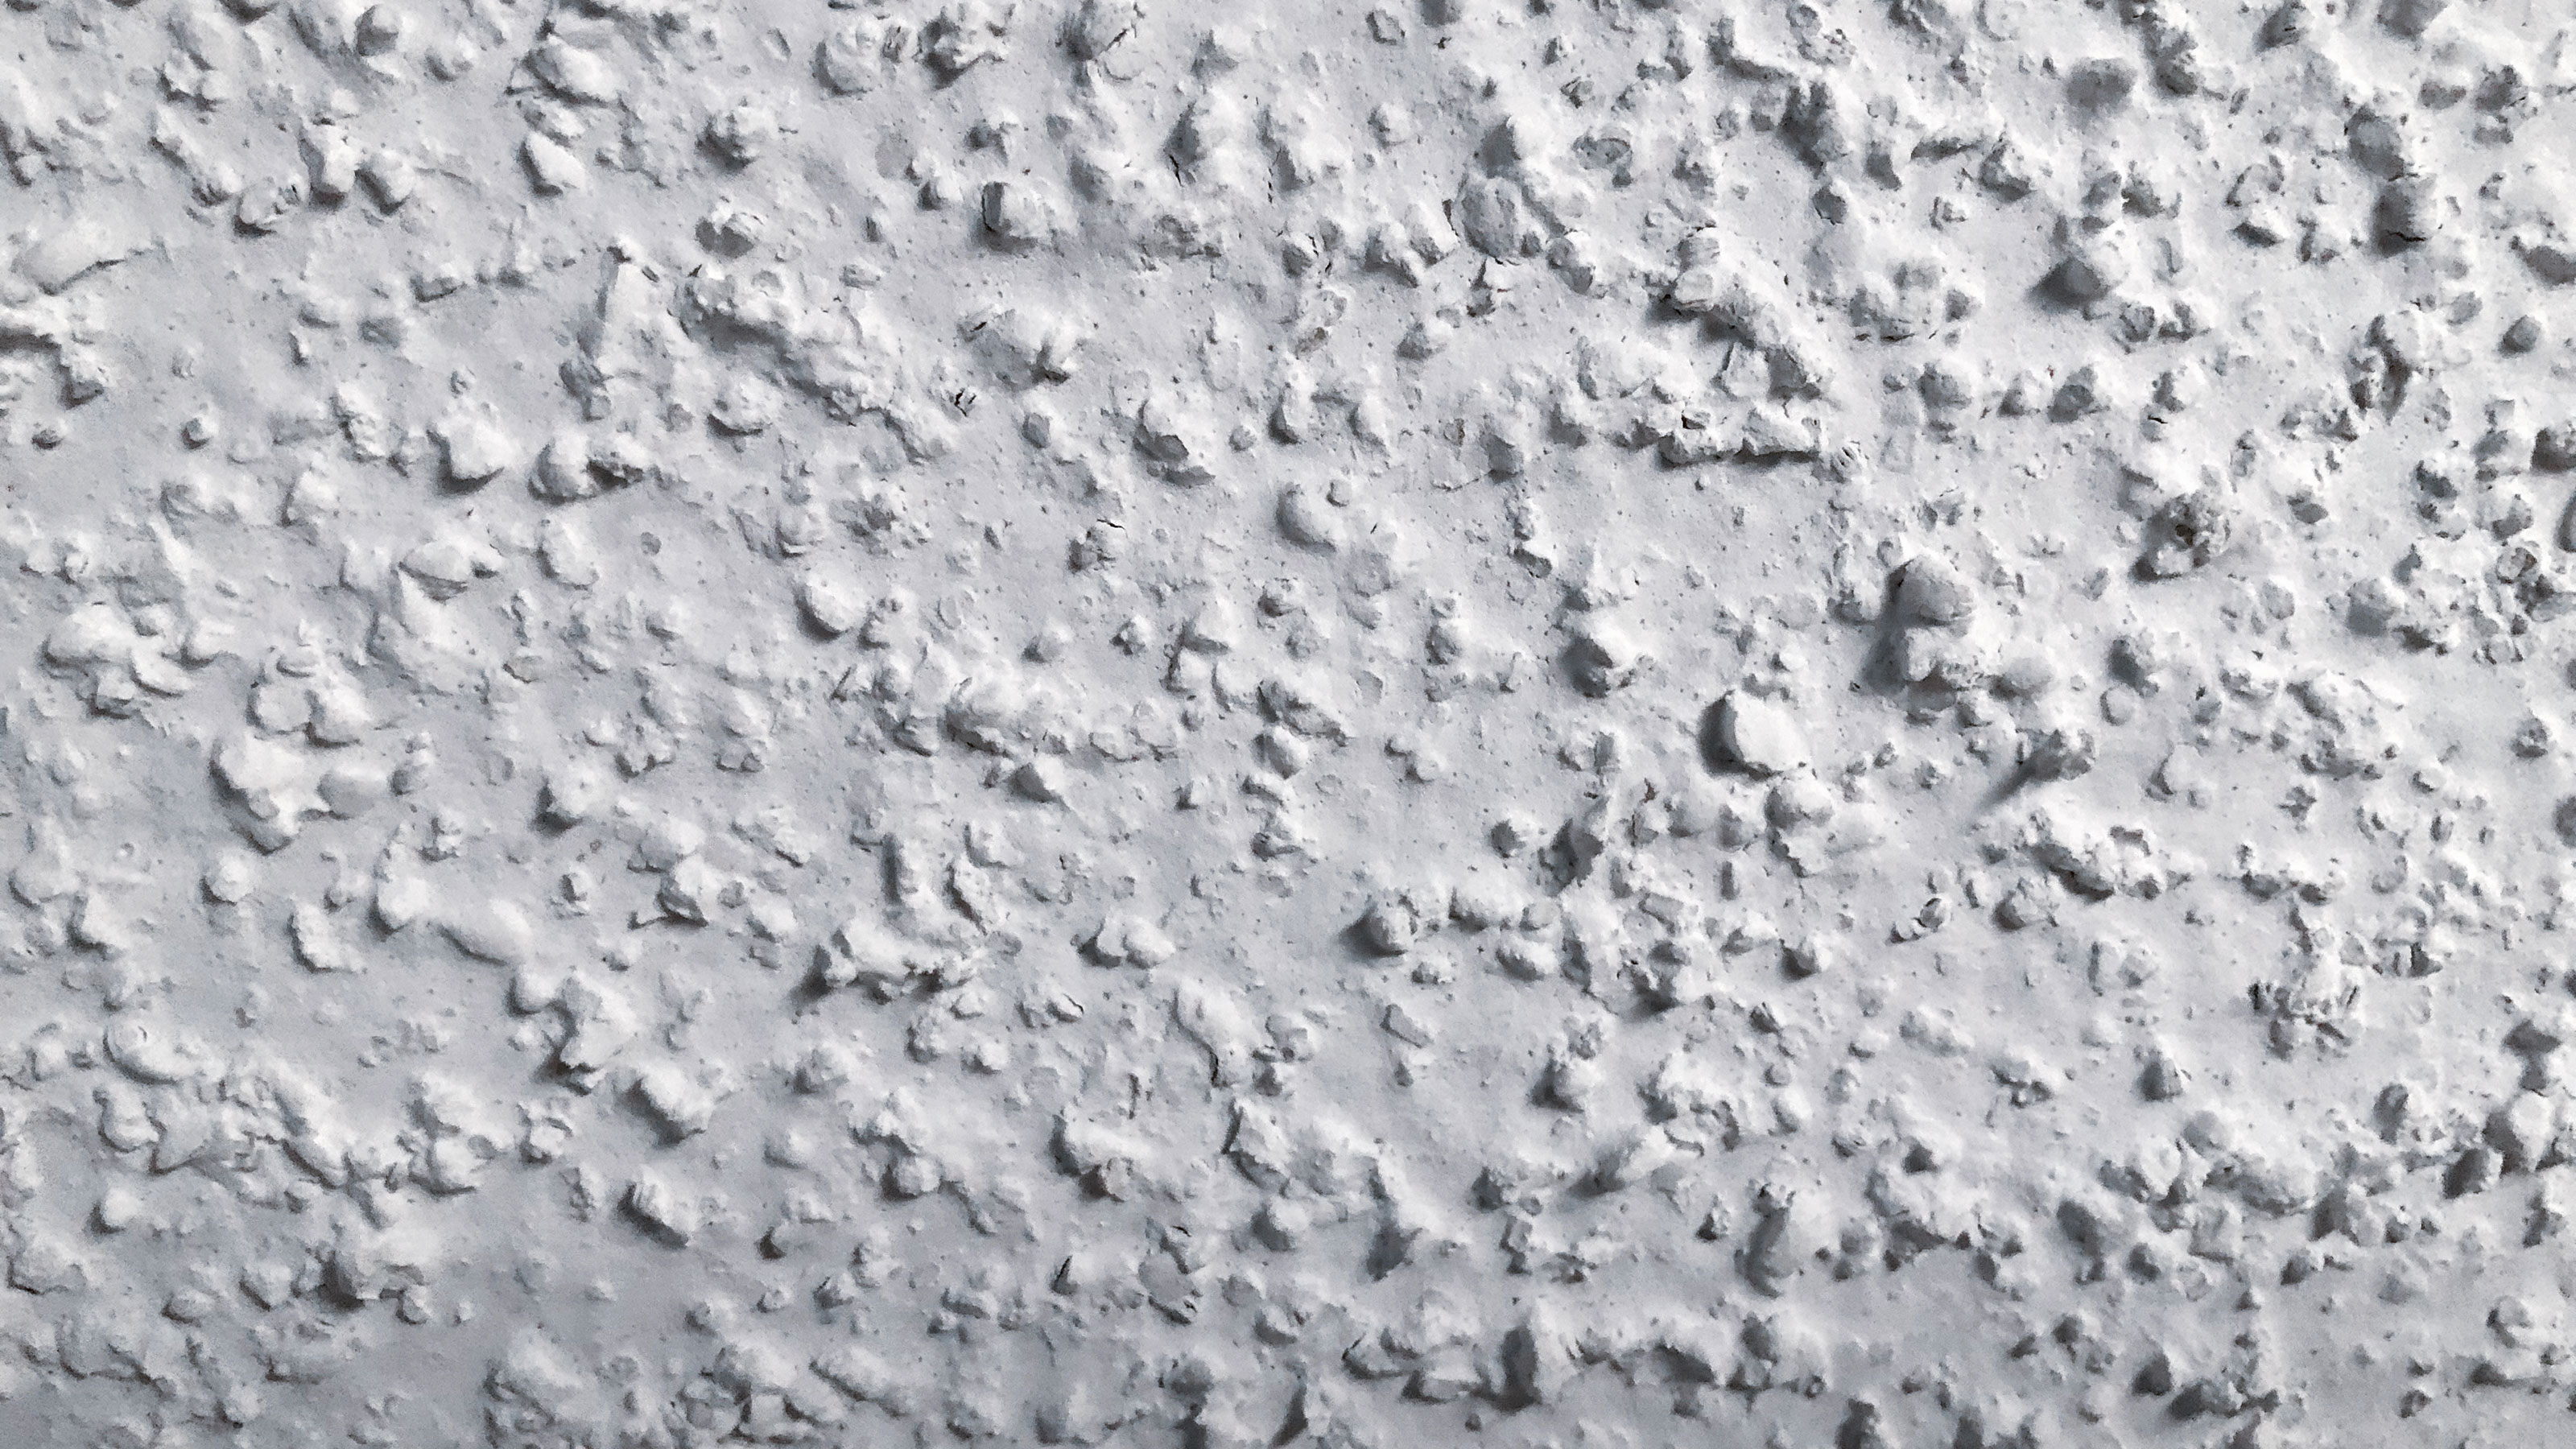
Popcorn ceilings, a once-popular home design trend from the 1960s, are now largely considered outdated and difficult to maintain. Originally conceived to add visual and textural interest while concealing ceiling imperfections without the need for additional painting, these textured surfaces proved challenging to keep clean and dust-free over time. Many homeowners are now looking to update this old-fashioned trend, as removing popcorn ceilings can significantly increase a home's value and modernize its aesthetic.
Interior designer Kathleen Walsh emphasizes that ceilings should receive as much attention as walls and floors, offering an opportunity to enhance a room's perceived height and brightness. High, well-maintained ceilings contribute to a well-proportioned and attractive space, ultimately adding to overall home value. However, the process of removing popcorn ceilings is not an easy DIY task and often requires professional help. A crucial first step before any removal work begins is to test for asbestos, as many older popcorn ceilings contain this hazardous material. If asbestos is present, specialized removal procedures are necessary.
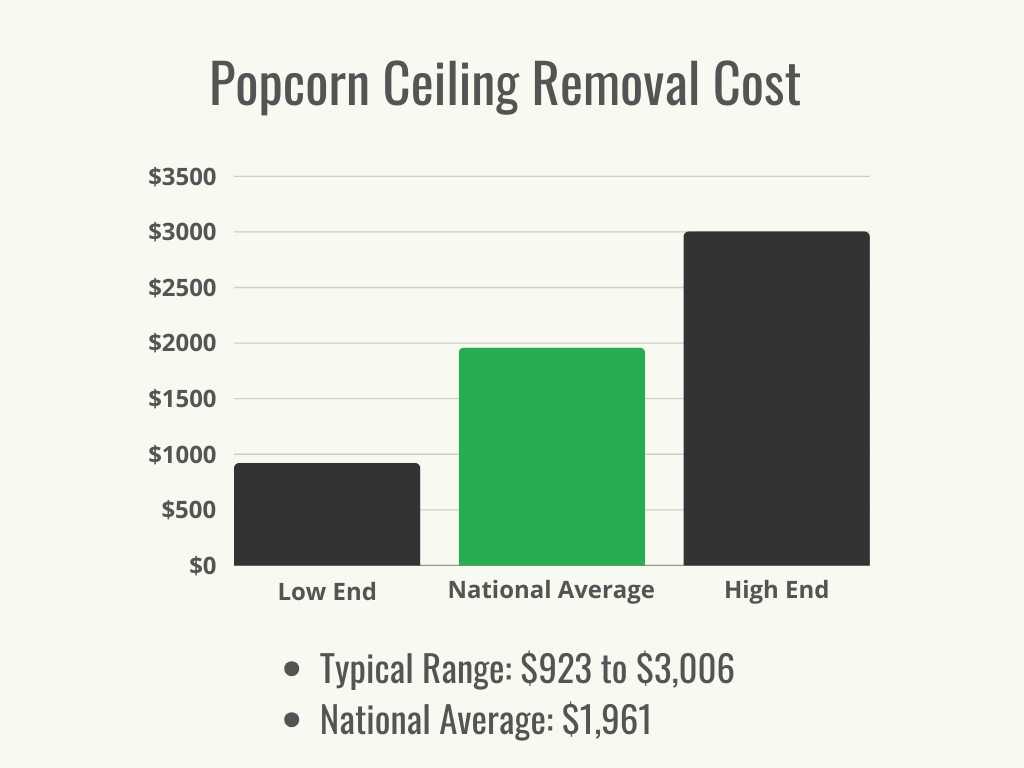
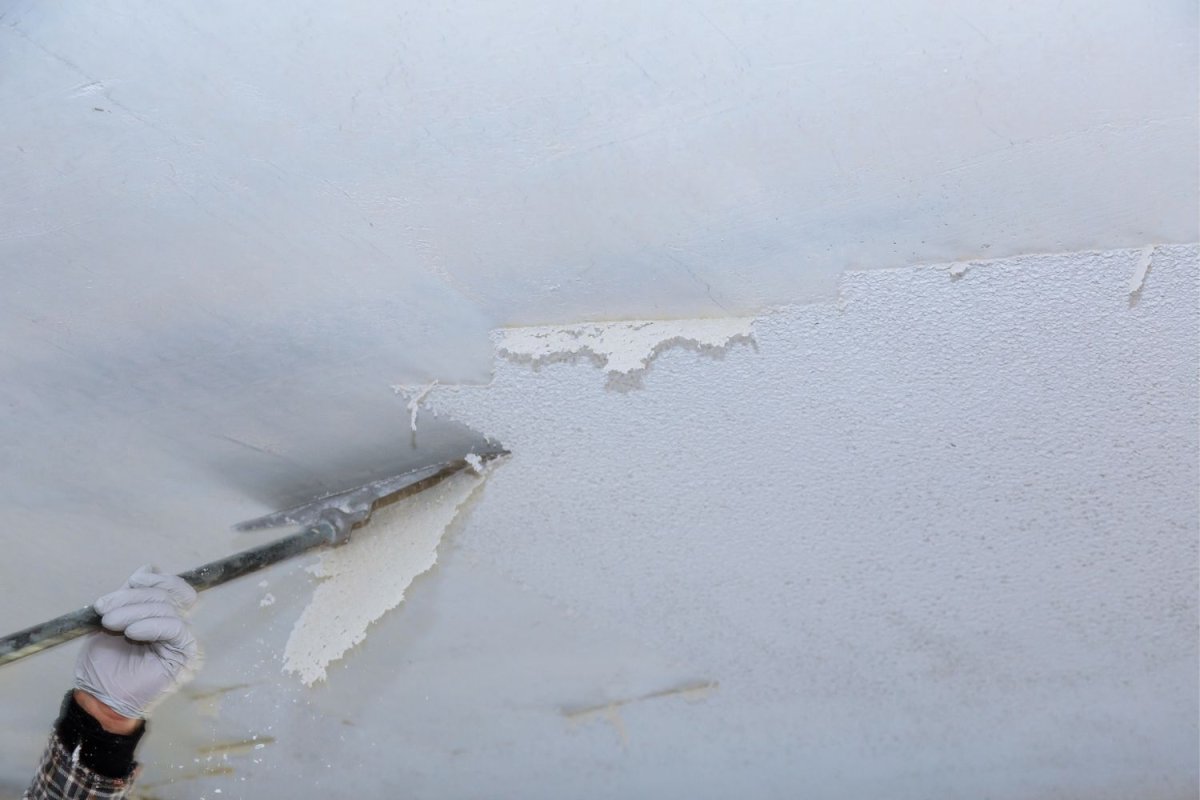
Jody Finglas, president of Finglas Painting, highlights the difficulty in removing and touching up popcorn ceilings. He explains that successful removal typically involves scraping off the high spots, followed by multiple coats of skim coating to achieve a smooth finish, and then priming and repainting. This process is time-consuming and labor-intensive. For a typical 12-foot by 12-foot ceiling, professional removal, including scraping and skim coating, can take about a week and cost between $800 and $1500. This estimate does not include priming and painting, which can add another $2000 to $2700 to the total cost.
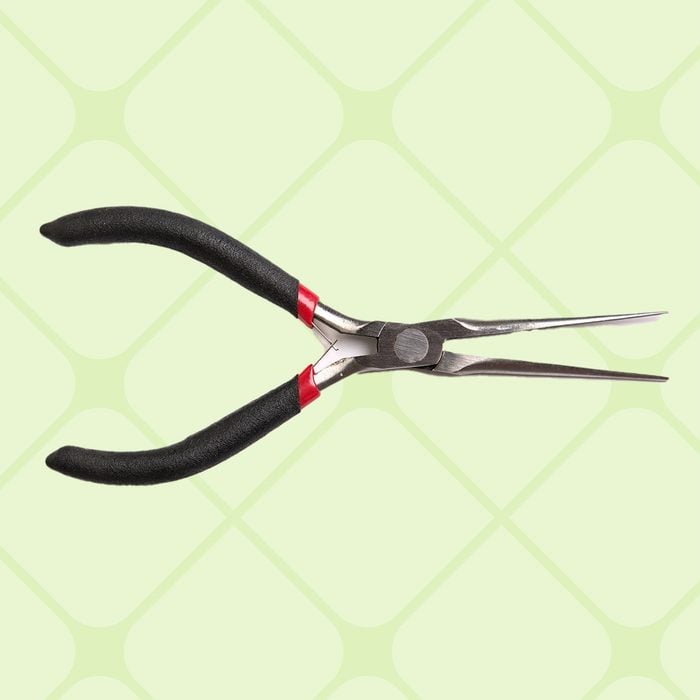
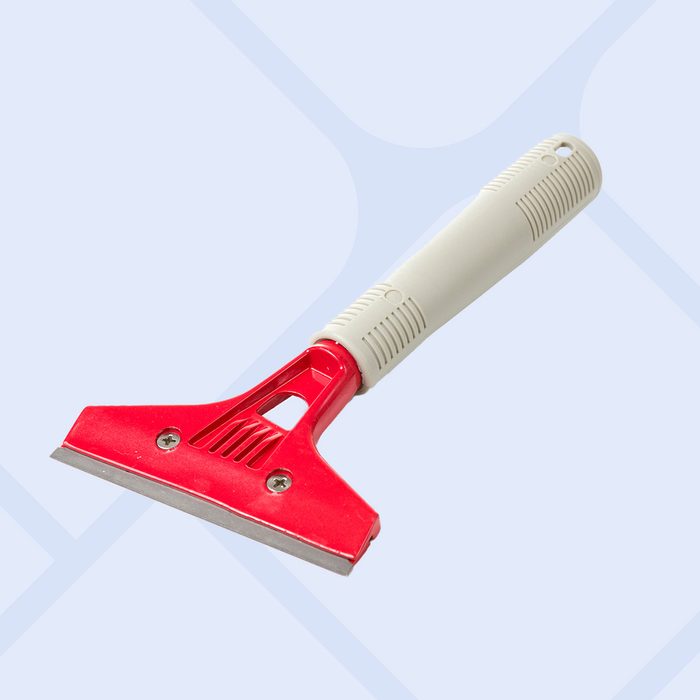
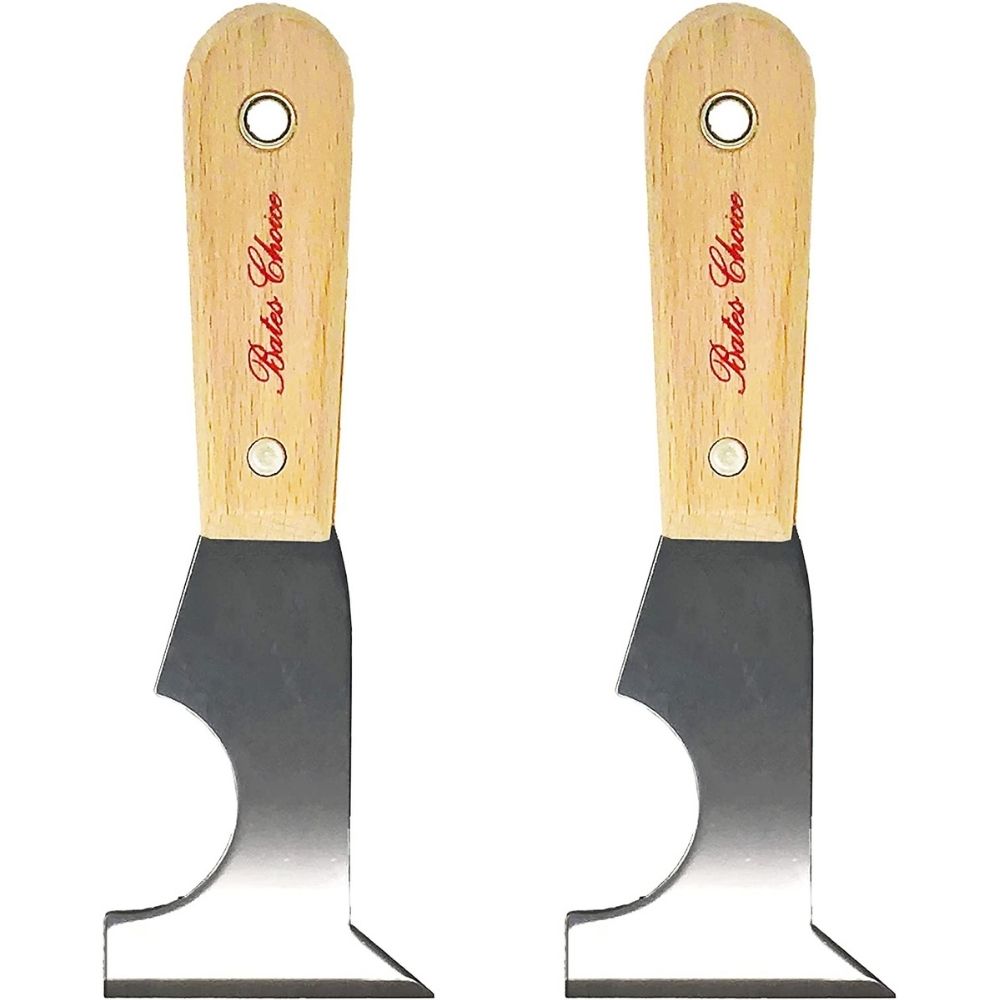
For those considering a DIY approach, thorough preparation is essential. The process creates a significant mess, so all furniture should be removed or covered with plastic sheets. Walls and floors also need to be protected with plastic drop cloths secured with heavy-duty painter's tape. Before starting, ceiling fans and fixtures must be removed, and electrical outlets covered, with the power supply cut off to these elements. Necessary tools include a tall ladder, professional hand scrapers, a garden sprayer, protective eyewear, gloves, and a face mask.
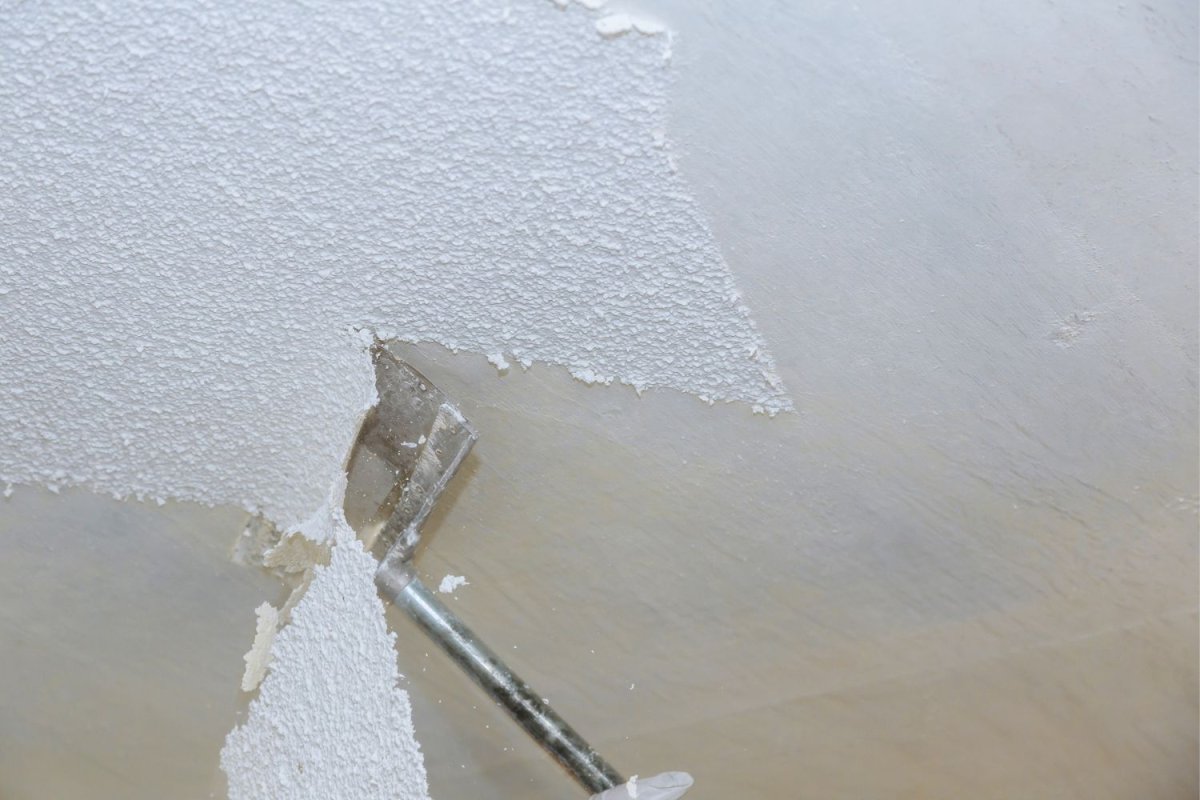
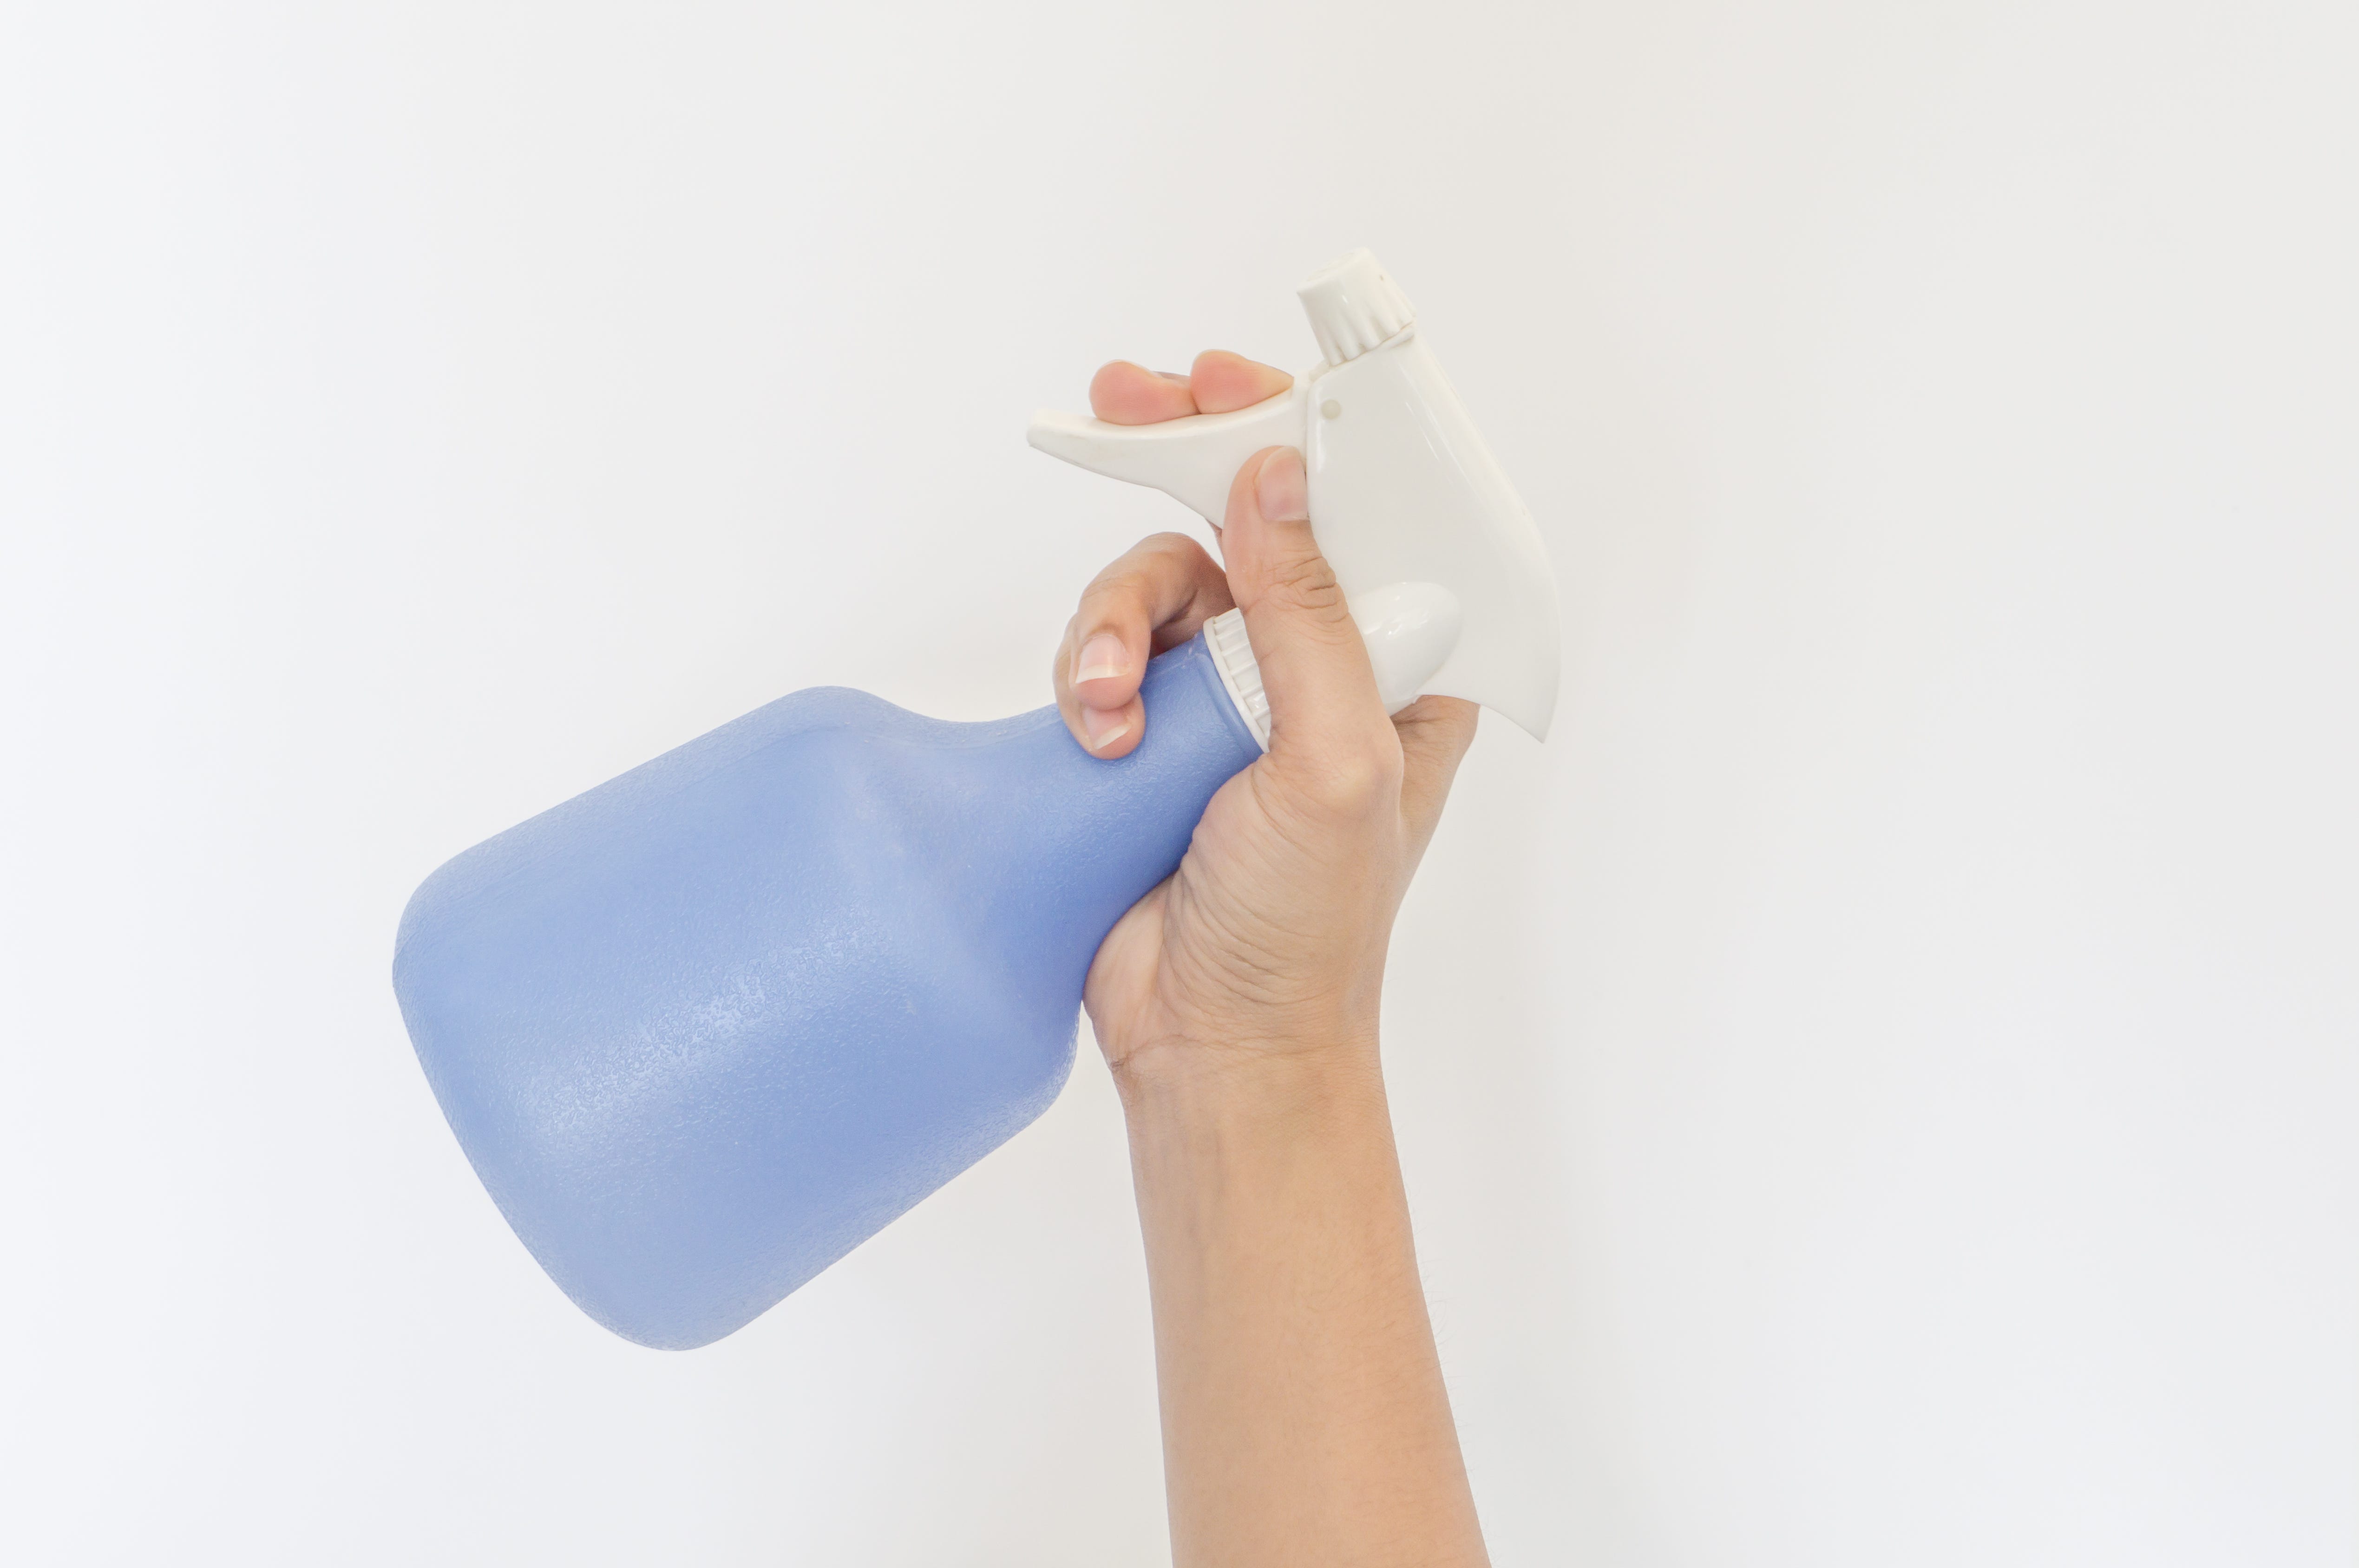
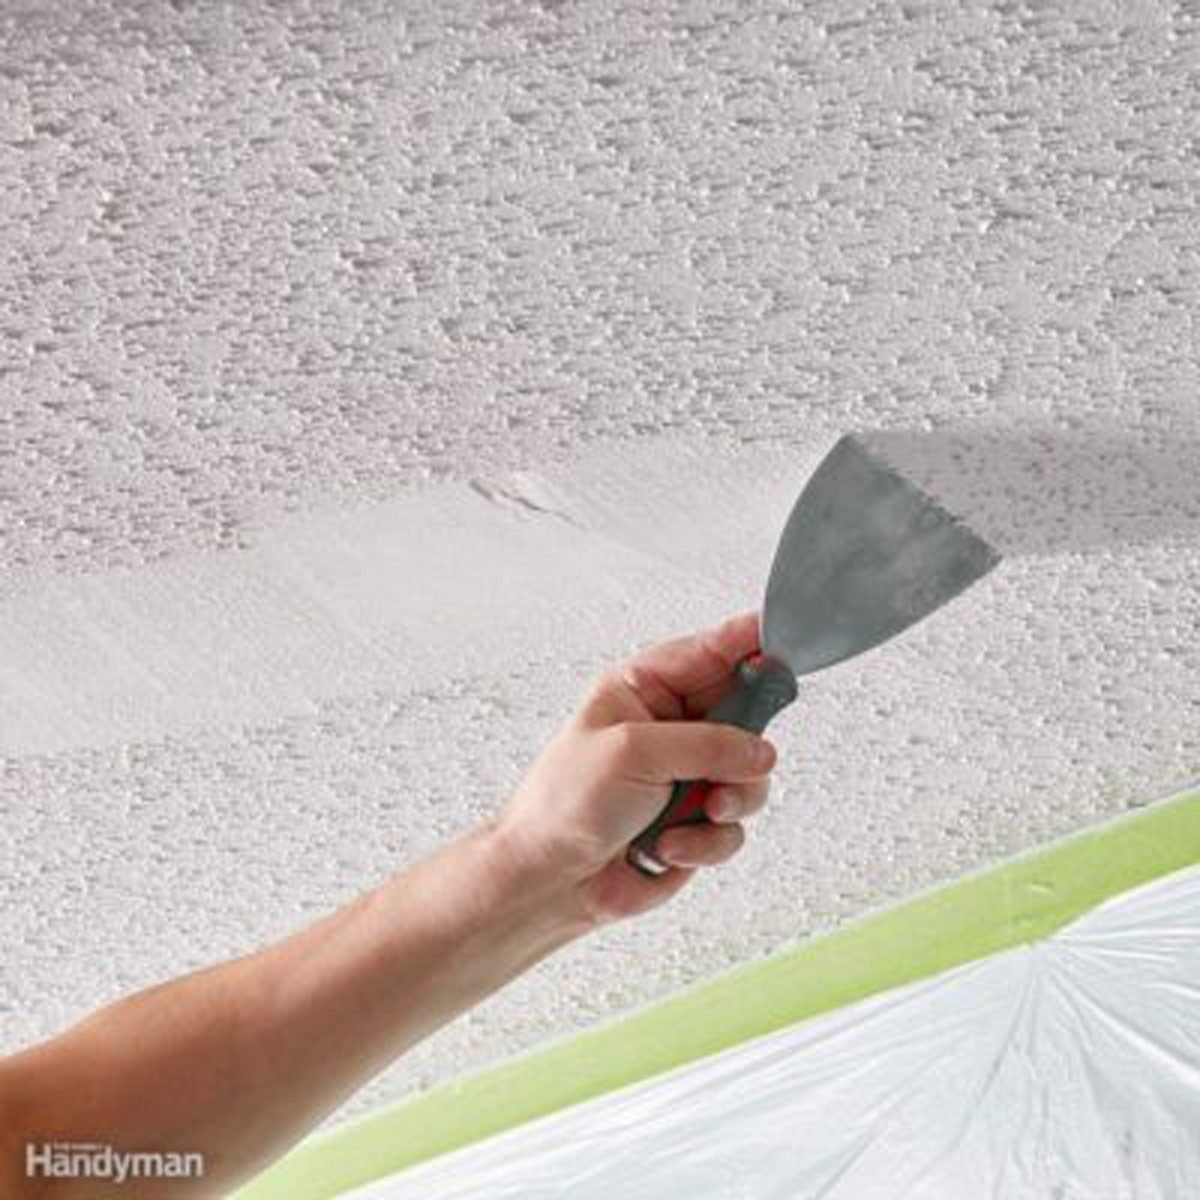
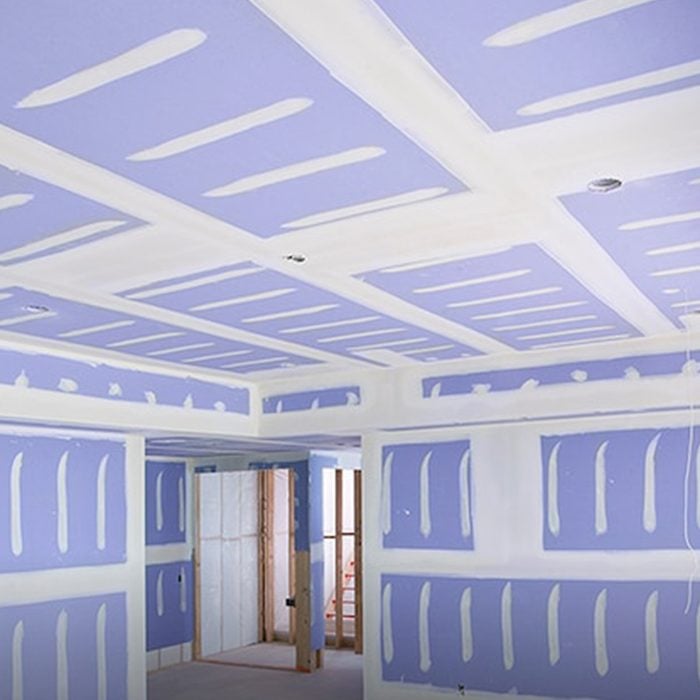
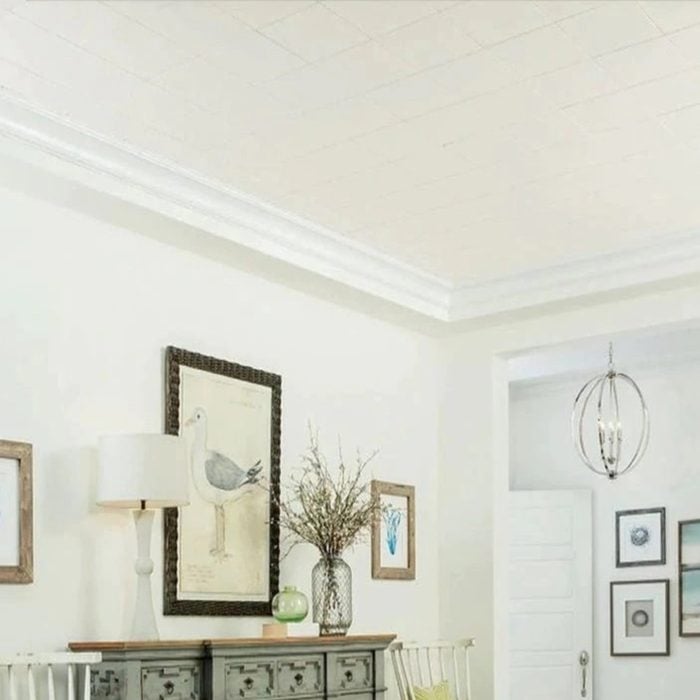
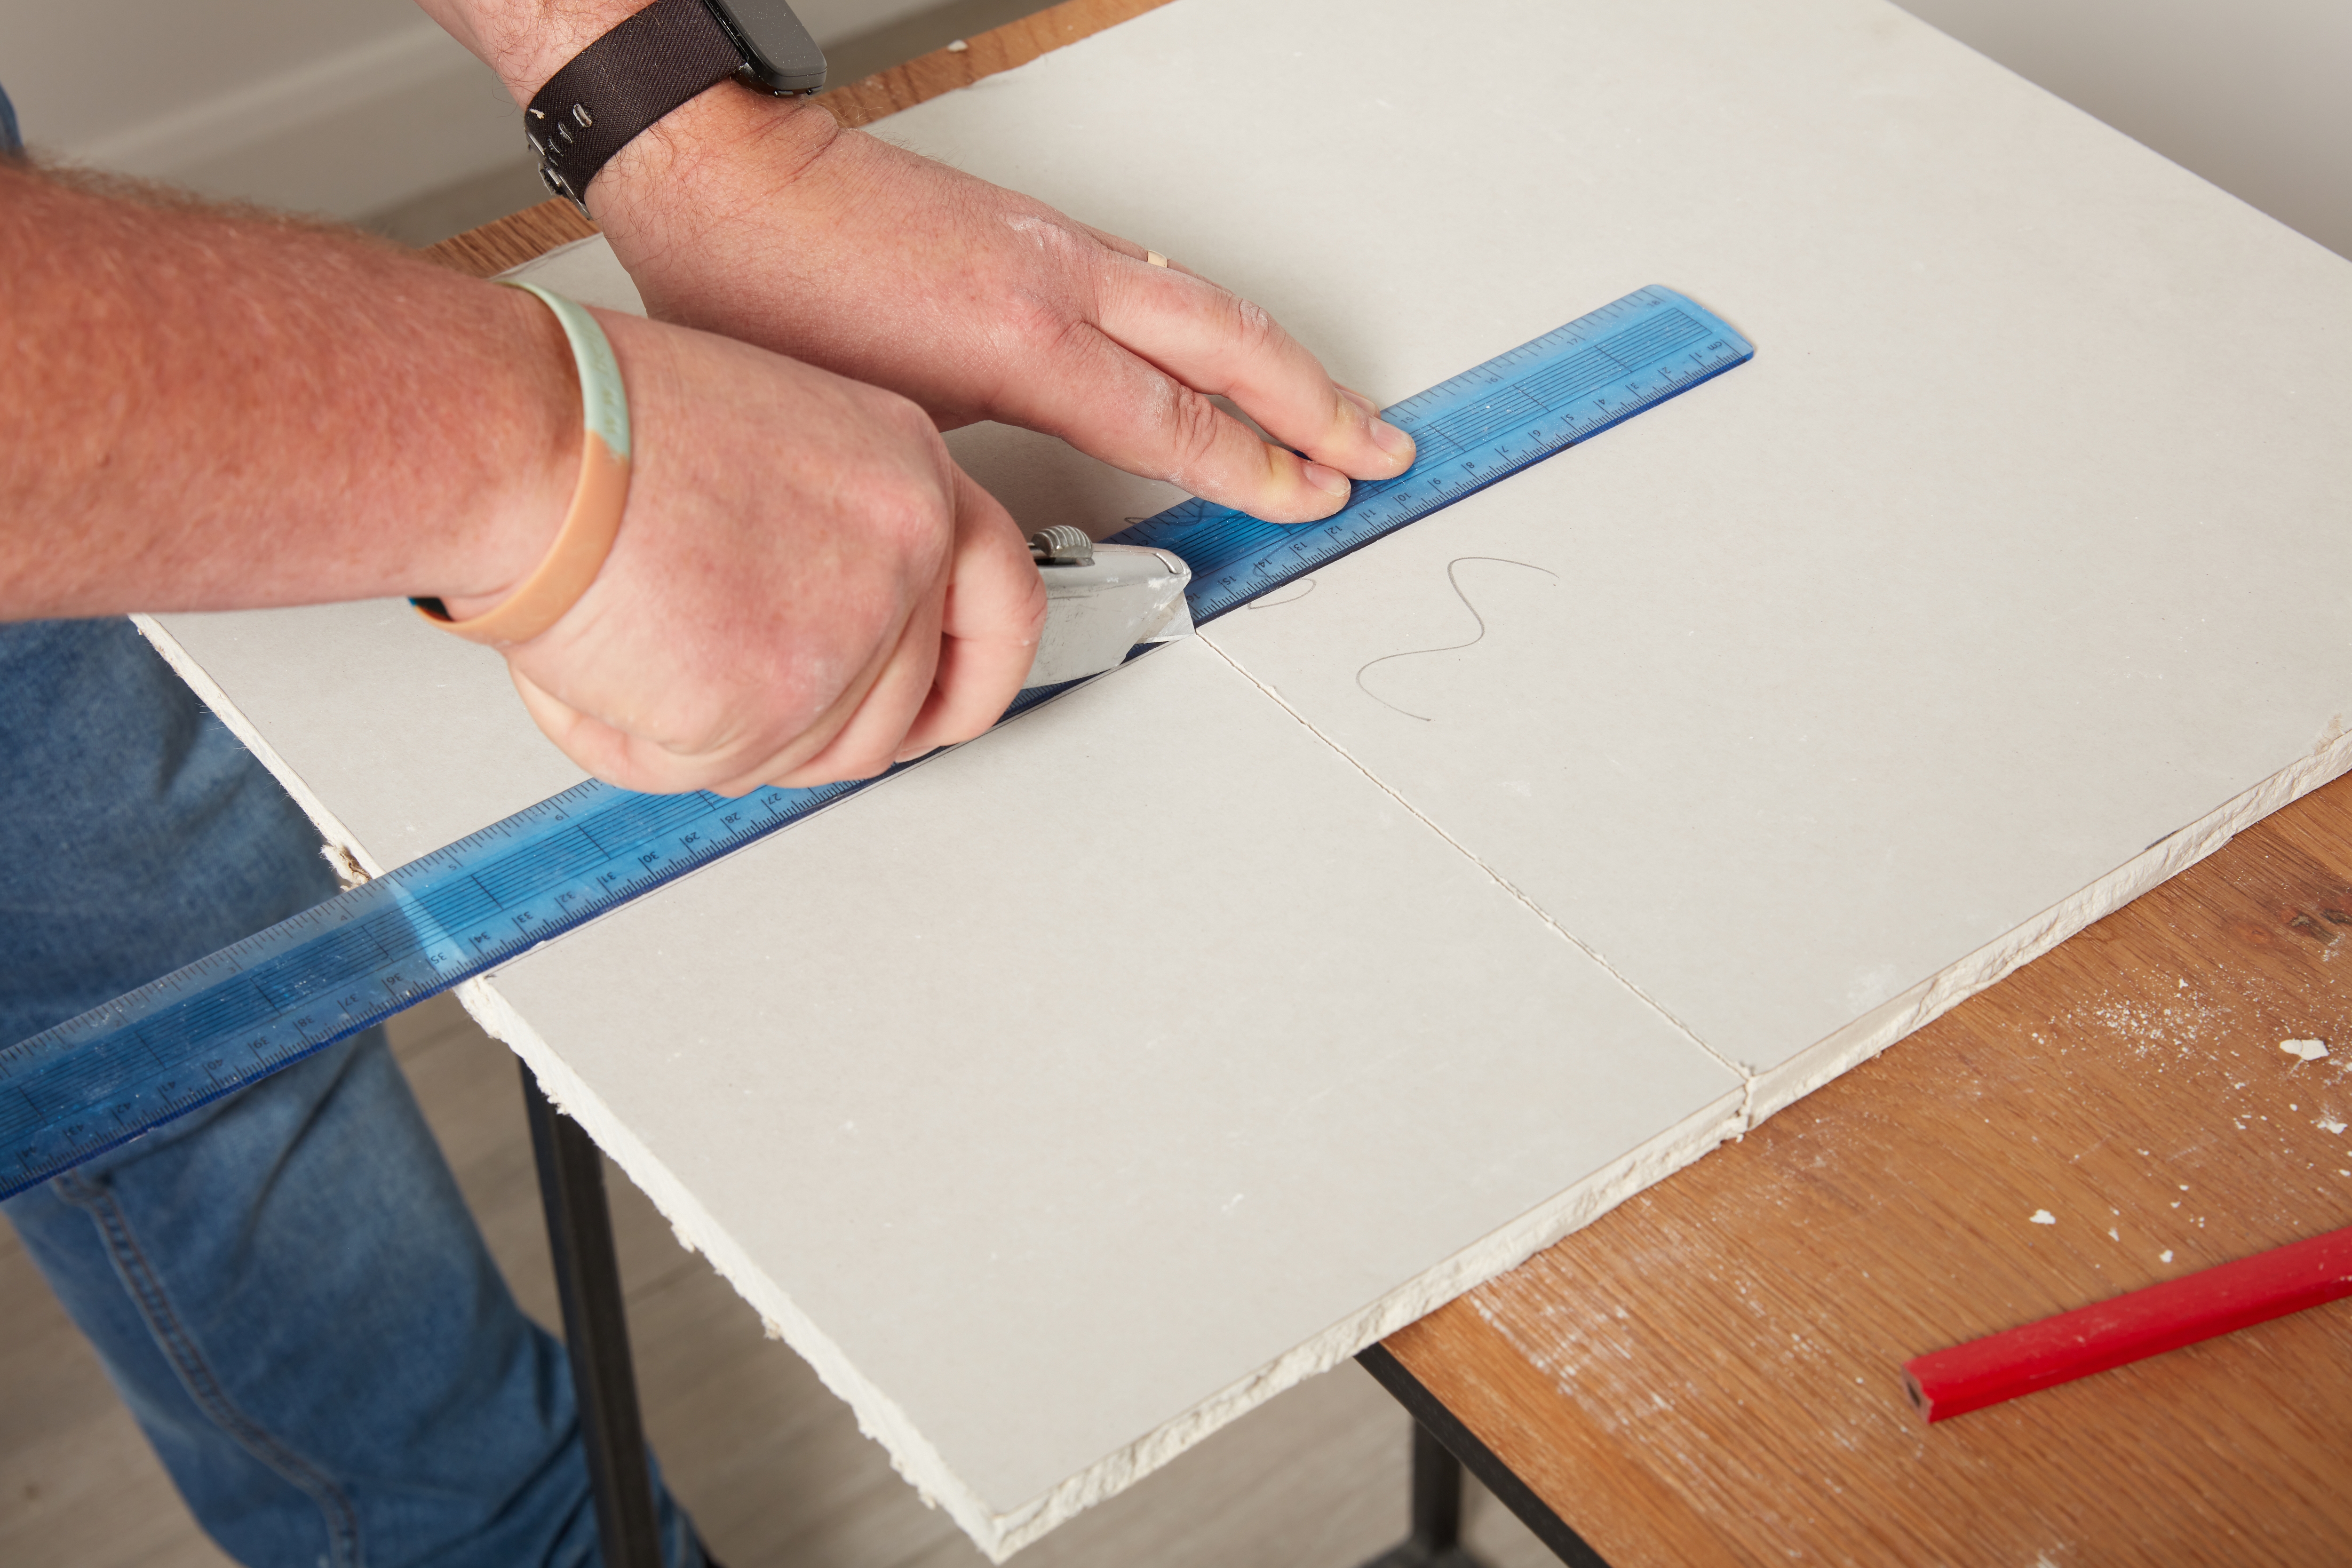
The removal itself involves lightly misting small sections of the ceiling with water using a garden pump sprayer, allowing it to soak for about 15 minutes to soften the texture. If the texture does not soften, it suggests paint was mixed in during installation, making dry scraping necessary, which is a more arduous process. Using a large scraper, homeowners should work in long strokes, holding the scraper steadily to avoid gouging the ceiling. A mud pan can help contain falling debris. If scraping proves too difficult or if the texture is particularly stubborn, alternative solutions include covering the popcorn ceiling with drywall or tongue and groove boards available at home improvement stores. After successful removal of the popcorn effect, the next steps involve sanding out any imperfections and preparing the ceiling for a fresh coat of paint. Homeowners can either undertake the painting themselves using provided tips or hire a professional painter to achieve a perfect finish.
#PopcornCeilings #HomeImprovement #DIY #HomeRenovation #InteriorDesign #PropertyValue #AsbestosTesting #CeilingRemoval #HomeMaintenance #PopcornCeilings #HomeImprovement #DIY #HomeRenovation #InteriorDesign #PropertyValue #AsbestosTesting #CeilingRemoval #HomeMaintenance
0 комментариев всего
 Комментариев пока нет
Вам также может понравиться

This genius TikTok hack removed a popcorn ceiling using only water - here's how to do it
A Stress-Free Way to Remove Wallpaper

How to get rid of mould

Why You Should Consider a Popcorn Ceiling, According to Pros

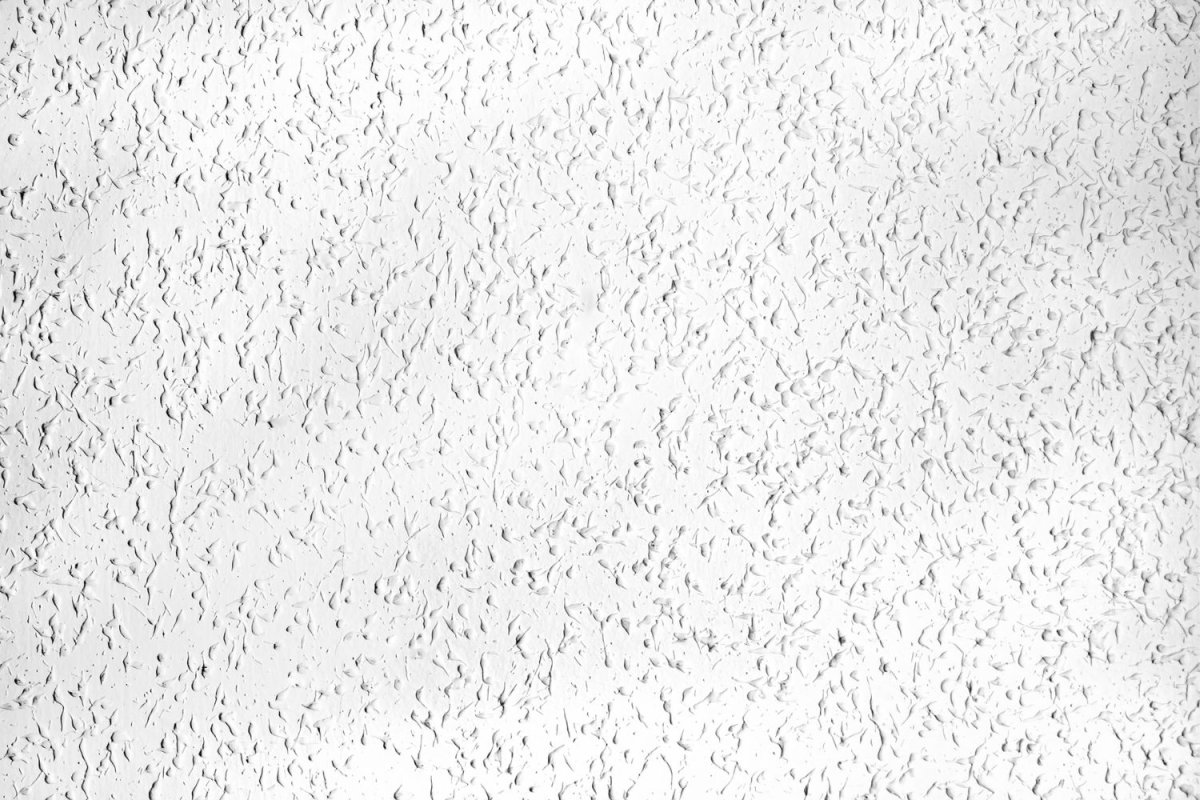
How Much Does Popcorn Ceiling Removal Cost?


How to Get Vinyl Off Your Shelf and Onto Your Wall

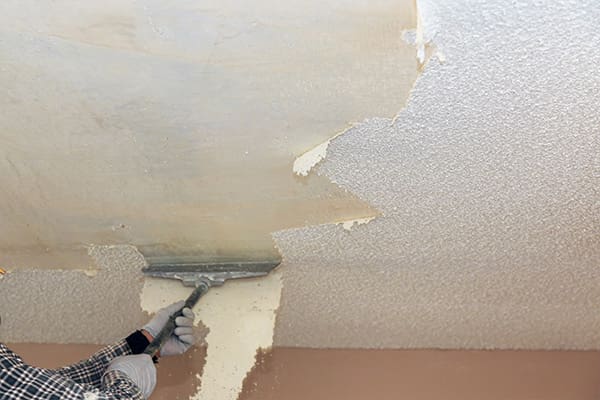
5 Things to Keep in Mind When Remodeling Popcorn Ceilings
A Hardwood Floor Where You Can Actually Remove One Piece at a Time

Methods to Remove Staples from Subfloor

The Best Tools for Popcorn Ceiling Removal

Be gone, 'boob light' – here's just how to fix unattractive ceiling lights

How to repair a wall or ceiling

How to remove popcorn ceiling quickly to refresh your home in an instant

The Best Wallpaper Removers of 2025 for Updating Your Home’s Interior


10 Ways to Cover a Hideous Ceiling That Anyone Can Do

How They Pulled It Off: A Ceiling That Conceals Recessed Lighting


How to remove wallpaper - expert-approved steps to prevent damage and ensure a smooth finish

Off the Wall

9 Best Wallpaper Removers

We Get Salty About Popcorn Ceilings: The Faux Finish for the Unfinished Ceiling