1/3
How To Remove Stain From Wood To Start Fresh (And Common Mistakes To Avoid)
Removing wood stain is a necessary process when refreshing furniture, updating cabinets, or preparing hardwood floors for a new finish. This guide outlines the proper techniques and crucial safety measures for effective stain removal, highlighting common pitfalls to avoid. Van Sureja, owner and president of Liberty Painting, emphasizes that safety is paramount, stressing the importance of wearing personal protective equipment (PPE) such as gloves and eye protection, and ensuring a well-ventilated workspace. He also advises users to meticulously read and follow the manufacturer's instructions for any chemical strippers, as products vary in their application and efficacy. Additionally, Sureja cautions against the improper handling of chemicals, noting the importance of keeping them away from children and pets, avoiding extreme weather conditions, and planning for the safe disposal of hazardous waste like solvents, paints, thinners, and rags.
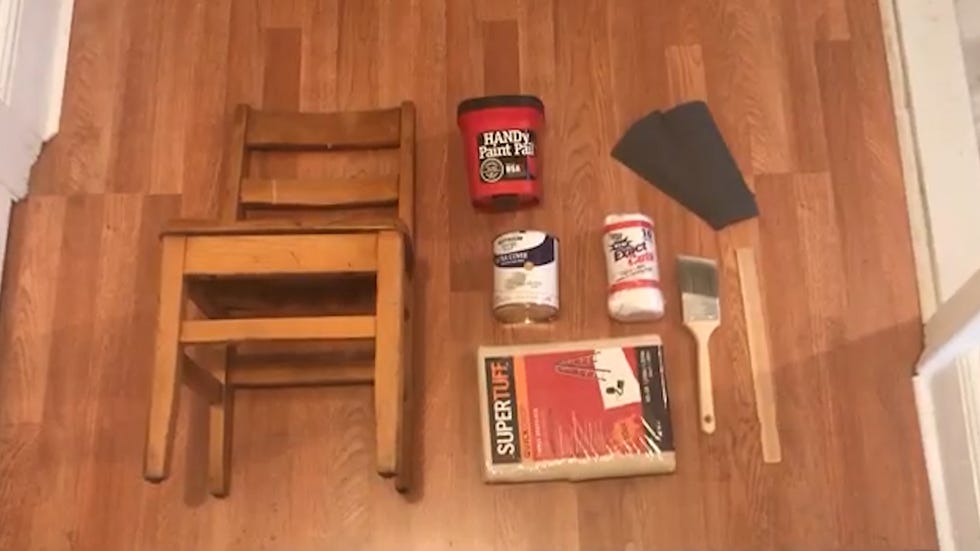
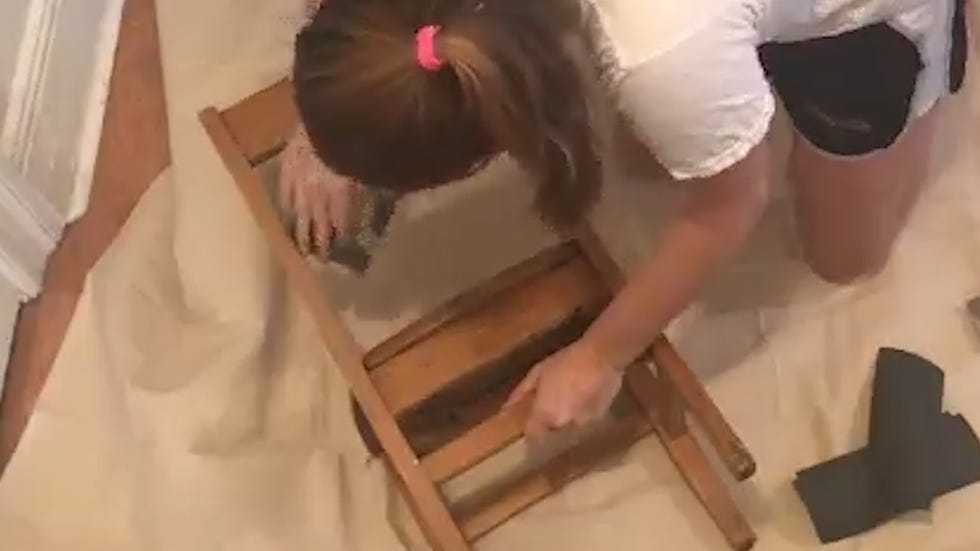
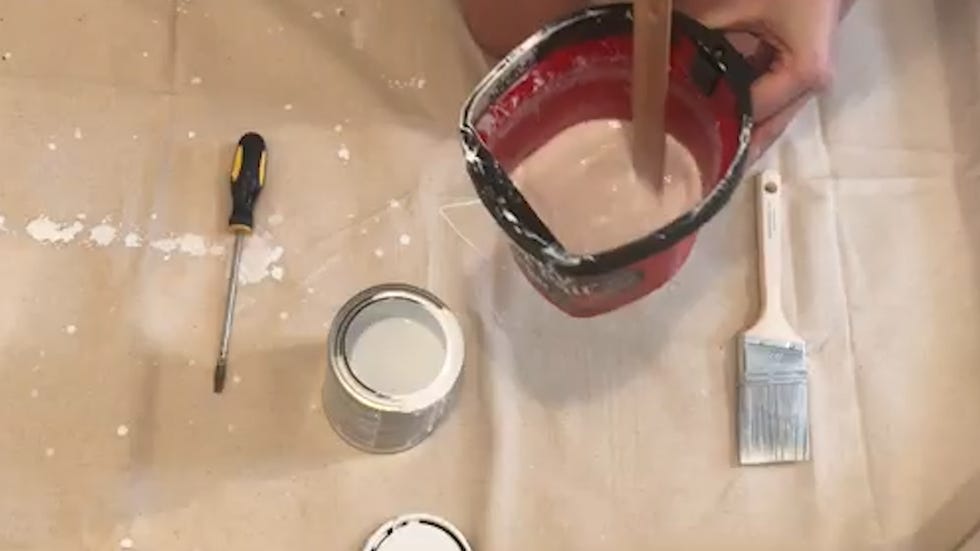
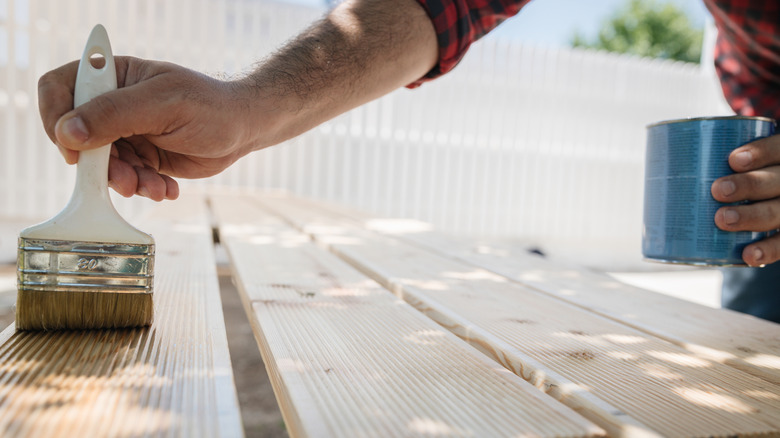
Before beginning the stain removal process, proper preparation is essential. This involves placing drop cloths to protect the surrounding area, carefully removing any hardware from the wooden item, and cleaning the wood surface with soapy water and a lint-free rag to eliminate dirt. After cleaning, the wood should be thoroughly dried with a microfiber towel. The next step involves applying a chemical wood stain stripper. Sureja recommends using a bristle brush to apply a thick, even coat to small sections at a time. The choice of stripper depends on the original stain type: solvents are effective for oil-based stains but can be harsh on delicate wood, while caustic strippers are more suitable for latex stains and are generally easier to use. Gel stains, a thicker form of oil-based stain, also respond well to appropriate chemical strippers. After allowing the stripper to work for the manufacturer-recommended time, the loosened stain should be gently scraped off with a plastic putty knife or scraper. This process may need to be repeated. To ensure all stripper residue is removed, the wood should be scrubbed with steel wool before being allowed to dry completely. Any remaining excess can then be removed with sandpaper, followed by a wipe-down with mineral spirits.
Sureja points out several common mistakes that DIYers often make during this process. A significant error is failing to allow the chemical stripper to set for the recommended duration, which can lead to inadequate removal and uneven results. Patience is key, as chemical removers typically need 15 to 20 minutes to work, indicated by bubbling or swelling of the stain. Rushing any part of the process can result in patchy surfaces and damage that is difficult to repair. After the bulk of the stain is removed with a putty knife and steel wool, meticulous sanding is crucial. Sureja advises using medium-grit, then fine-grit sandpaper, always moving with the wood grain in straight, forward motions. Techniques like reinforcing sandpaper with duct tape can aid in reaching difficult areas. The final step involves wiping the wood surface with mineral spirits to remove any residual dust or particles, ensuring a clean and fresh surface ready for a new finish. Following these steps diligently helps achieve optimal results and avoids potential damage or injury.
#WoodStainRemoval #DIYHomeImprovement #WoodRefinishing #ChemicalStrippers #HomeMaintenance #SafetyTips #WoodCare #FurnitureRestoration #WoodStainRemoval #DIYHomeImprovement #WoodRefinishing #ChemicalStrippers #HomeMaintenance #SafetyTips #WoodCare #FurnitureRestoration
0 komentarzy łącznie
 Brak komentarzy jeszcze
Możesz również polubić

The Ultimate Stain-Removal Guide
Red Wine Stain Removal: Step-by-Step Instructions for Any Surface


How to clean a linen sofa to keep it in pristine condition – even in a busy family home
How to Remove Every Type of Stain in a Few Simple Charts

How to Remove Water Stains from Wood with Common Household Products

How to clean hardwood floors – experts reveal the best techniques

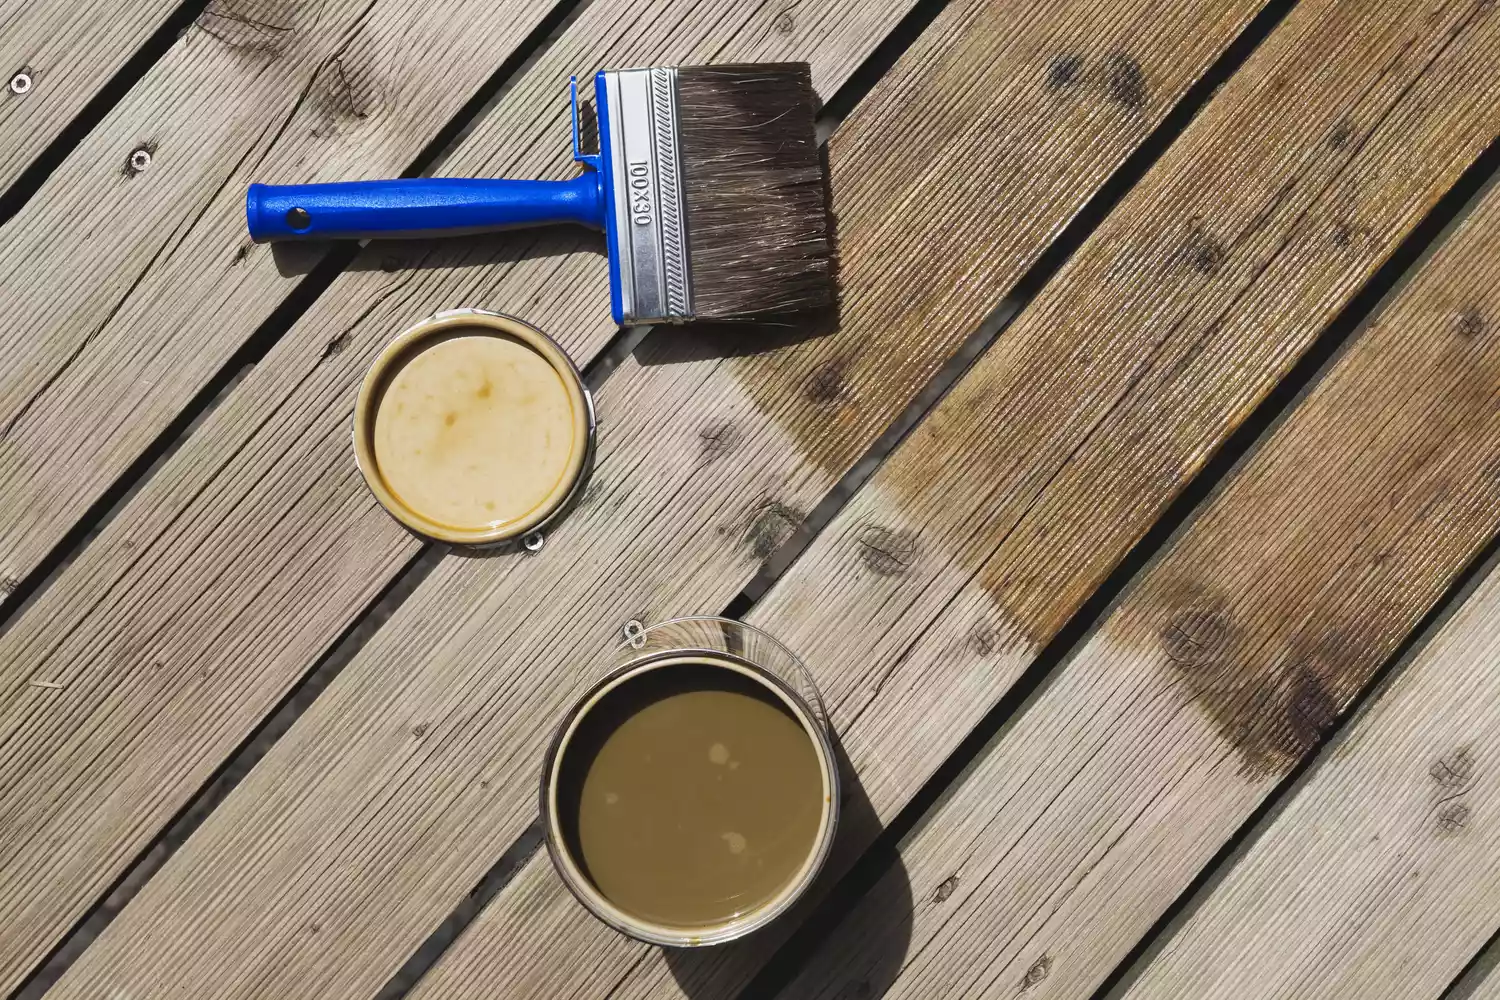
How to Stain Wood Like a Pro—and Get It Right the First Time

5 Common Sofa Cleaning Mistakes You Might Be Making


I Asked My Furniture-Maker Dad How to Remove Water Stains From Wood — These Are His 3 "Tried and Tested" Tricks

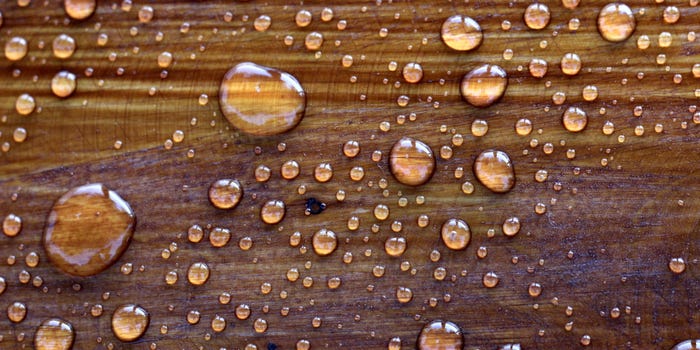
How to remove water stains from wood and keep your furniture looking great
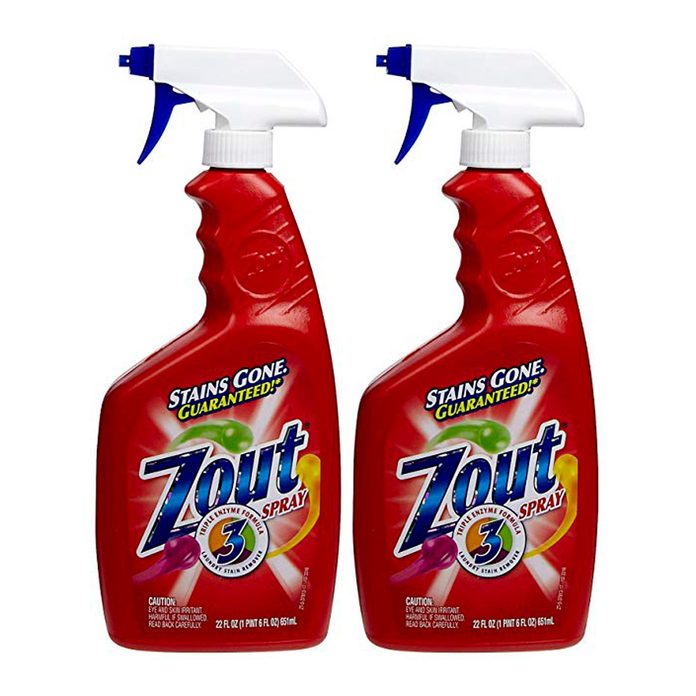
13 Top Reviewed Products That Will Help Remove Stains


How to Protect Fabric Furniture From Stains and Dirt

4 Ways to Remove Water Stains From Wood, According to Cleaning Experts

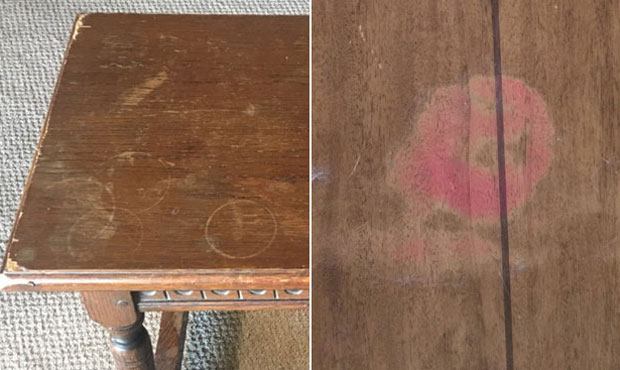
How to restore life of damaged wood furniture yourself


How to clean red wine stains off upholstery and save your couch


How to remove oil stains from a fabric sofa – experts reveal their tried and tested secret
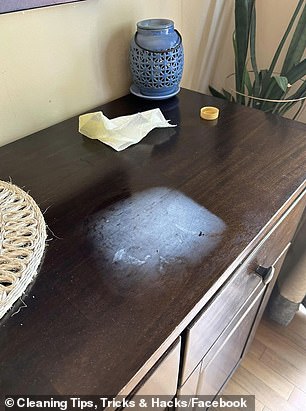
Mum's simple hack to remove stains from wooden furniture using a common pantry item
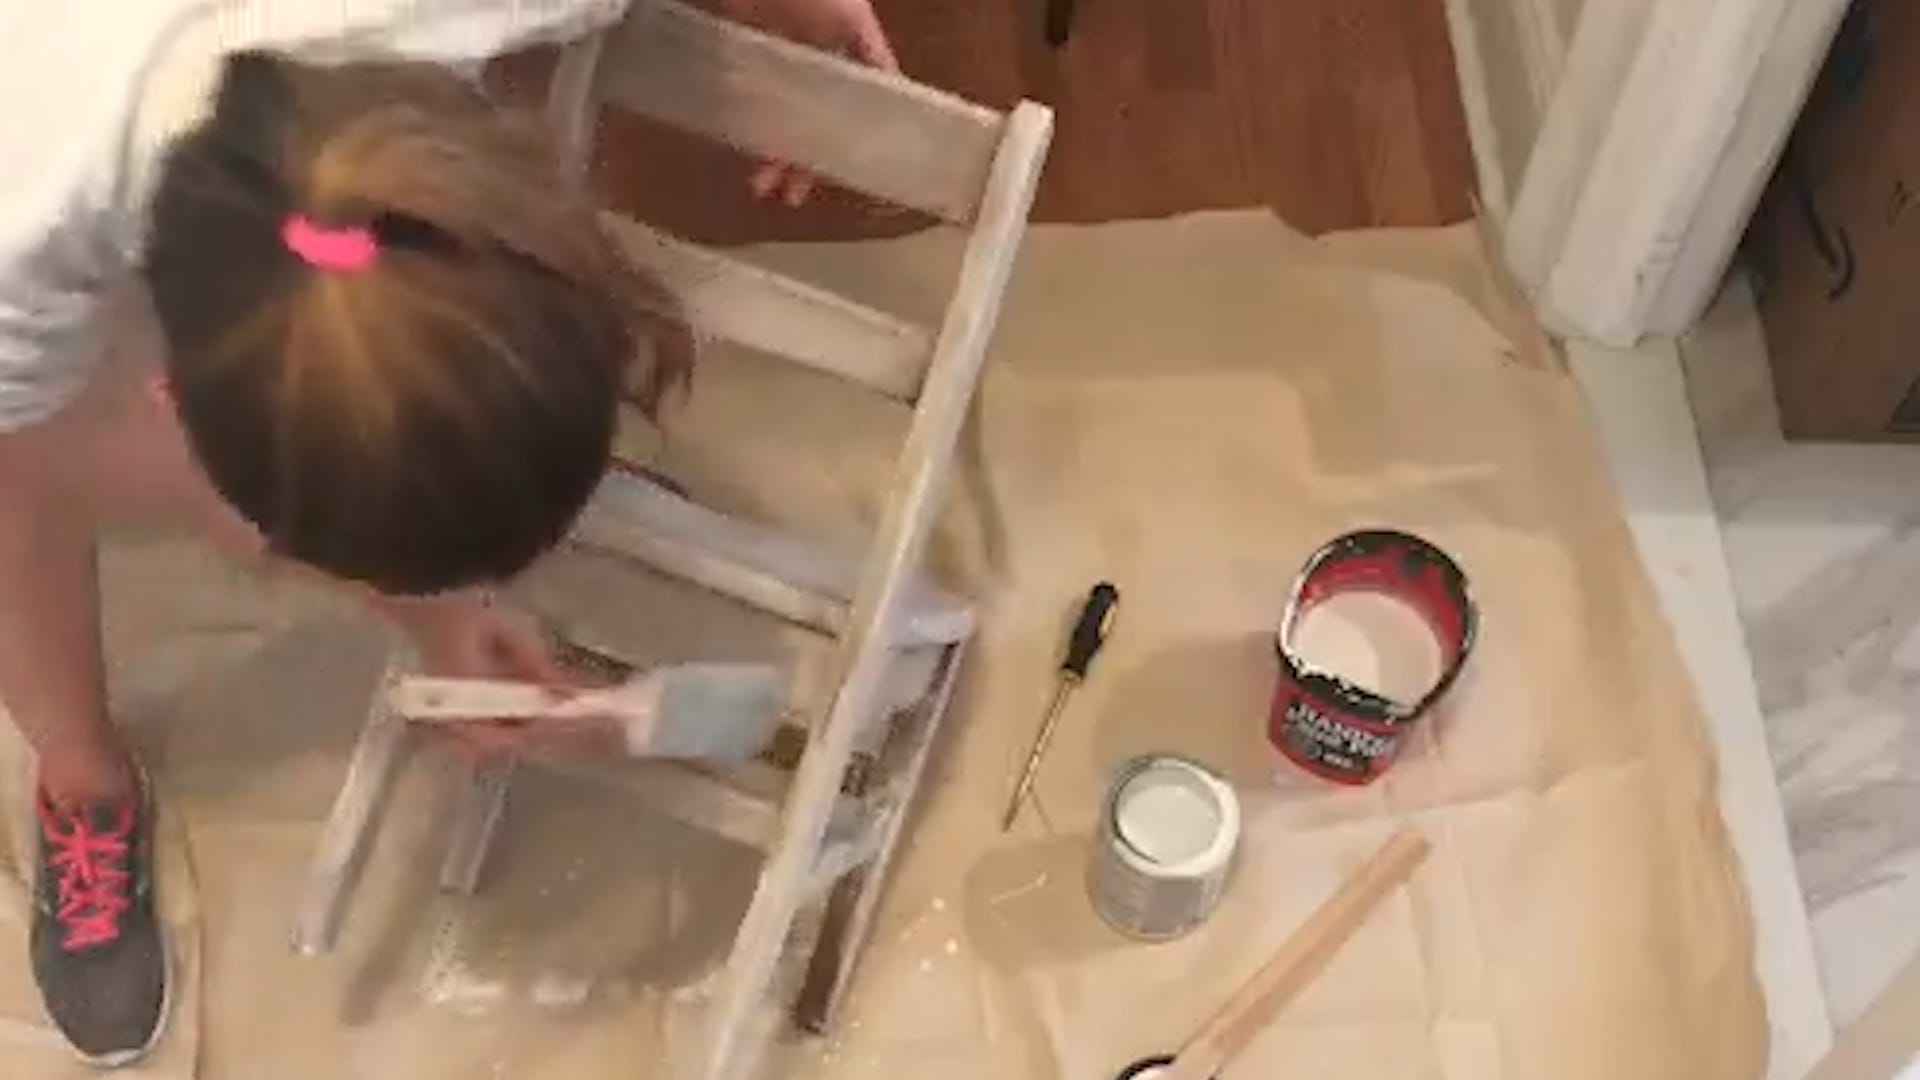
The Right Way To Whitewash Wood Furniture

Can a DIY wood floor cleaner leave your floors gleaming? Experts share their favored techniques
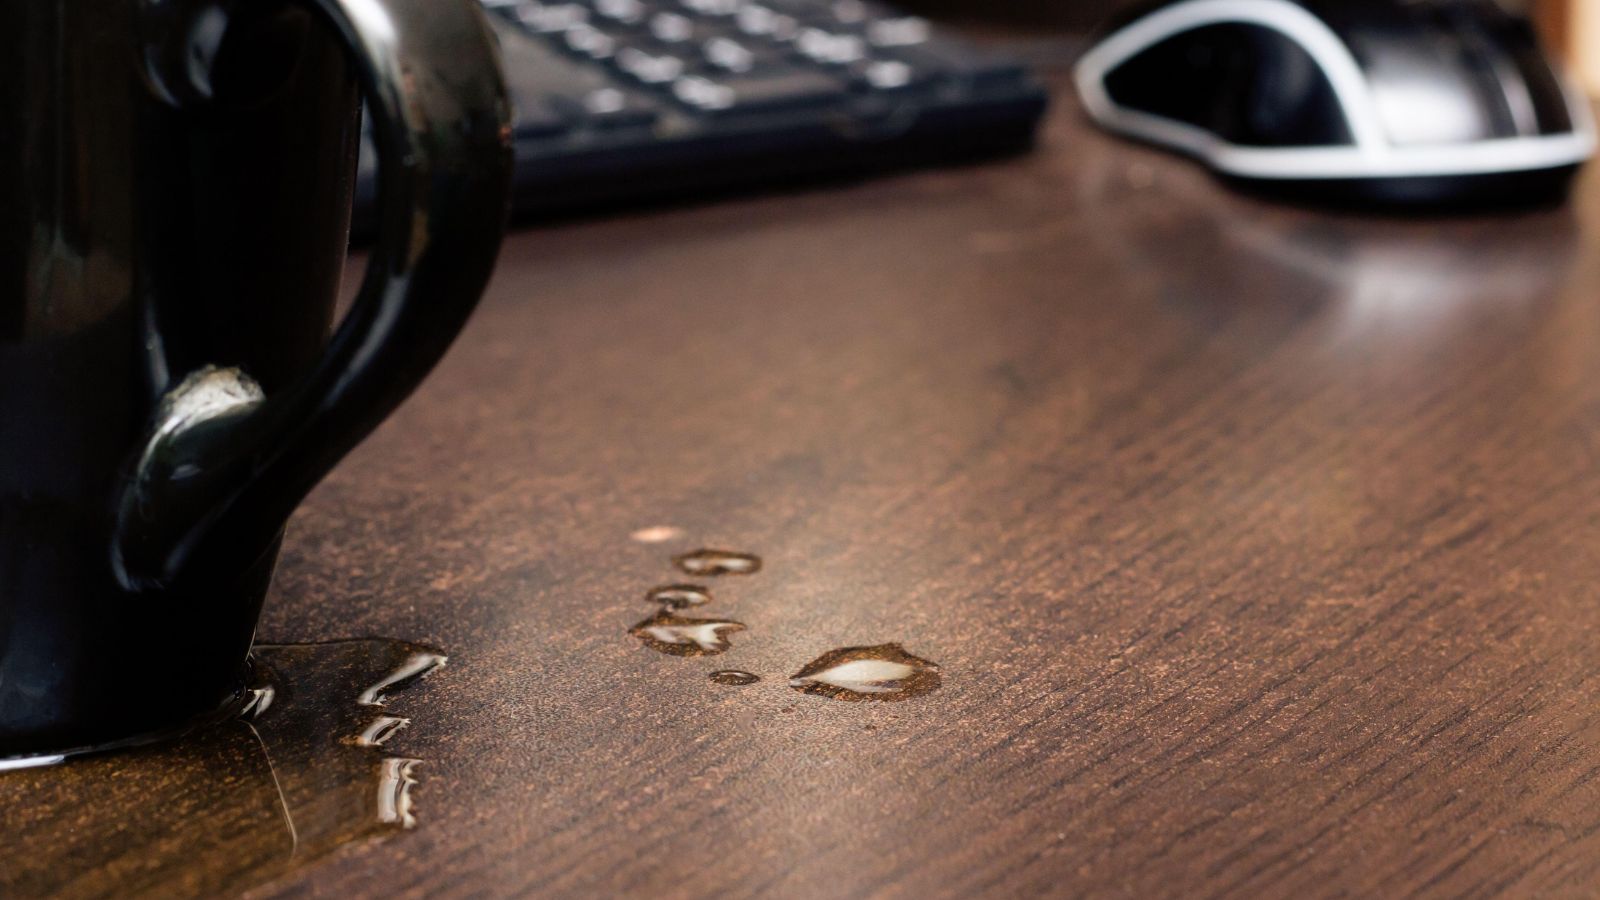
How to remove water stains from wood – 8 fixes you'll find in your pantry