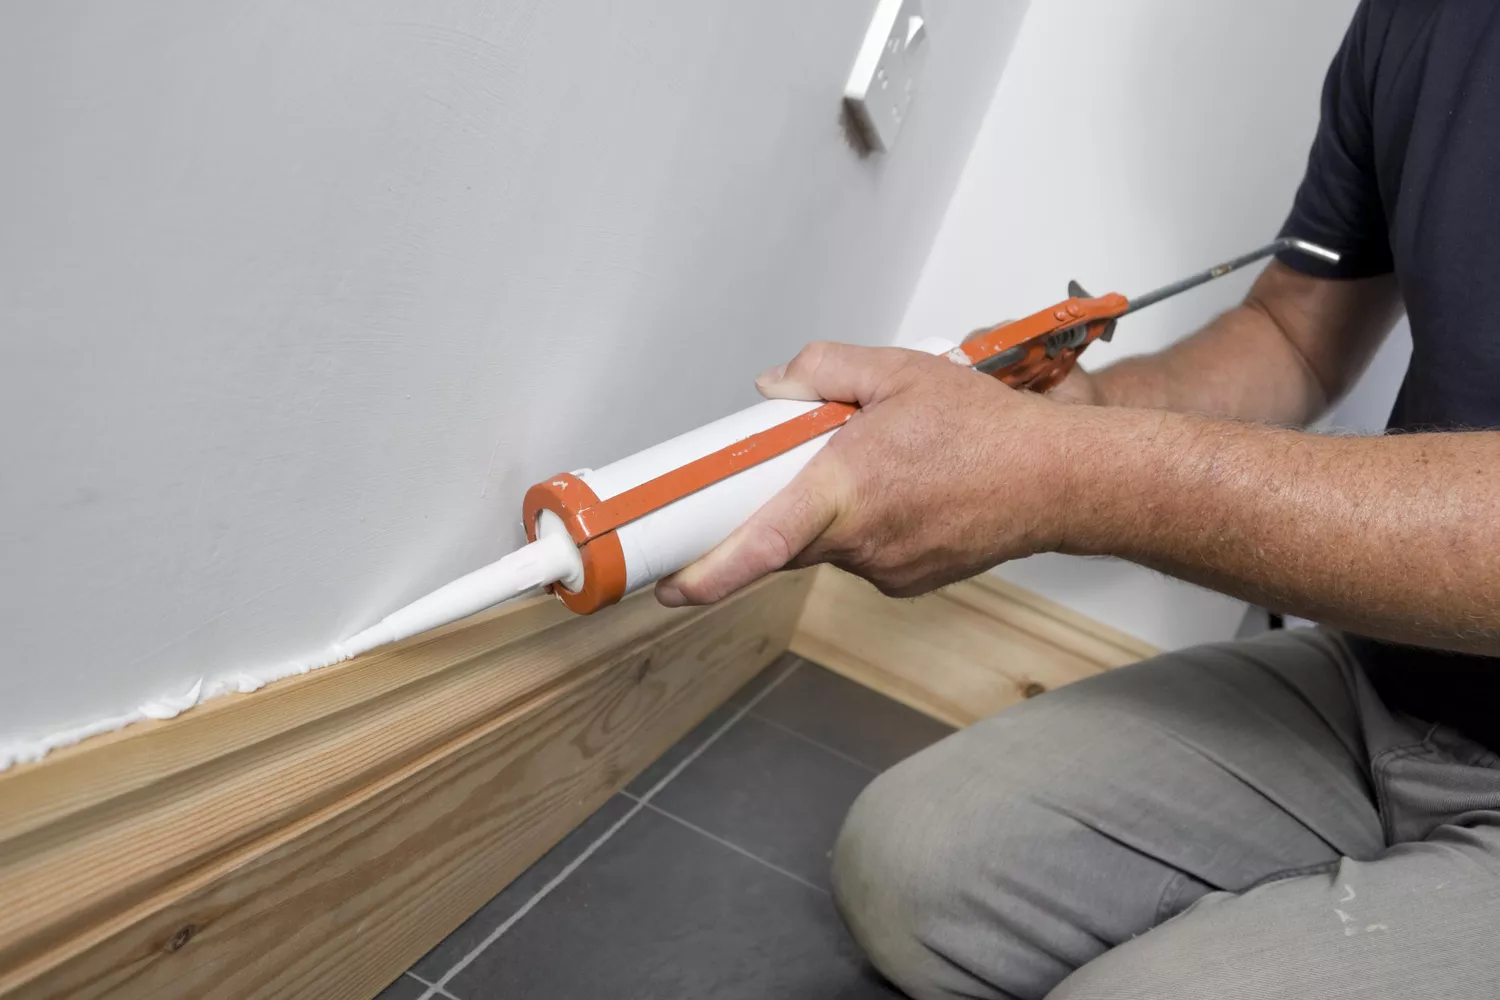
How to Caulk Baseboard Gaps
This guide provides instructions on how to effectively caulk gaps in baseboards, a common home improvement task that addresses both aesthetic concerns and energy efficiency. Baseboards often develop gaps at their top where they meet the wall, or at their bottom where they meet the floor, due to factors like floor joist sagging or foundation settling. These gaps can be unsightly and contribute to drafts, negatively impacting a home's energy consumption. Caulking offers a practical solution for gaps that are 1/4-inch or less in width. While caulking the bottom gaps helps prevent airflow, it introduces caulk onto the flooring, which some homeowners may dislike or find difficult to remove. An alternative for bottom gaps is to install quarter-round or shoe molding, which can conform to uneven floors. The project is considered beginner-friendly, typically taking 1 to 2 hours to complete for one room, with an estimated cost of $10 to $20 for materials.
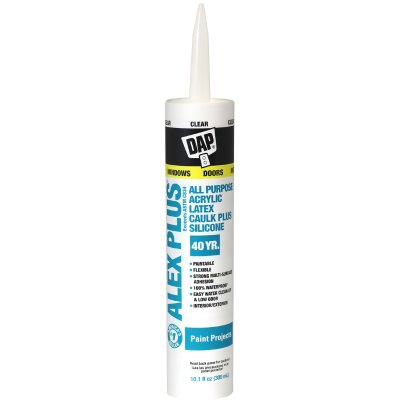
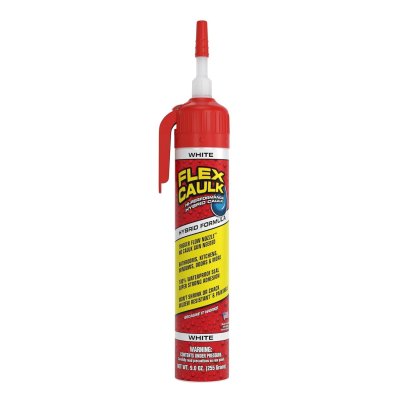
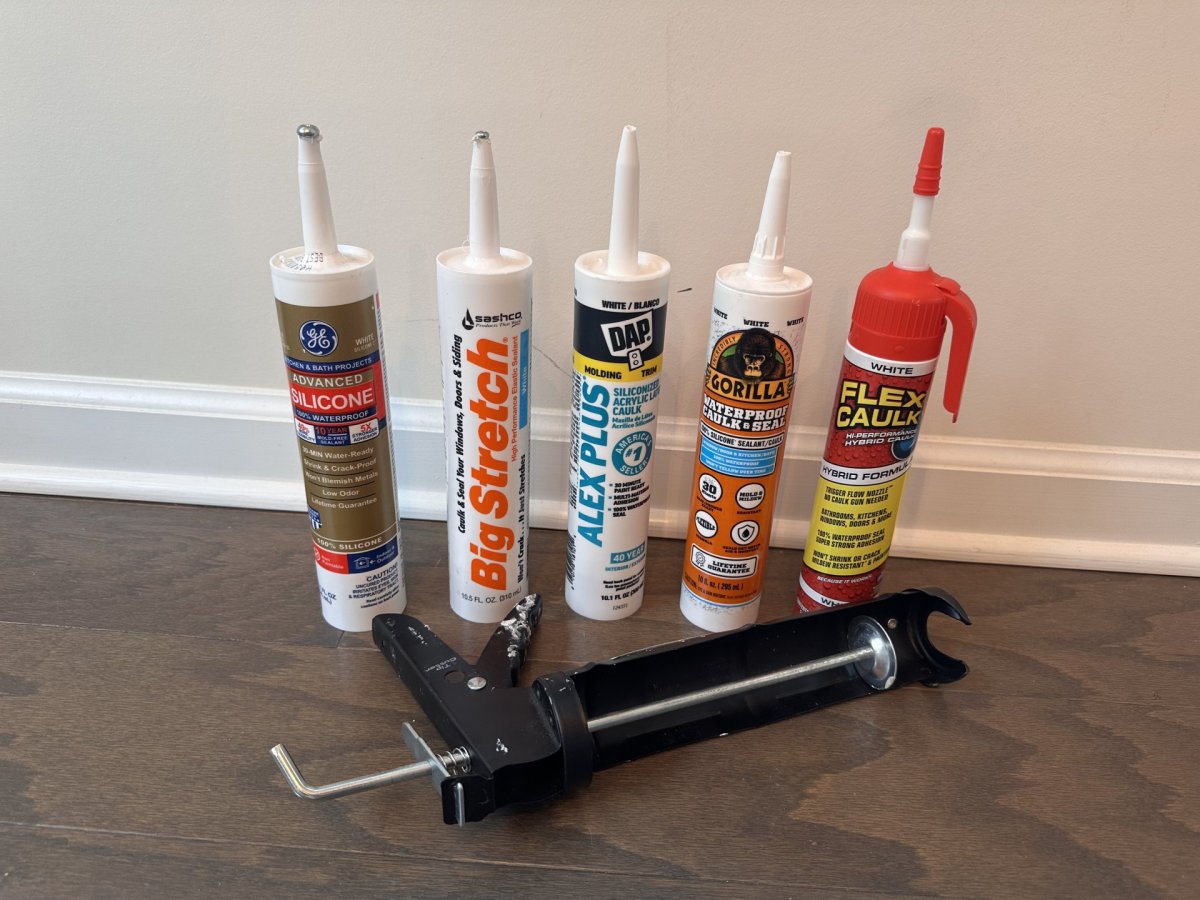
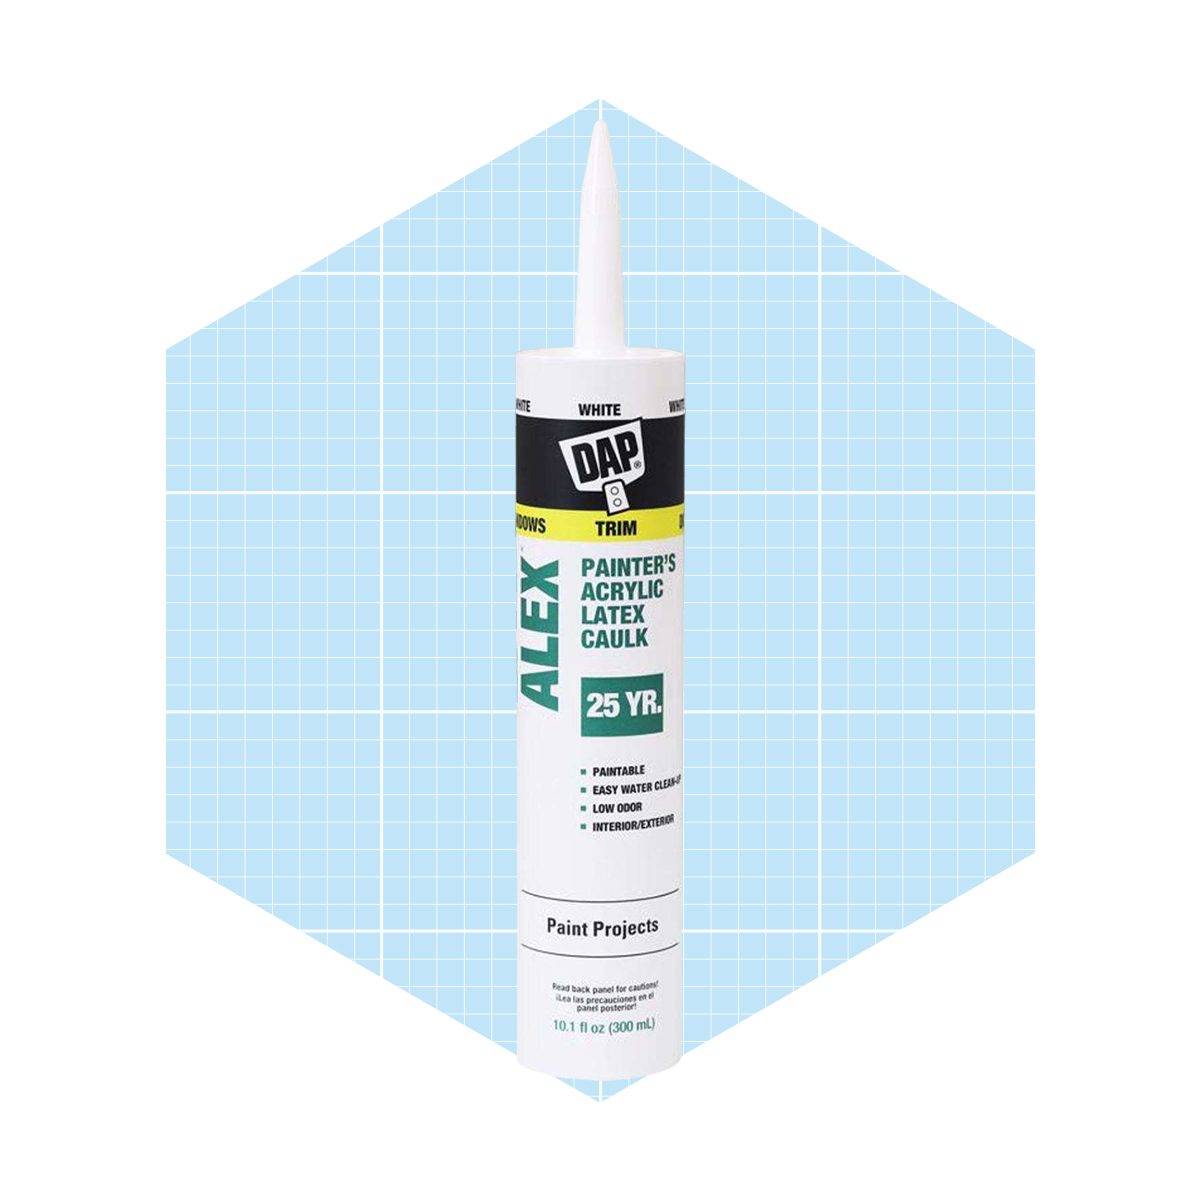
Before starting, it's crucial to select a paintable caulk, as silicone caulks do not hold paint well. Equipment and tools required include a caulking gun, plastic caulk scraping tool, putty knife, shop vacuum, latex gloves, painter's tape, clean rags, and a paintbrush. Materials needed are paintable caulk, TSP or a mild detergent, and paint. The process begins by preparing the joints: scraping away any dried paint or drywall compound from the baseboard and adjacent surfaces using a putty knife. Existing caulk should be removed with a plastic scraping tool. After scraping, the joints must be thoroughly cleaned with a shop vacuum to remove debris, followed by a wash with TSP or a mild detergent and warm water, ensuring the areas are completely dry before proceeding.
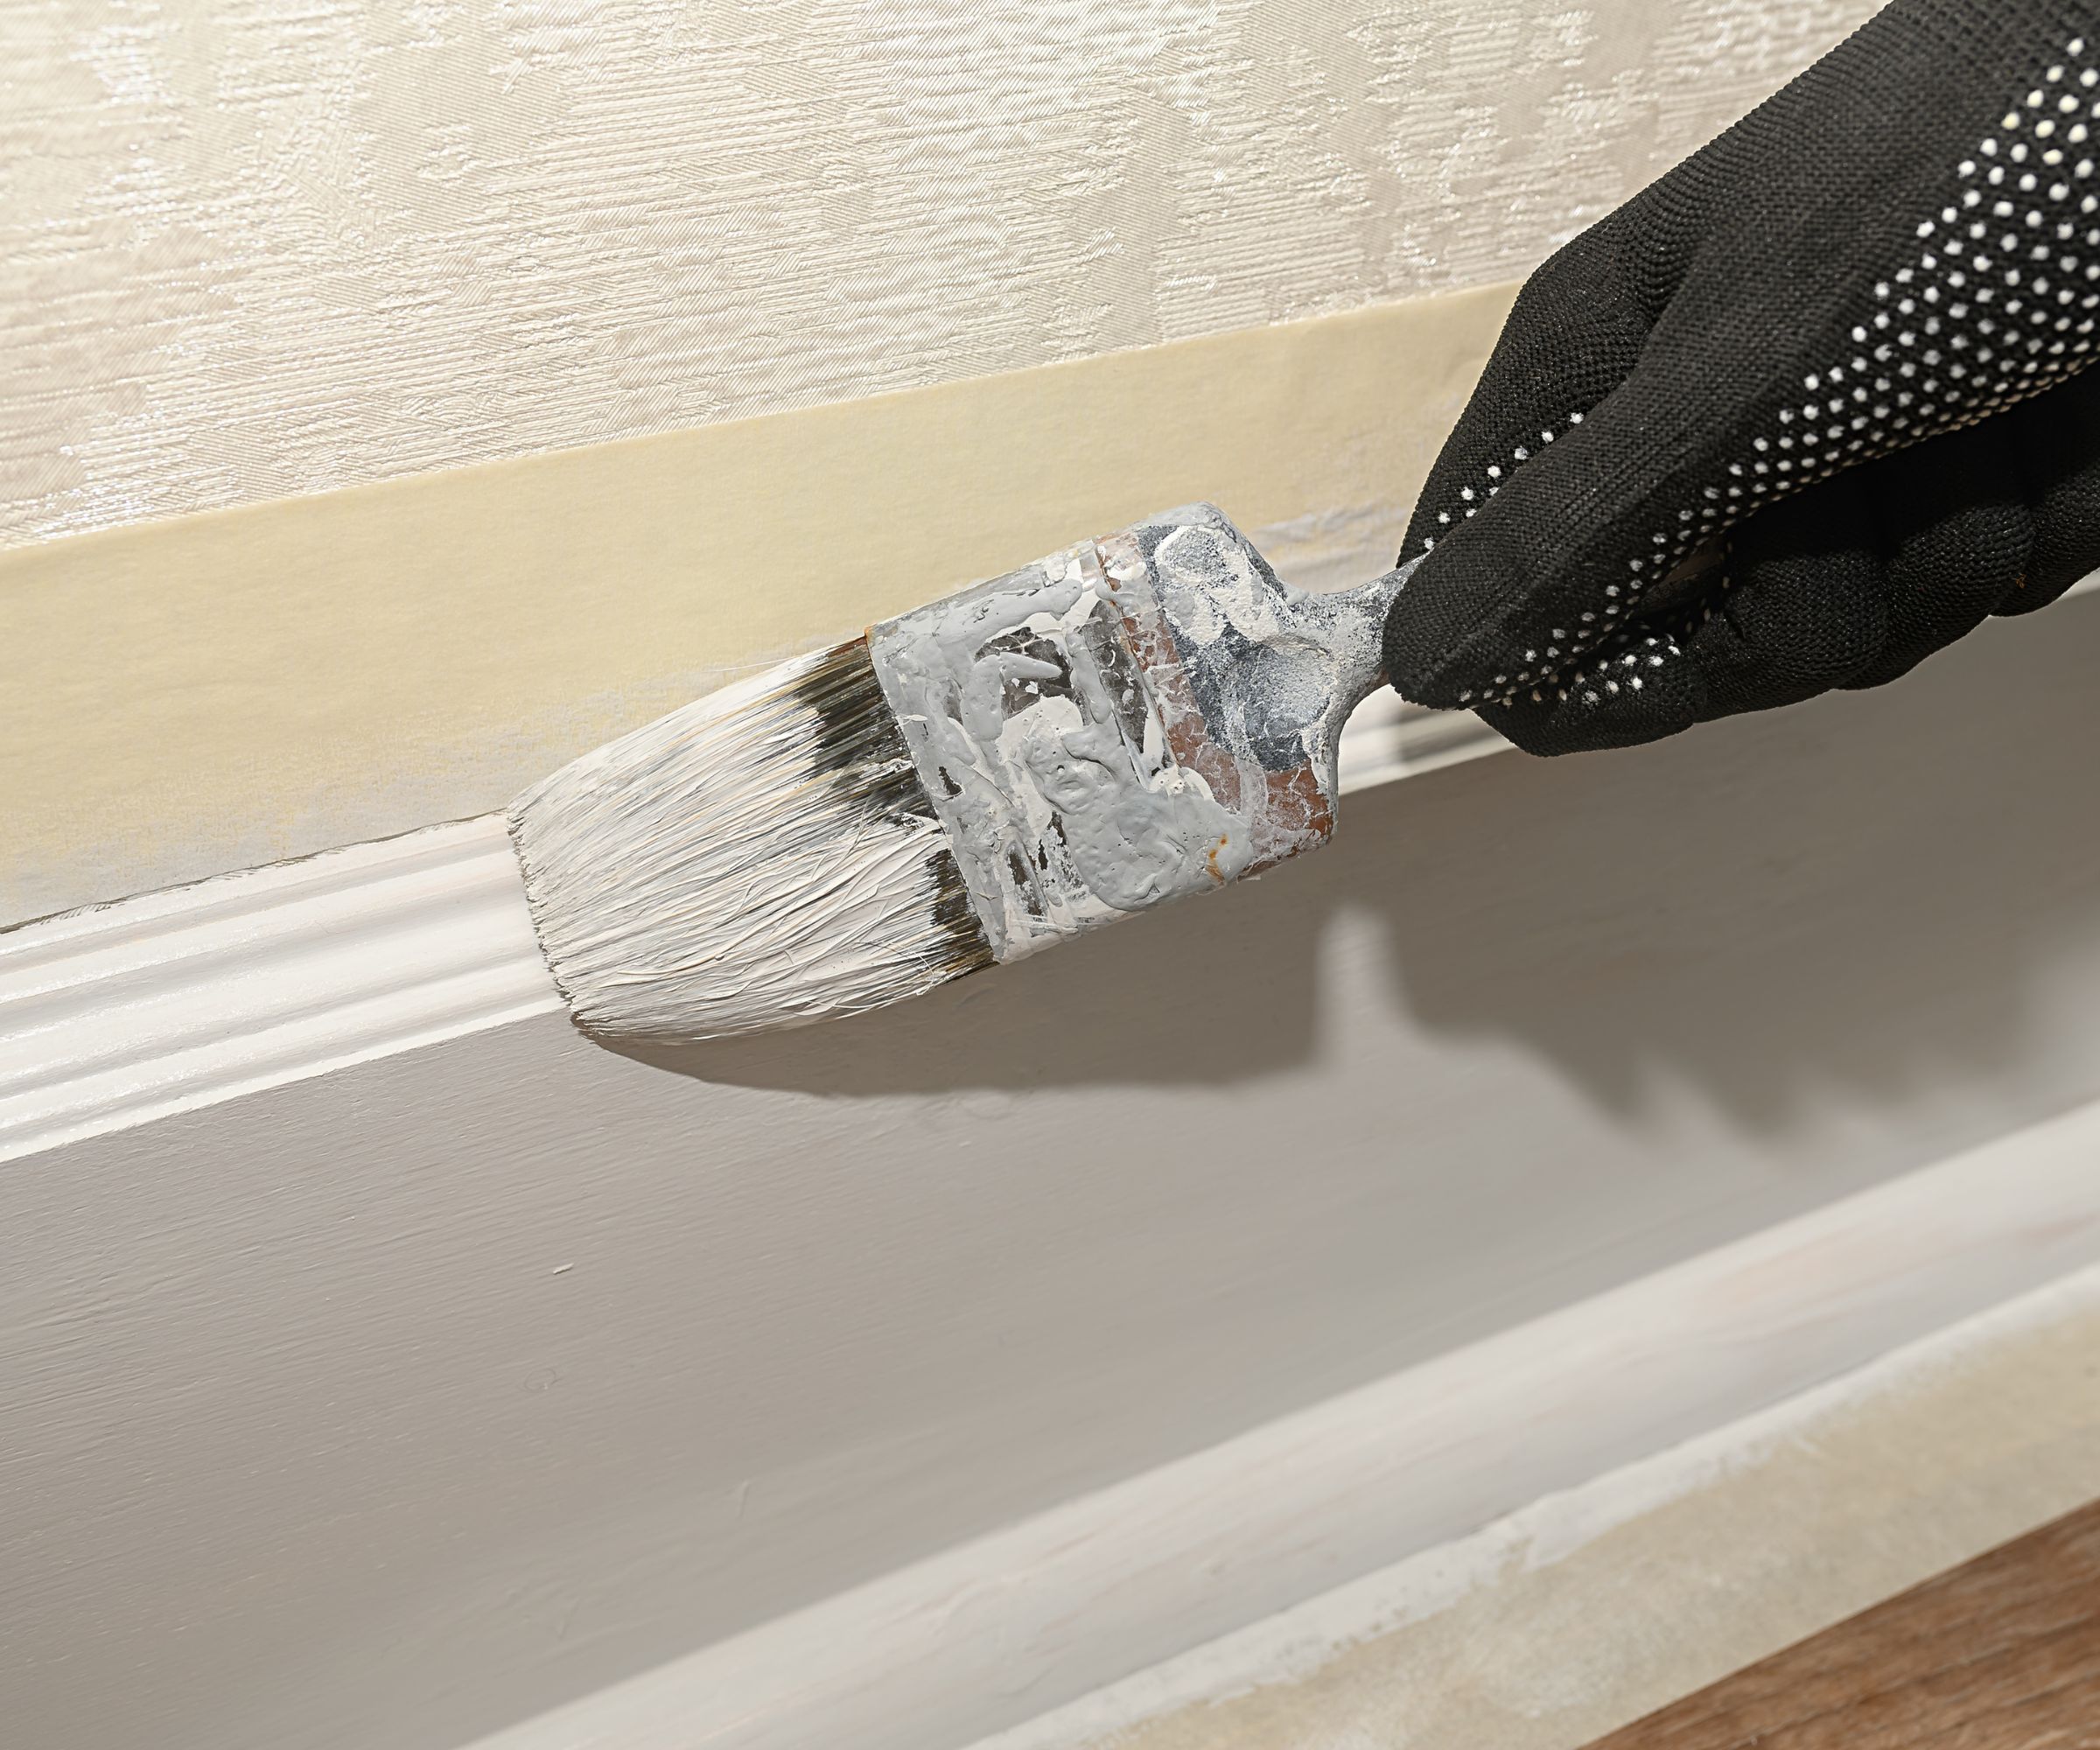
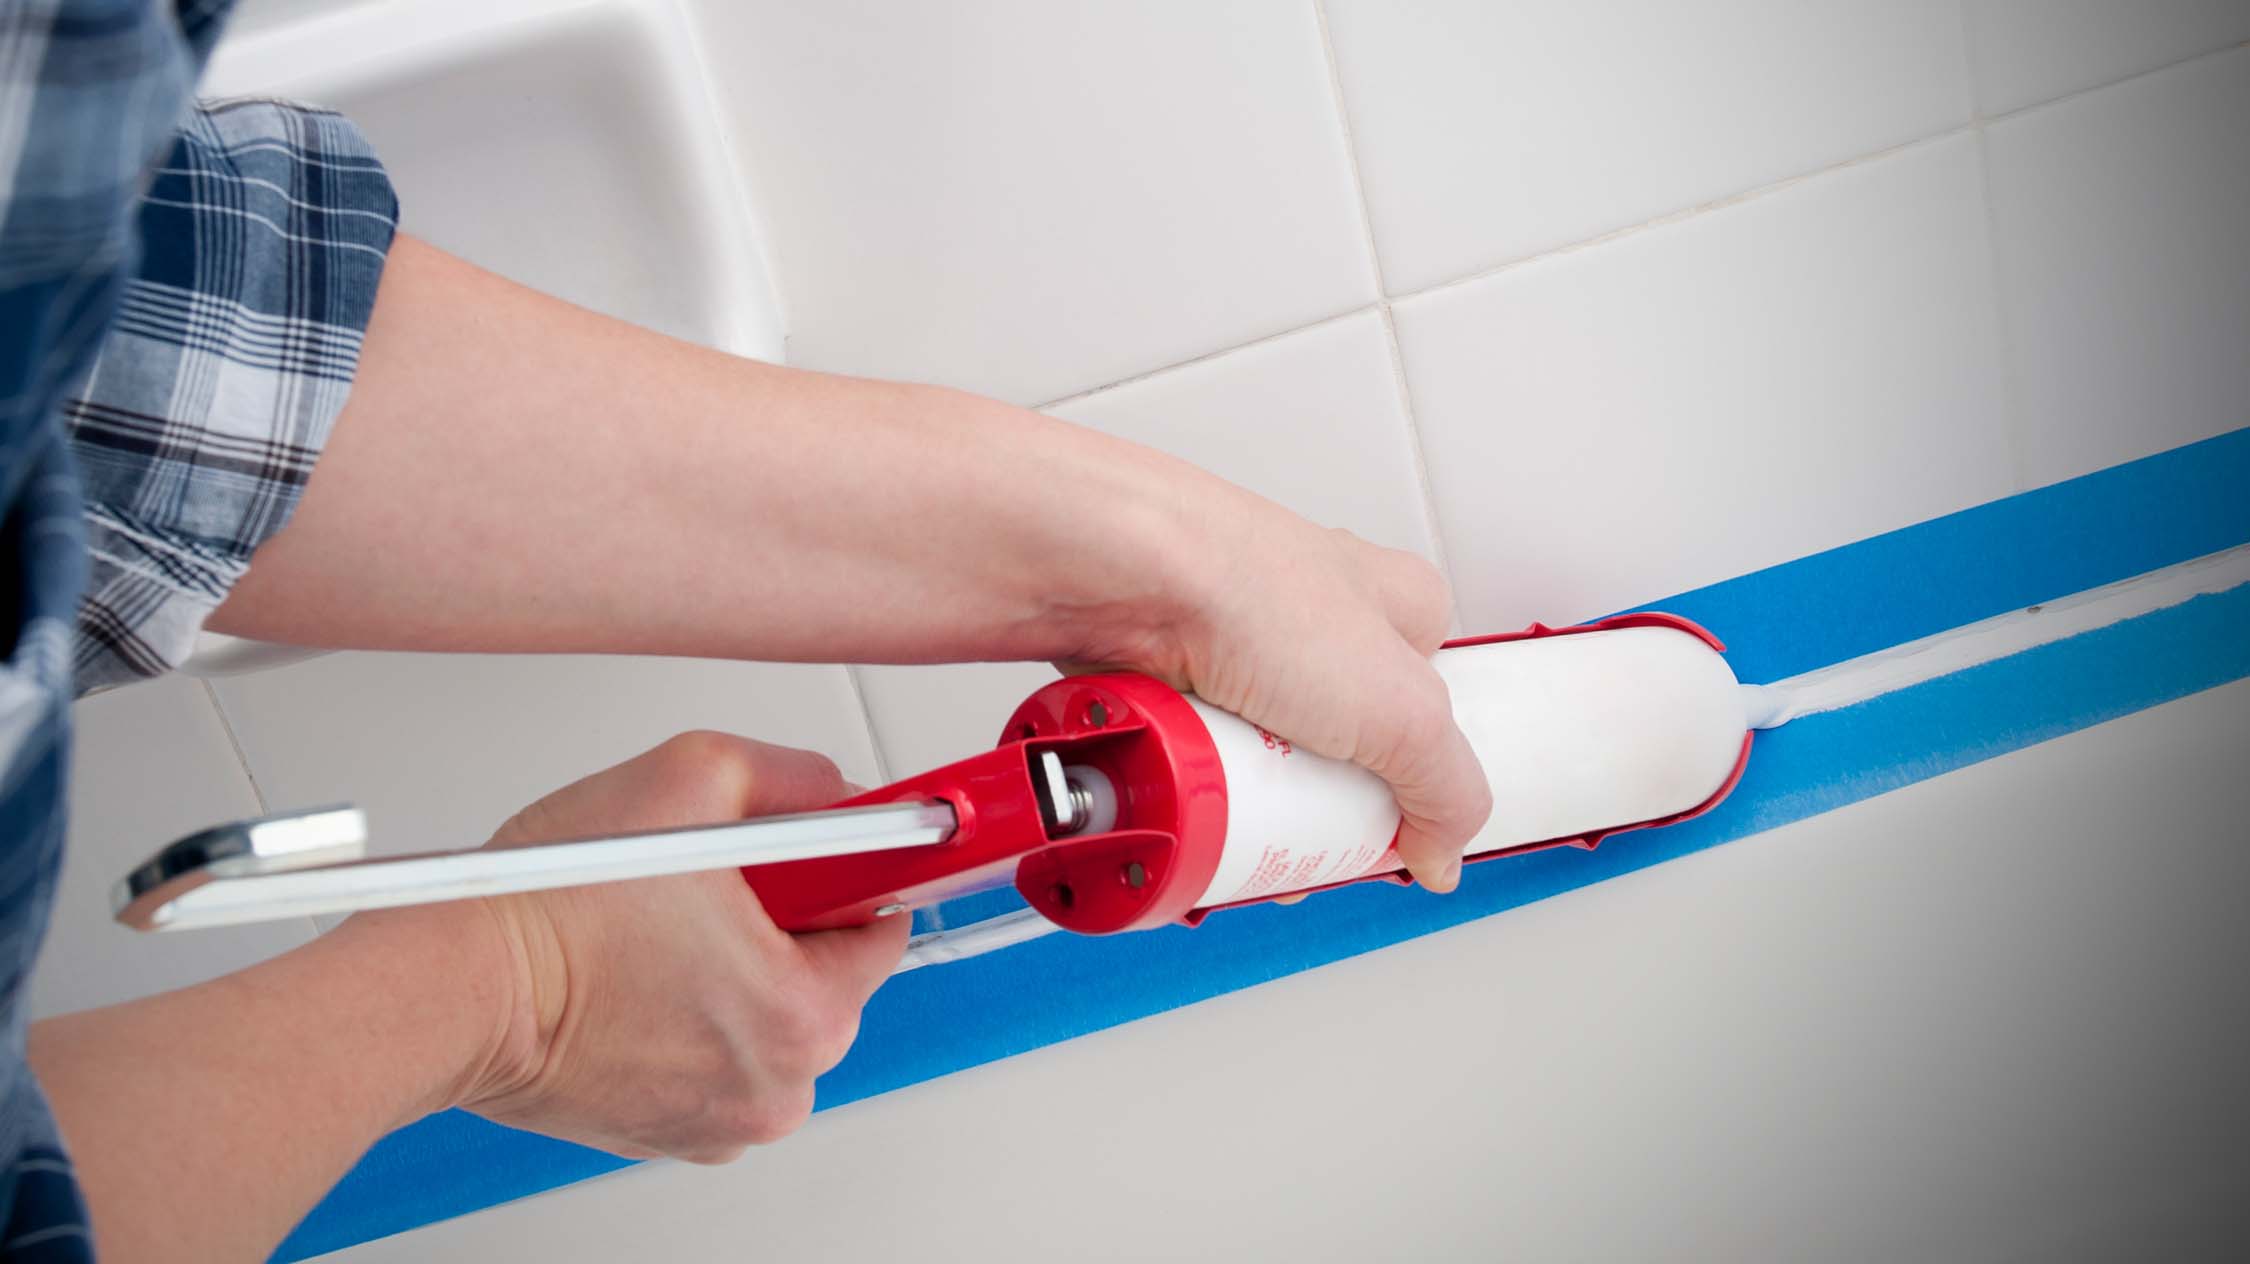
To protect flooring when caulking bottom gaps, painter's tape should be applied parallel to the baseboards, approximately 1/8-inch away. This creates a clean line and prevents caulk from adhering to the floor. Next, a tube of paintable caulk is loaded into a caulking gun. A steady, continuous bead of caulk, ideally 1/8- to 1/4-inch in diameter, is applied along the top joint where the baseboard meets the wall, and similarly for the bottom joint. It is important to ensure the caulk is forced into the gaps to fill them effectively. As the caulk begins to set, the painter's tape should be carefully removed. The caulk bead is then smoothed using a wet finger, periodically rinsing off excess caulk. The goal is a slightly convex caulk bead. After the caulk has dried completely, it should be inspected for any pinhole-sized gaps, which can be spot-fixed. Finally, the dried caulk bead is painted to match the existing wall and baseboard colors, potentially requiring painting both surfaces for seamless integration. If gaps exceed 1/4-inch, re-installing baseboards or adding quarter-round molding are more appropriate solutions, with baseboard re-installation often best handled by professionals.
#HomeImprovement #BaseboardCaulking #DIYHomeProjects #InteriorRemodel #EnergyEfficiency #CaulkApplication #HomeMaintenance #HomeImprovement #BaseboardCaulking #DIYHomeProjects #InteriorRemodel #EnergyEfficiency #CaulkApplication #HomeMaintenance
0 opmerkingen in totaal
 Nog geen opmerkingen
Dit vindt u mogelijk ook leuk
These Are the Best Caulk Options for Baseboards According to Our Tests

How to repair a wall or ceiling

The Best Way To Caulk Your Bathtub
The best way to clean baseboards – pro tips for dusty, greasy, and painted surfaces

Best Caulk & Sealant Guide: Popular Types of Caulk and How To Choose


Decorator’s Caulk
How To Clean Baseboards, According To An Expert

The 5 Best Caulk Guns for Home Improvement Projects


Podcast 209: Exterior Caulk, Tub Drains, and Adding Insulation to Leaky Walls

The Two Best Caulks for Small Home Projects

Chipboard Flooring
Brick Cladding: Helping keep moisture out

How to Clean Baseboards the Right Way

We Tested the 9 Best Exterior Caulks. Here Are Our Top Picks to Keep Your Home Dry
How to Install Deck Footings with Spread Base

Fillers, Putty & Caulk

10 baseboard painting mistakes to avoid – and what experts say to do instead

This Is the Average Cost for Baseboard Installation, Plus Other Cost Factors to Know