1/7
A Wood-Clad Ceiling, Faux Marble Flooring, and More Fresh DIYs From an Entry Reno
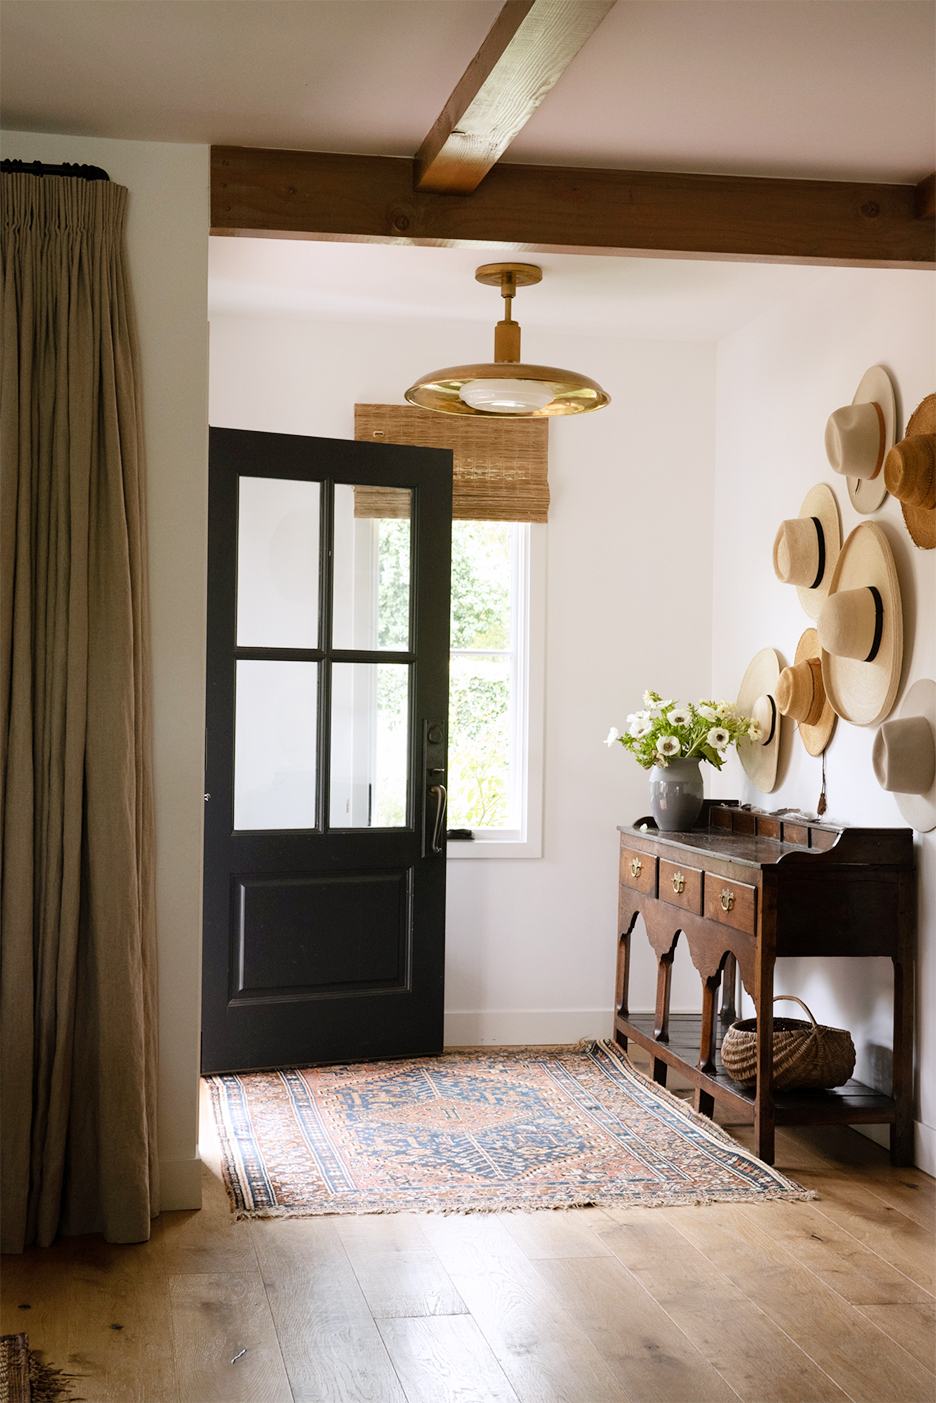
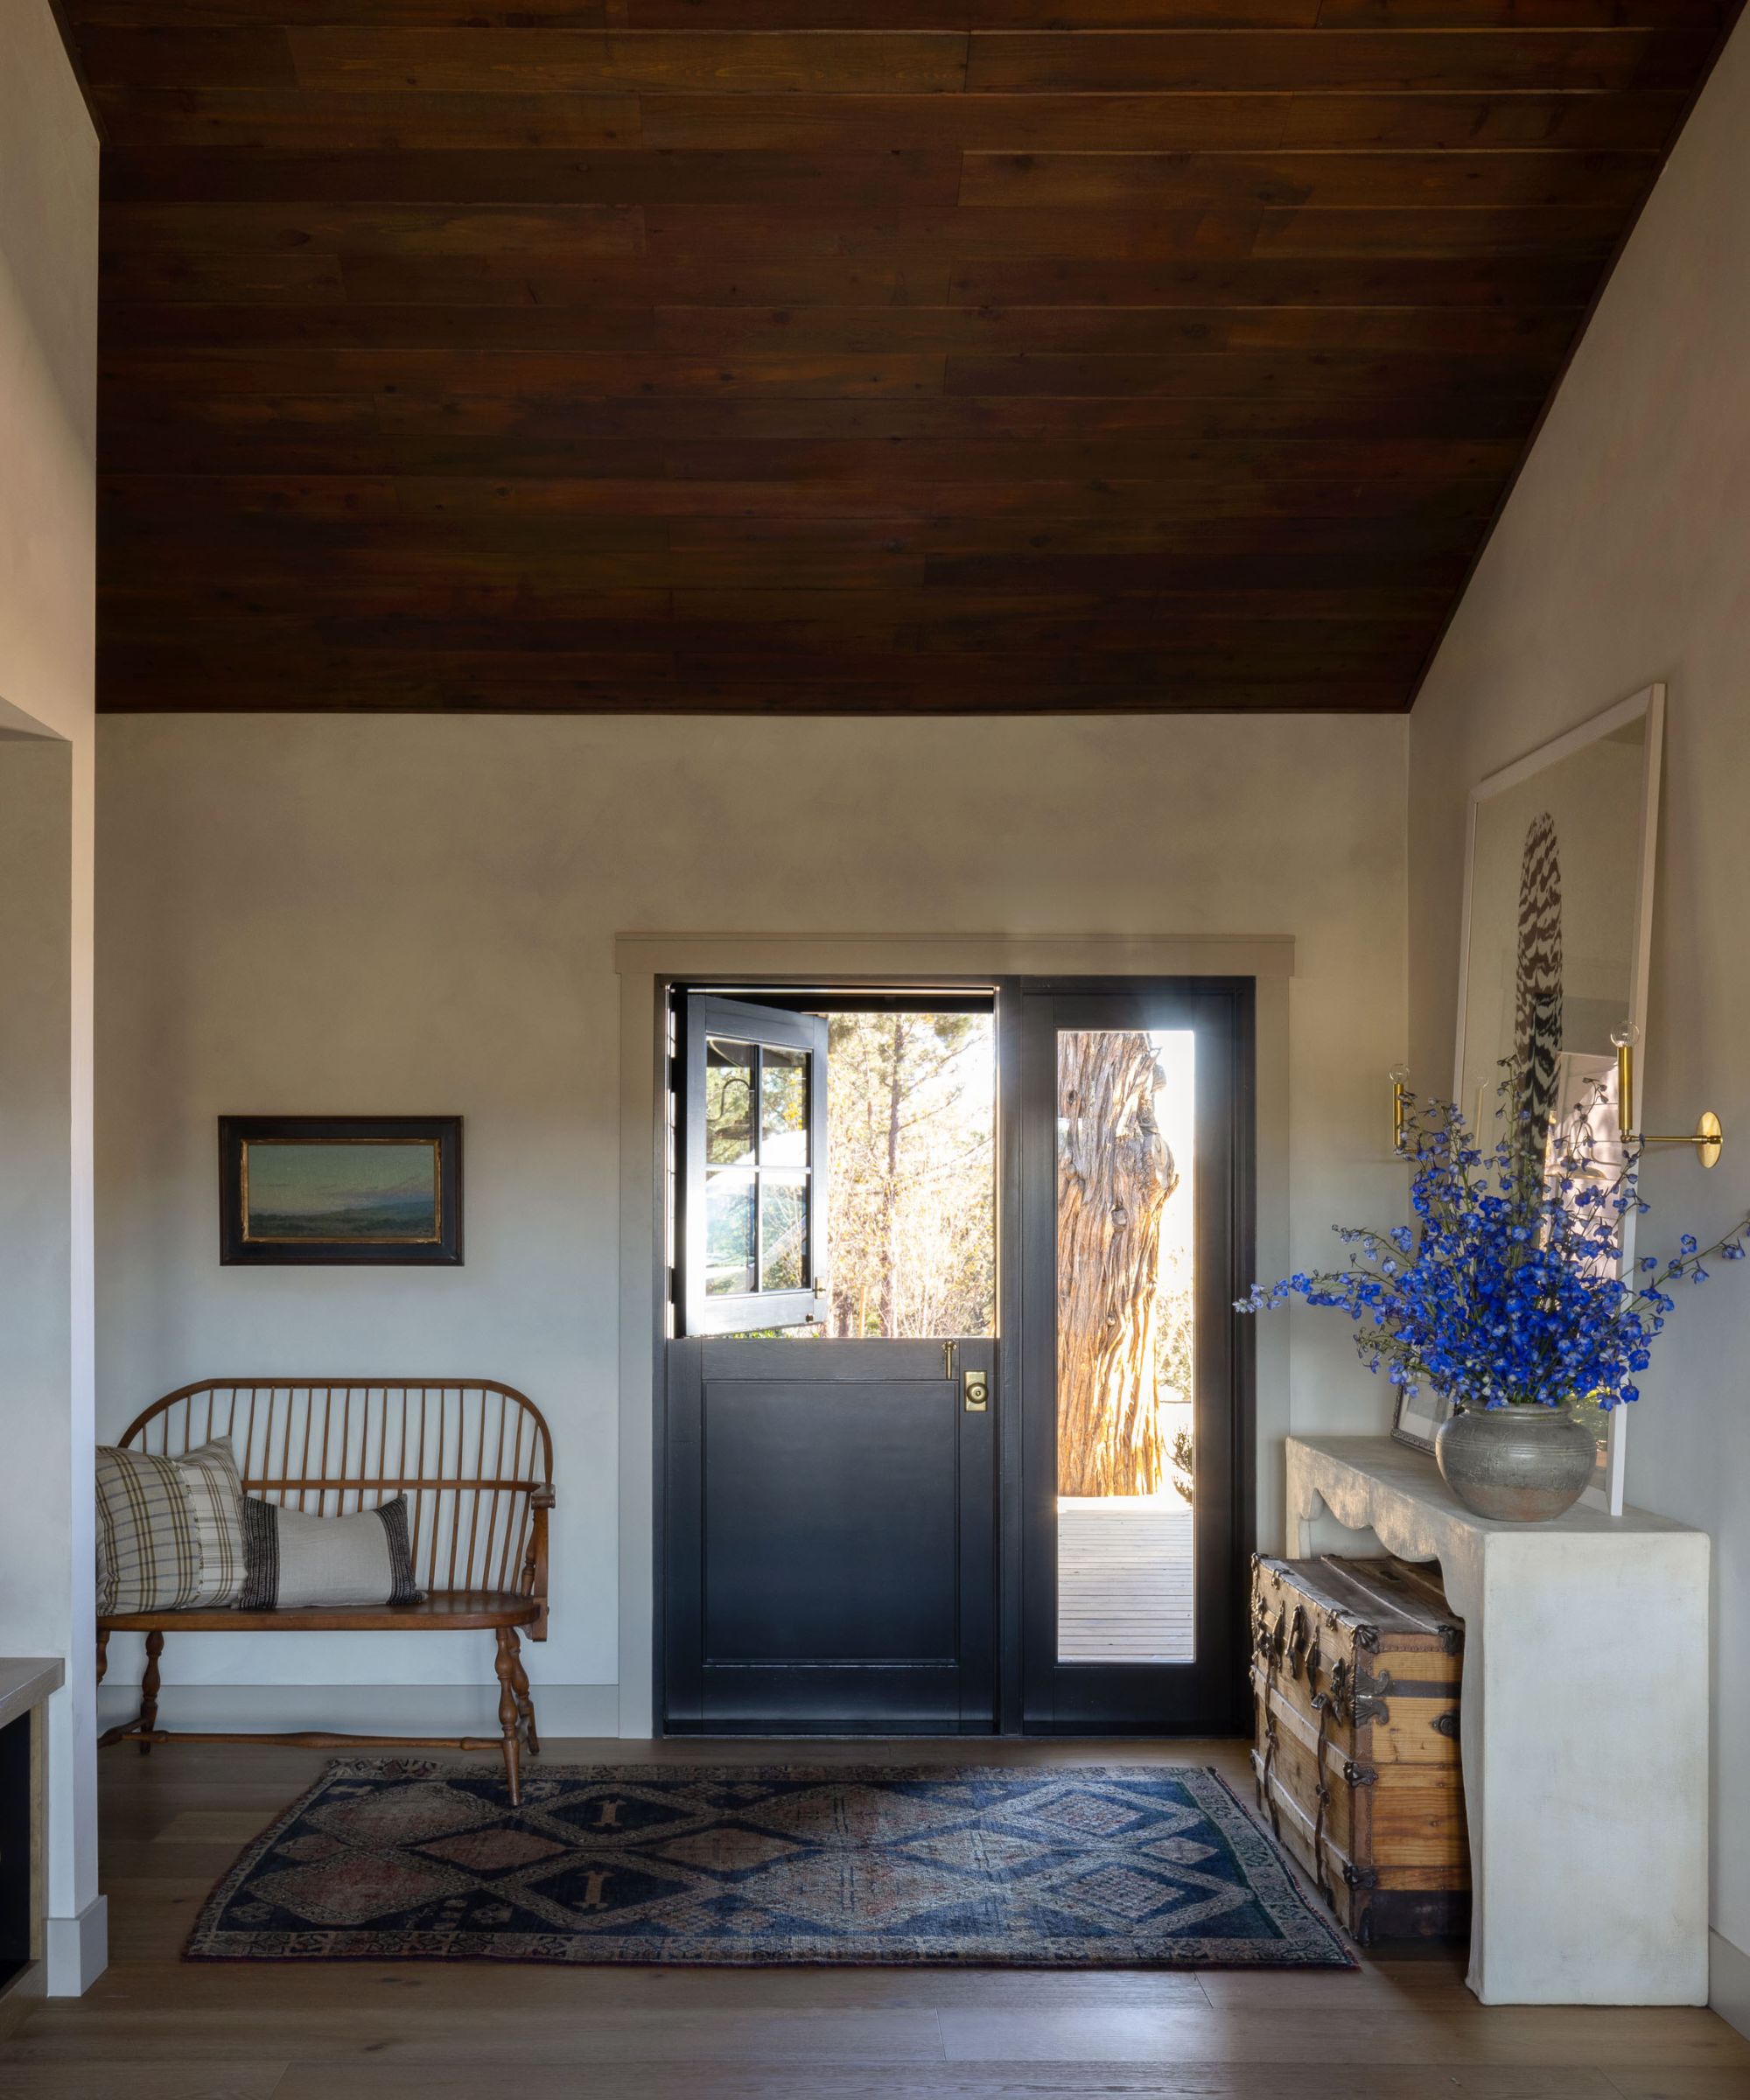
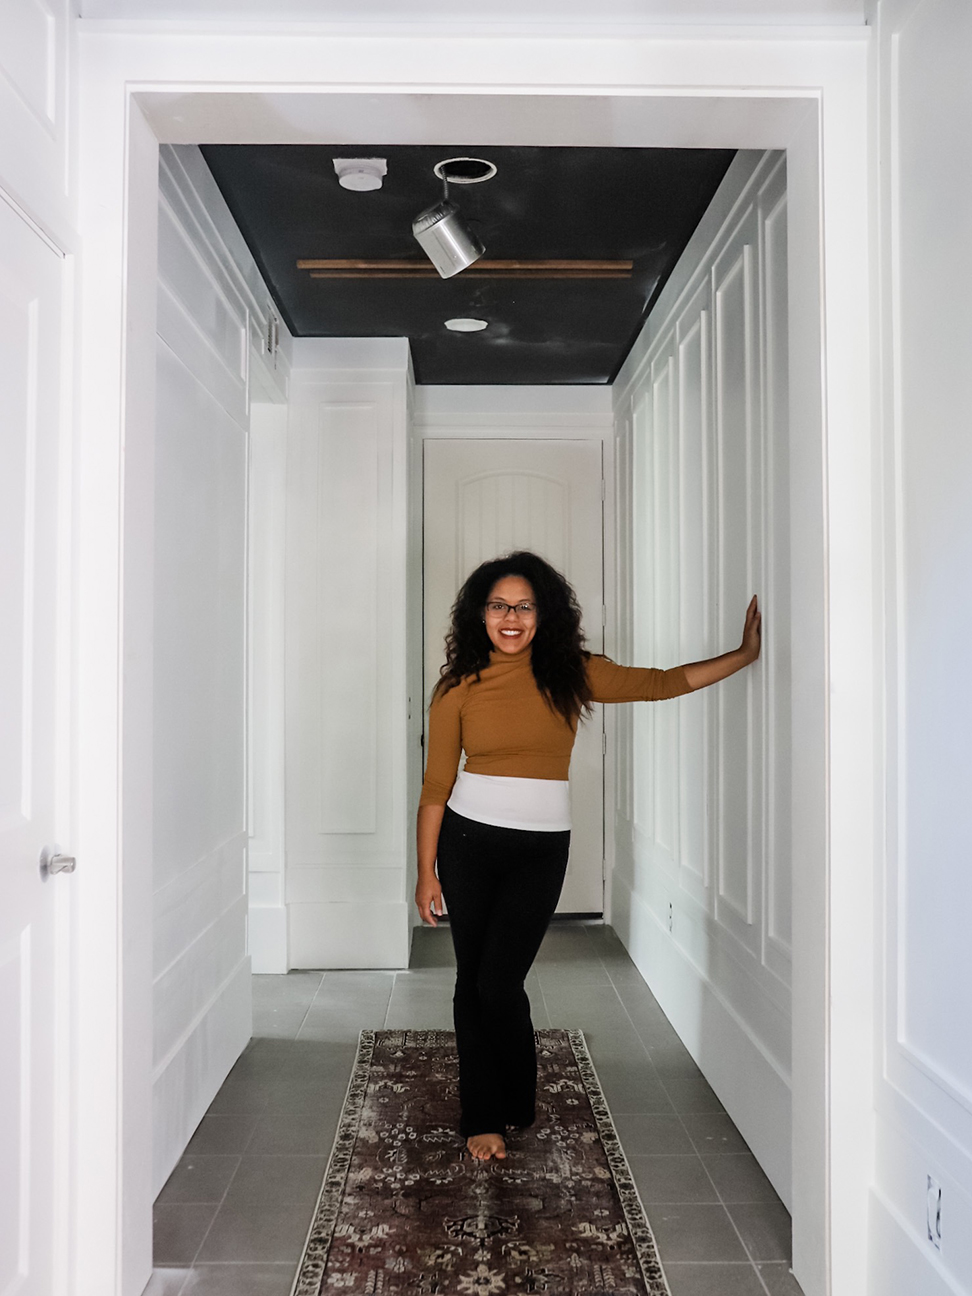
This article details a comprehensive DIY entryway renovation undertaken by Camille Kurtz, transforming a builder-grade, windowless 12-foot-long hallway in her San Marcos, California home. The primary motivation for the renovation was the lack of natural light and the uninspired aesthetic of the original space. Kurtz, who documented the process on her blog, The Kurtz Home, as part of the One Room Challenge, aimed to create a more welcoming and functional area for her family. The entire project, which involved 14 distinct changes, was completed for approximately $2,000, showcasing the potential for significant visual impact on a modest budget.
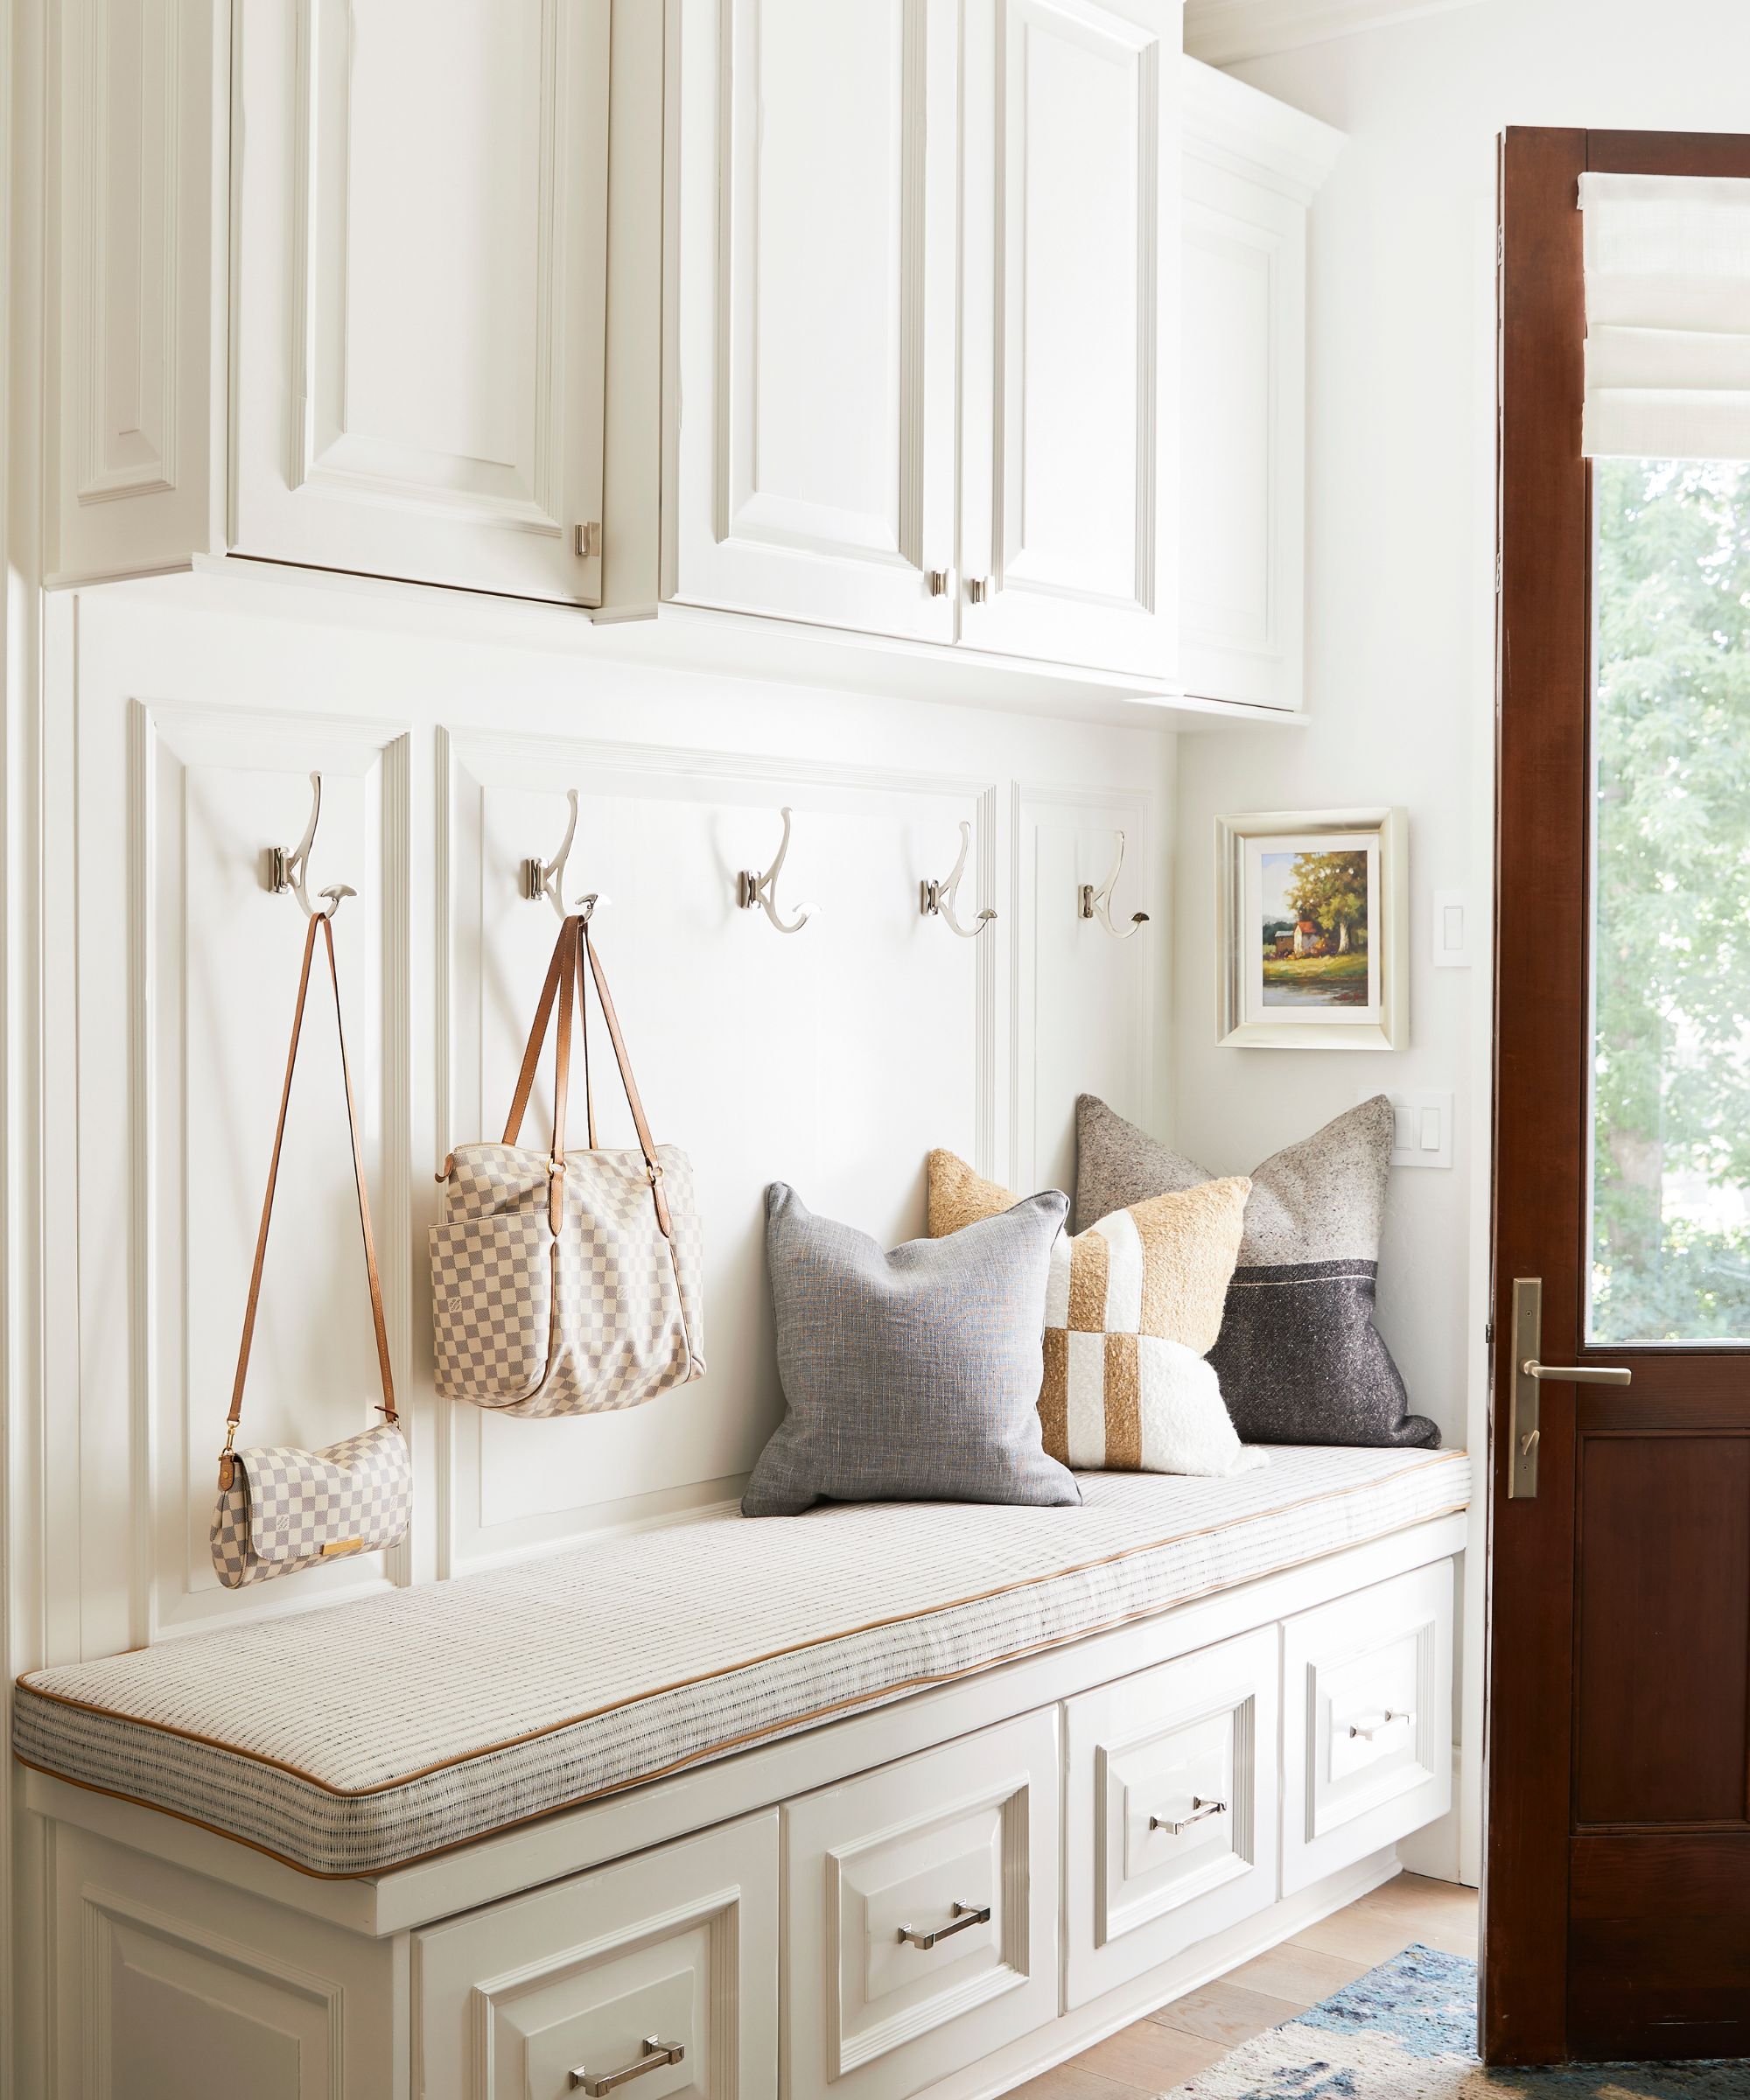
The renovation focused on adding architectural definition and character to the previously bland hallway. Key upgrades included accentuating the baseboards with chunkier trim, extensive trim work on the walls, and cladding the ceiling in wood. The project list encompassed removing existing baseboards, painting the ceiling black, framing archways, installing new, wider baseboards, applying Hardie board for smooth walls, incorporating board and batten, adding picture box trim, spray-painting walls, converting recessed lights to pendants, installing mirror and puck light sconces, painting and installing a wood slat ceiling, laying checkered vinyl tiles, and creating faux fresco art. The final step involved styling the space with furniture and decor.
Five specific upgrades are highlighted for their visual impact. The picture box trim was meticulously planned using SketchUp for elevations and then mapped out on the walls with painter’s tape to ensure precise measurements and placement. Camille used a 3-inch block at each corner to guide the outer edges of the frames before nailing the trim pieces, which had their ends cut at a 45-degree angle, to the smooth Hardie board. The chunky baseboards were another significant change; Kurtz replaced the original narrow baseboards with ones twice the width to add visual weight and make the small space feel larger, a technique also applied to molding around archways and 1-by-2 pine boards on the ceiling, enhancing architectural detail.
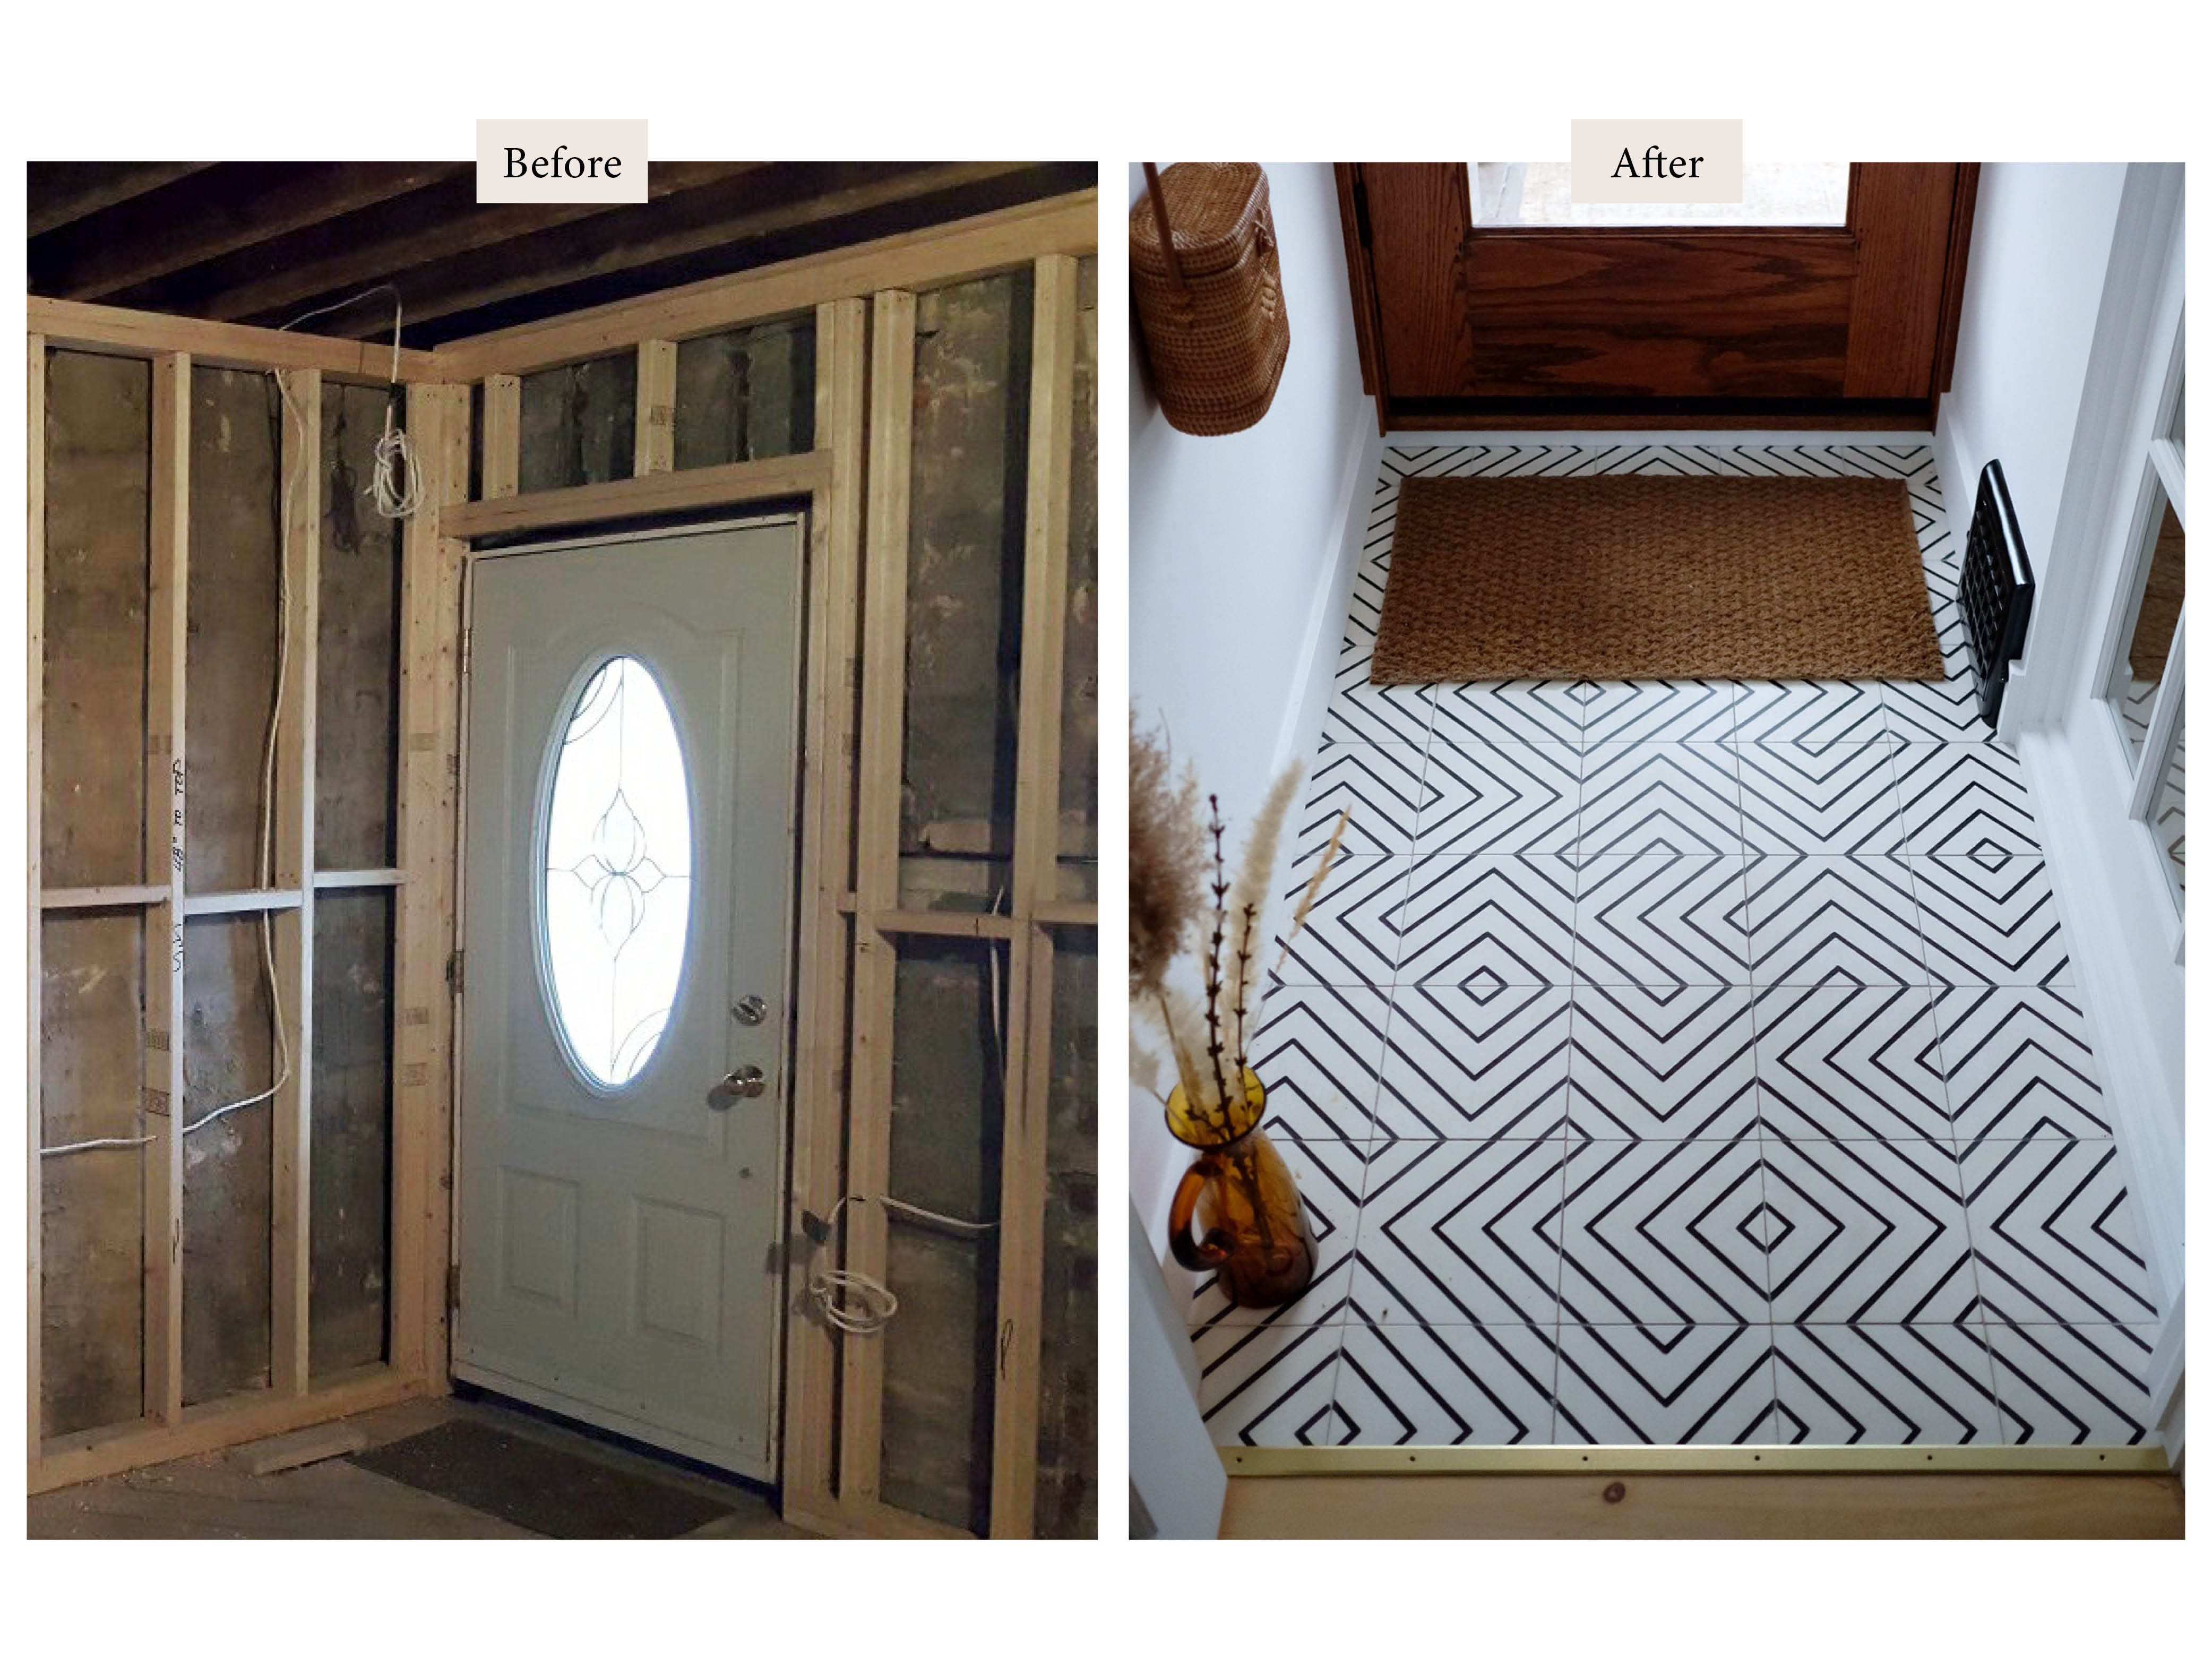
A paint sprayer was utilized to achieve a smooth finish for the walls, which were transformed from gray to bright white. Kurtz applied one coat of primer and three coats of Sherwin-Williams’s Highly Reflective White in a satin finish. Each painting session took about 1.5 hours, using spray gun settings 3.5 and 5 for different areas. The lighting conversion involved transforming all existing recessed LED fixtures into pendant lights with guidance from her electrician brother-in-law, requiring tools such as pliers, wire strippers, socket wrenches, screwdrivers, and a ceiling fan support box with a brace kit. Finally, the patterned floors were created by cutting square peel-and-stick vinyl tiles into triangles and arranging them in an arrow-like checkered pattern, which guests often mistake for real stone, demonstrating a creative and cost-effective solution for a sophisticated look.
#HomeRenovation #EntrywayDesign #DIYProjects #BudgetDecor #ArchitecturalDetails #InteriorDesign #BeforeAndAfter #HomeRenovation #EntrywayDesign #DIYProjects #BudgetDecor #ArchitecturalDetails #InteriorDesign #BeforeAndAfter
0 opmerkingen in totaal
 Nog geen opmerkingen
Dit vindt u mogelijk ook leuk
The Tile for Our Entryway Reno Was $500—The Front Door Was $60

Eight inviting entrance halls that set the tone for the rest of the home
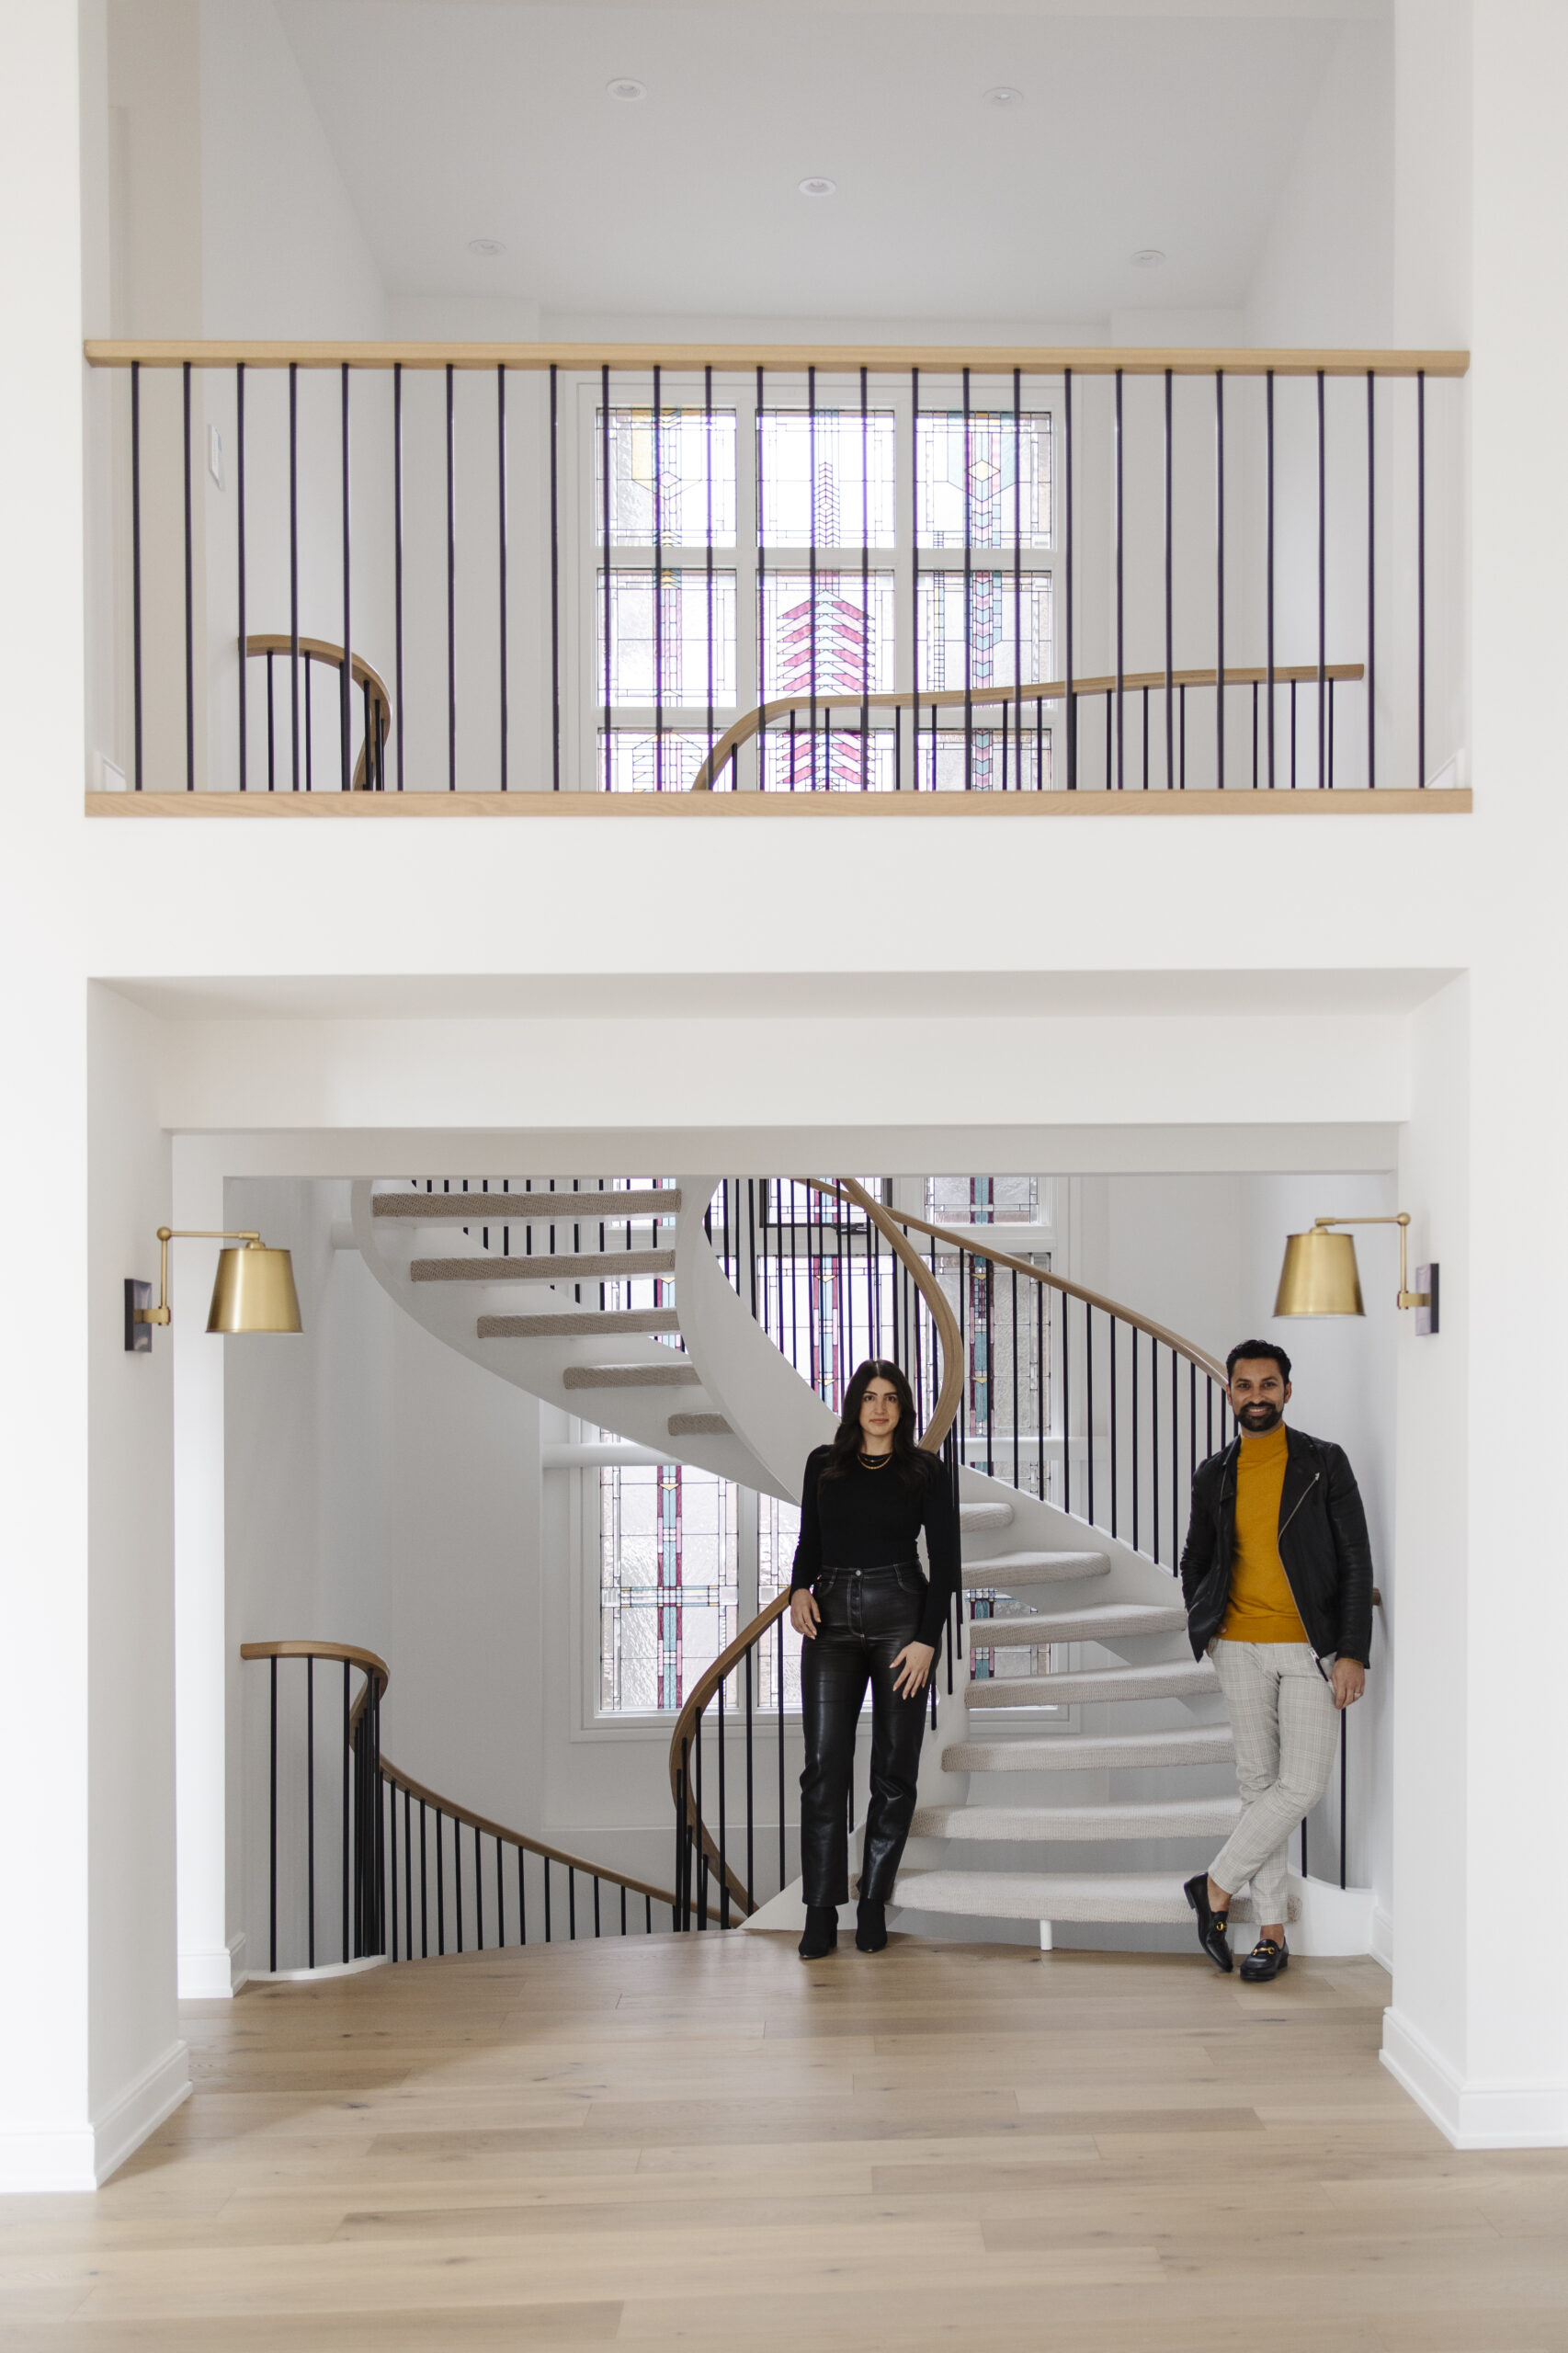
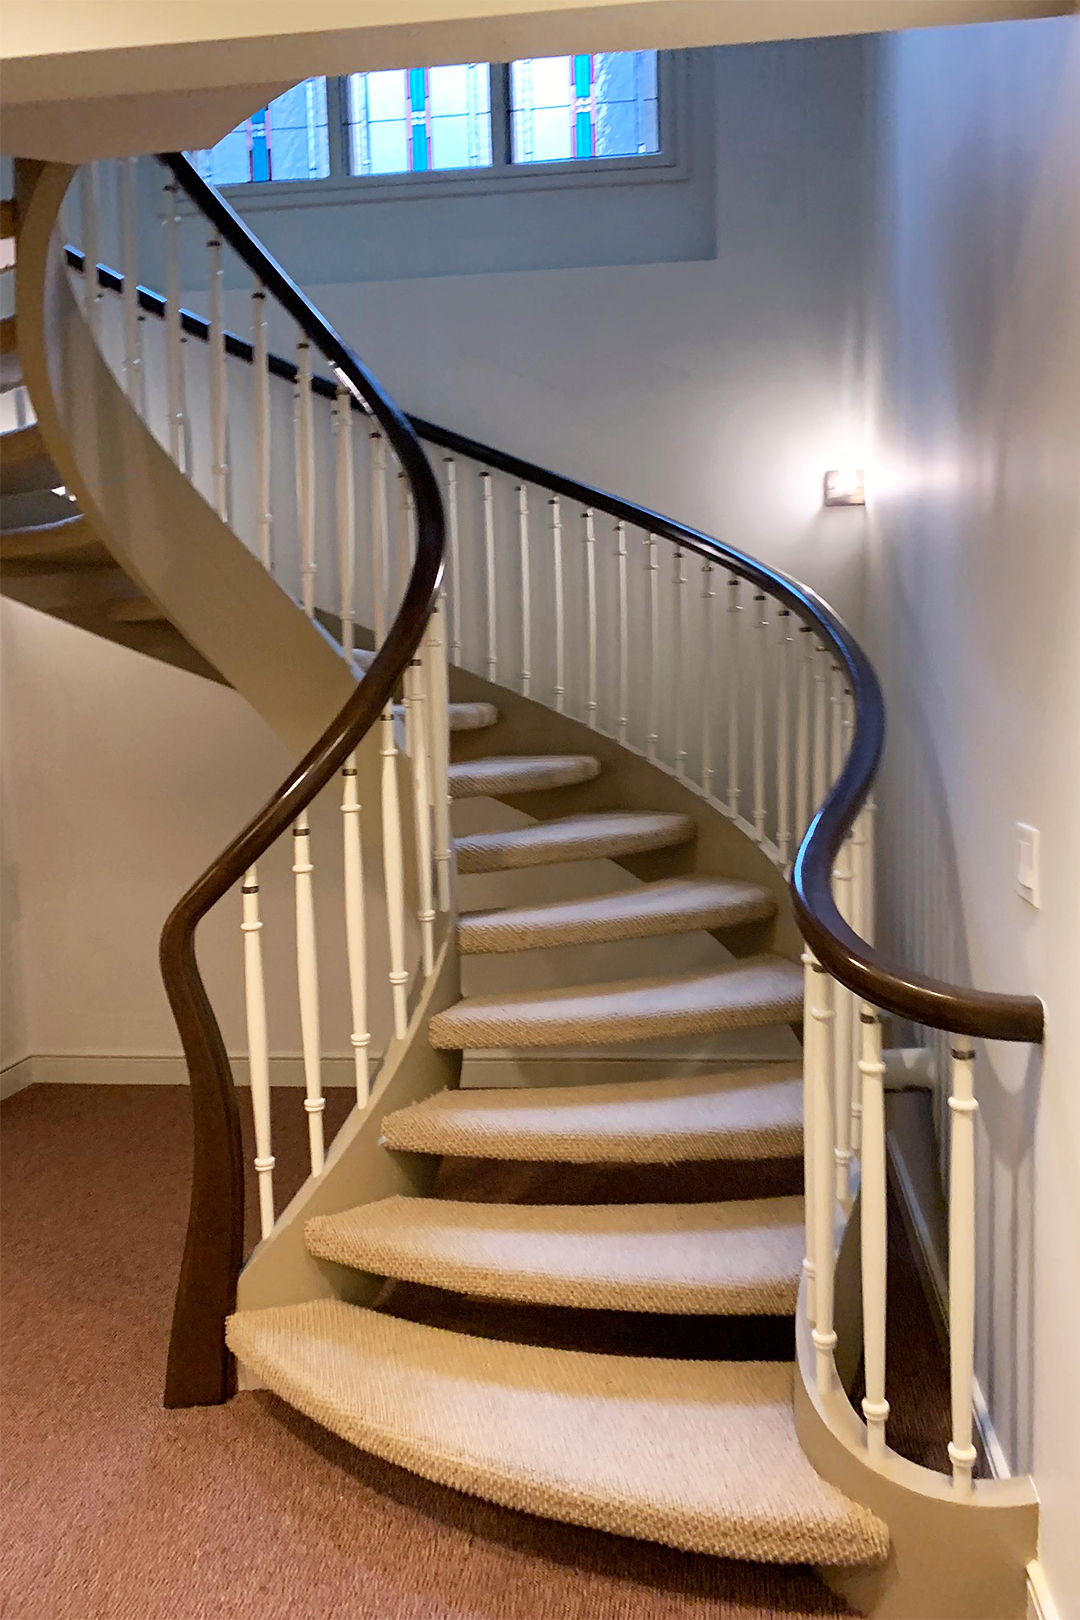
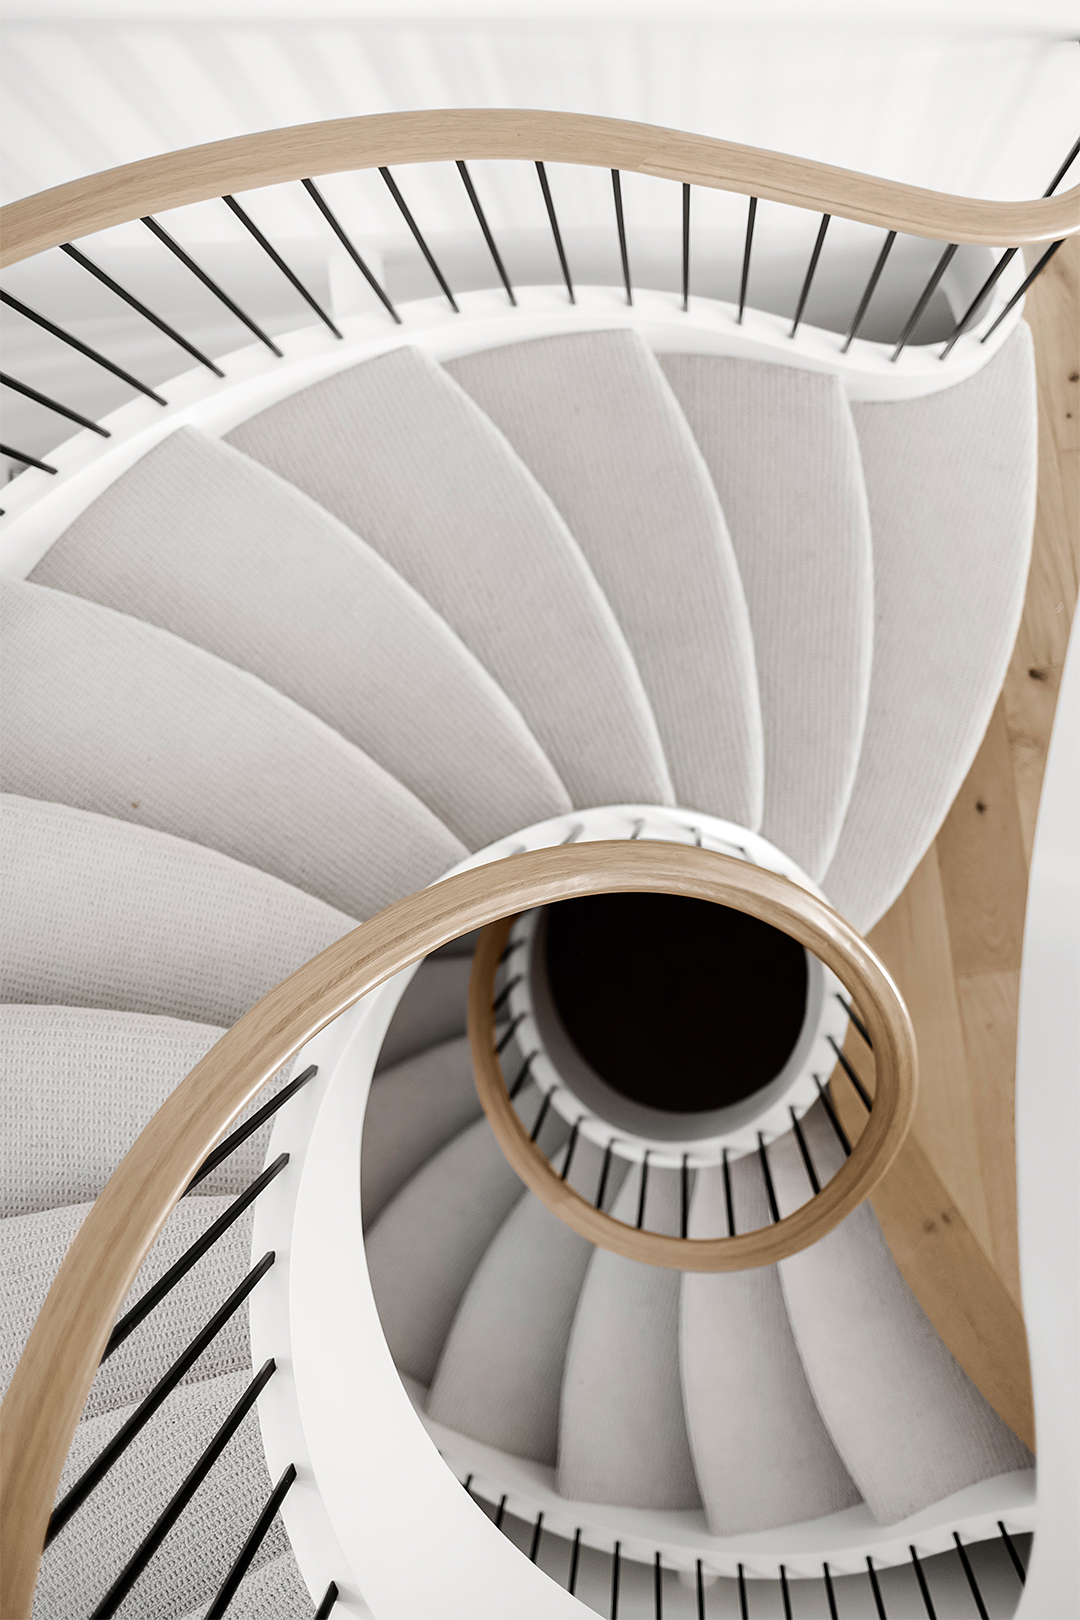
Post-Reno, This Home’s Curvy Staircases Don’t Look Stuck in the ’90s Anymore

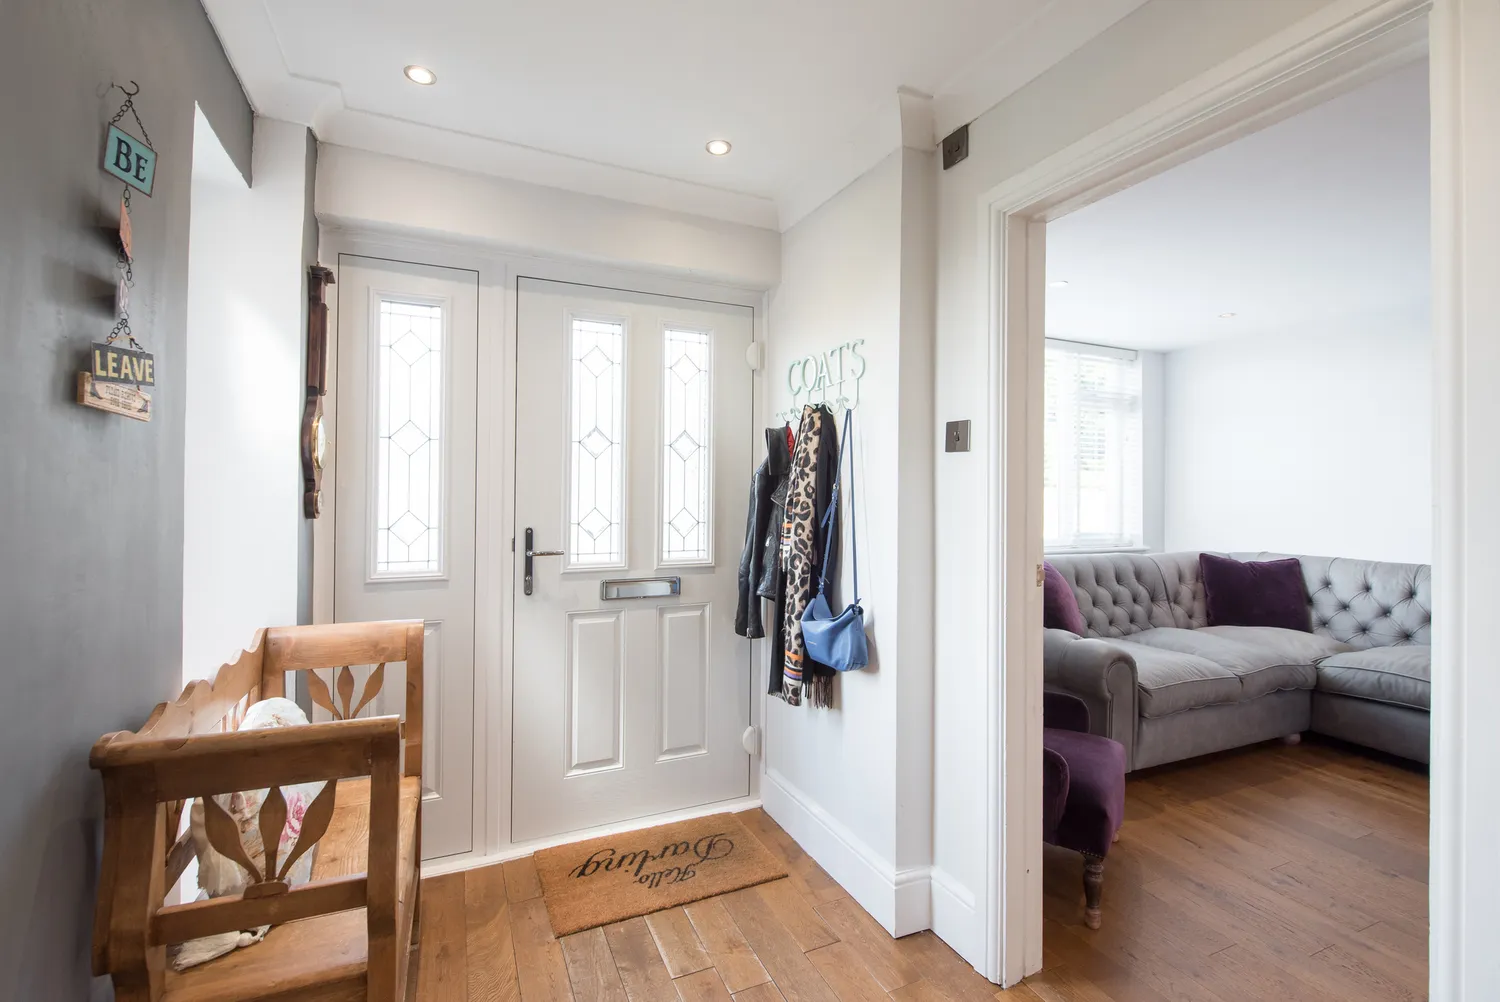
5 Entryway Decor Choices That Are Making Your Home Look Stuck in the Past, Designers Say

Designer Tips To Refresh Your Entryway Or Mudroom

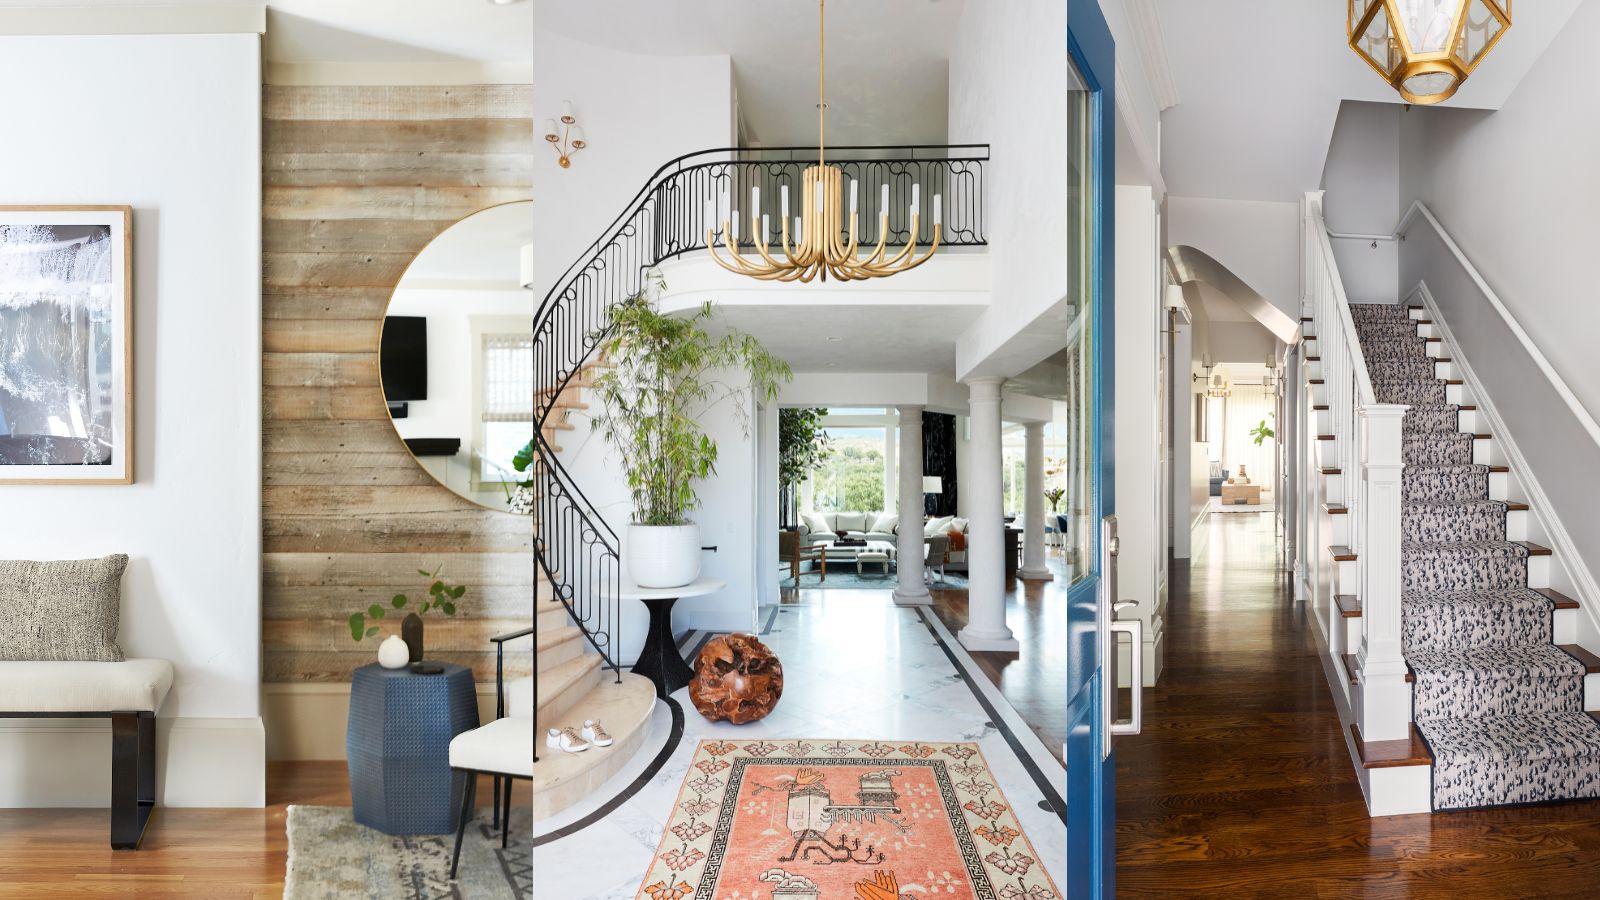
How do you make an entryway inviting? Expert tricks to make a home instantly welcoming

Home Improvement Ideas

A Fireplace Makeover Completely Transforms This “Dated” Living Room

How to make an entryway feel cozy – 5 tips to warm up your space

See How I Transformed My Sad, Plain Entryway into a Jewel Box Vestibule (for About $750!)
An Interior Designer’s Home Renovation: The Living Room

'It was one of those rare places that immediately sparked something. We saw its potential and felt the pull' – how this designer turned a home she bought for resale into the home she made her own
Amazing Home Renovation Transforms a Dusty Attic Into a Lavish Walk-In Closet

Entry Halls

6 Before and After Fireplace Makeovers That Have Transformed These Focal Points From Tired to Showstopping
What makes an entryway look cheap? 6 mistakes to immediately switch out in 2025
DIY transformation: Woman transforms hallway and stairs for less than £200 - top tips
Before and after: a lick of paint makes a huge difference to this hallway makeover

Vaulted Ceilings and Zellige Tile Took This L.A. Ranch Out of the 1980s | domino
12 Home Decor Ideas I'm Stealing From This Gorgeous LA Remodel