How to Update Kitchen Countertops with Self-Adhesive Paper
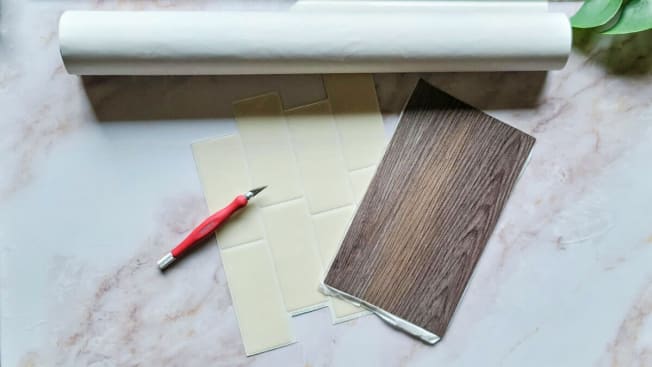
This article details an affordable and stress-free method for updating kitchen countertops using self-adhesive paper, a vinyl material with a decorative and an adhesive side. This DIY approach is particularly beneficial for renters or those renovating on a budget, offering a significant cost saving compared to traditional countertop replacement, which can range from $50 to $150 per square foot for installation alone. The entire process, from start to finish, can be completed in approximately an afternoon, with working around the sink being the most time-consuming part.
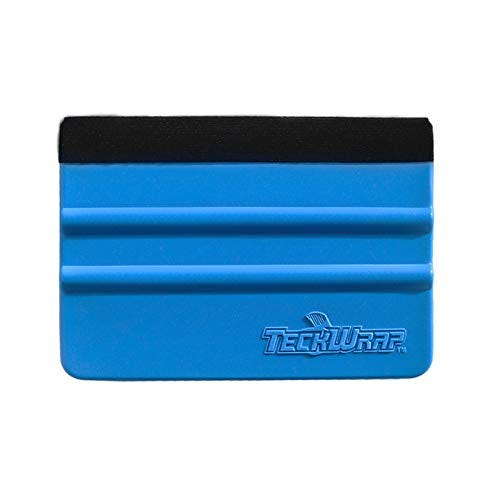
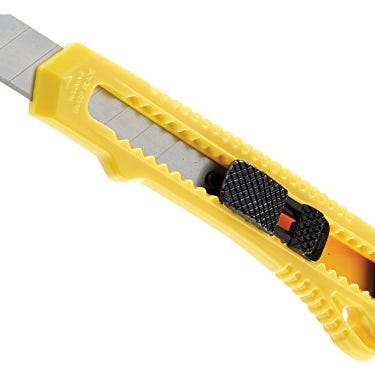
The essential materials and tools required for this project include measuring tape or a ruler, rubbing alcohol, a utility knife, scissors, a carpenter square, credit card, or silicone spatula, and soap with a sponge or cleaning wipes, alongside the self-adhesive paper itself. The cost for the paper is typically under $50, with one blogger completing her kitchen update using three to four rolls. This method allows for frequent changes to keep up with interior design trends due to its affordability and removability.
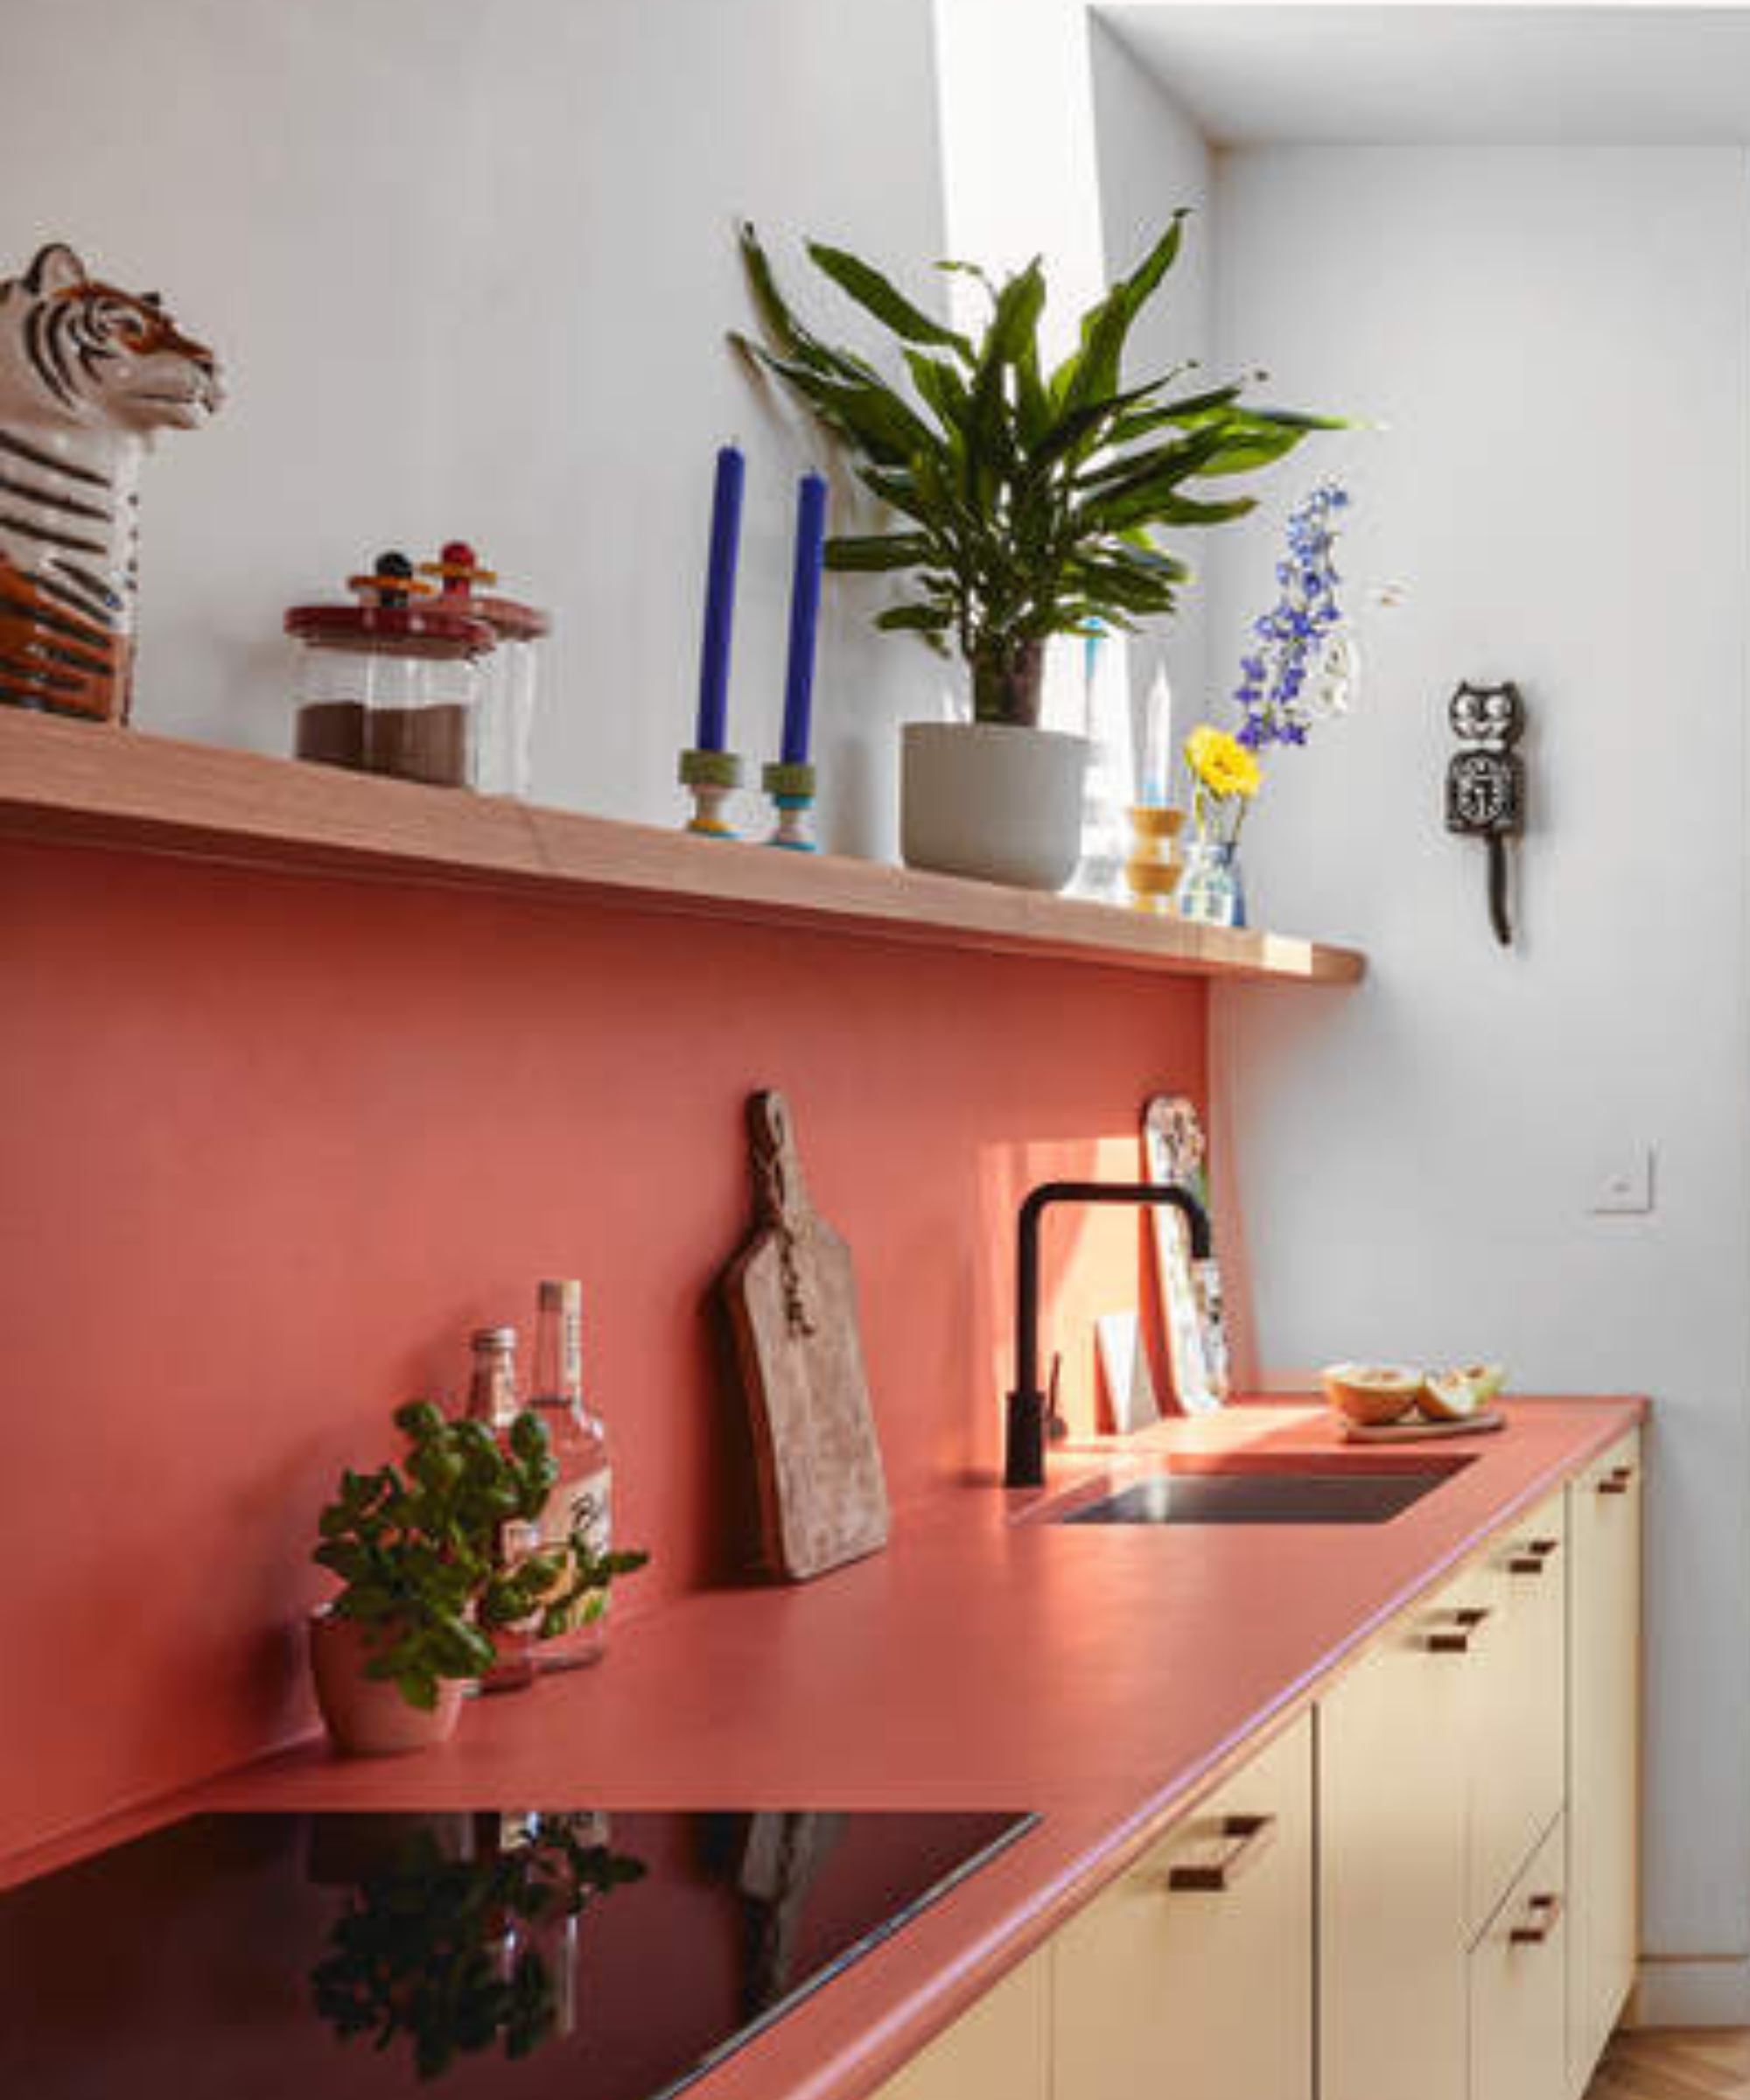
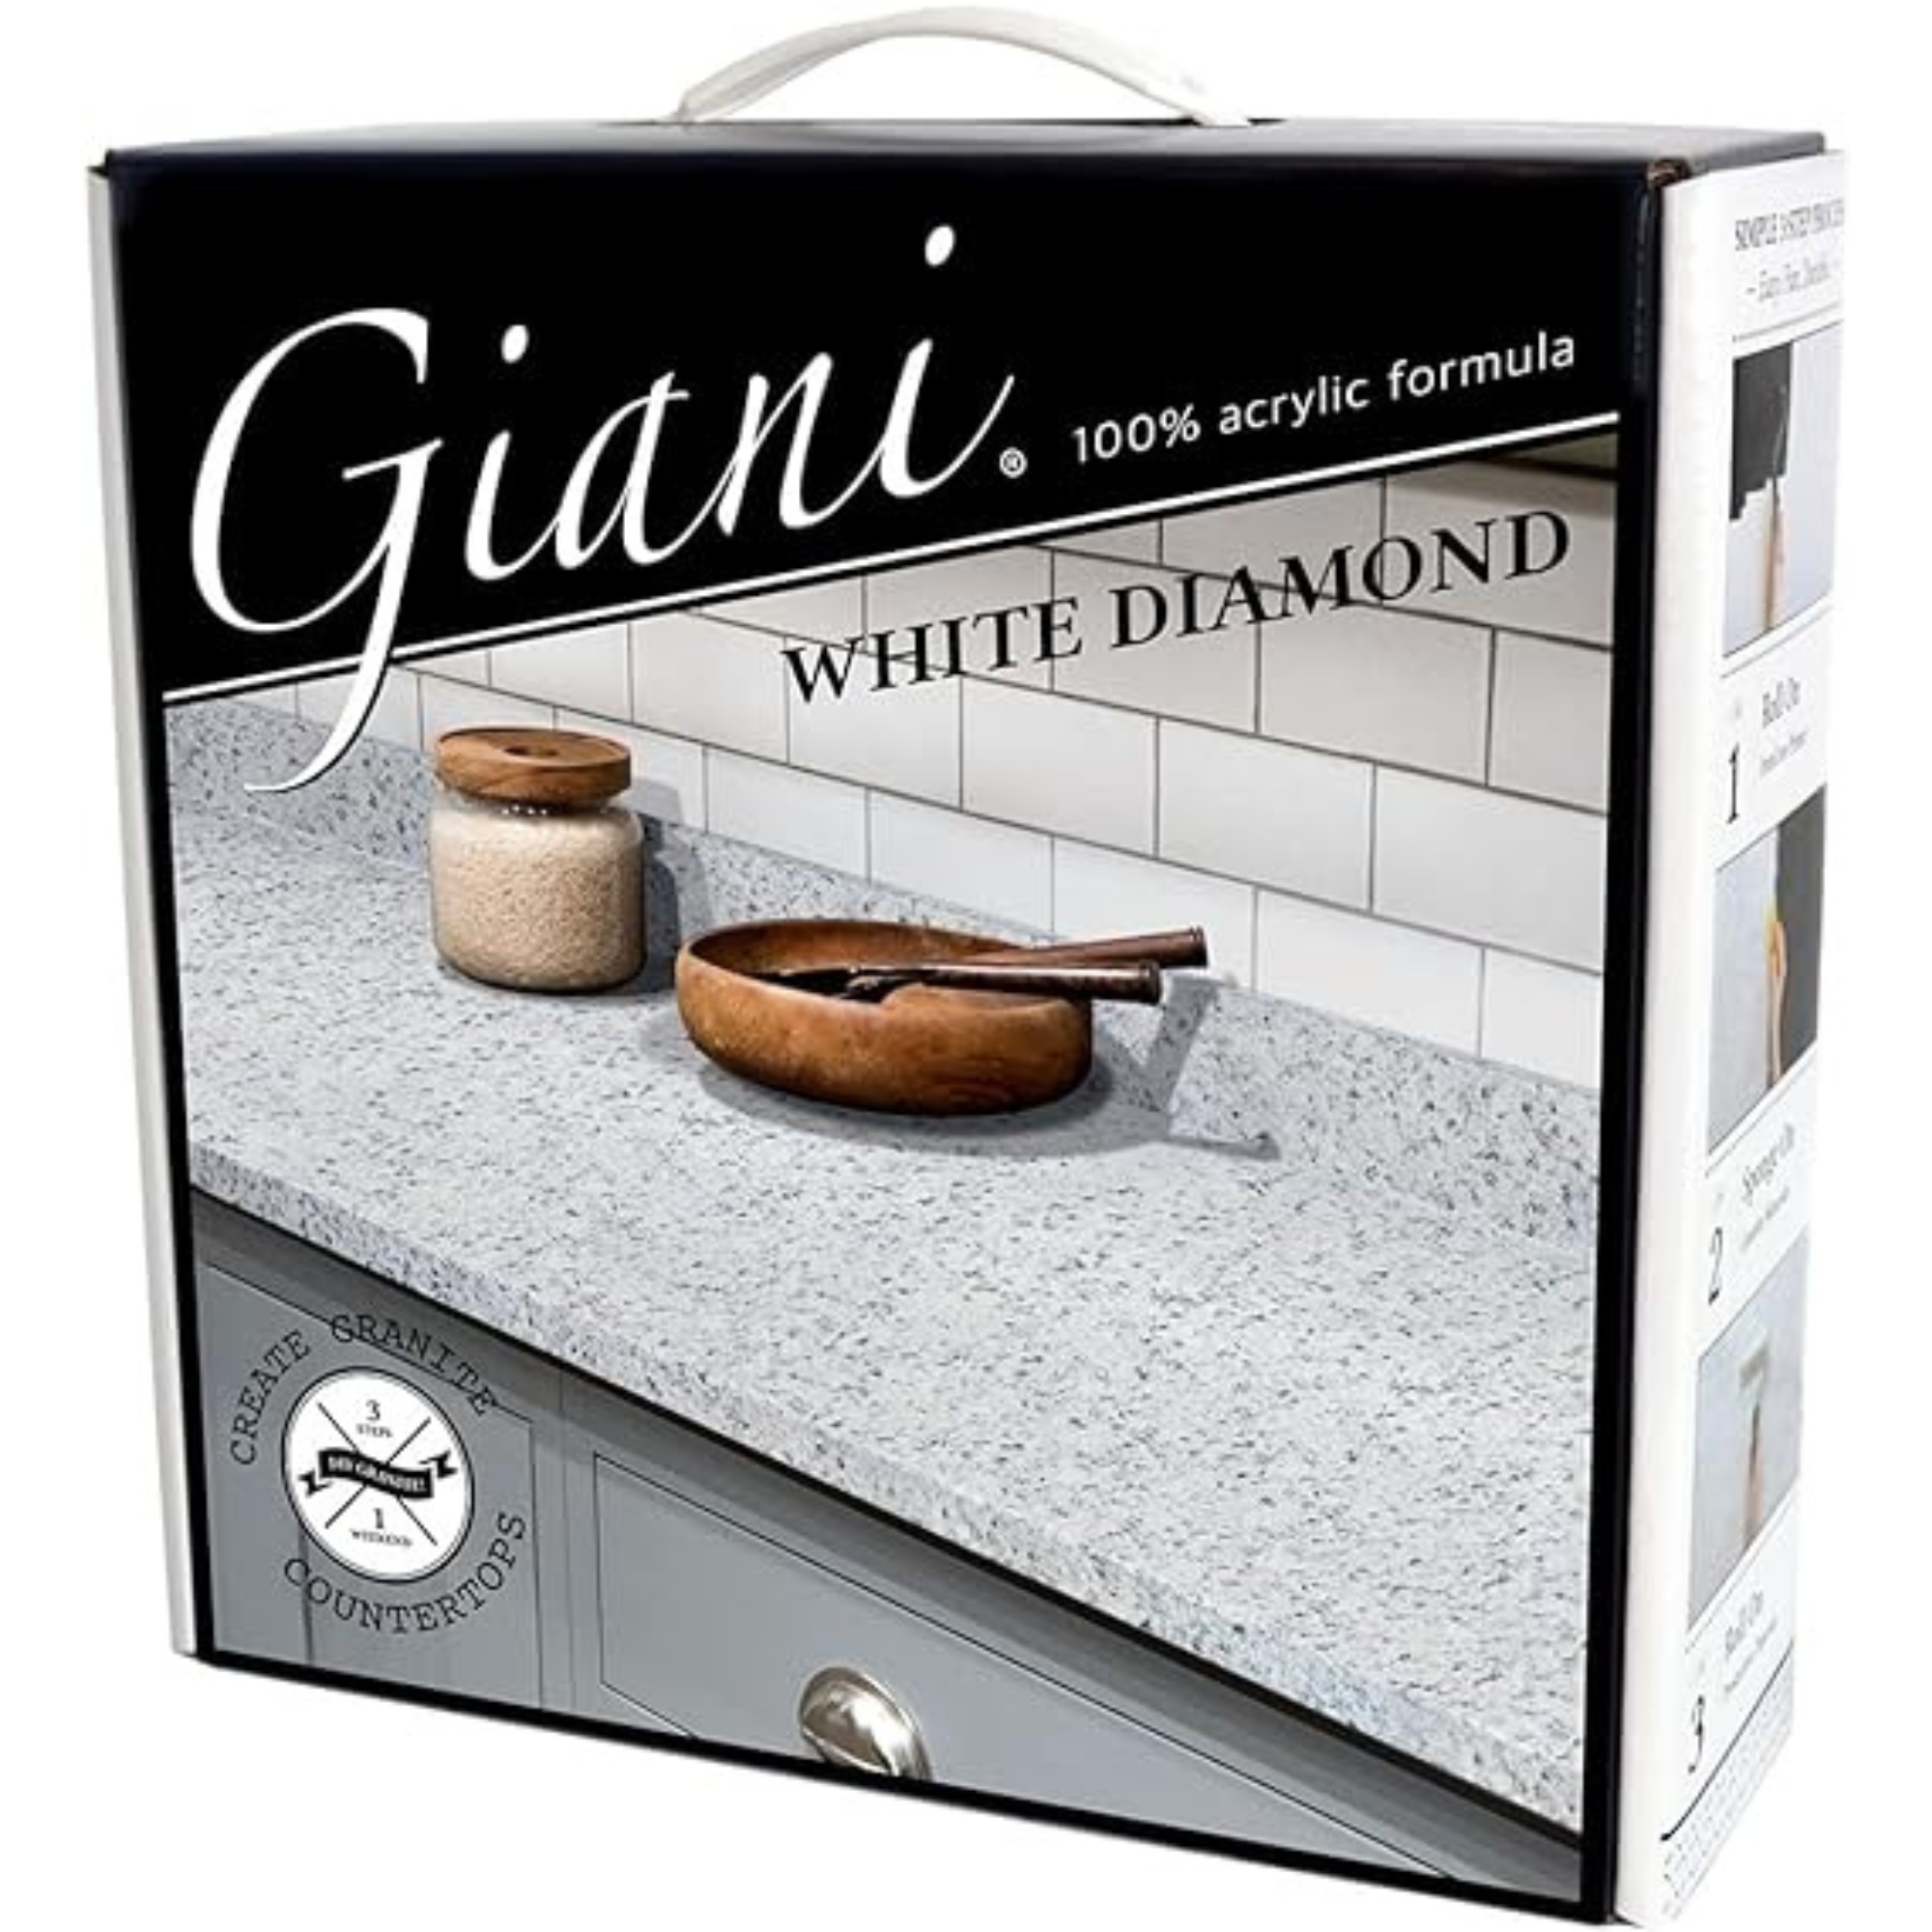
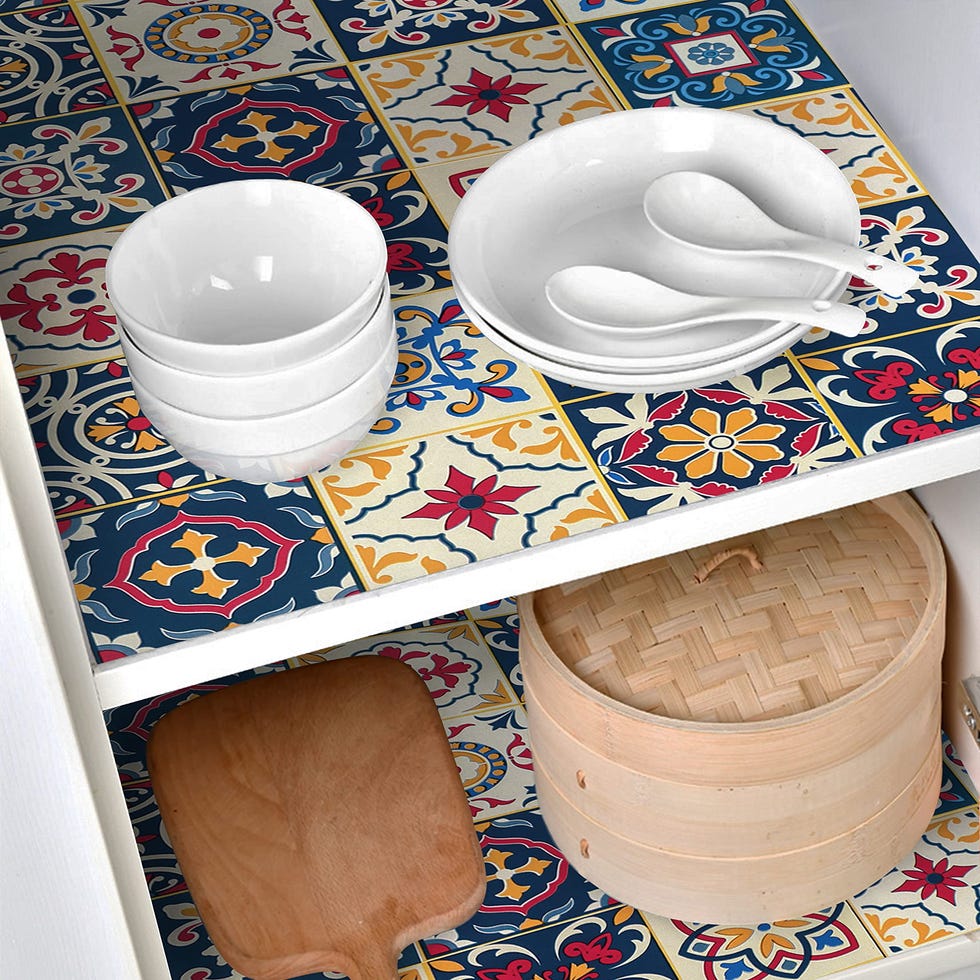
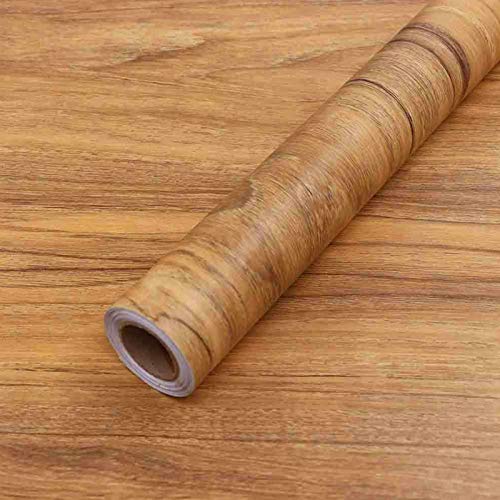
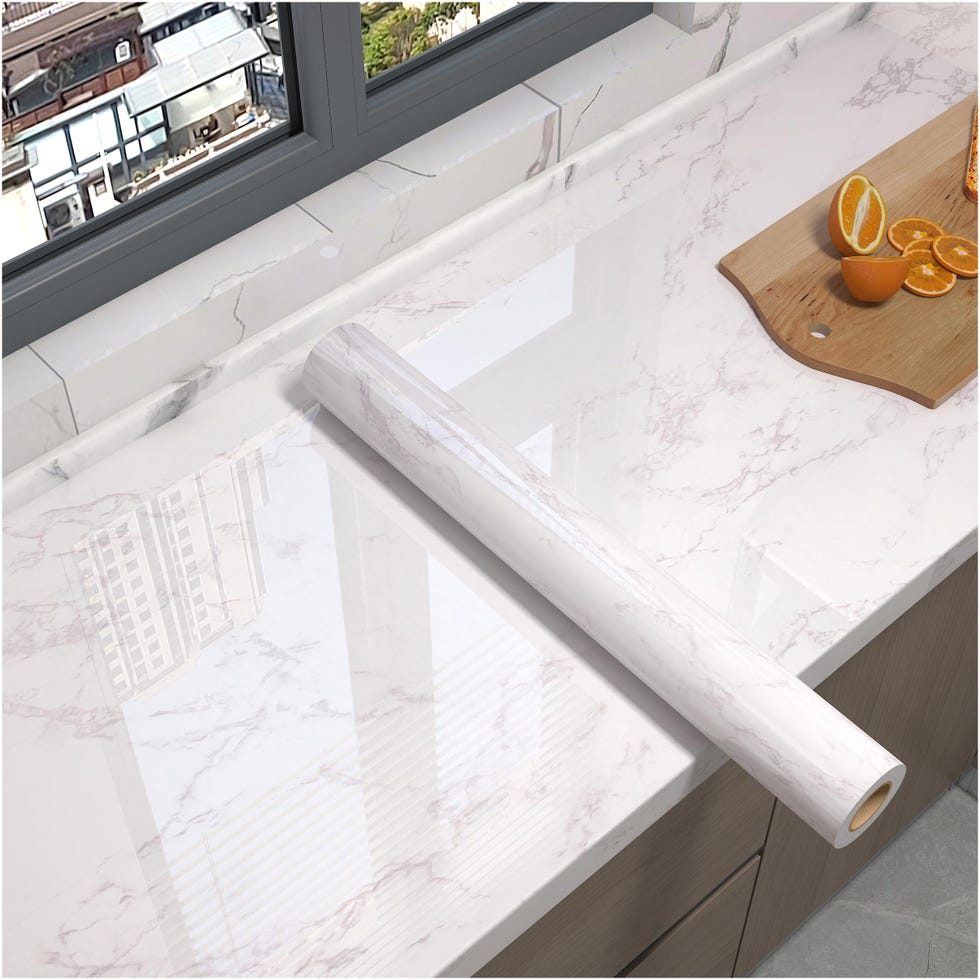
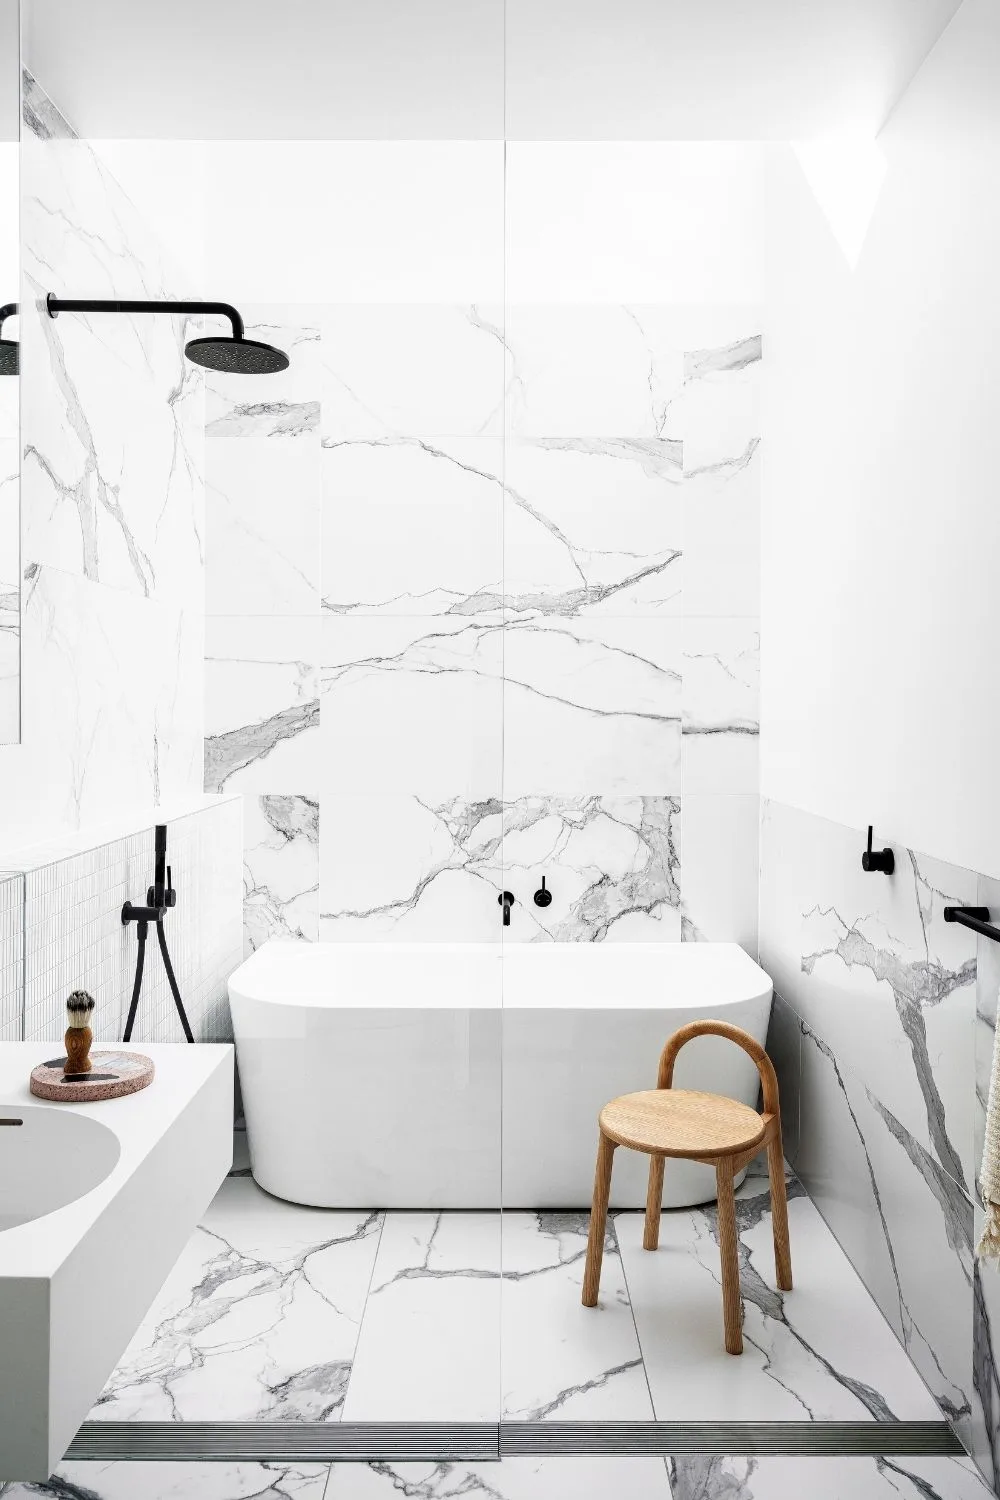
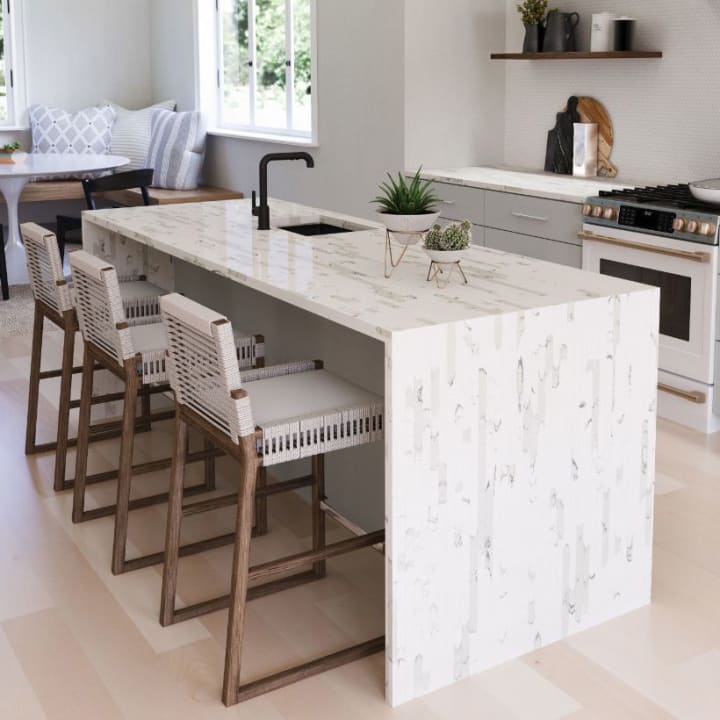
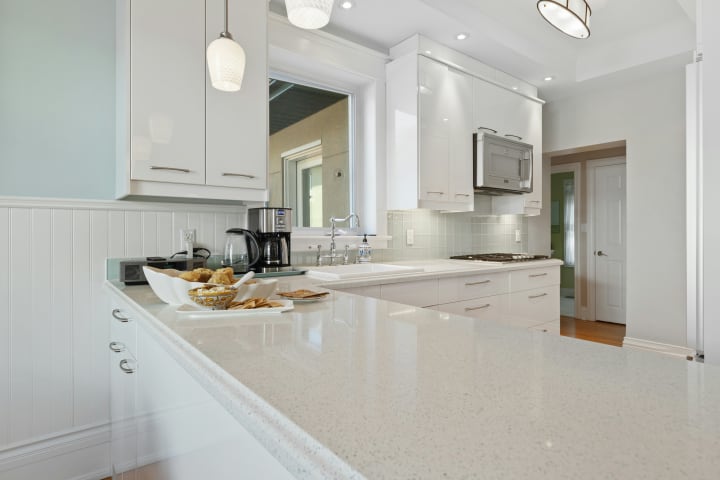
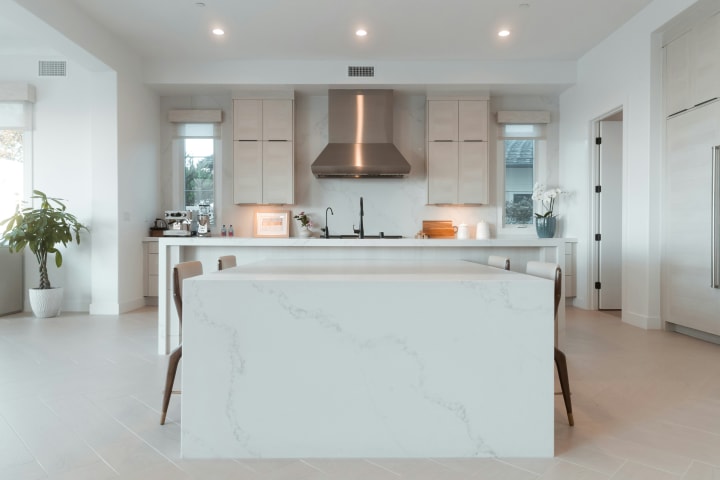
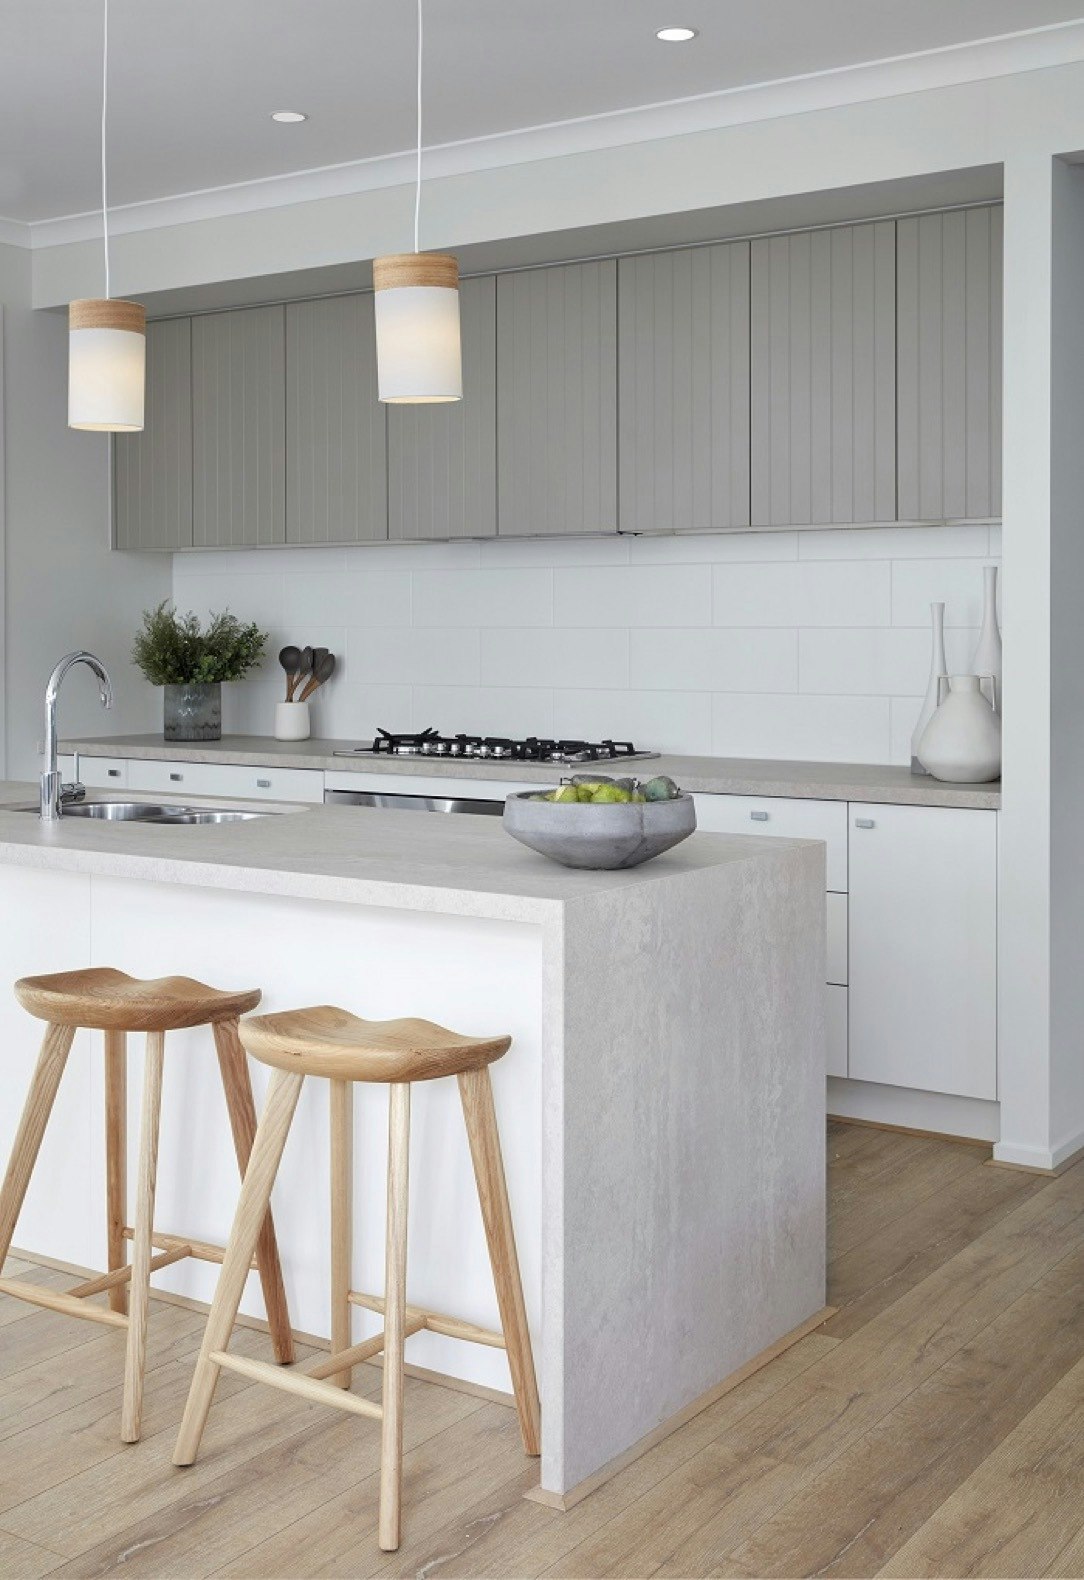
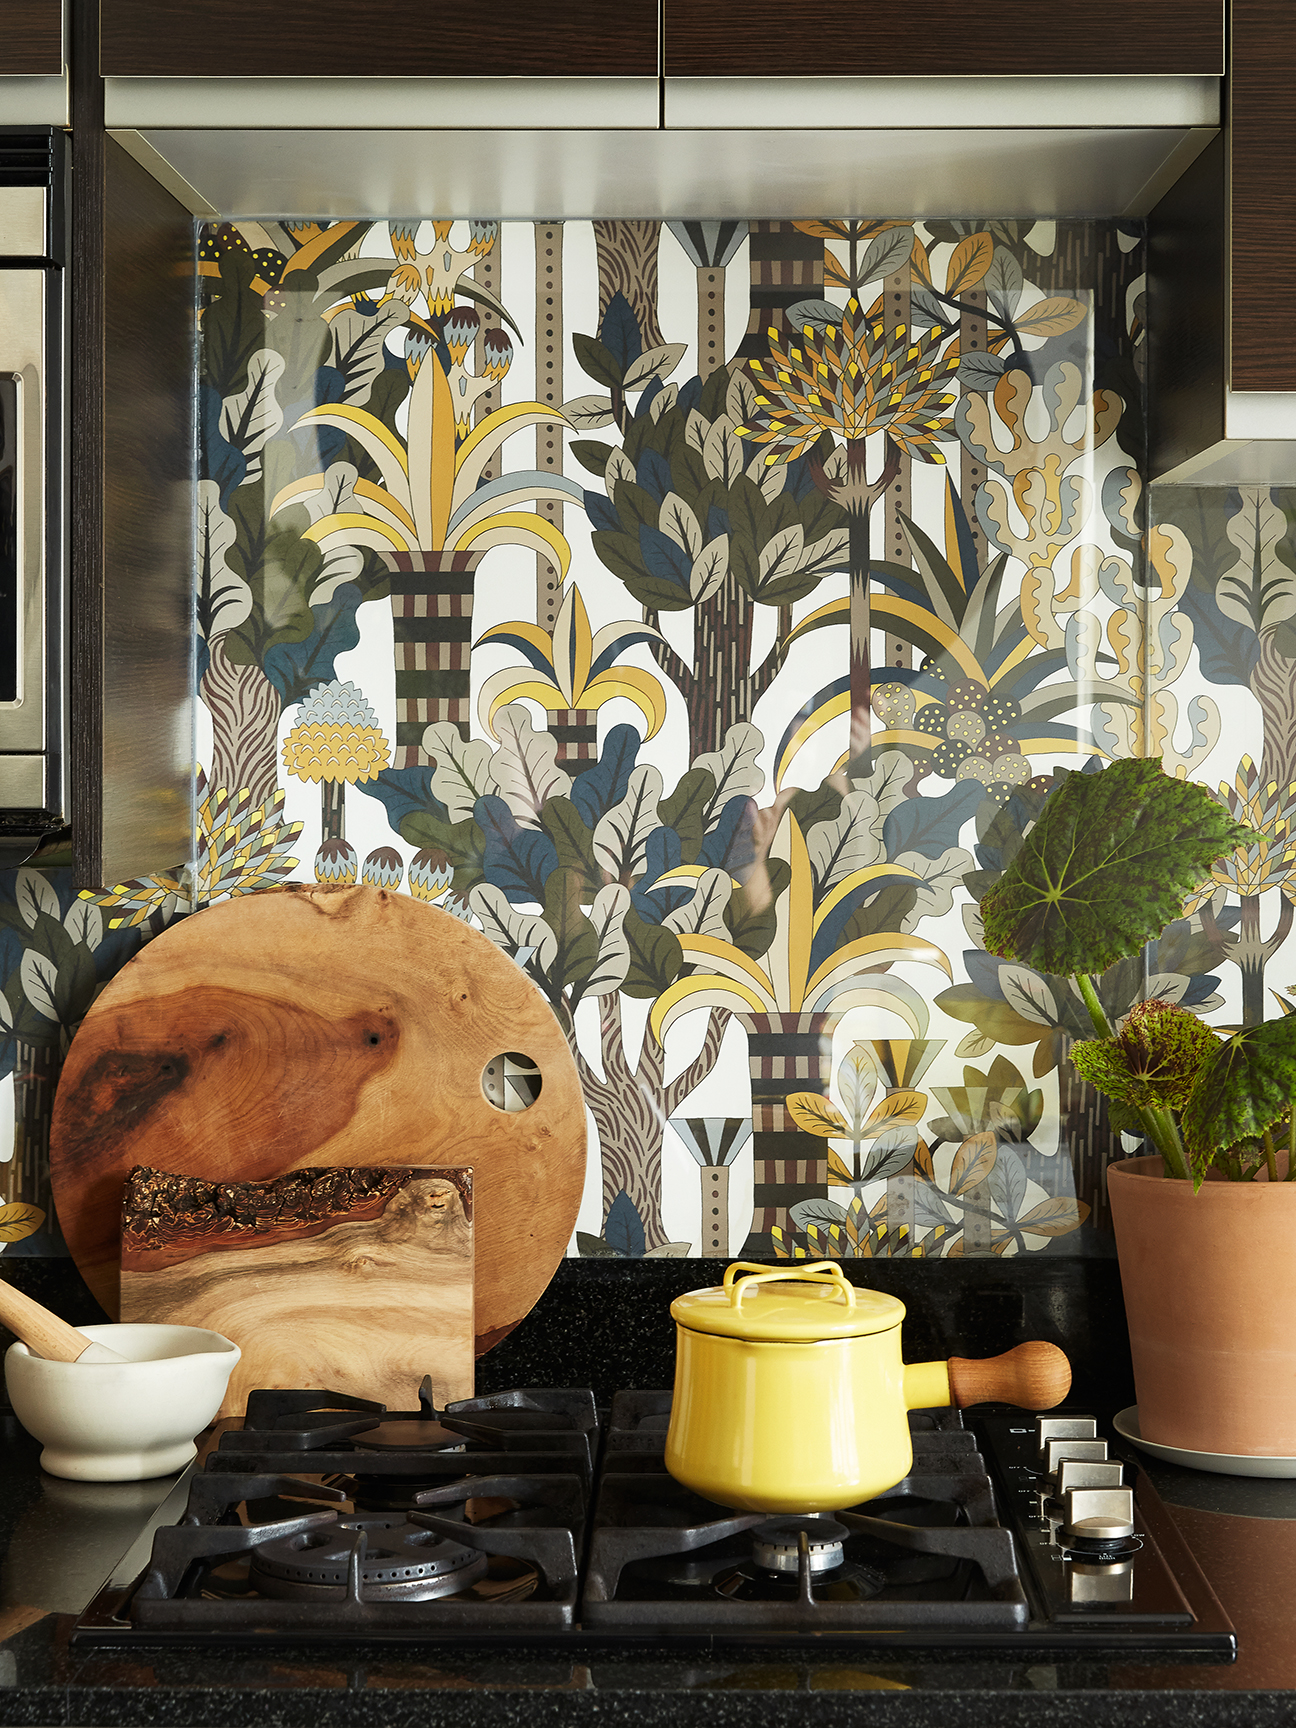
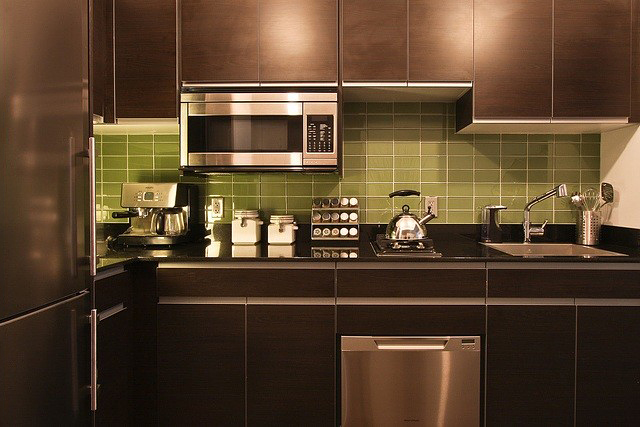
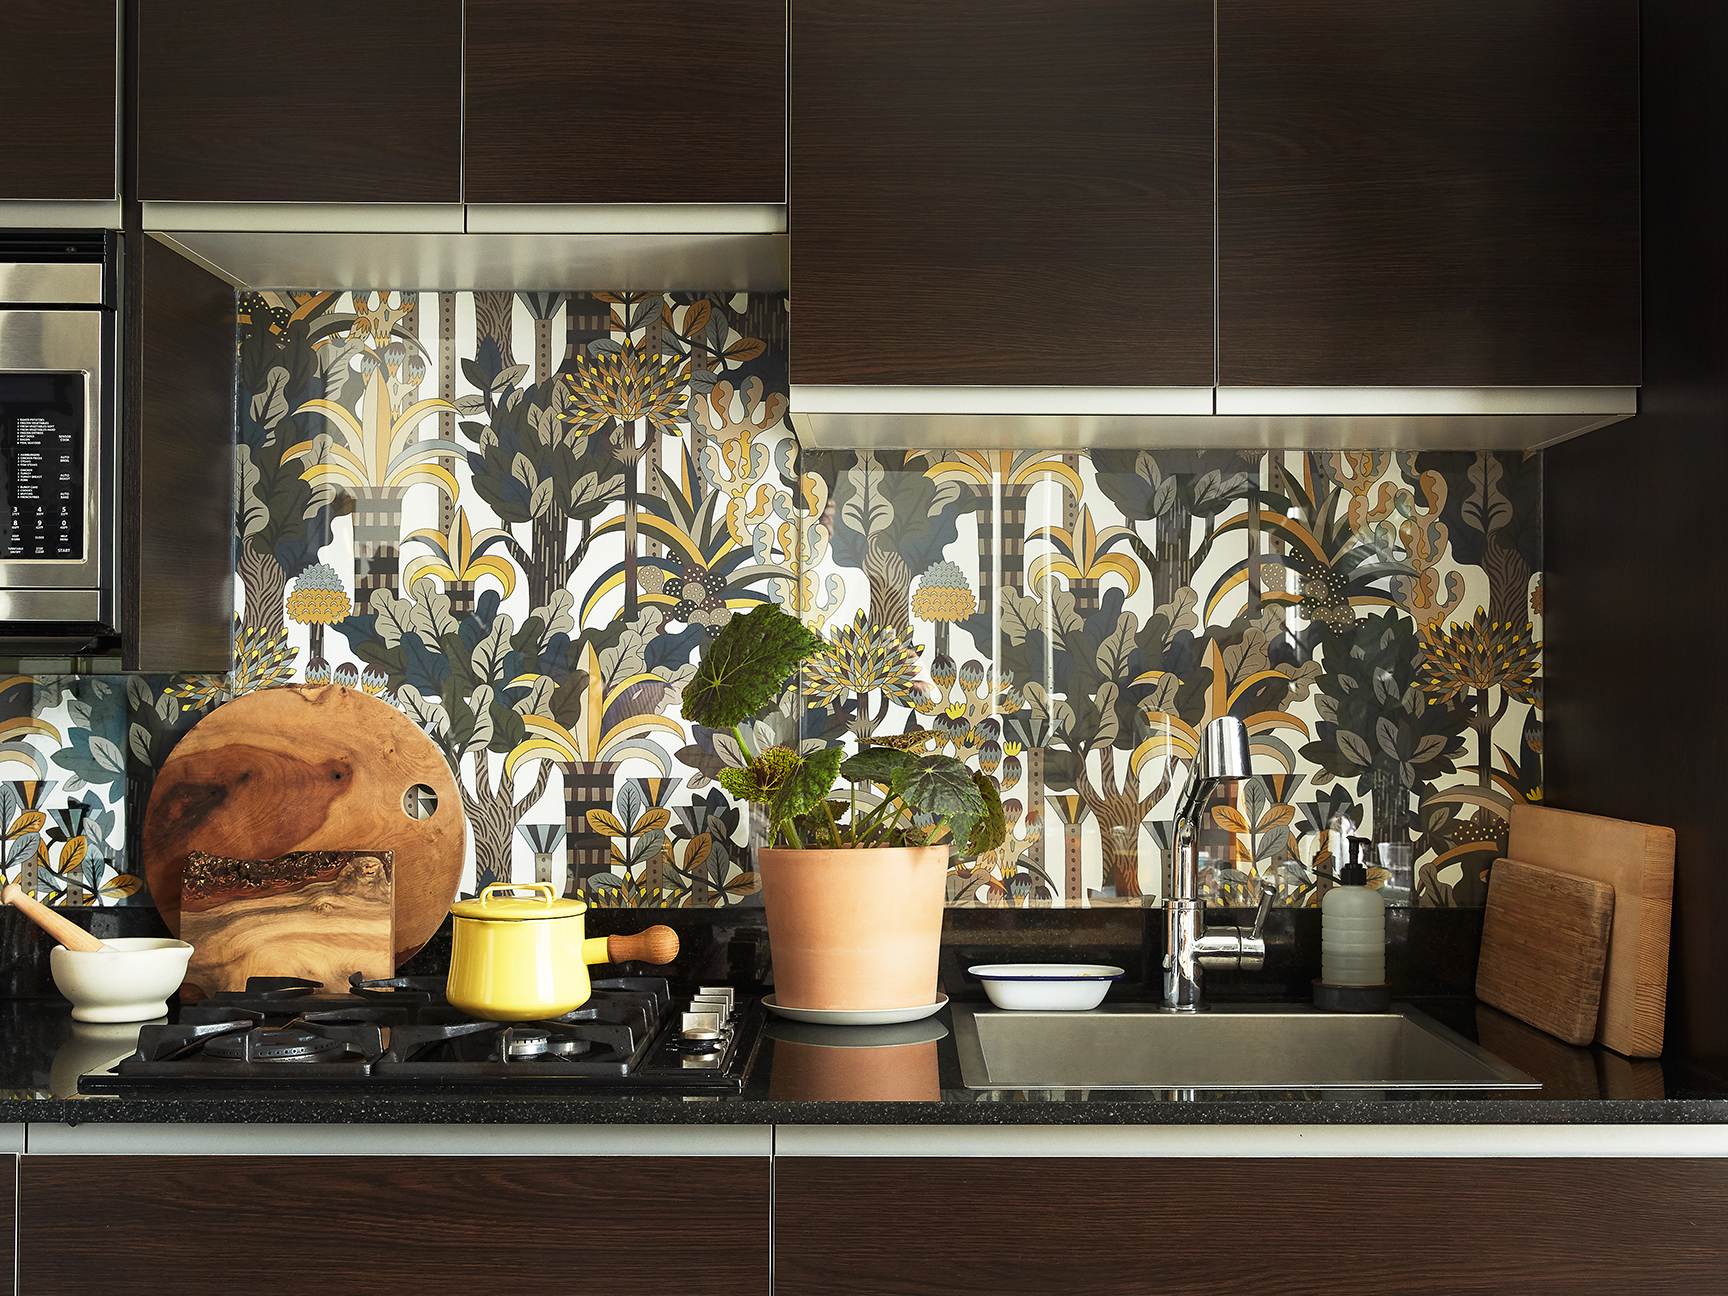
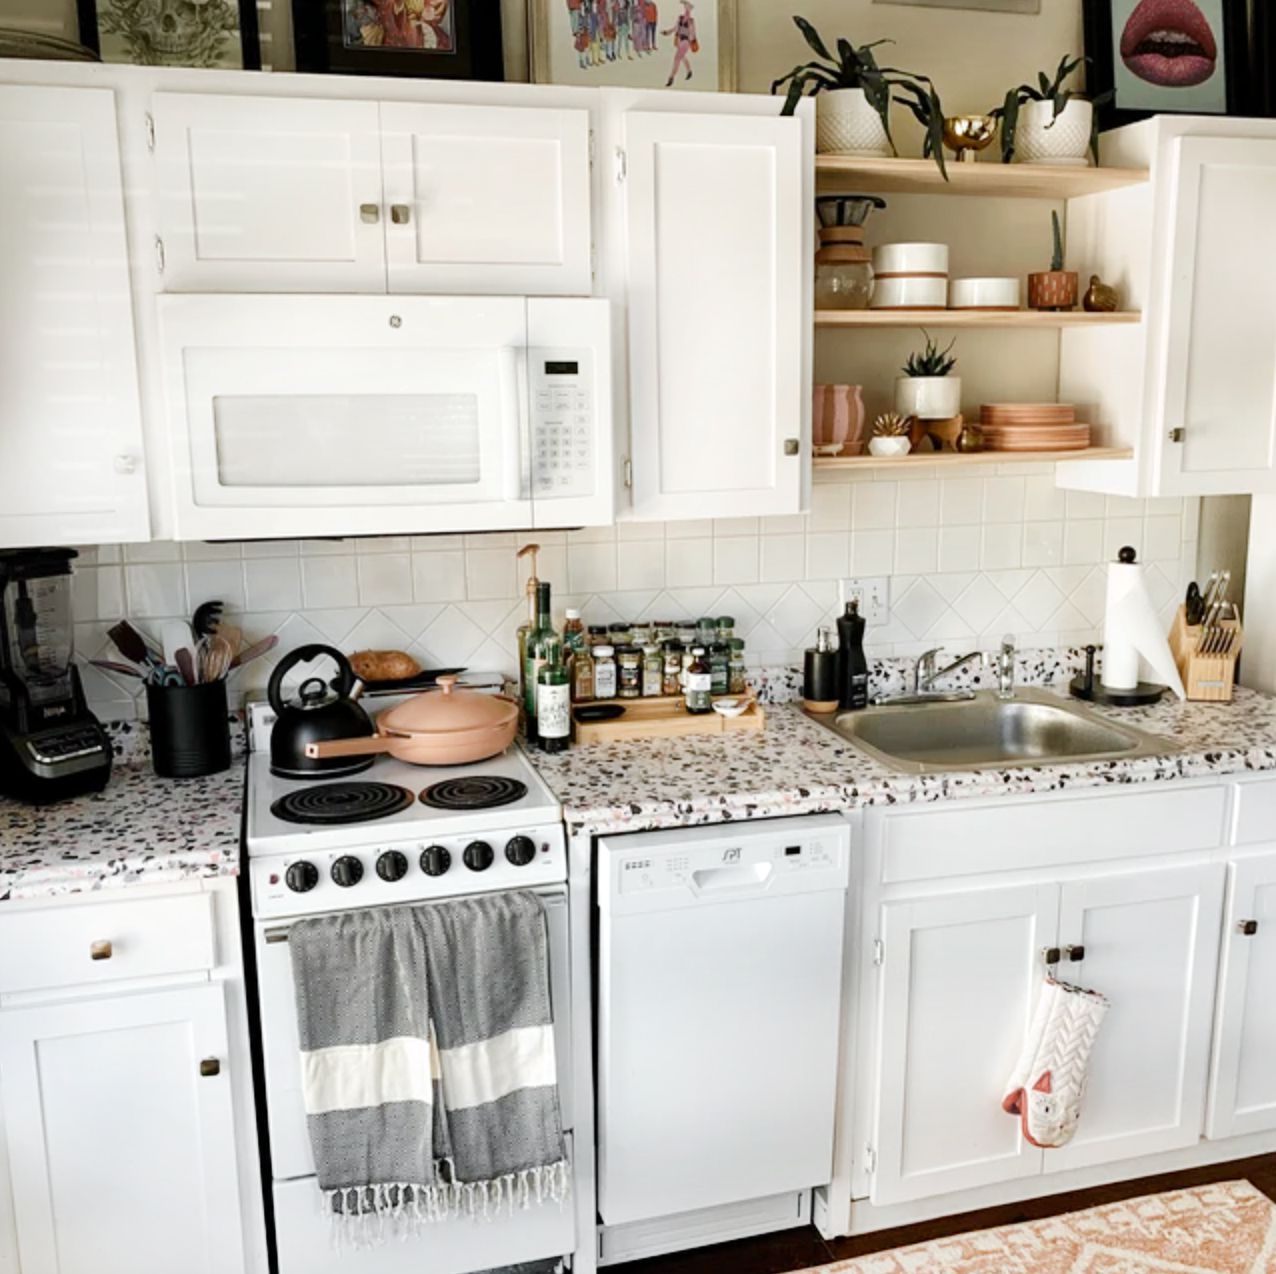
Choosing the right style of self-adhesive paper is crucial, with options ranging from natural stone looks like marble or granite to wood textures. Contemporary patterns such as neutral colors, biophilic designs, or vintage motifs are also available. Terrazzo and checker prints are highlighted as popular choices for adding color and detail, and busy patterns can be more forgiving during application as they require less precise alignment. The paper is widely accessible at major retailers and online platforms like Etsy.
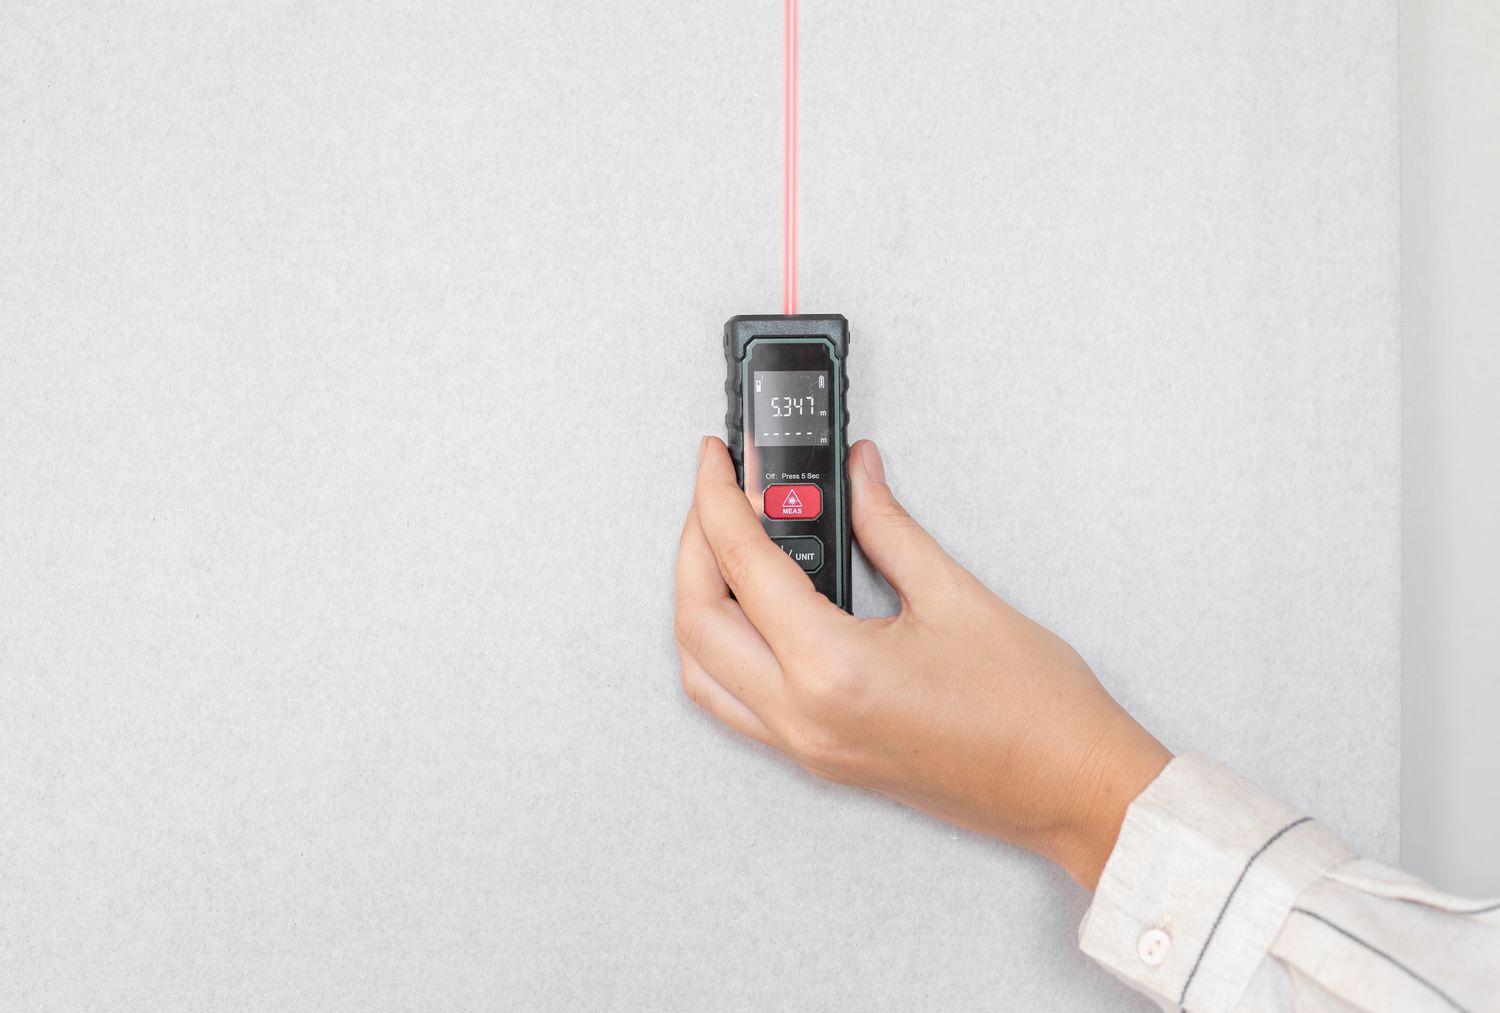
Before applying the self-adhesive paper, it's advised to measure countertop sections accurately, considering that small imperfections can be covered with decor. Purchasing an extra roll or two is recommended to account for potential errors or miscalculations, especially when cutting around complex areas. Caution is advised when cutting the material due to its slippery nature, emphasizing the importance of taking one's time. It's also noted that the paper may appear darker on a darker countertop, a factor to consider when selecting colors and styles.
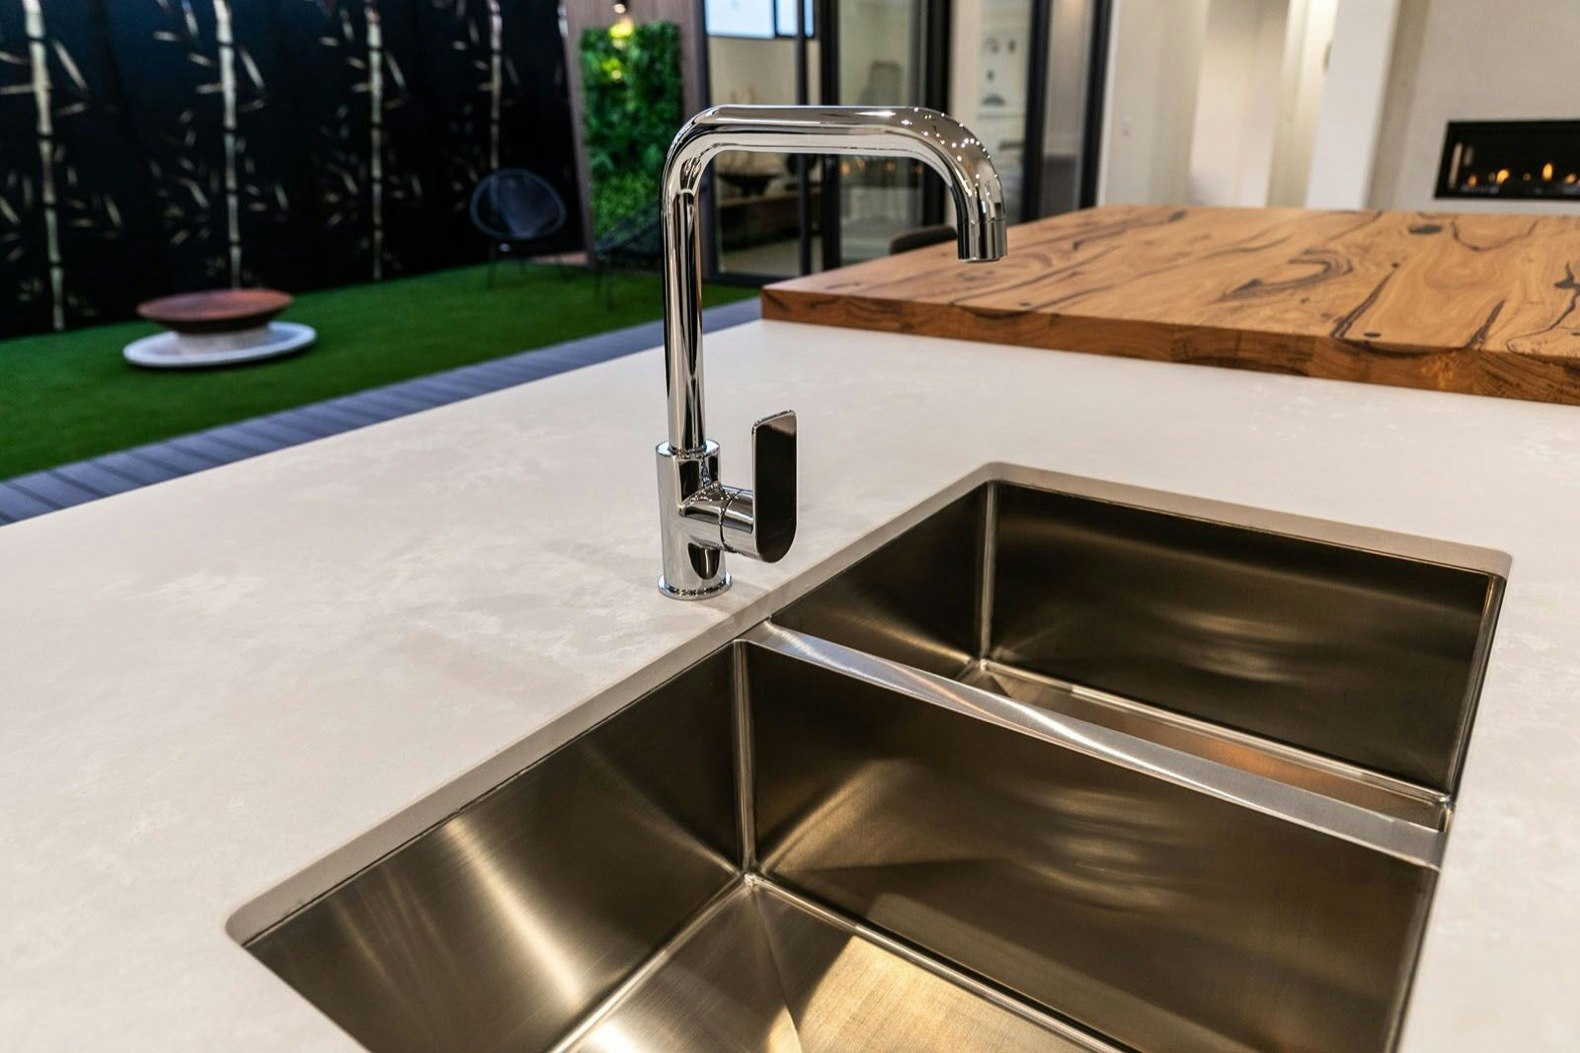
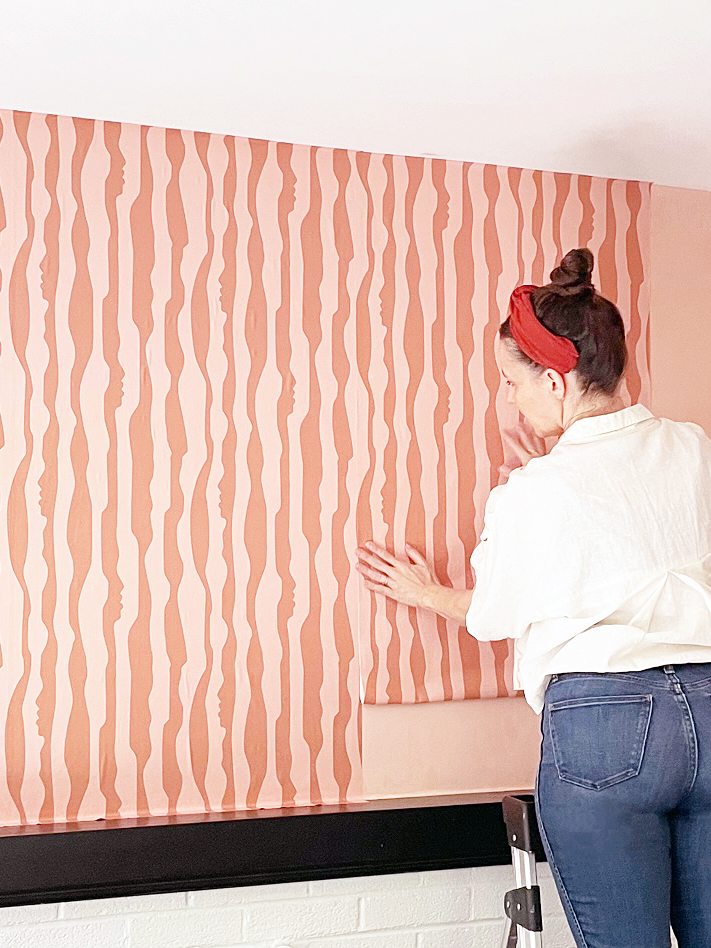
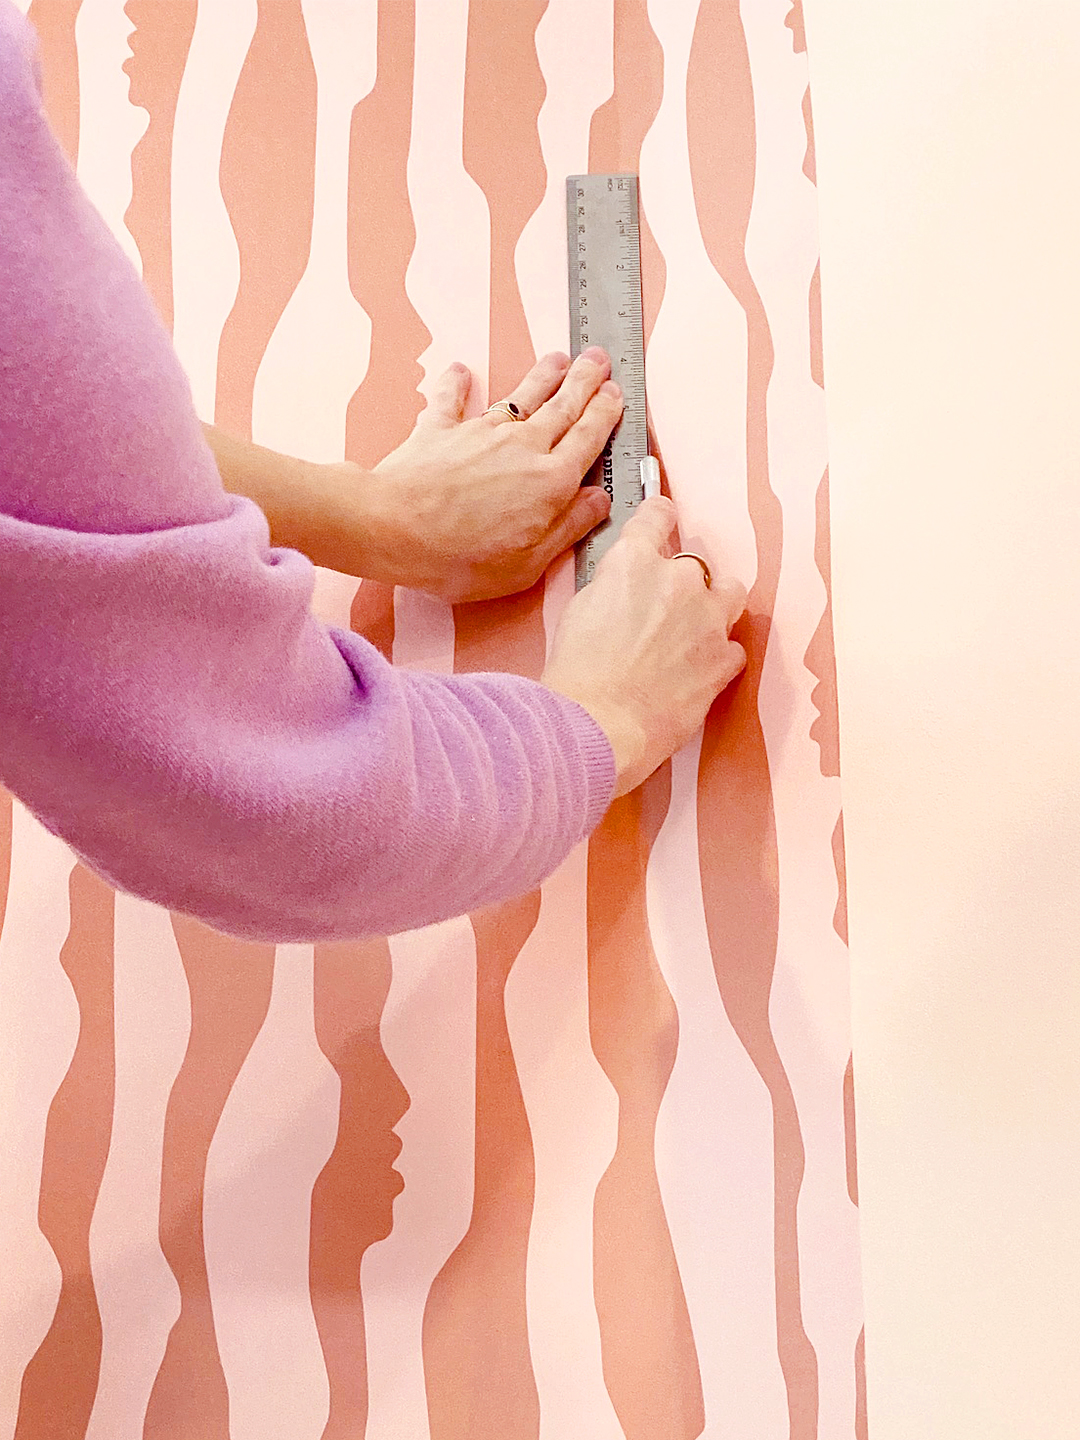
The application process begins with thoroughly cleaning the countertop surface with soap and water or cleaning wipes, followed by drying and an optional wipe-down with isopropyl or rubbing alcohol to ensure optimal adhesion and prevent specks or oils from showing through. The paper is then unrolled and aligned on the counter, ensuring seamless coverage and pattern matching. For application, only an inch or so of the backing is peeled from a corner to start, with one hand guiding the paper and the other smoothing out air bubbles using a tool like a credit card. Stubborn bubbles can be punctured with a knife or pin to release air. Excess paper is cut and folded under the counter edges, and areas around curves, such as sinks, are trimmed for a seamless finish. Any leftover small sections are cut to fit and can be strategically placed in less noticeable areas.
Maintenance of self-adhesive paper is simple; it is water-resistant and can be cleaned with soap and water, avoiding harsh chemicals or bleach. While durable against regular wear, it is not typically heat-resistant, so hot items should not be placed directly on it. For enhanced durability around high-moisture areas like sinks, clear silicone caulking can be applied. The paper has proven to hold up well, even in high-use environments like a child's bathroom, and leaves the original surface clean upon removal.
#KitchenRemodeling #CountertopUpdate #SelfAdhesivePaper #DIYHomeImprovement #BudgetRenovation #KitchenDesign #HomeDecoration #InteriorTrends #KitchenRemodeling #CountertopUpdate #SelfAdhesivePaper #DIYHomeImprovement #BudgetRenovation #KitchenDesign #HomeDecoration #InteriorTrends
合計0件のコメント
 まだコメントはありません
あなたも好きかもしれません
I found five ways to cover kitchen countertops because let's face it — rental worktops are gross

How to decorate your home with Kmart’s new stick-on tiles

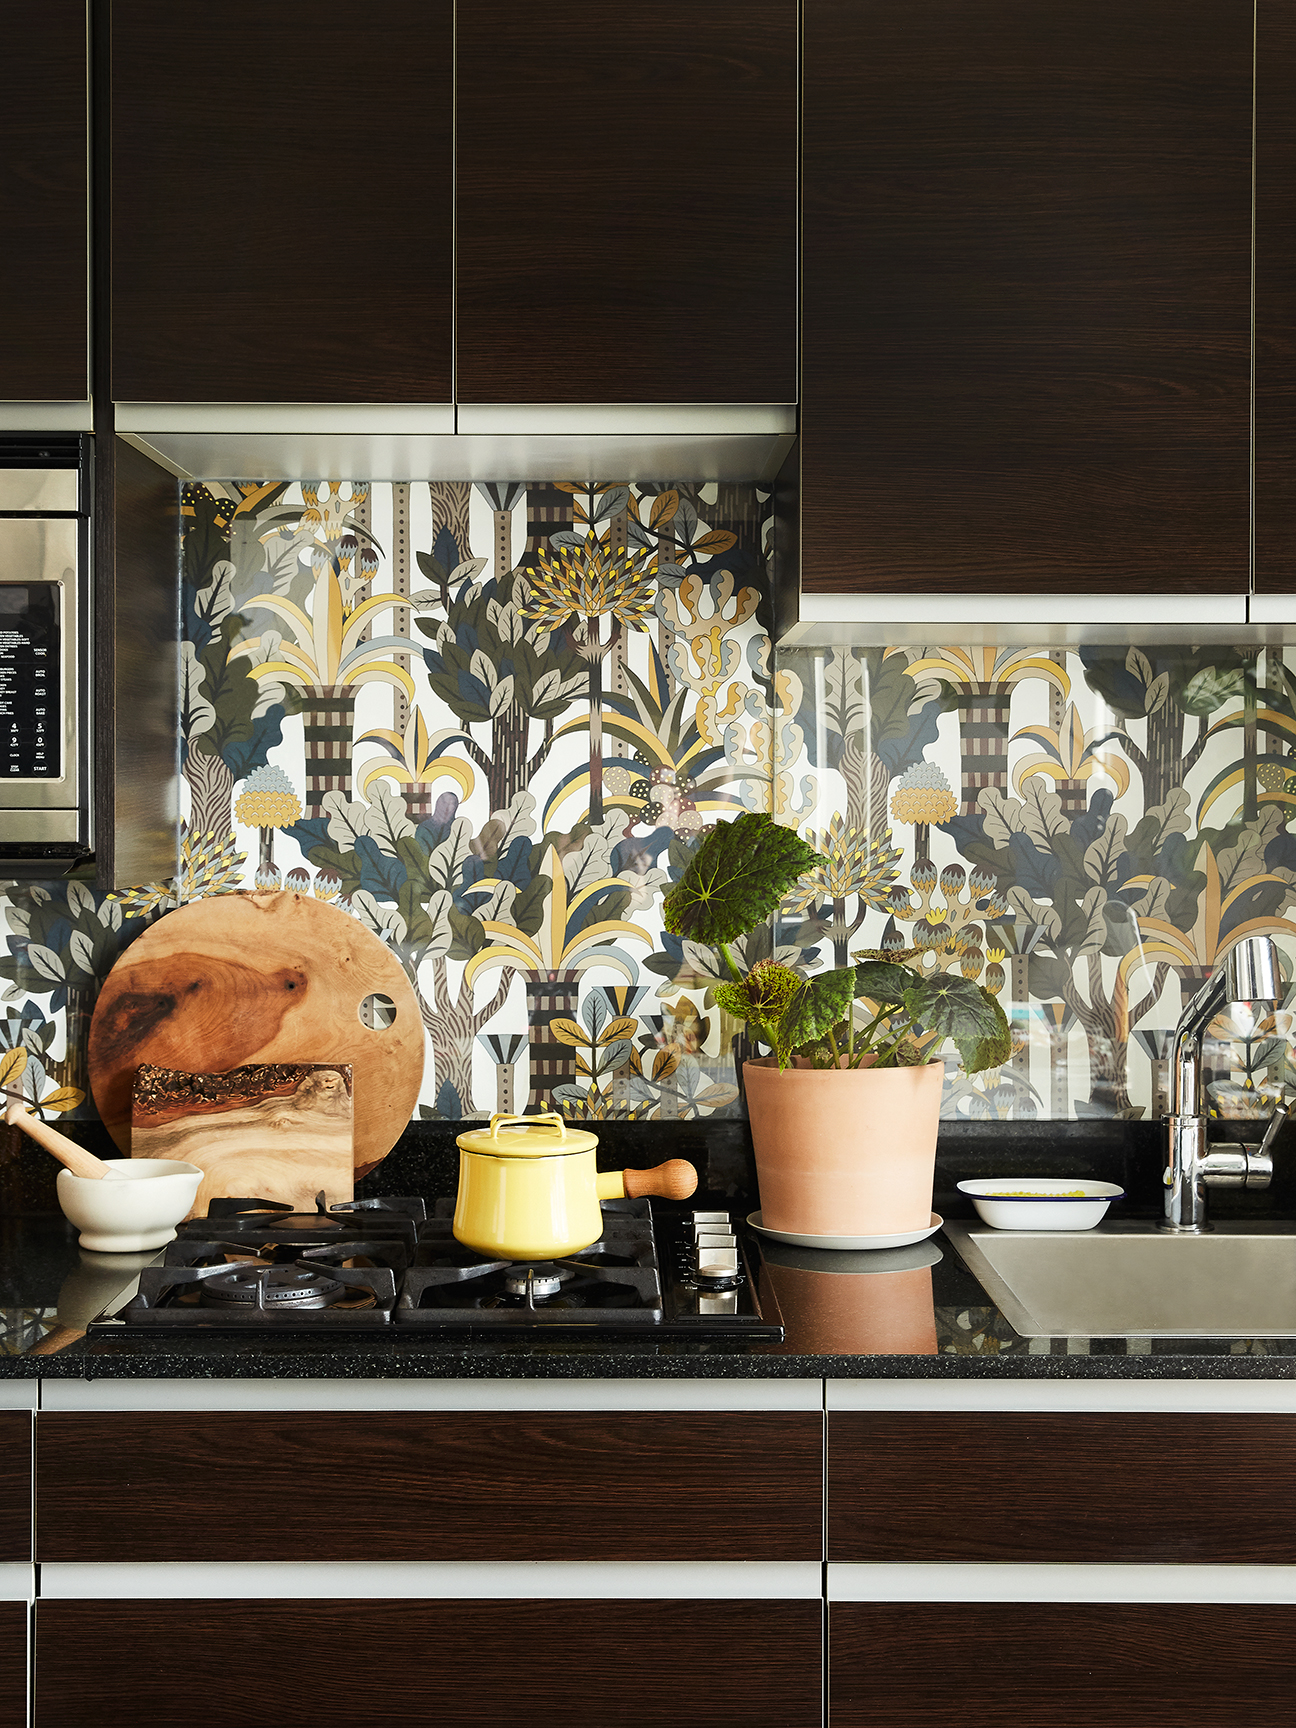
Domino Executive Creative Director Kate Berry’s DIY Backsplash Is Totally Rental-Friendly
Do Peel and Stick Countertops Live Up to the Hype? Here's What the Pros Say

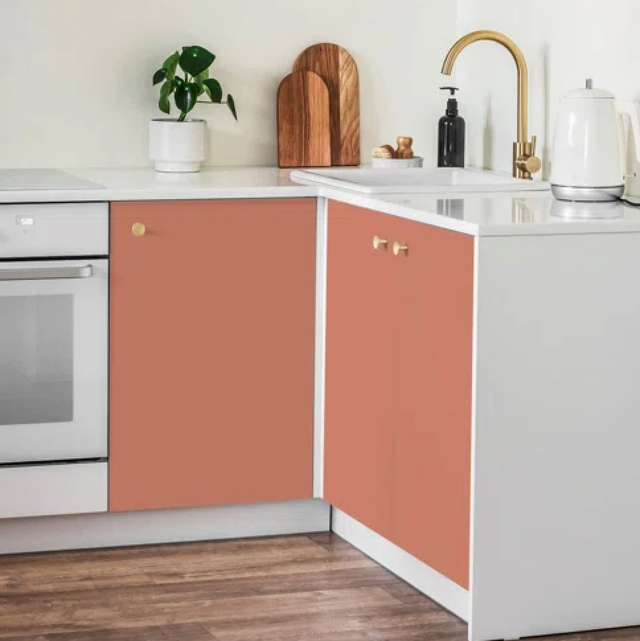
How Installing the Right Contact Paper for Cabinets Can Basically Feel Like a Kitchen Reno

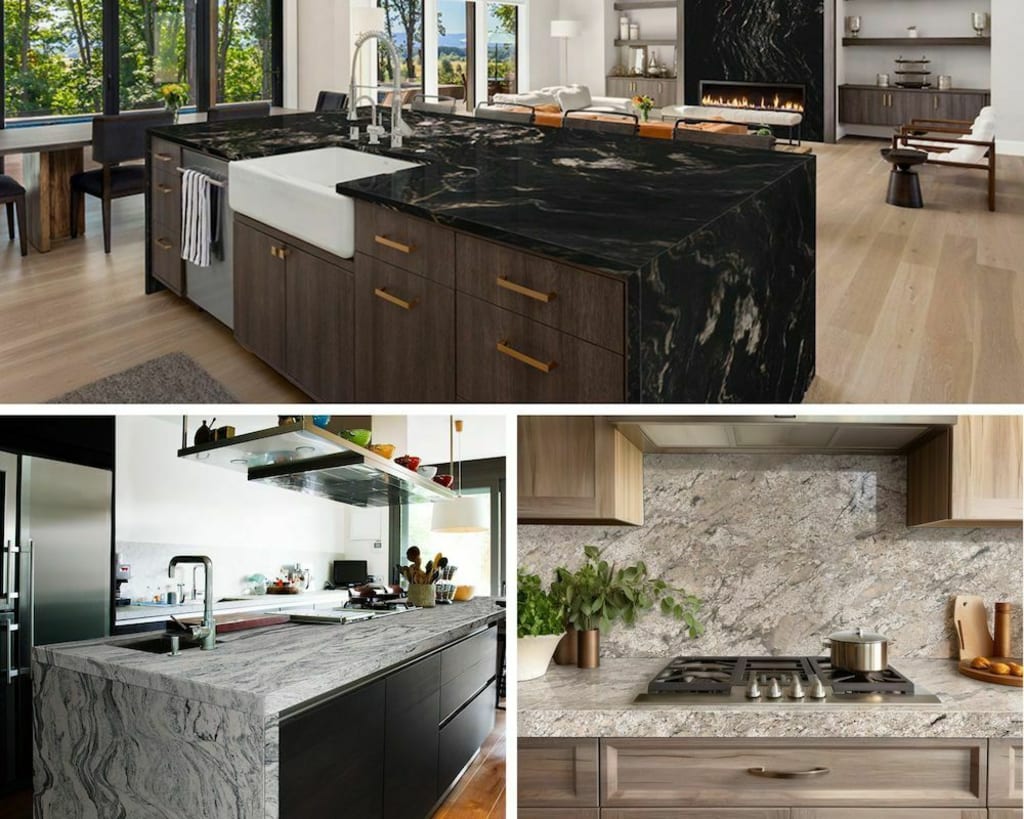
Top 10 Countertop Ideas to Transform Your Kitchen in 2025
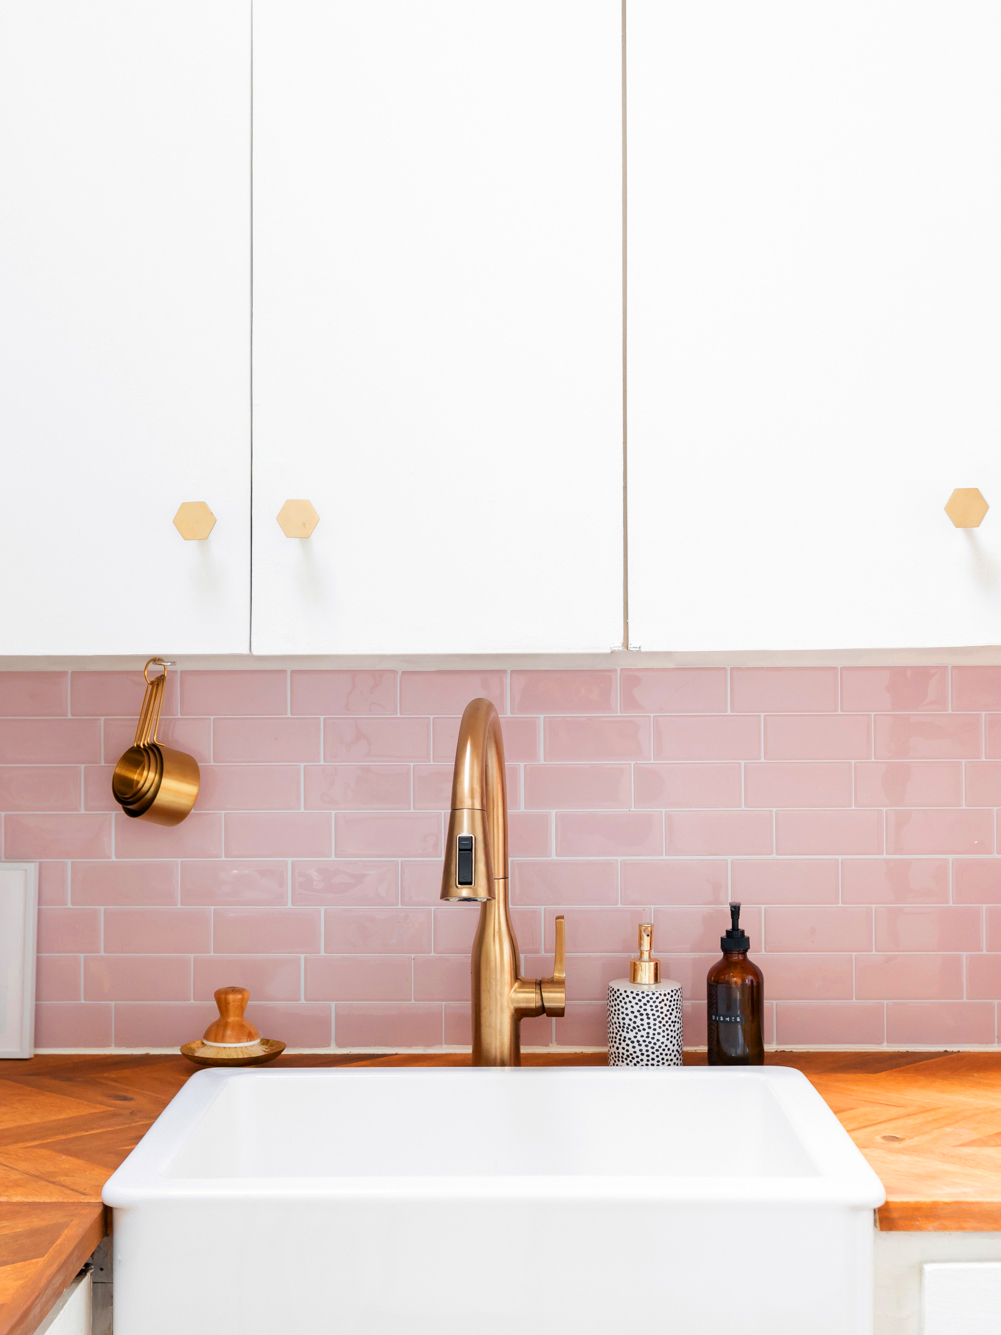
I Used Peel-and-Stick Subway Tiles to Transform My Rental Kitchen
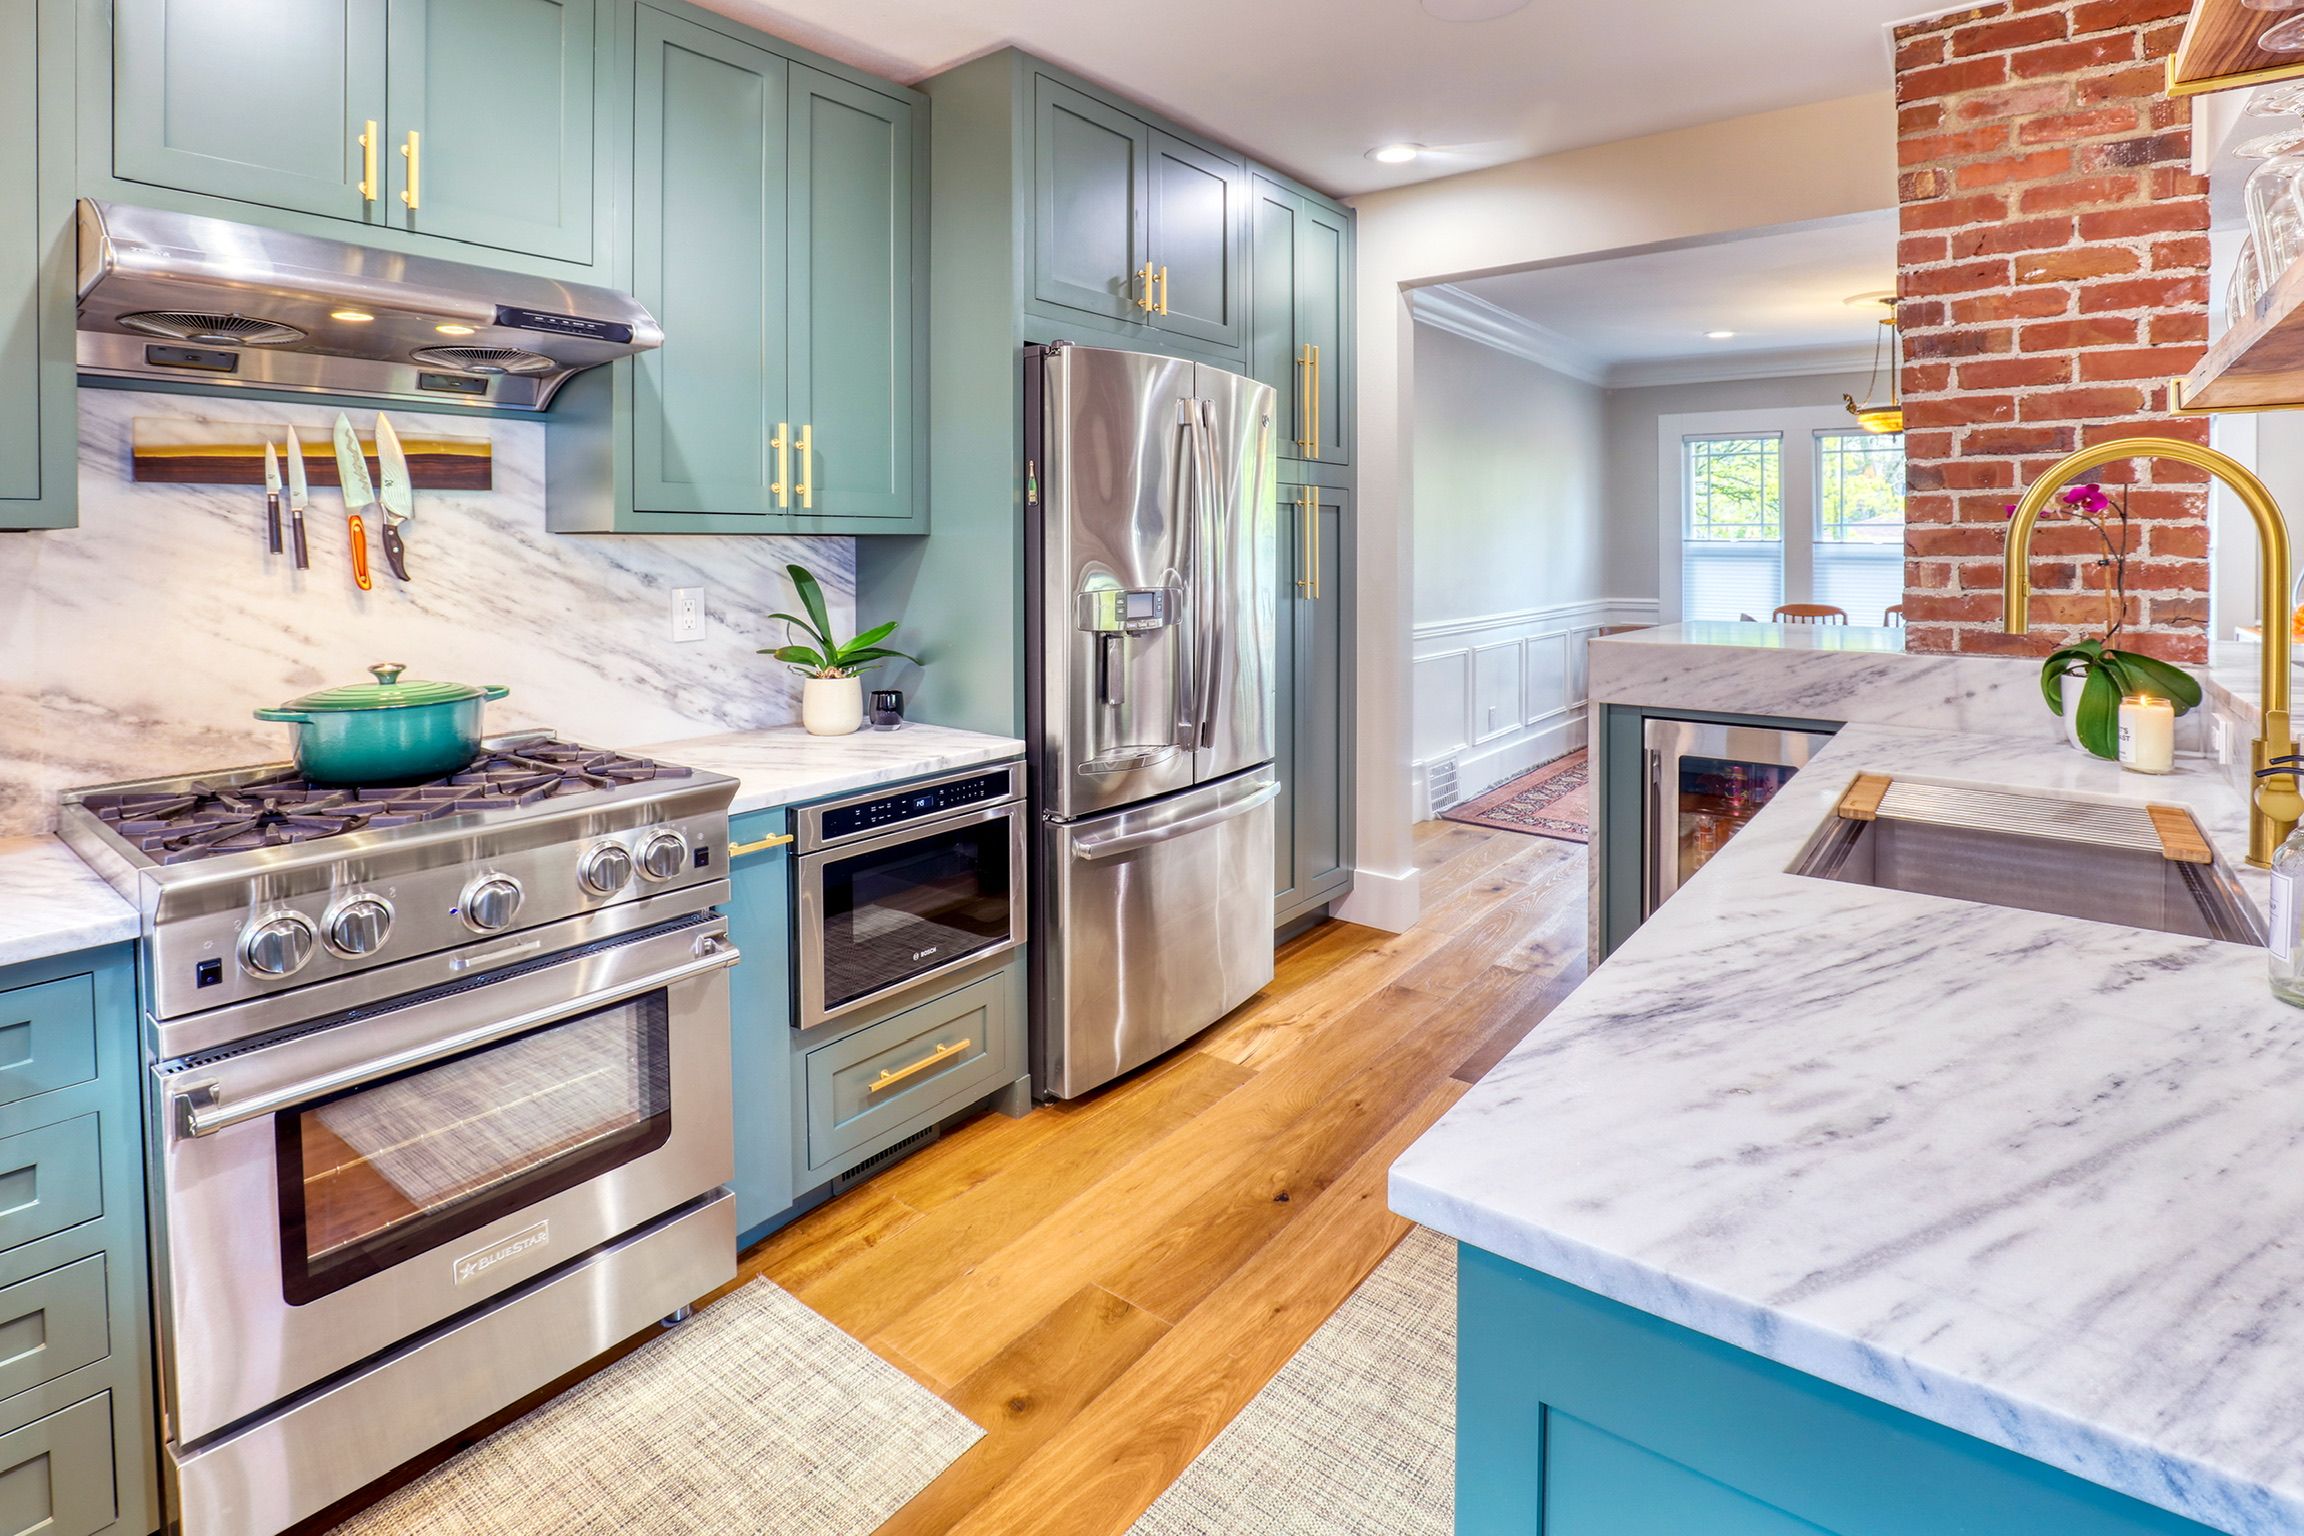
Transform the look of your kitchen with a new backsplash | Produced by Seattle Times Marketing

I hated my greasy splashbacks so bought some stick on tiles off Temu for £16

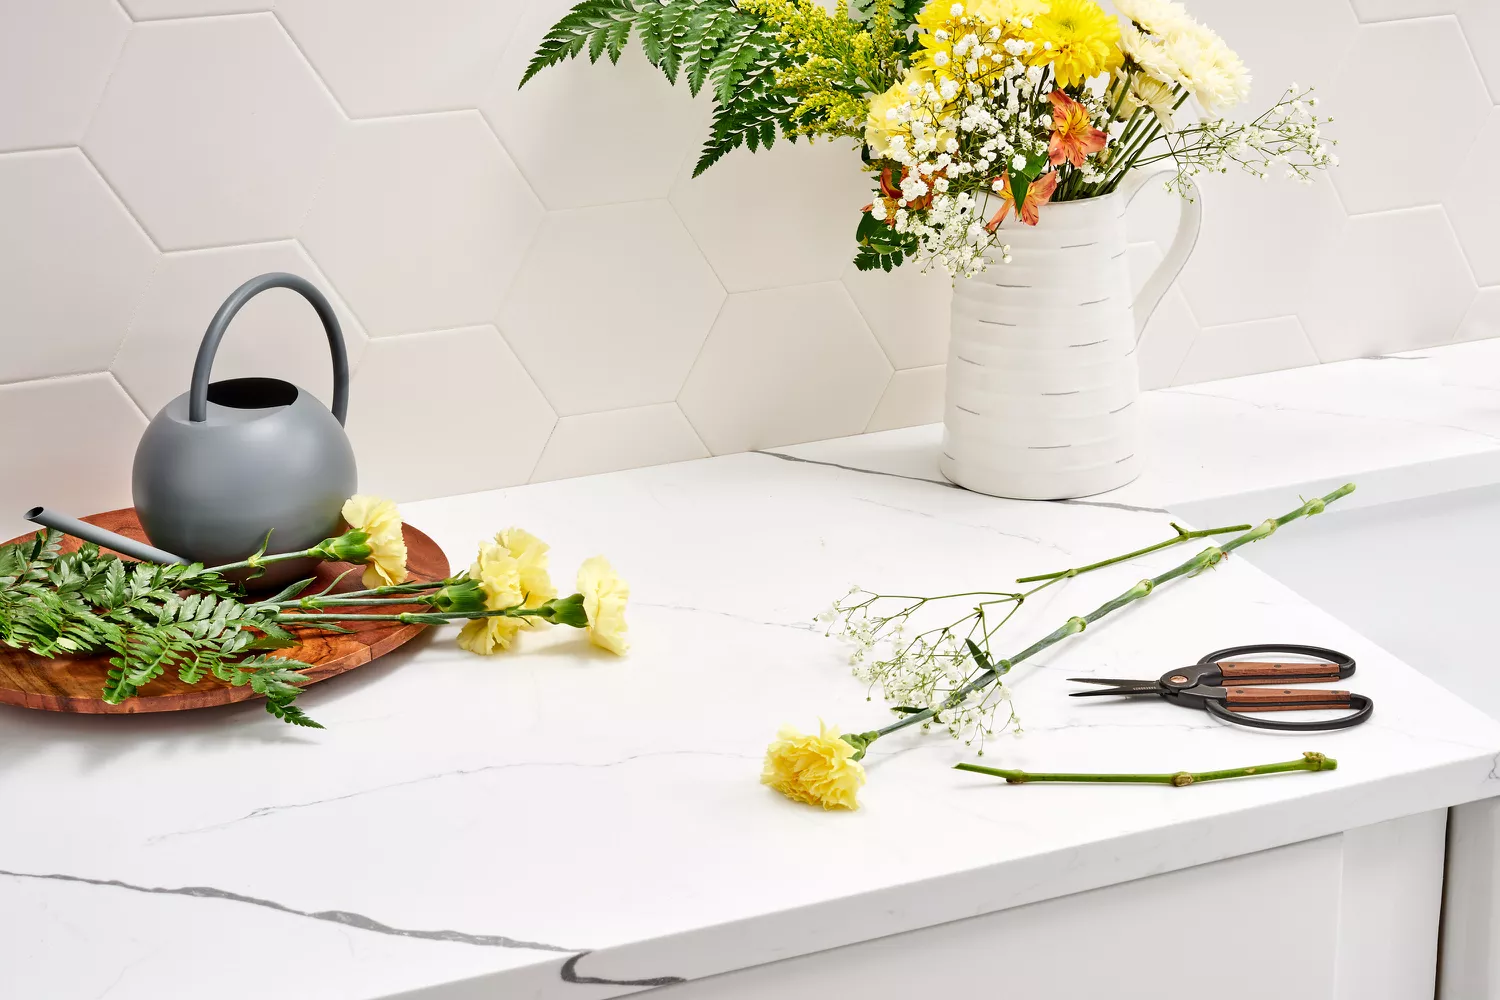
Thinking About Upgrading Your Kitchen Countertops? Here Are 15 Types to Consider
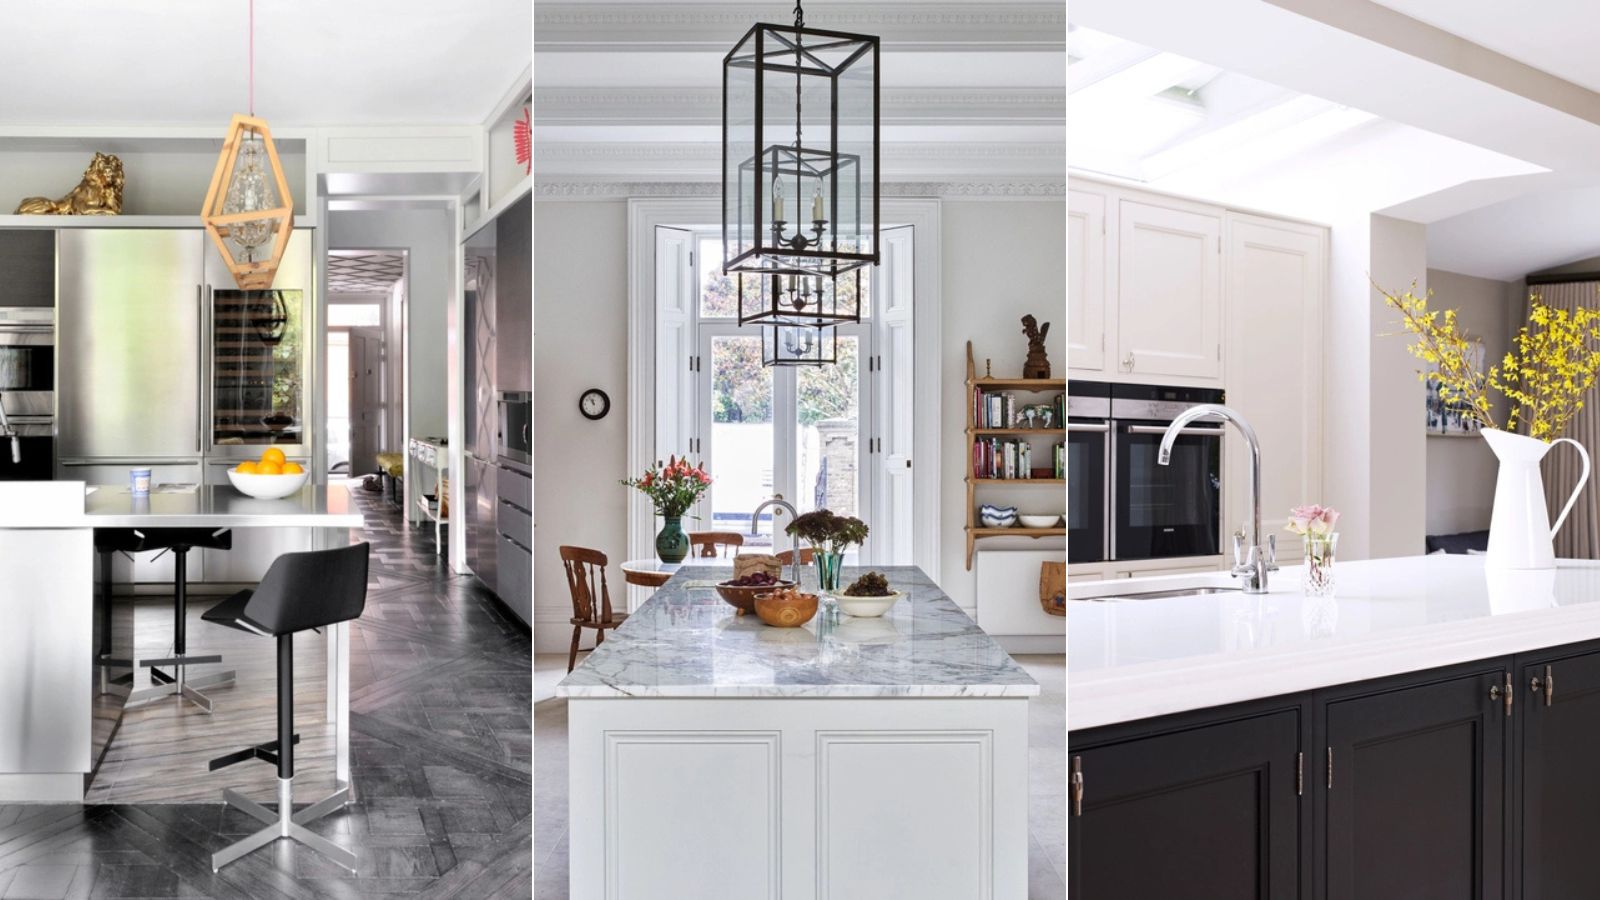
6 outdated kitchen countertop trends to leave behind in 2025
How to Hang Wallpaper (the Permanent Kind!)

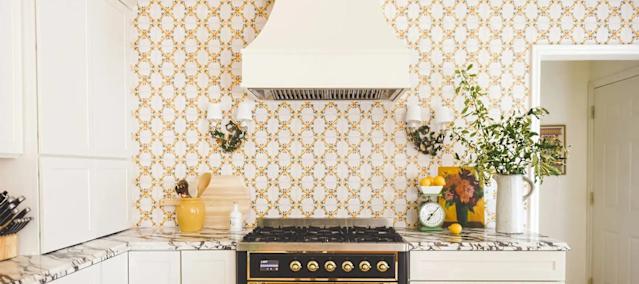
Kitchen Wallpaper Inspiration That'll Make You Want to Redecorate Now
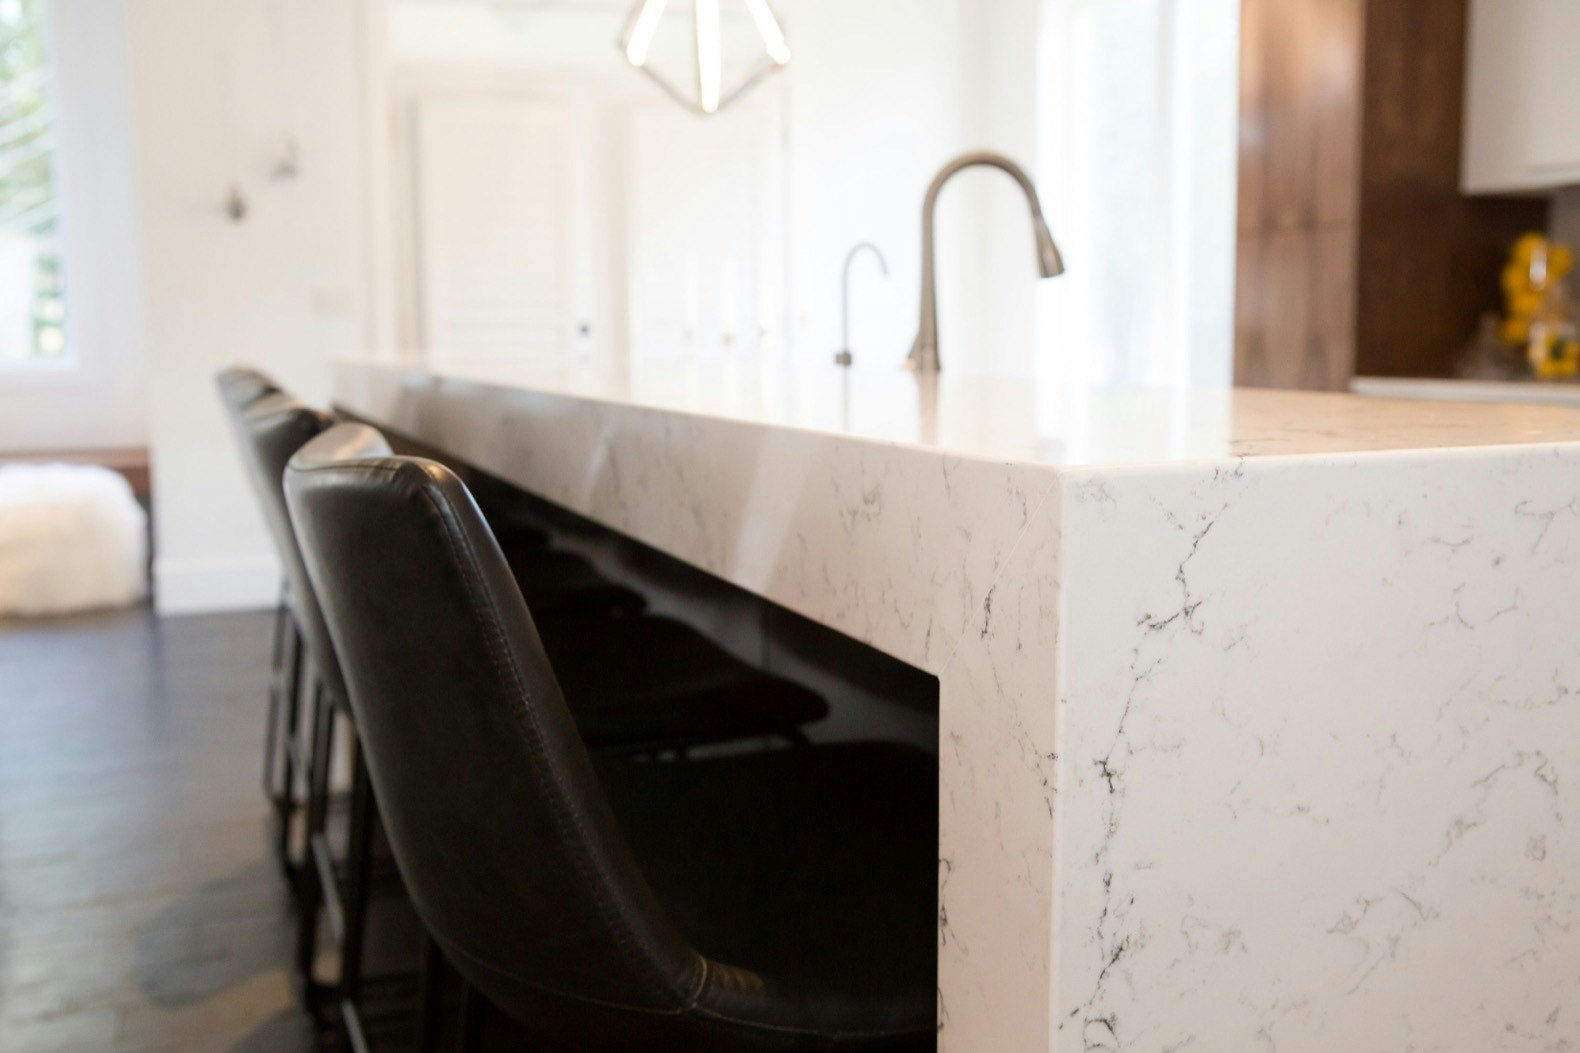
How an Instagram-Worthy Kitchen Renovation Comes Alive With the Right Surfaces

7 Best Countertop Paint and Refinishing Kits

How to Hang Wallpaper Yourself in 8 Simple Steps, Straight from a Pro

A Crash Course in Choosing Kitchen Countertops
I Tried Installing Peel-and-Stick Floor Tiling in Two Different Rooms—Here Are My Thoughts
How to tile a backsplash – everything you need to know in 7 simple steps

5 Things I Learned From My Peel-and-Stick Kitchen Makeover