1/4
I saved £562 panelling over my damaged fireplace with DIY – a £38 paint made it really pop
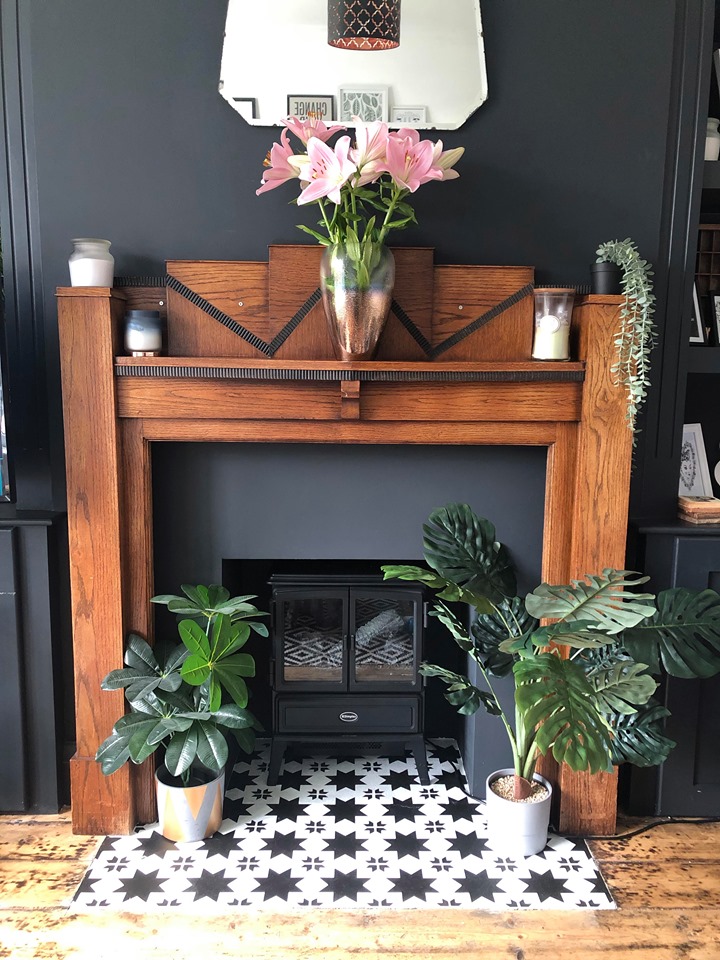
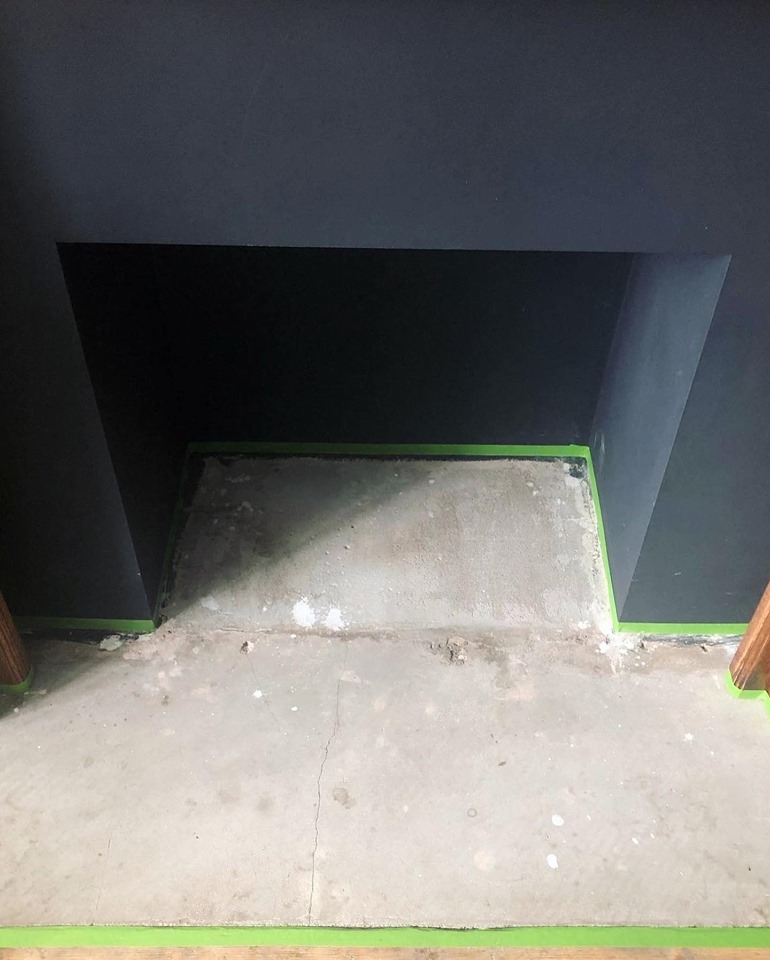
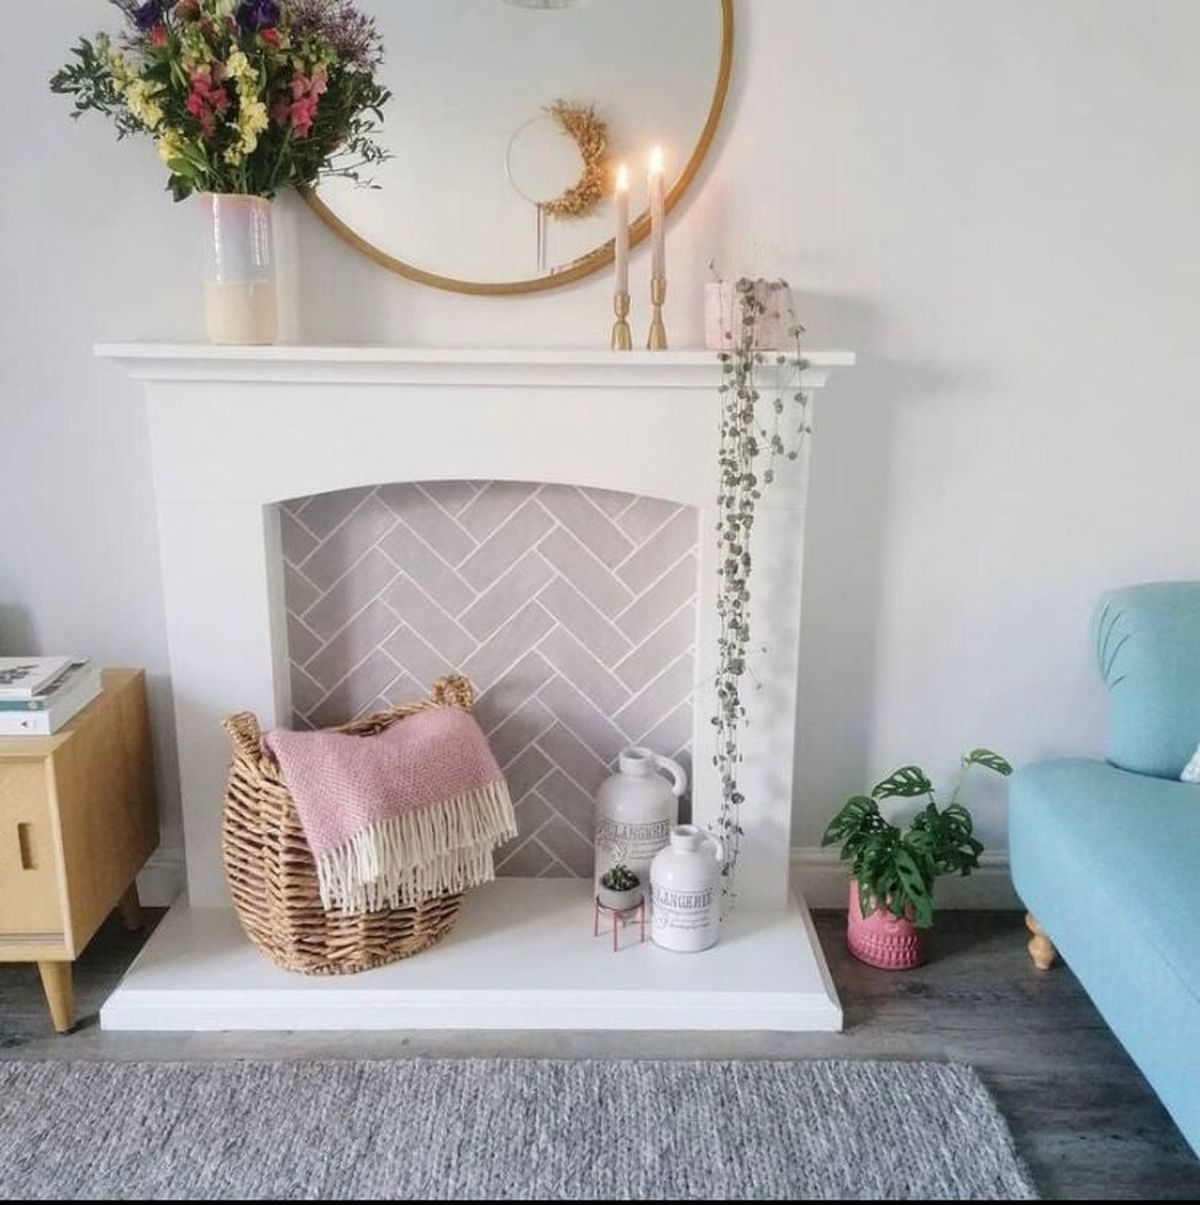
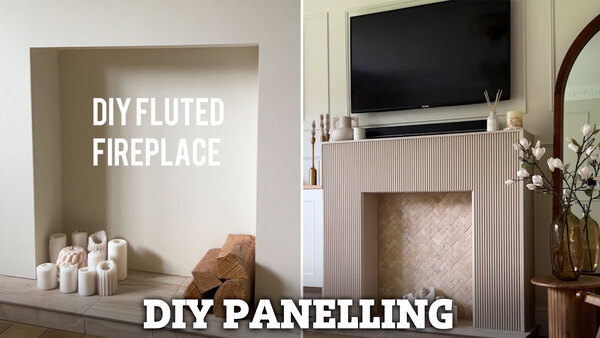
A woman named Kerry Kellet from Yorkshire successfully transformed her damaged fireplace into a sophisticated focal point in her living room for a total cost of £150. Her initial attempt involved simply plastering and painting the fireplace, but she desired a more impactful aesthetic. Kerry envisioned a ribbed fireplace design, which ultimately enhanced the entire front room's appearance. The DIY project, documented by Kerry under the Instagram handle @klk.interiors, took three days to complete and was described as relatively simple, with the most challenging aspect being the precise cutting of the template to ensure a flawless fit. The easiest part of the process was painting the panels.
The materials used for the transformation included ribbed wall panelling, wall panel adhesive, a circular hand saw, a notched trowel, ready-mix adhesive, pre-mixed grout, and primer. Kerry already possessed the paint and received the panelling as a gift, contributing to the low overall cost. If she had opted for professional installation, the estimated cost, including labor and materials, would have been approximately £712, indicating a substantial saving of £562 through her DIY efforts.
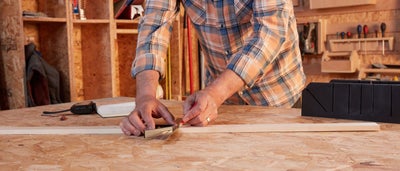
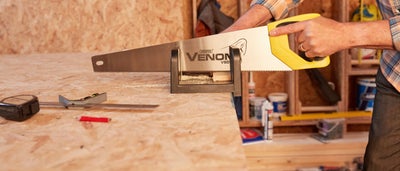
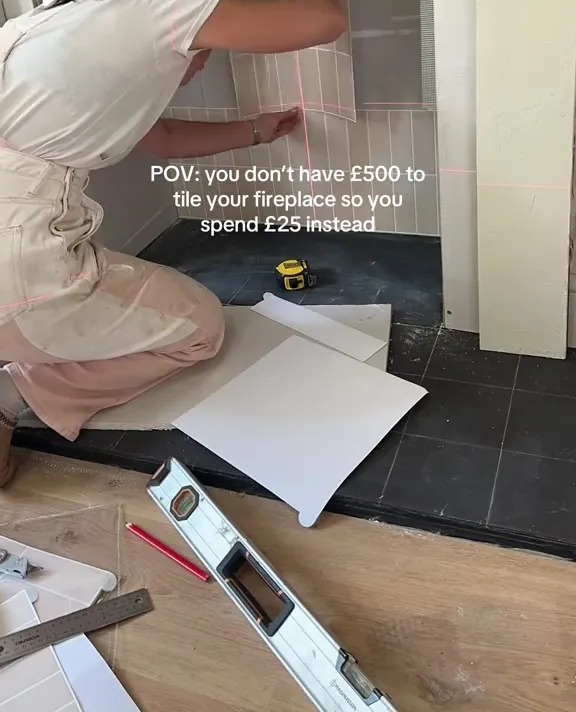
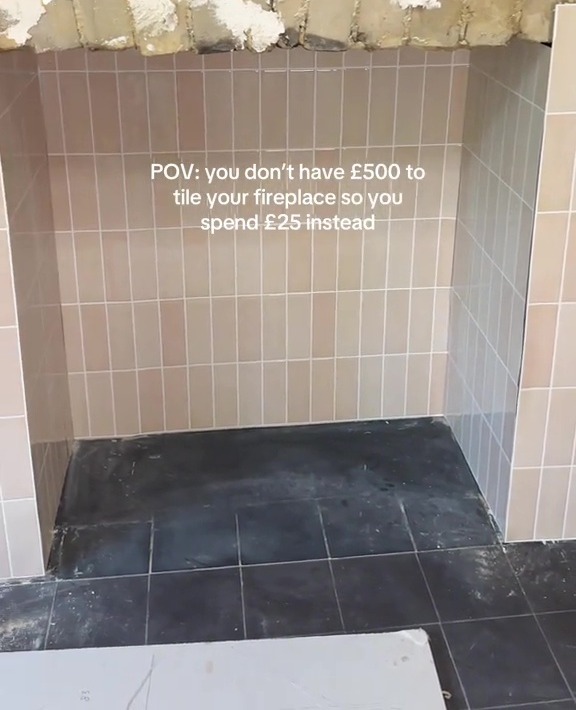
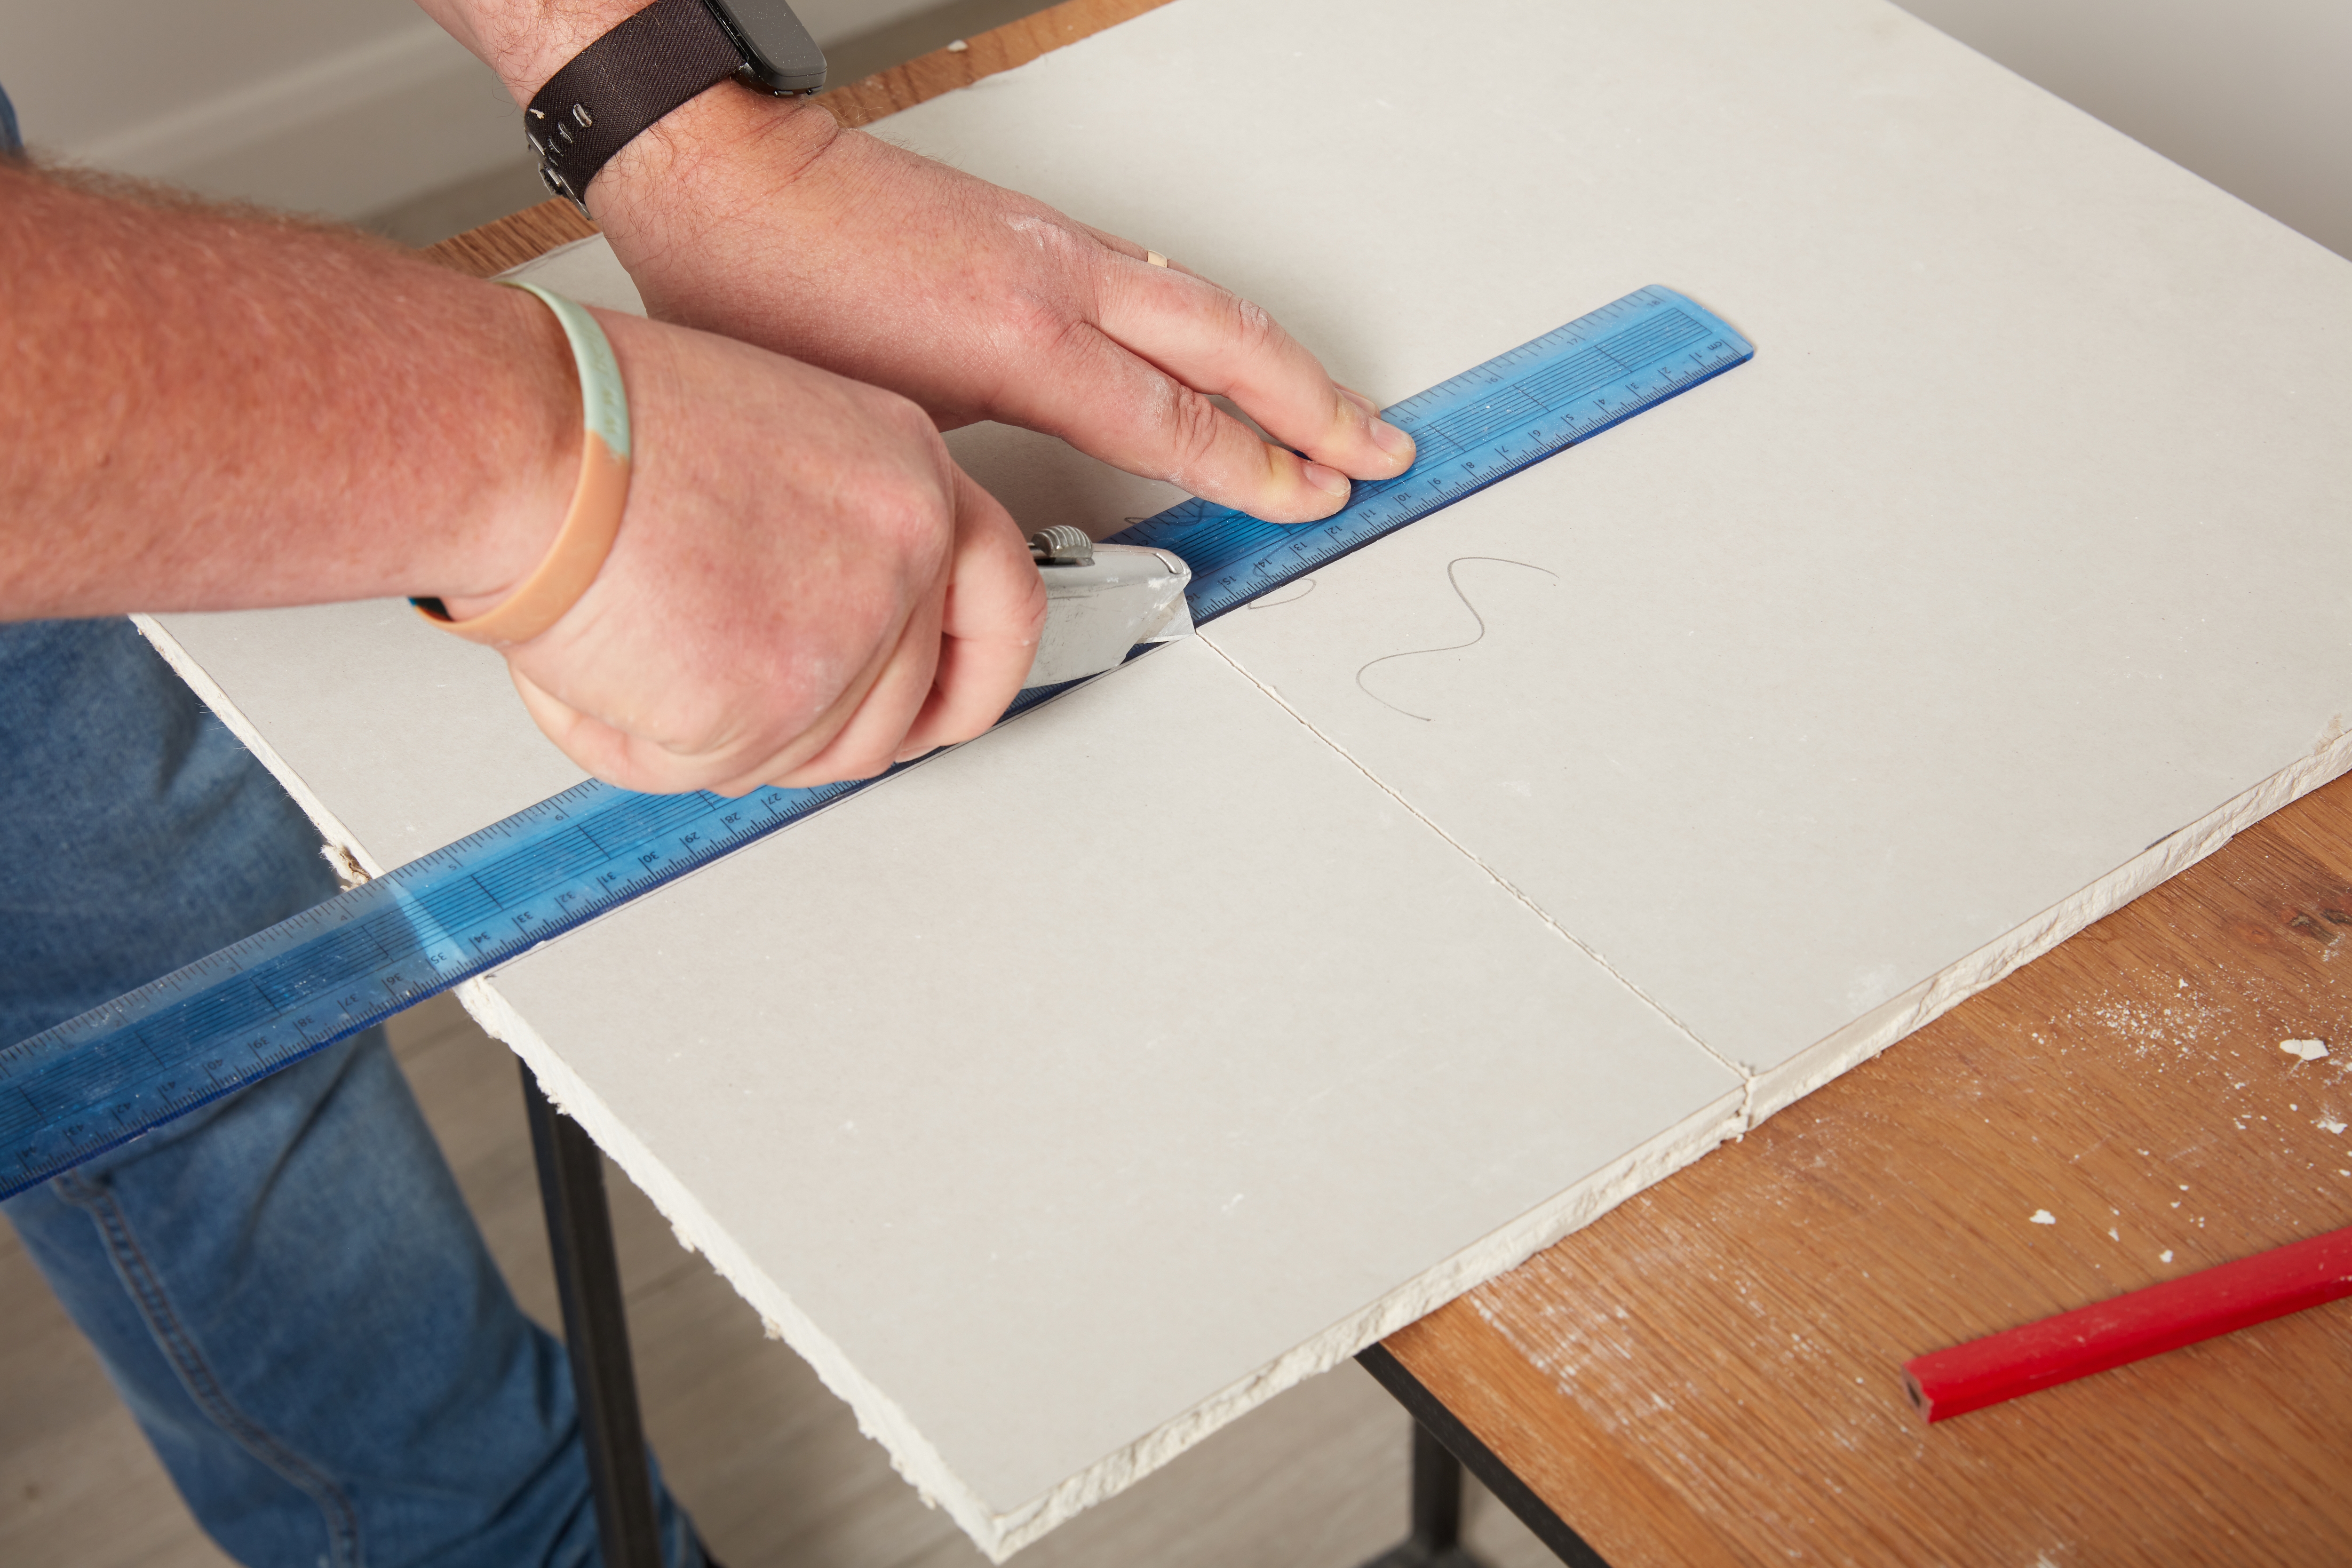
The renovation process began with fitting travertine mosaic tiles to the back wall of the fireplace using tile adhesive and a notched trowel. This step was crucial to avoid marking the frame or panels. Herringbone tiles were chosen to create a contrasting visual texture with the vertical lines of the panels, adding depth to the fireplace. Following this, a template was created by carefully measuring the front of the fireplace to cut the mini ribbed panels to size. The MDF panels were easily cut with a cordless circular saw, a process repeated for the internal edges and top edge of the fireplace.
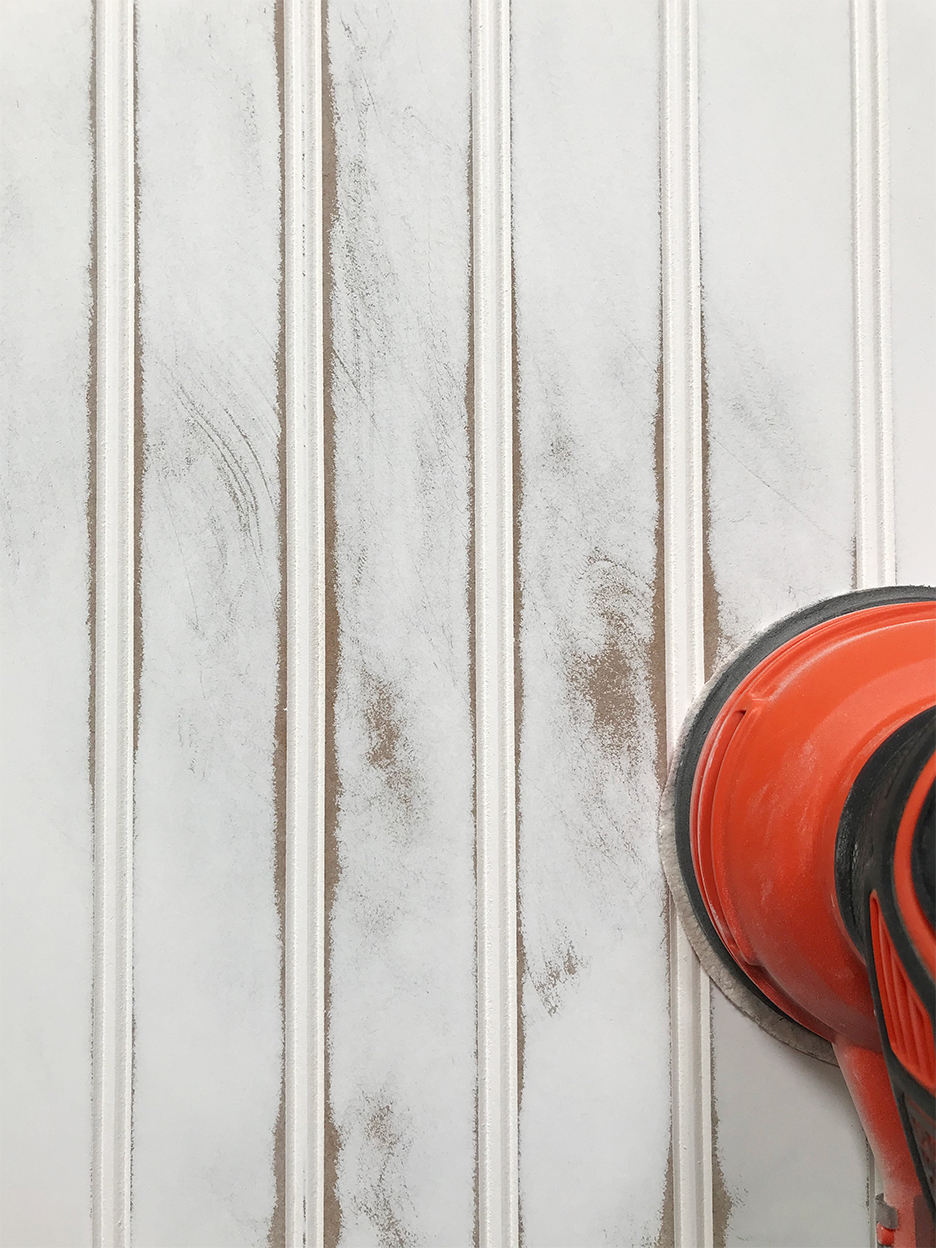
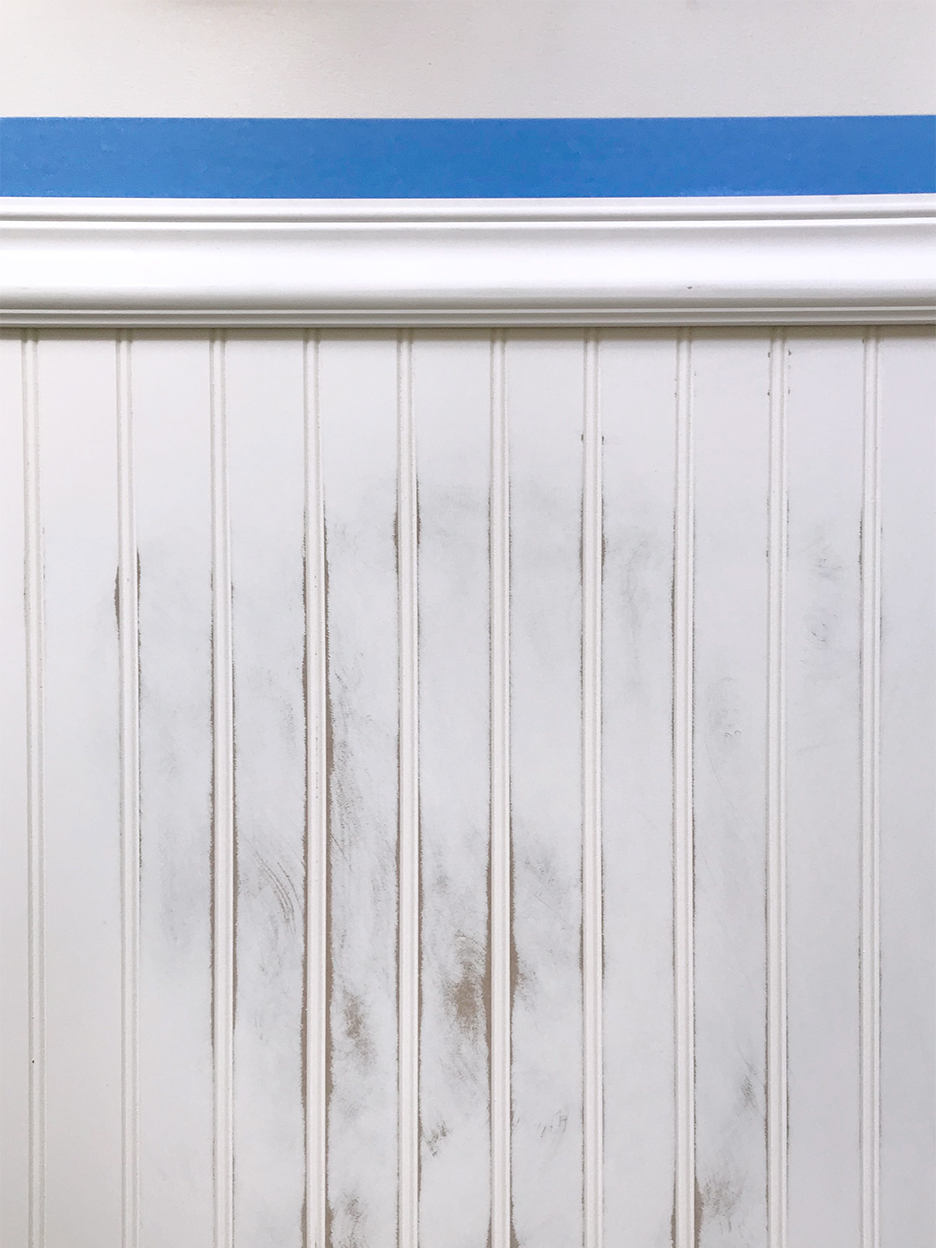
After cutting, the ribbed panels were secured to the front of the fireplace using a high-performance adhesive and allowed to dry overnight. The next day, the tiles were grouted using a pre-mixed grout mixed with a small amount of beige paint to achieve a neutral finish that complemented the room's color scheme. The MDF panels were then primed with a wood primer and subsequently painted. Kerry achieved a custom earthy beige hue by combining two Lick paint colors: White 03 and Beige 02. The final step involved adding a frame to the outer edge of the fireplace using 9mm MDF, which was also painted the same color as the panelling to provide a cohesive finishing touch.
Kerry's advice for those undertaking similar DIY projects includes ensuring access to the correct tools, such as a circular hand saw for efficiency, although a regular handsaw is a viable, albeit more challenging, alternative. She also suggests checking the off-cut sections of local hardware stores for potential bargains on materials like MDF, as she did for her frame.
#DIYHomeRenovation #FireplaceMakeover #HomeTransformation #RibbedPanelling #InteriorDesign #BudgetDecor #MoneySavingTips #HomeImprovement #DIYHomeRenovation #FireplaceMakeover #HomeTransformation #RibbedPanelling #InteriorDesign #BudgetDecor #MoneySavingTips #HomeImprovement
0 commenti in totale
 Nessun commento ancora
Potresti anche gradire
My £22 DIY fireplace makeover everyone is obsessed with

Before and After Spray Paint Photos That Will Blow You Away

How to Paint Wood Paneling and Its Best Friend, the Trim

DIY updates for your home: Faux panels to painting wallpaper add appeal but won't break the bank


How to install wooden panelling

How to Paint Wood-Paneling

How to Paint Wood Paneling Like a Pro

Turn your nonworking fireplace into something beautiful

Mum transforms fireplace for under £20 – after being quoted £230 for a hearth

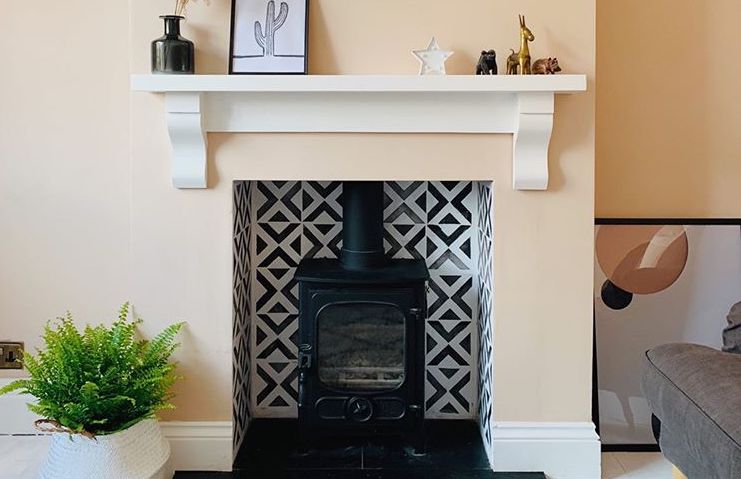
This Instagrammer updated her old fashioned fireplace for just £50!

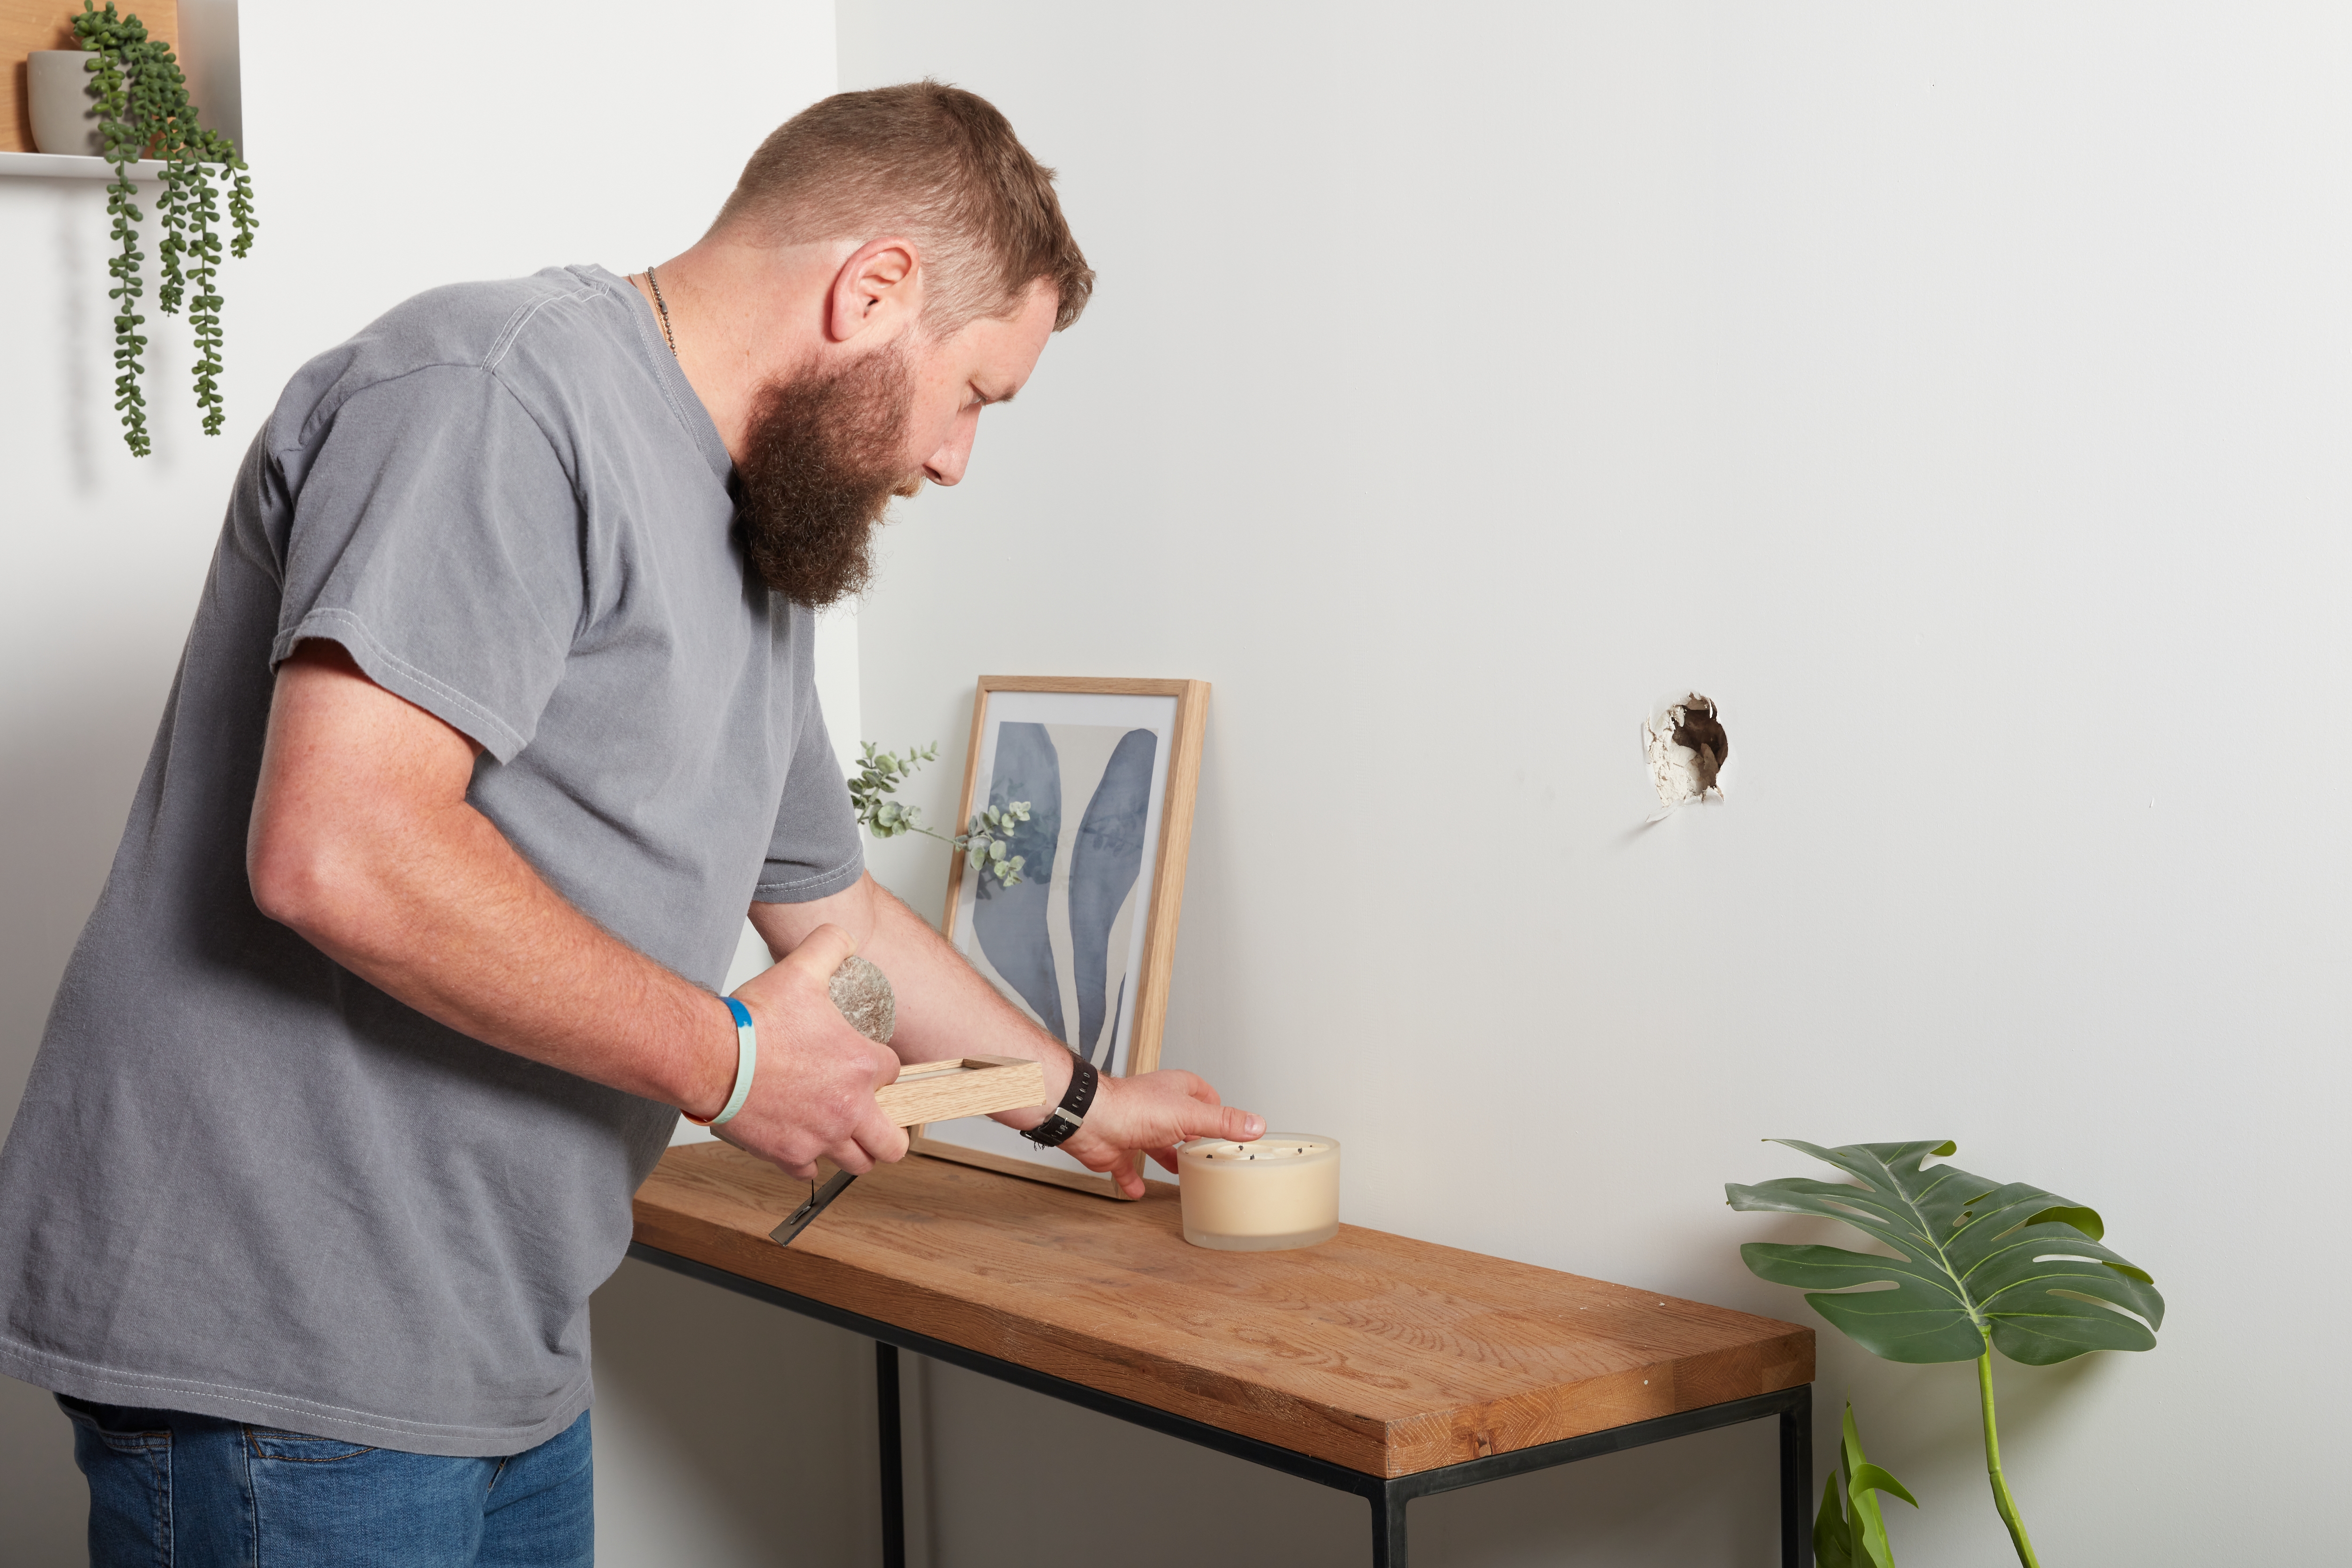
How to repair a wall or ceiling
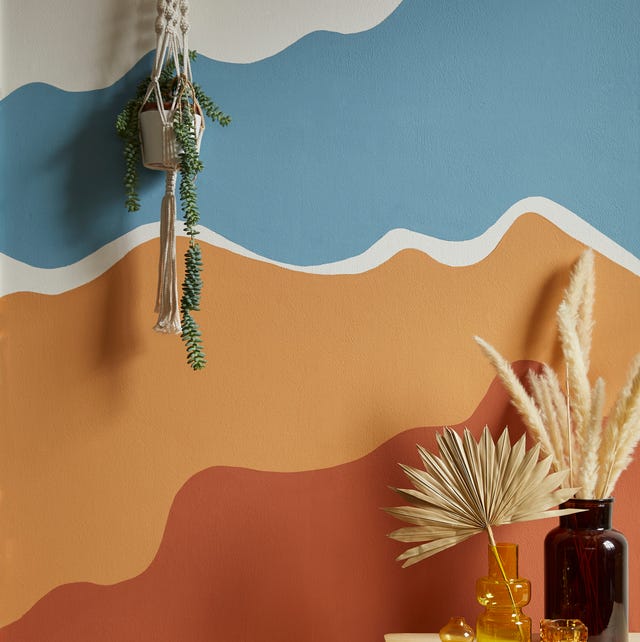
10 ways to transform your home with just half a pot of paint

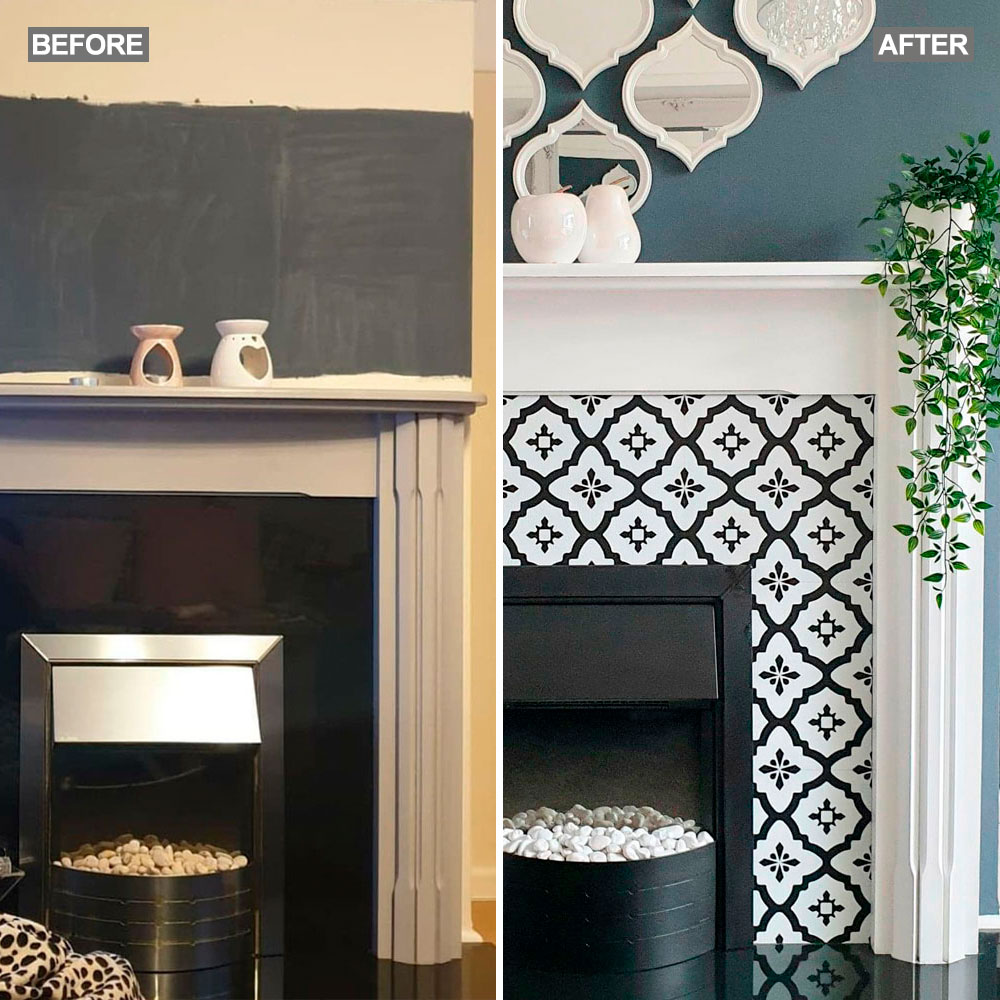
Savvy DIY-er transforms fireplace surround with self adhesive floor tiles and spray paint
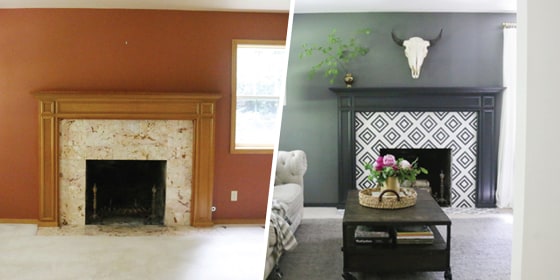
Fireplace before and after: Chalkboard paint makes all the difference

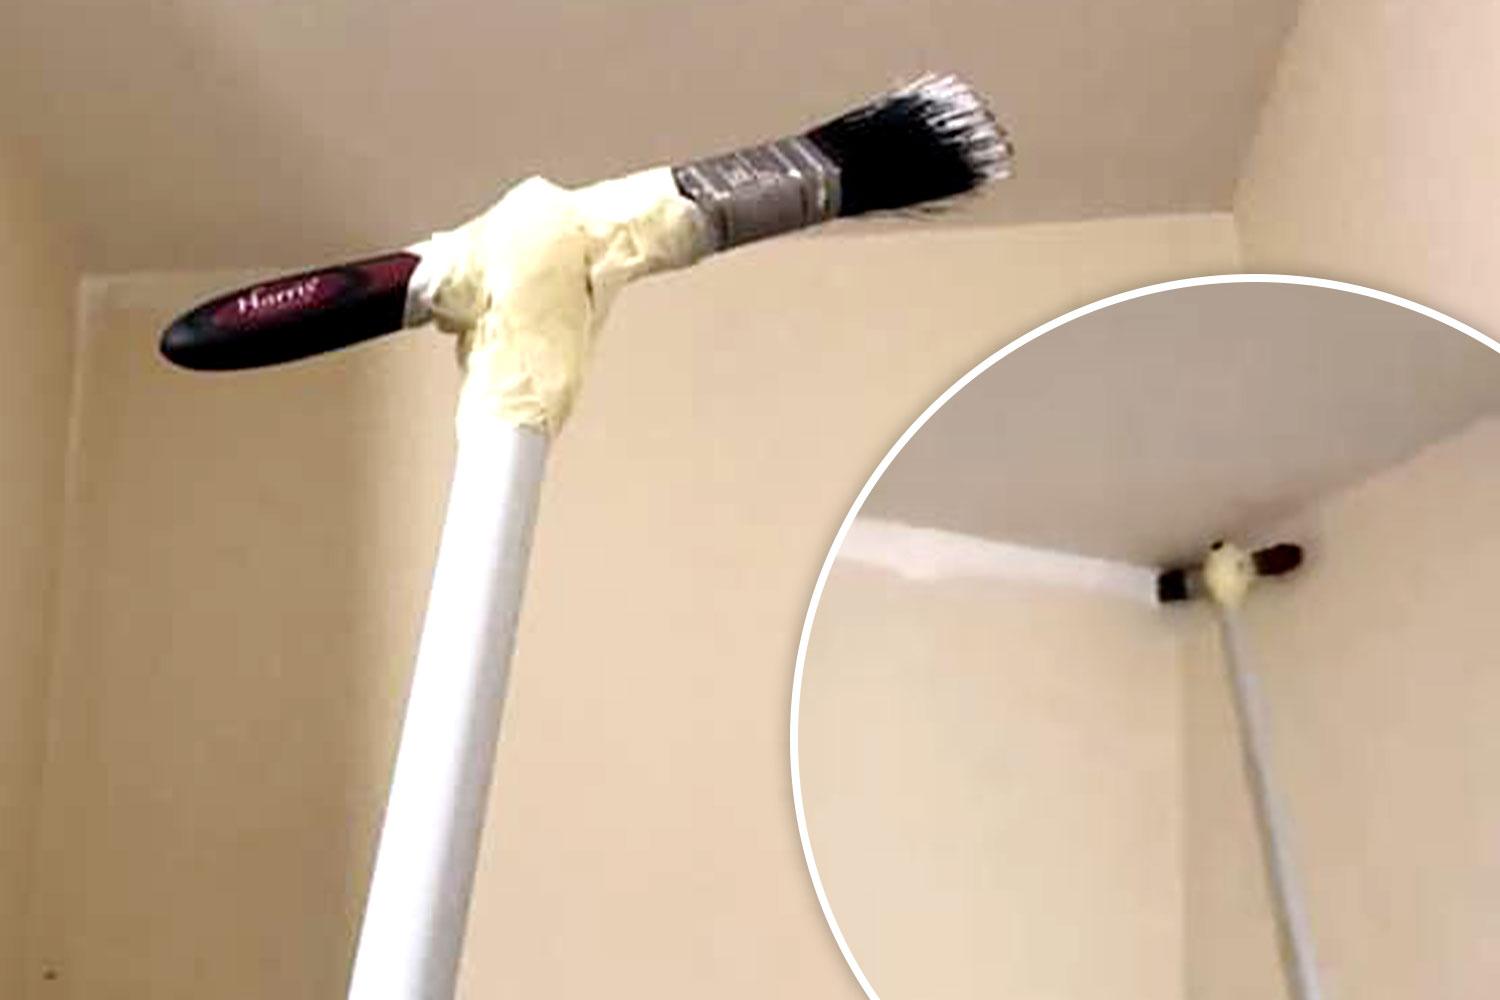
DIY fan shares easy way she paints high ceiling corners WITHOUT using a ladder
Understanding paint finishes
The Best Way To Paint Wood Paneling, According To An Expert
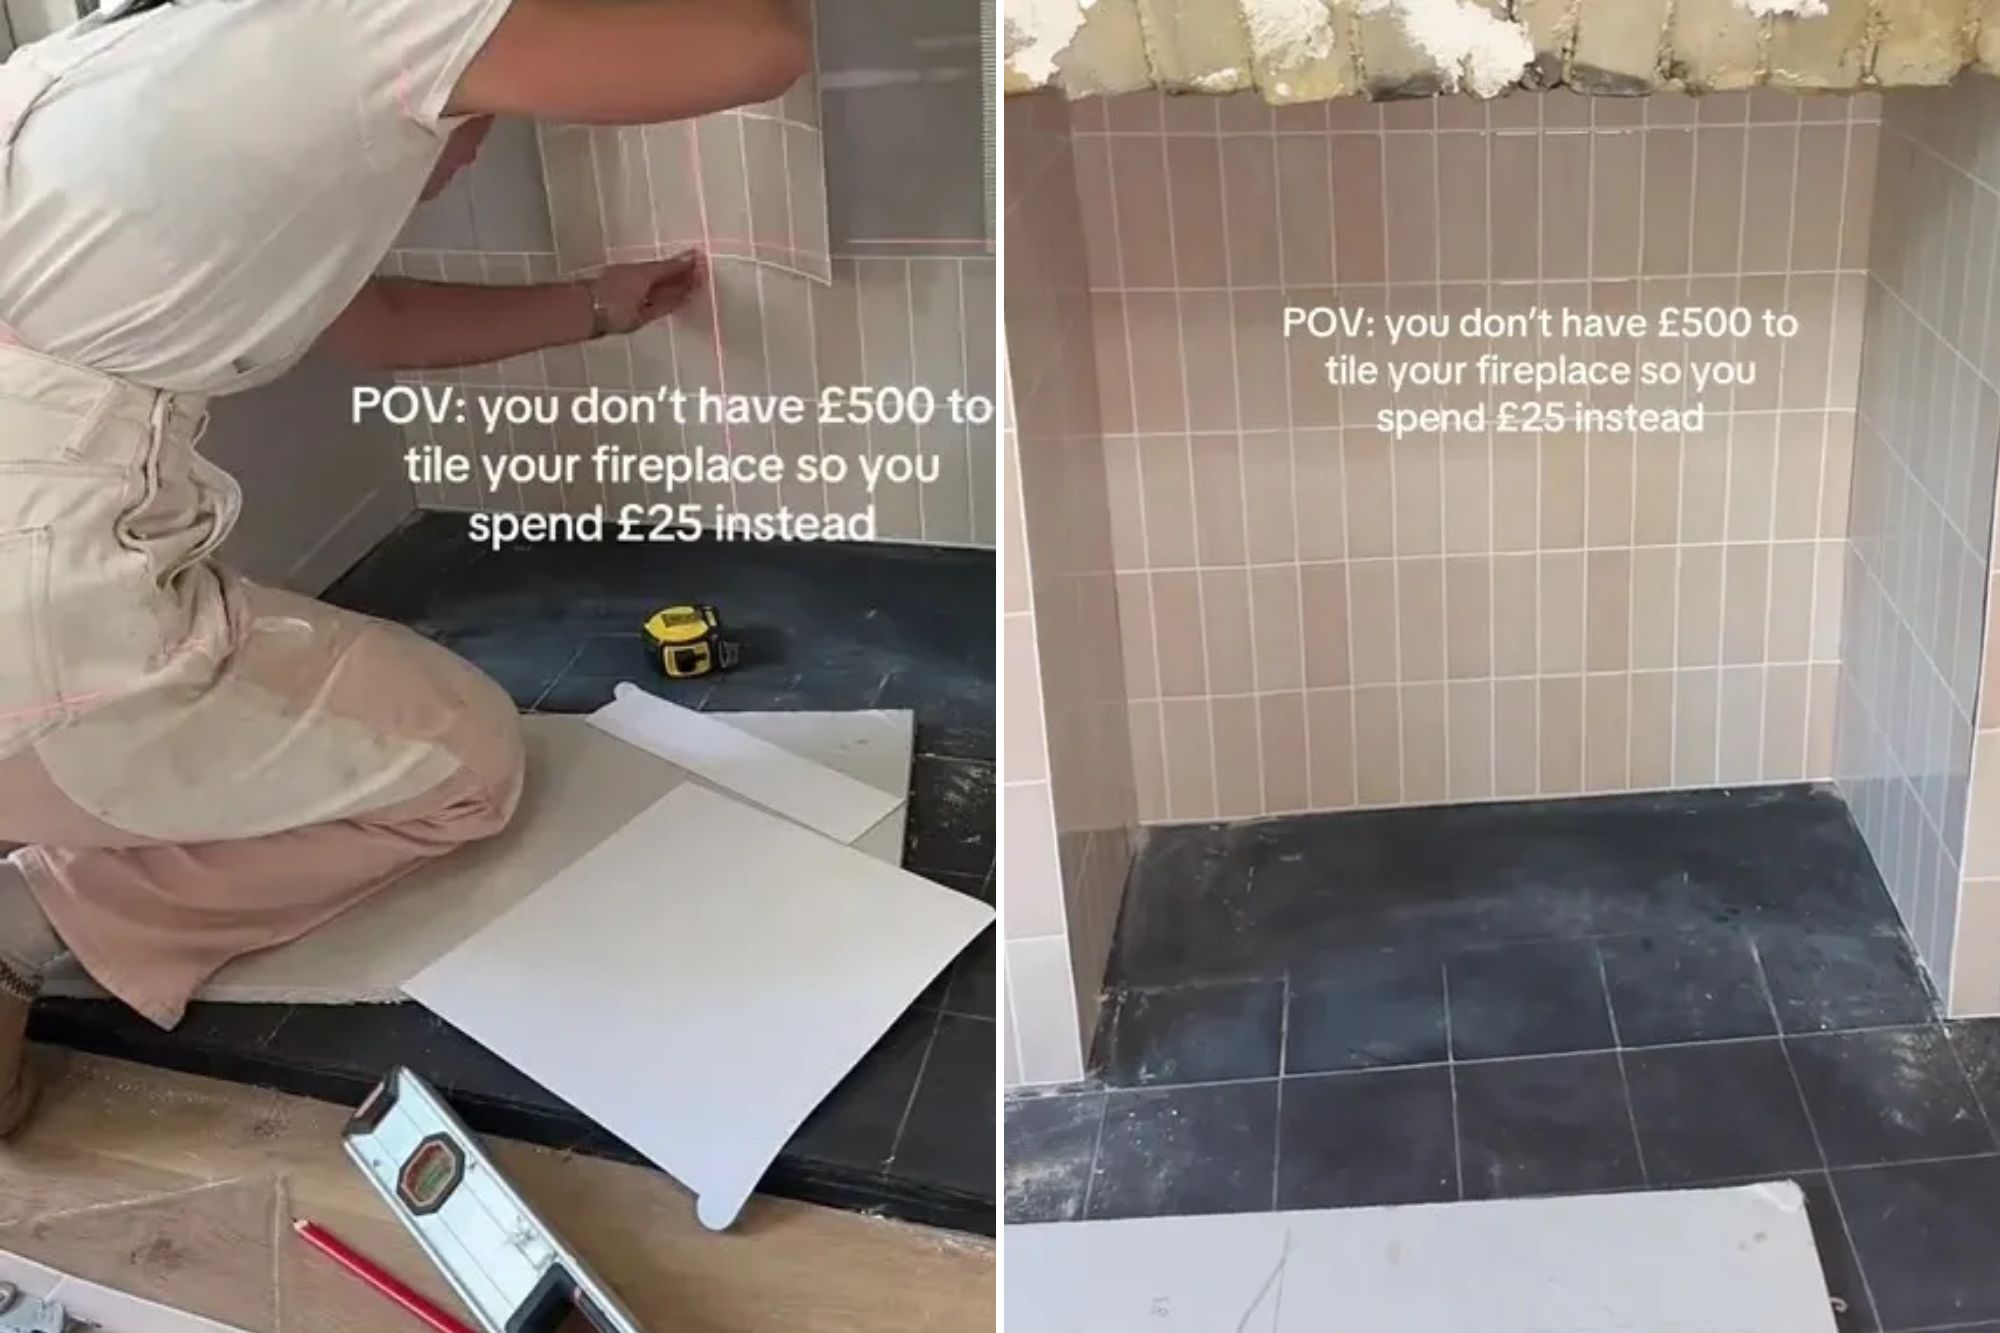
I didn’t have £500 for a new fireplace so transformed it myself for just £25, it took just one hour and no skills
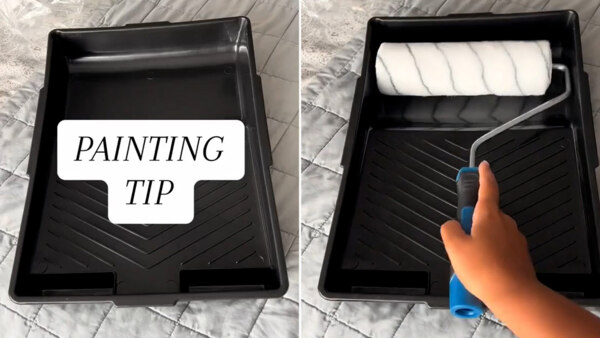
I’m a paint expert - the £1.25 buy pros swear by for a flawless finish on walls
Craig Phillips’ 8 tips on the best ways to refresh your home with a lick of paint