1/2
Framing a Dramatic Dormer
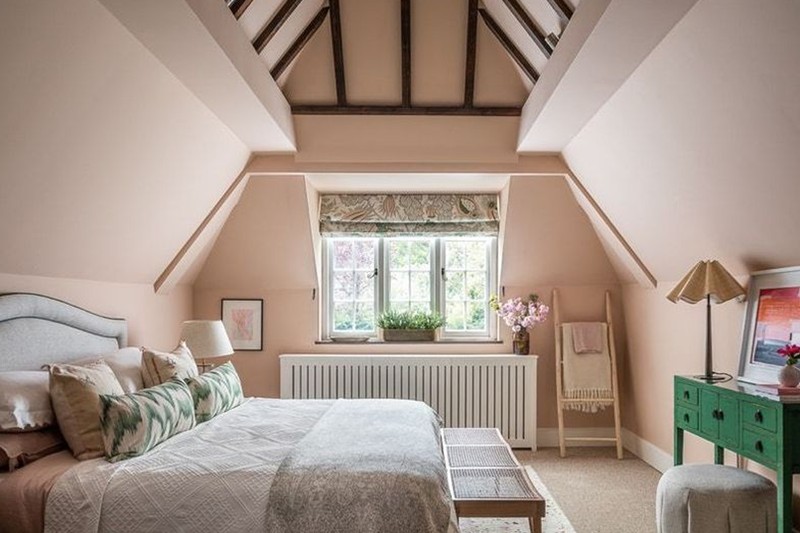
A-dormers offer a visually appealing alternative to traditional doghouse or shed dormers, particularly for homes requiring an exciting design element and enhanced weather sealing. These dormers are characterized by their gable wall aligning with the exterior wall of the house below, making them one of the few dormer types that appear aesthetically pleasing without being recessed into the roof. A-dormers are especially suitable for steeply pitched roofs, where they may provide minimal additional floor area but effectively accommodate tall windows and facilitate intricate cathedral ceiling designs.
One significant advantage of A-dormers lies in their simplified exterior trim and inherent weatherproofing qualities. They typically feature a uniform soffit width and extended rakes that connect with minimal horizontal fascia, contributing to a clean and streamlined appearance. Unlike other dormer types, A-dormers integrate their entire roof into a valley with the main house roof, eliminating common detailing challenges such as cheeks, corner boards, or complex siding-to-roof flashings. This design characteristic not only simplifies the finishing process but also enhances their resistance to the elements.
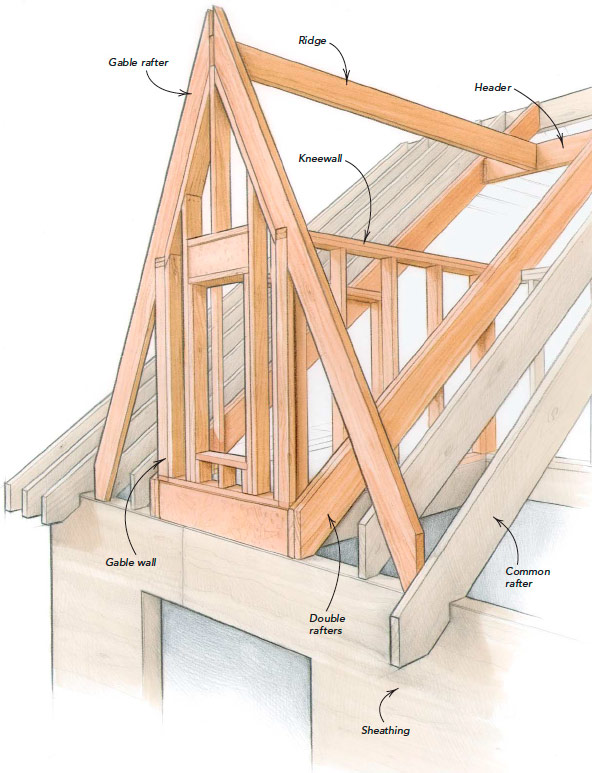
The initial framing steps for an A-dormer largely mirror those for other dormer types, commencing with the framing of the main roof. This involves erecting the gables, setting the ridge beam, and installing common rafters, with double or triple rafters specifically placed to frame the dormer openings. For a project on Block Island, Rhode Island, A-dormers were supported by 5-ft. high kneewalls that extended inward from the exterior wall, with beams in the ceiling below providing the necessary support. The process began by framing these kneewalls and setting all common rafters for the main roof outside of them.
Due to the flush alignment of A-dormer gable walls with the wall below, specific common rafters must have their tails trimmed flush with the exterior-wall plate. A triangulation method, utilizing the dormer pitch and kneewall height, helps determine which common rafters require this flush cut and which need full tails to support the fascia between dormers. Subsequently, the gable faces of the dormers are framed. This involves snapping lines on the subfloor to delineate the top and bottom plates and king studs, then framing the walls according to these lines before lifting them into position. This method is a scaled-down version of raising a main gable.
The project dormers had a steep 24-in-12 pitch, necessitating 64° bevel cuts for the tops of the studs, a task that often exceeds the capacity of standard saws. For efficiency, studs for the narrow dormers, numbering approximately eight per dormer, were mass-produced by stacking them on edge and gang-cutting them, using an 8 1/4-inch circular saw or a regular saw supplemented with a reciprocating saw for completion. Following this, dormer ridge heights were established from the architectural plans, and headers were installed between the doubled common rafters on each side of the dormers, supported by hangers. After plumbing the gables, ridge boards were cut, laid out, and nailed. A pattern rafter was then created and tested, followed by the installation of a pair of rafters on each dormer gable. Short studs were cut and installed under these gable rafters, outside the kneewalls, to serve as nailers for the sheathing and to connect the common-rafter ends to the dormer's gable rafter. Finally, the sheathing from the main house was extended onto the dormer gable, completing the structural framing.
#A-dormers #DormerFraming #RoofFraming #NewEnglandArchitecture #HomeConstruction #Weatherproofing #BuildingTechniques #SteepRoof #FramingMethods #A-dormers #DormerFraming #RoofFraming #NewEnglandArchitecture #HomeConstruction #Weatherproofing #BuildingTechniques #SteepRoof #FramingMethods
0 commenti in totale
 Nessun commento ancora
Potresti anche gradire
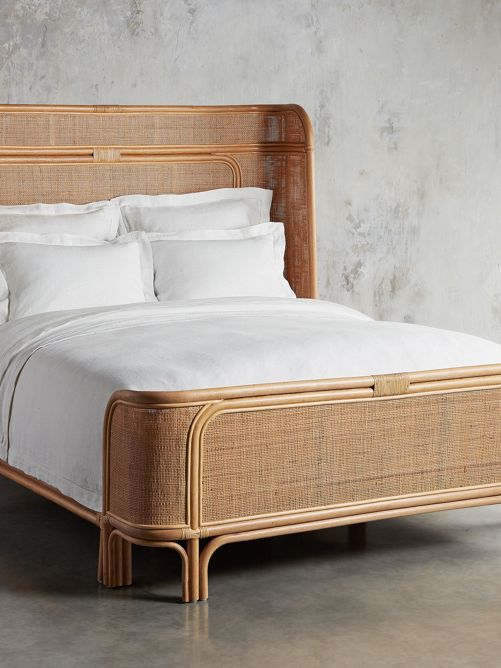
Bring On the Bedroom Drama With a Rattan Bed

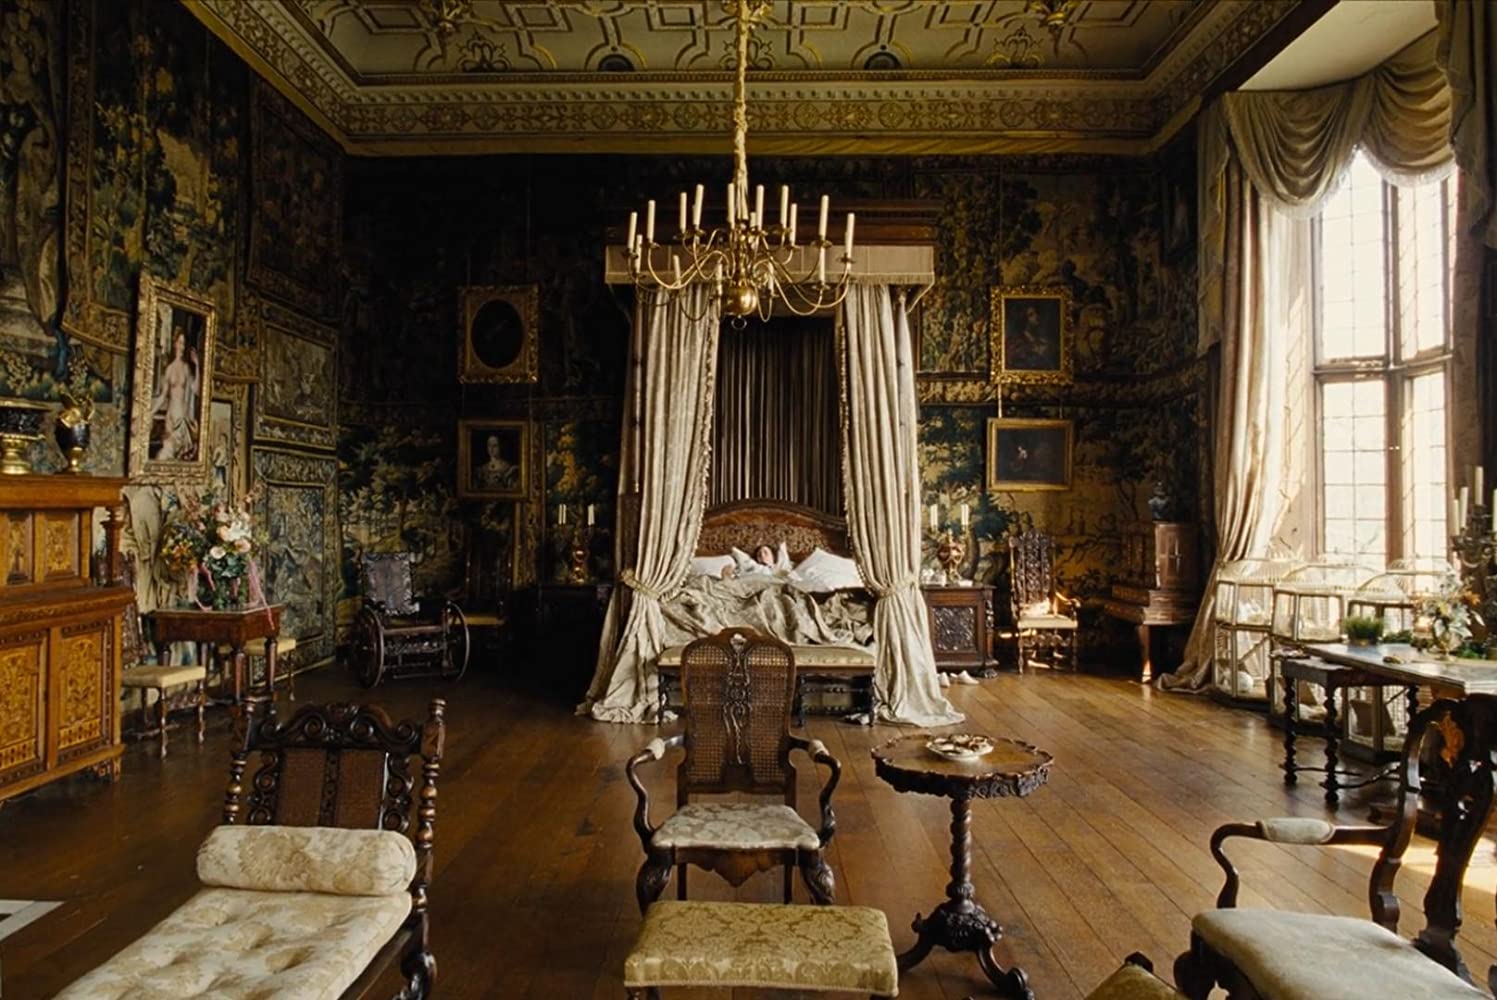
9 Iconic Movie Bedrooms We Can't Stop Dreaming About

Bedroom wall art ideas – how to style the blank space over your bed, according to interior designers

20 Dark Feminine Bedroom Ideas That Blend Elegance with Boldness
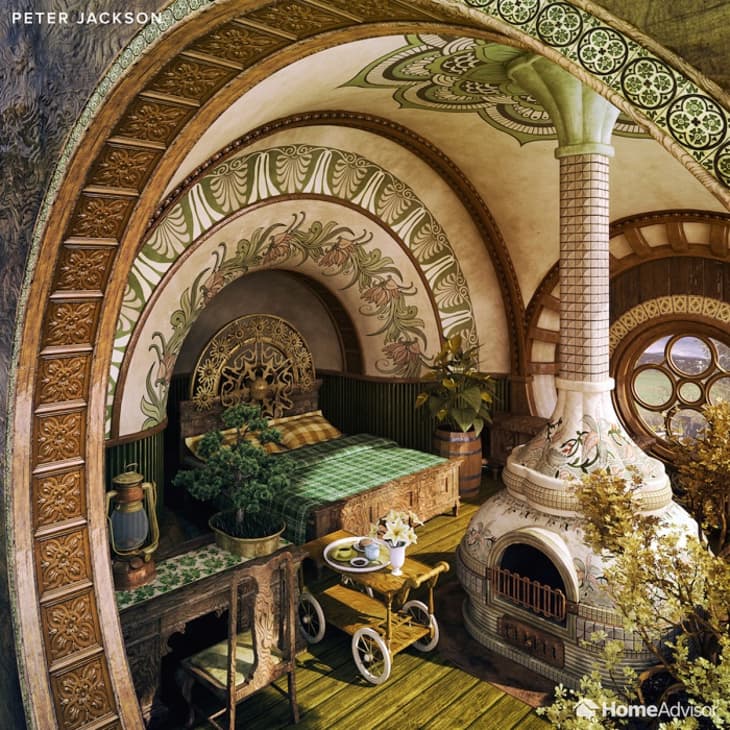
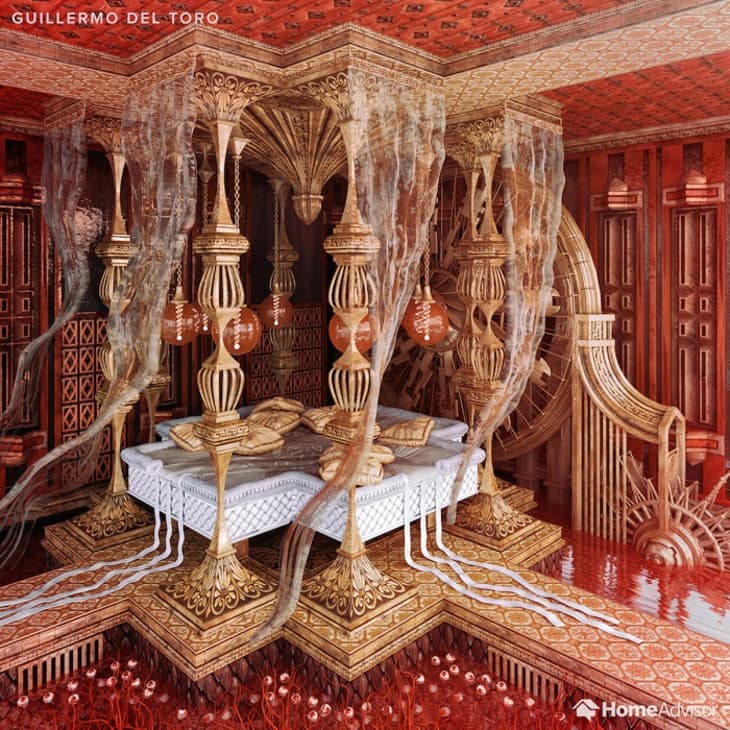
These 7 Fantasy Bedrooms Are Inspired by Wes Anderson, Peter Jackson and More Star Directors
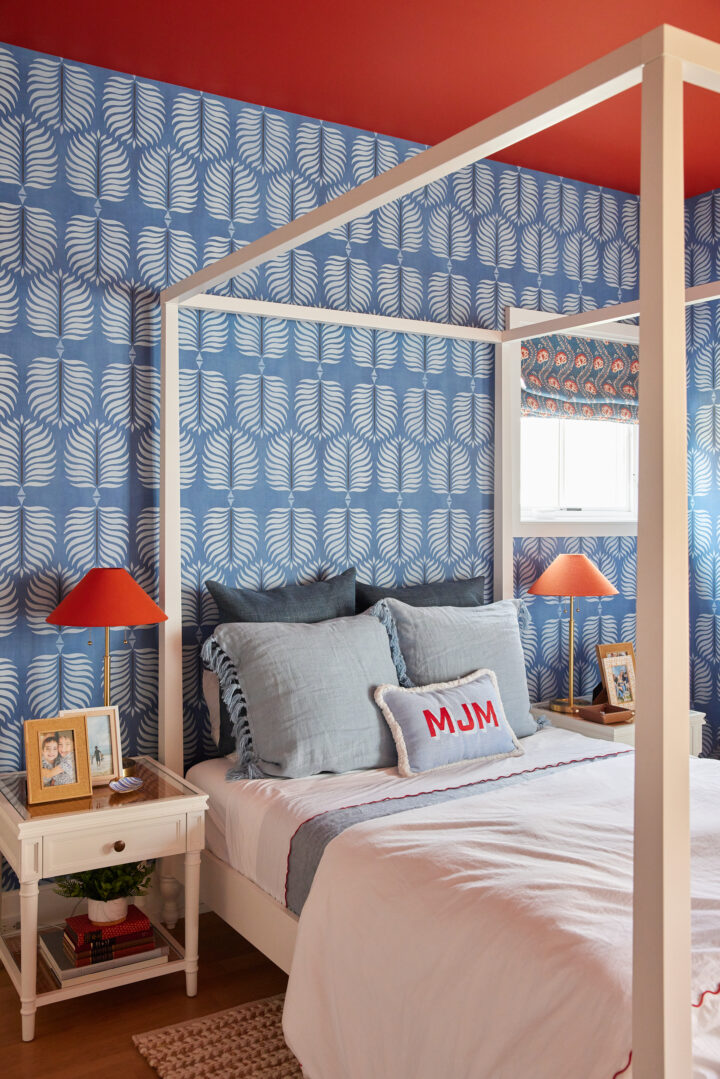
Major’s Bedroom Reveal

10 Ultra-Cozy Anthropologie Bedroom Decor Finds For Fall

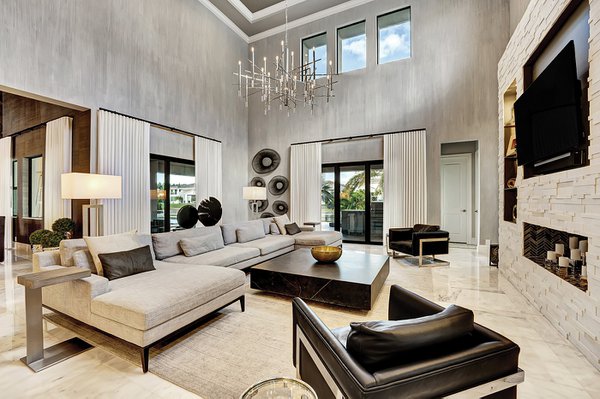
Decorator's Dream


Sanctuary :: My Bedroom Decor with Leesa + west elm

The abandoned bedroom: Dan Bracken


Inside Idina Menzel’s Magical Redwood Dressing Room

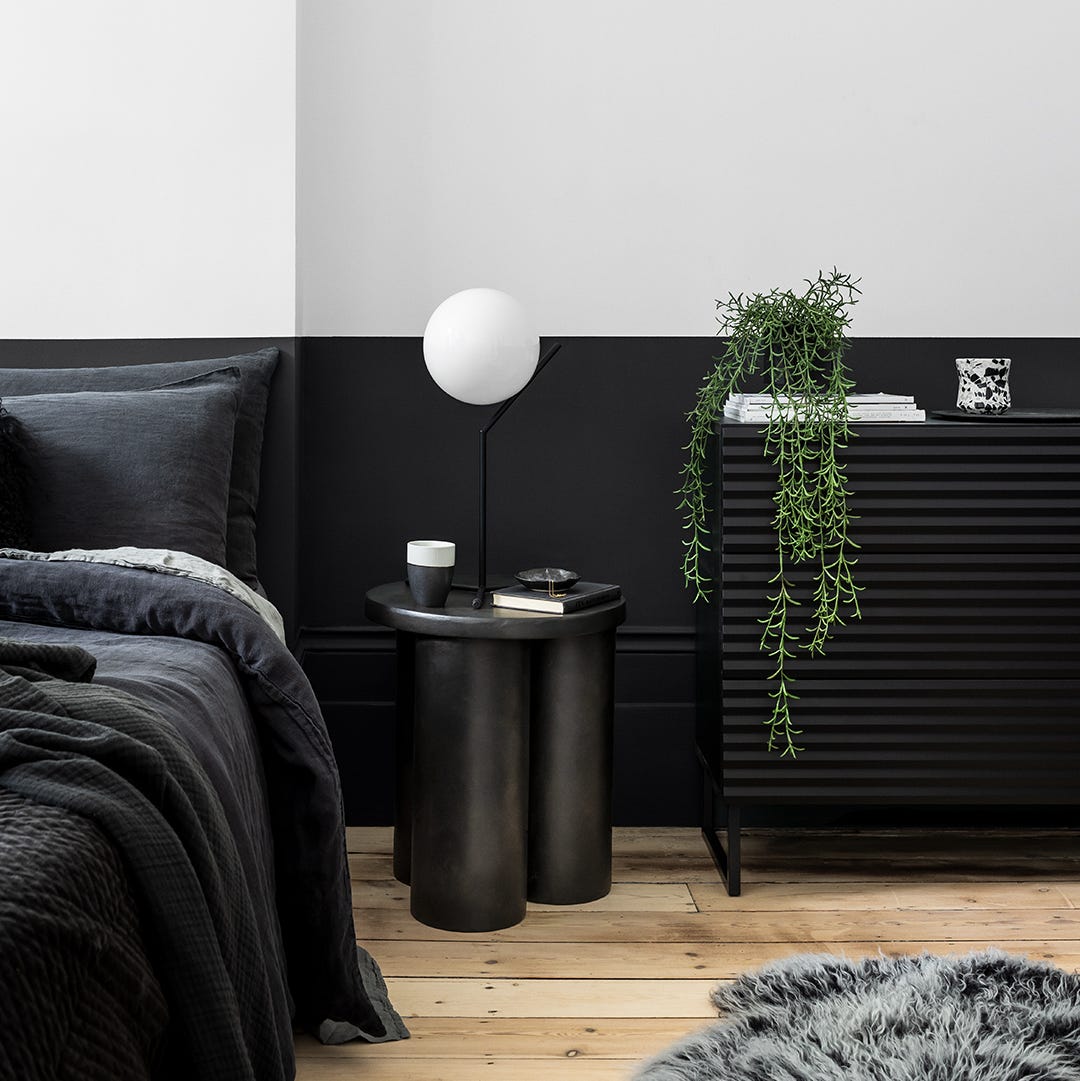
From Chic To Cosy: 10 Black Bedroom Ideas You Need To Try


DRAMA IN THE SIMPLE – AROUND THE FRAME

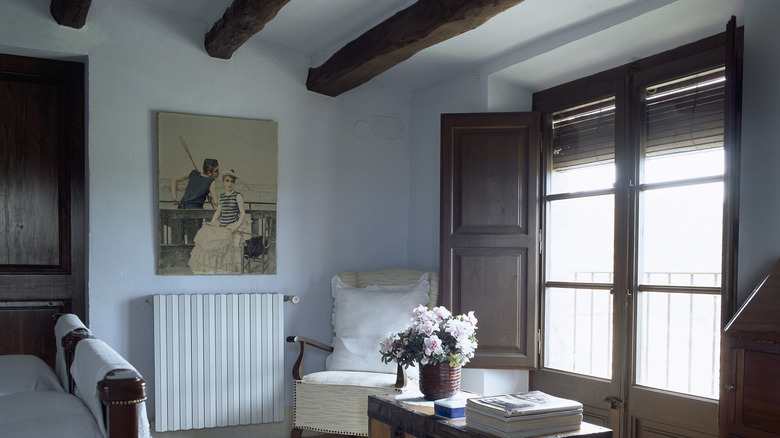
20 Craftsman-Inspired Bedrooms That You'll Want To Sleep In
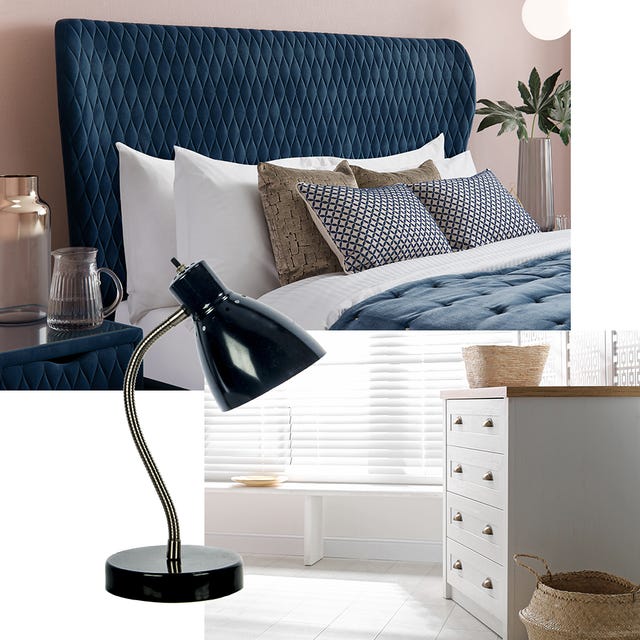
6 editors share their bedroom decorating hacks
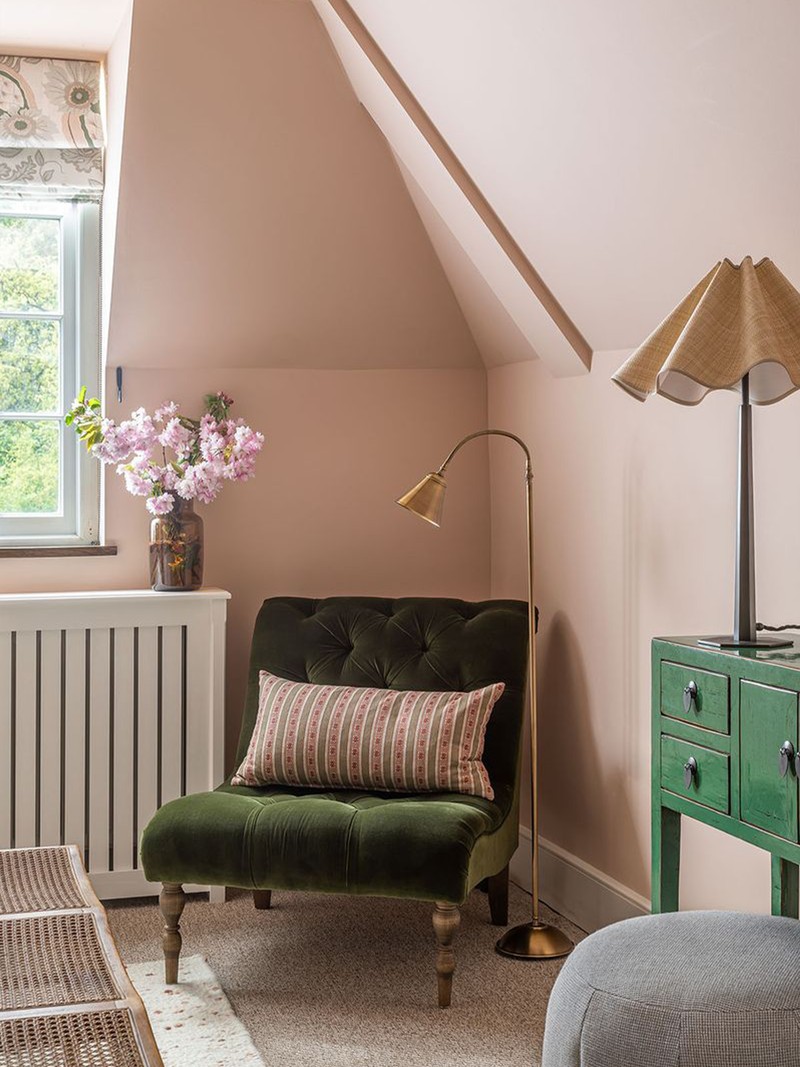
Interiors Get The Look: An Inviting Bedroom
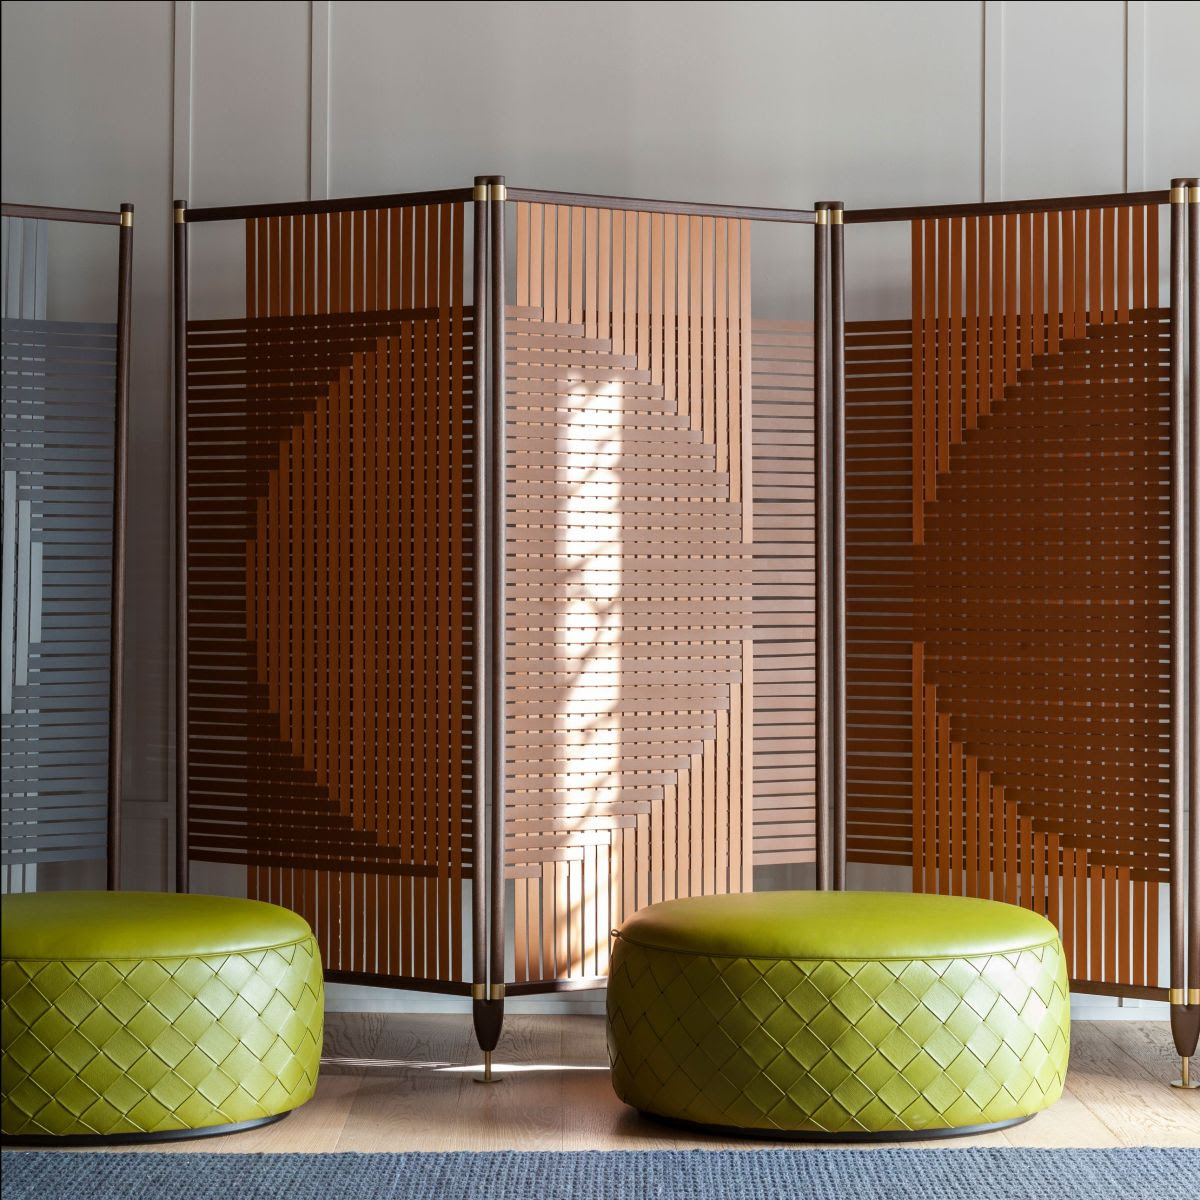
Plot: A Series of Playful Room Dividers by GamFratesi for Poltrona Frau

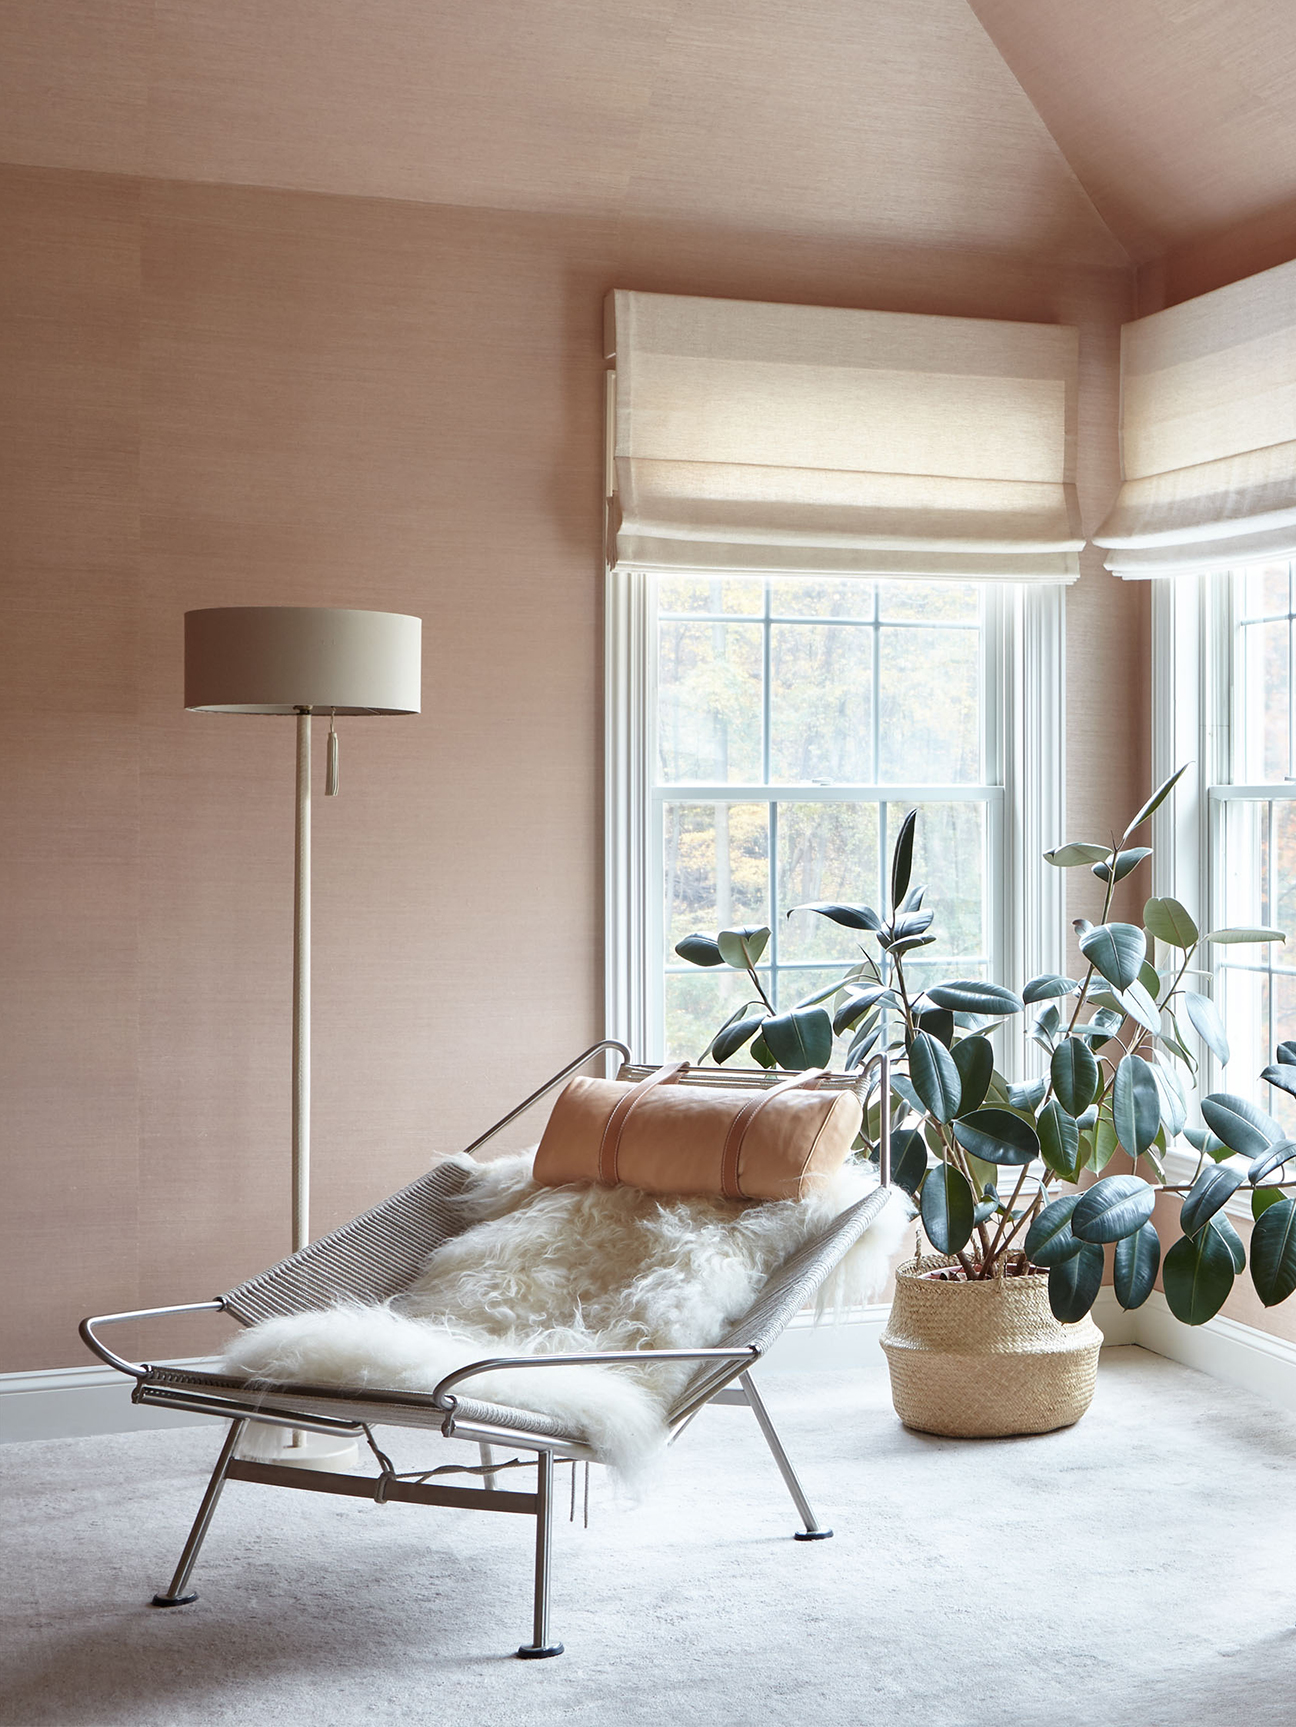
A Clever Use of Wallpaper Tied Together This Tetris-Like Bedroom Suite

See How a Designer Embraced a Love of Contrasts to Transform a Bedroom
The 6 Best Bed Frames We Tested: ‘It Really Improves My Bedroom Aesthetic’