1/7
I added a ratgdo to my garage door, and I don’t know why I waited so long
The author, a resident of suburbia, describes the journey of smart home automating their garage door. Initially, a Raspberry Pi-based solution was implemented to send email alerts upon the garage door's status change, but this setup failed due to excessive heat during a Texas summer. This led to a search for a more robust and integrated solution for monitoring and controlling the garage door remotely.
Key requirements for the new automation system included compatibility with the existing garage door opener, a LiftMaster (part of the Chamberlain Group), and seamless integration with Apple's HomeKit ecosystem. The author quickly dismissed Chamberlain's proprietary "MyQ" solution due to its limitations, including the reliance on a discontinued accessory for HomeKit integration and the requirement to use a dedicated app. Concerns were also raised regarding MyQ's privacy policy, which suggested potential data monetization, and the association of the Chamberlain Group with a private equity firm known for poor data stewardship.
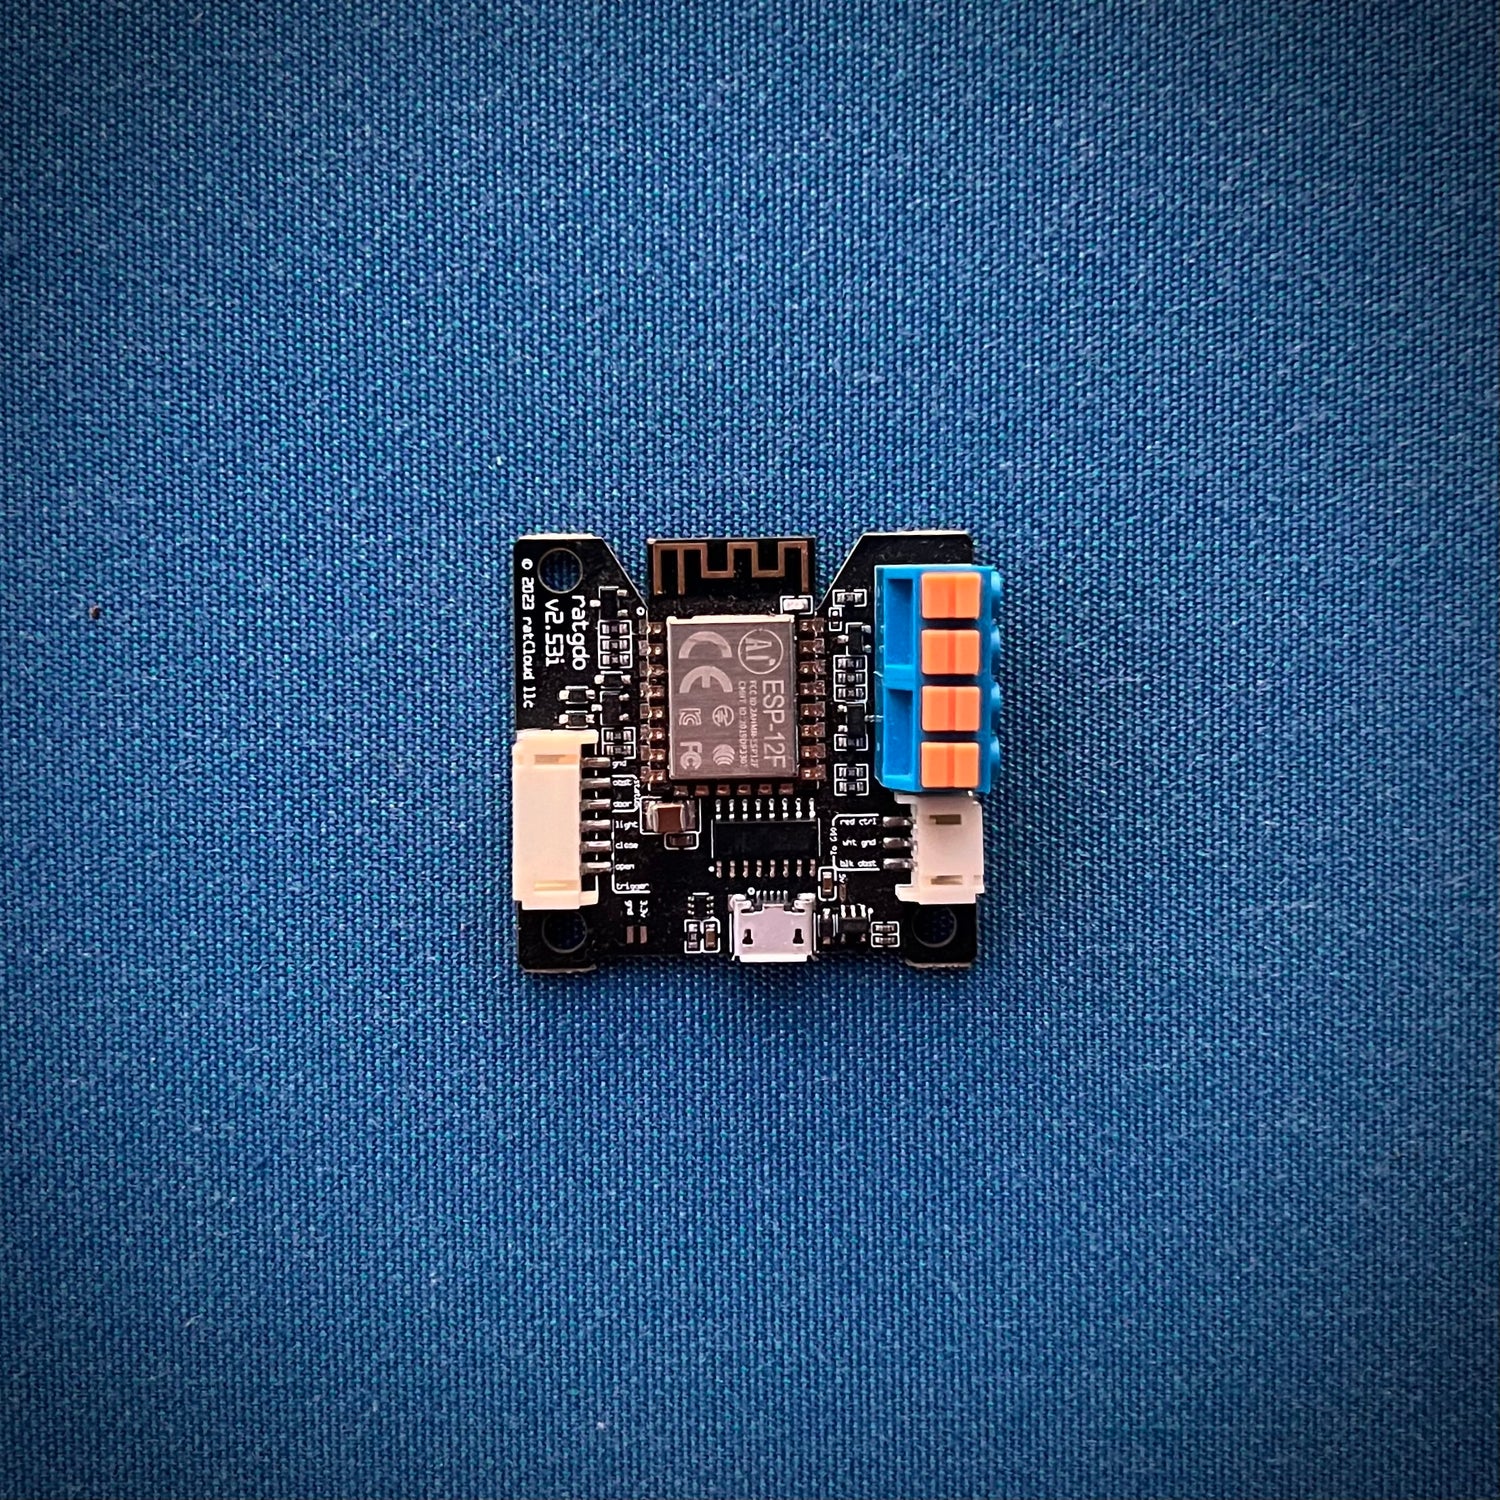
The search then shifted to third-party solutions that bypass MyQ's ecosystem by directly interfacing with the garage door opener. Several options were considered, such as Meross, Tailwind, and iSmartGate. The article notes that a Homebridge plugin for MyQ integration had previously existed but became non-functional due to changes in MyQ's API. Ultimately, the author chose ratgdo, a small board with built-in Wi-Fi, known for its open-source compatibility and ability to work with various home automation services.
The ratgdo, which stands for “rage against the garage door opener,” supports ESPHome and MQTT, making it compatible with Home Assistant and, by extension, other major home automation platforms. The specific version of ratgdo chosen supports Chamberlain openers using the Security + 2.0 standard, which was suitable for the author's 2022-era LiftMaster model. The installation process involved flashing the ratgdo with HomeKit-specific firmware via a USB connection and a web interface, followed by joining it to the home's Wi-Fi network and then to HomeKit by scanning a QR code.
Physical installation was straightforward, requiring the ratgdo to be wired between the garage door opener's terminals and the existing door sensors and switch. Power was supplied via a micro-USB connection using an included adapter. The entire physical setup took approximately five minutes. Upon completion, the garage door could be controlled and its status checked using Siri commands through HomeKit. The author expresses satisfaction with the ratgdo's performance, highlighting its local operation that avoids sharing personal data with the opener's manufacturer. While acknowledging HomeKit's cloud dependency, the author views the current setup as a successful and convenient solution for home automation.
#SmartHome #HomeAutomation #GarageDoorOpener #ratgdo #HomeKit #OpenSourceHardware #DIYTech #ChamberlainMyQ #IoT #SmartHome #HomeAutomation #GarageDoorOpener #ratgdo #HomeKit #OpenSourceHardware #DIYTech #ChamberlainMyQ #IoT
 Aún no hay comentarios
Fixing a garage door yourself vs calling the pros

Column: Garage doors are for more than just new home repair project