1/7
This Designer Didn’t Have to Demo Her Porcelain Kitchen Floors to Get Rid of Them
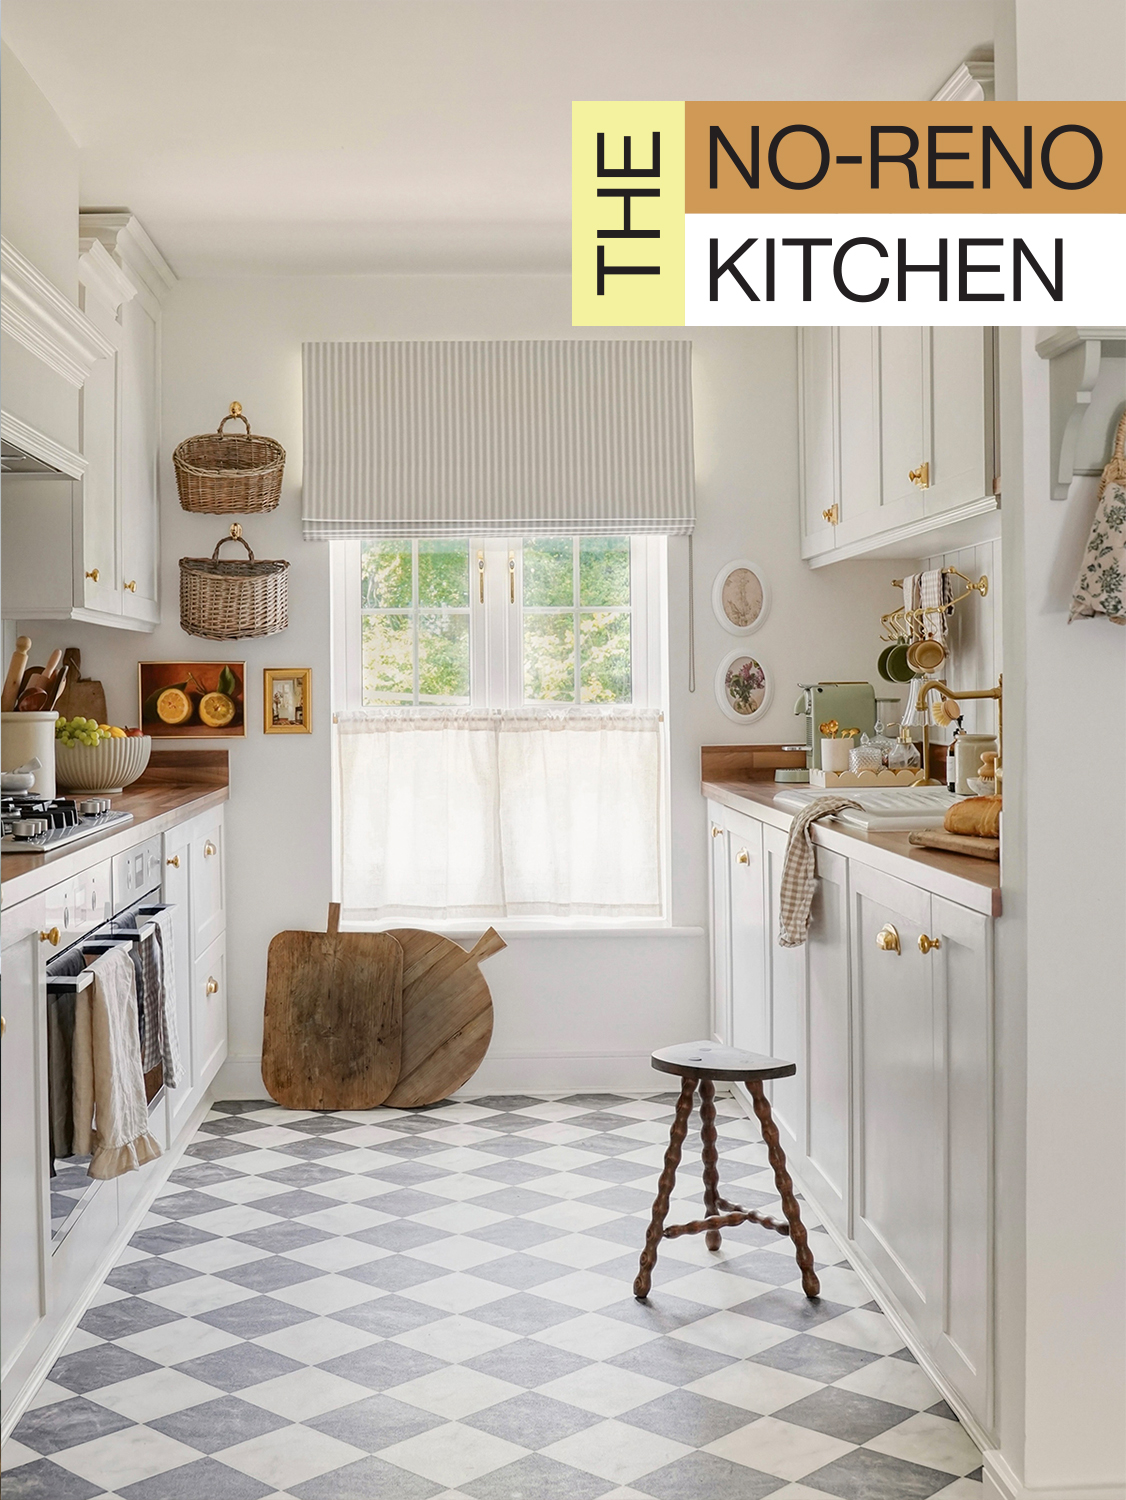
The article details the transformation of a new-construction galley kitchen in Hampshire, England, by designer Arthty Ragupathy, who aimed to imbue it with character and a 'cottage cool' aesthetic without extensive demolition. Ragupathy and her husband inherited a builder-grade kitchen with limited finish choices, including butcher block countertops and off-center elements like a window, which prompted their desire for a personalized space. Their renovation approach prioritized minimal demo to reduce material waste and cost, focusing instead on strategic modifications and DIY projects.
The initial step involved preparing the cabinets. The couple sanded down the glossy finish to allow paint primer to adhere properly, though Ragupathy later noted that Zinsser’s BIN Primer Sealer could have bypassed the sanding stage. They then added MDF rails and stiles to the cabinet doors to create a Shaker-style appearance, repainting them white to complement the existing butcher block countertops. The upper cabinets on the sink side, originally a foot-and-a-half tall, were replaced with larger units to maximize storage and eliminate a 'dusting nightmare' gap. Crown molding was subsequently installed across all upper cabinets to create the illusion of extending to the ceiling, contributing to a more finished and integrated look.
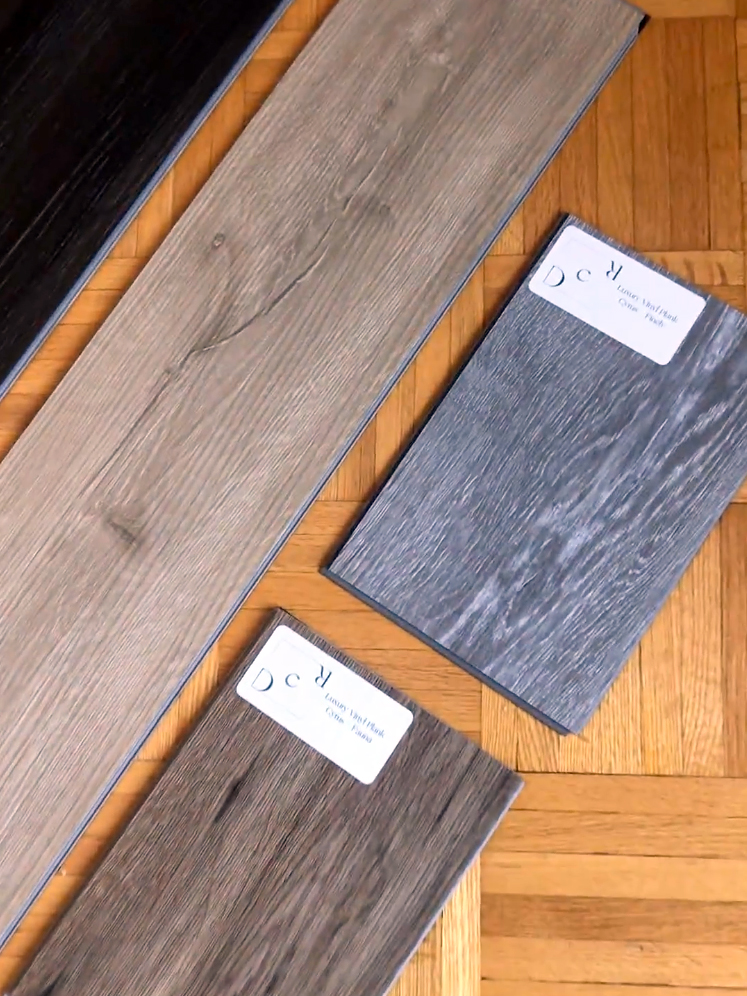
A significant part of the kitchen's transformation involved the flooring. Instead of removing the existing white porcelain tiles, the couple opted to have screed laid over the surface for approximately $90. This concretelike finish provided a level base onto which new laminate checkerboard tiles were easily applied, a process that took only about half an hour due to the kitchen's small size. This method efficiently updated the floor without the mess and expense of a full tile removal.
For the backsplash, Ragupathy employed a cost-effective strategy using tongue-and-groove panels secured directly over the existing walls with Gripfill adhesive, avoiding the need for chiseling. A minor challenge arose in fitting the panels flush with the countertop due to insufficient depth. This was resolved by gluing half dowels along the border, followed by generous caulking to achieve a clean, seamless finish. A small quartz sliver above the cooktop, a $63 find from Facebook Marketplace, was installed using strong adhesive, adding a touch of elegance.
One of the most impactful DIY projects was constructing a custom range hood box. The original exposed stainless steel hood felt industrial and was the first thing visible upon entering the kitchen. To address this, the couple built a wooden frame around it, attaching it to wood studs in the wall. Decorative crown molding made from lightweight polystyrene was then glued around the top, effectively transforming the utilitarian fixture into an architectural feature.
Addressing the off-center window, Ragupathy hung large baskets on the wall to visually balance the space. Below the window, a small lemon print mounted on a shadow box ingeniously concealed the thermostat. Even smaller details were considered, such as spray painting a black coffee machine green to better suit the refreshed aesthetic. These personal touches underscore Ragupathy’s belief that the kitchen, though imperfect, is special because it is a product of their hard work and personal vision, successfully transitioning from a generic new-build to a charming, personalized space without extensive demolition.
#KitchenRenovation #DIYHomeImprovement #BuilderGradeKitchen #GalleyKitchen #NoRenoKitchen #AffordableDesign #ShakerCabinets #LaminateFlooring #BacksplashIdeas #KitchenRenovation #DIYHomeImprovement #BuilderGradeKitchen #GalleyKitchen #NoRenoKitchen #AffordableDesign #ShakerCabinets #LaminateFlooring #BacksplashIdeas
0 comment in total
 No comments yet
You may also like
A Renter Transformed Her “Dated” Kitchen Cabinets — Without a Drop of Paint
This Designer’s Hack for a Real Marble Countertop in a Rental: Make It Removable

10 kitchen flooring ideas for a refreshed look
This designer just revealed how she makes new stone flooring look original – it's all about the layout

There Was One Thing This Stylist Didn’t Want in Her Kitchen, and That Was Marble
Renovators Are Moving Away From This Shower-Floor Material

A Stencil and Paint Transformed This Homeowner's Plain Concrete Floors

You Don’t Have to Demo Your Old Floors to Get New Ones

To Avoid a Kitchen Reno, This Designer Cleverly Covered Up Her Boring Cabinets
We Asked Designers How to Cover Up Dingy Kitchen Floor Tiles, And It's Actually So Easy

6 Kitchen Flooring Options That Are Durable And Stylish

Our New Kitchen Backsplash Crush Is (Spoiler!) Not Tile
How a Renter Totally Disguised Her "Dated" Kitchen Cabinets — Without a Drop of Paint

This Once-Taboo Kitchen Flooring Is Climbing the Ranks
I'm an interiors editor - here's why I ditched wall cabinets in my new kitchen
These Designer-Approved Flooring Ideas Look Great in ANY Kitchen
This Designer Put Floorboards on Her Kitchen Ceiling—And We Can’t Stop Staring
To Splurge on Burgundy Marble, This Renovator Saved on Her Kitchen Wall Treatment

This Design Duo Hates Kitchens, So They Made the One in Their Office Invisible
6 Bathroom Tile Patterns Designers Are Ready To Say Goodbye To