1/10
Sliding Closet Doors Are a Bummer—Unless You Make This $45 Update
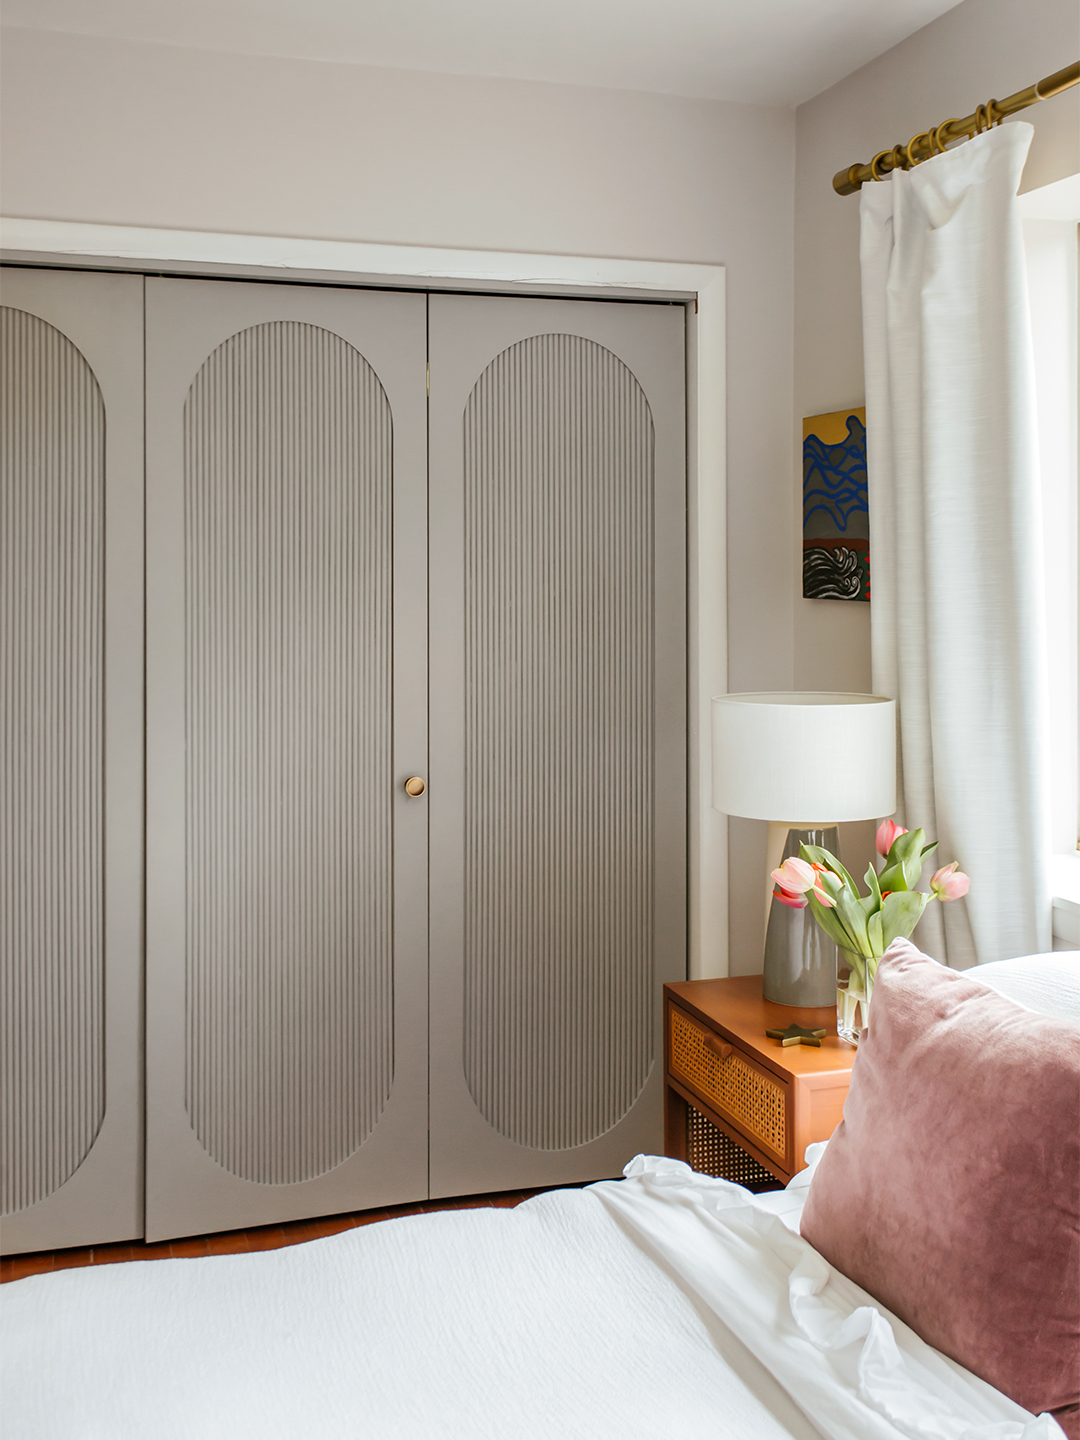
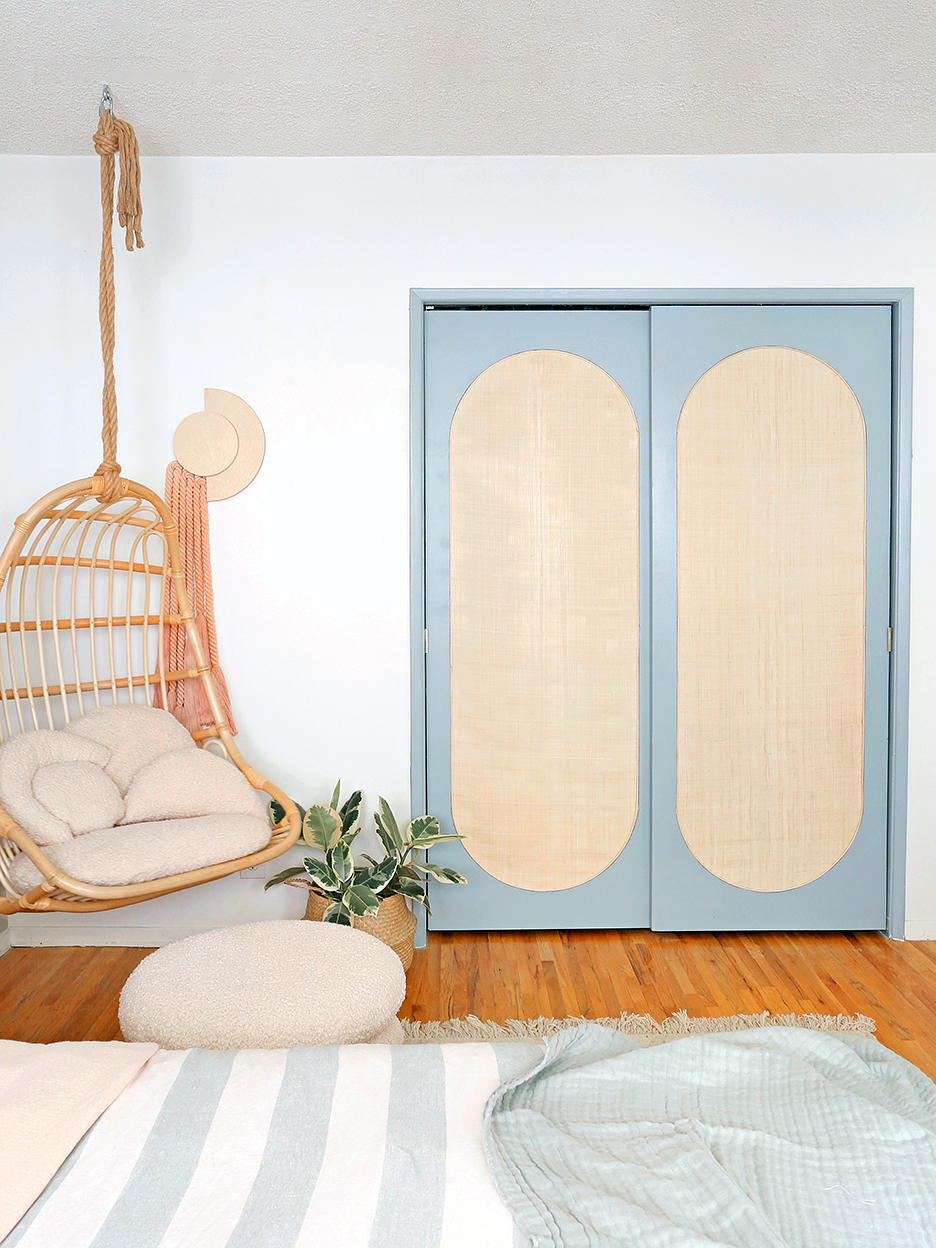
This article details a cost-effective DIY project to transform outdated sliding closet doors in a rental apartment. The project, conceived by seasoned DIYer Cynthia Moreno, addresses the common issue of unattractive and impractical 1980s-era sliding closet doors that often limit access to a closet's contents. Moreno sought a chic, non-intrusive, and budget-friendly solution that could be easily removed upon moving, making it ideal for renters.
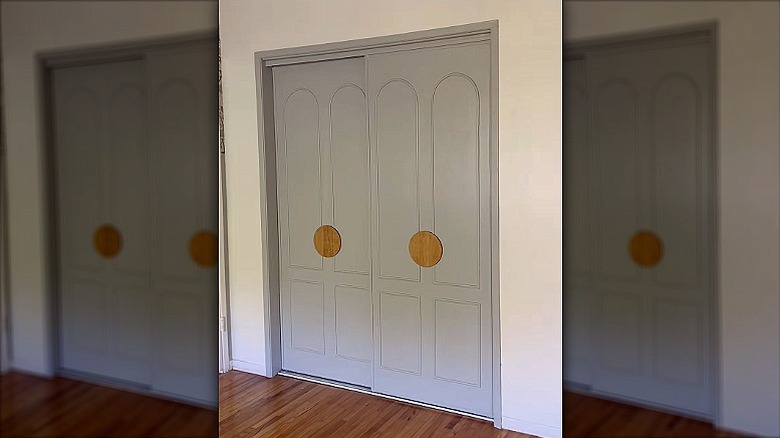
The inspiration for the updated design came from an armoire, leading to a sophisticated MDF-meets-raffia aesthetic. The entire transformation cost approximately $46 and took about four hours to complete, primarily due to paint drying times. The project's goal was to make the closet doors resemble a piece of furniture rather than a typical apartment fixture.
The first step involves measuring the existing closet doors and cutting two 4-by-8 MDF panels to match these dimensions. Moreno sourced lightweight MDF from Home Depot for $11 per piece. To create the accent shape, an oval silhouette is drawn onto the MDF using a pencil and a compass for precise curves. A jigsaw is then used to cut out the center of this shape. For those without a jigsaw, local hardware stores like Lowe's or Home Depot can often provide cutting services.
Next, the MDF panels are painted. Moreno used a breezy blue-gray hue from Behr, with a $4 sample can being sufficient for the surface area. While the paint dries, raffia fabric is adhered to the original closet doors, ensuring complete coverage. Moreno purchased her fabric from a local caning and basket supply store for $20. The edges of the fabric are secured to the doors with clear tape.
Once the painted MDF panels are dry, they are secured to the fabric-covered original doors using finishing nails or a heavy-duty staple gun. The article suggests having two people for this step, as one can hold the weight of the panels while the other attaches them. A key advantage of this method is that the original doors do not need to be removed; they can be slid open to access the entire surface during installation. If the inner edges of the cutout shape are rough, a thin strip of basket cording can be applied with hot glue to create a clean, streamlined finish.
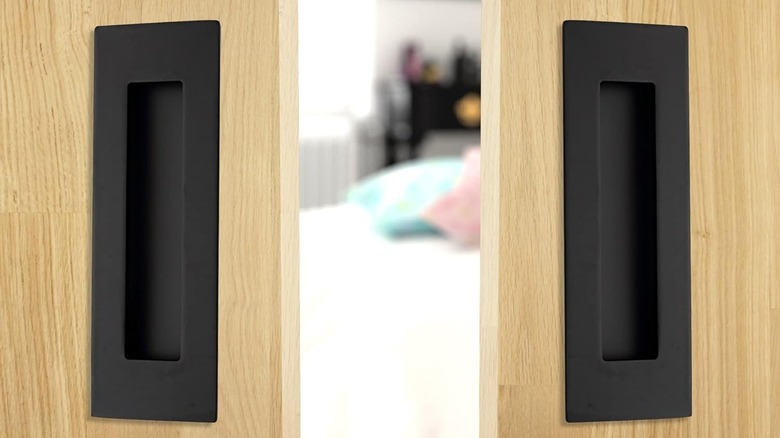
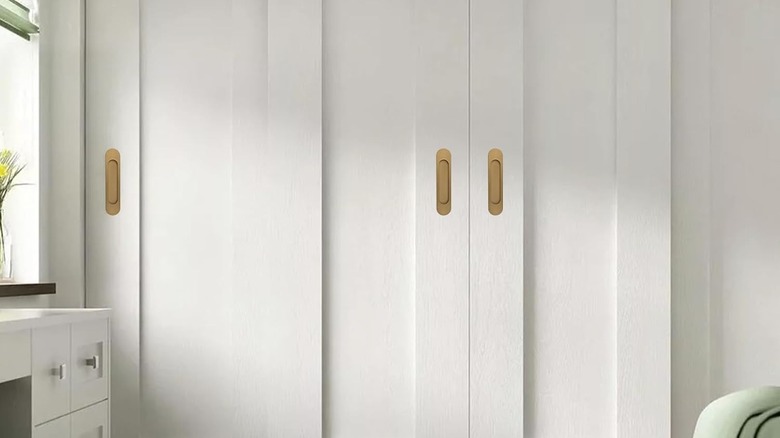
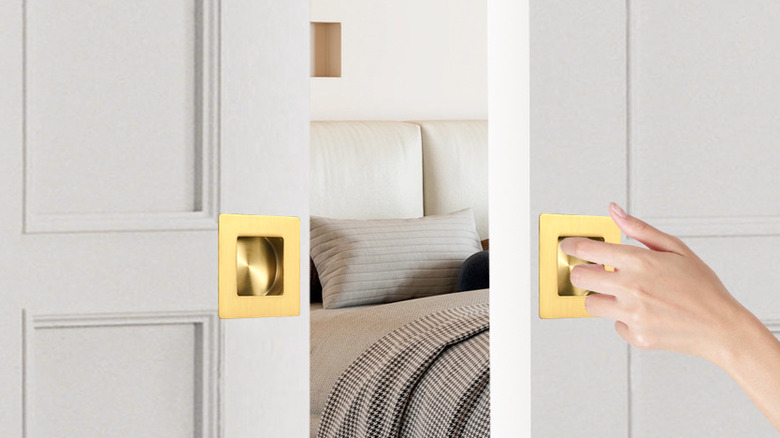
The final step addresses functionality: installing new handles. Attaching the MDF panels often covers the existing finger holds. To resolve this, simple brass finger pulls are screwed into the ends of each door, restoring easy access. This DIY project offers a creative and affordable way for renters to upgrade their living spaces without permanent alterations, demonstrating how a small investment of time and money can significantly enhance the aesthetic and feel of a room.
#ClosetDoors #DIYProject #RentalFriendly #HomeRenovation #MDFCrafts #RaffiaDecor #BudgetDecor #HomeImprovement #InteriorDesign #ClosetDoors #DIYProject #RentalFriendly #HomeRenovation #MDFCrafts #RaffiaDecor #BudgetDecor #HomeImprovement #InteriorDesign
0 comment in total
 No comments yet
You may also like
11 Sleek And Modern Hardware Upgrades For Sliding Closet Doors
This Game-Changing Storage Hack Will Give Your Closet The Best Upgrade
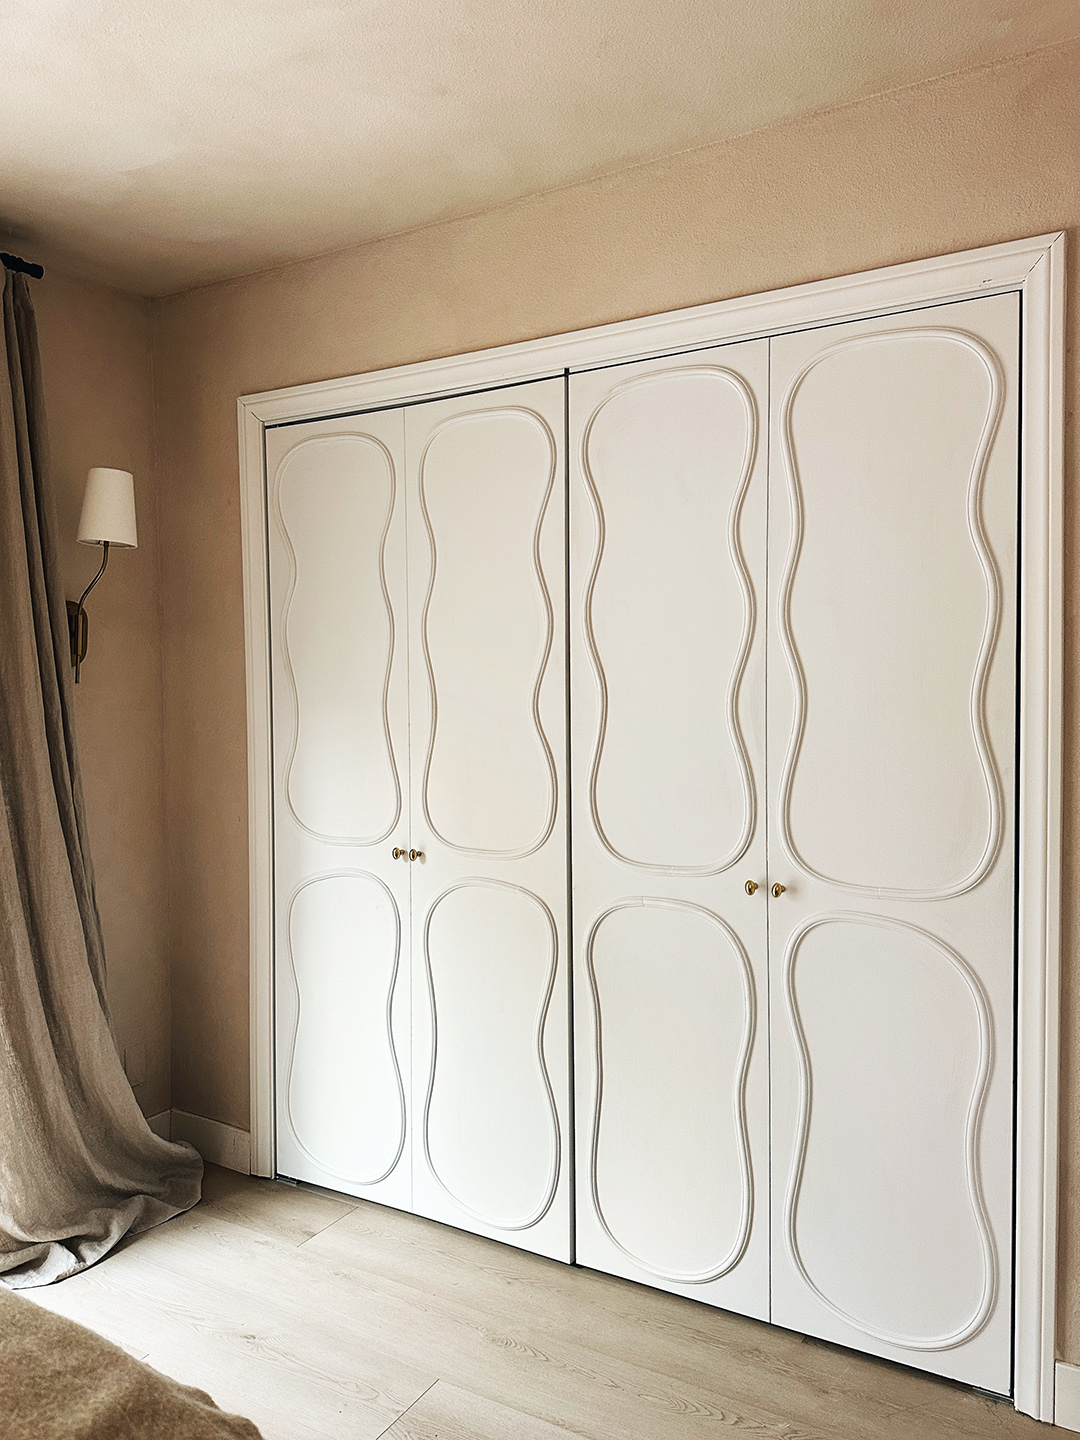
All Your Basic Bifold Closet Doors Need Is a Little Squiggly Molding

Entryways Are ‘Less Congested’ With This Elevated Storage Cabinet, Now $300+ Off

Door closer hinges: A new approach

Made to Measure Sliding Doors

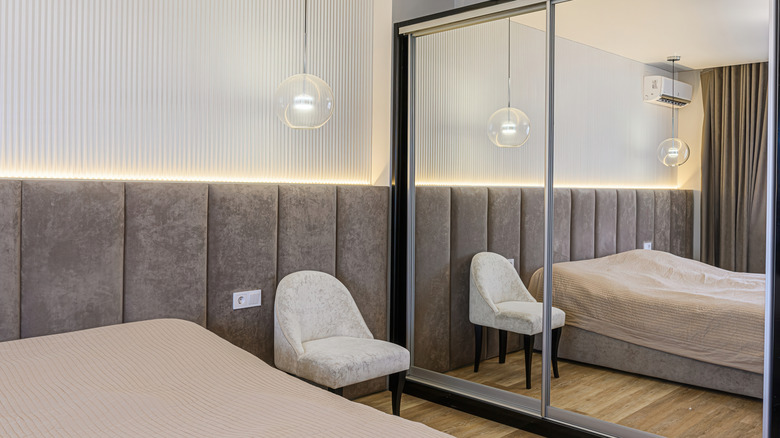
Renter's Genius DIY Completely Transforms Ugly Closet Doors: 'It Looks Amazing!'
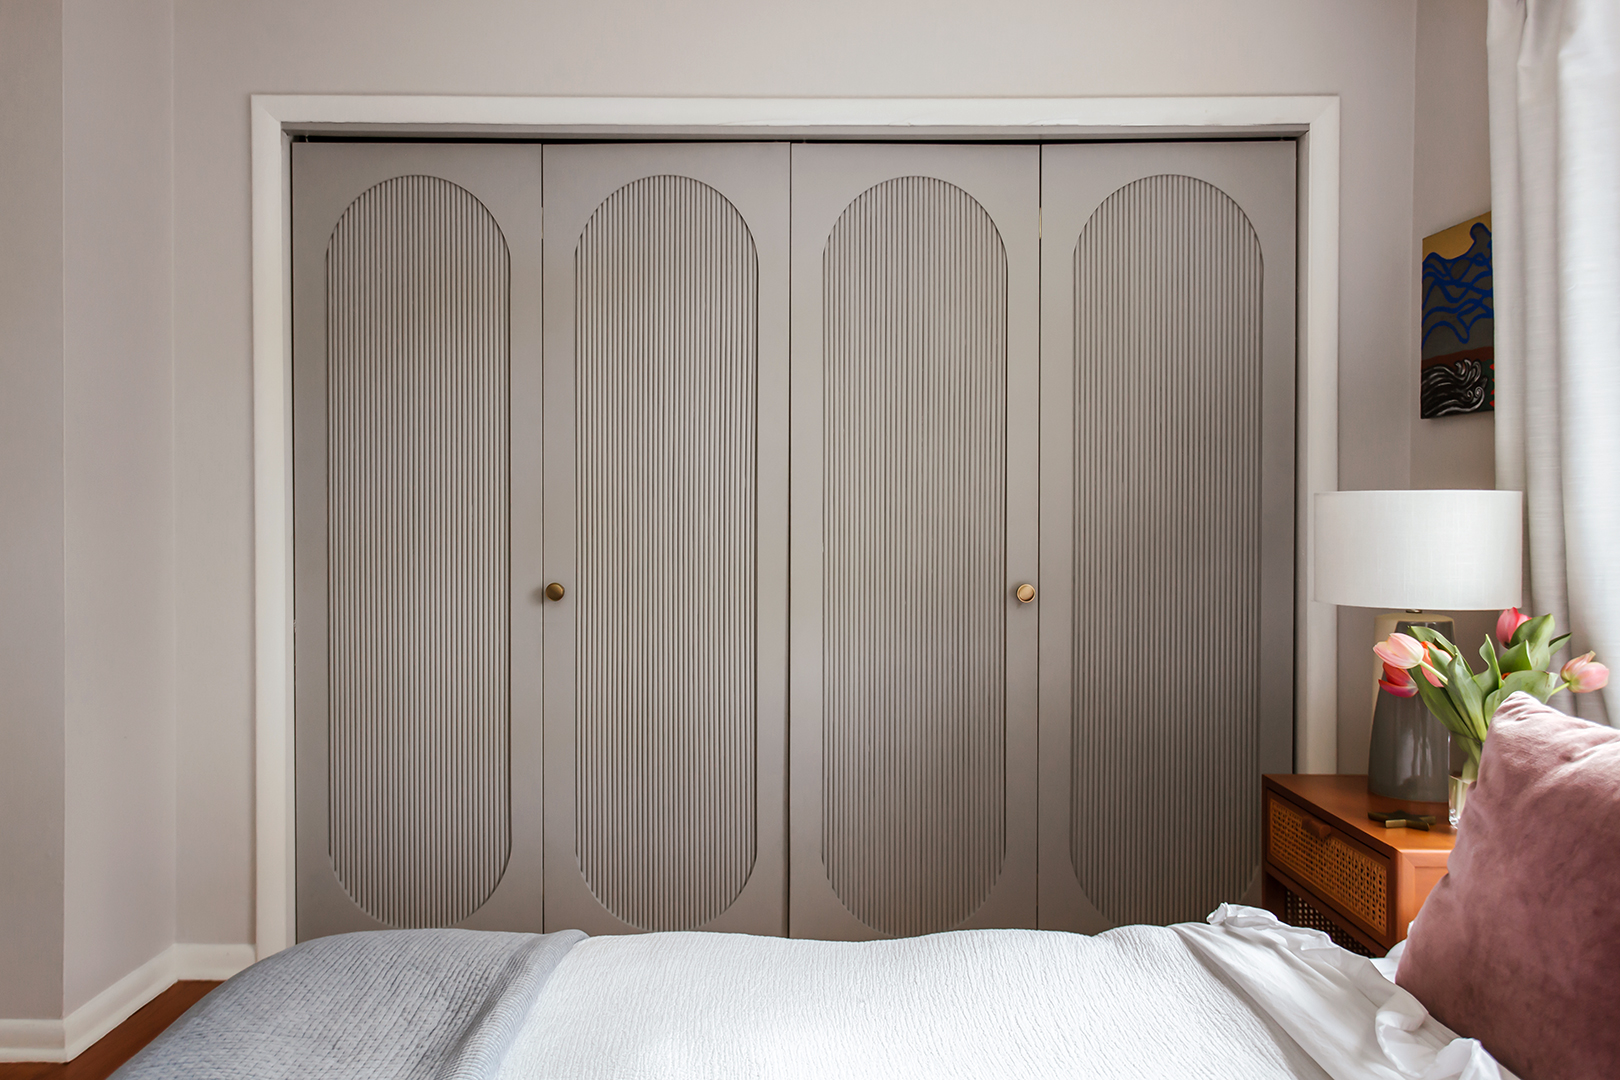
4 Ways to Reimagine Old-School Bifold Closet Doors

Sliding Wardrobe Doors

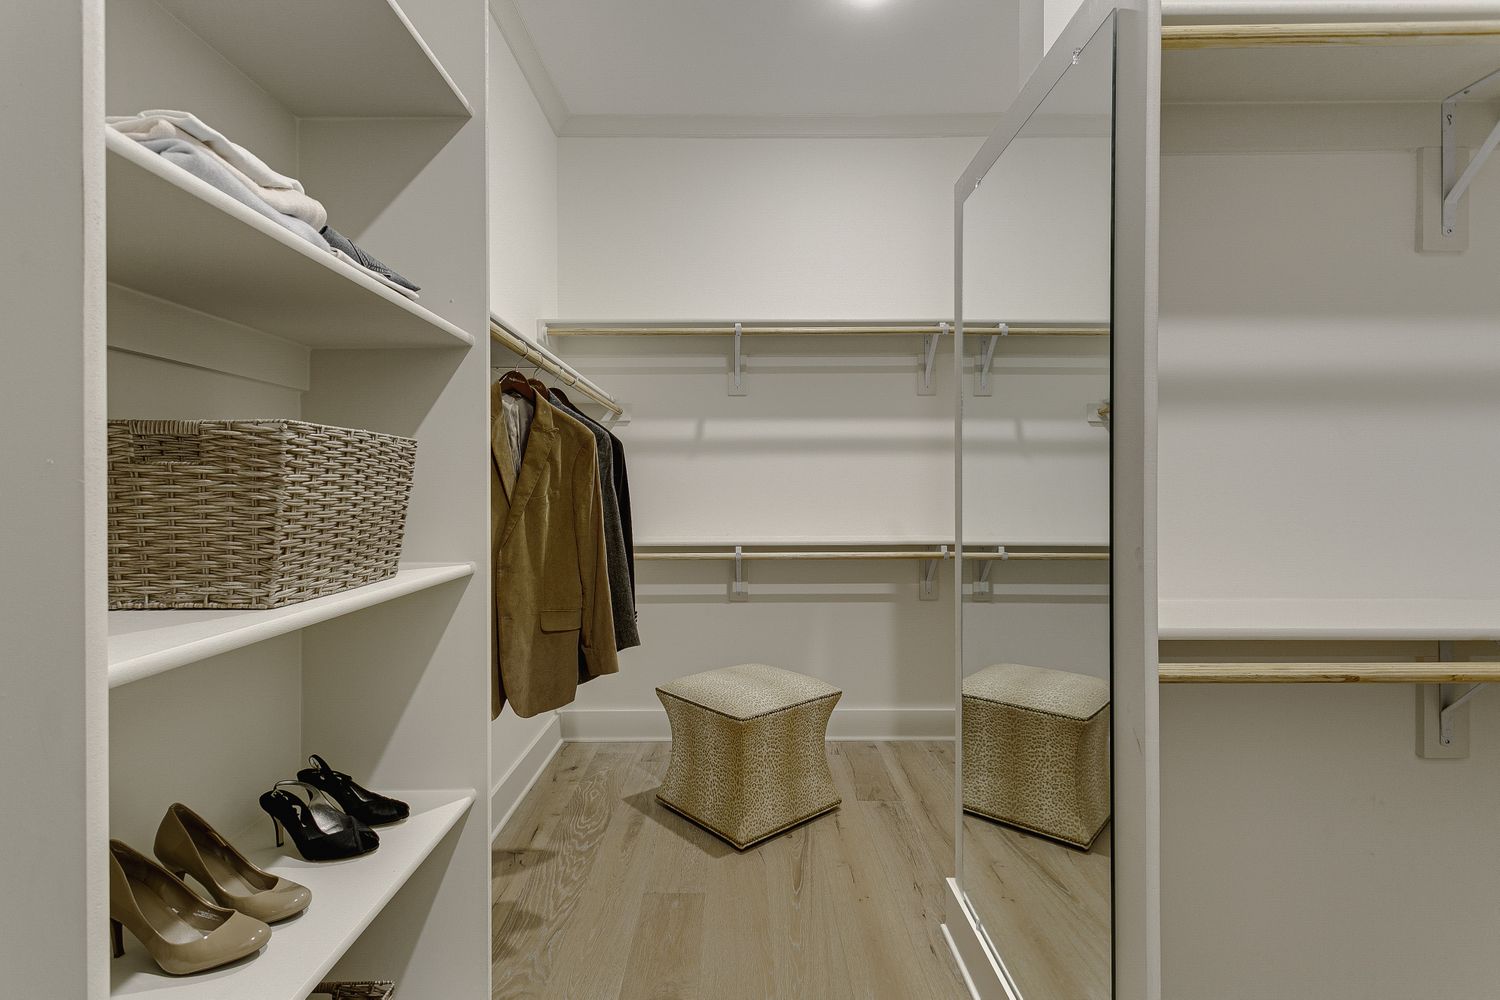
These Popular Closet "Upgrades" Are Secretly Limiting Your Storage Space, Organizers Say


Go Inside a Transformation Via Closets By Design – Charlotte!
Recessed Sliding Door Feature - Pocket from Sky-Frame

Instantly Turn Closet Doors Into Extra Storage With An Inexpensive IKEA Essential
This $35 Amazon Find Adds Closet Shelves Where There Aren’t Any
7 Best Closet Systems to Organize Your Space in 2025

31 Storage Products For Anyone Who, Unfortunately, Doesn’t Have A Walk-In Closet


22 Game-Changing Closet Door Ideas to Transform Your Bedroom
Mum transforms boring doors into shaker style for just £40

Sliding Into Home | Home and Garden | Life
Transform Ordinary Sliding Doors Into A Work Of Art With This Affordable DIY