
1/5
Right the First Time: Manufactured Stone Veneer Installation
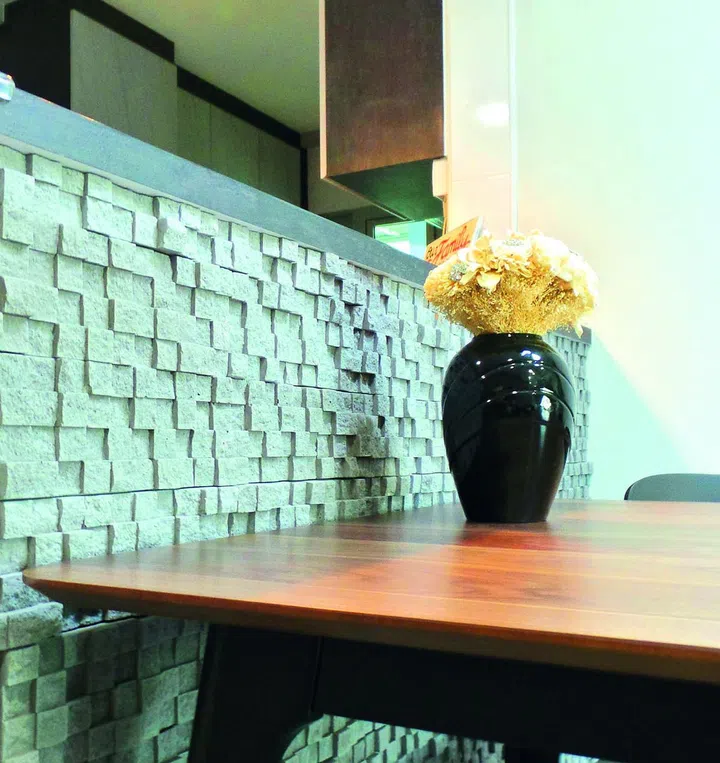
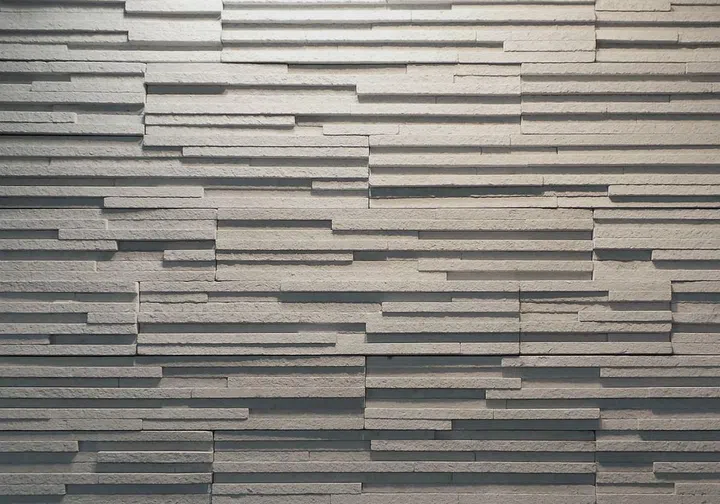
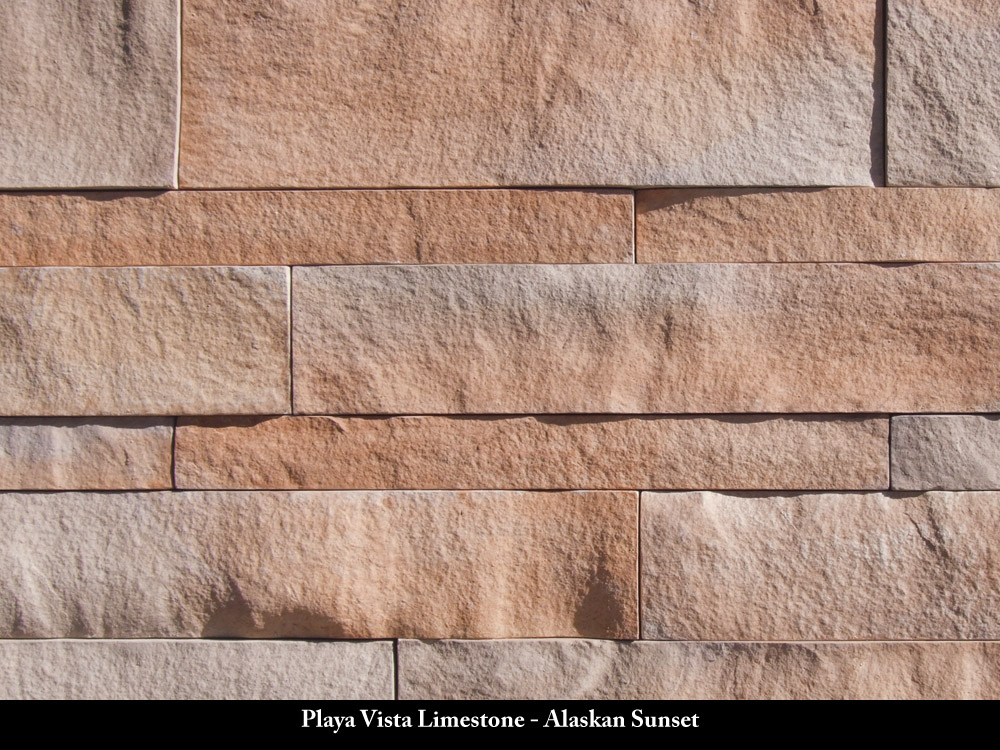
This article provides comprehensive guidance on the correct installation of manufactured stone veneer (MSV), drawing insights from Jeff Tew, Director of Technical and Training for Westlake Royal Stone Solutions. It emphasizes the importance of proper technique to ensure durability and aesthetic appeal, covering various stages from preparation to finishing.
The installation process begins with a thorough understanding of relevant building codes and standards, specifically ASTM-C1670 and the NCMA-MSV Installation Guide. These resources provide crucial instructions, best practices, and code requirements that installers must adhere to. Before applying MSV, meticulous wall preparation is essential, including a comprehensive wall review. A recommended practice is to construct a mock panel to pre-evaluate stone spacing, color distribution, mortar color, and joint type. Water management is a top priority, necessitating proper flashing at all terminations, transitions, and penetrations to prevent moisture intrusion. Installers should inspect pre-existing flashing work to confirm its integrity.
The scratch coat serves as the foundational layer, transferring the cladding weight to the structural substrate. It should be applied to a ½-inch thickness, fully embedding the lath to minimize corrosion and provide a robust bonding surface for the stone. After applying the scratch coat, horizontal lines should be created with a scarifier or notched trowel as the mortar begins to set, followed by a complete curing period to enhance both mechanical and chemical bonds.
Achieving a strong bond is critical, and common failures often stem from improper mortar selection or mixing. It is crucial to choose high-quality mortar and strictly follow the manufacturer's instructions regarding water amounts, mix time, slake time, and consistency. Hydrating both the scratch coat and stones prior to installation is essential, typically using a garden sprayer to ensure they are fully saturated but free of standing surface water, though this practice may vary with polymer-modified mortars. Any debris, such as splashed dirt, on the back of the stone or scratch coat can compromise the bond, necessitating frequent cleaning. Timing the installation after interior drywall and roofing is advisable to avoid structural movement from other construction activities that could lead to cracking. The article stresses the importance of the “setting bed technique,” ensuring 100% mortar coverage on the back of each MSV unit, contrasting it with inadequate methods like “perimeter,” “donut,” or “spot” techniques. A thin layer of mortar should first fill stone voids, followed by a heavier back-buttering setting bed of ½ to ¾ inches. The unit is then pressed firmly onto the prepared backing, forcing mortar to squeeze out around the perimeter. Consistent joint spacing should be maintained, and excess squeeze-out must be compacted with a jointing tool before it hardens, taking care not to disturb the stone's bond.
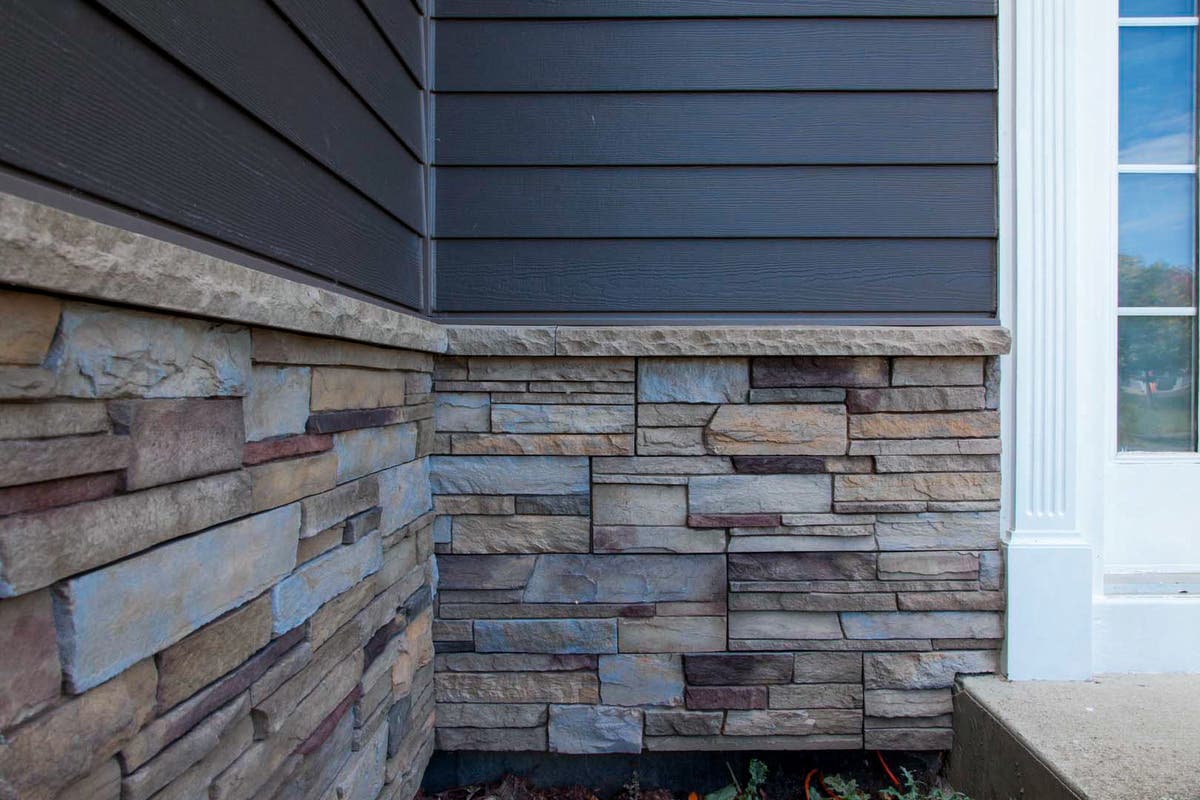
To ensure an authentic appearance, initial product selection is key, involving the review of multiple samples. When cutting stones, thinner pieces should be chosen, and mortar applied to cut edges to conceal aggregate. Nippers or a brick hammer can create a more natural cut, which should ideally be positioned away from high-visibility areas. Blending material from multiple boxes, approximately 40 square feet at a time, is recommended to ensure an even distribution of colors, textures, and sizes. For corner installations, alternating long and short legs and creating additional corner sizes by cutting pre-made pieces helps avoid a “zipper” effect. Various grouting options are available, and the choice significantly impacts the project’s final look. Grouting should only begin after the stone units are sufficiently cured to prevent disturbing the bond. Tips include grouting manageable sections, using appropriate jointing tools, and tooling joints when the mortar is thumbprint hard and pliable. A plastic grout bag is recommended for easier application into tight gaps. Modified mortars are generally not suitable for grouting, and manufacturers typically offer separate grouting products. Post-installation, a thorough site cleanup is necessary.
#ManufacturedStoneVeneer #MSVInstallation #BuildingCodes #ScratchCoat #MortarApplication #BondingTechniques #AestheticAppeal #GroutingTips #ConstructionBestPractices #ManufacturedStoneVeneer #MSVInstallation #BuildingCodes #ScratchCoat #MortarApplication #BondingTechniques #AestheticAppeal #GroutingTips #ConstructionBestPractices
0 comment in total
 No comments yet
You may also like

Stone Veneer Works Like Wood Veneer

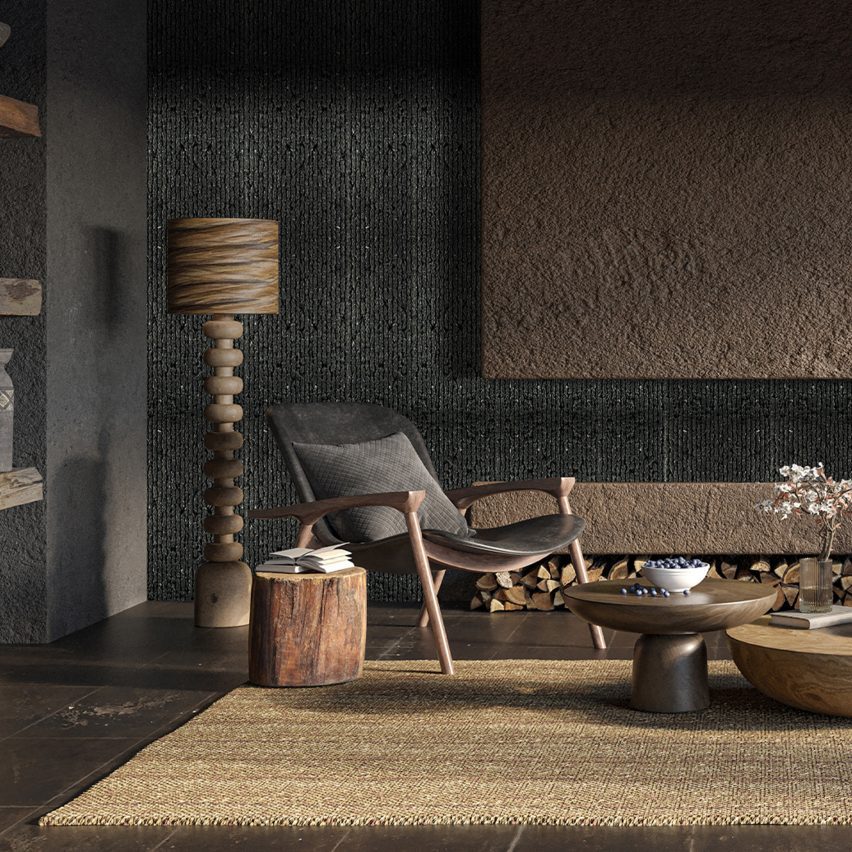
Piatraonline unveils Raw stone collection that "adds elegance and warmth to a room"

Plastered In Style

Smartstone sintered surfaces drive minimalism in Cremorne home's kitchen
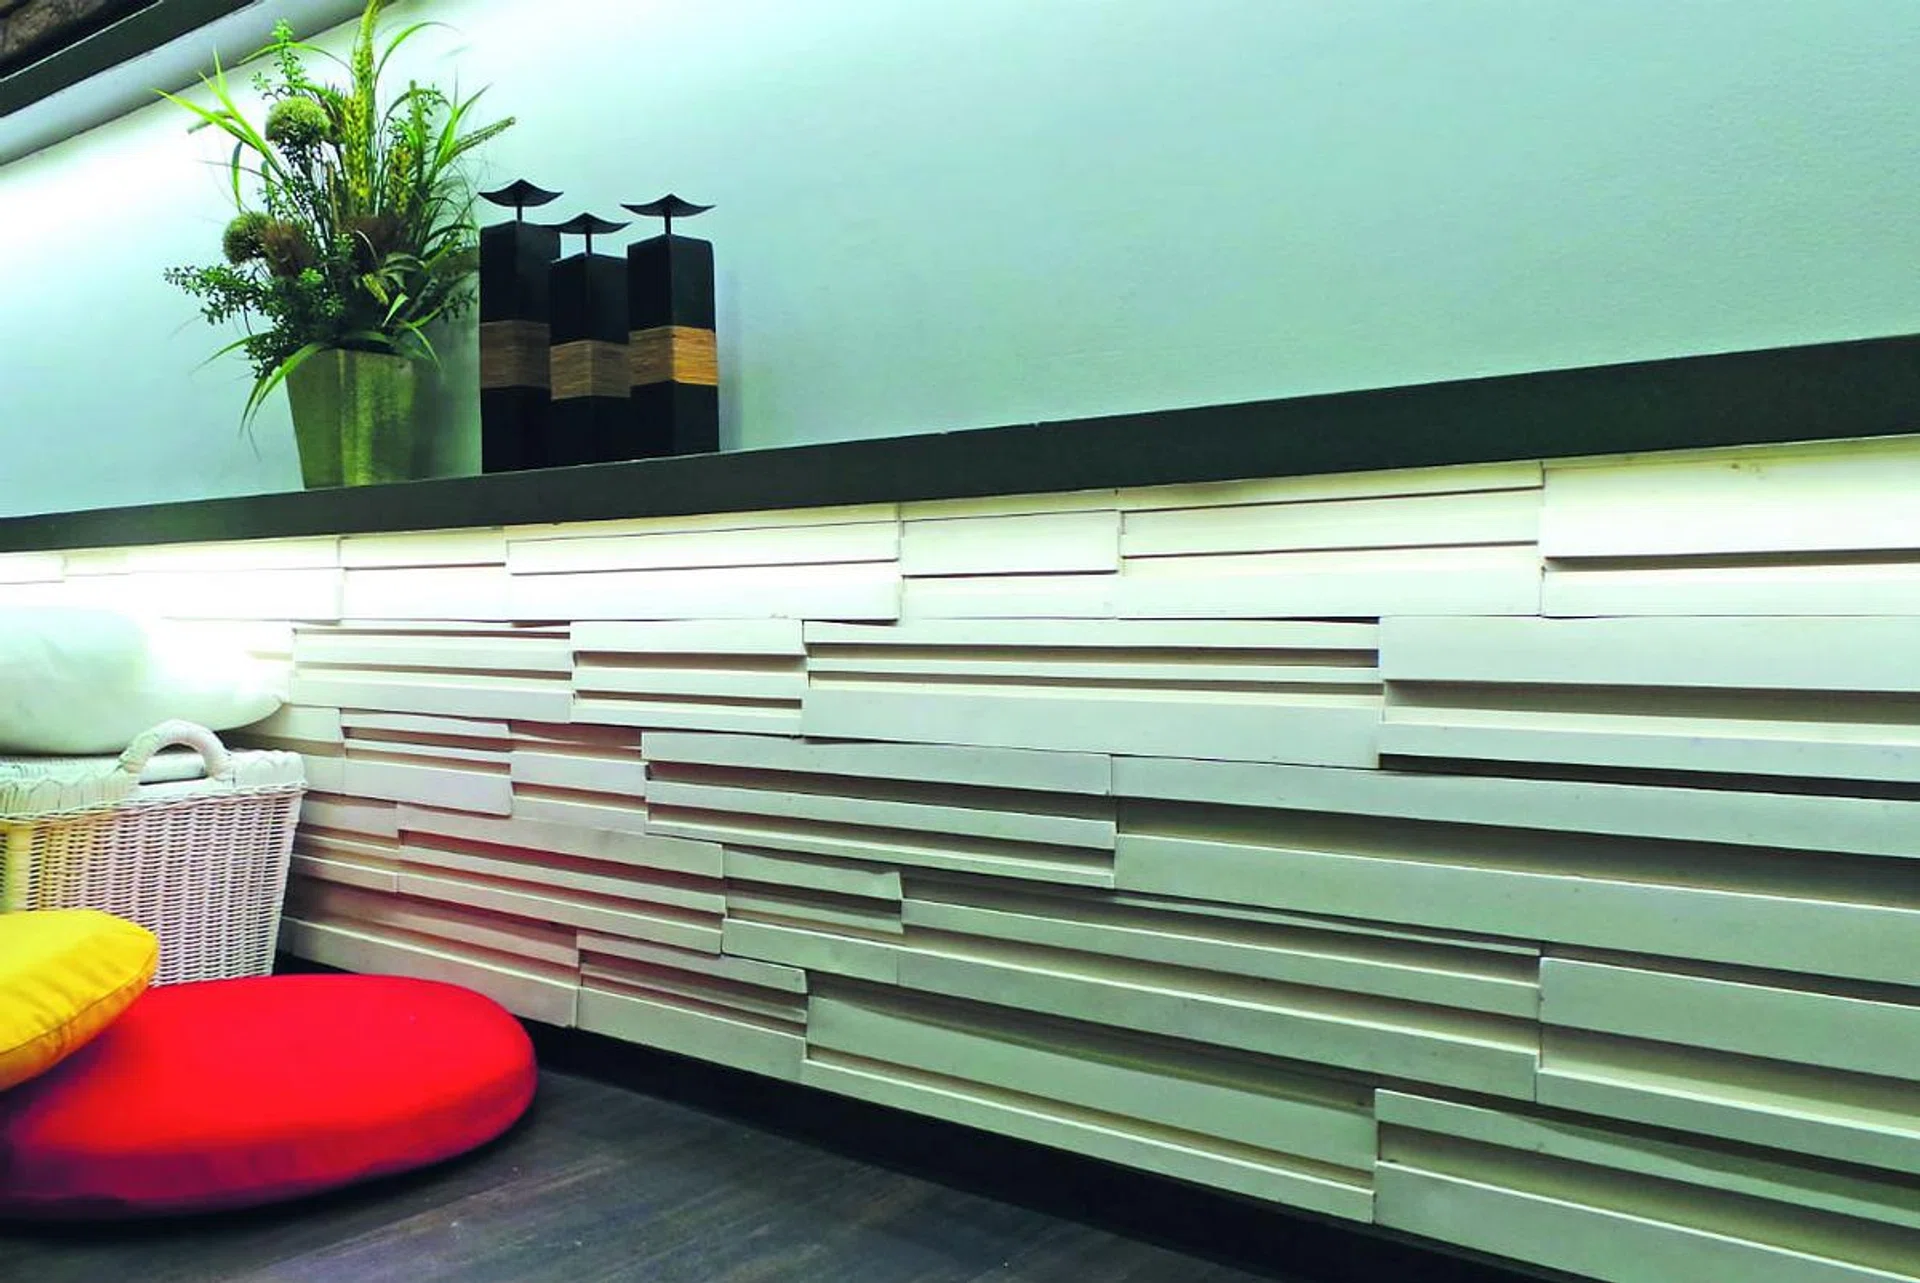
Stone veneer that adds instant texture to your walls
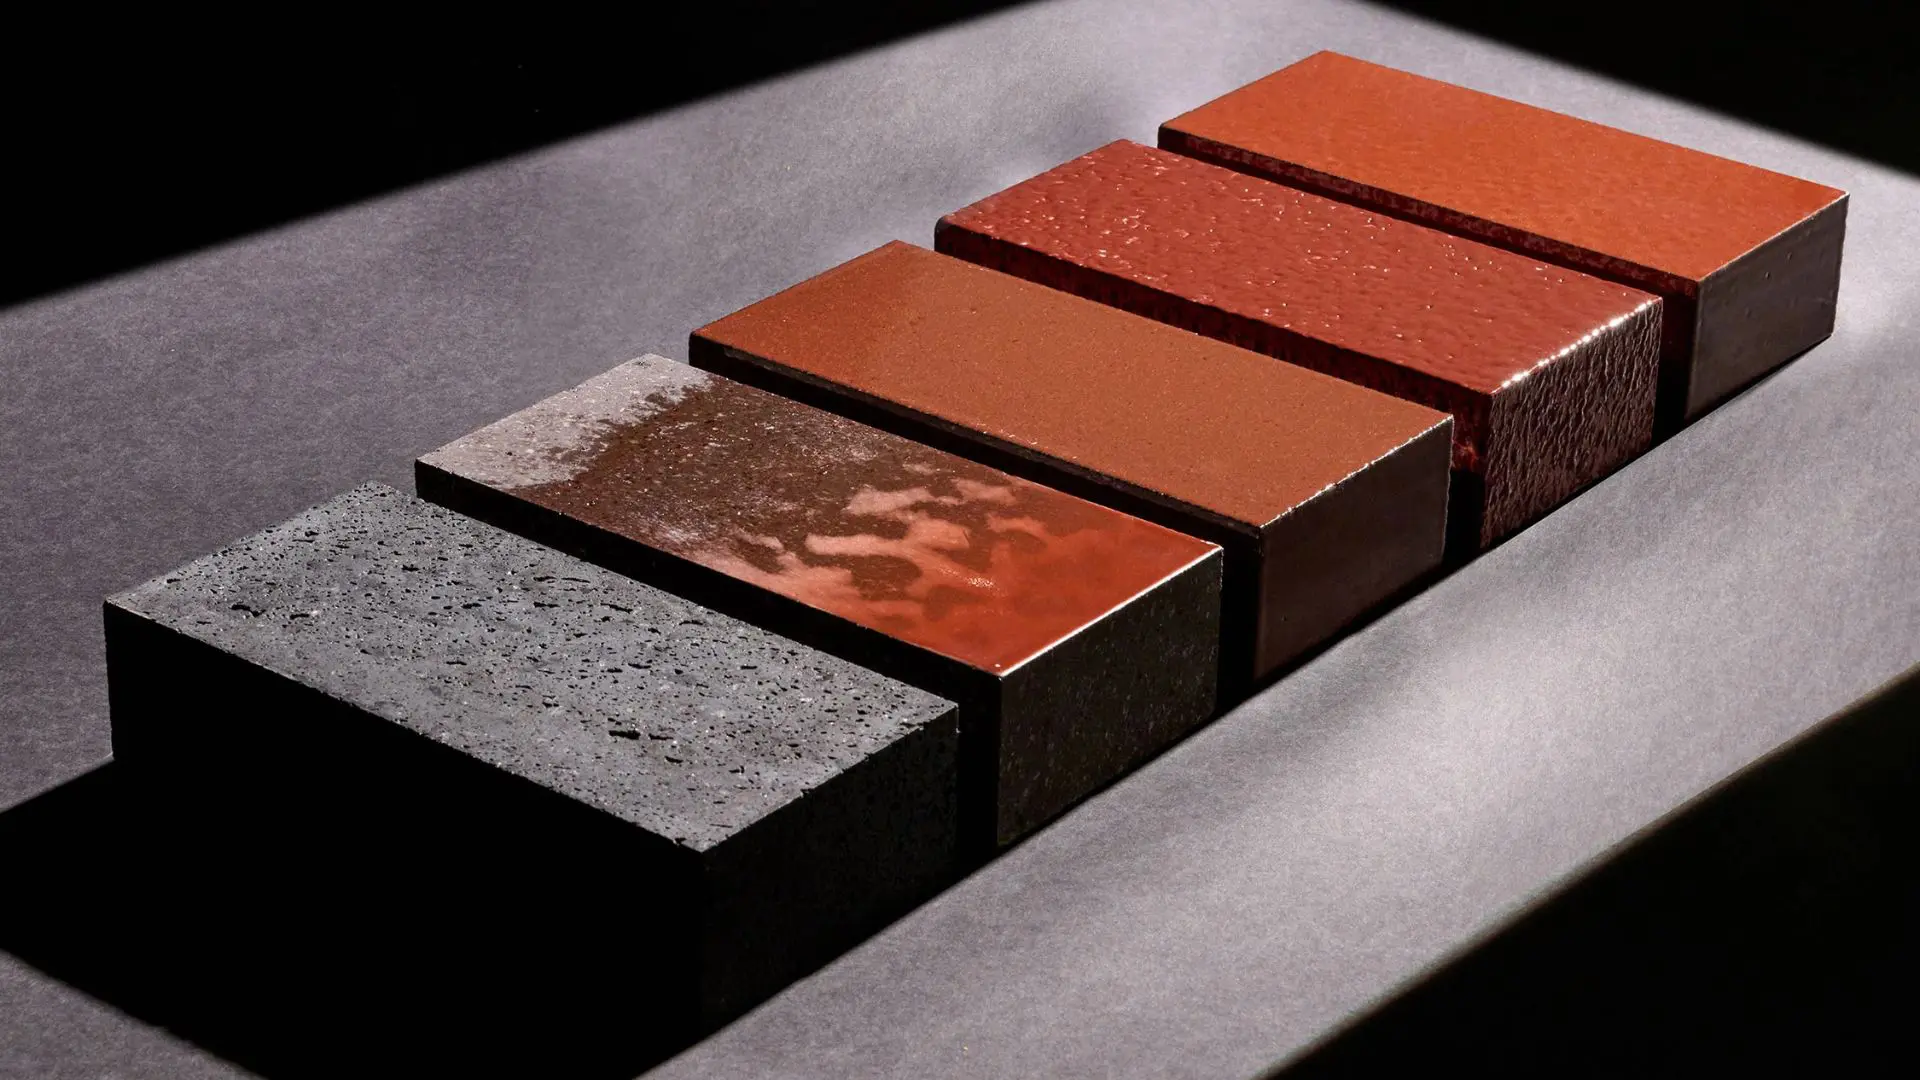
Ranieri takes the glazed aesthetic to even more alluring heights

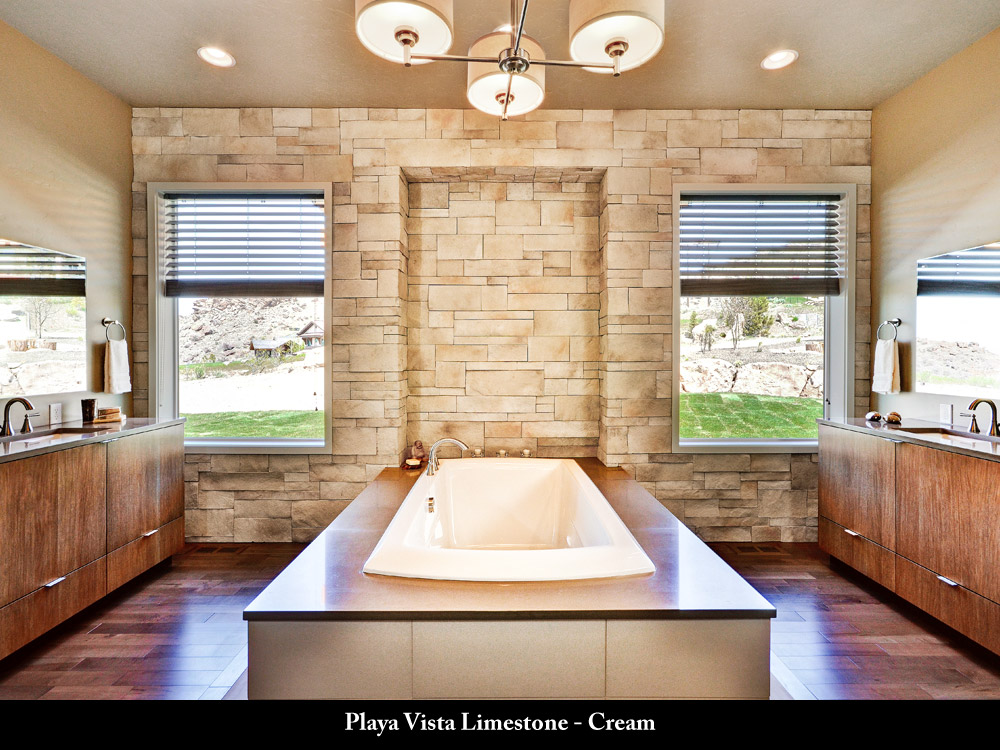
Coronado Stone Products: The Stunning Look of Stone with the Ease Of Installation Of Veneer

7 Creative Stone Slab Ideas That Go Beyond Countertops

Cast Stone
Ask the Builder: Installing mortarless stone veneers


Acme Brick, Tile and Stone – Florence
5 clever ways to use natural stone in home décor

Evolve Stone Monument Gate Stone Veneer

From the purest lava stone to refined collection of tiles and furnishings
Tips and Tricks with Statement Stone

K-Studio pairs stone with concrete for Greek holiday home
Design & Detail becomes exclusive North American Showroom for Casadenza Stone Veneers

Inside CDK Stone's New Adelaide Selection Centre | Belle

Travertine Is the Minimalist's Secret Weapon in Design

Stone veneer could be trending this year for local home improvement projects.