1/2
Illuminate Your Space By Transforming Dollar Tree Shelves Into A Floating Wall Light
This article details a DIY project for creating an elegant and affordable floating wall sconce using readily available materials, primarily from Dollar Tree. The project aims to provide a luxurious lighting solution that doesn't strain the budget, offering a unique way to enhance a room's ambiance. The core components for this DIY include two plastic floating shelves, a set of micro LED string lights, silver adhesive diamond wrap, and 1-inch clear plastic "gems." For those unable to find all supplies at Dollar Tree, alternative sourcing like Amazon for acrylic diamonds is suggested. Additional materials required are heavy craft glue (E6000), a ruler, a sheet of paper, high-viscosity UV resin, and a UV flashlight.
The project offers customization options to suit various home aesthetics. For instance, instead of plastic diamonds, one can use decorative sea glass and cover the shelves with driftwood or twigs to complement a coastal decor theme. Another creative avenue involves gluing small figurines or model cars along the molding to match a child's room theme. For a more understated look, clear glass accent gems can replace the diamonds, and the white plastic shelves can be spray-painted in a muted color to achieve a simpler, more minimalist design.
The construction process begins by cutting adhesive diamond wrap or other chosen trim into thin strips and adhering them around the molded sides of both shelves. To create the translucent panels, eight plastic diamonds or stones are arranged in a row along a ruler's edge, ensuring they are touching. UV resin is applied between pairs of diamonds and cured with a UV flashlight. This process is repeated to create six rows of fused diamonds for the front panel. For the side panels, six rows of three diamonds each are created using the same method.
Once the diamond panels are ready, the long diamond panel is attached to the underside of one shelf, flush with the lip, using heavy craft glue. The side pieces are then glued on, and the glue is allowed to set. The shelf is turned upside down, and the micro LED string lights are attached to its underside in a coil or zigzag pattern using glue. Finally, the second shelf is glued onto the jeweled front and side panels, forming the sconce. The battery pack for the string lights is placed inside the light on the bottom shelf. If the battery pack is too visible through the translucent panels, it can be placed on the top shelf, and the sconce hung high enough to conceal it. The completed floating wall light can then be hung to illuminate the space.
#DIYHomeDecor #FloatingWallLight #DollarTreeCrafts #AffordableLighting #HomeImprovement #CraftProject #InteriorDesign #CustomizableDecor #LEDLighting #DIYHomeDecor #FloatingWallLight #DollarTreeCrafts #AffordableLighting #HomeImprovement #CraftProject #InteriorDesign #CustomizableDecor #LEDLighting
0 comment in total
 No comments yet
You may also like
7 Best New Dollar Tree Living Room Finds Hitting Shelves This Week

This $9 IKEA Hack Instantly Upgrades Basic Floating Shelves

Banish the “Big Light” Completely With Some Snazzy Lamps

Bedroom decor lights: 10 picks for amazing makeover | Hindustan Times

41 Pieces Of Furniture And Decor That Will Make Your House A Home
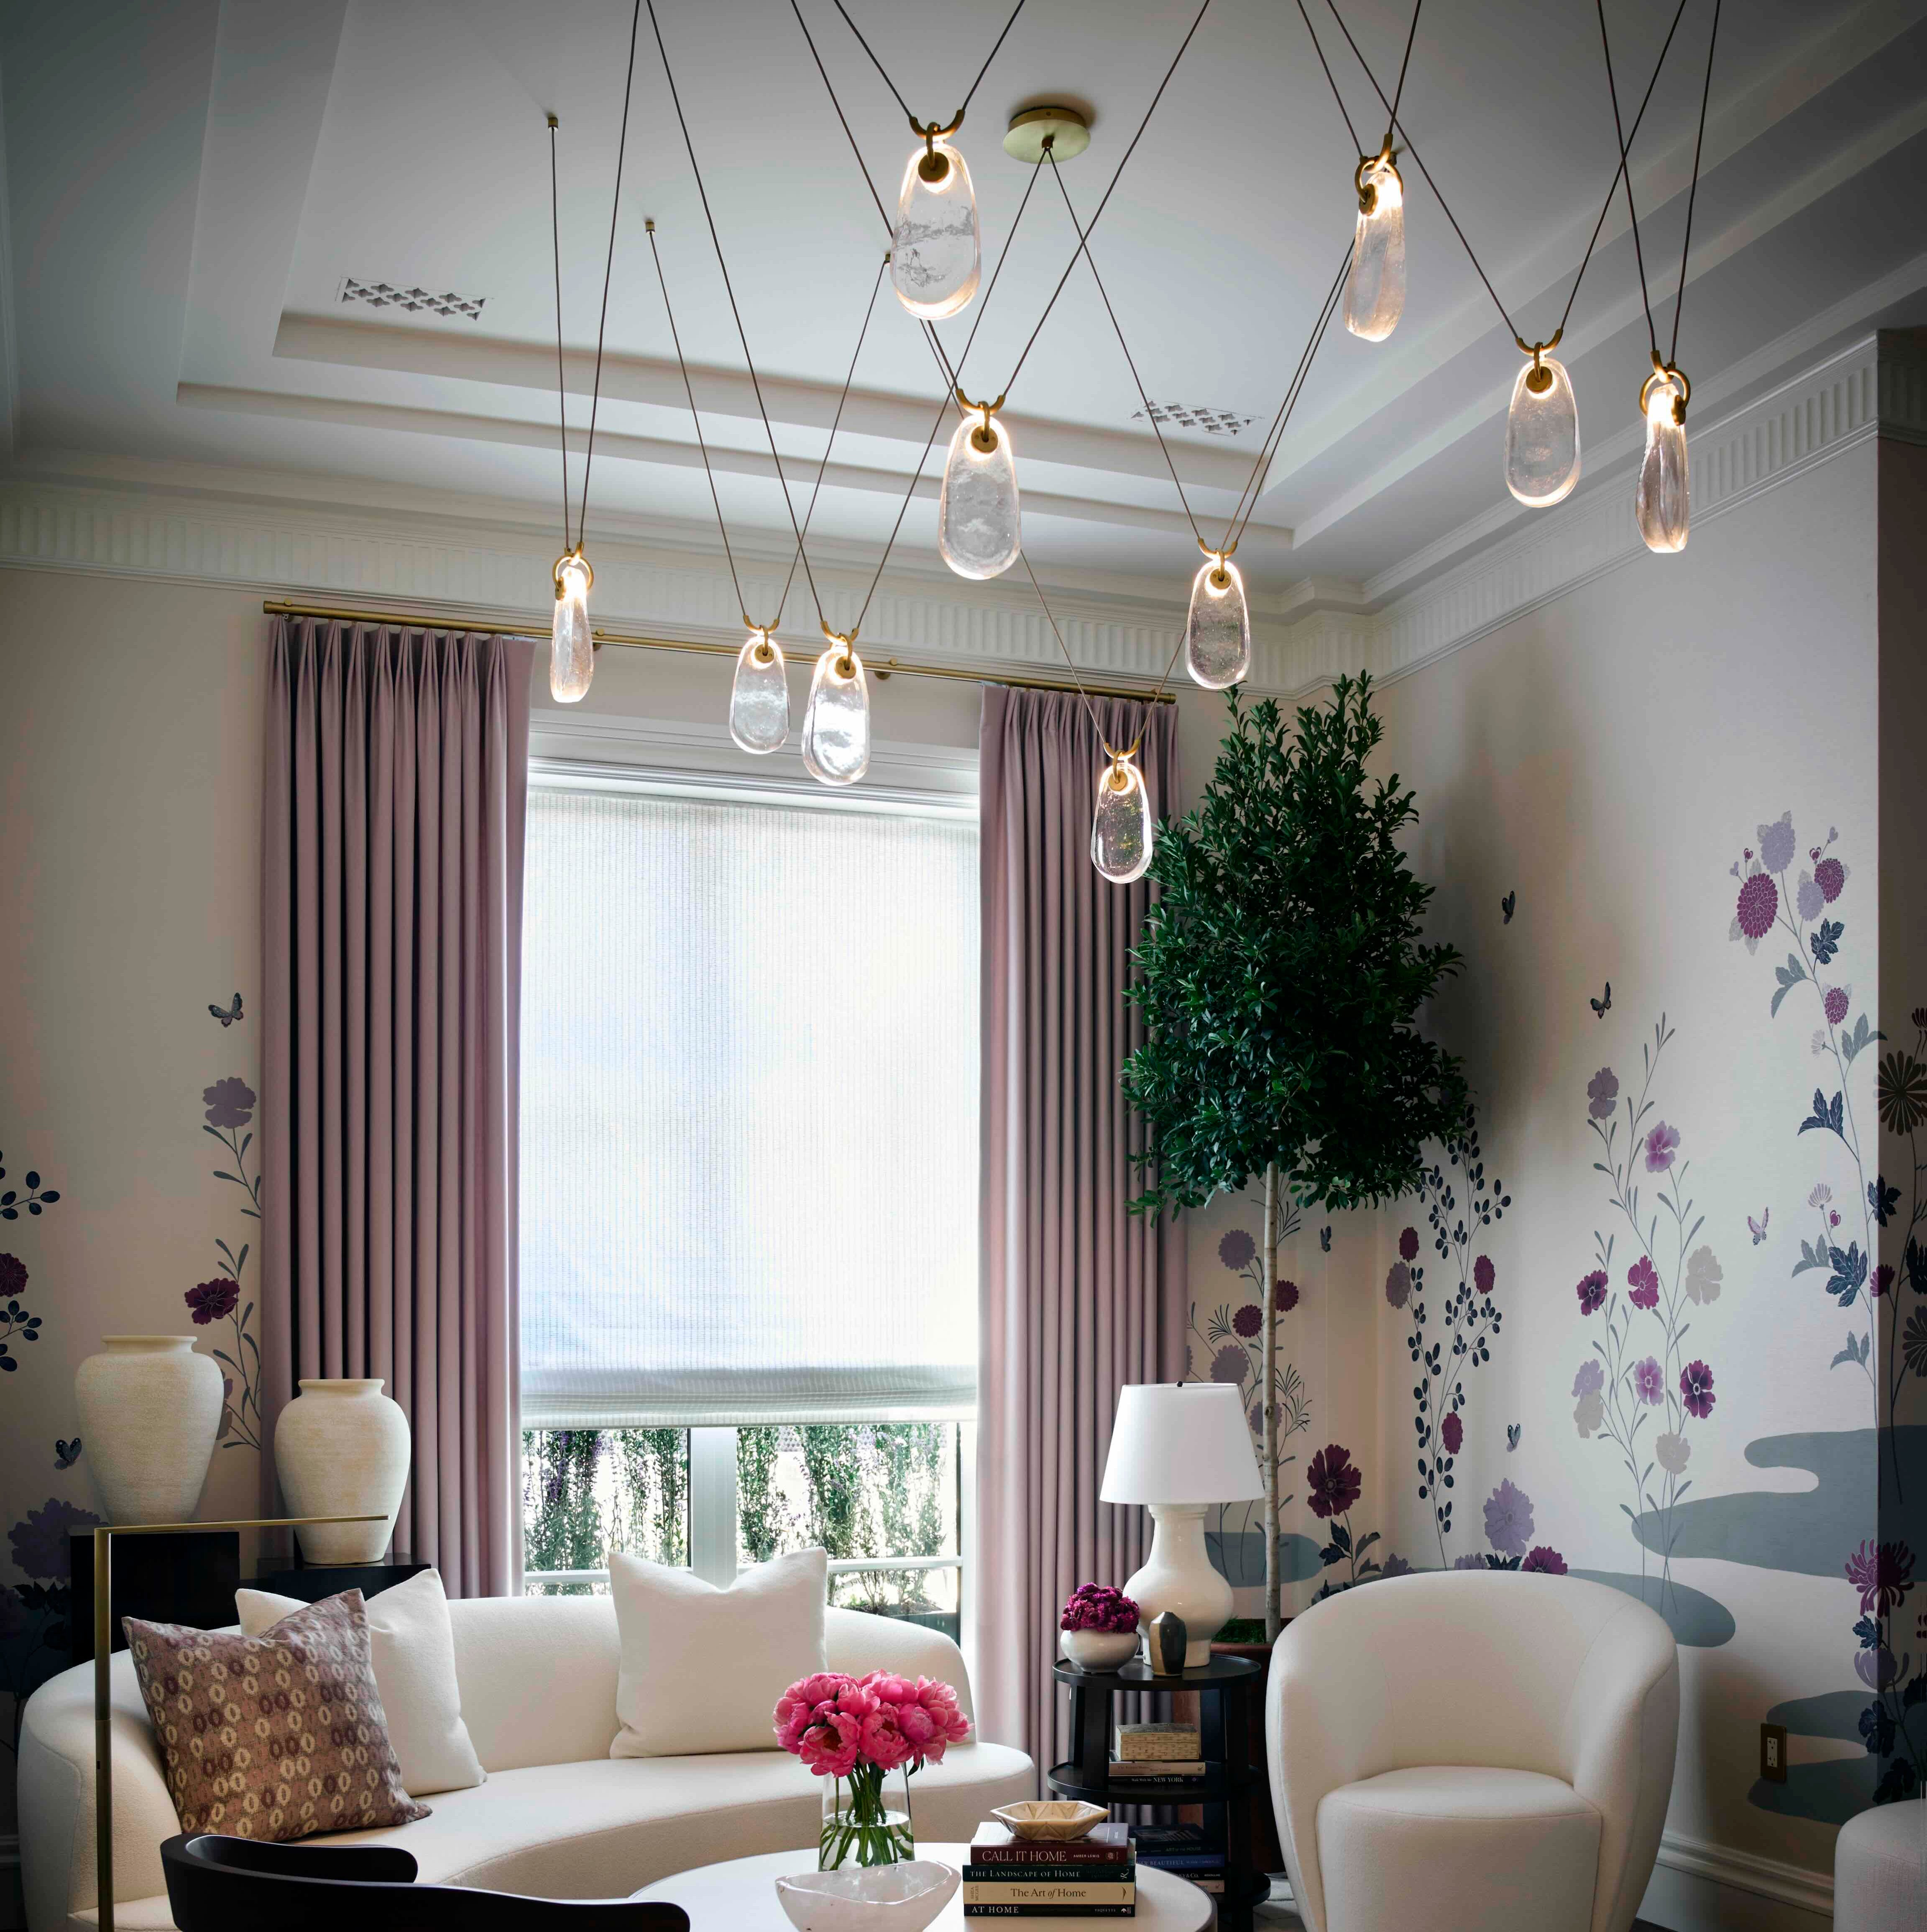
Statement Lighting You Can Build a Room Around

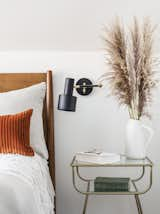
24 Indoor Wall Sconces We Love for Less Than $100
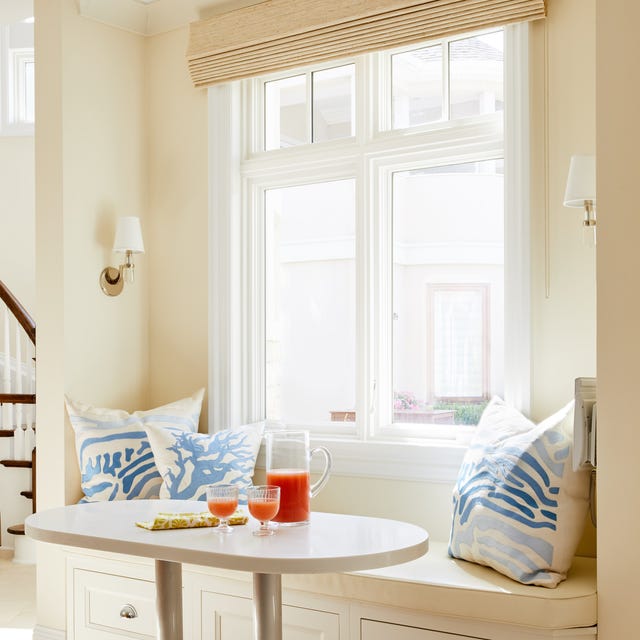
This Design Element Instantly Brightens a Dark Room
This DIY Lighting Solution is Perfect for Closets and Other Dark Spaces

The Designer-Approved Alternative To Wall Art That Adds A Dose Of Glamour
Even If You Don’t Buy Anything, These 32 Products Are Great Inspo For Anyone Who Wants To Take Their Interior Design To The Next Level
This $20 'bow tie' sonce is formalwear for your walls

Innovative Table Lamp Makes Light Float In Mid-Air, Doubling As An Optical Illusion

These 7 wall lights have helped me make every room a happier space to live in

These floating wall shelves for books transformed by bedroom

This Stylish DIY Wireless Wall Sconce Is Almost Too Easy to Make — and Will Just As Effortlessly Elevate Your Space
This Viral, Renter-Friendly Wall Light Installs in Mere Seconds
Indoor Lights

Metal White Wall Shelves

Windows Dynamic Lighting