1/15
How To Make an Indoor Planter Box (DIY)
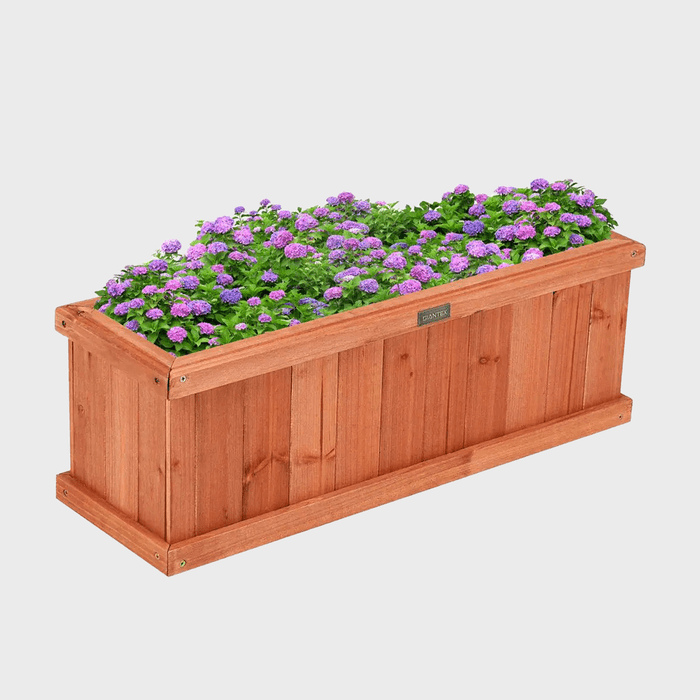
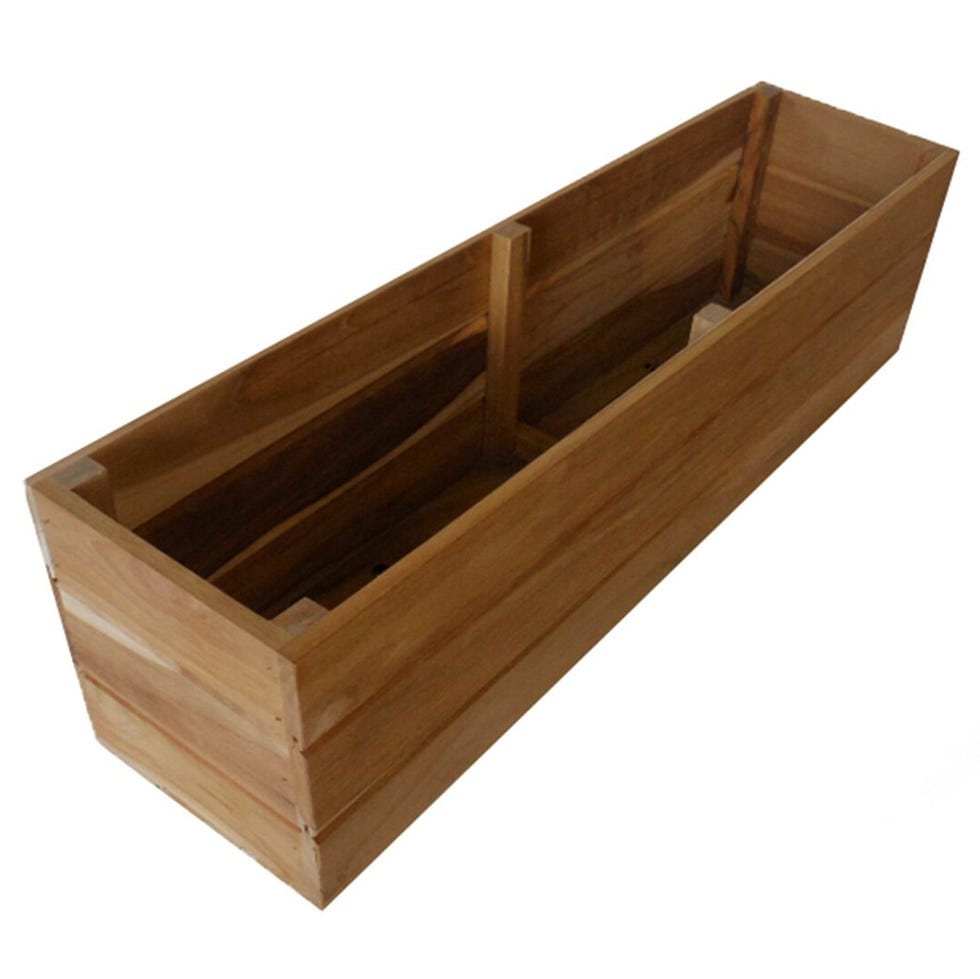
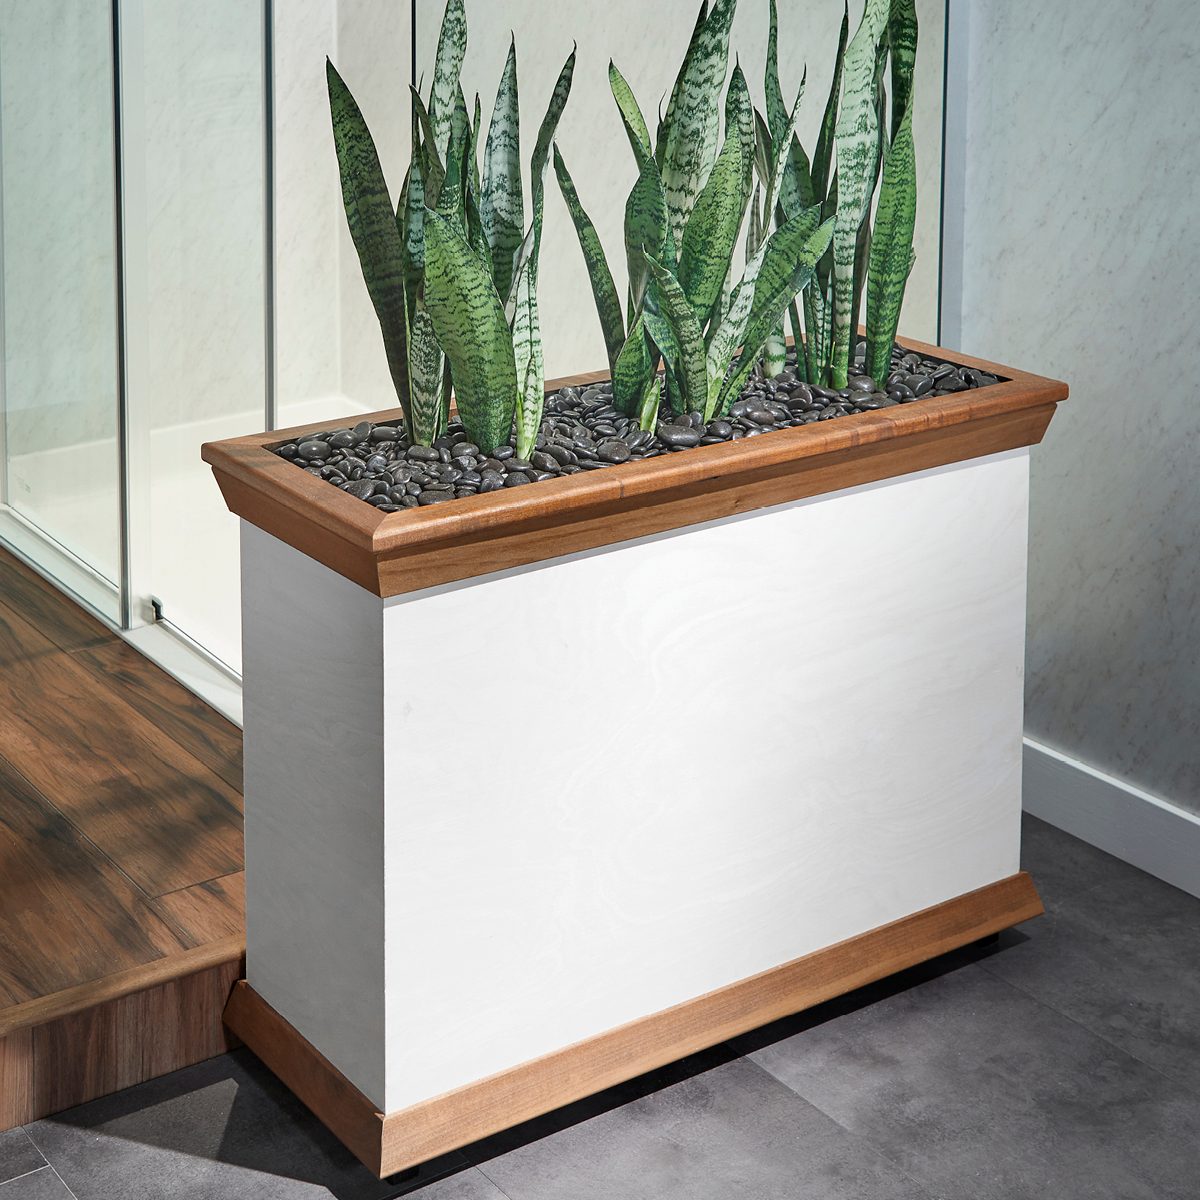
This article outlines a detailed, step-by-step guide for constructing a stylish indoor planter box designed to introduce greenery and enhance home decor. The project is categorized as intermediate in complexity, requiring approximately two days to complete, and costing around $200. The primary goal of the planter is to provide a calming space through the integration of plants, with an adaptable design that allows for easy plant changes.
The construction process begins with pre-finishing the Baltic birch sheet goods, which involves whitewashing them with white gel stain and applying a water-based polyurethane topcoat to prevent yellowing over time. Next, the edges of the trim cap are profiled using a router with a 3/8-inch round-over bit to create a classic look, followed by sanding all parts to 180 grit. Poplar wood is selected for the trim due to its availability and ease of use. The trim is then color-matched to luxury vinyl flooring using a homemade iron oxide stain and amber shellac, finished with an oil-based topcoat to impart a slight yellow tone, ensuring color consistency with existing decor.
Assembling the planter box involves creating lock miter joints for a continuous grain pattern and a strong bond, a method that requires a router table and a lock miter bit. After the main box is assembled, three evenly spaced holes are cut into the planter base using a jigsaw, sized to fit the chosen planter pots. The ledger, which supports the planter base and to which the plastic liner will be stapled, is attached 1 inch down from the top using instant-grab construction adhesive and brad nails. Scrap wood is repurposed to create and attach the feet, elevating the planter box by approximately 1-1/4 inches.
To protect the wooden structure from water damage, the interior of the box is lined with 3 mil plastic, stapled first to the front ledge, then the back, and finally the sides, with excess trimmed using a utility knife. The interior of the box and the base are painted black with oil-based paint to blend seamlessly with black river rocks that will fill the planter top, covering the pots for a traditional planted appearance. The final step involves attaching the skirt and cap trim pieces using construction adhesive and brad nails, followed by filling the planter top with inexpensive black river rocks to complete the aesthetic. The article concludes by providing a cutting list and an exploded view diagram to aid in the construction.
#DIY #IndoorPlanterBox #WoodworkingProject #HomeDecor #CarpentrySkills #PlantCare #HomeImprovement #Craftsmanship #DIY #IndoorPlanterBox #WoodworkingProject #HomeDecor #CarpentrySkills #PlantCare #HomeImprovement #Craftsmanship
0 comment in total
 No comments yet
You may also like

How to create an indoor plant wall for your home


How to create an indoor garden when you’re short on space
The Very Best Indoor-Garden Kits
11 Flower Box Ideas That Will Add Charm to Your Windows and Patio
8 Best Window Planter Boxes
Indoor plant shelf ideas – expert tips for styling your houseplants

Container Garden Ideas

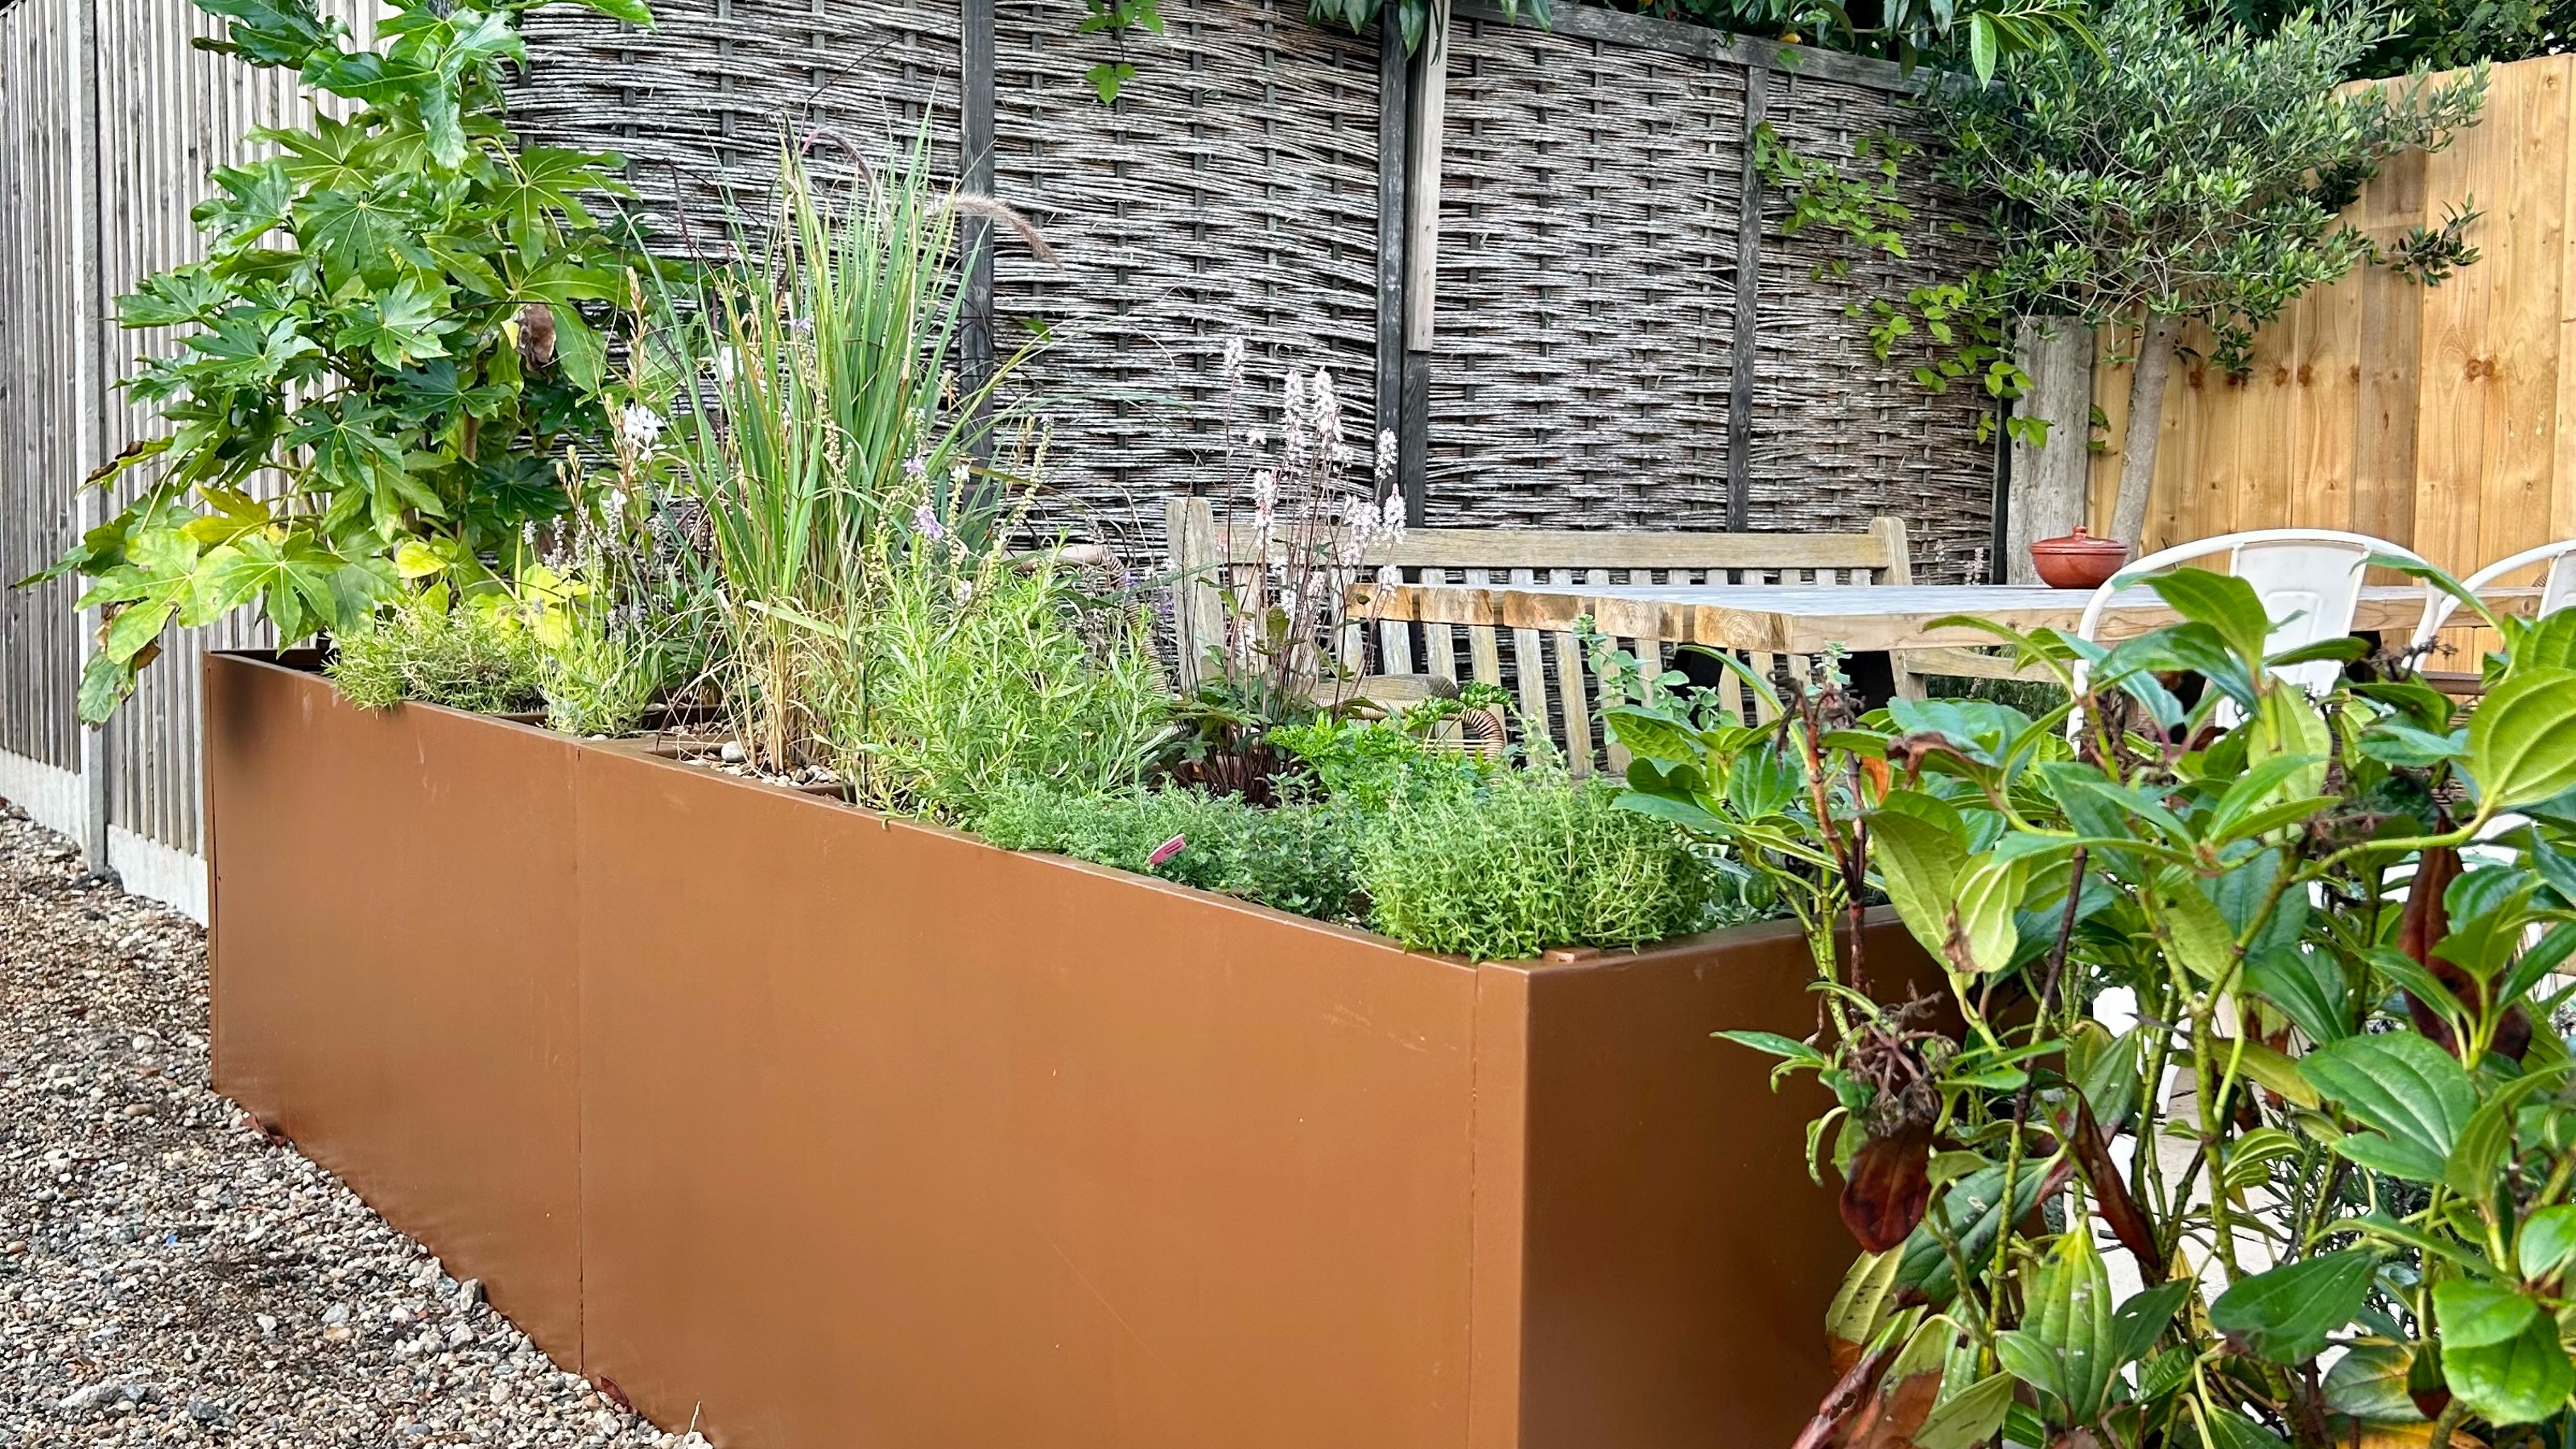
We've just found the ultimate DIY raised planter hack using a filing cabinet - it's genius
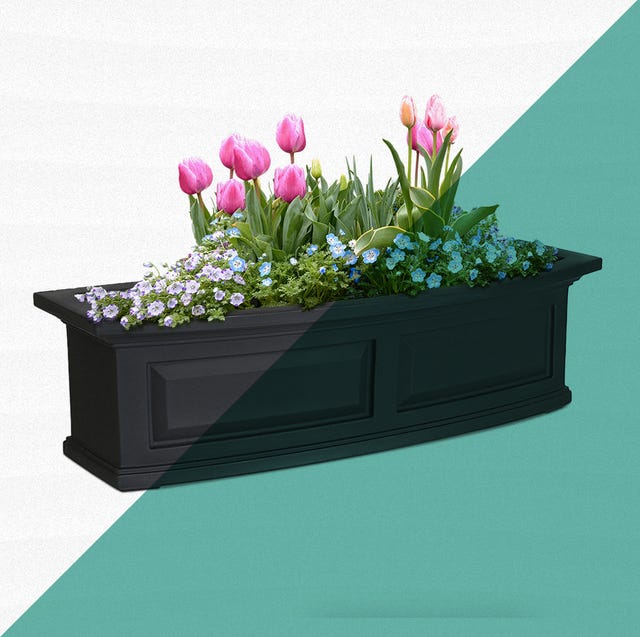
Grow Your Favorite Blooms in These Top-Rated Window Boxes

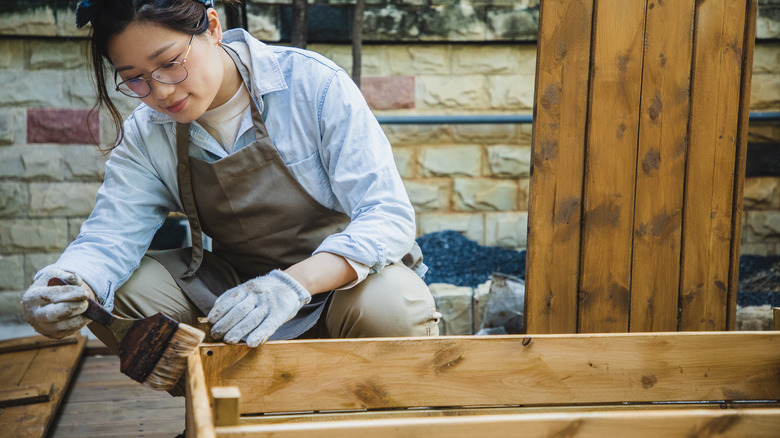
DIY A Privacy Screen Planter To Elevate Your Outdoor Space
How to create a plant wall in your garden

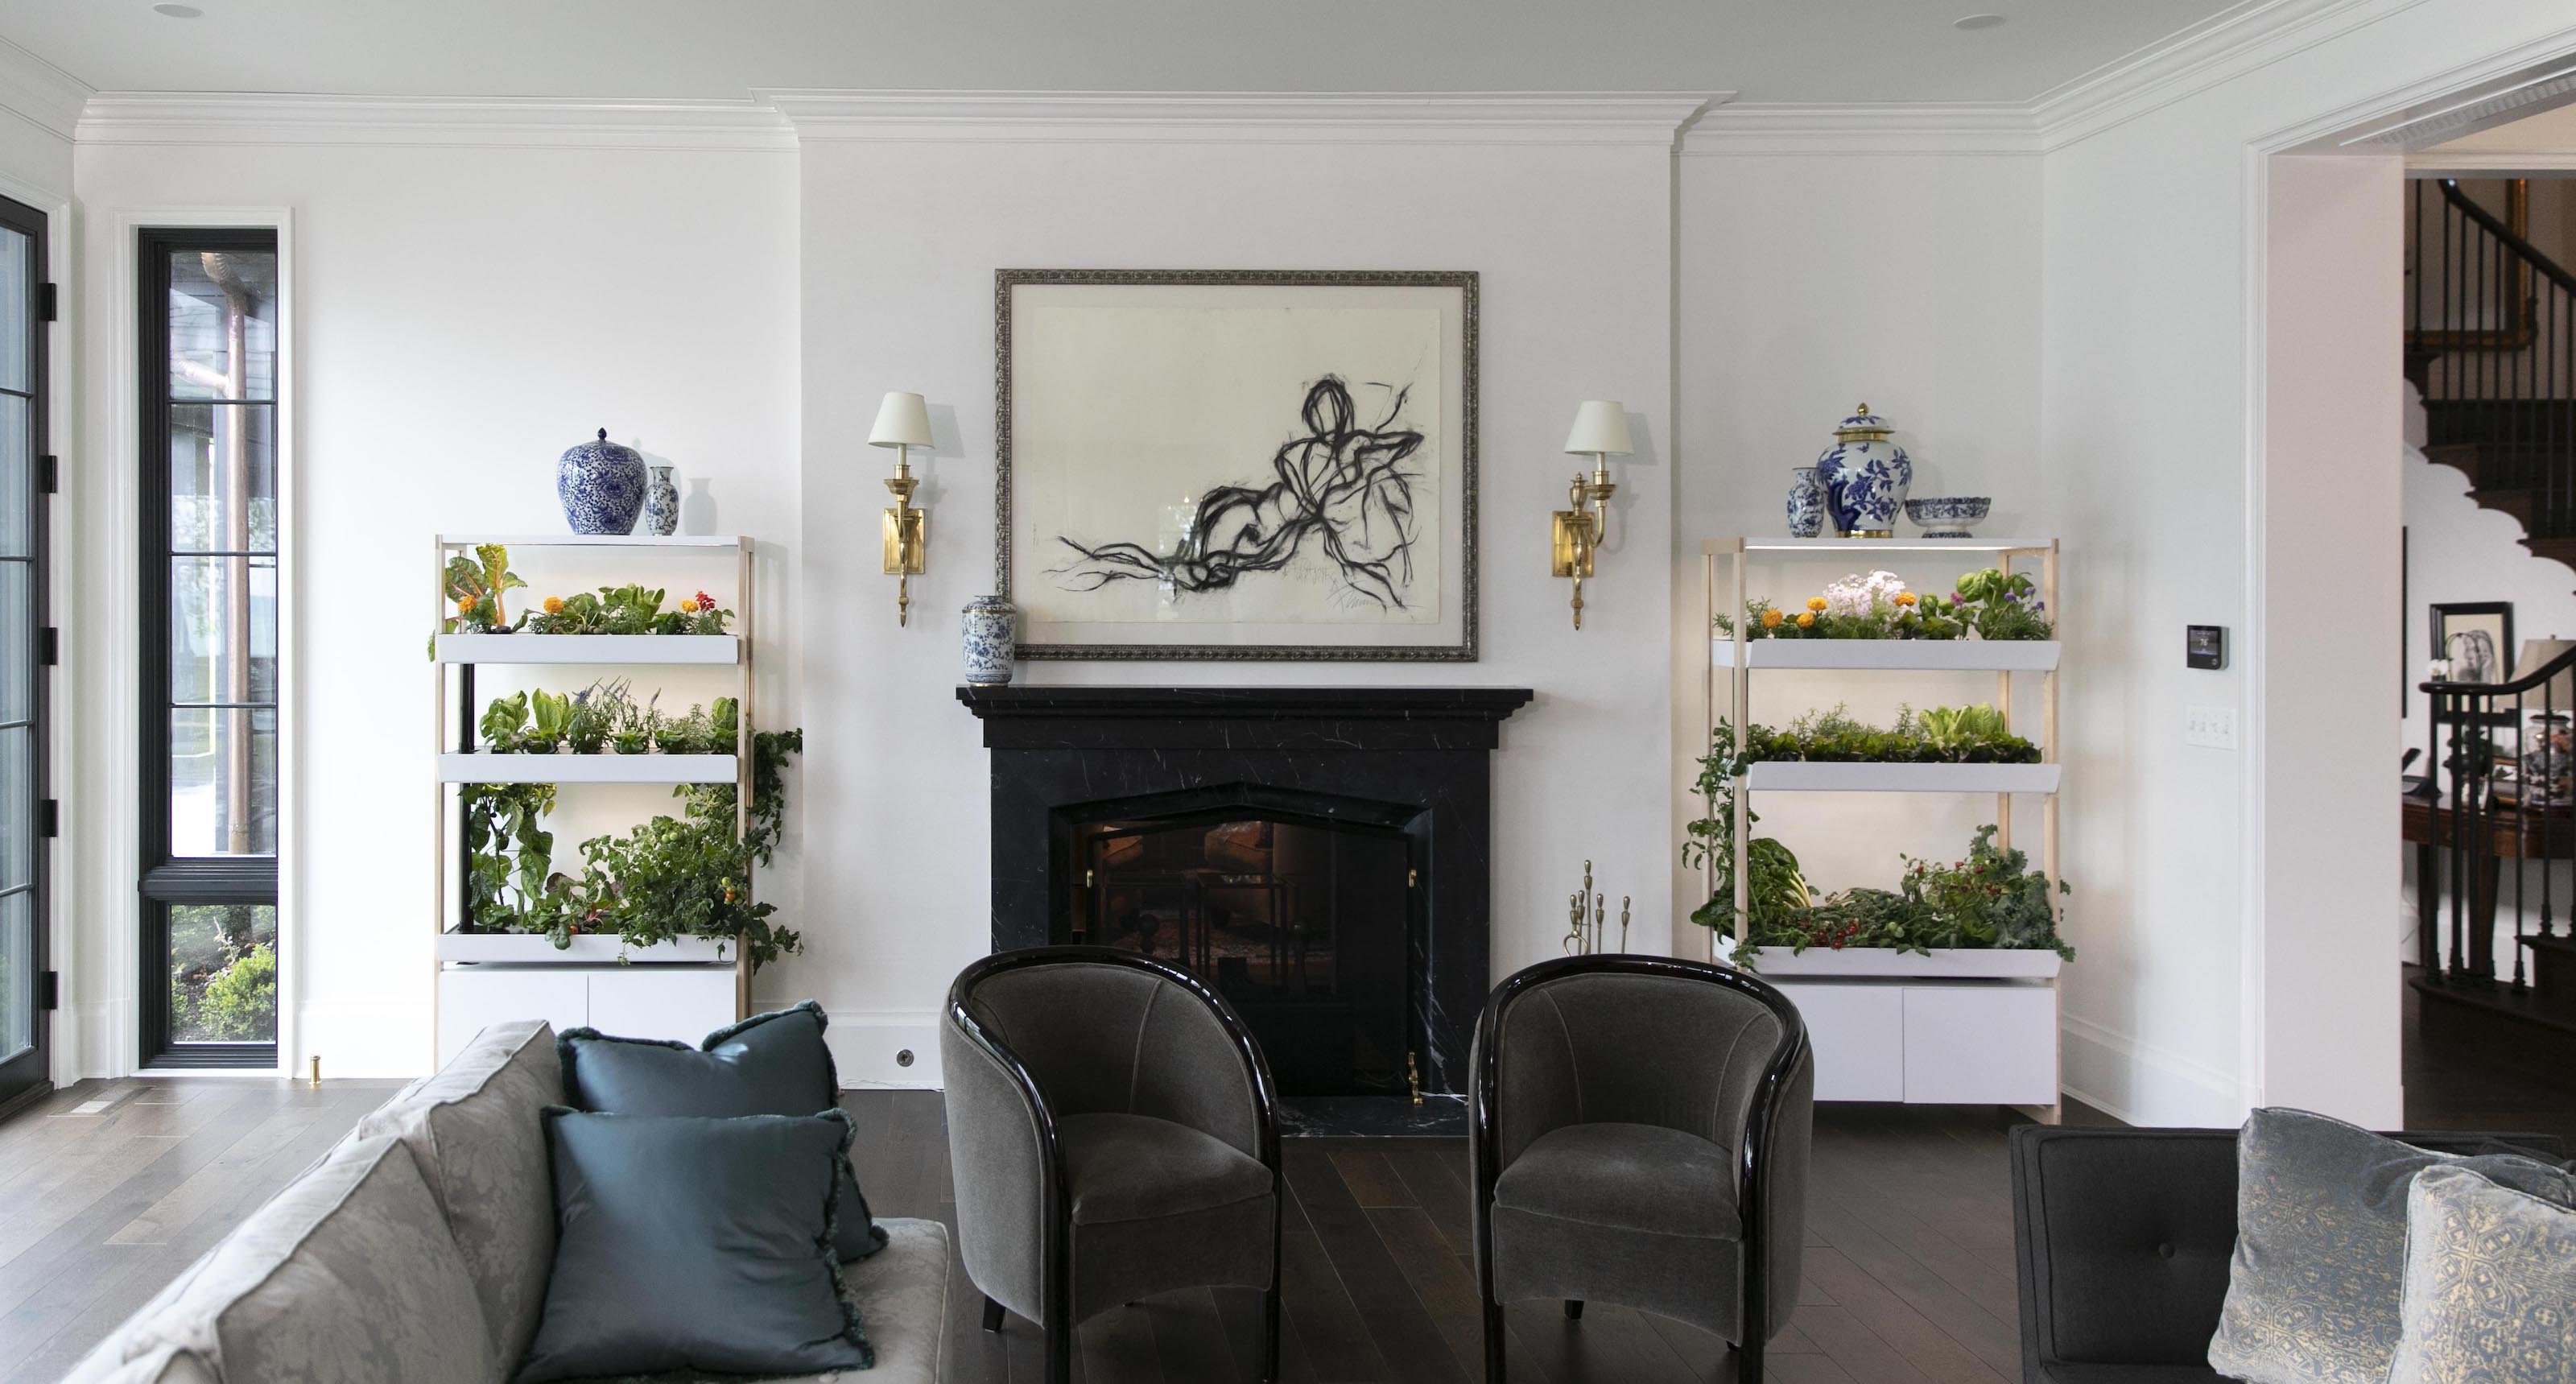
10 indoor vegetable garden ideas - design experts on how to create decor that looks good enough to eat

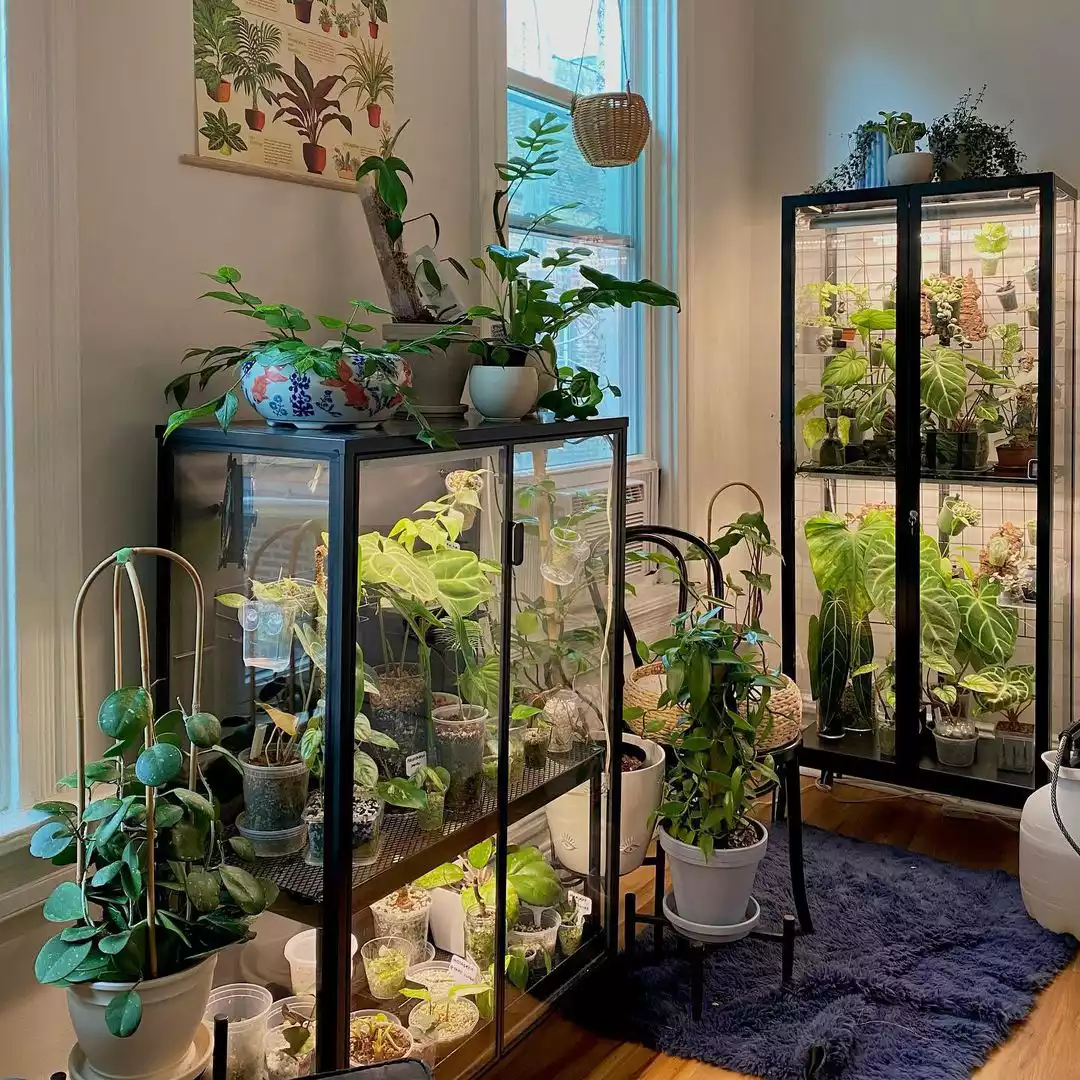
20 DIY Indoor Greenhouse Ideas to Create Your Own Plant Oasis
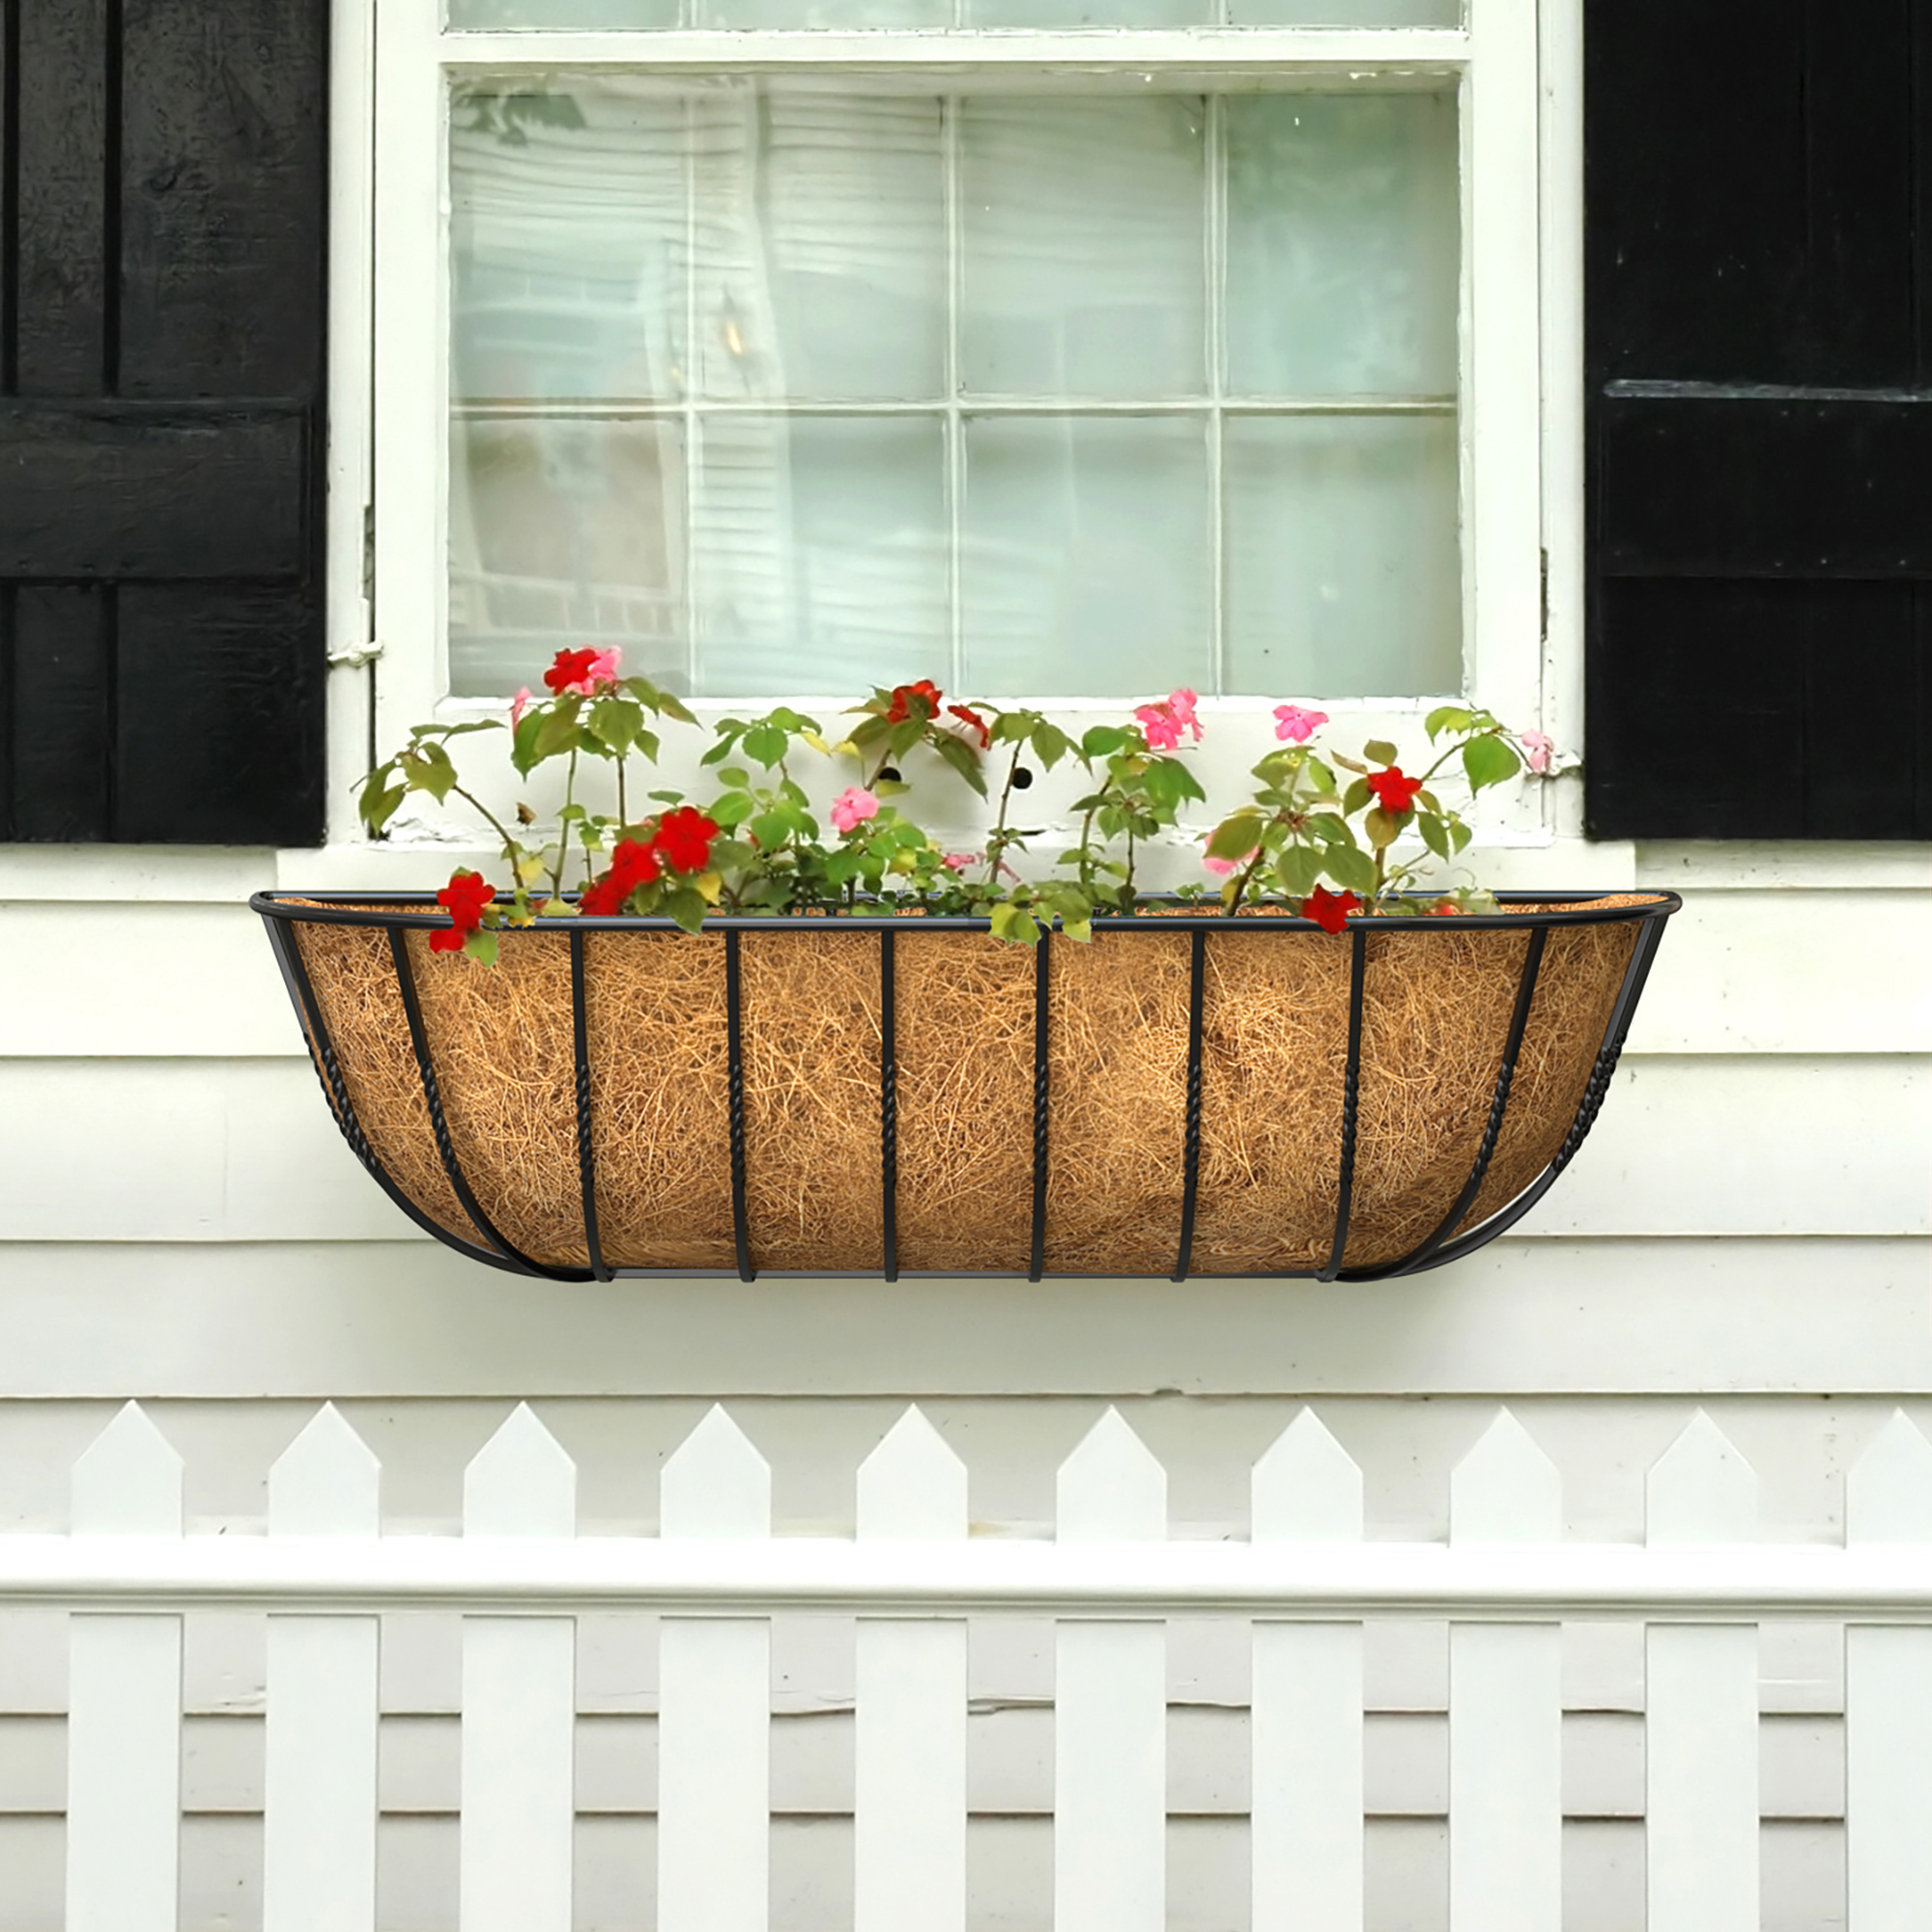
15 window box ideas – perfect planting tips for floral interest in all seasons

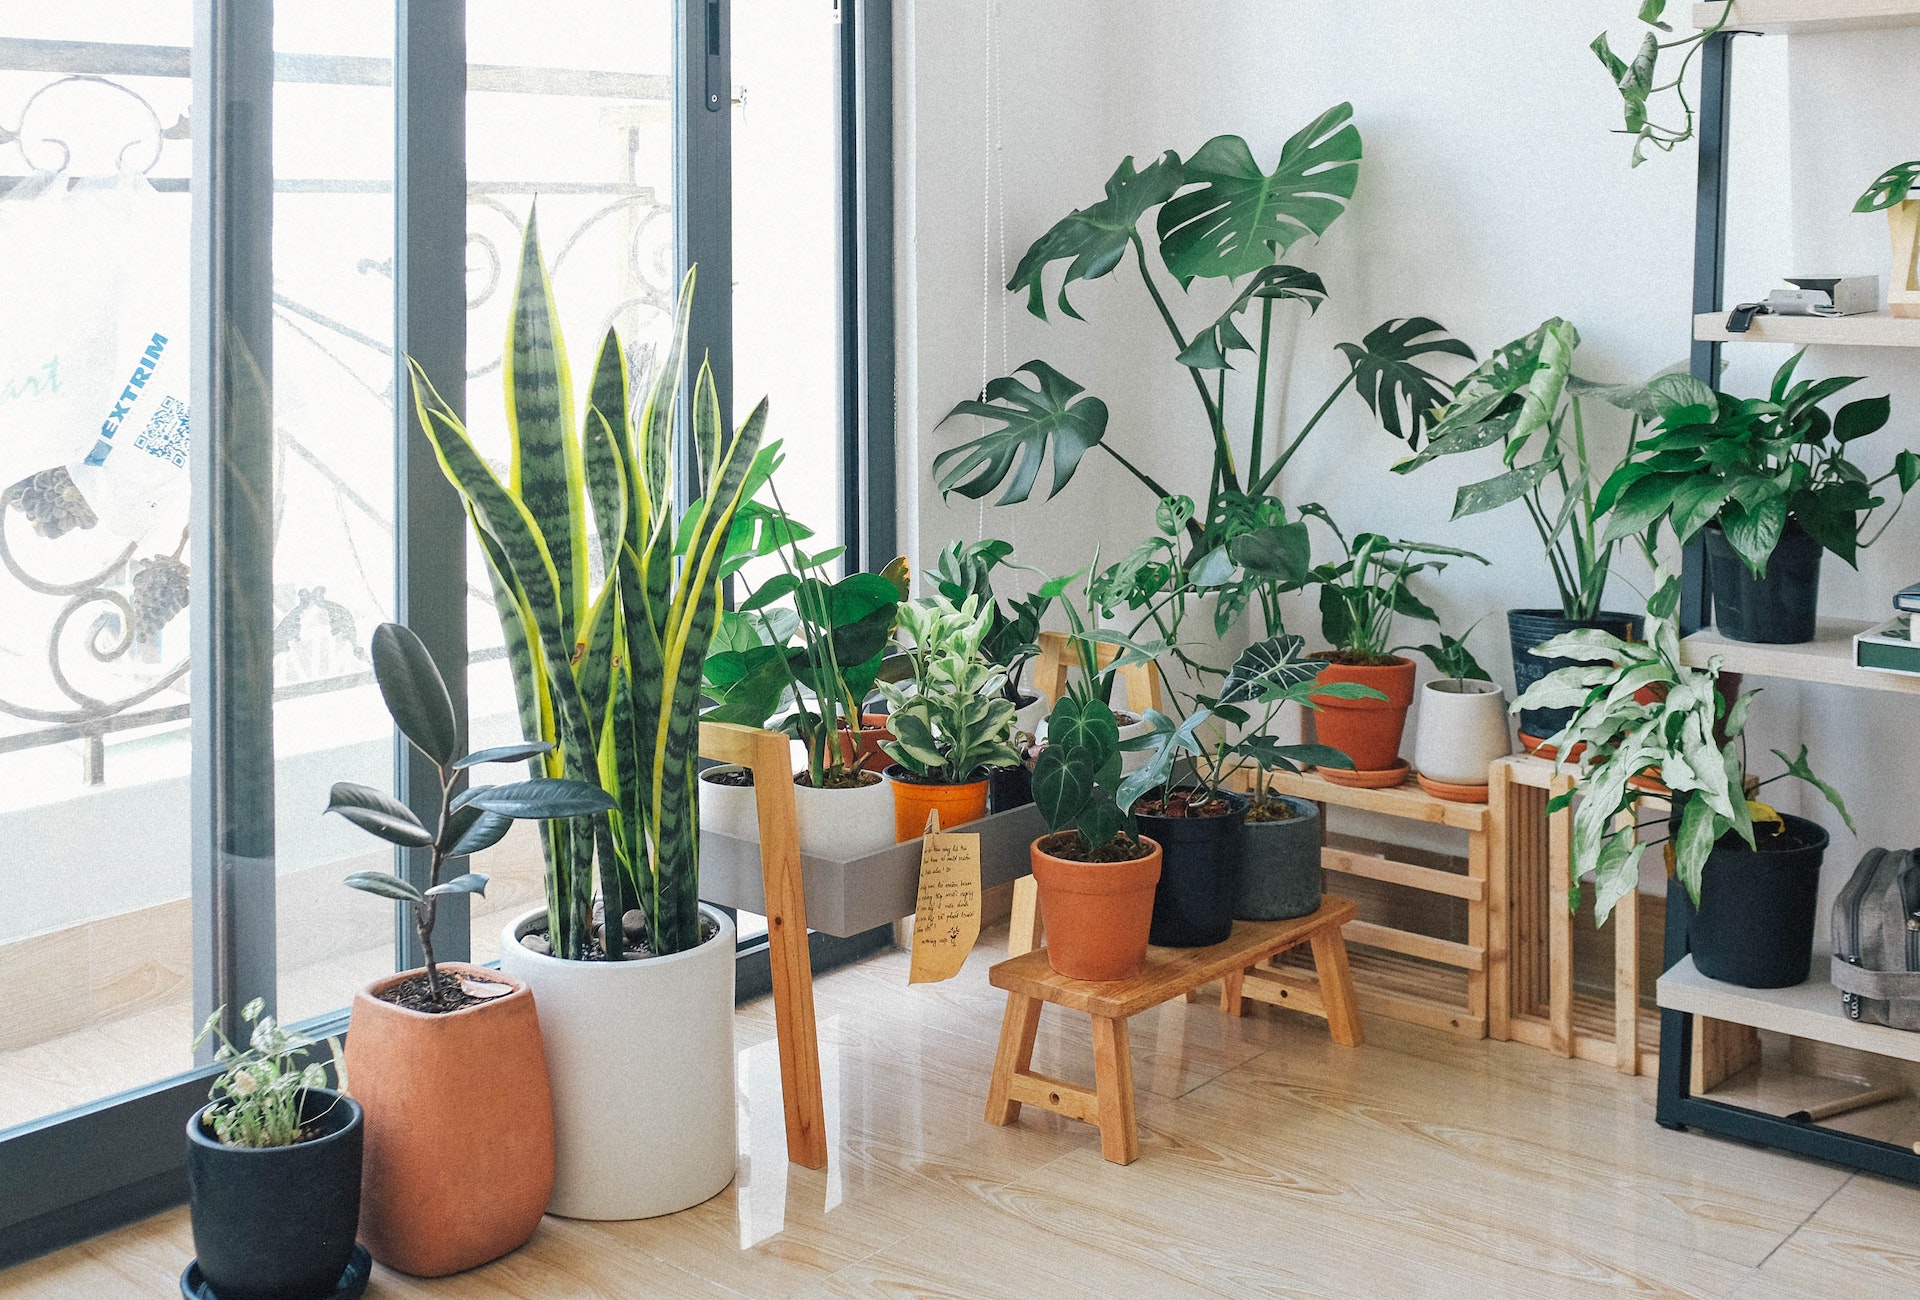
8 Incredible Indoor Garden Ideas

5 Ways to Use Indoor Plant Growing Systems to Help Your Crops Thrive — And That Look Amazing, Too
Craig's secret weapon for helping his indoor plants look their best

Indoor garden ideas: 9 ways to create a plant-filled haven
How to grow a vertical garden at home
The Rail V2 is a 3D printed wall-mounted planter system that's now smarter and easier to use