1/3
How to Fix a Roof Drip Edge
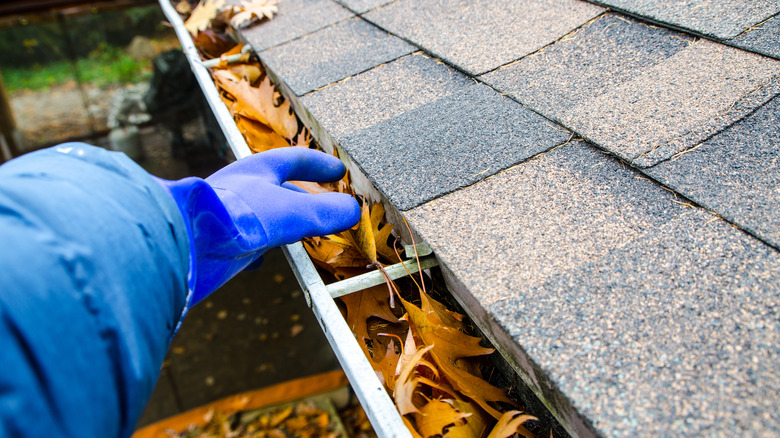
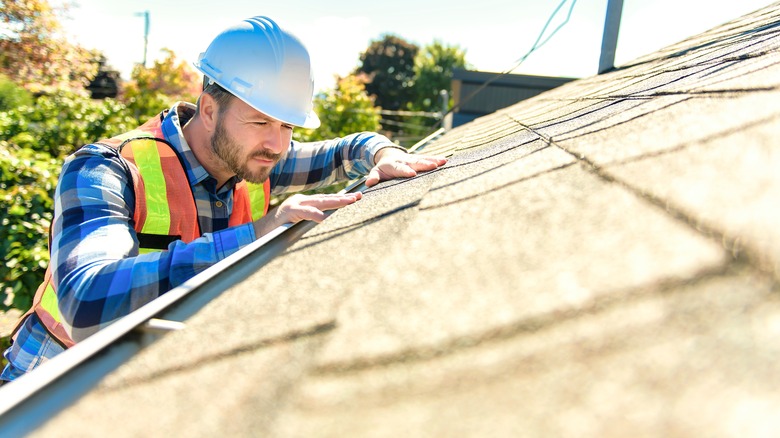
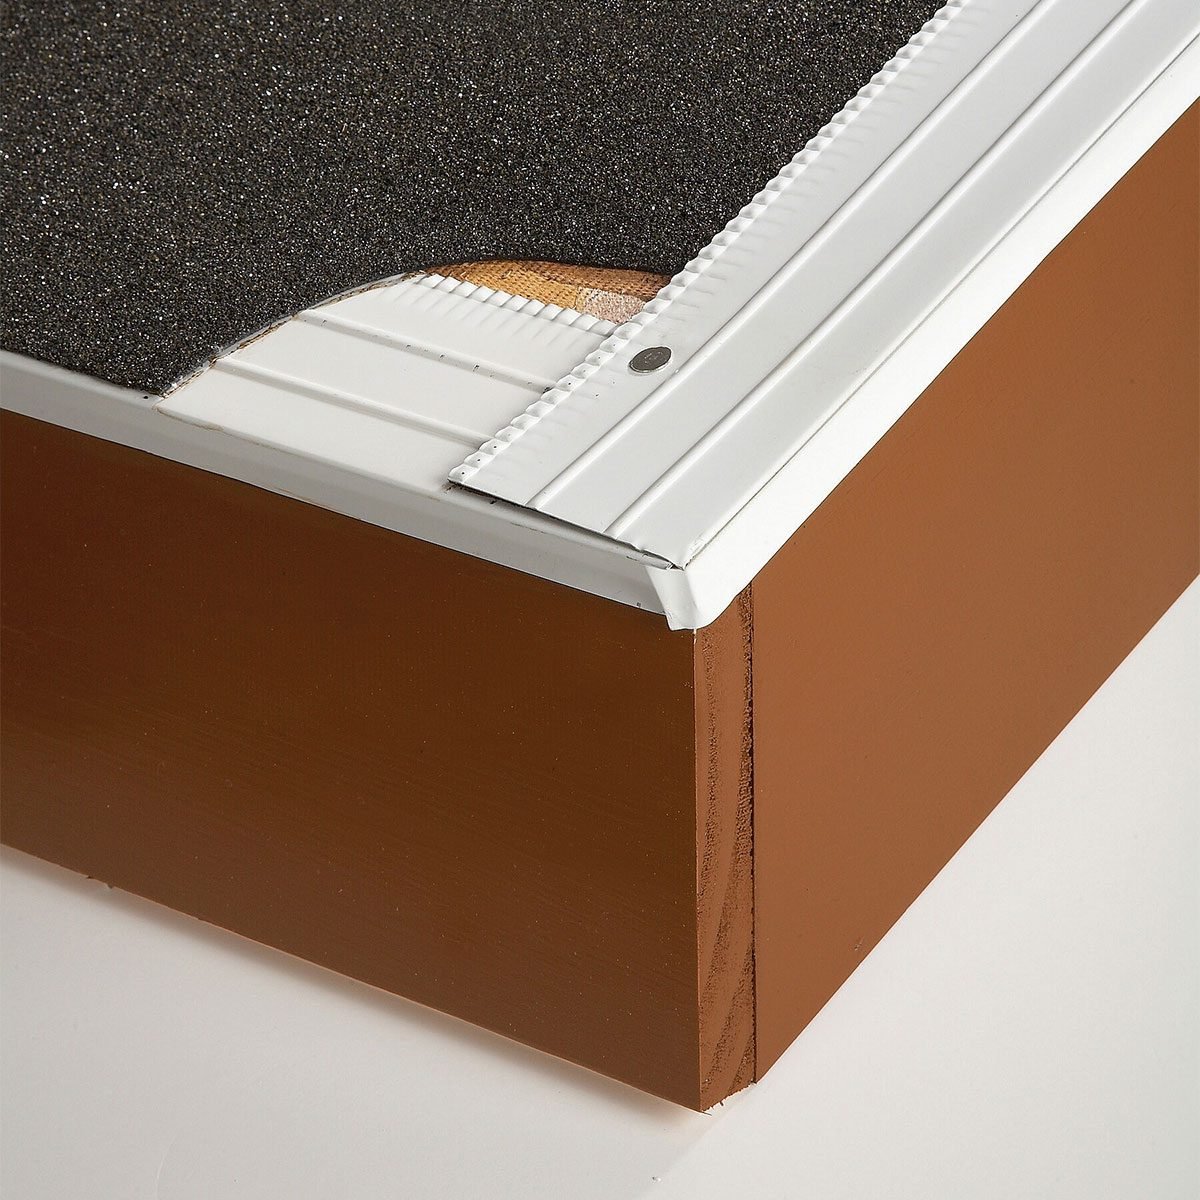
The article discusses the importance of a roof's drip edge in protecting a home from water damage and provides a step-by-step guide on how to replace or install one. A drip edge, essentially flashing, is designed to direct water away from the fascia and other wood components of the roof, thereby preventing rot and mold damage and extending the roof's lifespan. Mike Larsen, owner of Larsen Roofing, emphasizes the significance of regular roof inspections to identify any damage or cracks in the drip edge. While damage can sometimes be visually identified, professional inspection is recommended for thorough assessment.
The presence of a drip edge is more common in homes built within the last 25 years, as they were only broadly incorporated into building codes in the late 1990s. For older homes, a drip edge might be absent. However, replacing an old or damaged drip edge, or installing one where none existed, is described as a manageable DIY project.
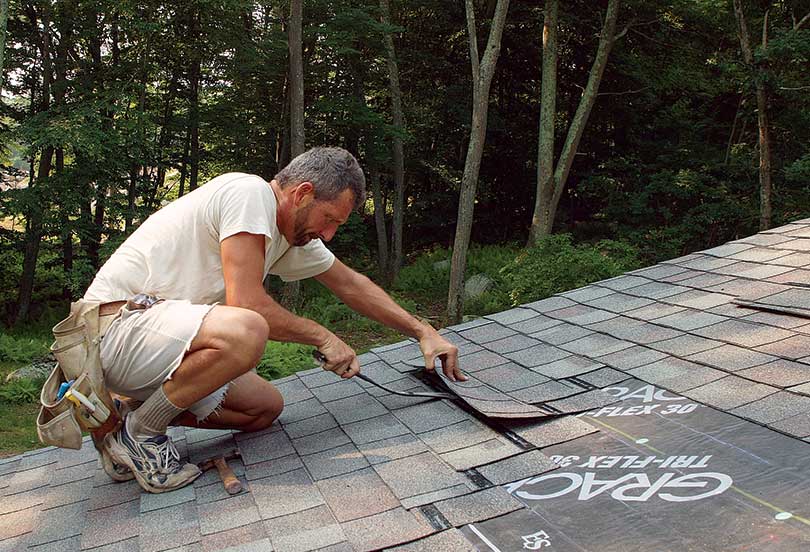
The process begins with ensuring ladder safety by setting it up on flat, level ground, using a ladder stabilizer, and adhering to the 4:1 rule for leaning against the house. The next step involves carefully removing the existing drip edge. This requires lifting shingles and using a pry bar to gently free the nails holding the drip edge to the decking, taking care not to damage the roof deck. It is crucial to observe the existing layers of the roof, which typically include decking, an ice shield (in colder climates), the drip edge, underlayment (traditionally oil-soaked felt, now often synthetic materials), a shingle starter strip, and finally, the shingles. The drip edge removal progresses section by section, repositioning the ladder as needed, and always maintaining a safe working posture with the belly button between the ladder's side rails.
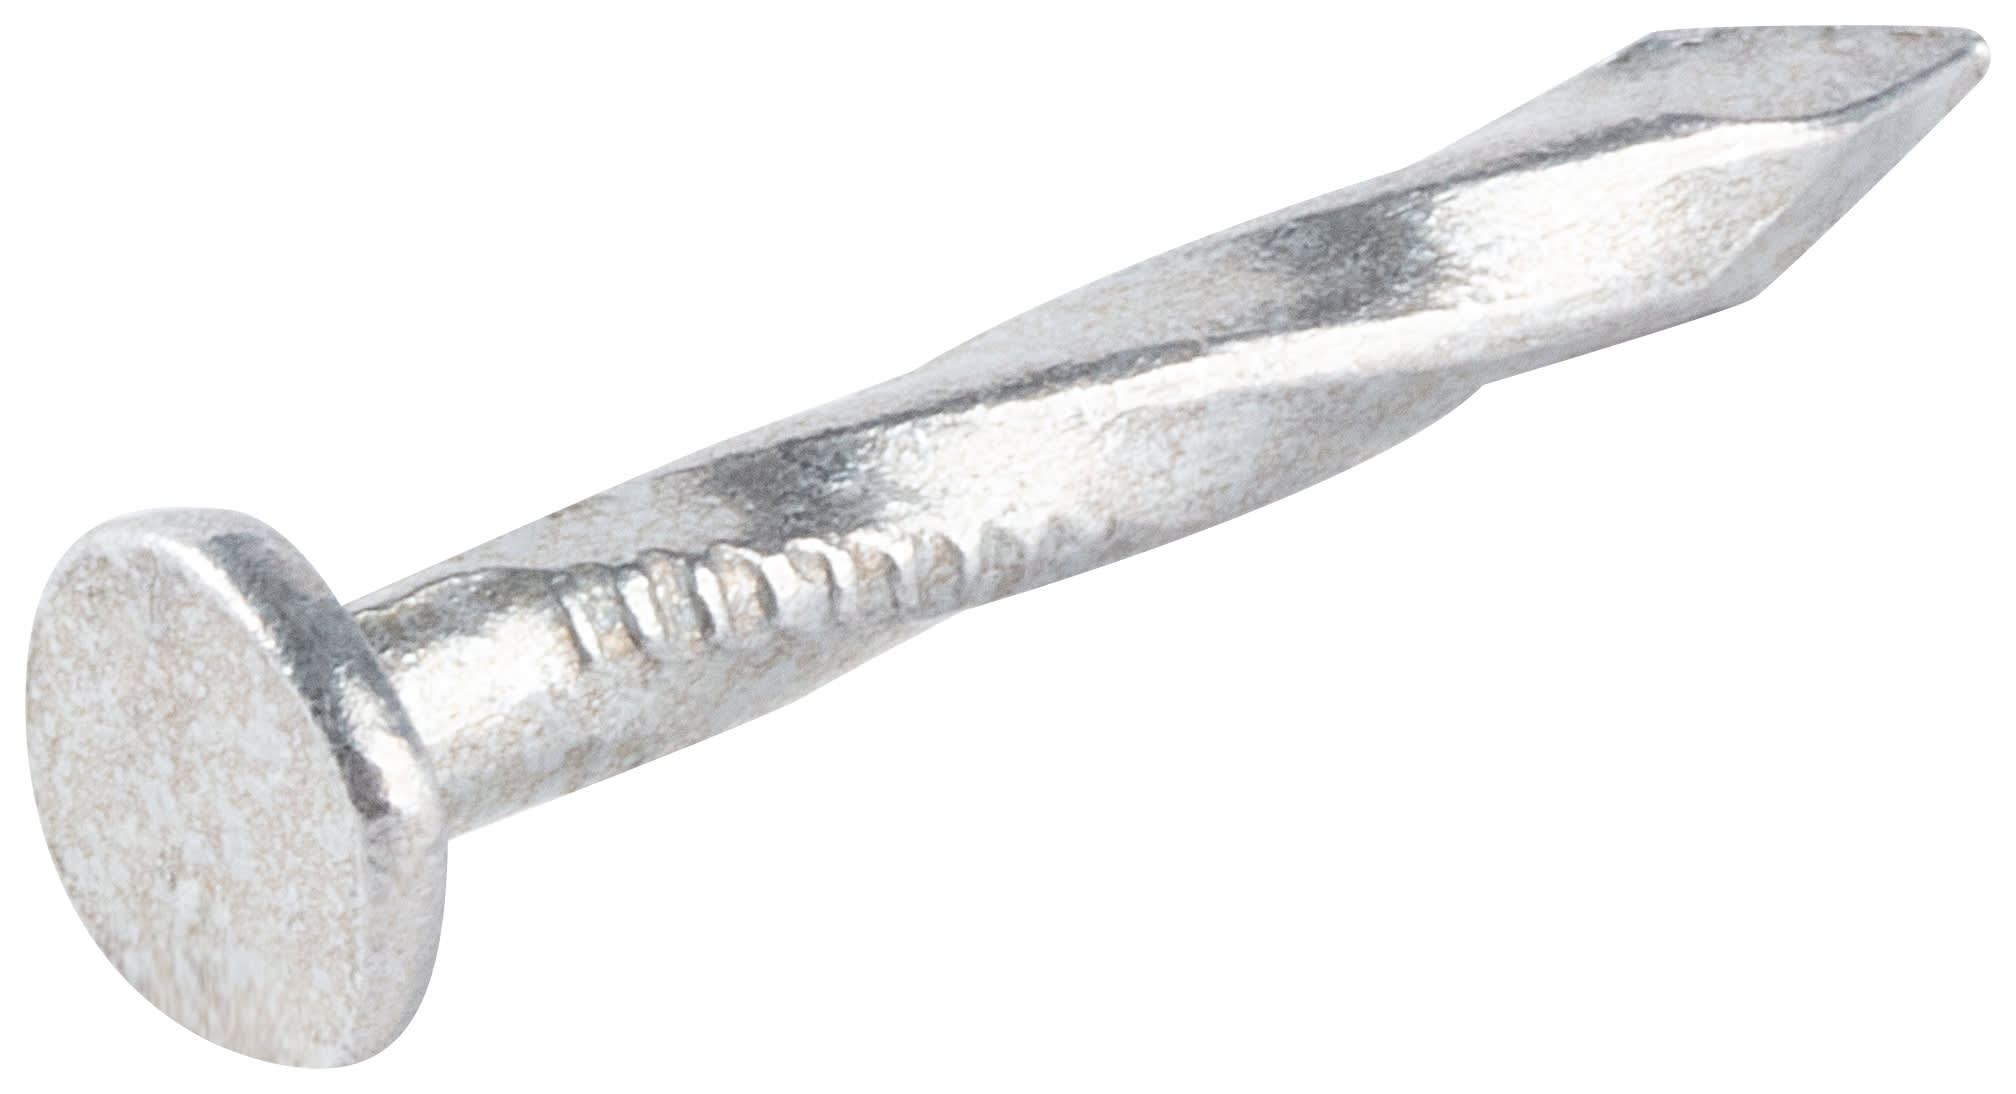
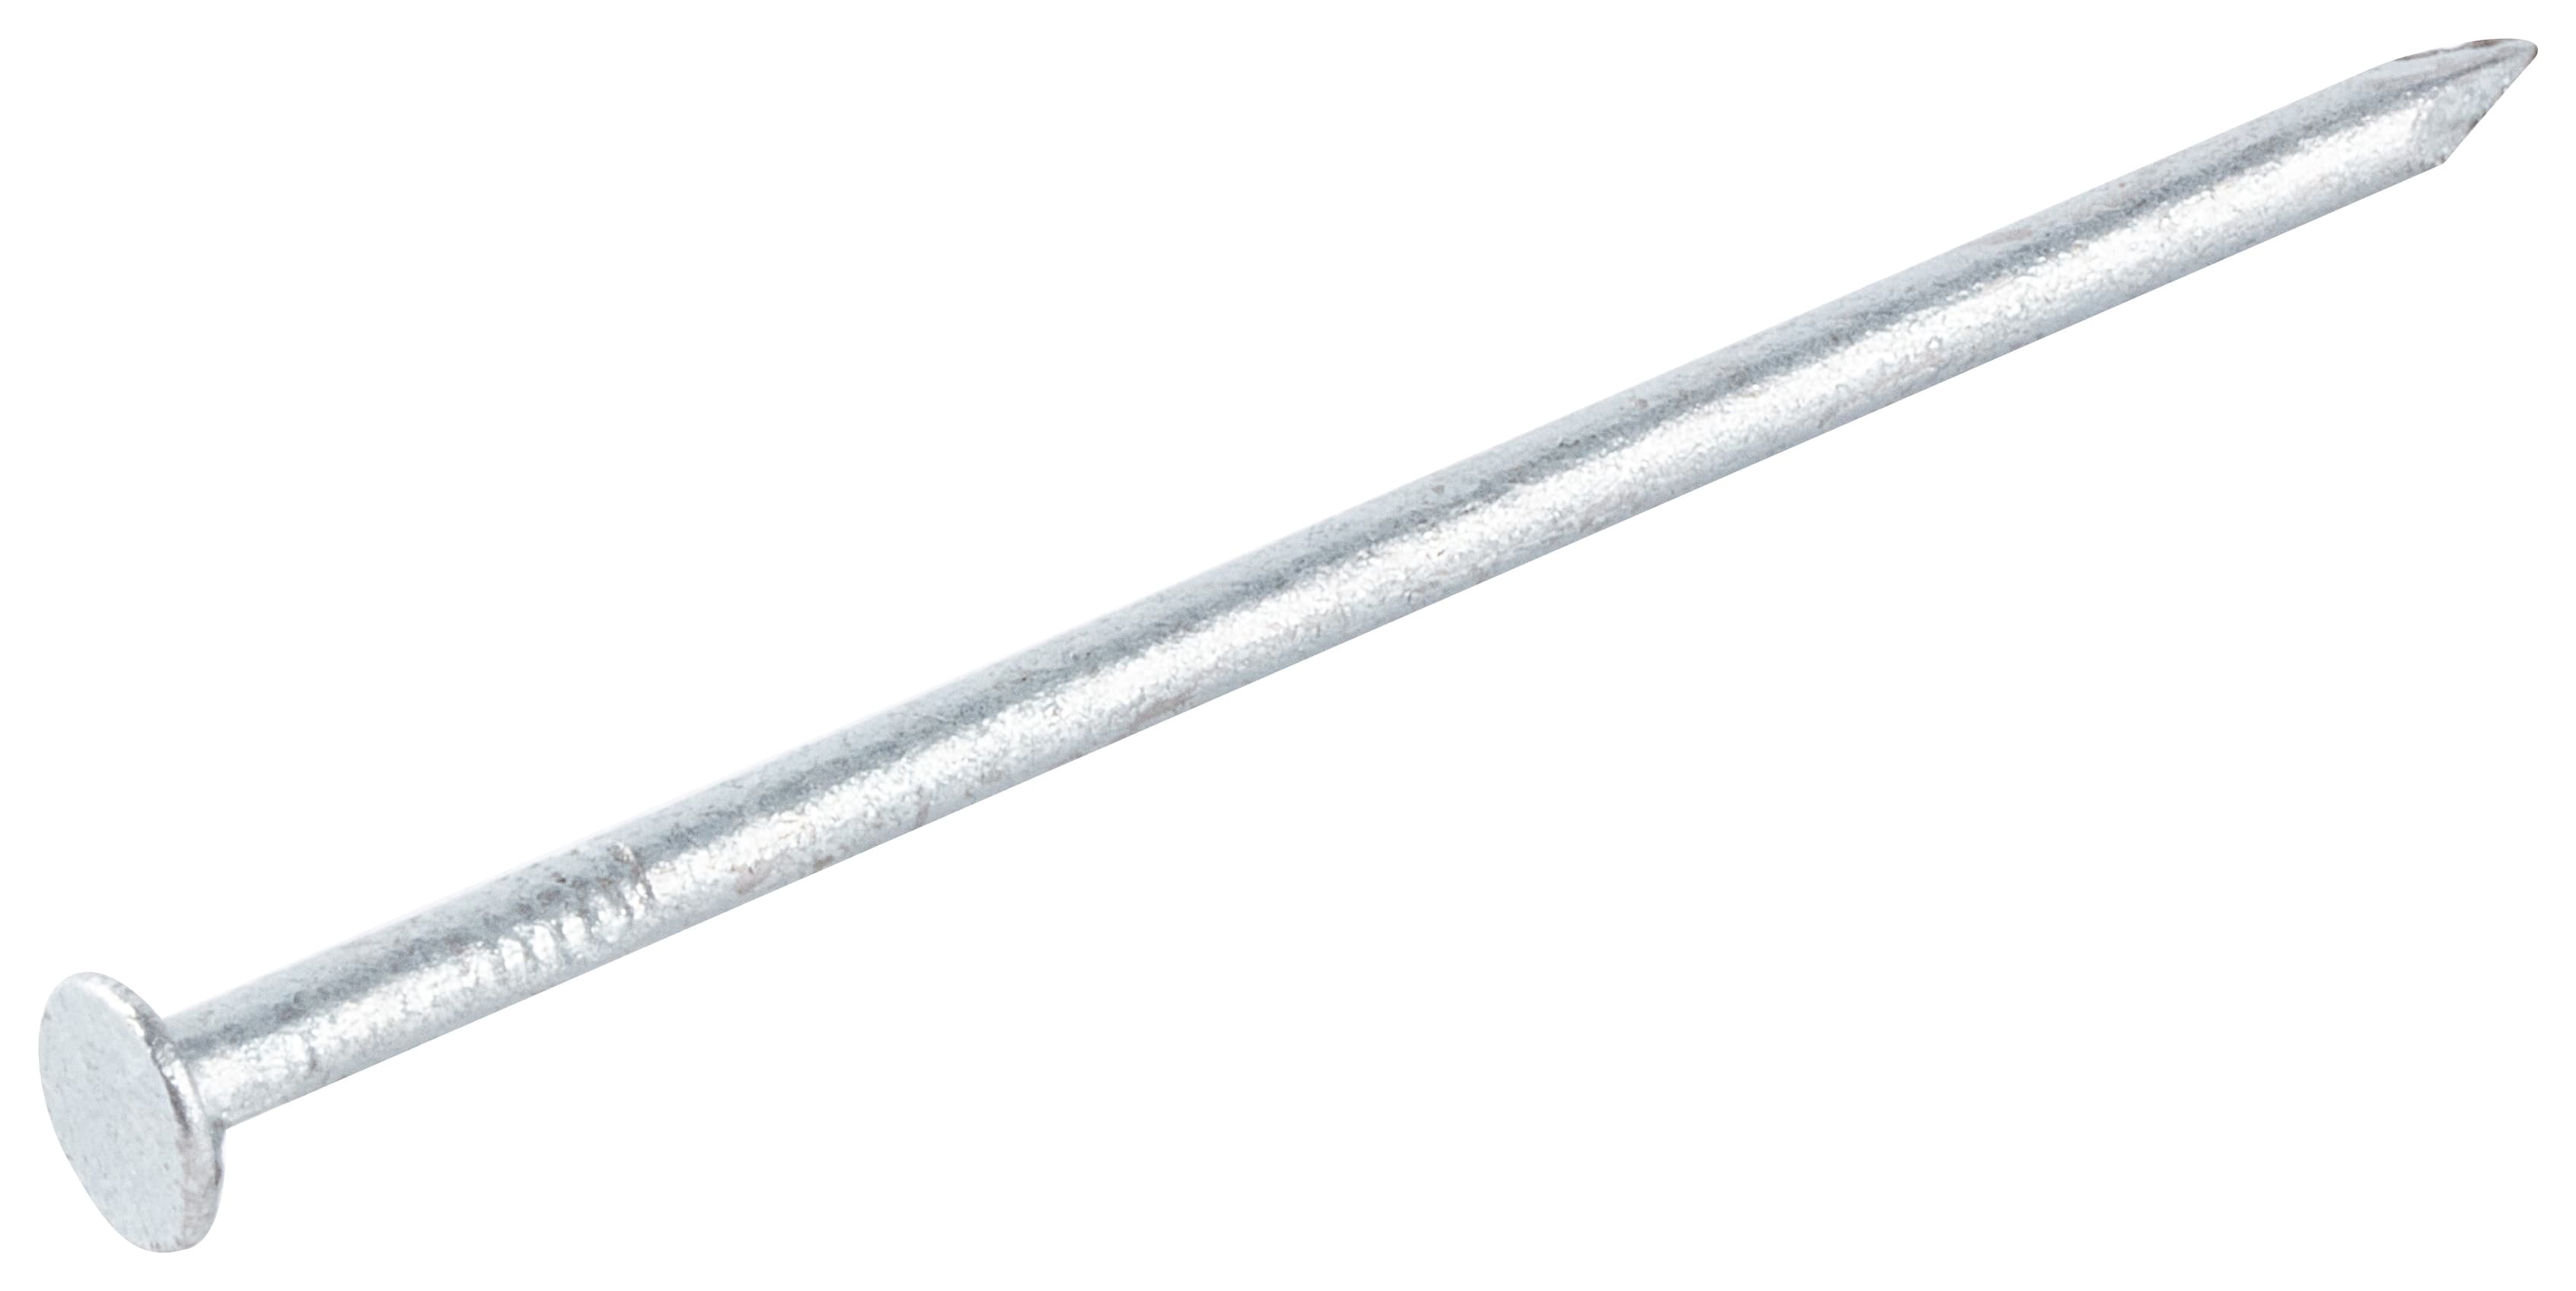
Preparing the new drip edge involves measuring the eaves (horizontal edges) and rakes (slanted edges) of the roof, or using the old drip edge as a template. Tin snips are used to cut the new drip edge to the correct length. If overlapping is necessary, the pieces should overlap by about two inches at any joints. Installation begins with the eaves, ensuring that water flowing from the rakes will correctly pass over the eave's drip edge. The new drip edge is then slid into place, kept flush with the roof's edge, and secured with galvanized roofing nails. It is important to ensure the drip edge extends past the fascia and into the gutters for effective water diversion. Finally, seams and nail heads are sealed with roofing cement, and the shingles are pressed back down over the newly installed drip edge.
Regarding the DIY feasibility of this project, Larsen notes that experienced DIYers can undertake it, but warns against being too forceful during removal, as this can cause further damage. If replacing an entire roof, it is generally advised to replace the drip edge as well, given its integral position within the roof layers and the minimal benefit of reusing potentially damaged or nail-holed metal flashing.
#RoofMaintenance #DripEdge #HomeImprovement #DIY #Roofing #WaterDamagePrevention #FasciaProtection #LadderSafety #HomeRepair #RoofMaintenance #DripEdge #HomeImprovement #DIY #Roofing #WaterDamagePrevention #FasciaProtection #LadderSafety #HomeRepair
0 comment in total
 No comments yet
You may also like
Home Repair Experts Reveal the Surprising Dangers of Having Moss on Your Roof

Replacing a roof – everything you need to know
Adjusters, Deductibles & Roofers: Help I Have Hail Damage!

Project: Site-Built Under-Deck Drainage System

How to Fix a Dripping Tap | Fixing Leaking Taps

Guttering & Drainage


What Are Eaves of a House, and Are They Worth Adding?


3 Ways To Make A Drop Ceiling Look Good, According To Designers

Make a Watertight Chimney Cricket

Upgrading a foam-insulated roof
What to do When You Have Roof Damage From Hail
Framing a Cold Roof
Installing roof battens
Roofing | Roofing Sheets | Roofing Supplies
5 common types of water damage to your home – and how to fix them

Kuffa: Simple, inexpensive solutions to a wet basement
Leak-Free Skylights

Roofing Nails
Our Roof Repair Expert's Best Tips For Extending The Life Of Your Roof