1/7
How to Build a Poker Table: Simple DIY Woodworking Project
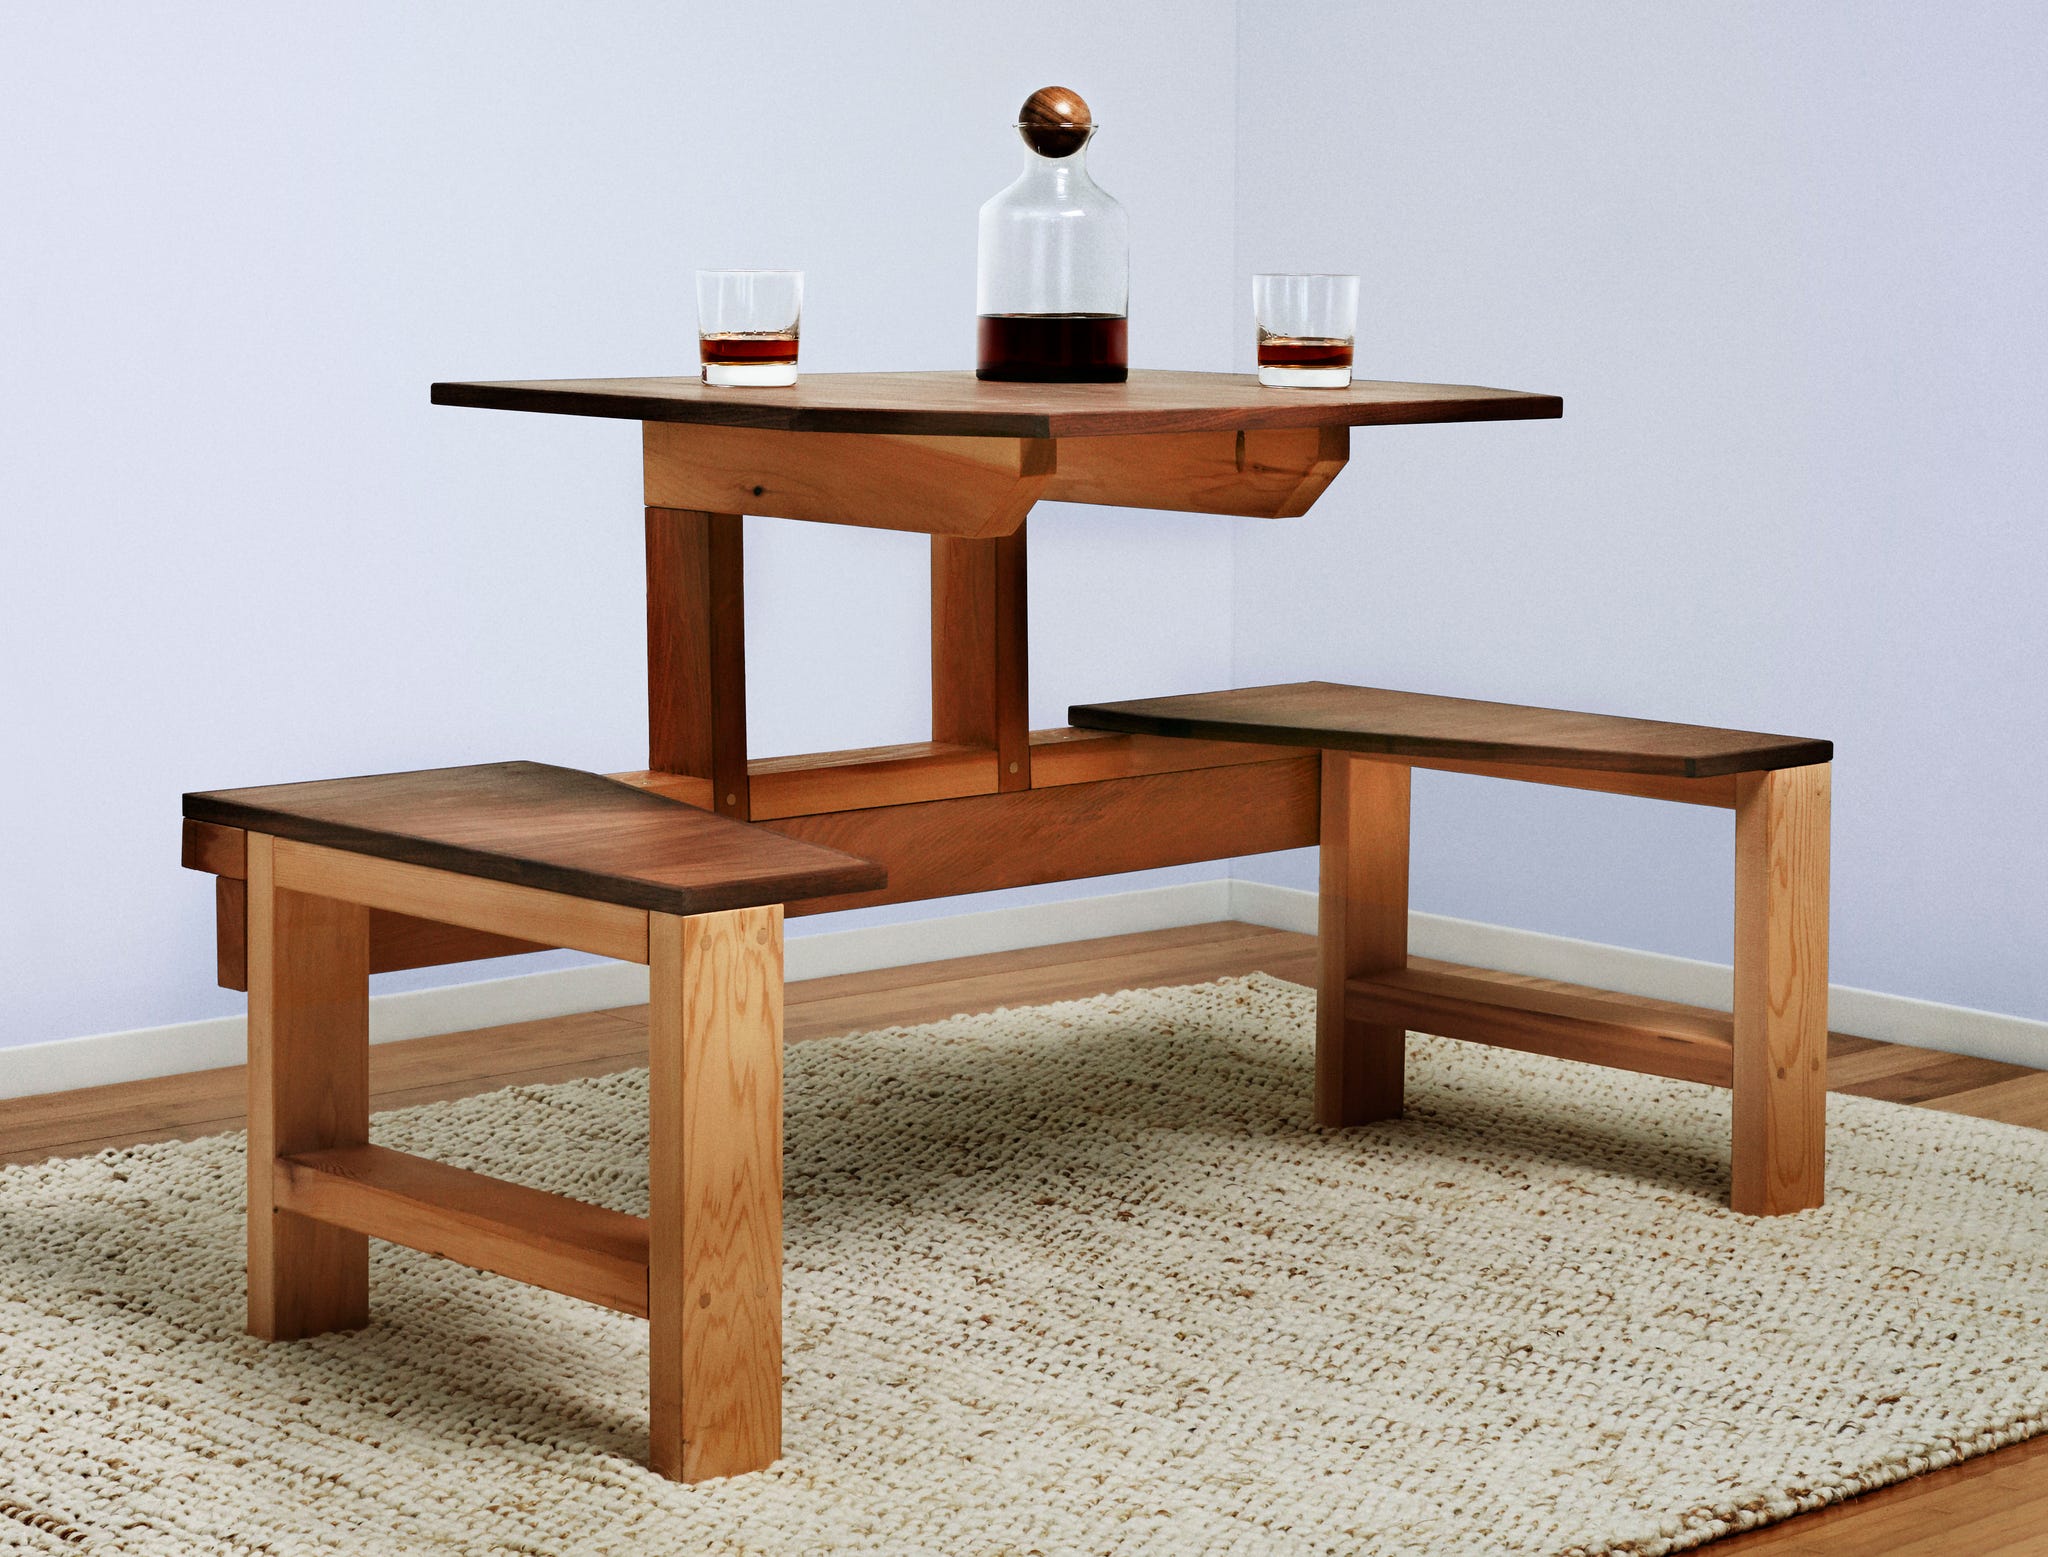
This article details the process of building a compact table for two, an updated version of a 1939 Popular Mechanics project. The original design's mid-century modern aesthetic was preserved, with modifications made to reduce its size and enhance its practicality for contemporary lifestyles, such as adding contours to the tabletop. The project aims to be achievable within a day, utilizing a short and economical shopping list. For a modern finish, the design suggests using kiln-dried cedar lumber for the supporting structure and incorporating hardwood edging with contrasting walnut-veneered plywood.
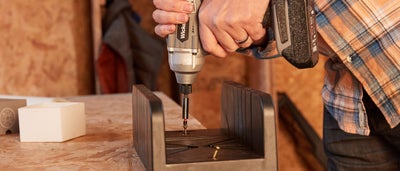
The construction begins with preparing the lumber supports. This involves crosscutting 2x4 lumber to the required dimensions, starting with longer pieces like the stretcher and apron, then moving to shorter parts like the table uprights, and trimming any rough factory ends. Predrilling holes into each leg using a No. 8 countersink bit is the next step, ensuring two holes are positioned ¾ inch from the top and each edge, and two others are 6¾ inches from the bottom and each edge. The legs are then clamped to the crossbraces, and 3-inch screws are driven into each hole.
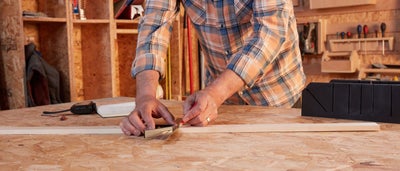
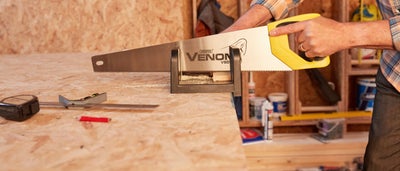
For the stretcher, two mortises, each 1½ inches wide by 1¾ inches deep, are marked 18 inches from each end. A relief hole is drilled in a corner, and the mortise is cut out using a jigsaw. Corresponding tenons, 1½ inches long and 1¾ inches wide, are cut into one end of each table upright. The other end of each table upright requires a rabbet ¾ inch deep by 3½ inches long, cut using a table saw with a dado stack. If a dado stack is unavailable, relief cuts can be made with a miter saw or handsaw, and waste removed with a chisel. Matching rabbets are cut on one end of each table support to create a half-lap joint. Additionally, 45-degree cuts are made 1 inch down from the top edge on the other end of these pieces.
Table support subassemblies are completed by gluing pieces at right angles and fastening them with four evenly spaced 1¼-inch countersunk screws. The tenons of the table uprights are glued and inserted into the stretcher's mortises, then clamped and secured with 3-inch countersunk screws. The apron is attached to this assembly by applying glue along its edge and driving six 3-inch screws through the stretcher into the apron, positioning them within 12 inches of each end to conceal them under the benches. Finally, the table-apron assembly is attached to the leg assemblies using four 2½-inch countersunk screws driven through the apron into the legs.
For the plywood surfaces, angled cuts are made using a circular saw, guided by a straightedge to ensure precision. Blue masking tape is applied to the top surface to prevent chipping. Hardwood stock is ripped into 3/8-inch strips for edging, which can be overlapped or mitered at the corners. These are glued and nailed into place, left slightly proud, and then trimmed flush with a router and a flush-trim bit once dry. Each bench is fastened to the leg assembly with three 2-inch screws driven through the stretcher into the underside of the bench, with a caution against over-penetration. The plywood tabletop is attached with 1¼-inch pocket screws, boring two holes on the inside of each table support using a Kreg Jig.
Finishing involves applying glue to all visible countersunk holes and plugging them with 3/8-inch wood plugs. After the glue dries, the plugs are trimmed flush with a flush-cutting saw. The entire table is sanded with 120-grit, then 180-grit paper, and finally, two coats of clear polyurethane are applied, with light sanding between coats using 220-grit paper.
#DIYProject #Woodworking #TableDesign #HomeImprovement #Craftsmanship #FurnitureBuilding #MidCenturyModern #SmallSpaceSolutions #DIYProject #Woodworking #TableDesign #HomeImprovement #Craftsmanship #FurnitureBuilding #MidCenturyModern #SmallSpaceSolutions
0 comment in total
 No comments yet
You may also like
19 Creative DIY Deck Plans and Design Ideas


Magic for the Masses: Standard Deck Construction on a Budget

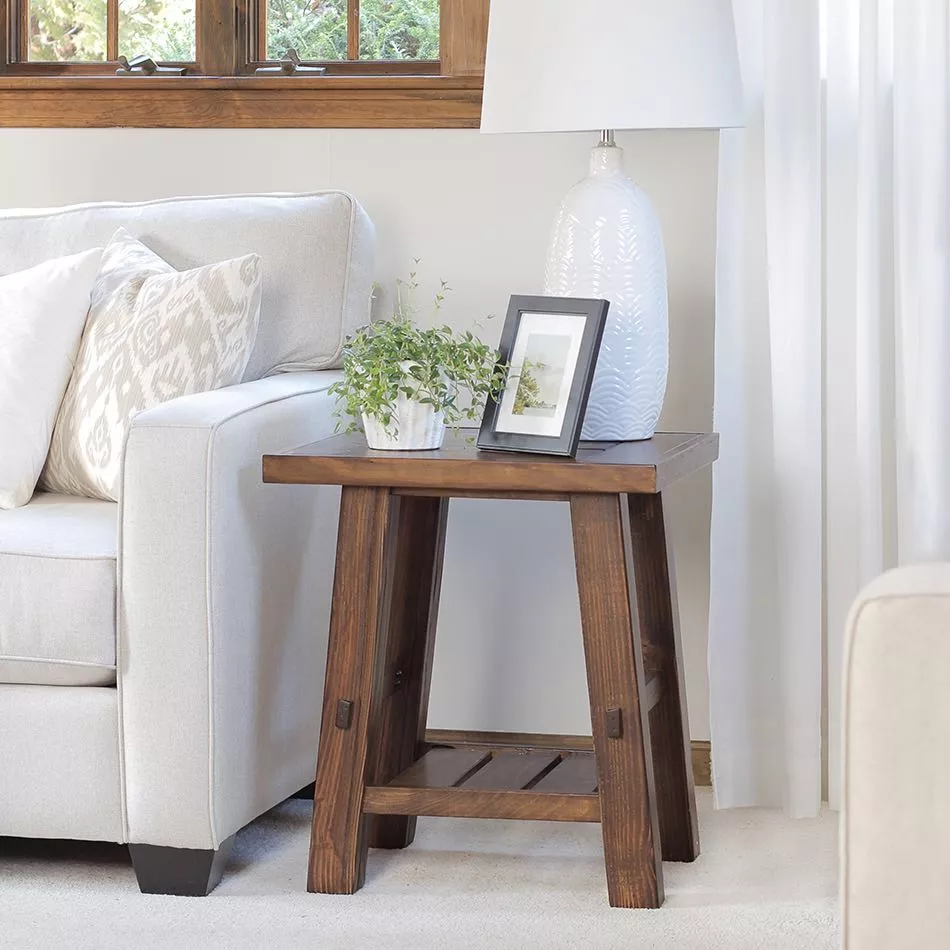
21 DIY End Table Plans You Can Build Today

How to install wooden panelling

How to build a deck – 9 expert tips and step-by-step advice

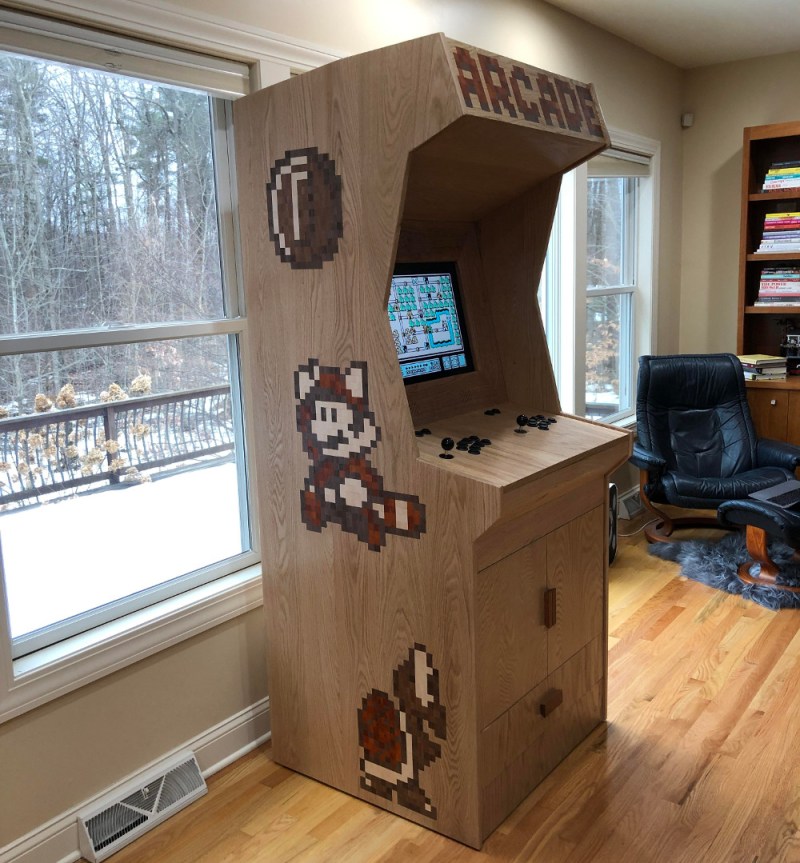
Solid Oak Arcade Cabinet: When Particle Board Won’t Do

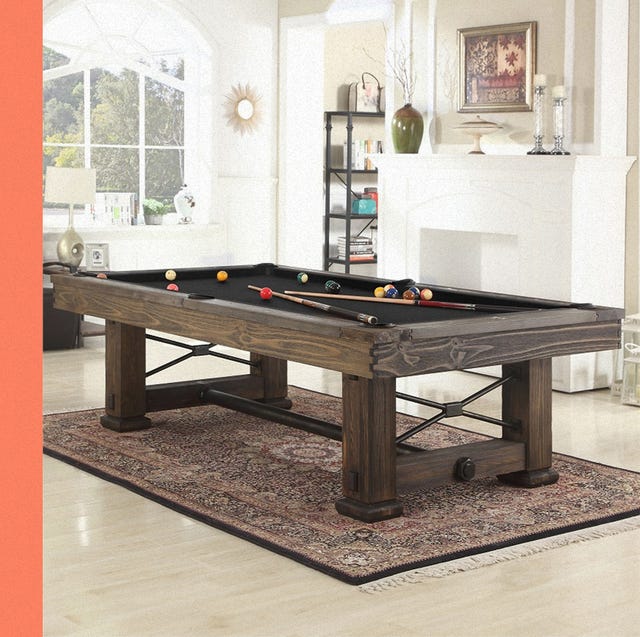
These Are the Best Pool Tables for Your Game Room—Even If It's In Your Apartment

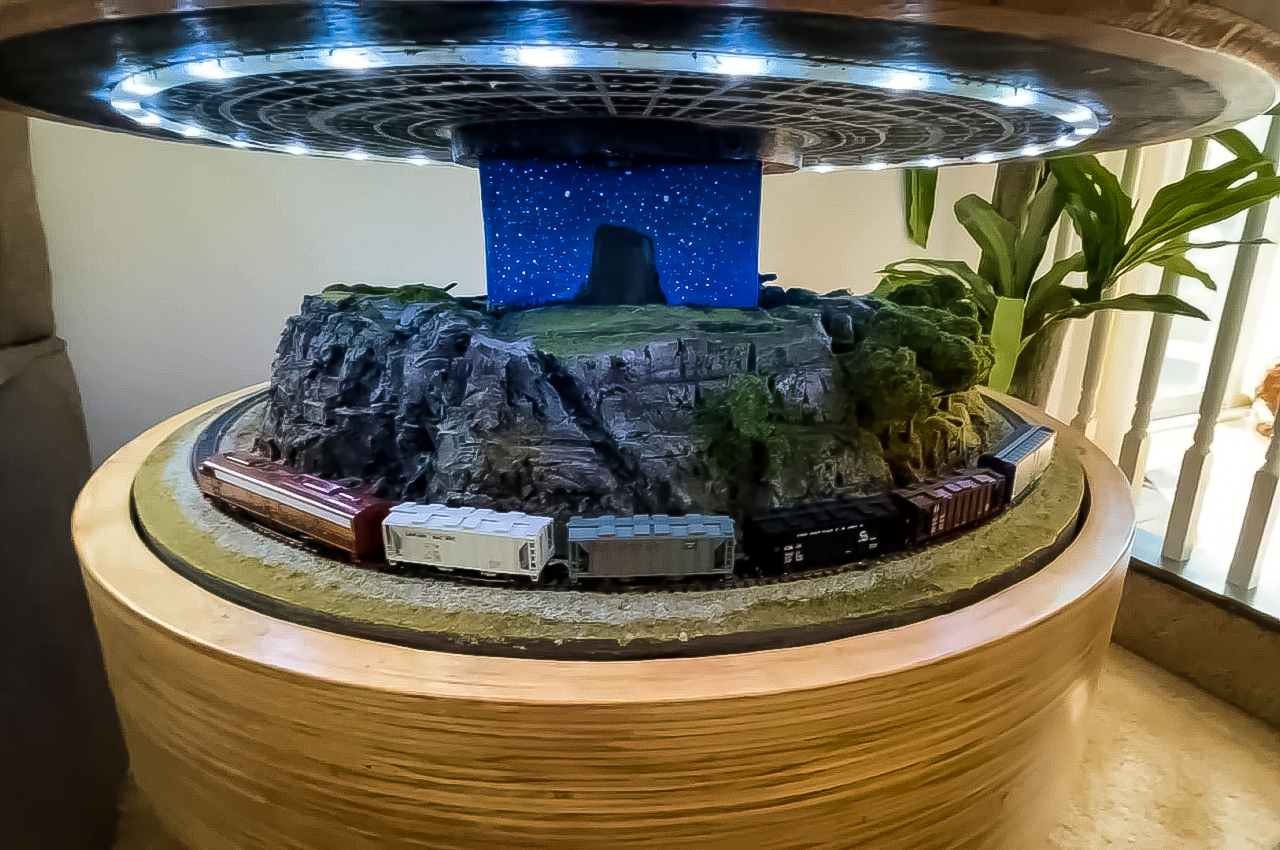
This hidden train side table is a design and engineering masterpiece

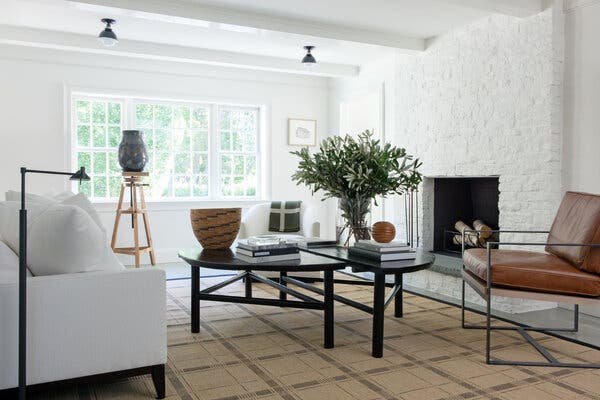
The Effortless Way to Style a Coffee Table (Published 2022)
How to build a hallway table

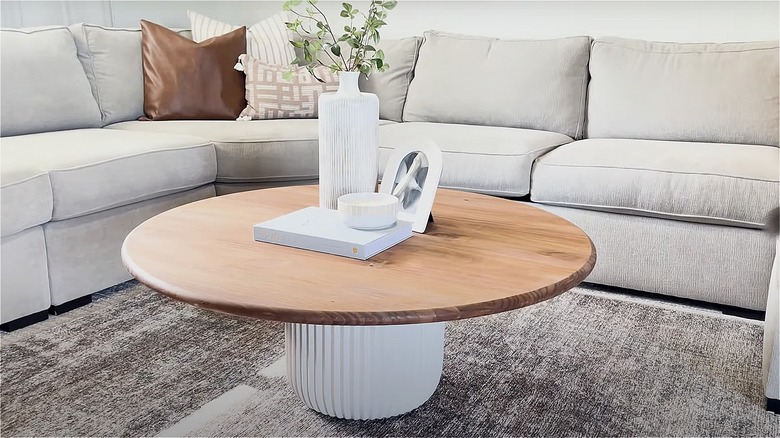
Easily DIY A Trendy Coffee Table With A Home Depot Wood Round And Planter

A Deck Builder’s Tool Kit

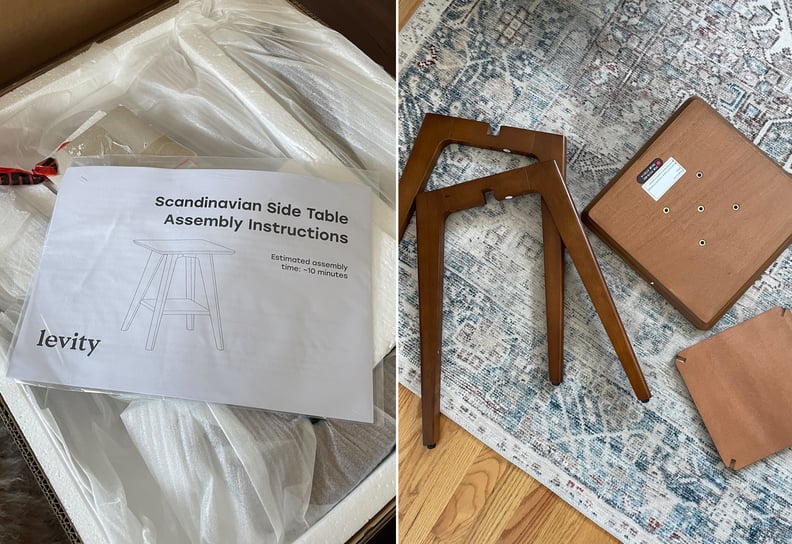
I Built This Side Table in Less Than 10 Minutes, and It Looks So Pretty