
1/5
How I Made a Stock Tank Pool My Backyard Oasis | Wirecutter
Amidst the restrictions of the coronavirus pandemic, the author, Alejandra Matos, sought an alternative to her usual summer activities of public swimming and lake recreation. Inspired by a growing trend of converting stock tanks into backyard pools, she embarked on a DIY project to create a personal outdoor oasis. This article details her journey, providing a step-by-step guide and a list of essential materials for anyone looking to undertake a similar project.
The project began with the decision to acquire a stock tank. Matos highlights the surge in demand for galvanized metal tanks due to the pandemic, advising readers on where to find them, such as Tractor Supply Company, local feed stores, or through manufacturers' websites like Tarter, Behlen Country, and Hastings. She opted for an 8-foot round tank, capable of holding 700 gallons of water, to accommodate guests. Practical considerations for transport are also addressed, with a recommendation for renting a flatbed truck from Home Depot.
Site preparation is crucial for a stock tank pool. Matos emphasizes the importance of firm, level ground to ensure even weight distribution and prevent tank damage. She describes using leveling sand and a box level to prepare the chosen area, noting the need for an accessible 120-volt GFCI outlet for the pool pump. A key pre-installation step involves checking for leaks. Rather than filling the entire tank, Matos suggests using a high-pressure hose and then a few inches of water to identify leaks along seams, which can be repaired with J-B Weld epoxy or manufacturer-supplied sealant.
Integrating a pump is essential for water circulation and filtration. The author selected an Intex 1500 GPH filter cartridge pump, citing its suitability for a 700-gallon pool and the availability of replacement filters. She clarifies that while the pump is vital, additional components like an inlet strainer and plunger valves are necessary and often sold separately. These parts prevent debris from entering the filter and allow for water cutoff during maintenance. Installation involves drilling two holes in the tank for the inlet and outlet, a process she describes as initially daunting but manageable with the right tools and careful execution. After installation, a generous application of waterproof silicone sealant ensures leak prevention.
Finally, maintaining water quality is addressed. Matos details the use of a chlorine floater with 1-inch tablets to keep the water free of bacteria, cautioning against excessive chemical use to prevent tank rust. She also mentions using test strips to monitor chlorine levels. The total cost of the project, including the tank and all parts, amounted to approximately $600, which was significantly less than a canceled beach vacation. The article concludes by encouraging thorough research before starting the project and notes that the entire setup took about three days, including drying times and landscaping. Future plans include researching a water-heater hookup for year-round use.
#DIYProject #StockTankPool #BackyardOasis #PandemicLiving #HomeImprovement #OutdoorLiving #PoolInstallation #SummerActivities #DIYProject #StockTankPool #BackyardOasis #PandemicLiving #HomeImprovement #OutdoorLiving #PoolInstallation #SummerActivities
0 comment in total
 No comments yet
You may also like
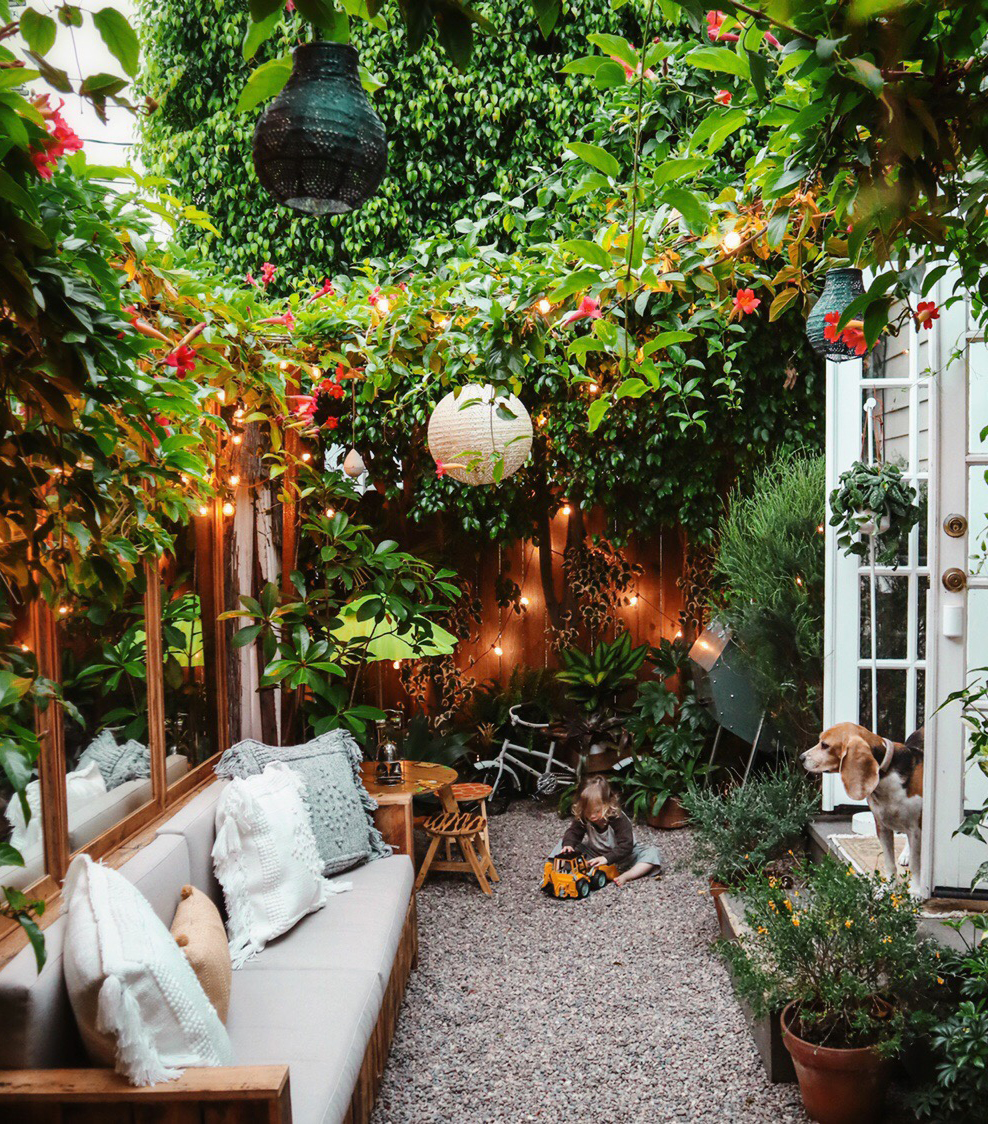
How I Turned My Tiny Backyard Into an Outdoor Oasis
42 Backyard Upgrades That’ll Turn Even The Smallest Space Into An Outdoor Oasis
Transform your backyard into a retreat: How Rolling Saunas levels up your home, health
Backyard bliss: Tips for designing a dream outdoor oasis
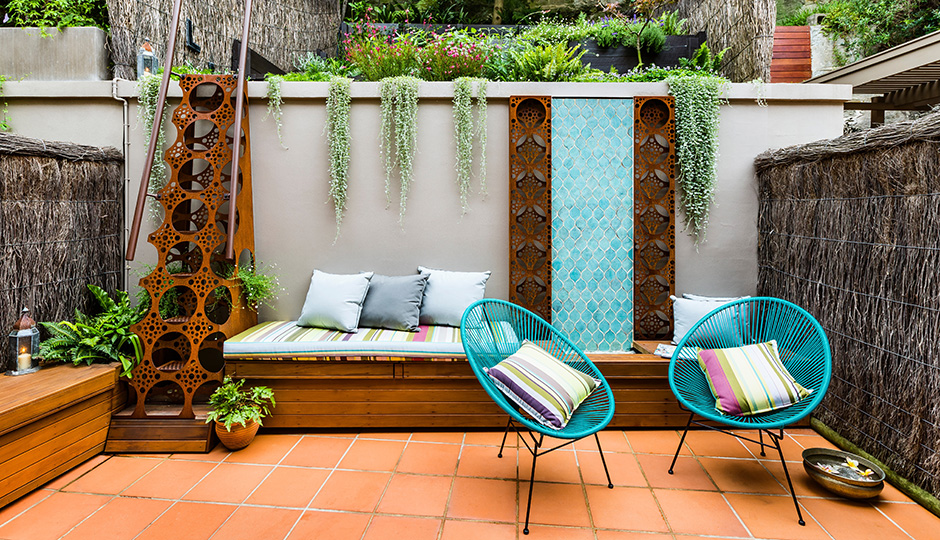
8 Ways to Turn Your Tiny Back Patio Into a Gorgeous Oasis

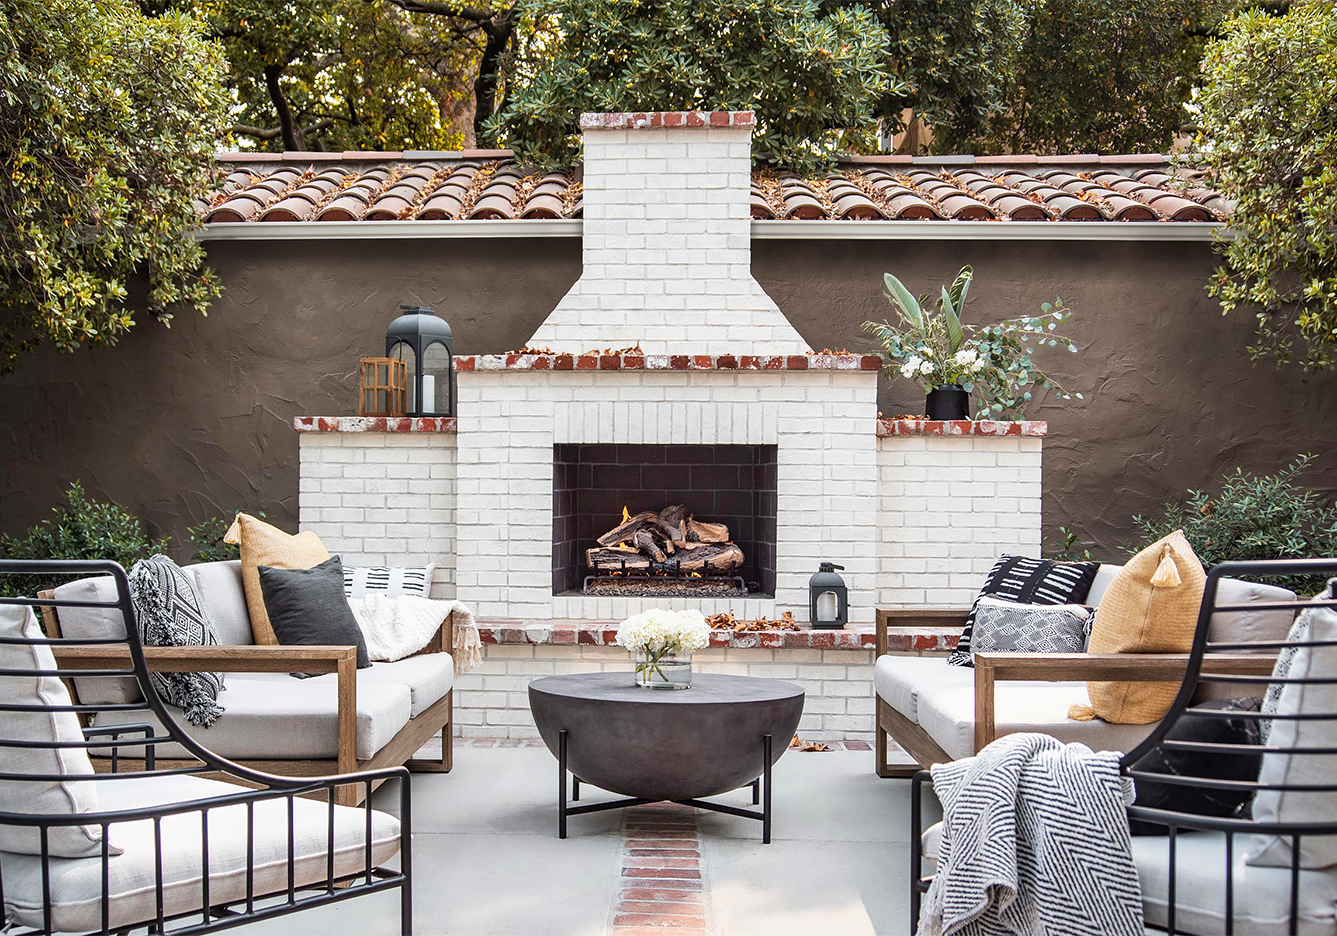
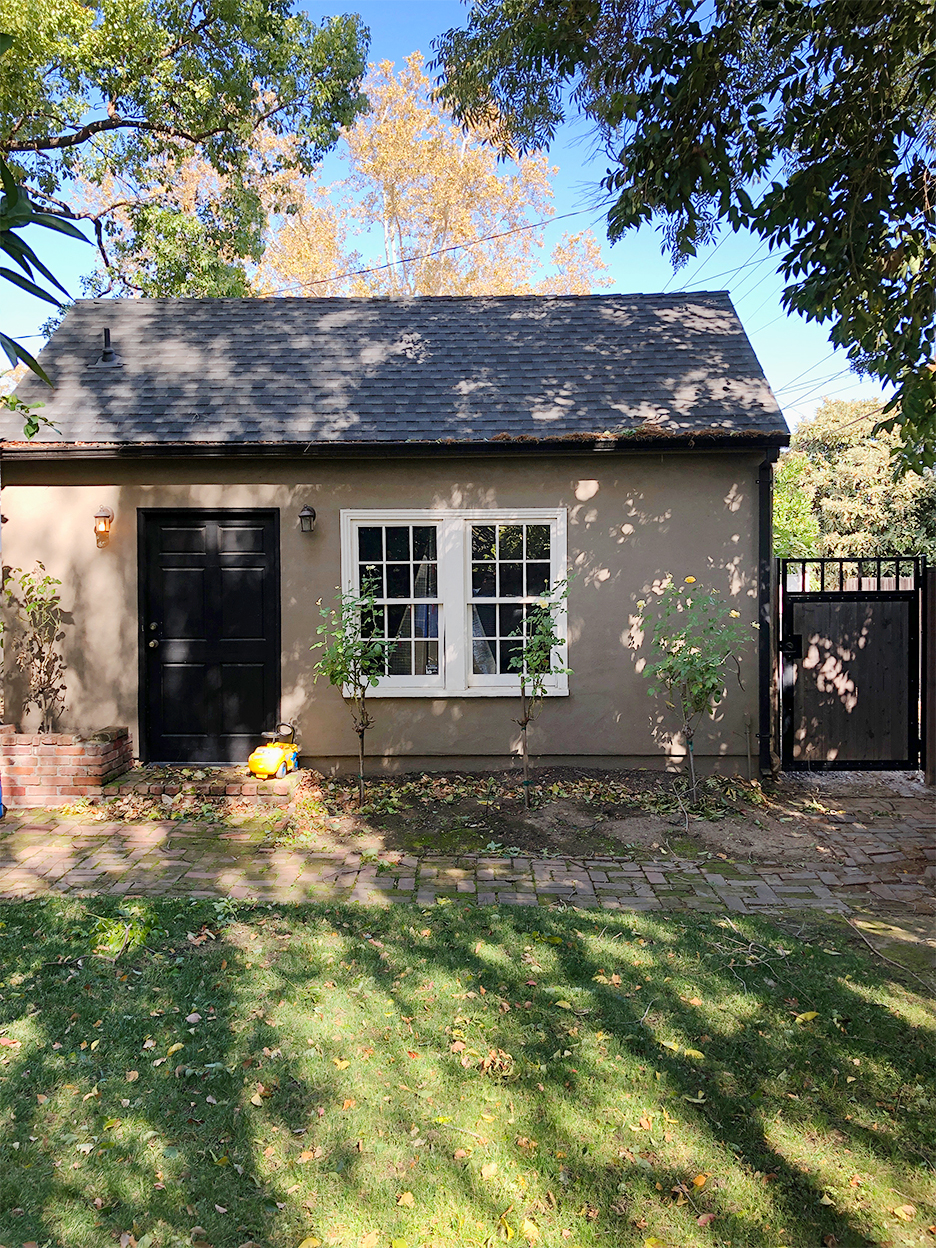
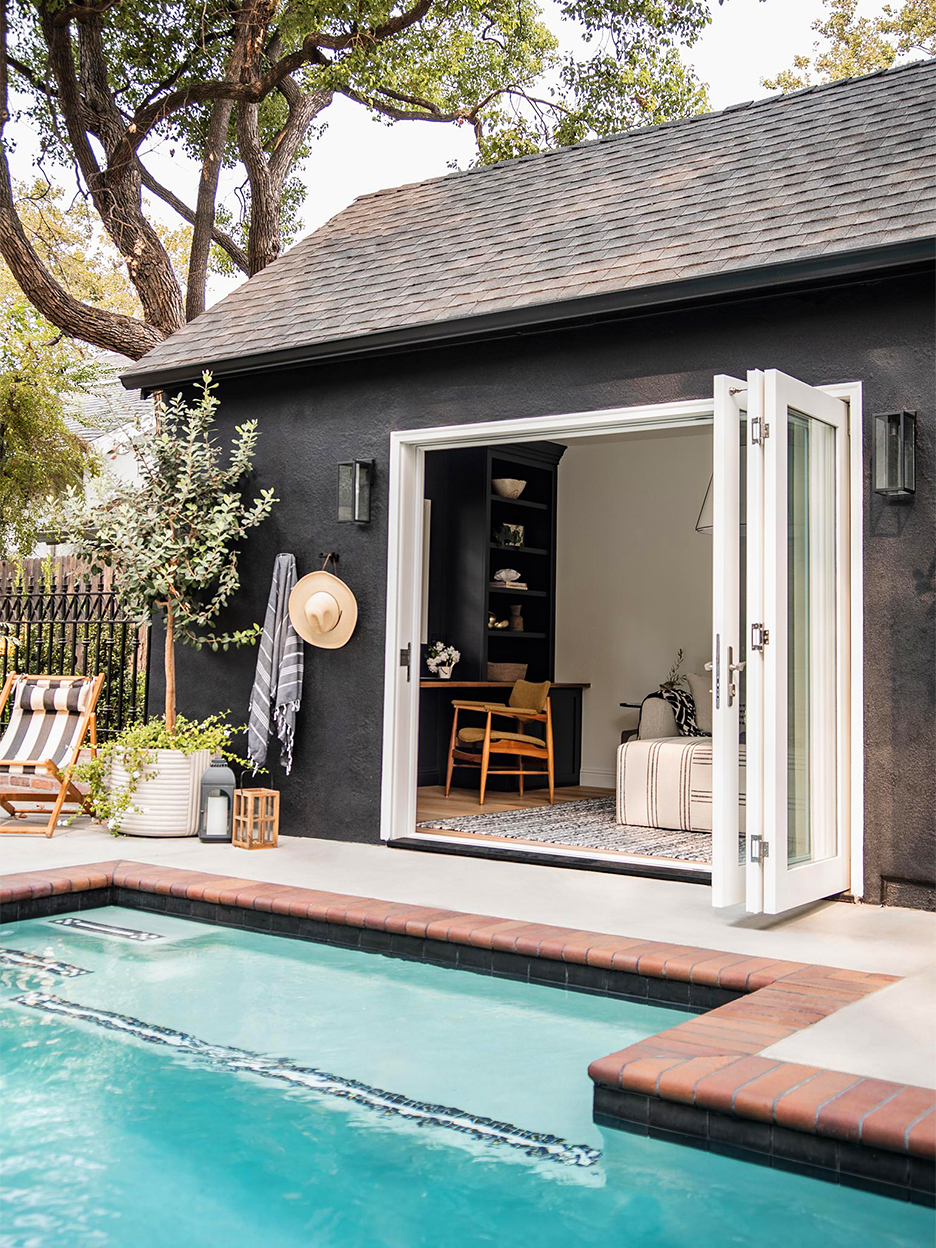
How One Sacramento Home’s Dilapidated Garage Became a Do-It-All Pool House

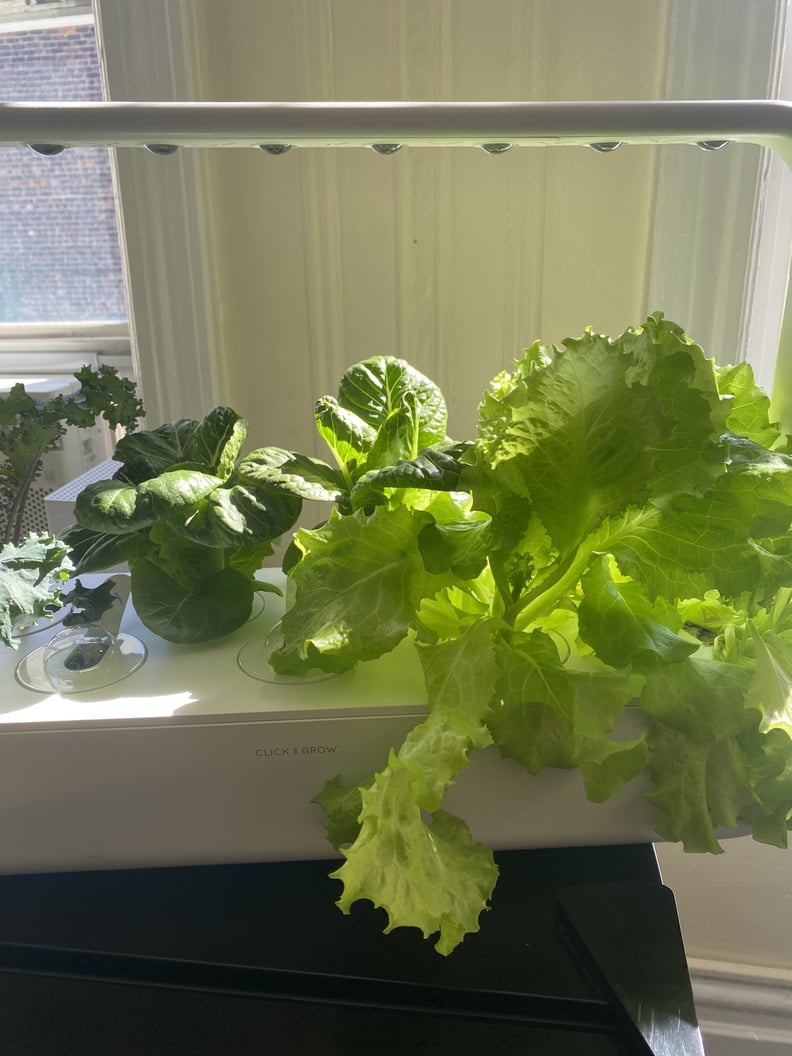
This Indoor Smart Garden Became a Part of My Self-Care Practice
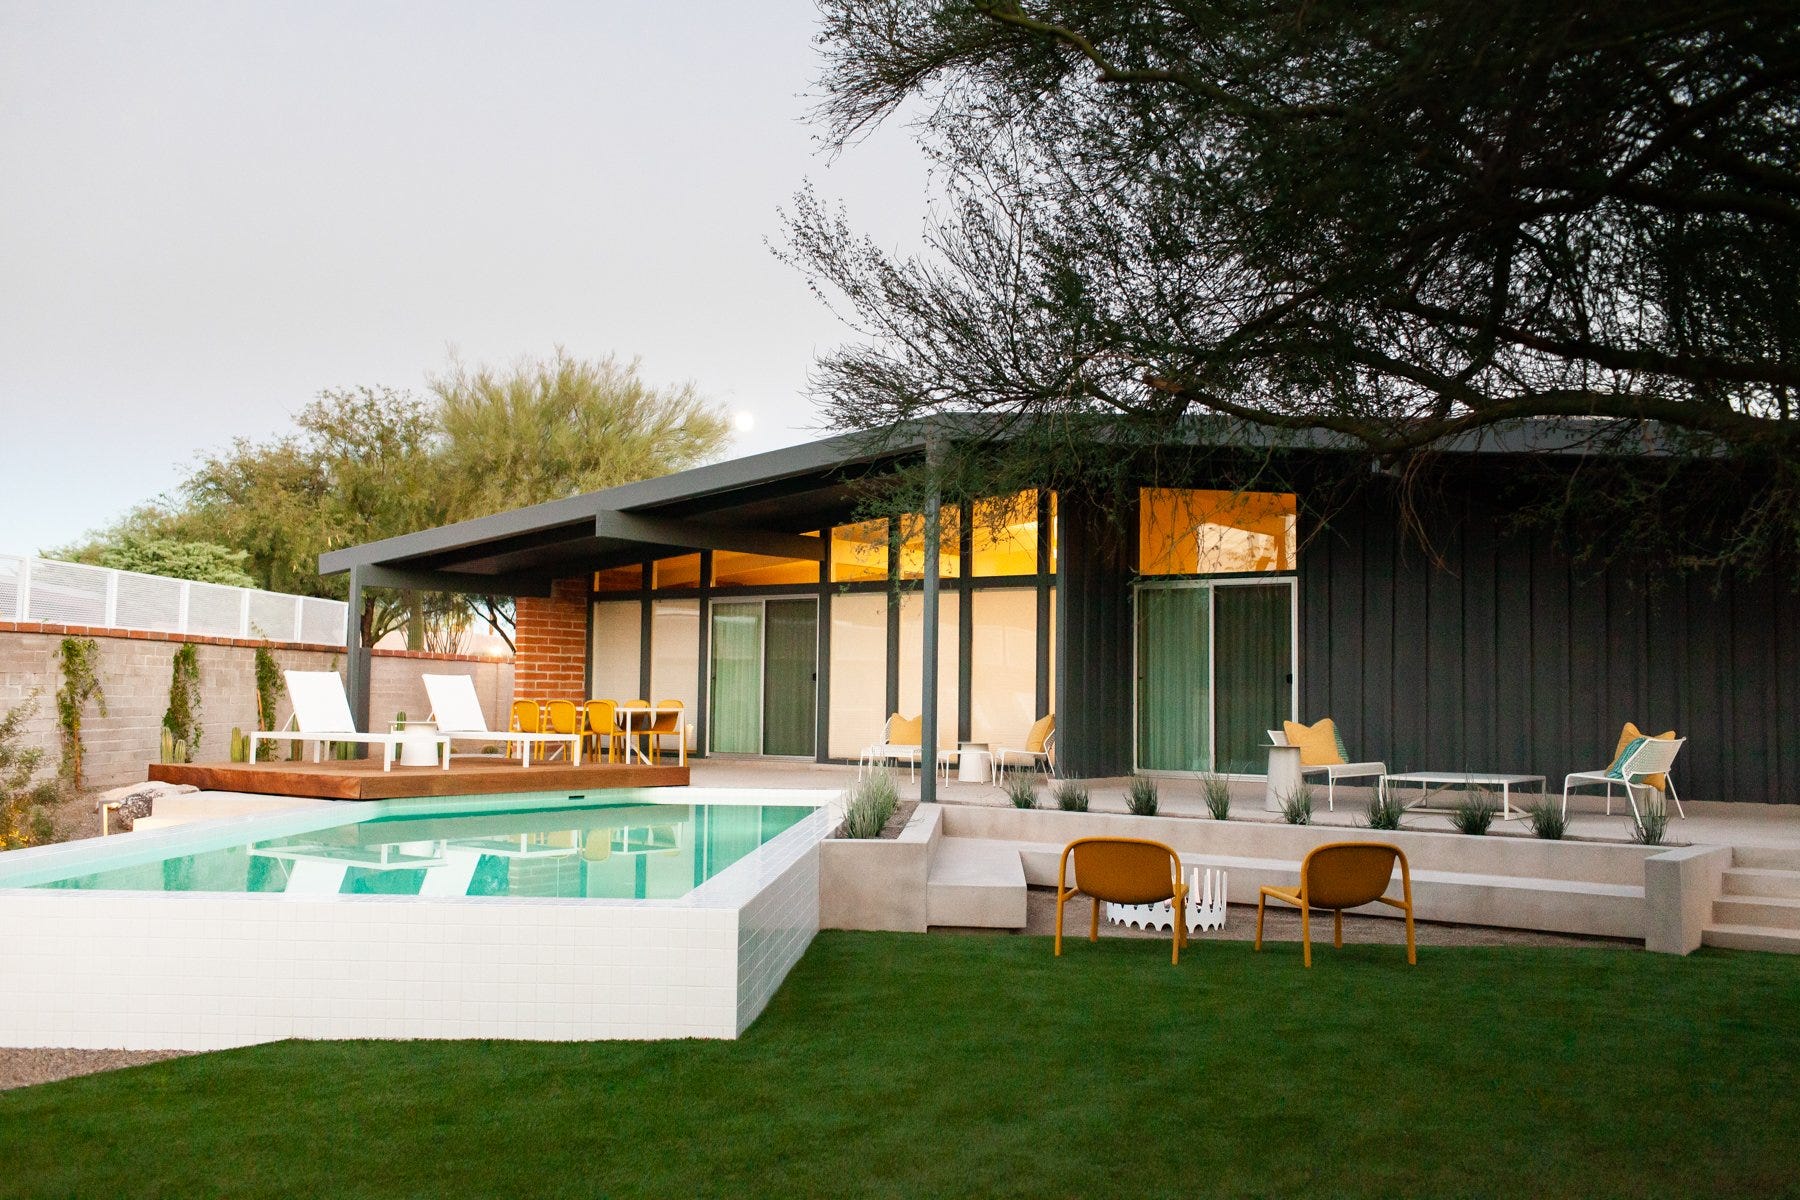
Above-Ground Pools Are Having a Serious Style Moment


How to create a private outdoor paradise right at home this summer

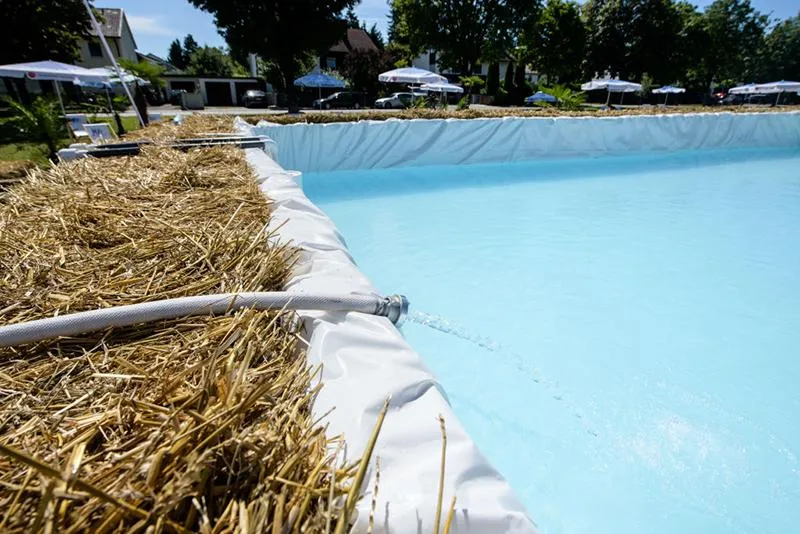
Seven Ideas for Do-It-Yourself Backyard Pools
Backyard staycation ideas – 12 ways to holiday at home

Budget-Friendly Ways to Transform Your Small Garden Into a Dreamy Oasis

Turn Your Backyard (or Patio) Into A Poolside Oasis — Summer Goals 2020

These Dreamy DIY Chicken Coops Will Complete Your Backyard Oasis
We Turned This Pool Deck into an Outdoor Living Room in 6 Easy Steps
8 Incredible Indoor Garden Ideas

8 Designer-Approved Tips for Turning a Small Backyard Into an Outdoor Oasis


My 1,000-Square-Foot Patio Was Completely Transformed Thanks to These 10 Products

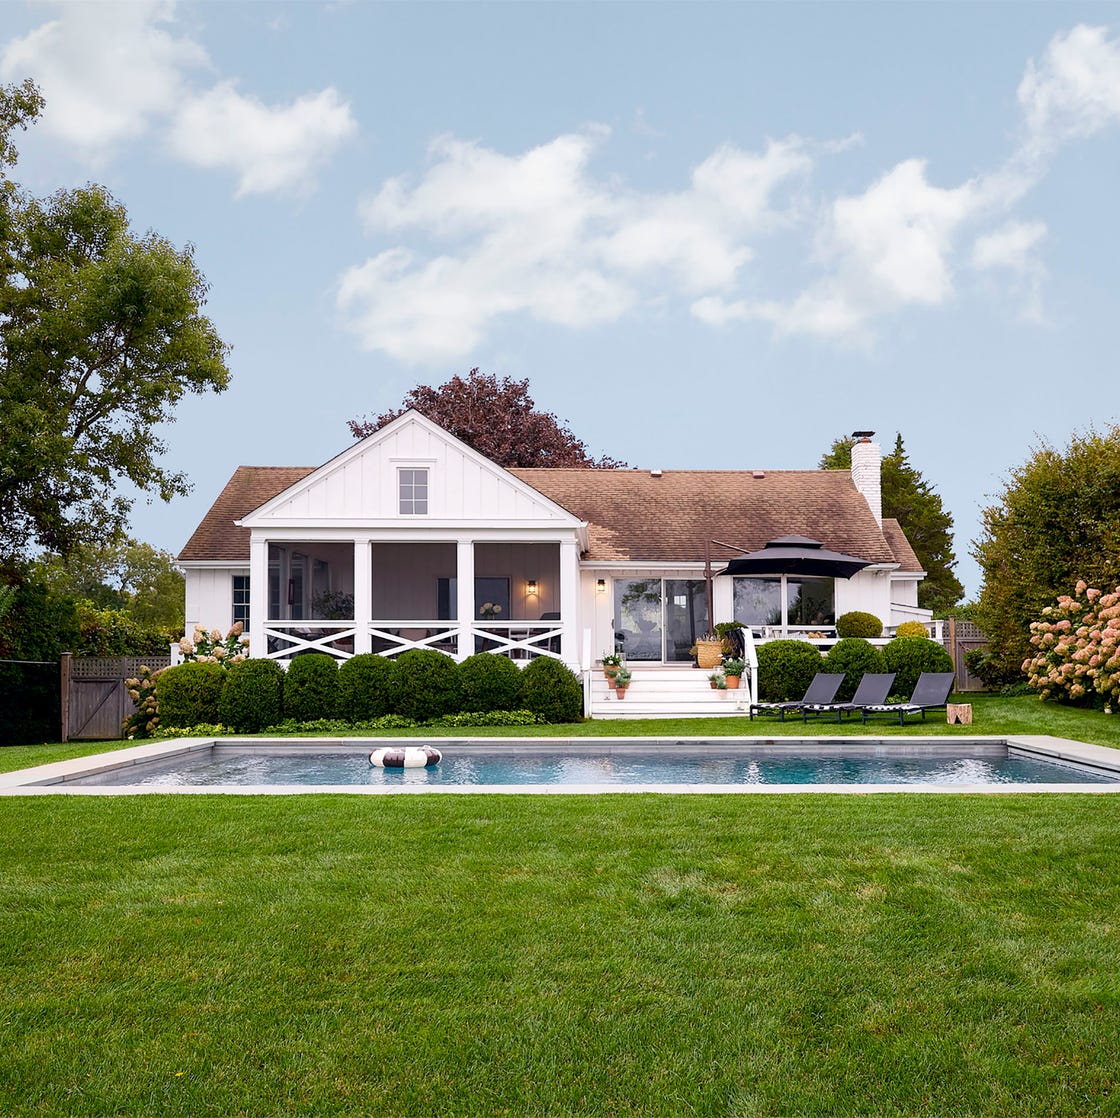
Forget Kitchens—Zillow Says This is Where Homeowners Are Spending Big in 2025
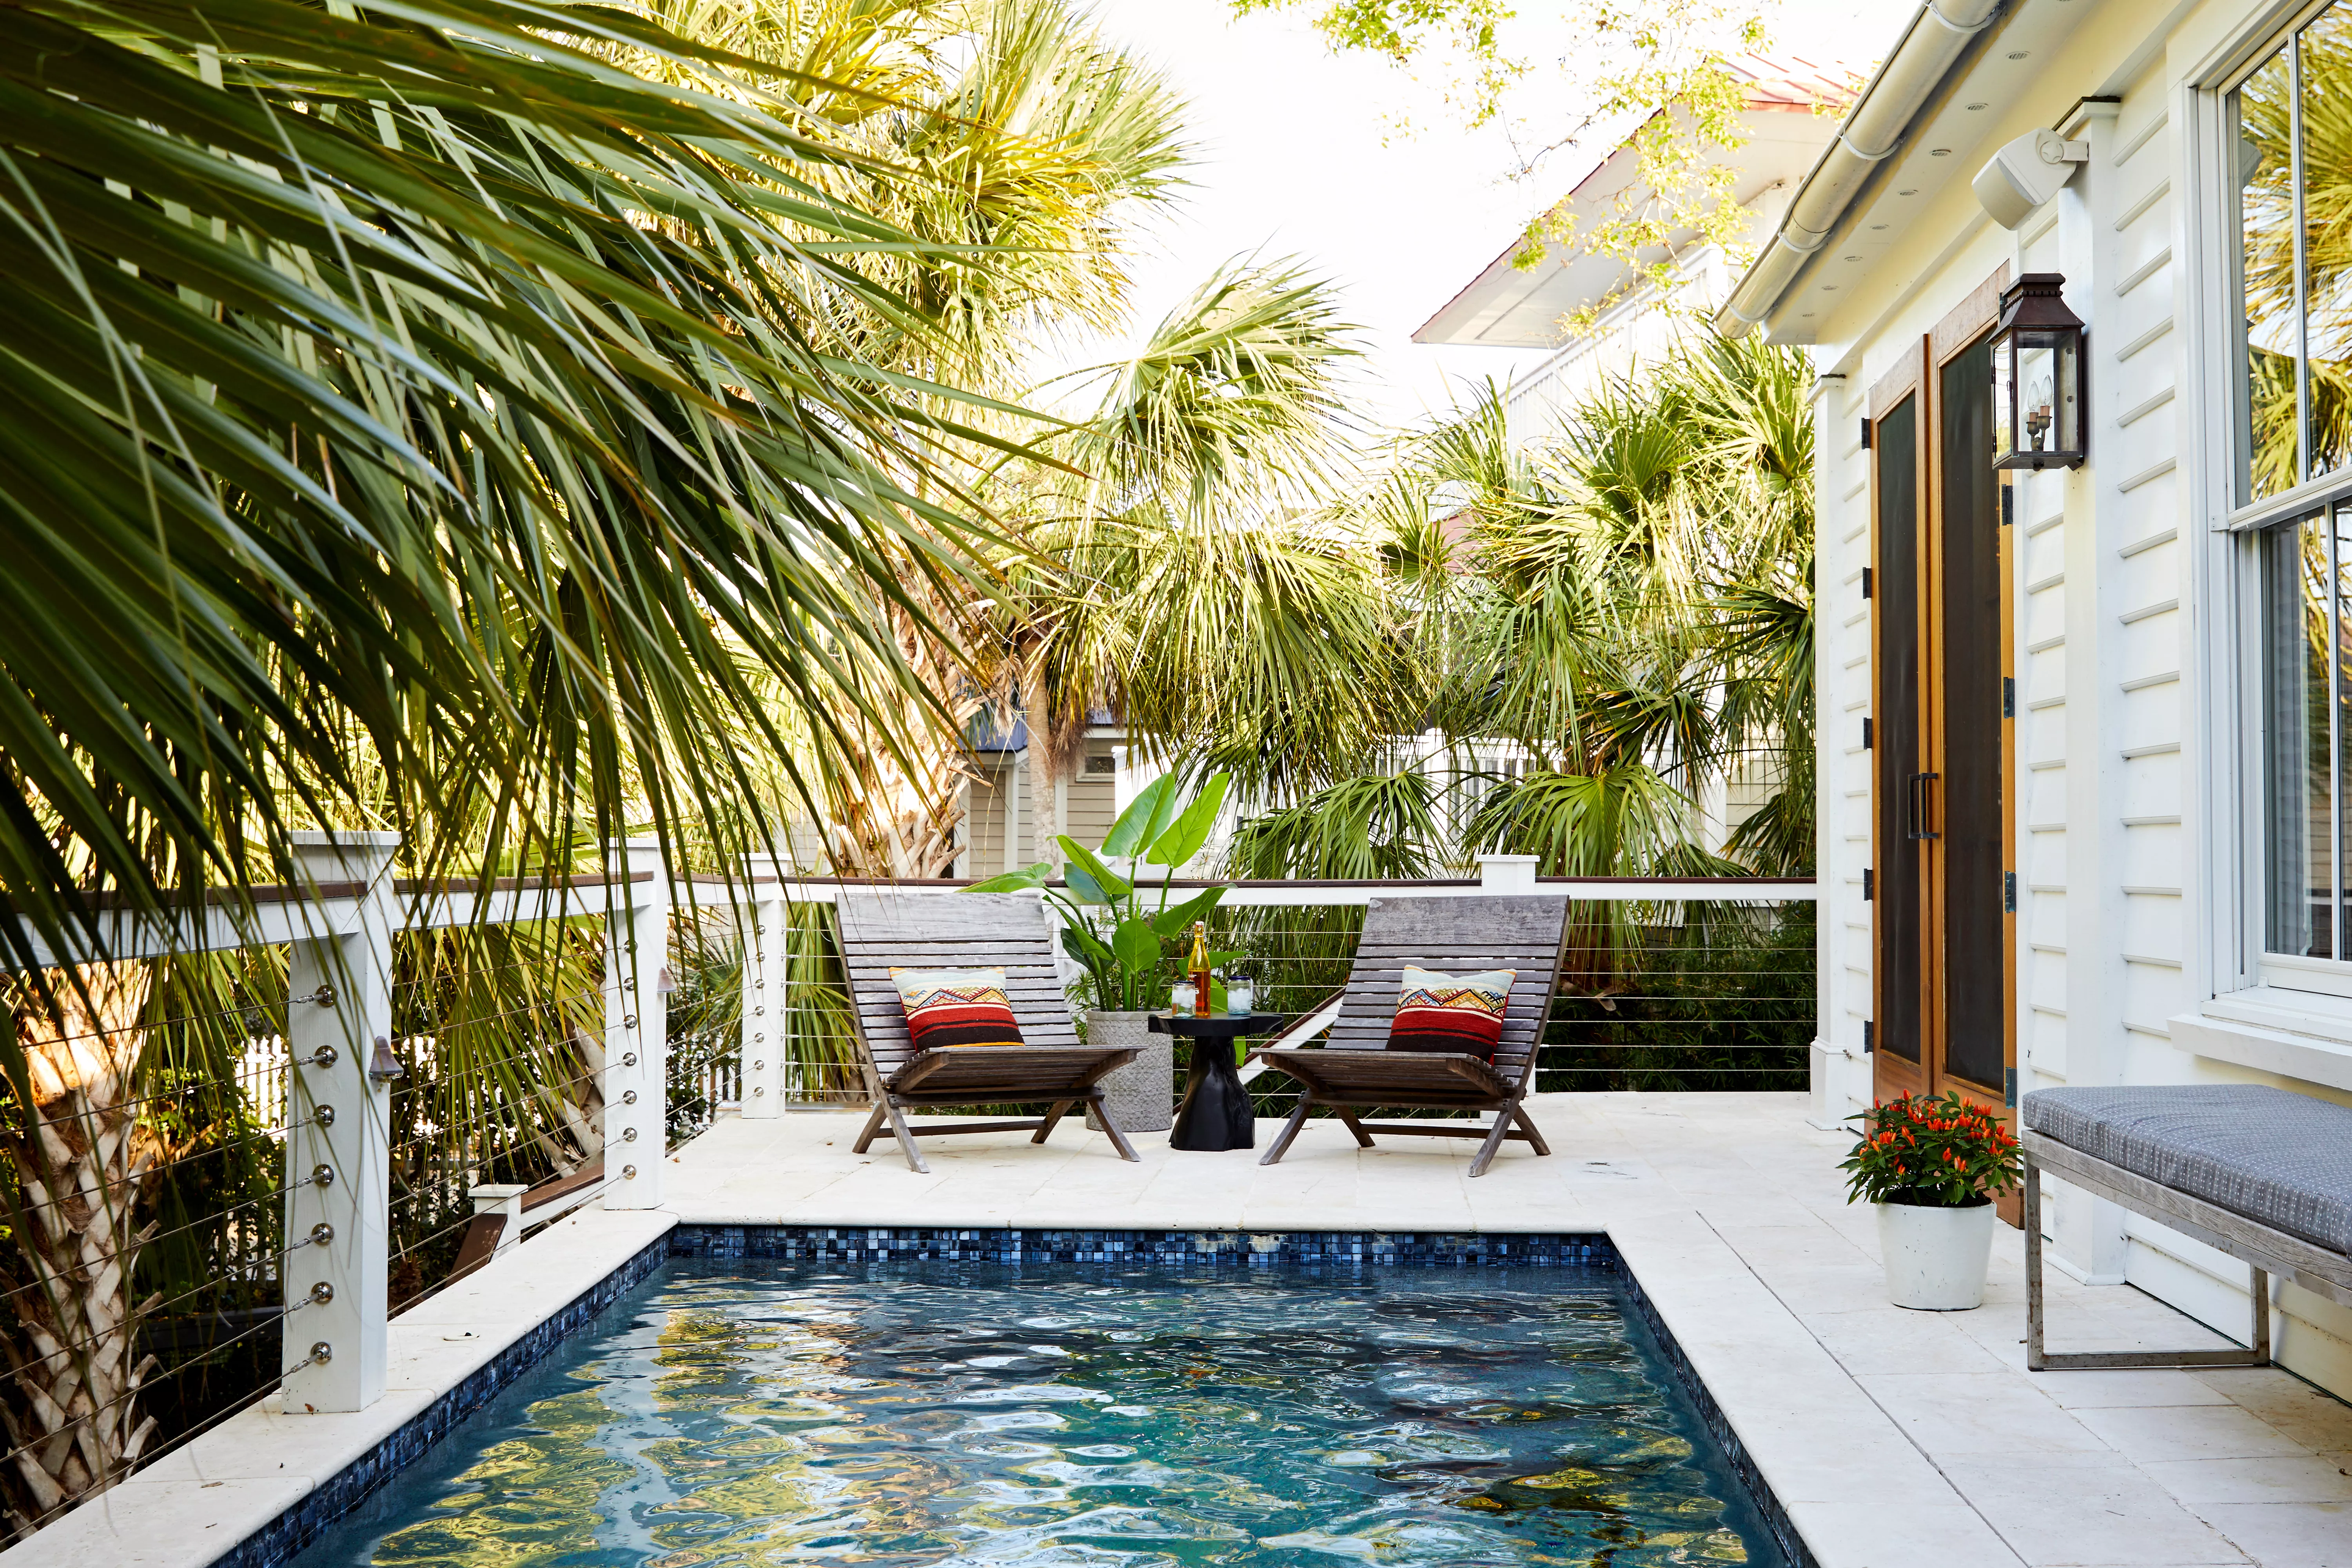
20 Small Pools that Will Make a Big Splash