A DIY Bottle Cap Floor
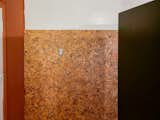
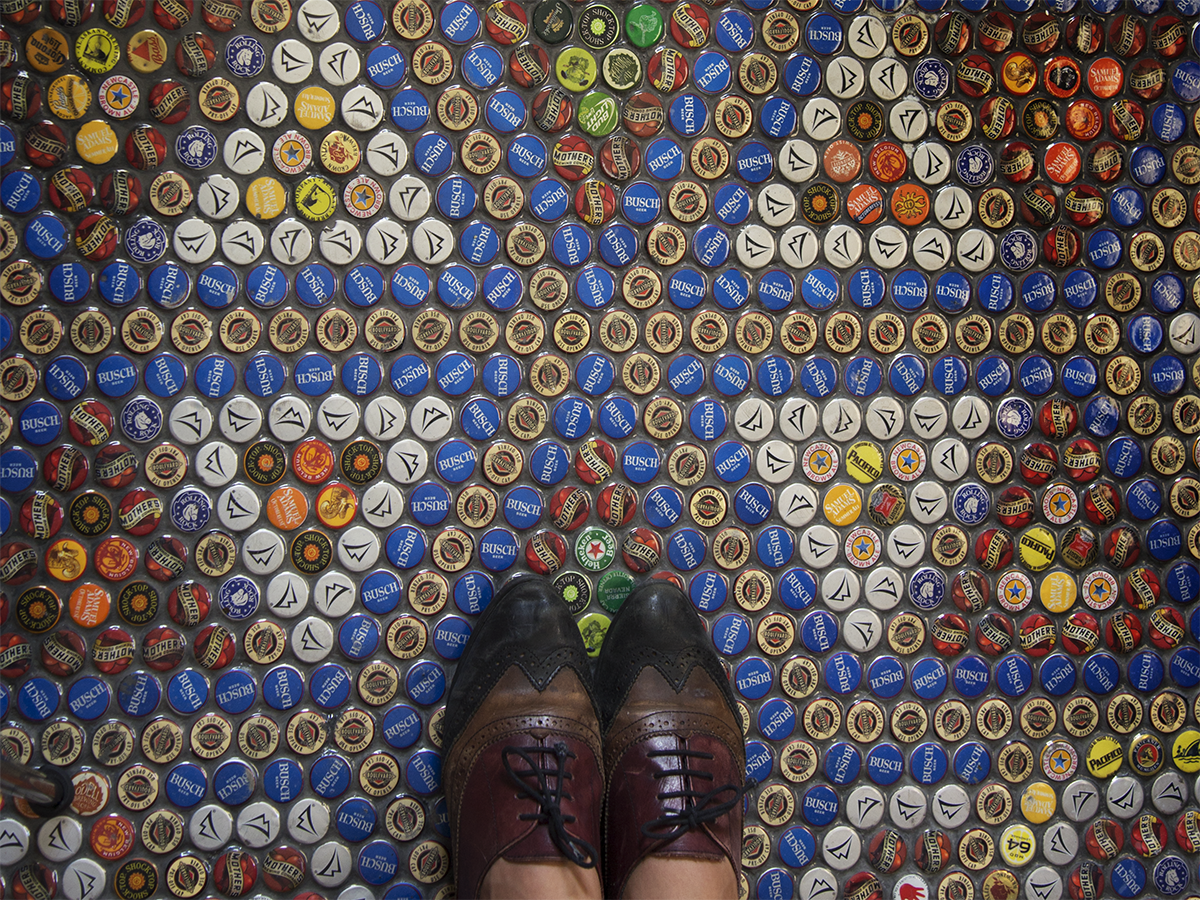
Reese Marshall embarked on a unique DIY project, transforming her office floor into a mosaic made from 15,000 bottle caps, an endeavor inspired by Pinterest. While she had seen bottle caps used in tables and bar countertops, the need for new flooring in her office prompted her to scale up the concept significantly. The initial phase of the project involved collecting the vast number of bottle caps, a process that spanned an entire year. Marshall enlisted the help of friends, family, and co-workers to gather caps, and also frequented local establishments such as Nowhere Bar, KJ Brewskies, and Mother’s Brewing Co. A memorable contribution came from a truck driver who dropped off a large bag of caps after seeing a picture of her project at Nowhere Bar. The cost associated with the collection was minimal, limited primarily to gasoline and shipping fees for caps sent from out-of-state contributors.
After accumulating the necessary caps, Marshall, with the assistance of her granddaughter, dedicated three months to the meticulous process of installing the floor. The completed bottle cap mosaic floor quickly gained significant attention, being featured on Hometalk, a popular do-it-yourself website, where it garnered nearly half a million views. Marshall expresses profound satisfaction in creating something beautiful and distinctive with her own hands, particularly when achieved at a low cost. She values the process of identifying a need, finding an economical solution, and observing the positive reactions from both acquaintances and strangers to her unconventional creations.
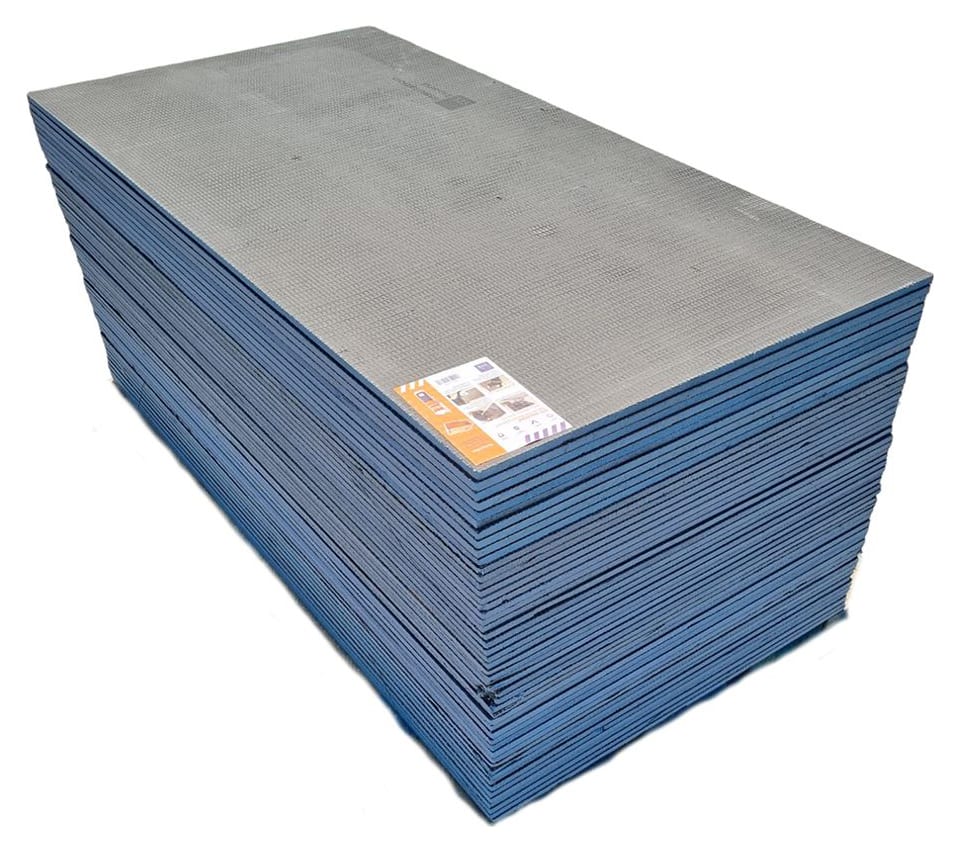
The article provides a detailed guide for individuals interested in replicating Marshall's bottle cap floor. The necessary supplies include thousands of bottle caps, a hammer or pliers for reshaping caps, cement backer boards, a power drill, screws, ceramic tile cement, a long, thin piece of wood for use as a guide stick, sand-free black grout, Rust-Oleum Varathane floor finish, and a paint roller.
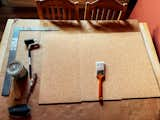
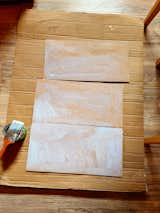
The DIY instructions begin with reshaping any bent bottle caps and sorting them by color. The next step involves preparing the subfloor by removing old carpeting and flattening any nails or staples. The area for the new flooring must be measured; Marshall's office measured 12 feet by 10 feet, indicating that a larger space would require a greater quantity of bottle caps. Cement backer boards are then laid and secured to the subfloor with screws, and any cracks or edges are carefully filled with cement to ensure a flat and smooth surface. A guide stick is screwed to the floor to establish a center line, after which the pattern layout can begin.
Each bottle cap is individually filled with cement, a process made easier by using a Ziploc baggie with a cut corner for controlled dispensing. It is crucial to keep the working section of the floor moist and to follow the pre-planned pattern. Once a section is completed, it must be allowed to dry. One side of the floor should dry overnight before the guide stick is removed and the process is repeated on the other side. This iterative process continues until the entire floor is covered, with wall edges cut to fit properly. Grout is then used to fill the spaces between the bottle caps, ensuring a smooth application. Any bubbles that appear need to be refilled. The floor must be cleaned multiple times to remove any cloudy glaze. Finally, Rust-Oleum Varathane finish is spread over the floor with a paint roller to seal and add shine. Marshall used an entire gallon for optimal results and plans to apply another gallon annually. The finished flooring requires two to three days to dry completely before furniture can be moved back into the space.
#DIYProject #BottleCapFloor #HomeDecor #CreativeCrafts #RecycledMaterials #FloorDesign #PinterestInspired #HandmadeArt #HomeImprovement #DIYProject #BottleCapFloor #HomeDecor #CreativeCrafts #RecycledMaterials #FloorDesign #PinterestInspired #HandmadeArt #HomeImprovement
0 comment in total
 No comments yet
You may also like
Pinch bases Rodan coffee table on Shaker storage box

Decorator’s Caulk

Just 31 Pieces Of Bathroom Wall Decor To Liven Up Your Self-Care Sanctuary

The Clever Kitchen Storage Solution That Comes From An Affordable IKEA Hack
3D printed clip on vase modifies drinking glass
Beauparlant Launches Open, Wall-Mounted Shelves
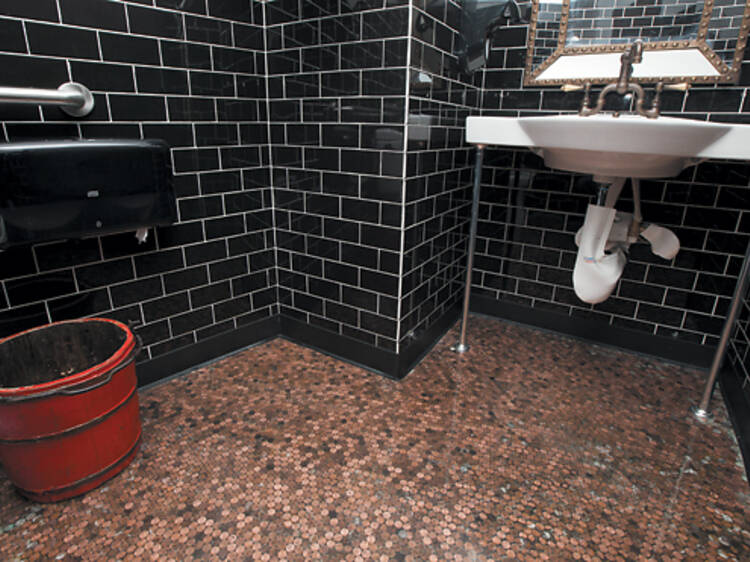
Penny floor at Square One

DIY fans are reaching for the fridge to try out this ingenious new painting hack
I Tried Cork Tiles to Achieve Warm Texture in a Dark Space

How to fix a sagging floating shelf

3D Printed Vases That Give New Life to Old Bottles


Plasterboard
Clever crafter shares unexpected way to reuse pill bottles: 'This is my admittedly tacky solution'

Golden resin highlights cracks in the floor of TANK's Xchange Apartment
Gallery: Splish splash, clean design takes a bath
A 'bootility room' is the key to containing back-to-school mess – you won't go back to a regular utility room
Flooring

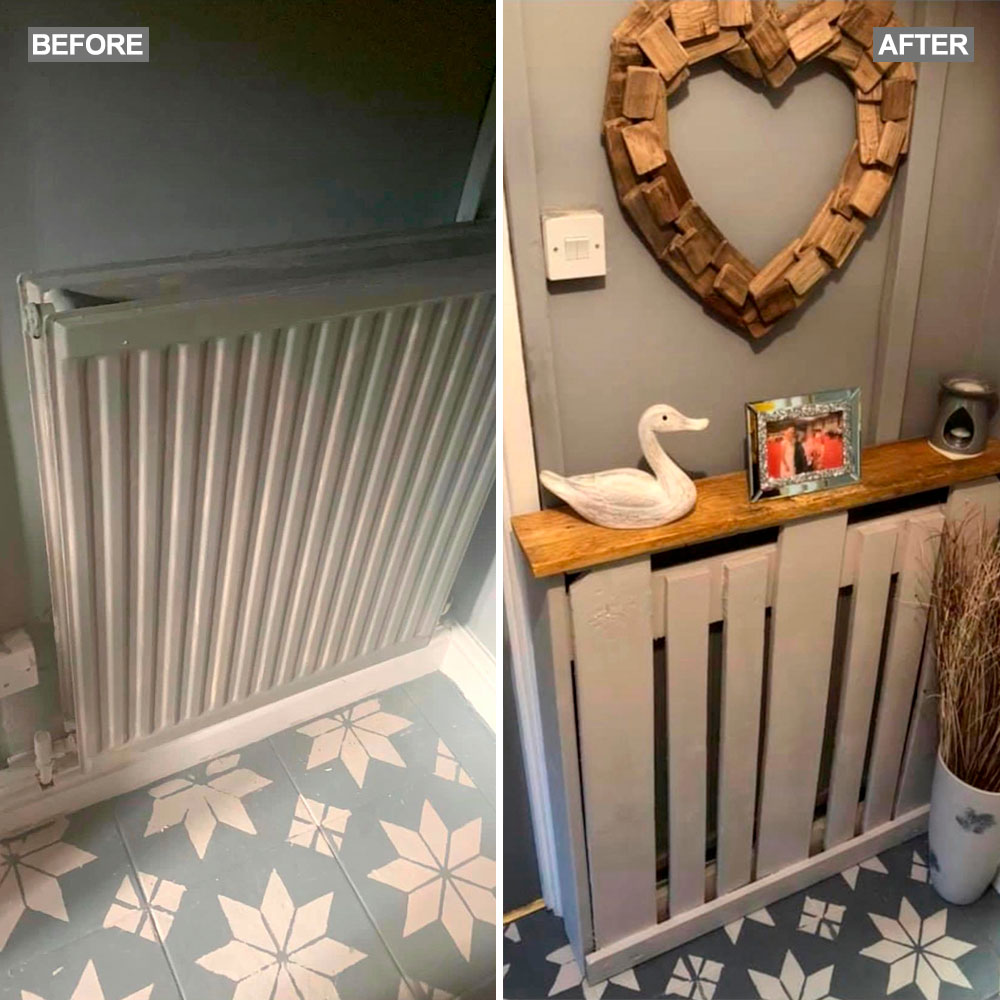
Homeowner upcycles free wooden pallet into a bespoke radiator cover – genius!
This DIY Upgrade Transformed My Kitchen

Do Peel and Stick Countertops Live Up to the Hype? Here's What the Pros Say