1/8
7 Beyond Genius Ways To Remove Scratches From Your Ceramic Tile
Ceramic tiles, widely used for their functionality and style in homes, are susceptible to scratches despite their durability. These tiles, composed of clay and minerals often topped with a glaze, can develop unsightly marks over time due to wear and tear. Fortunately, various methods exist to address these imperfections, ranging from household items to specialized repair kits. The effectiveness of each method depends on the type and depth of the scratch.
For minor scratches, baking soda serves as a mild abrasive. A paste made from baking soda and water can be gently rubbed onto the scratched area in circular motions for about three minutes, using a damp, non-abrasive pad or soft-bristled brush. After application, the area should be rinsed and dried. Caution is advised to avoid excessive scrubbing, which could lead to further scratches or dullness. Always test this method on an inconspicuous spot first.
More stubborn scratches may respond to oxalic acid, a powerful organic acid found in specialized cleaning products like Bar Keeper's Friend. After thoroughly cleaning and drying the tile, oxalic acid can be applied with a sponge and rubbed over the scratch in circular motions. The area should be wiped clean and re-treated if necessary. It's crucial to follow manufacturer recommendations and test on a discreet area to prevent damage to the tile's polish or finish.
Toothpaste, particularly non-gel varieties, offers another surprising solution due to its abrasive components such as calcium carbonate or silicates. A small amount of toothpaste applied directly to the scratch and gently rubbed with a damp cloth in circular motions can help smooth out imperfections. Over-application or excessive rubbing can dull the tile's finish, potentially requiring a separate shine-enhancing polish to restore luster.
Brass polish, typically used for metals, can also address surface-level scratches on ceramic tiles. Its fine abrasives and nourishing oils work to even out and fill scratches. A cloth saturated with brass polish should be rubbed onto the scratched area with moderate pressure, followed by a second layer and a clean rinse. However, users should be cautious as it may leave residues or alter the color of white tiles, necessitating a test on a small area.
For light chips, especially on darker tiles where the lighter ceramic underneath is visible, nail polish provides a quick fix. After cleaning and drying the area, a nail polish color closely matching the tile can be brushed over the blemish. Multiple coats can be applied until the desired appearance is achieved. For more substantial chips, a tile-compatible epoxy can be used as a filler before applying nail polish to blend the repair.
Specialized ceramic tile repair fillers, such as those from MagicEzy, are designed to fix chips, cracks, and imperfections. These products often incorporate nano-coating technology, where nanocrystals bond with the ceramic material to fill scratches and create a protective layer. The filler is applied with a putty knife, smoothed flush with the tile surface, and allowed to harden according to specific instructions.
As a last resort for persistent scratches, specialized scratch repair kits, like the Faber Scratch Off Kit, are available. These kits are tailored for specific tile types and typically include cleaners and restoration products. Following the manufacturer's instructions precisely involves cleaning the tile, applying a restoring paste, and buffing it with a tile polisher and a coarse pad until dry, then rinsing and cleaning.
#CeramicTileRepair #ScratchRemoval #HomeImprovement #TileMaintenance #DIYRepair #BakingSoda #OxalicAcid #ToothpasteHack #BrassPolish #NailPolishRepair #TileFiller #CeramicTileRepair #ScratchRemoval #HomeImprovement #TileMaintenance #DIYRepair #BakingSoda #OxalicAcid #ToothpasteHack #BrassPolish #NailPolishRepair #TileFiller
0 comment in total
 No comments yet
You may also like
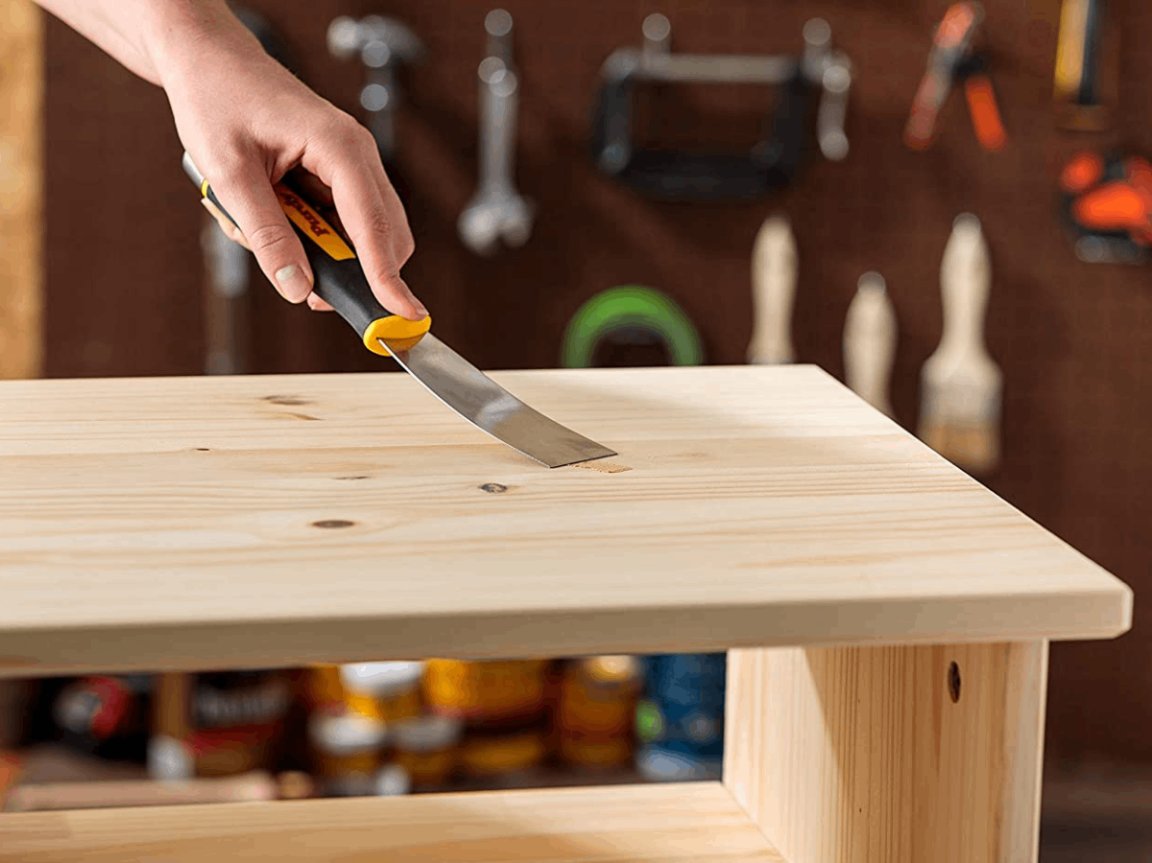
10 Genius Ways To Fix Scratches on Any Surface
The New Horizons of Decorated Ceramic Tiles
All the Ways You Can Riff on Basic Square and Rectangular Tile

How to clean walls – the best ways to get rid of marks and scuffs

11 Efficient Tile Removal Tools for Floor and Wall Projects


9 of the Most Creative Ways to Decorate Your Home With Tiles — Ideas That Will Change How You Think About Tiling


7 Easy Ways to Update Old Tile Floors Without Breaking Your Budget

7 Tricks The Pros Use To Keep Bathroom Tile Looking Brand-New
How to Clean Tile Floors—From Ceramic to Cement Surfaces

Bring Your Tile and Grout Back to Life With These 7 Cleaners


7 tiled kitchen islands that are so much smarter than marble (but you've got to get the grouting right)

There Is A Secret To Cleaning Tile Floors And I Know The Secret
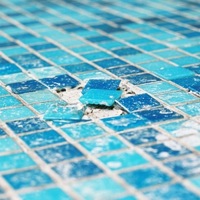
How To: Replace Damaged Tile

Professional cleaners never waste their time with standard mops on tile floors – this is the $13 essential they always recommend instead
4 Unexpected Materials That Look Like Ceramic Tiles
Cleaning tile floors is an art — if you're patient, the results will shine

Best tile cleaner: 6 smart picks to spruce up your tiling

New ways with tiles: 15 creative ideas for using tiles at home

The Porcelain Tile Cleaning Paradox


How can I get rid of scratches on wood floor? Answers to your home questions