How to Get Rid of Streaks on Painted Bathroom Walls
Streaks on painted bathroom walls, scientifically termed "surfactant leaching," commonly occur in high-moisture environments such as bathrooms. This phenomenon is a result of water-soluble ingredients within latex paint migrating to the surface during a prolonged drying process, thereby creating visible streaks on walls or ceilings. Understanding the root cause and implementing preventative measures and proper cleaning techniques are crucial for maintaining the aesthetic appeal of bathroom paint.
Monica Mothershead, a senior merchant of interior paint at The Home Depot, emphasizes that frequent cleaning alone is not a sufficient preventative measure against these streaks. Instead, proper painting practices are paramount. She advises against painting in temperatures below 50º Fahrenheit or during cool, damp conditions, as these environments can hinder proper paint drying and exacerbate surfactant leaching. Additionally, running the bathroom exhaust fan during and after use is recommended to reduce overall moisture levels, which can significantly mitigate the risk of streak formation.
While no paint finish can entirely eliminate the possibility of surfactant leaching, selecting high-quality paint and applying it under optimal conditions can reduce its occurrence. Mothershead specifically recommends BEHR PREMIUM PLUS Interior Paint & Primer for high-moisture areas like bathrooms. This particular paint offers exceptional durability, a mildew-resistant finish, and superior stain-blocking capabilities. The semi-gloss enamel sheen, a characteristic of this paint, not only enhances the room's appearance but also provides advanced scrubbability, making walls easier to clean and maintain.
Cleaning strategies vary depending on the paint finish to prevent surface damage. For less durable finishes such as flat, eggshell, or satin, a gentle approach is advised. Walls painted with these finishes should be cleaned using a mild detergent and water, with harsh scrubbing avoided to protect the surface. Semi-gloss or glossy finishes, being more durable, can withstand stronger cleaners but are still prone to scratches. For these finishes, warm water and a non-abrasive cleaner are recommended. For latex paint finishes, a mixture of warm water and a non-abrasive cleaner yields the best results.
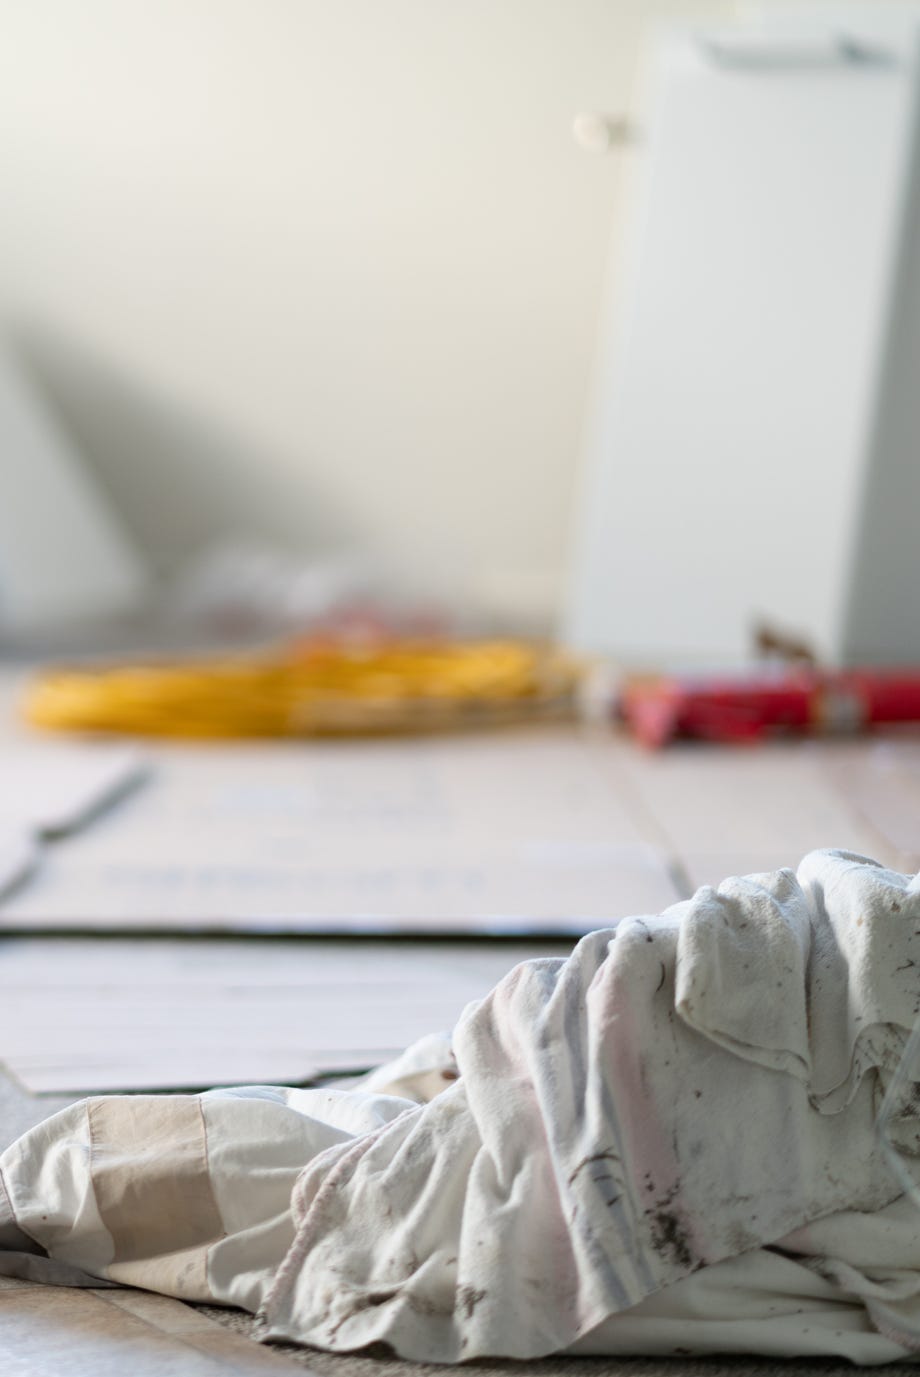
A four-step wall cleaning routine is suggested to effectively remove existing streaks. First, the room should be prepared by removing all objects and dusting the walls with a tack cloth or cheesecloth. Drop cloths should be laid down to protect the floor from drips. Second, the walls should be washed; plain warm water is suitable for general cleaning, while soapy water is better for stained areas. It's crucial to test any cleaning solution on a hidden spot first and clean from the top down using a mildly damp sponge or sponge mop. Third, spots and stains should be addressed quickly with a damp rag or a non-abrasive sponge. Persistent marks may require gentle scrubbing with a baking soda solution or, if necessary, a stronger cleaner. Finally, if cleaning does not fully resolve the streaks, paint touch-ups are recommended. It's important to match the original paint color and application method for seamless results. Mothershead also notes that most leaching issues tend to resolve naturally within a month under normal weathering conditions, and it is best to wait until the leaching has completely cleared before applying a new coat of paint.
#BathroomWallStreaks #SurfactantLeaching #PaintMaintenance #HomeCleaningTips #BathroomHumidity #InteriorPaint #PaintFinishes #HomeDepotAdvice #BathroomWallStreaks #SurfactantLeaching #PaintMaintenance #HomeCleaningTips #BathroomHumidity #InteriorPaint #PaintFinishes #HomeDepotAdvice
0 comment in total
 No comments yet
You may also like
How to remove wallpaper - expert-approved steps to prevent damage and ensure a smooth finish
How To Pull Off A Black Bathroom (That Doesn't Look Like It Belongs In A Nightclub)

Bathroom paneling ideas – 10 innovative ways to dress your walls

How to clean walls before painting – expert tips and tricks
A Stress-Free Way to Remove Wallpaper
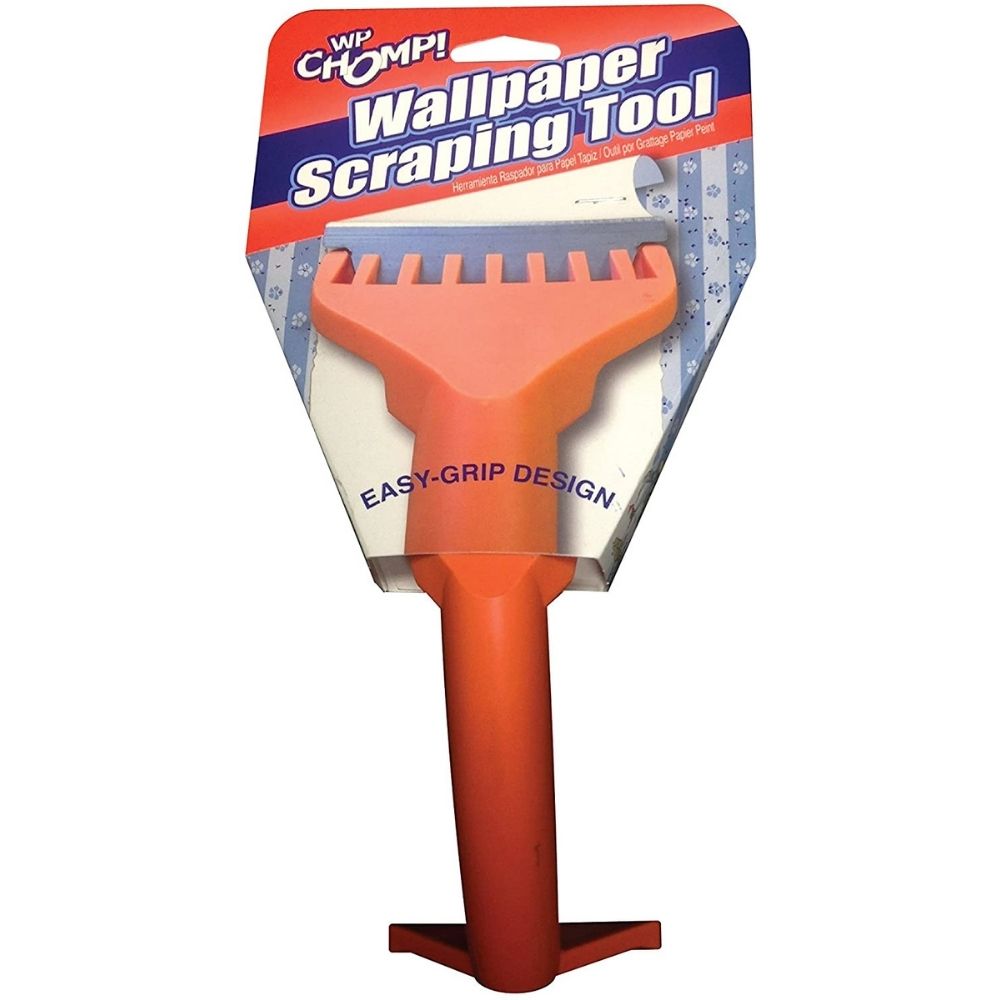
The Best Wallpaper Removers of 2025 for Updating Your Home’s Interior


The Right Way to Clean Painted Walls, From Matte to Gloss Finishes

10 bathroom accent wall ideas – perk yours up with paint, tiles or wallpaper


Bathroom Paint

How To Clean Painted Walls Without Ruining Them
Bathroom Wall Decor Ideas to Transform Your Home

The bathroom wall panelling you should be adding, according to design pros
How to clean walls – the best ways to get rid of marks and scuffs
Goodbye, White Walls. Hello, Personality!
9 Best Wallpaper Removers

The 7 Best Paint Strippers and Removers of 2025
How to declutter a bathroom according to the experts

Bathroom wall ideas – 10 fresh ways to breathe life into your bathroom walls

Shower wall ideas – 11 striking finishes for the walls in your bathroom
Say Goodbye to Damaged Walls—These 6 Removable Wallpapers Come Off Clean